The tripod question comes up constantly in landscape photography. Some photographers insist you should never shoot landscapes without one. Others consider tripods unnecessary constraints on spontaneity.
The truth lies in understanding when stability actually matters. A tripod isn't always essential, but when you need one, nothing else will do.
This guide helps you make smart decisions about tripod use based on your specific conditions, not on rigid rules. It's one of the most practical gear-related topics in our landscape guide.
Why Stability Matters
Before discussing when to use a tripod, let's understand why stability affects image quality.
Camera Shake
When you hold a camera, your hands shake slightly, constantly, and unavoidably. This movement is tiny, but at slower shutter speeds, it's enough to blur your entire image. What looks sharp on the camera's small LCD often reveals softness when examined at full size on a computer screen.
The Critical Threshold
There's a shutter speed threshold below which hand-holding reliably fails. The traditional rule of thumb is that your shutter speed should be at least 1/focal length of your lens.
- 24mm lens: minimum 1/24s (practically 1/30s)
- 50mm lens: minimum 1/50s
- 100mm lens: minimum 1/100s
- 200mm lens: minimum 1/200s
With image stabilization: In-lens or in-body stabilization extends this threshold by 2-4 stops (depending on the system). A stabilized 24mm lens might produce sharp results at 1/8s or slower.
In practice: These are guidelines, not guarantees, because individual steadiness varies and breathing, stance, and technique all affect results. And "acceptable" sharpness for a small web image differs from "excellent" sharpness for a large print.
When Landscape Photography Demands Slow Shutters
Unlike sports or wildlife photography, landscape subjects don't move (mostly). So why would you need slow shutter speeds?
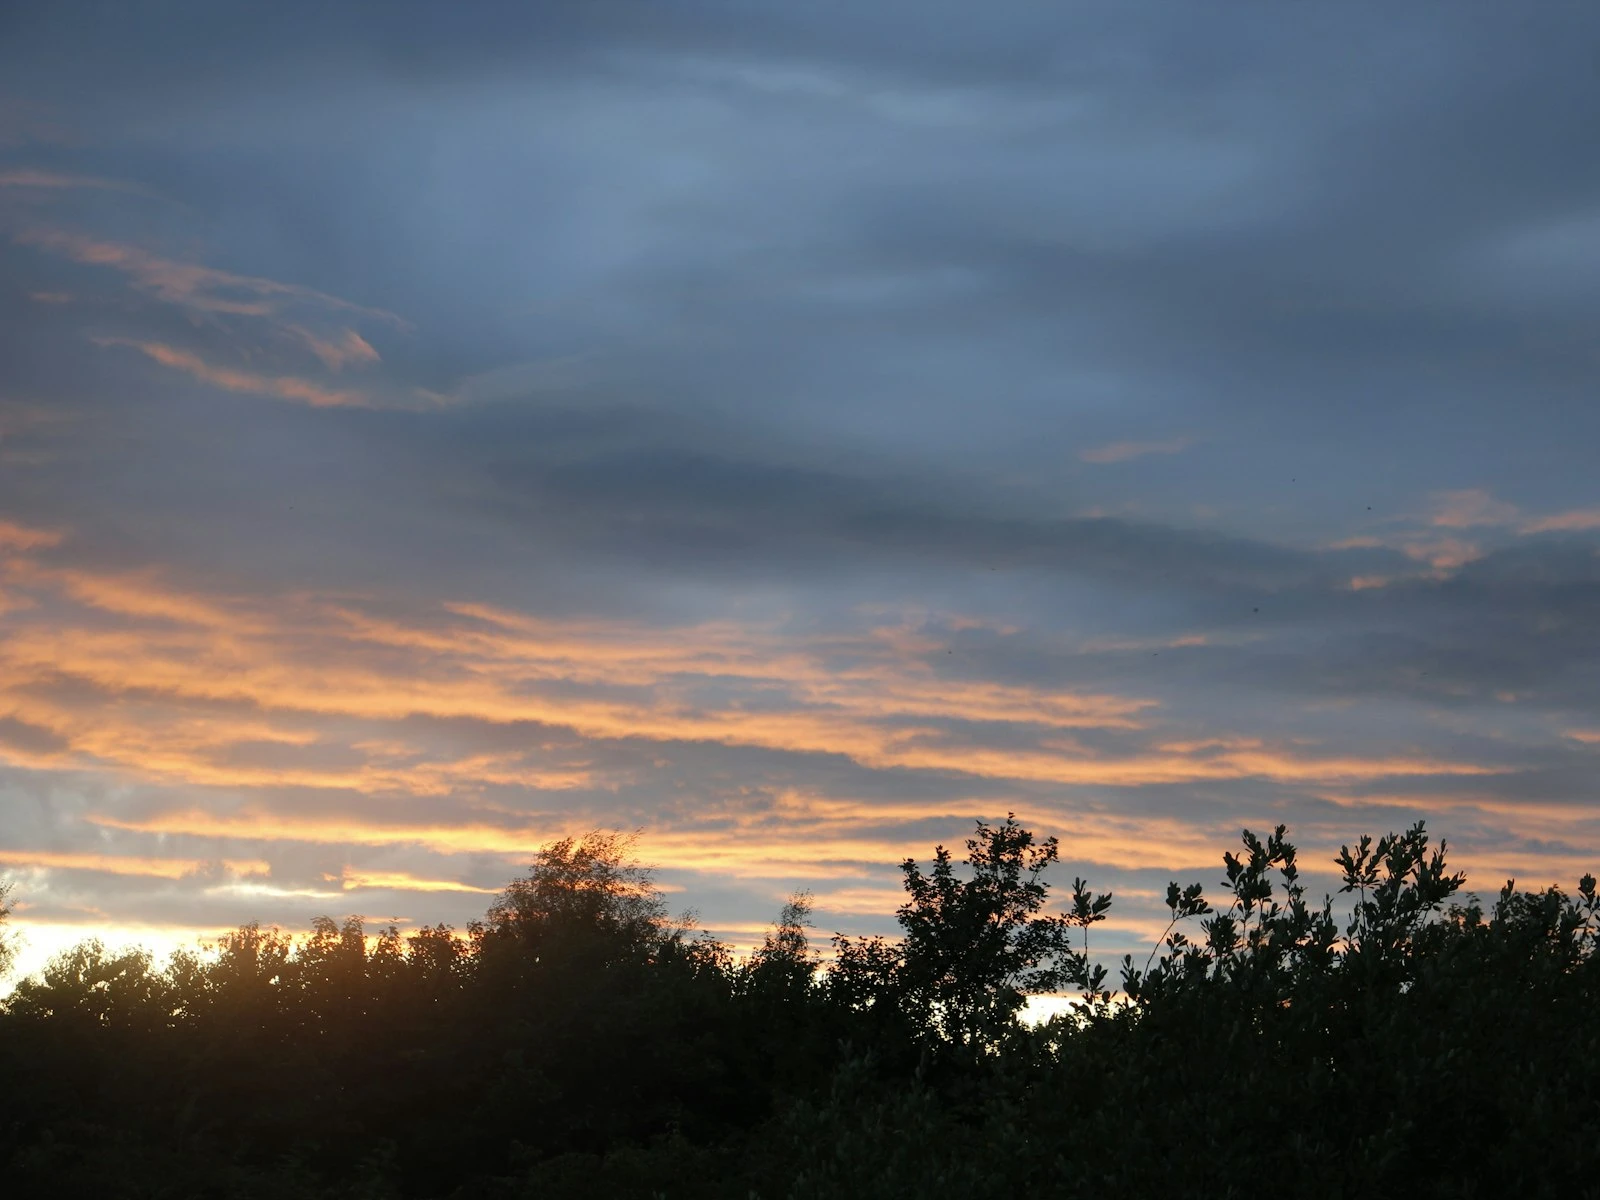
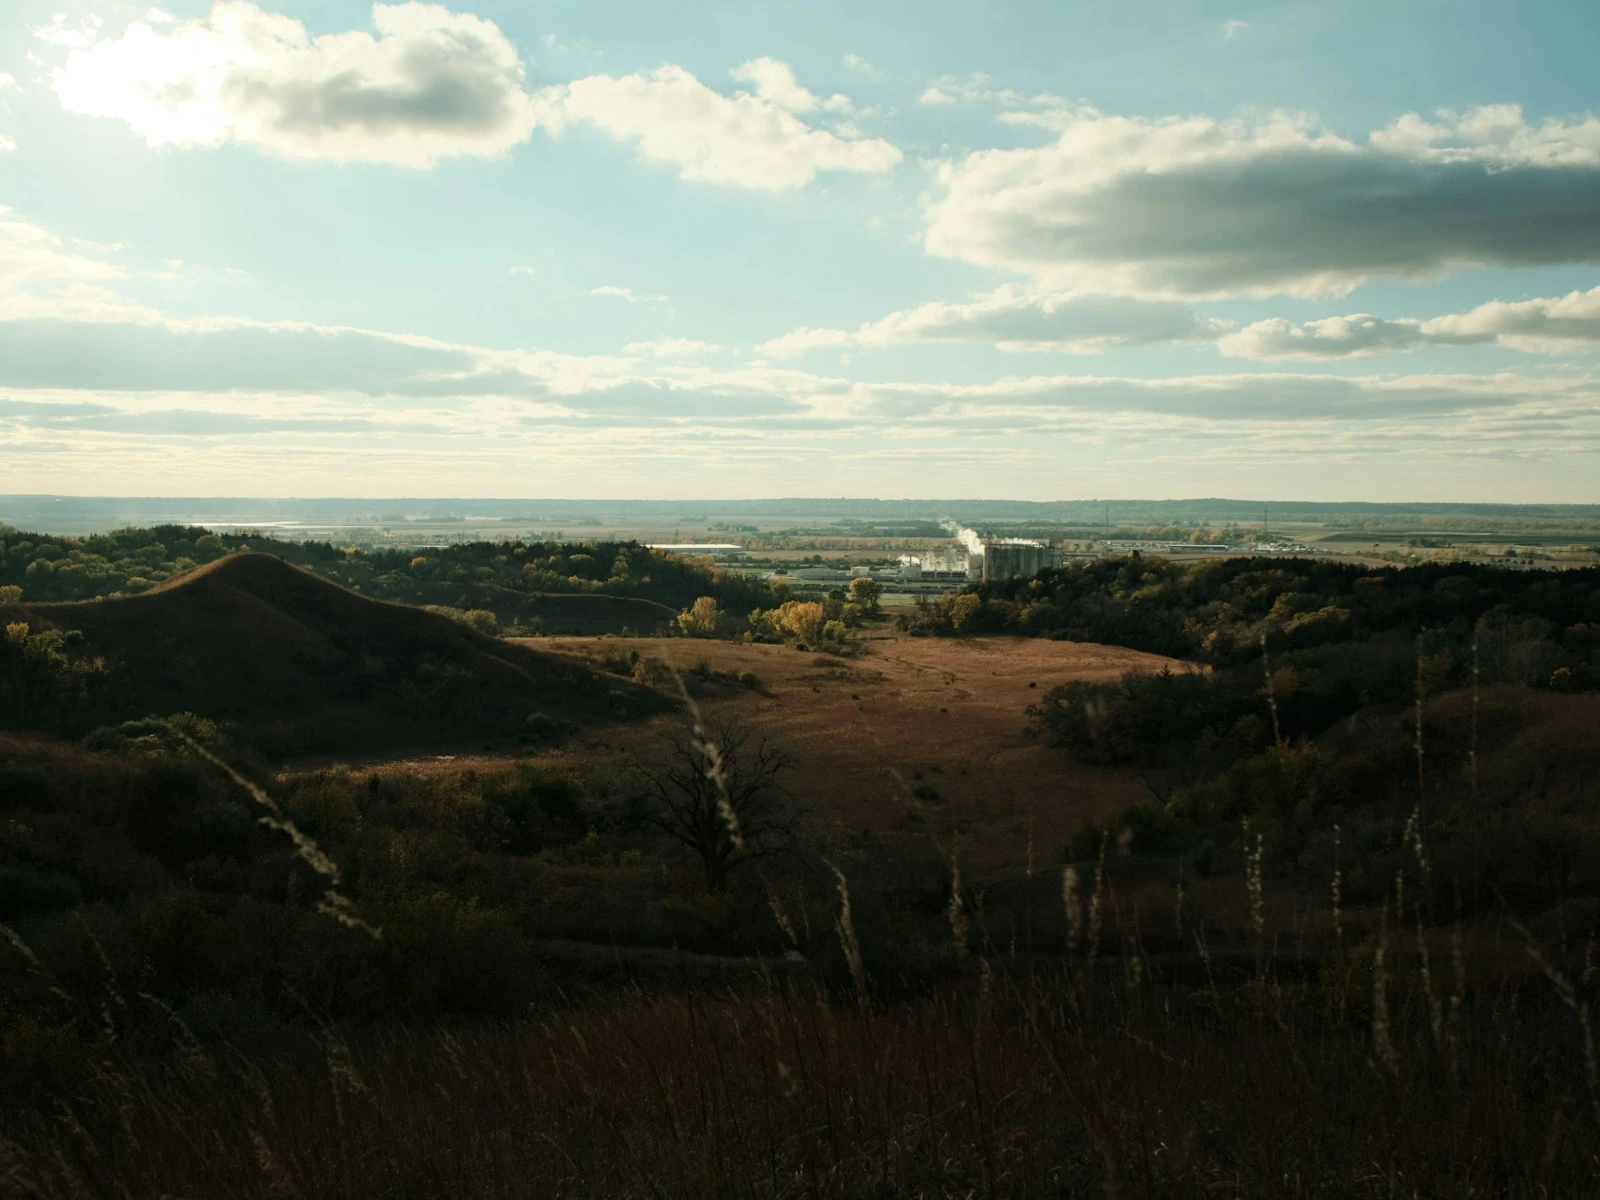
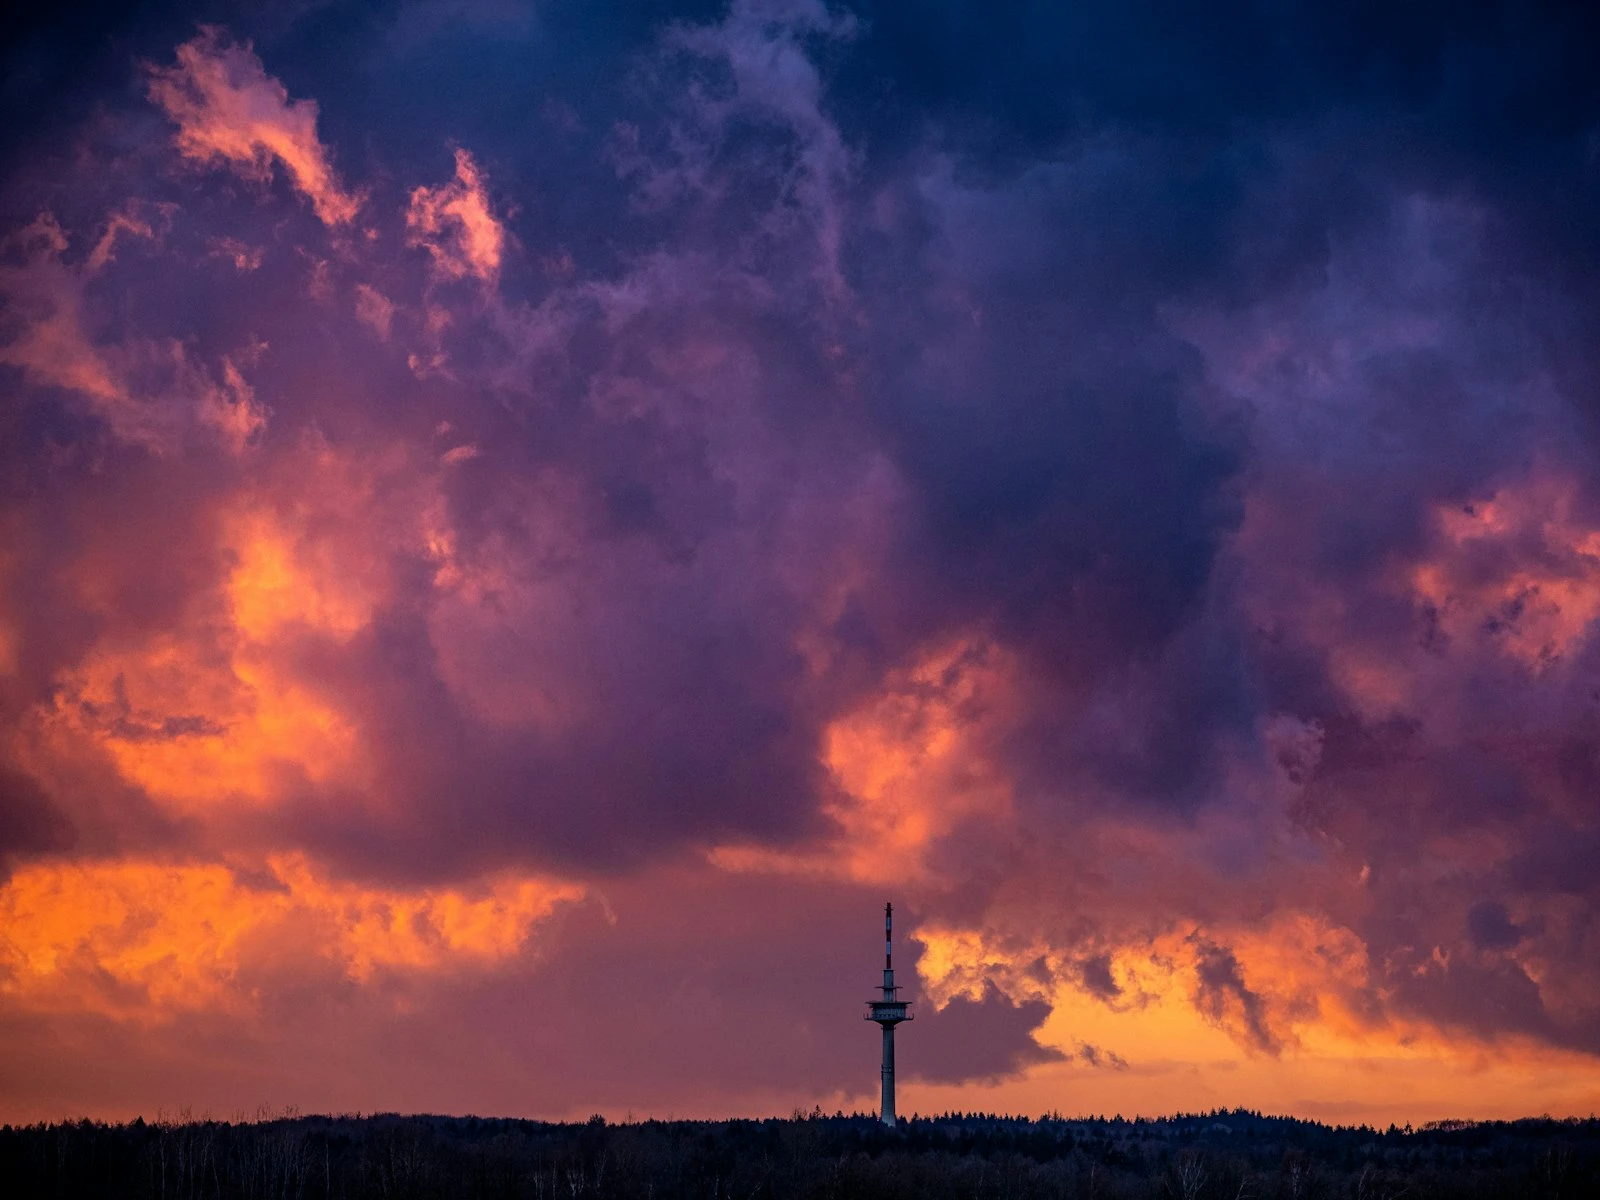
Low light conditions. Dawn, dusk, blue hour, overcast days, forests, canyons. Beautiful landscape light often means dim light. To maintain low ISO and optimal aperture, shutter speeds must slow.
Maximum depth of field. Apertures like f/11 or f/16 provide extensive depth of field but reduce light. Shutter speeds must compensate.
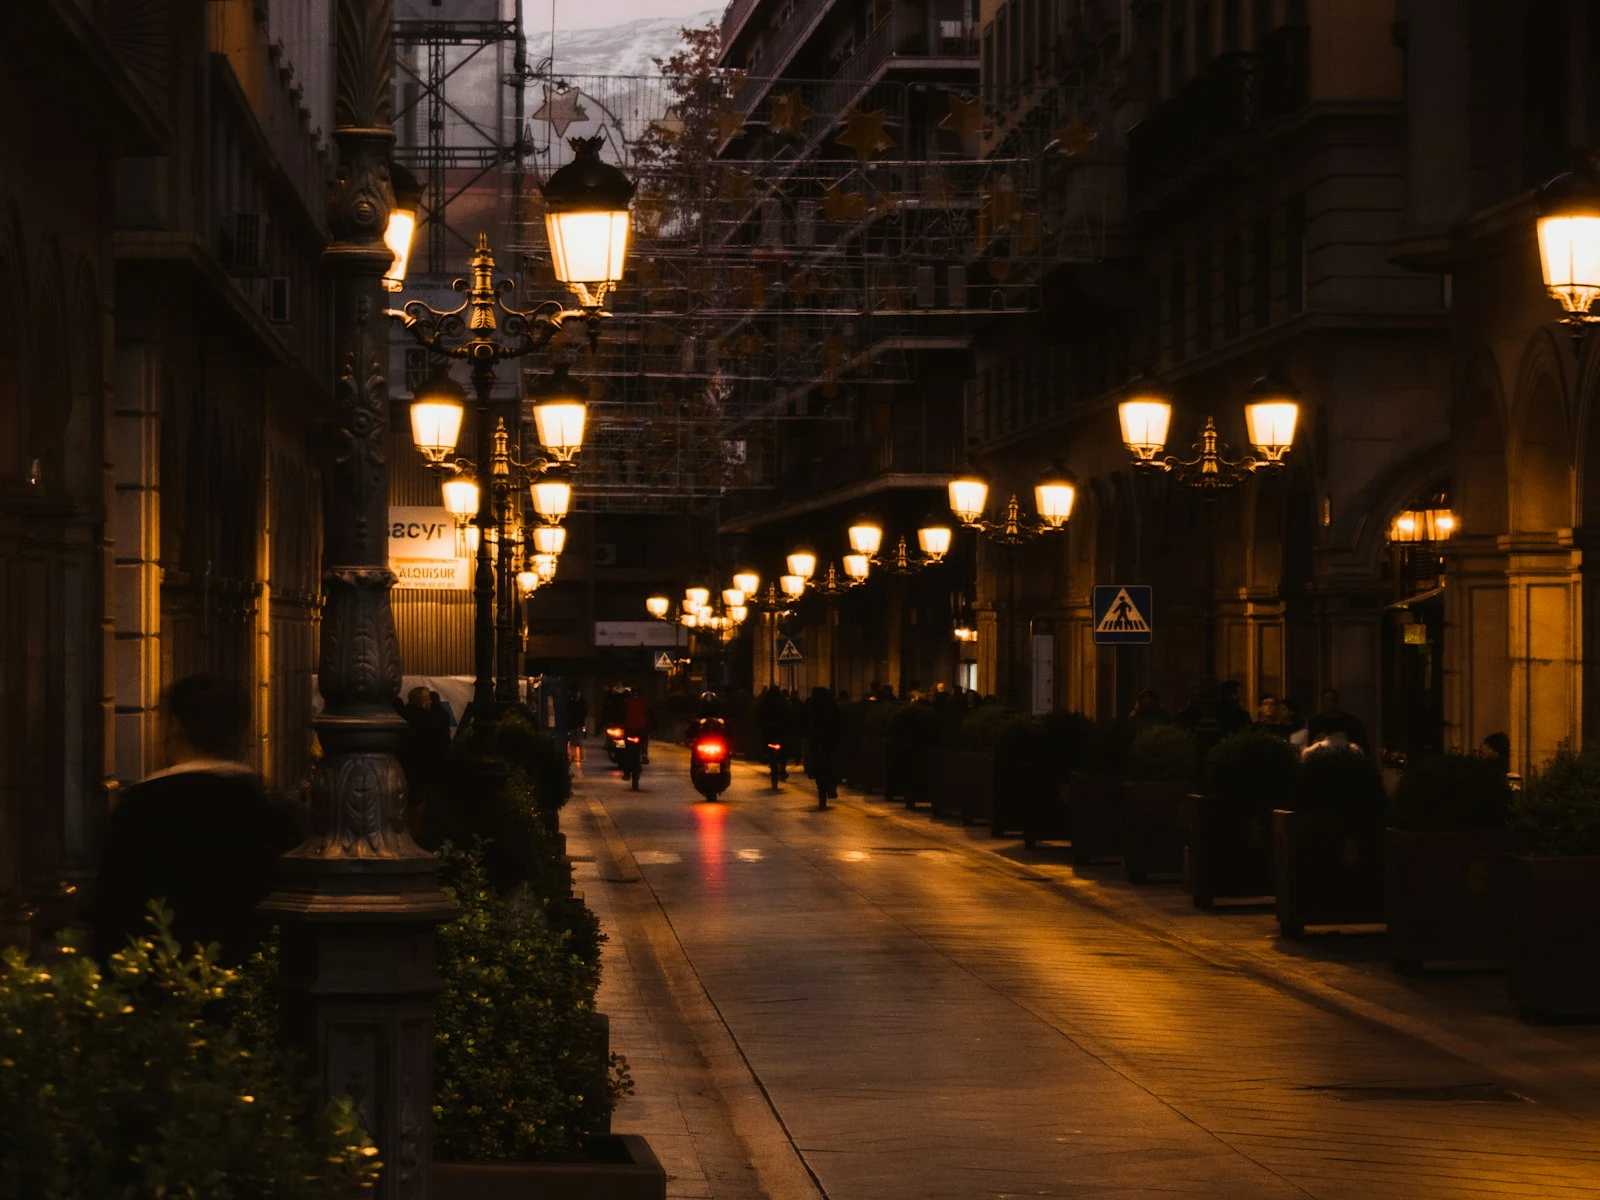
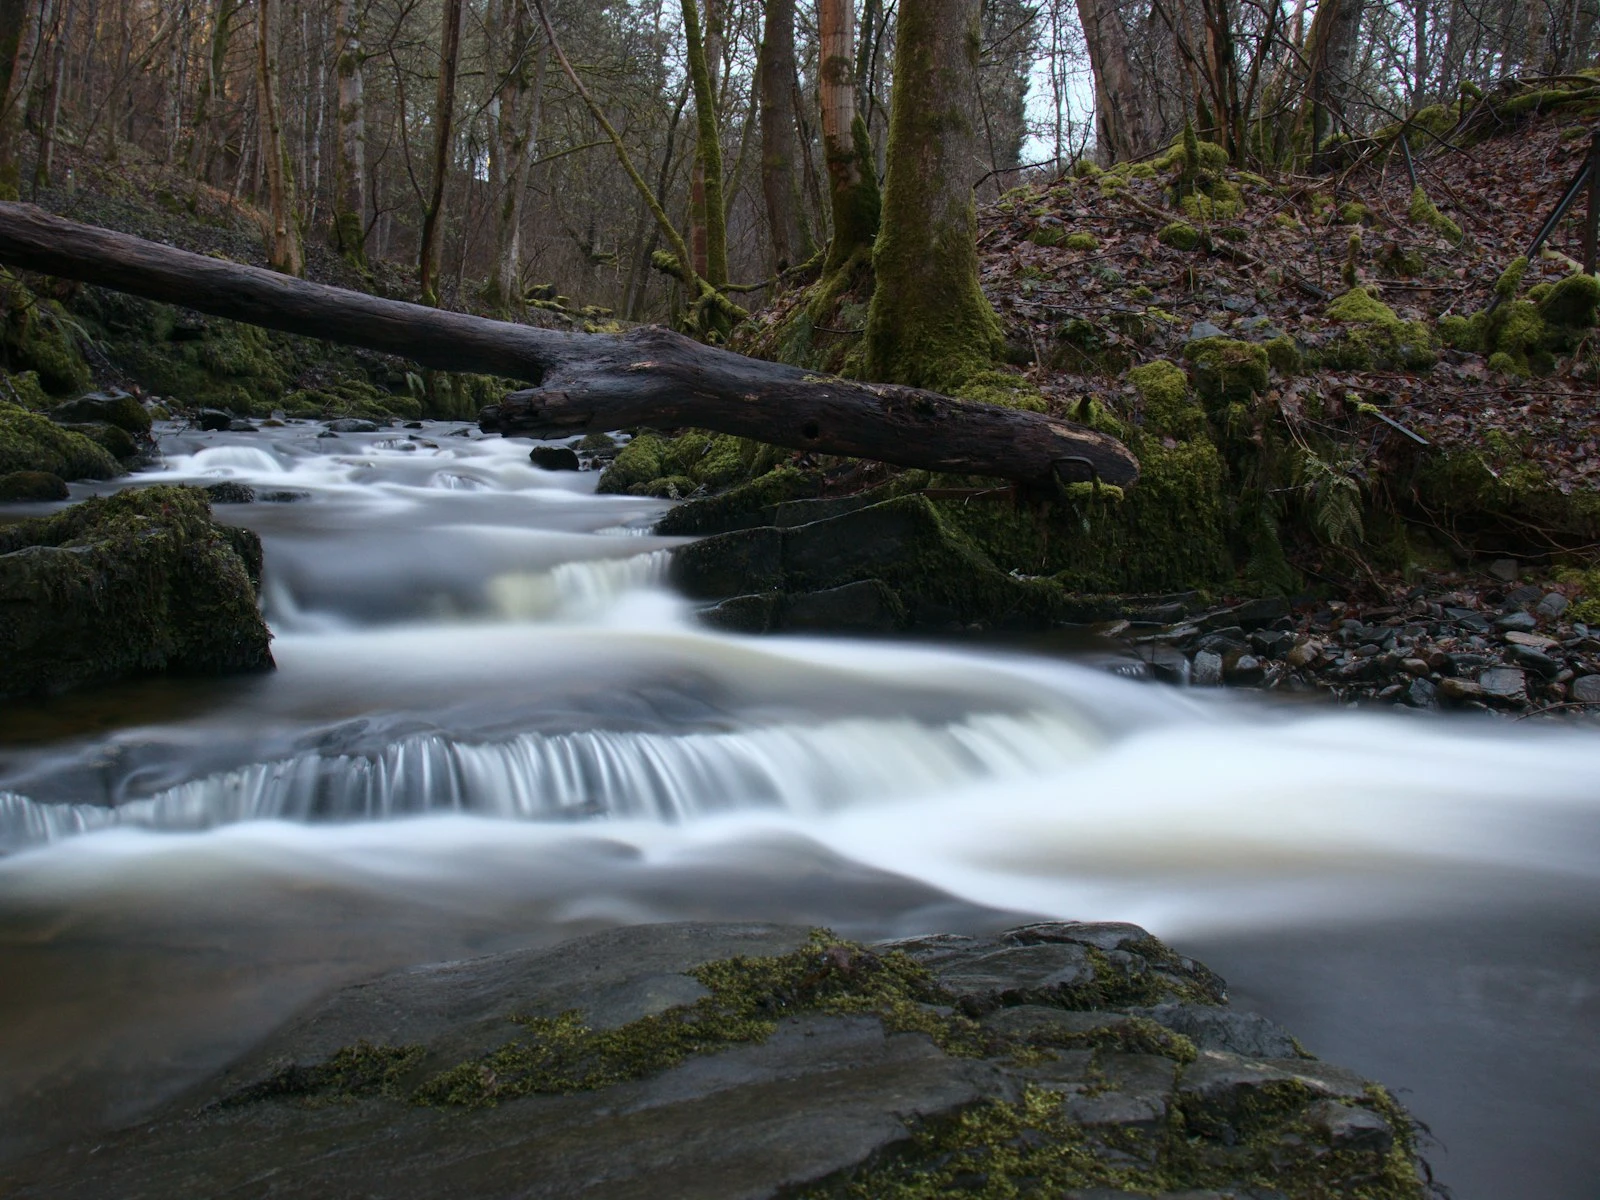
Creative motion effects. Silky water, streaking clouds, and light trails require exposures measured in seconds or minutes, making them impossible handheld.
Optimal ISO. You could brighten dim scenes by raising ISO, but this introduces noise and reduces dynamic range. A tripod lets you keep ISO low and use longer exposures instead.
When You Definitely Need a Tripod
Some situations absolutely require tripod support with no viable workaround.
Long Exposures
Any exposure longer than about 1 second requires a tripod. This includes:
- Silky water effects: Smoothing moving water typically requires 1/4s to several seconds
- Cloud motion: Streaking clouds requires 30 seconds to several minutes
- Light trails: Car lights, star trails, and similar effects need very long exposures
- Night photography: Most night landscape work requires exposures of 10 seconds to several minutes
No amount of image stabilization or careful technique can steady a camera for a 30-second exposure, making the tripod non-negotiable.
Low Light with Quality Requirements
When shooting in dim conditions where image quality matters, such as golden hour, blue hour, or indoor architecture, a tripod lets you maintain base ISO and optimal aperture.
Could you hand-hold by raising ISO to 3200 or 6400? Technically, yes. But the resulting noise and reduced dynamic range compromise image quality. For critical work, the tripod enables better results.
Precise Composition
Some compositions require exact positioning:
- Focus stacking: Multiple exposures at different focus distances must be perfectly aligned
- Exposure bracketing for HDR: Frames must match precisely for blending
- Panoramas: Rotating your camera around a fixed point produces better stitching than hand-holding
Maximum Sharpness
Even when you could technically hand-hold, tripod shots are often sharper. The complete elimination of camera movement, combined with techniques like mirror lockup or electronic first-curtain shutter, extracts maximum sharpness from your lens.
For critical work intended for large prints or detailed examination, the tripod advantage is measurable. The landscape settings guide covers aperture and ISO choices that pair with tripod use.
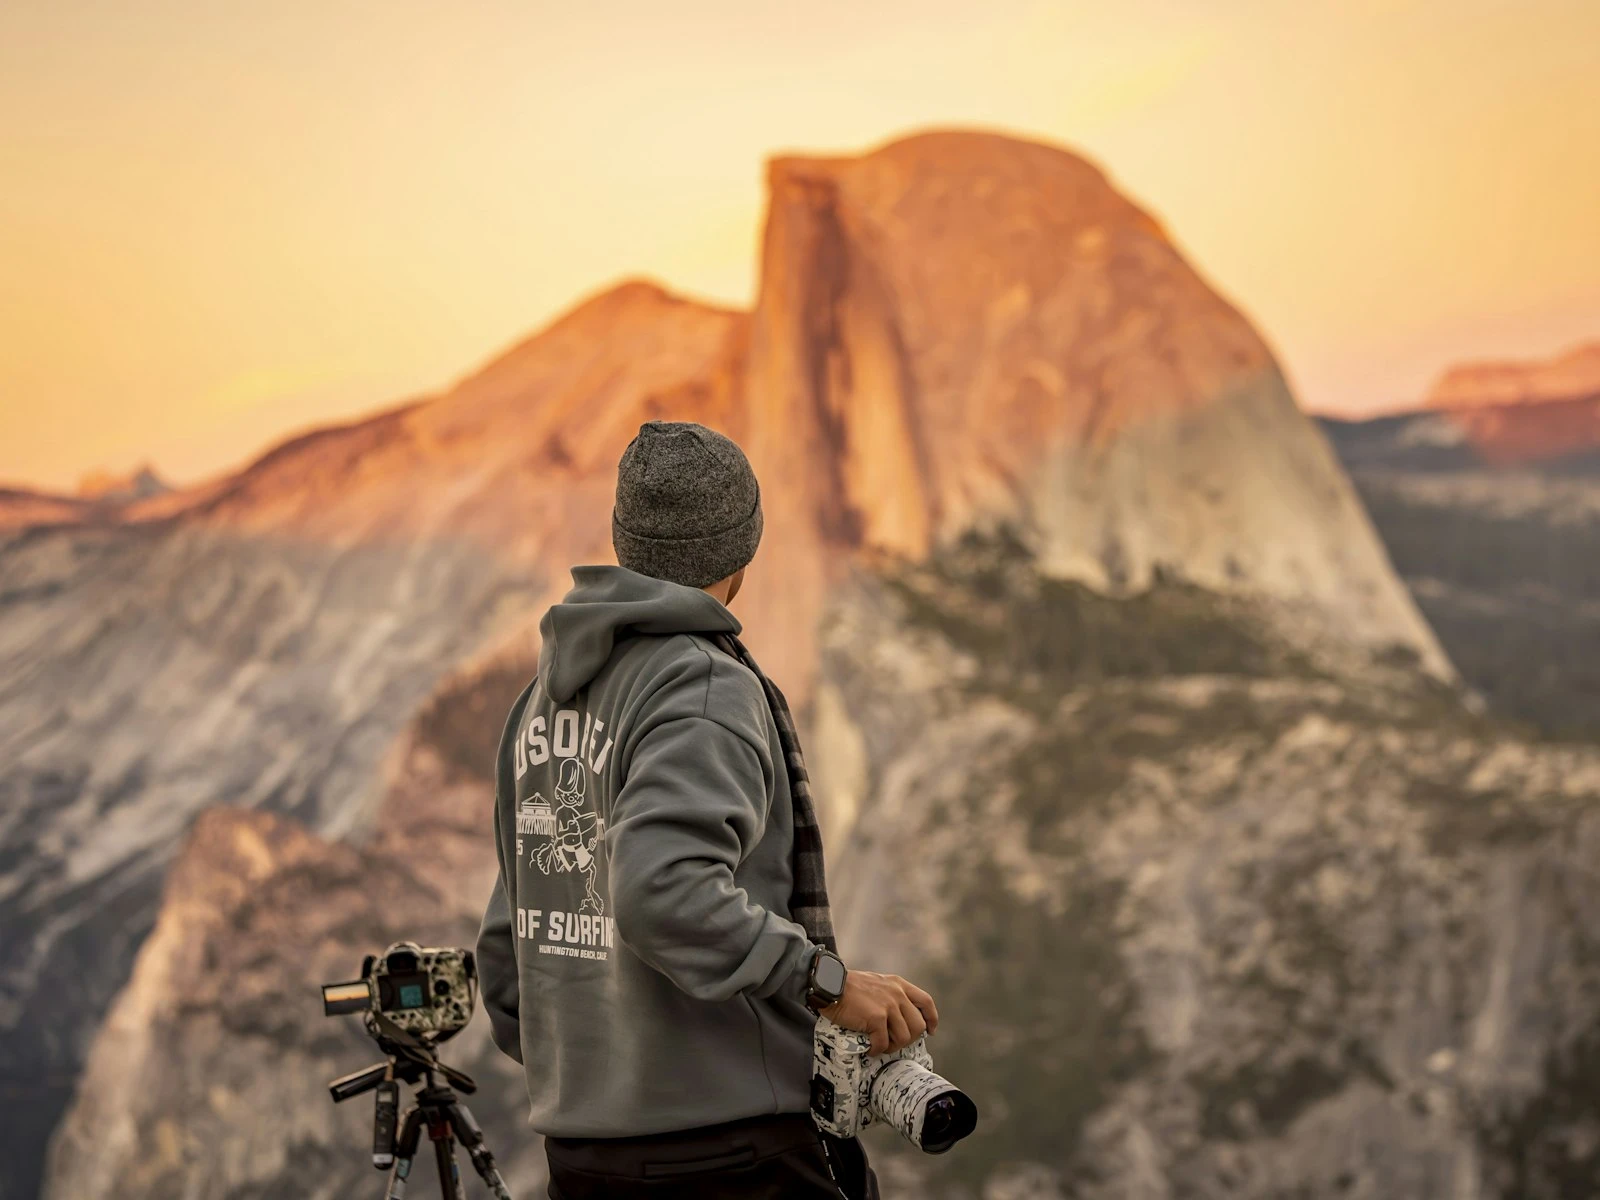
When You Can Skip the Tripod
A tripod isn't always necessary, and there are real costs to using one: weight, setup time, restricted mobility, and sometimes missed moments. Here's when you can confidently shoot handheld.
Bright Conditions
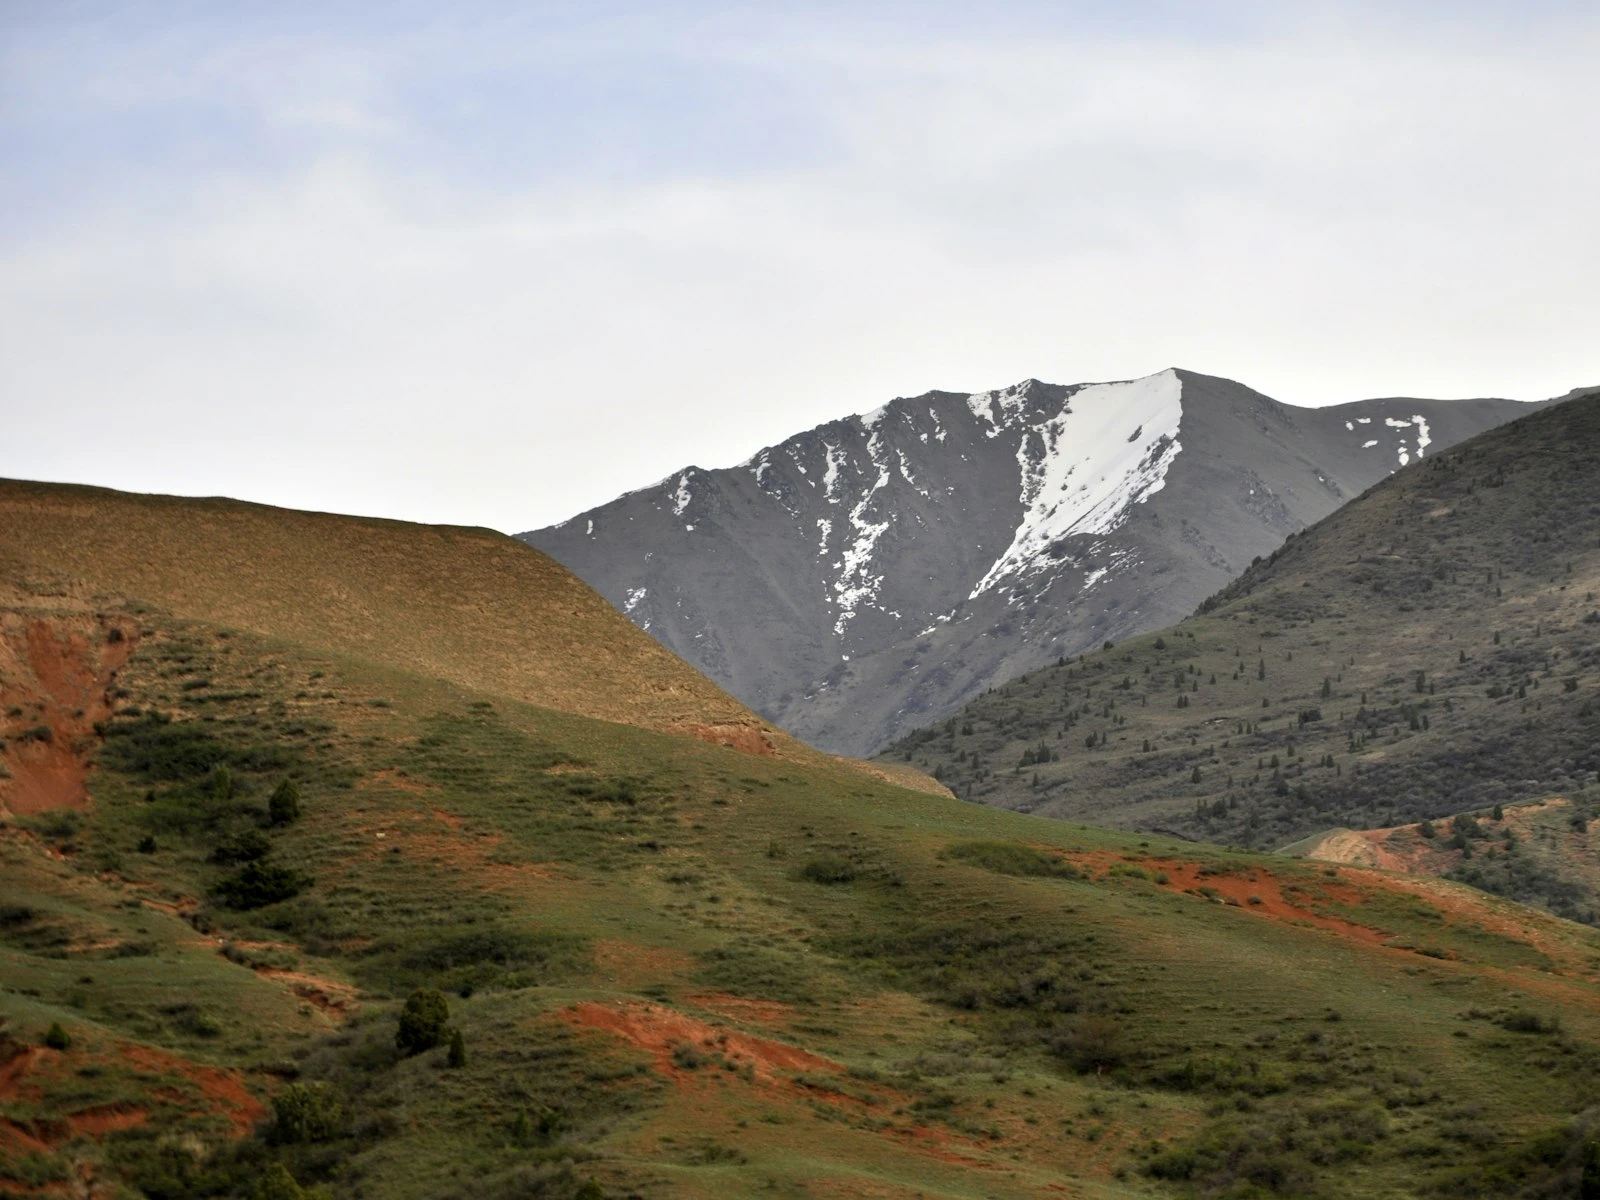
In full daylight, shutter speeds are naturally fast. With aperture at f/8-f/11 and ISO at 100, a bright scene might give you 1/250s or faster. That's well above hand-holding thresholds, so the tripod adds nothing.
Rule of thumb: If your shutter speed is 1/250s or faster, you likely don't need a tripod for sharpness reasons.
When Mobility Matters
Some shooting situations penalize tripod use:
- Hiking and exploration: The best composition might require moving quickly or accessing difficult positions
- Rapidly changing conditions: Storm light or quickly moving clouds reward photographers who can reposition fast
- Crowded locations: Tourist spots make tripod setup impractical
- Restricted environments: Some locations prohibit tripods
In these situations, a slightly compromised image (higher ISO, for instance) beats no image at all.
With Effective Image Stabilization
Modern stabilization systems are remarkably effective. If your camera or lens offers 4-5 stops of stabilization, your hand-holding threshold extends dramatically:
- A stabilized 24mm system might produce sharp results at 1/2s or slower
- A stabilized 50mm system might work at 1/4s
- A stabilized telephoto might extend its reach by 3-4 stops
This doesn't help with true long exposures, but it covers many low-light situations that previously demanded tripods.
When Subject Motion Limits Exposure Anyway
If your scene includes moving elements you want to freeze, like grass blowing in wind, birds in flight, or people walking, you need faster shutter speeds regardless of stabilization. A tripod wouldn't help because shutter speed is the limiting factor.
Making the Decision: A Framework
When deciding whether to bring and use a tripod, work through these questions.
Question 1: What Shutter Speed Will I Need?
Based on your lighting conditions and desired aperture/ISO, estimate your likely shutter speed.
- 1/250s or faster: Tripod probably unnecessary
- 1/60s to 1/250s: Depends on focal length and stabilization
- Slower than 1/60s: Tripod increasingly valuable
- Longer than 1 second: Tripod essential
Question 2: Do I Have Stabilization?
If your camera or lens includes image stabilization, factor in its rated benefit. A 4-stop system extends your hand-holding capability significantly.
Question 3: What's My Quality Requirement?
For social media or small web use, slight softness from marginal hand-holding is often invisible. For large prints or critical work, standards are higher.
Be honest about the intended use. Don't carry a tripod for snapshots. Do carry one for images that matter.
Question 4: What Are the Practical Constraints?
Will you be hiking long distances? Moving quickly? Shooting in crowds? These practical factors legitimately influence tripod decisions.
Question 5: Do I Want Creative Motion Effects?
If silky water, cloud streaks, or other long-exposure effects are your goal, the tripod is required regardless of other factors.
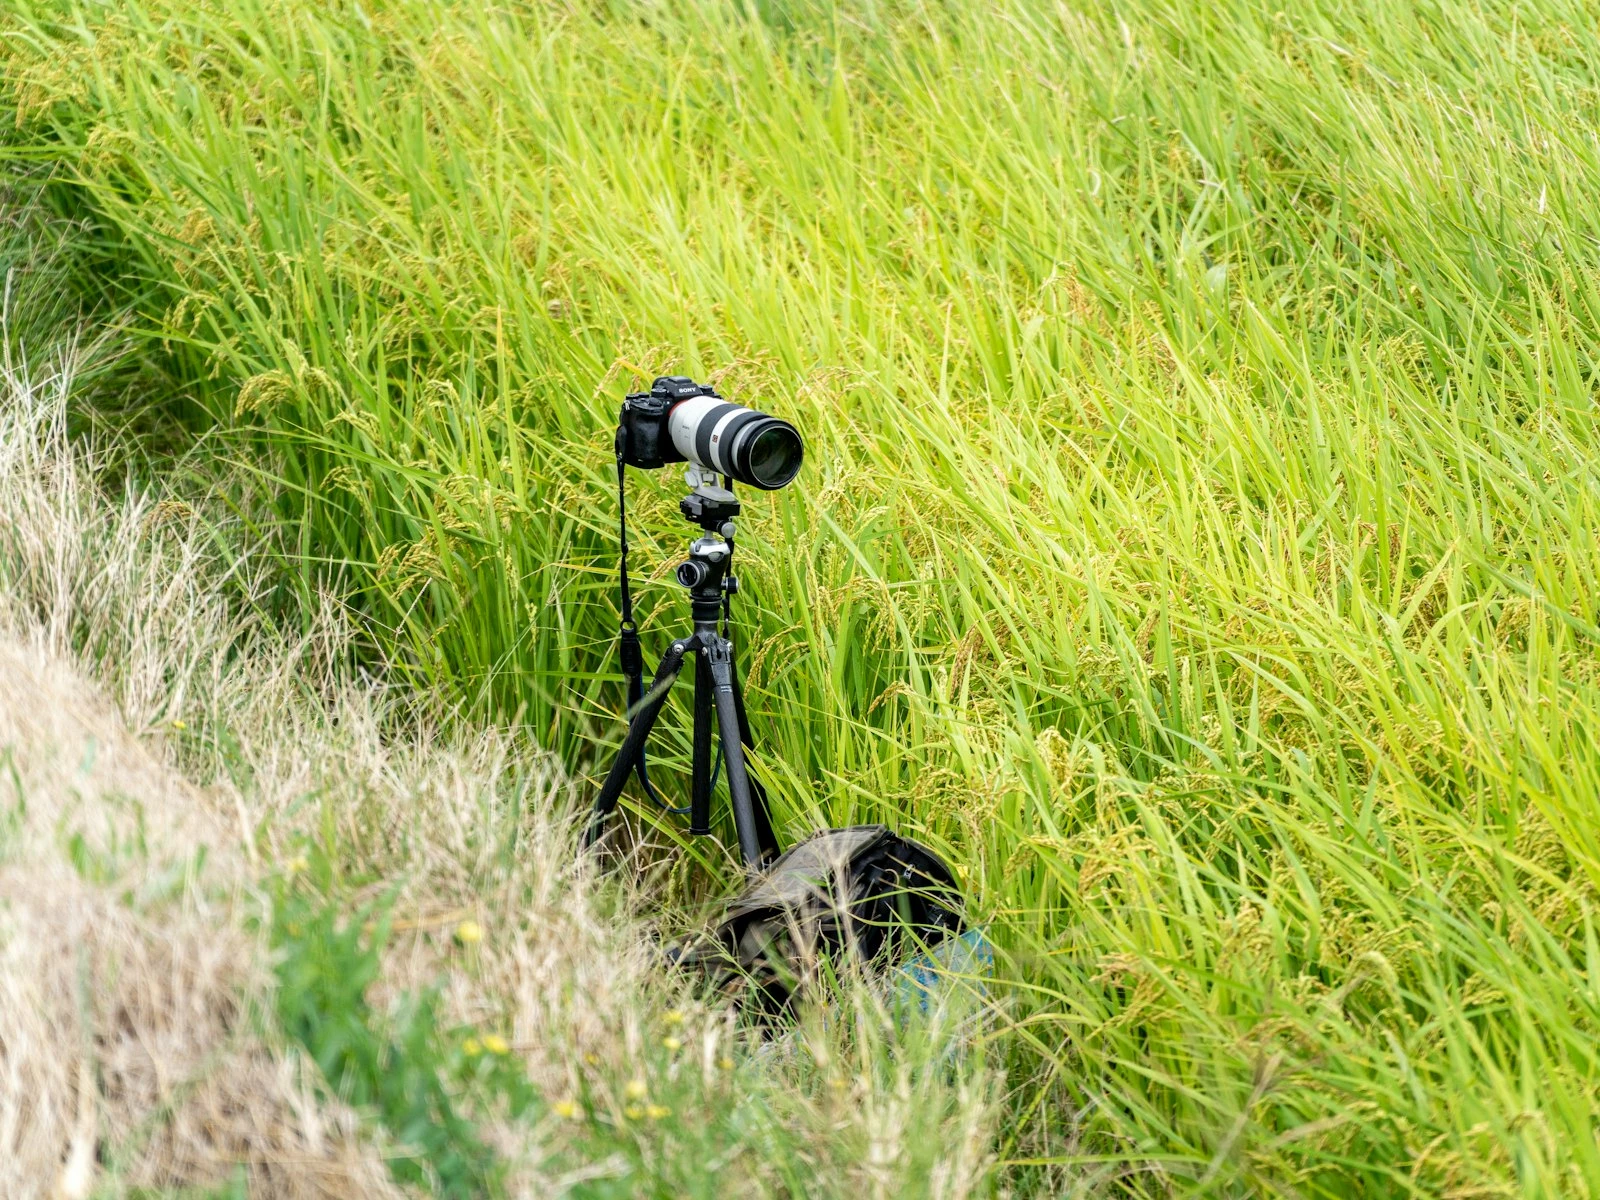
Tripod Technique for Maximum Benefit
When you do use a tripod, use it effectively.
Setup for Stability
- Spread legs fully and press firmly into ground
- Avoid extending the center column (least stable part of the tripod)
- Use a bag hook to add weight in windy conditions
- Position one leg forward, two back (pointing toward you) for natural photographer stance
Minimize Vibration
- Use a remote release or timer delay to avoid touching the camera during exposure
- Enable mirror lockup (for DSLRs) to eliminate mirror slap vibration
- Use electronic first-curtain shutter if available
- Turn off image stabilization (it can actually introduce movement when the camera is already stable)
Check Level
- Use your tripod's bubble level or camera's electronic level
- Level horizons are expected in landscape photography
- A slight tilt looks like carelessness
Protect Your Gear
- Don't leave the tripod unattended in wind
- Be careful on uneven surfaces, since tripods can tip
- Check leg locks before moving
- Consider a tripod strap for carrying with camera attached
The Handheld Technique Option
When shooting handheld, good technique extends your capabilities.
Stance
- Feet shoulder-width apart
- Elbows tucked against body
- Left hand under lens, supporting weight
- Camera pressed against face (or chest for composing on LCD)
Breathing
- Exhale slowly and shoot at the natural pause between breaths
- Don't hold your breath tightly, as this introduces tension and tremor
Bracing
- Lean against a tree, wall, or rock for additional stability
- Rest your elbows on a surface when available
- Use a bean bag or bundled jacket as a improvised support
Burst Shooting
- Take multiple frames in quick succession
- Review at full magnification and choose the sharpest
- The middle frames of a burst are often sharpest (beginning and end involve button-press movement)
Special Considerations
Video
For video, stability requirements are more demanding. Even slight shake that's invisible in a still image becomes obvious motion. If you're shooting video, the tripod (or gimbal) threshold is lower.
Telephotos
Longer focal lengths amplify camera shake. A 200mm lens requires 1/200s minimum and really benefits from faster. Telephoto landscape work almost always benefits from tripod support.
Wind
Even with a tripod, strong wind can cause camera shake. Shield the camera with your body, add weight to the tripod, or wait for gusts to pass.
Uneven Terrain
A tripod on uneven ground is less stable than the same tripod on flat ground. Extend legs to different lengths to level the platform, and ensure each foot is firmly planted.
The Bottom Line
A tripod is a tool, valuable when it serves a purpose and dead weight when it doesn't.
Bring a tripod when:
- You'll be shooting in low light with quality requirements
- Long exposures are part of your plan
- You want maximum sharpness for critical work
- You're doing panoramas, focus stacking, or exposure bracketing
Leave the tripod behind when:
- You'll be shooting in bright conditions
- Mobility and spontaneity are priorities
- You have effective stabilization and modest quality requirements
- Practical constraints make tripod use impractical
The best landscape photographers don't blindly follow rules about tripod use. They assess each situation and choose the tool that serves their creative goals.
Key Takeaways
- Use a tripod whenever shutter speed drops below a safe handheld threshold (1/focal length), which includes most golden hour, blue hour, and forest shooting.
- A tripod is essential for long exposure creative effects (silky water, streaking clouds) and for maintaining base ISO in dim conditions.
- Shoot handheld when you need mobility (hiking), spontaneity, or when bright midday light provides fast enough shutter speeds at your desired aperture.
- Extend the thickest leg sections first, avoid extending the center column, and use a remote release or timer to maximize tripod stability.
More in This Guide
Continue exploring landscape photography.