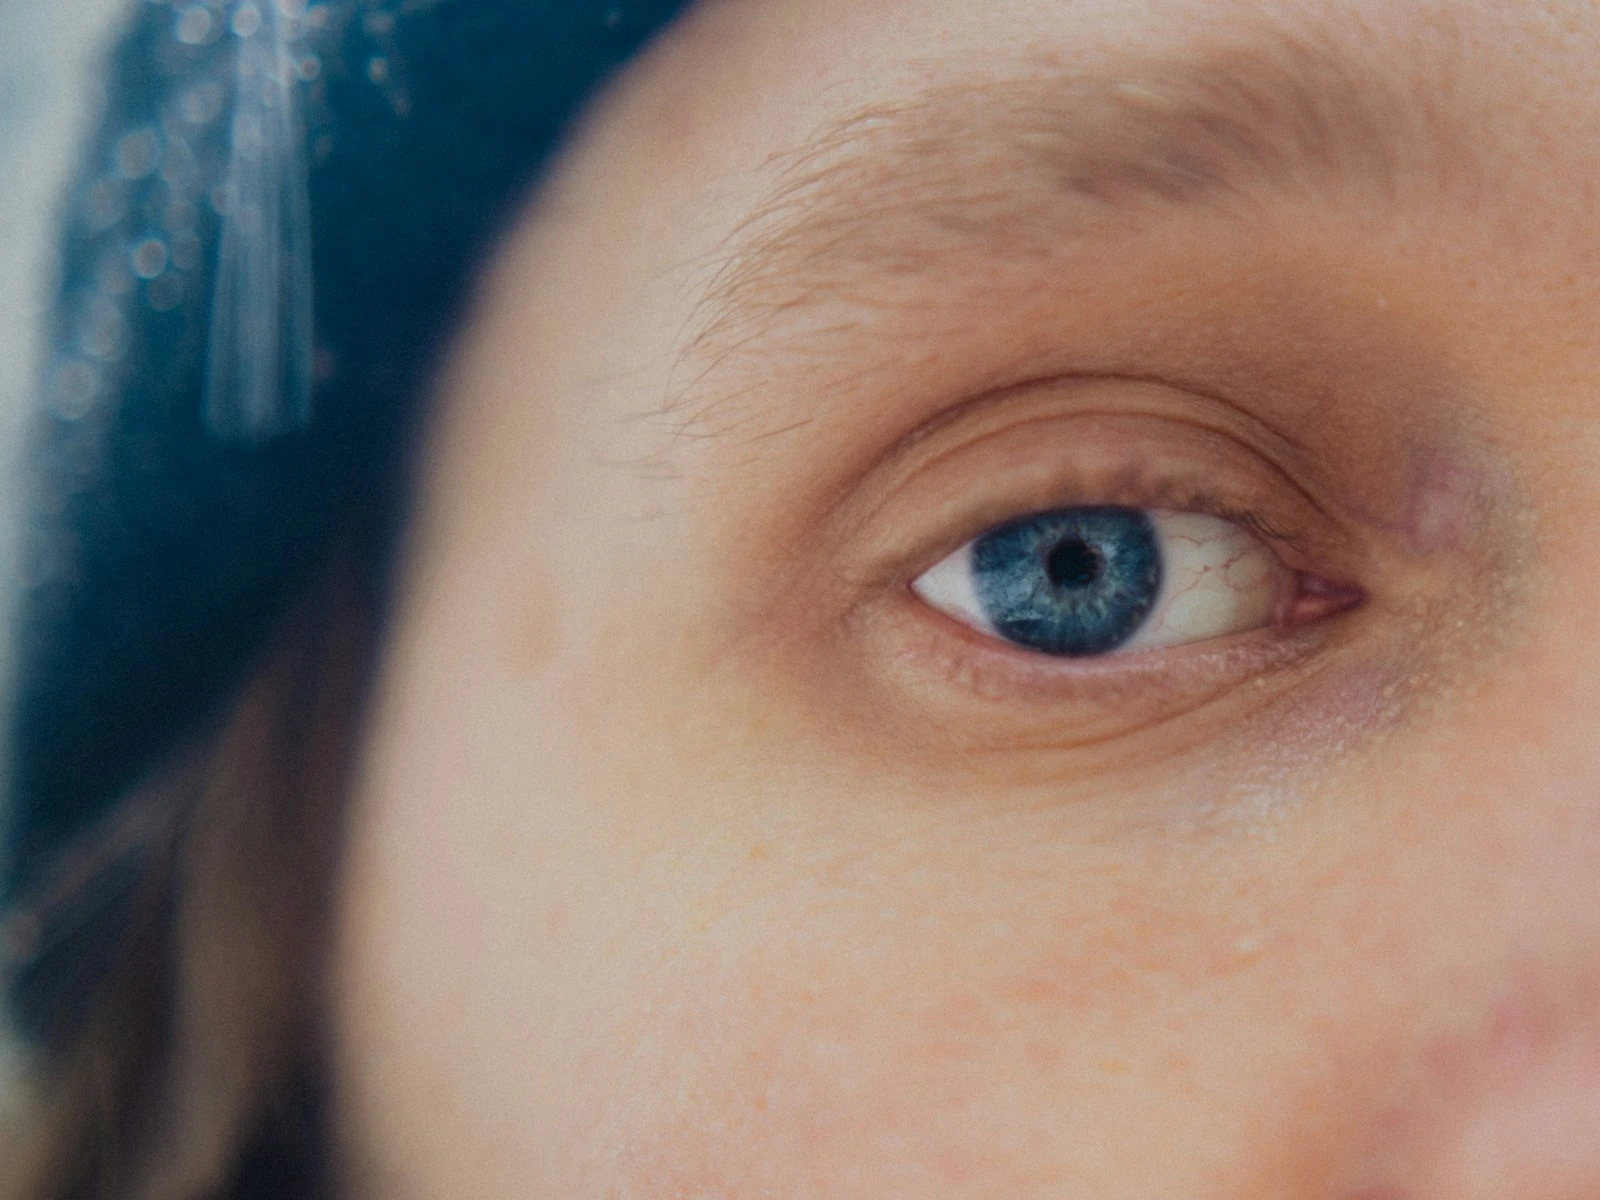
Low light photography is where most automatic settings fail you. That beautifully lit restaurant, your child's indoor birthday party, the city skyline at dusk. These moments test your camera and your understanding of how exposure actually works.
There are no magic settings for low light. Every low light photograph involves accepting tradeoffs, and understanding them well enough lets you choose which compromises work for each specific situation.
This hub teaches you to think through low light challenges rather than memorize settings. Because the settings that work for a handheld indoor portrait won't work for city lights on a tripod, and neither will work for your kid's dimly lit school play.
The Three-Way Tradeoff: Understanding Your Options
Every low light photograph comes down to three variables working together: ISO, shutter speed, and aperture. When light is limited, improving one almost always means sacrificing another.
ISO is a gain setting that amplifies the image signal to brighten your exposure. Higher ISO lets you shoot in darker conditions but adds digital noise, that grainy texture that can ruin detail and color accuracy.
Shutter speed controls how long light hits your sensor. Slower shutter speeds gather more light but introduce motion blur, either from your subject moving or from your hands shaking while holding the camera.
Aperture controls how much light your lens lets through. Wider apertures (lower f-numbers) let in more light but create shallower depth of field, meaning less of your scene stays sharp.
These three settings form what photographers call the exposure triangle, and in low light, you're constantly balancing them against each other.
The Fundamental Low Light Problem
In bright daylight, you have flexibility. You can use low ISO, fast shutter speeds, and still choose your aperture for creative effect. Light is abundant, so you're not forced into any particular setting.
In low light, that flexibility disappears. You need more light reaching your sensor, and every way to get it costs you something:
- Raise ISO → Get the shot, but accept noise
- Slow shutter speed → Get the shot, but risk blur
- Open aperture → Get the shot, but lose depth of field
There's no fourth option that gives you more light for free, which is why understanding your options matters more than any preset or automatic mode.
Making the Tradeoff Decision
The right choice depends entirely on your subject and intent:
For people indoors (handheld): You need a shutter speed fast enough to freeze both your movement and theirs. That typically means 1/60s at minimum, often faster. Since you can't go slower without blur, you'll push ISO higher and open your aperture wider. Accept some noise; avoid motion blur.
For cityscapes on a tripod: A tripod eliminates camera shake, so shutter speed becomes flexible. You can use low ISO and any aperture you want, then let the exposure run for seconds or even minutes. You gain image quality but need stable subjects and equipment.
For moving subjects in low light: This is the hardest scenario. You need fast shutter speeds to freeze motion, which means pushing ISO high and aperture wide. Some noise is inevitable; embrace it rather than fighting physics.
For atmospheric scenes: Sometimes blur is the point: light trails, smooth water, ghosted figures. Now you want slow shutter speeds, which lets you keep ISO low and choose aperture for sharpness or depth.
Understanding these patterns helps you make faster decisions when light is fading and moments are fleeting.
What Limits Your Camera in Low Light
Different cameras handle low light very differently, and knowing your equipment's limits helps you work within them rather than against them.
Sensor Size Matters
Larger sensors generally perform better in low light. They gather more total light and produce less noise at equivalent ISO settings.
- Full-frame sensors offer the best high-ISO performance
- APS-C/crop sensors perform well but show noise earlier
- Micro Four Thirds require more careful ISO management
- Smartphone sensors struggle significantly in true low light
You don't need a full-frame camera, but understanding what your specific camera can handle helps you set realistic expectations.
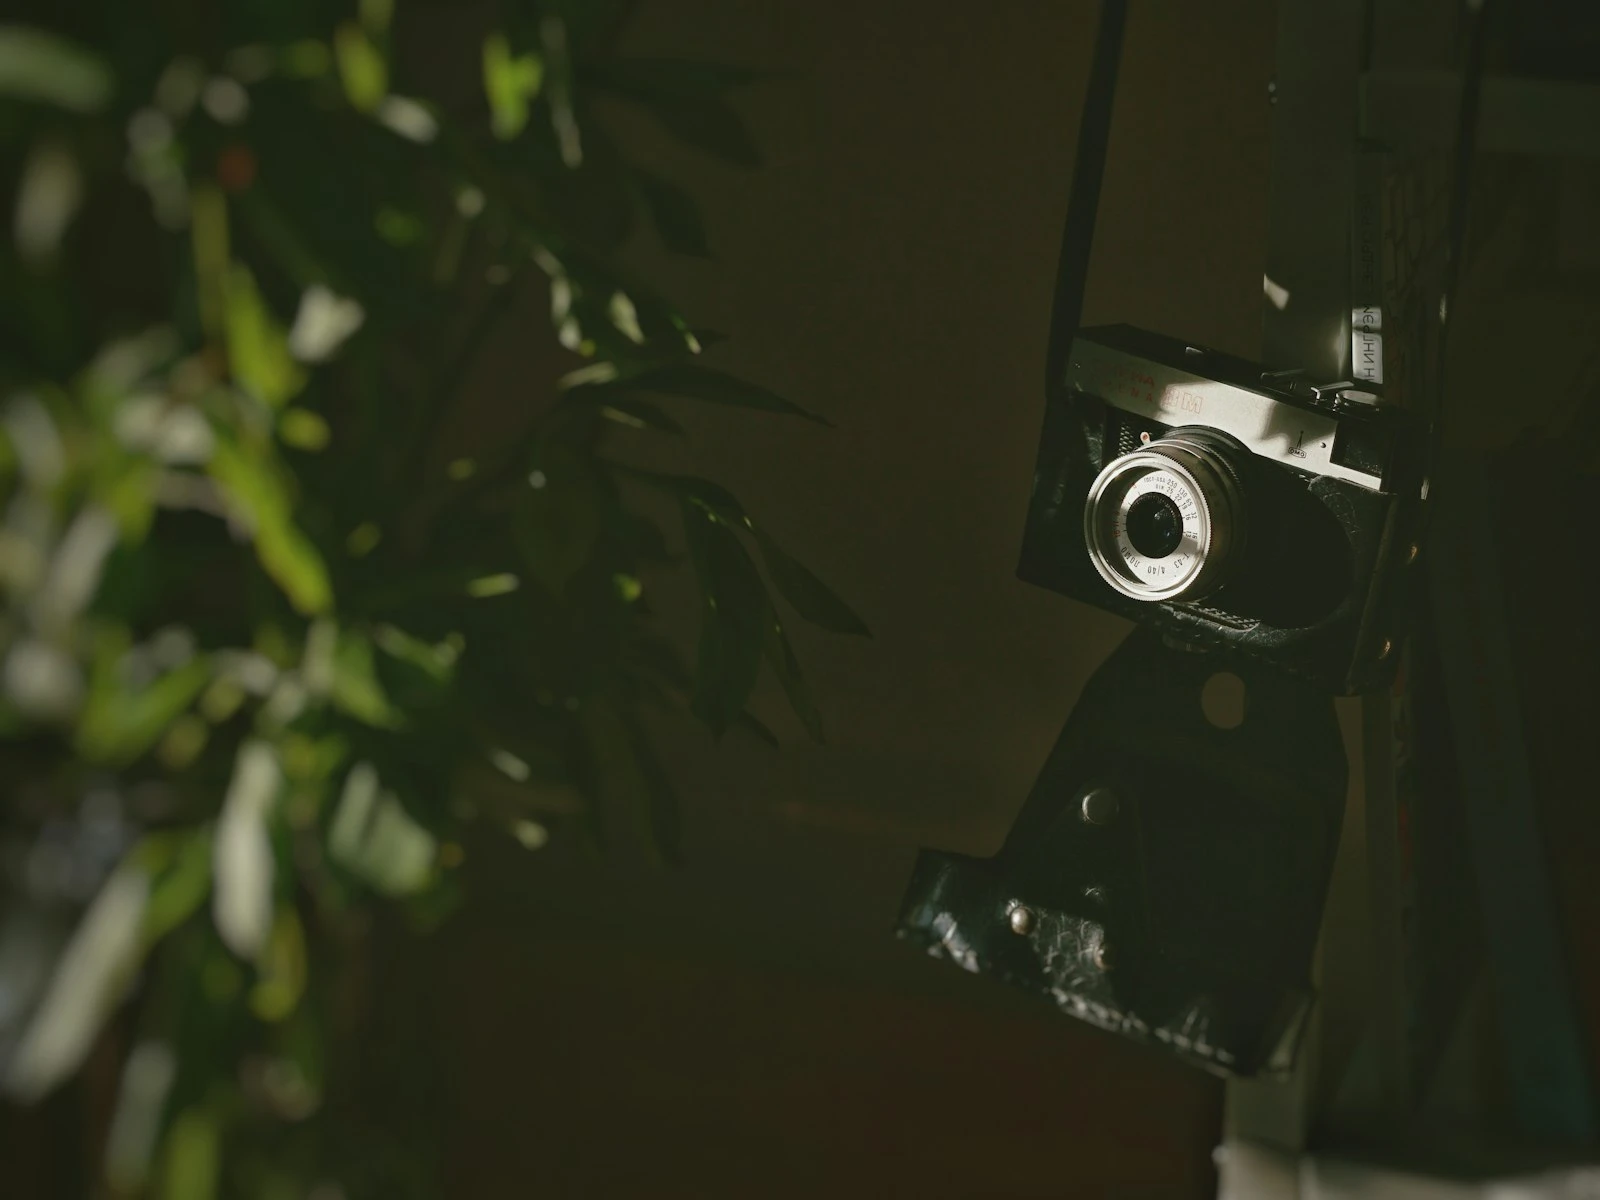
Lens Aperture Matters
Your widest available aperture directly affects low light capability. A lens that opens to f/1.8 lets in four times more light than one limited to f/3.5.
Kit lenses (typically f/3.5-5.6) work fine in good light but force ISO compromises in dim conditions. Fast primes (f/1.8, f/1.4) give you more options when light gets challenging.
Image Stabilization Helps
In-body or in-lens stabilization lets you handhold at slower shutter speeds without camera shake blur. This can give you 2-4 stops of additional flexibility, which is meaningful when every bit of light matters.
Stabilization helps with camera shake but not subject movement, so a stabilized camera still shows blur if your subject moves during a slow exposure. Getting consistently sharp photos in low light means mastering both stability and focus technique.
Common Low Light Scenarios
Different situations call for different approaches to the tradeoff triangle.
Indoor Events (Handheld, Moving Subjects)
This is the hardest combination because you need fast shutter speeds but have limited light.
Typical approach:
- Aperture wide open (whatever your lens allows)
- Shutter speed 1/125s to 1/250s (for moving people)
- ISO pushed to whatever maintains proper exposure
Accept that you'll be using high ISO. Modern cameras handle ISO 3200-6400 better than older ones handled ISO 800. Noise is preferable to blur in most situations. If your indoor photos keep coming out grainy or blurry, the fix is usually adjusting which tradeoff you're making, not finding a magic setting.
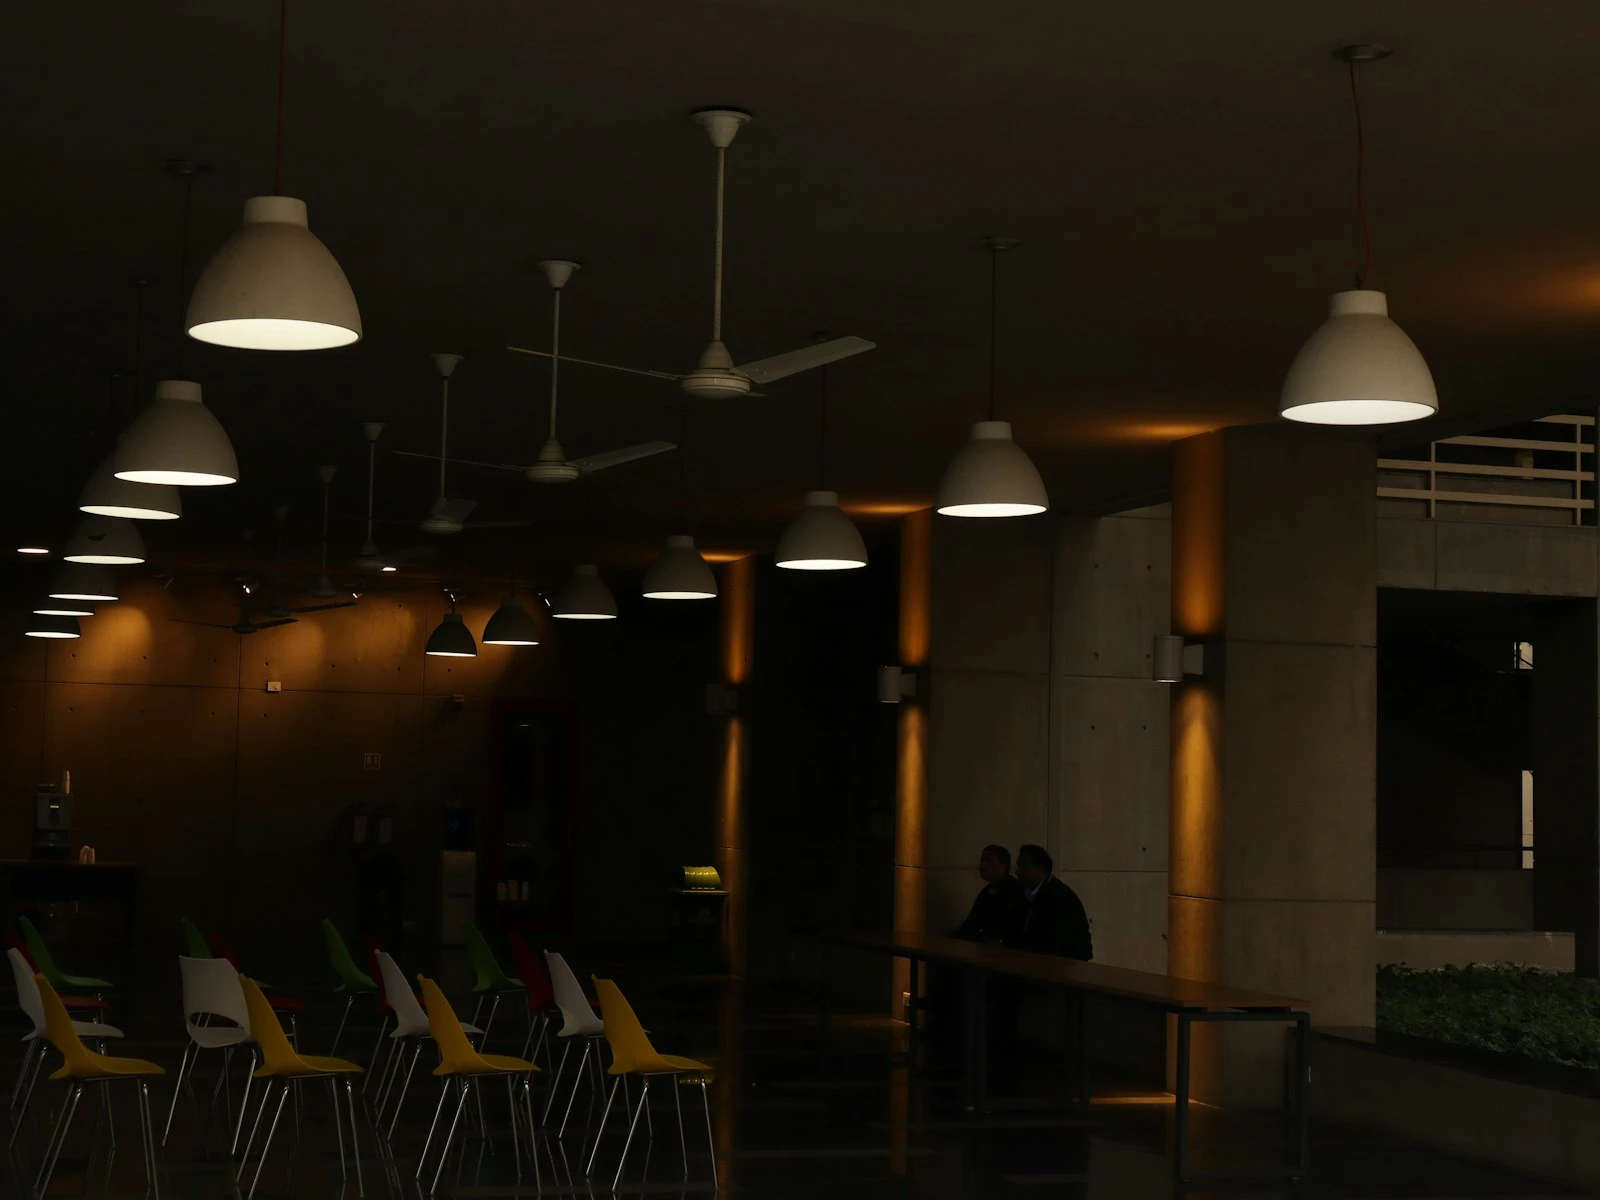
Restaurant and Cafe Photography (Handheld, Still Subjects)
Moody lighting is part of the atmosphere, but you still need enough light to capture the moment.
Typical approach:
- Aperture wide for available light and background blur
- Shutter speed 1/60s to 1/125s (subjects mostly still)
- ISO 1600-3200 range typically works
Use available light sources like candles, window light, and overhead fixtures. Move subjects toward light rather than fighting the darkness. Shooting indoors without flash is largely about learning to read and position yourself relative to whatever light is already there.
Night Street Photography (Handheld)
City streets at night offer pools of light and deep shadows, often in the same frame.
Typical approach:
- Aperture wide open
- Shutter speed 1/60s minimum
- ISO 3200-6400 or higher
Work with the contrast rather than against it. Position subjects in lit areas. Embrace the darkness as compositional element.
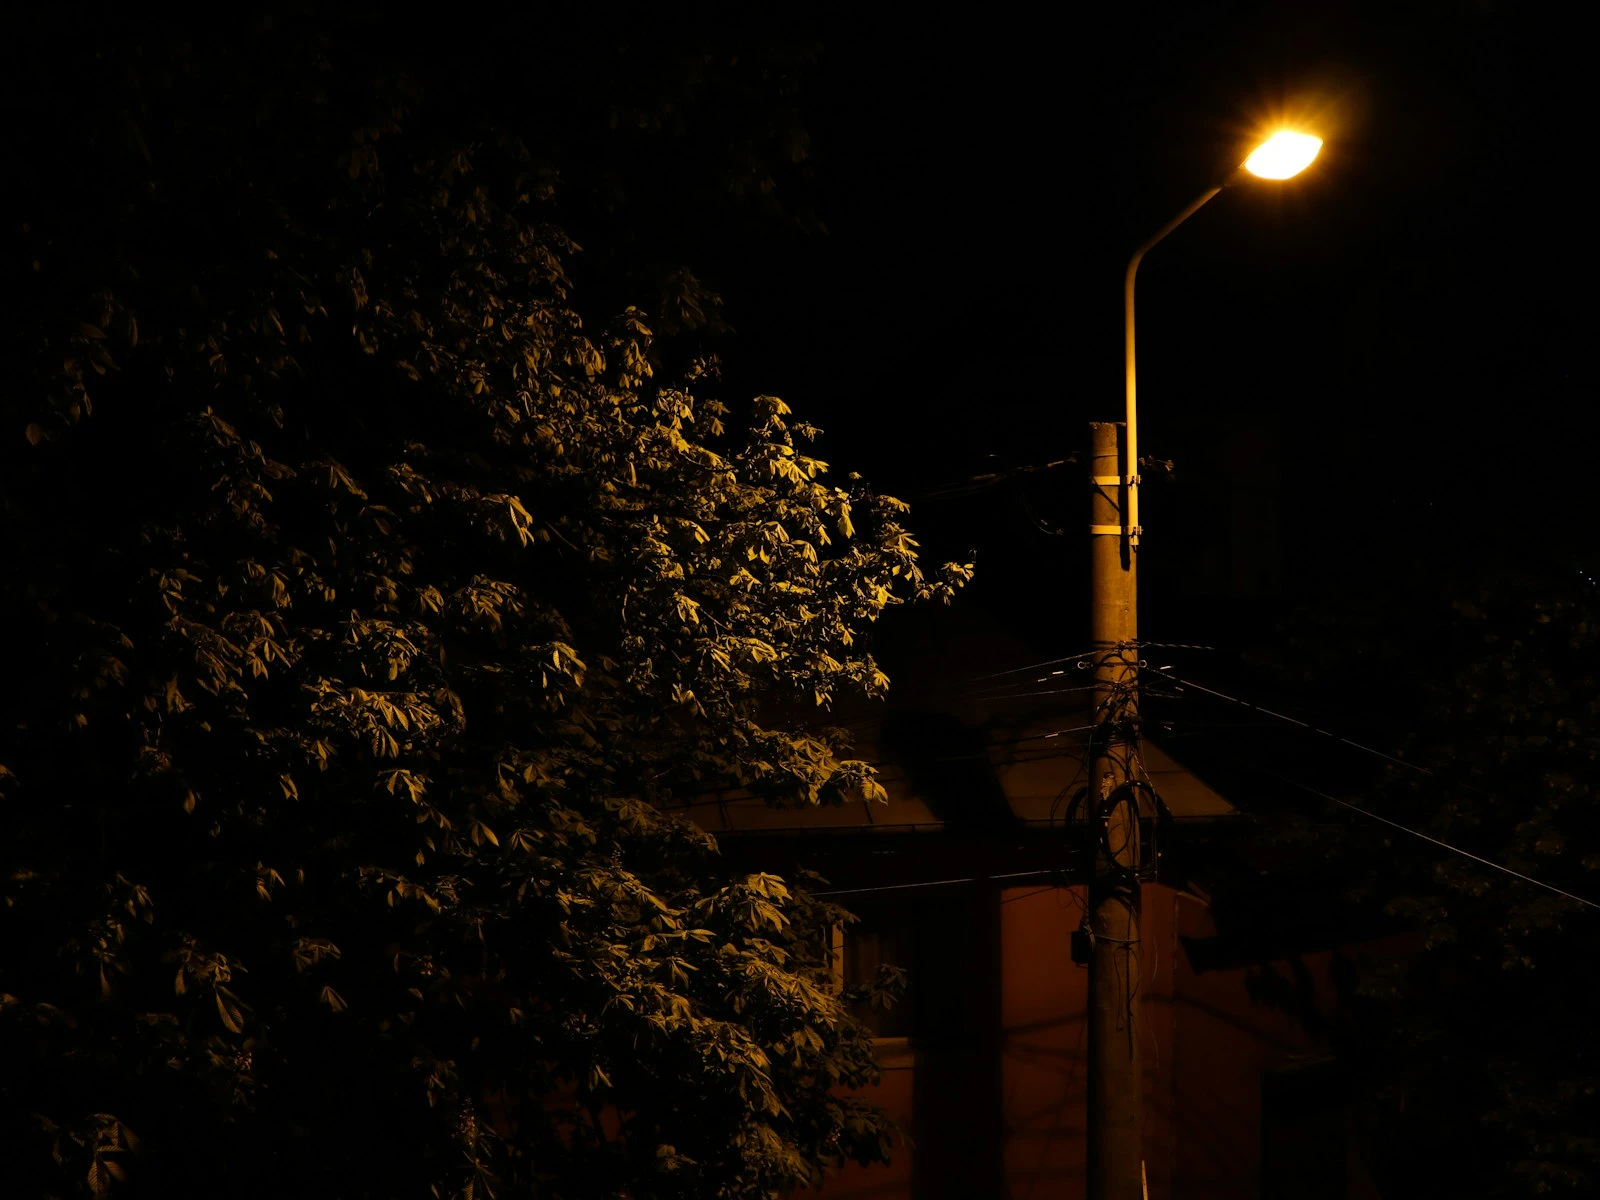
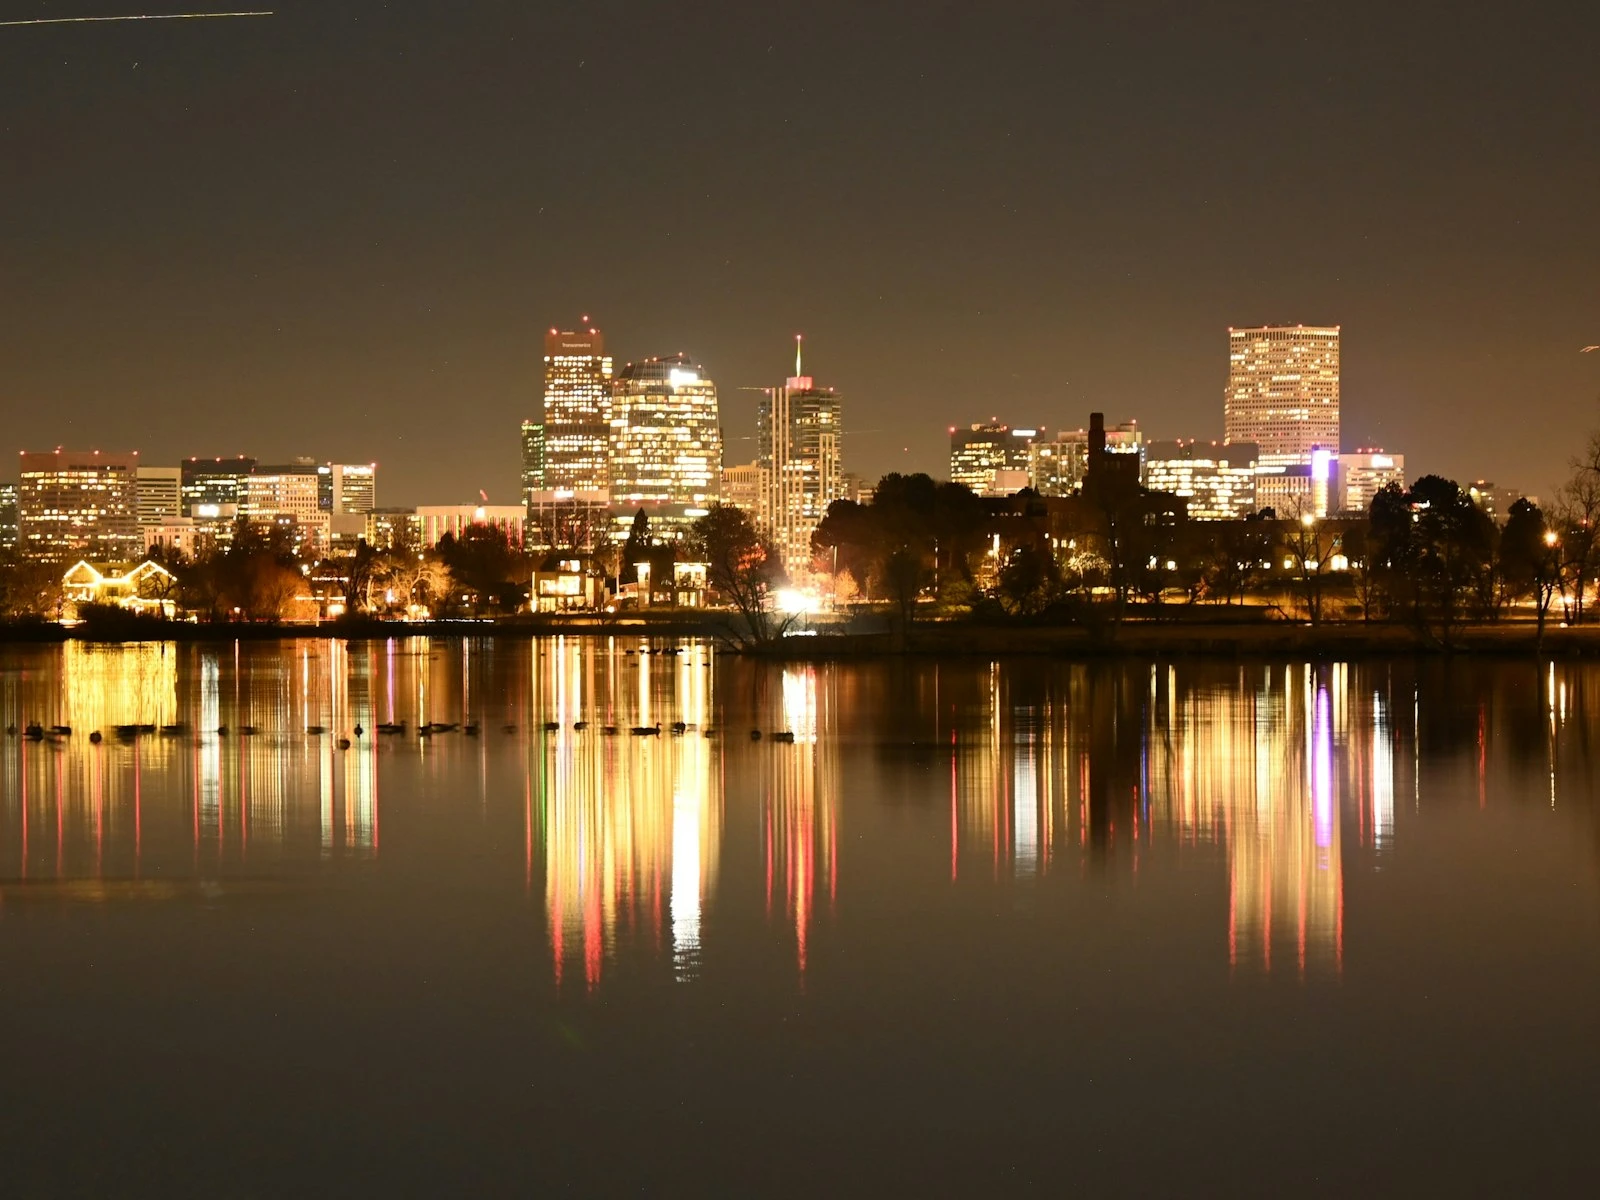
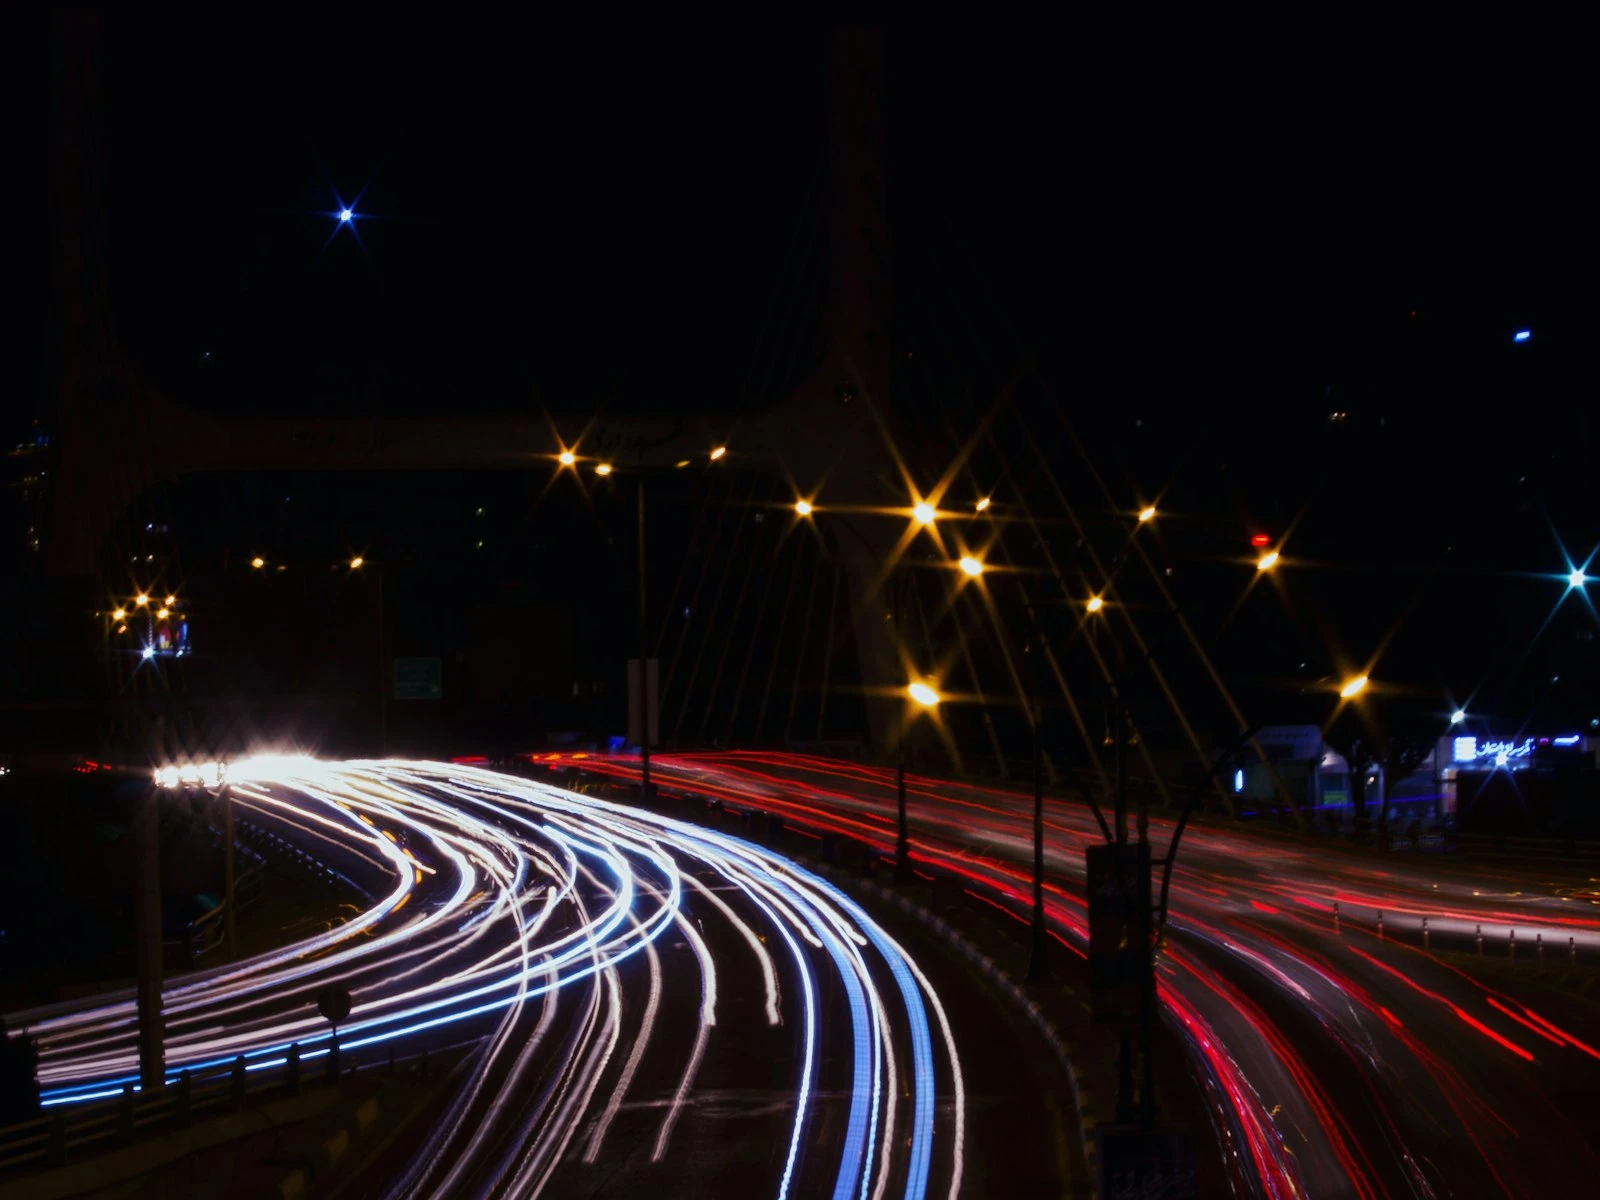
Tripod Night Photography
When you can use a tripod, the rules change completely.
Typical approach:
- Aperture chosen for sharpness (often f/8-f/11) or starburst effects (f/16)
- Shutter speed anywhere from 1s to minutes
- ISO at base level (100 or 200)
The tripod eliminates camera shake, so you can use any shutter speed. This lets you keep ISO low and choose aperture for image quality rather than light gathering. Night photography on a tripod opens up techniques like light trails, star points, and long exposures that are impossible handheld.
Why Auto Modes Fail in Low Light
Camera auto modes optimize for "correct" exposure but don't understand your creative intent or practical constraints.
Auto ISO might push sensitivity higher than your camera handles well. Auto shutter speed might drop too slow for handheld shooting. Auto aperture might stop down when you need every bit of light.
More importantly, auto modes can't know whether you'd rather have noise or blur, whether your subject is moving or still, whether you're using a tripod or shooting handheld.
Learning to control these settings manually, or at least understanding how to override auto decisions, gives you actual control over your results.
Building Your Low Light Skills
Start by understanding your specific camera's limits:
-
Test your camera's ISO ceiling: Shoot the same scene at increasing ISO levels. Find where noise becomes unacceptable for your needs. Every sensor has a different usable ISO range, and knowing yours saves guesswork in the field.
-
Find your handheld limit: Determine the slowest shutter speed you can reliably handhold without shake (it's different for everyone).
-
Know your lens options: Understand which of your lenses performs best in low light based on maximum aperture and stabilization.
-
Practice the tradeoffs: Deliberately shoot the same low light scene with different approaches. Compare noise vs. blur vs. depth of field results.
Low light photography rewards understanding over equipment. A photographer who knows their camera's limits and makes intentional tradeoff decisions will consistently outperform someone with better gear who doesn't understand these principles.