Your camera hunts endlessly, the focus motor searching back and forth without locking on. Or worse, it confirms focus when it hasn't actually found anything sharp. Low light autofocus problems have frustrated photographers since autofocus was invented, and understanding why helps you work around the limitations.
Once you understand what your autofocus system needs to work, you can either provide it or switch to reliable manual focus techniques. It's one of the most frustrating challenges covered in our low light guide, but there are good workarounds.
Why Autofocus Needs Light
Autofocus systems don't measure distance directly. They analyze contrast or phase differences in the light passing through the lens. When light is scarce, the information these systems rely on becomes unreliable or disappears entirely.
Contrast Detection AF
How it works: The camera analyzes the image and looks for contrast edges. It adjusts focus until those edges appear sharpest (highest contrast).
In low light: Edges become faint and hard to distinguish. The camera can't tell when contrast is maximized because there's not enough difference between in-focus and out-of-focus states.
Symptoms: Hunting (focus motor moves back and forth repeatedly), slow focus, or failure to confirm focus at all.
Phase Detection AF
How it works: Light passing through different parts of the lens is compared to calculate how far and in which direction focus needs to move.
In low light: Insufficient light reaches the phase detection sensors, making the phase comparison unreliable or impossible.
Symptoms: Incorrect focus confirmation (camera says it's focused when it isn't), hunting, or complete failure to focus.
The Light Threshold
Every autofocus system has a sensitivity rating, measured in EV (exposure value). A typical specification might be "-3 EV" or "-4 EV", meaning the system works down to that light level.
Practical context:
- EV 0: Light at about 1 second, f/1.0, ISO 100 (a dimly lit room)
- EV -2: Roughly 4x darker
- EV -4: Roughly 16x darker than EV 0
Modern mirrorless cameras often have better low-light AF specs than older DSLRs, but all systems have limits.
What AF Systems Actually See
Your eyes adapt to darkness far better than AF systems do. A dimly lit room where you can see clearly might be below your camera's AF threshold.
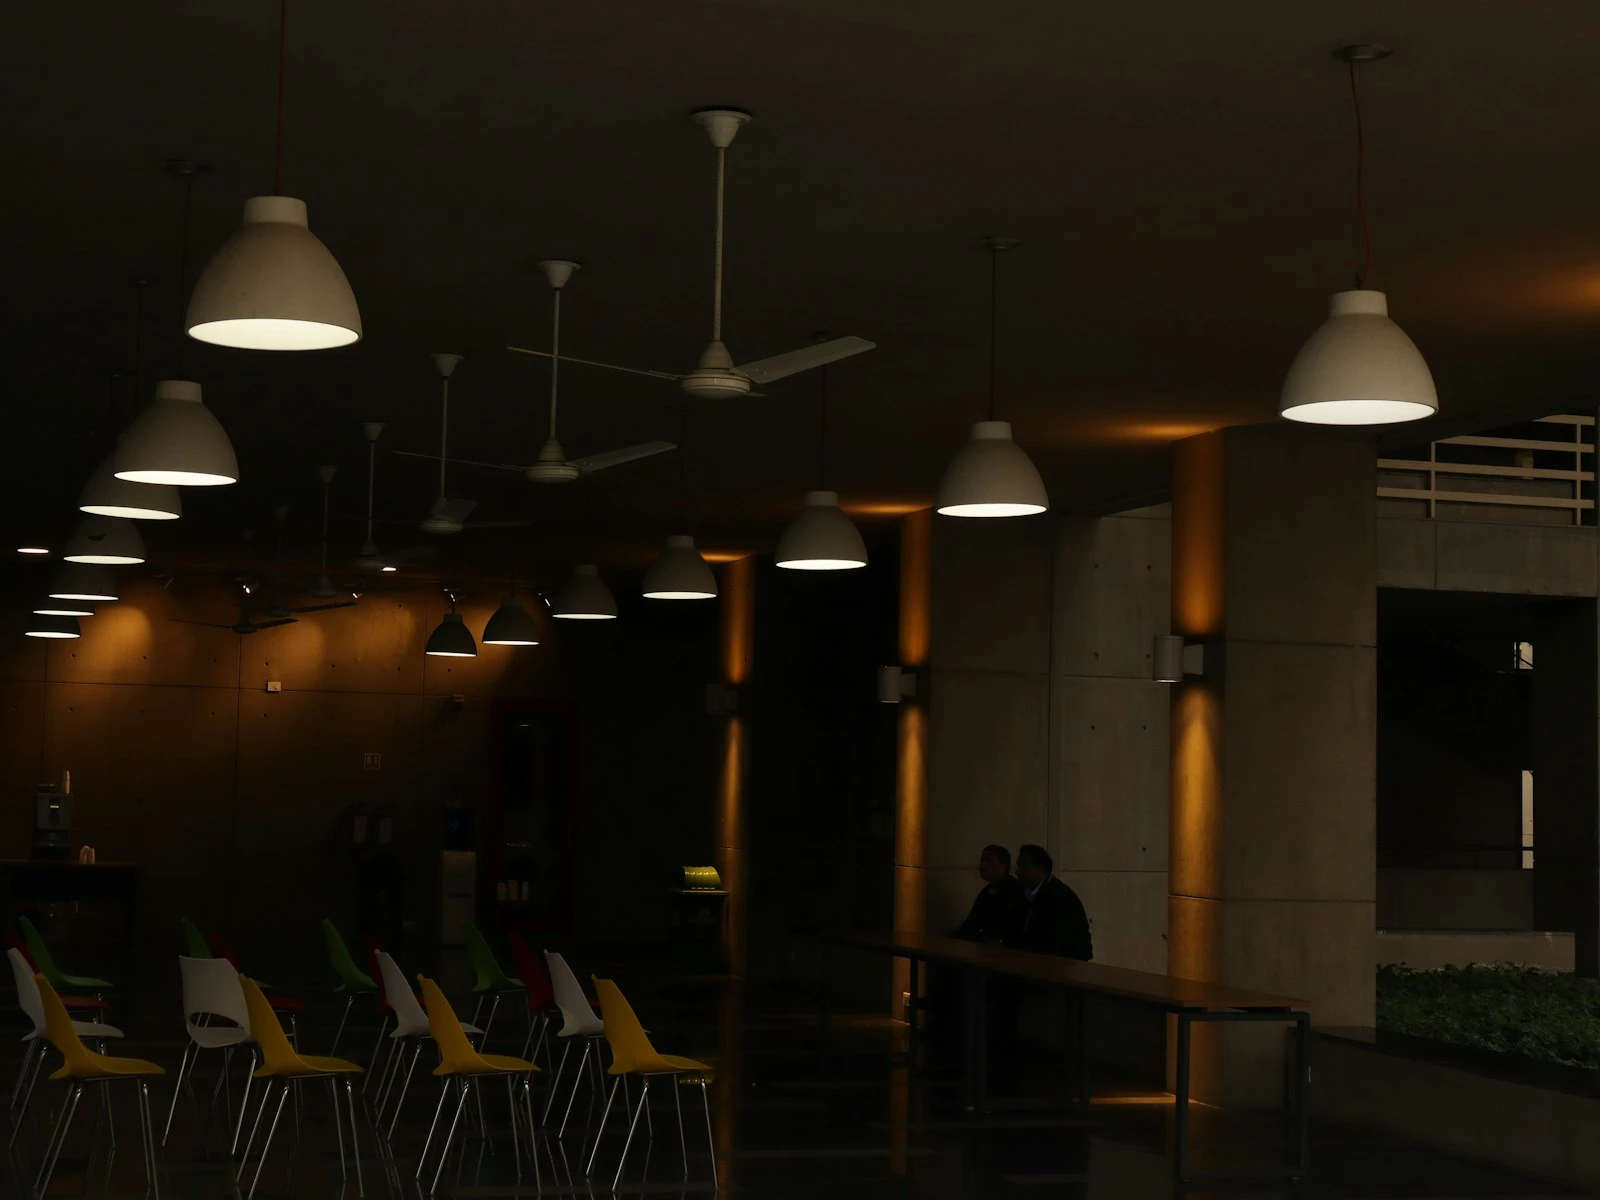
Additionally, AF systems look for contrast. A dimly lit subject with smooth, even tones (a face in shade) is harder to focus on than something with clear edges (a lit sign, a lamp edge).
Diagnosing Your AF Problems
Before applying solutions, confirm that autofocus is actually the problem.
Symptoms of AF Failure
Hunting: Focus motor moves continuously without locking. The viewfinder shows focus searching back and forth.
False confirmation: Focus beeps or indicator confirms, but resulting image is soft. Camera thinks it focused but missed.
Complete failure: Camera won't take a photo because it can't achieve focus (in default single AF mode).
Slow acquisition: Focus eventually works but takes several seconds instead of fractions of a second.
Ruling Out Other Issues
Check your aperture: Very wide apertures (f/1.4, f/1.8) have extremely shallow depth of field. Focus might be accurate but on the wrong plane.
Check for camera shake: If blur looks directional rather than uniform softness, it's motion blur, not focus miss.
Check your shutter speed: Motion blur from slow shutter mimics focus miss but has different appearance when you look closely.
In-Camera Solutions
Use the AF-Assist Light
Most cameras have a built-in or flash-mounted light that illuminates the scene to help autofocus.
How it works: When you half-press the shutter, a light (often orange or red pattern) projects onto your subject, giving the AF system contrast to analyze.
Limitations:
- Limited range (typically 3-6 meters)
- Can be distracting or inappropriate (events, wildlife)
- May be disabled in certain modes
Setting: Usually enabled by default. Check your menu under AF settings if it's not working.
Switch to Single Point AF
Wide-area AF modes struggle more in low light because the camera is searching a larger area with less certainty about your intended subject.
Better approach: Use single point or small area AF, positioned directly on your subject. This gives the camera a specific target and reduces hunting.
Target High-Contrast Edges
Autofocus works better on contrast. In low light, help your camera by choosing what to focus on carefully.
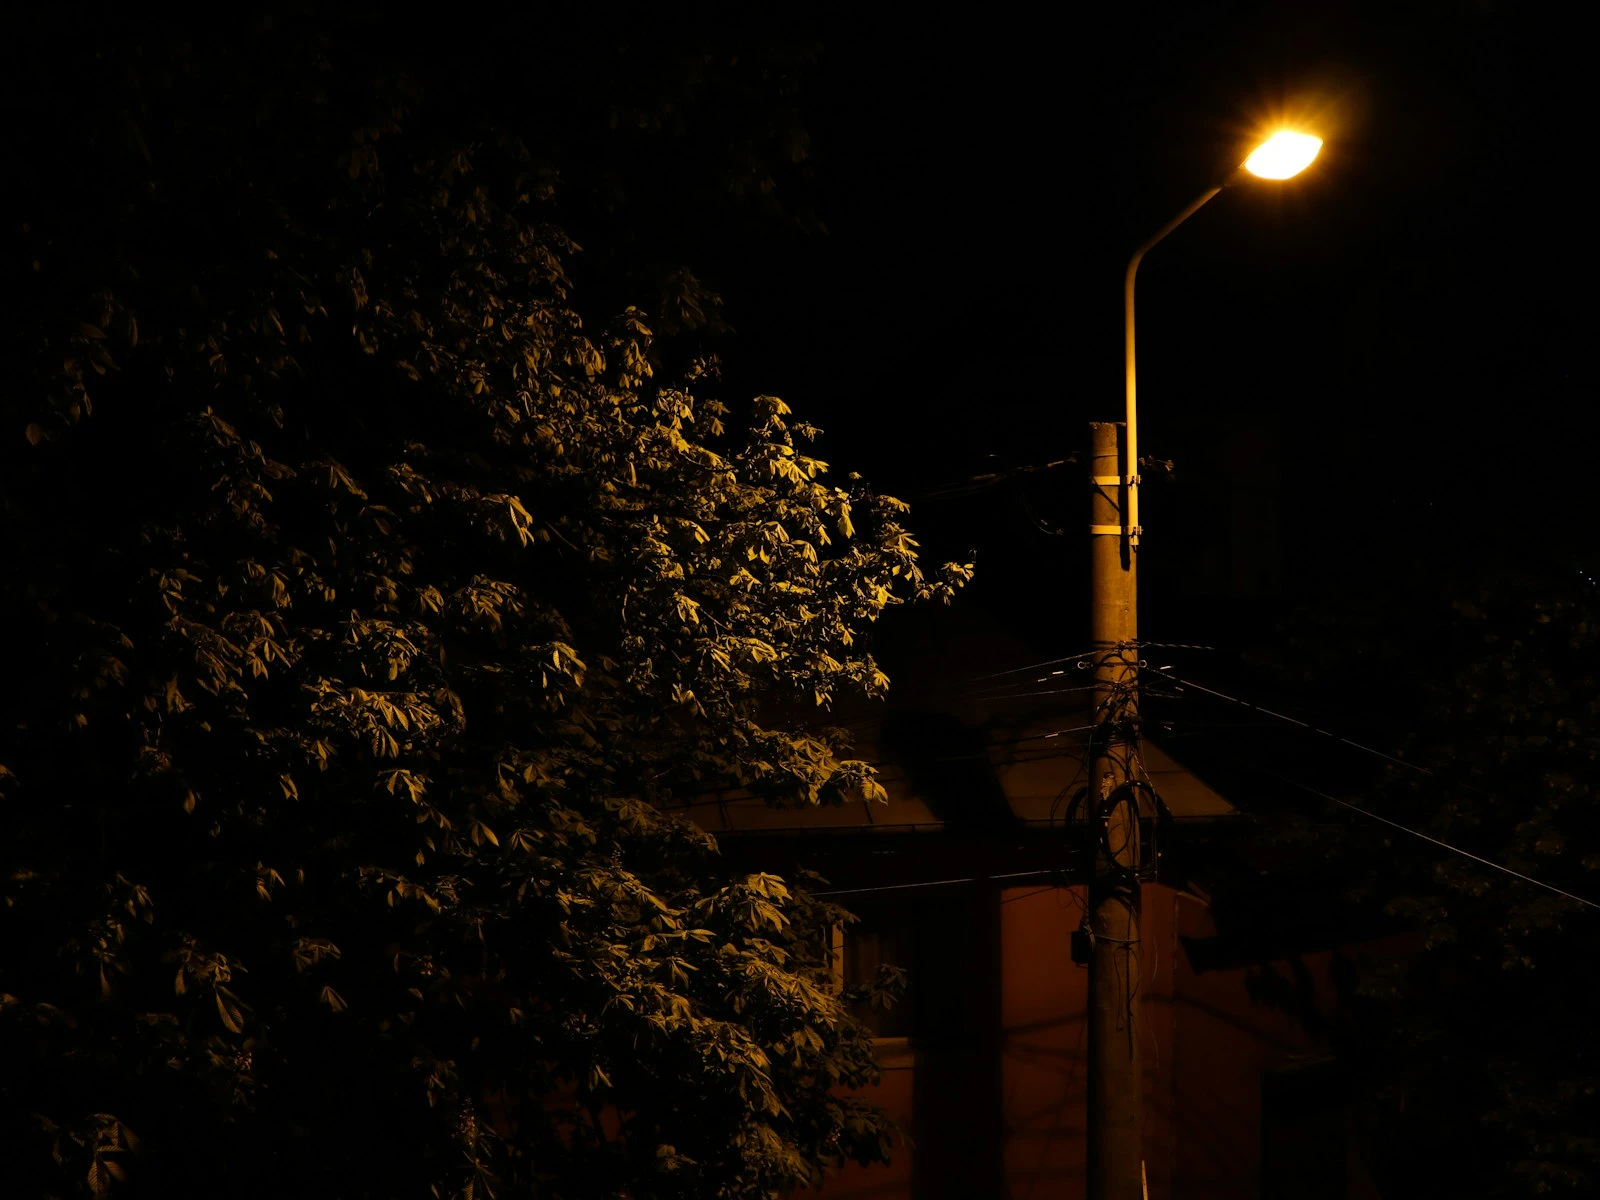
Good AF targets:
- Edge between light and dark areas
- Text or patterns
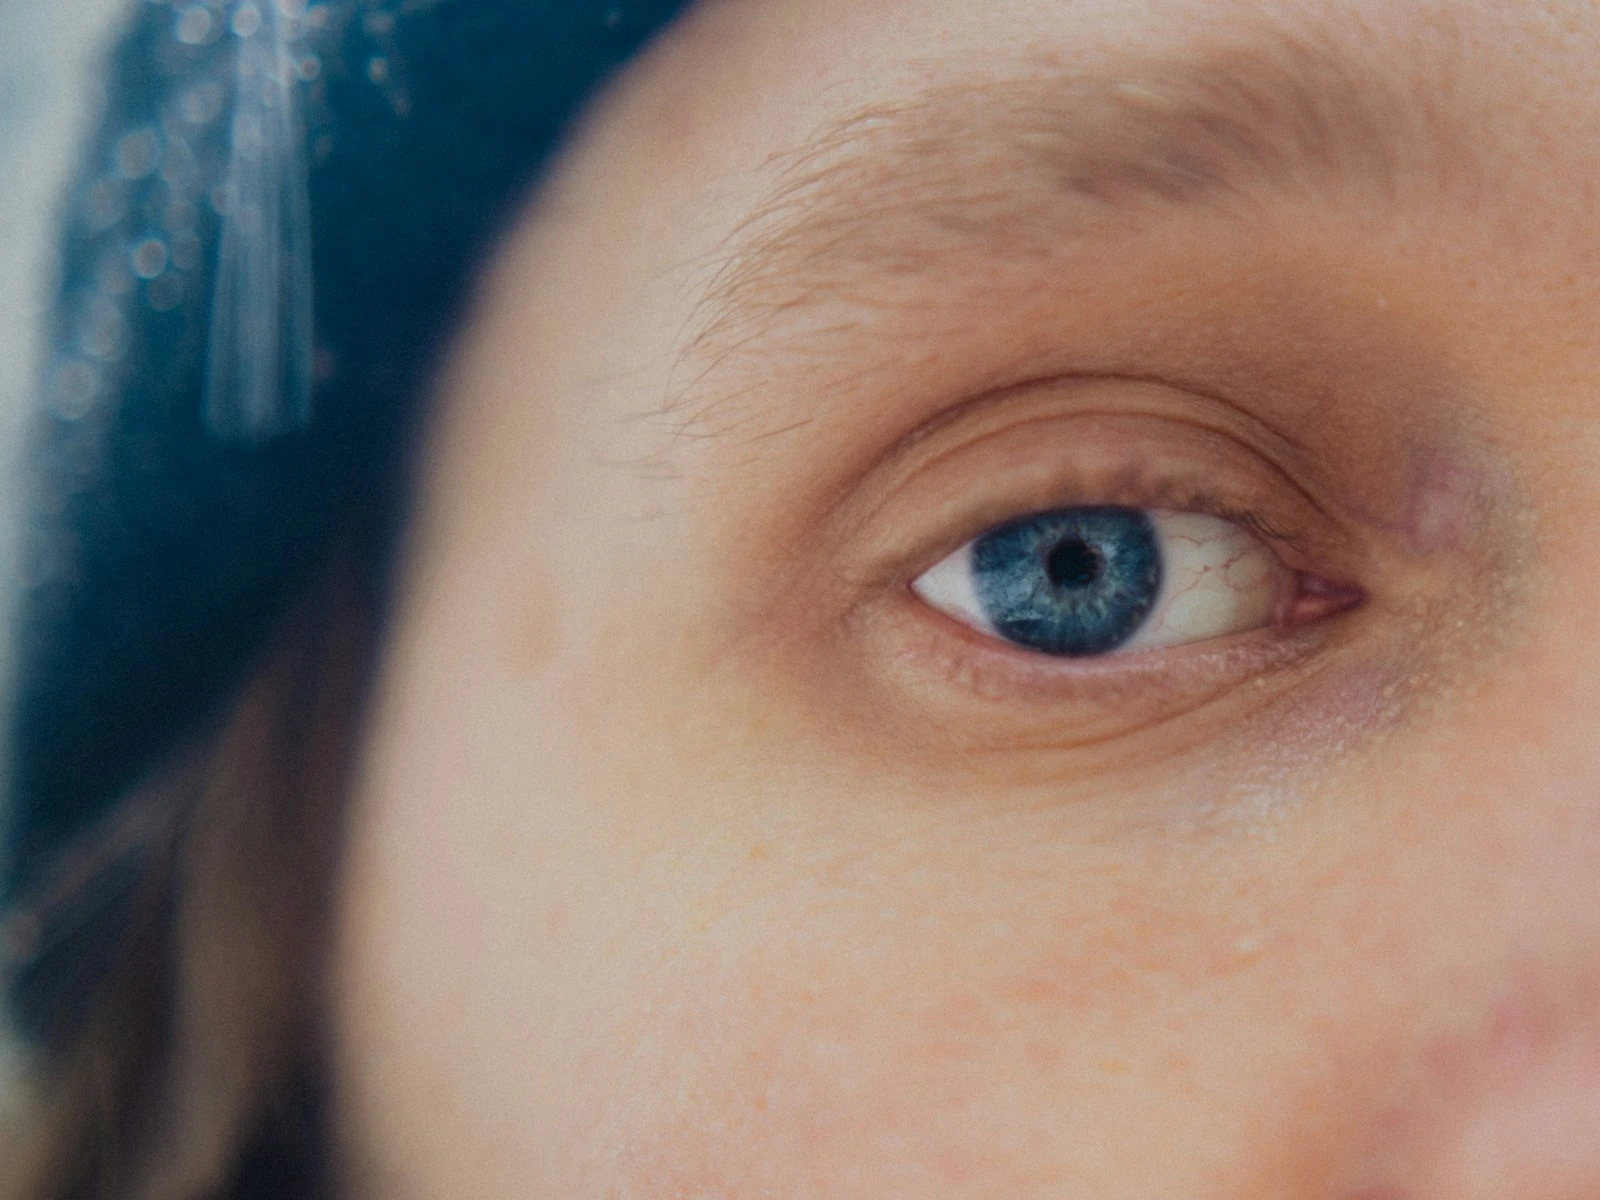
- The bright side of someone's face near their eye
- Any line or edge visible against background
Poor AF targets:
- Solid, uniform surfaces
- Very dark areas with no visible detail
- Smooth skin with no features visible
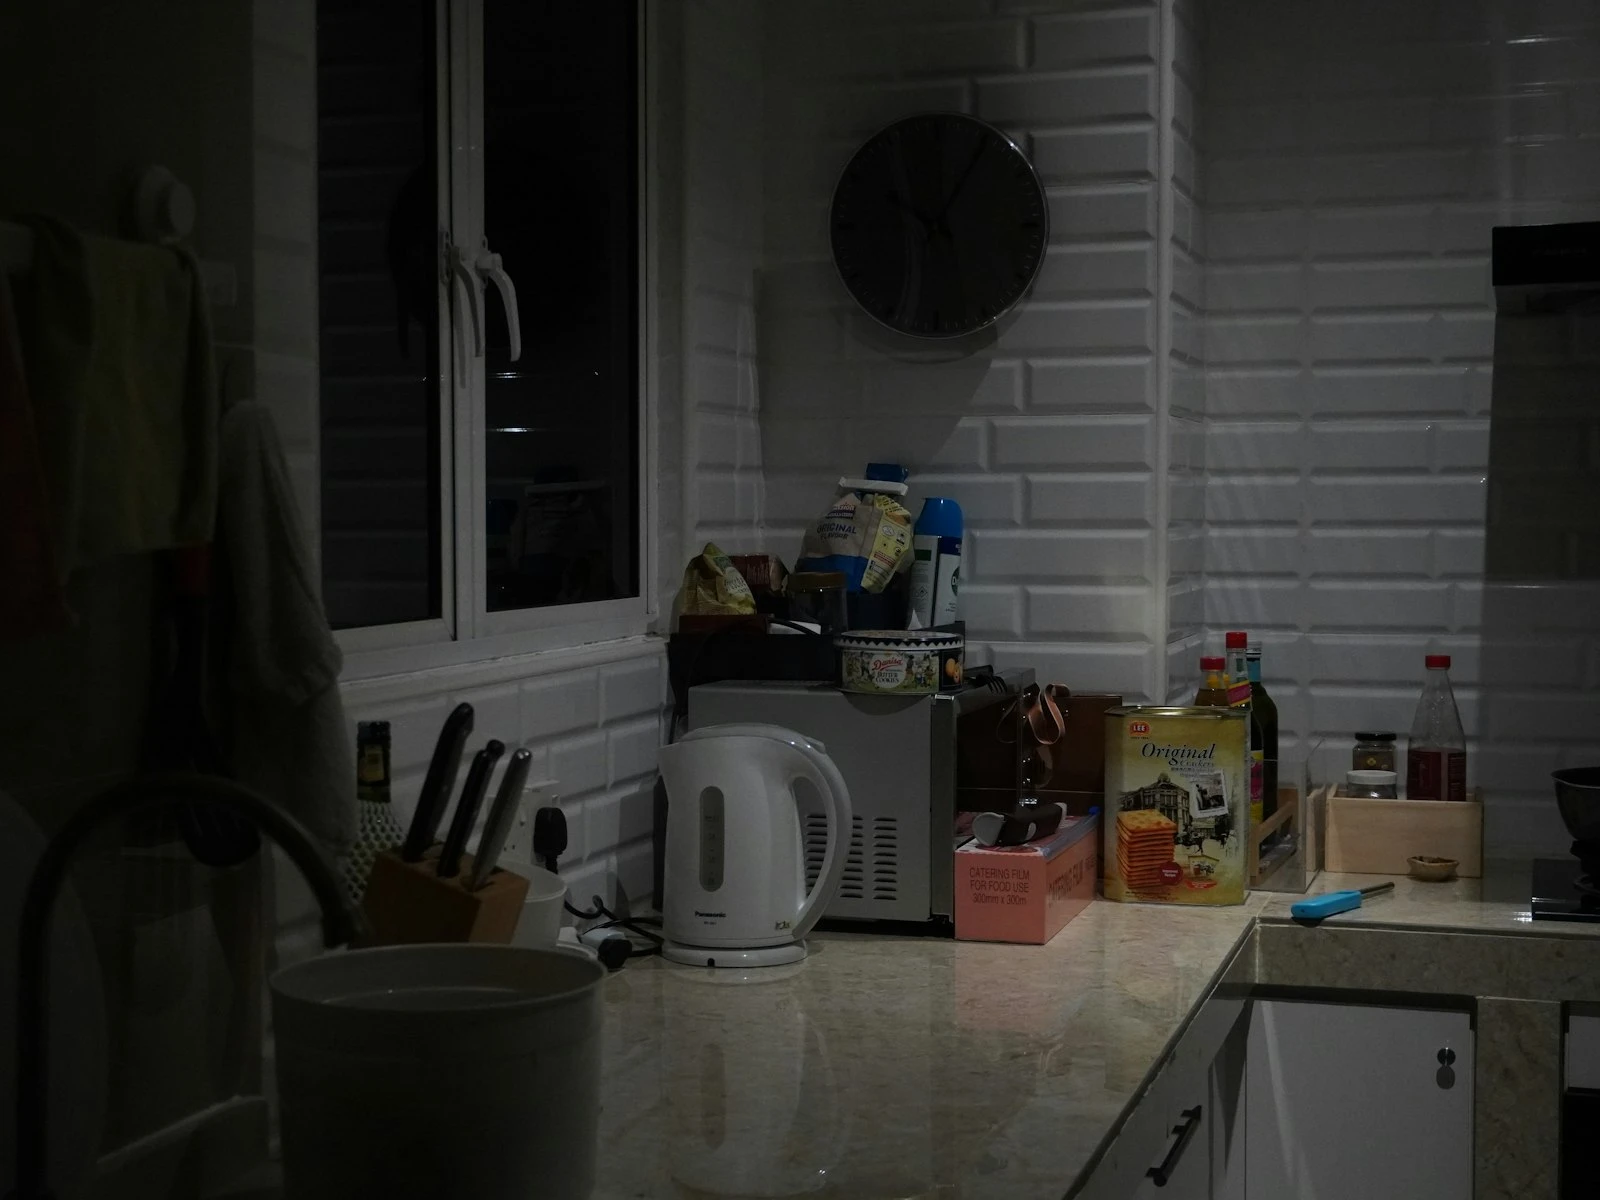
Increase Available Light Temporarily
If you're shooting a static scene, briefly add light for focusing, then remove it for the exposure.
Techniques:
- Use your phone flashlight to illuminate the subject while focusing
- Turn on room lights for focus, then turn off for ambient exposure
- Ask someone to shine a light where you need to focus
Focus and Recompose (Carefully)
If AF works on one part of the scene but not your intended subject:
- Point AF at a high-contrast area at the same distance as your subject
- Lock focus (half-press and hold, or use back-button focus)
- Recompose to your intended framing
- Take the shot
Caution with wide apertures: At f/1.8, even small movements during recomposition can shift the focus plane. This technique works better at f/4 or narrower.
Manual Focus Techniques
Sometimes the best solution is abandoning autofocus entirely.
Using Live View Magnification
Most cameras allow you to magnify the live view display, making precise manual focus possible even in low light.
Technique:
- Switch lens to manual focus
- Enable live view on your screen
- Find your focus target
- Magnify (often 5x or 10x) that area of the frame
- Manually adjust focus until the target is sharpest
- Un-magnify and compose
- Take the shot
For moving subjects: This works only for static scenes, and moving subjects require different approaches.
Focus Peaking
Many mirrorless cameras offer focus peaking, which shows colored highlights on in-focus edges.
How it helps: Even in dim live view, the colored overlay shows what's in focus without relying on your ability to see fine detail on a small screen.
Setting: Usually in display or focus assist settings. Choose a color that contrasts with your scene.
Pre-Focusing to a Known Distance
If you know approximately where your subject will be, you can pre-focus.
Techniques:
- Focus on something at the same distance during better light, then don't touch the focus ring
- Use distance markings on your lens (if available) to set a specific distance
- Use hyperfocal distance for maximum depth of field
Zone Focusing
For predictable shooting distances (street photography, events), set focus to a specific distance and rely on depth of field.
How it works:
- Set a narrow aperture (f/8-f/11) for depth of field
- Set focus to your expected subject distance (e.g., 3 meters)
- Everything within the depth of field range will be acceptably sharp
- Don't touch the focus ring. Shoot anything that enters your zone
Trade-off: Requires higher ISO due to narrow aperture, but eliminates focus hunting entirely.
Camera-Specific Features
Eye/Face Detection in Low Light
Modern mirrorless cameras use sophisticated eye and face detection that can work better than standard AF in some low-light conditions.
Why it sometimes helps: The AI recognizes face/eye patterns even with limited contrast, providing a target for the AF system.
Limitations: Still requires enough light for the camera to detect the face. Glasses, side profiles, and very dim light can defeat it.
Low-Light AF Modes
Some cameras have specific low-light AF settings that adjust sensitivity and behavior.
What they do:
- Extend search time before giving up
- Adjust sensitivity thresholds
- Prioritize accuracy over speed
Check your manual for camera-specific low-light AF options.
Dual Pixel and Hybrid AF
Modern mirrorless cameras use phase detection pixels across the entire sensor, often providing better low-light AF than older systems.
If you're upgrading: AF sensitivity rating is worth checking. Cameras rated to -5 or -6 EV significantly outperform older -3 EV systems in low light.
Working with AF-Assist Lights
Built-in Camera Lights
Usually orange or red LED that projects patterns.
Effective range: Typically 3-6 meters Pros: Always available, no extra gear Cons: Limited range, can be distracting
Flash-Mounted AF Assist
External flashes often have more powerful AF assist lights.
Advantages: Greater range, sometimes infrared (invisible but effective) Note: The flash doesn't need to fire for the photo, just for focus assist
Infrared Assist
Some systems use infrared light for focus assist, invisible to subjects.
Best for: Situations where visible assist light is inappropriate Availability: Check your flash or camera specifications
Special Low-Light AF Challenges
Night Photography with Tripod
For static tripod shots, speed doesn't matter. Use live view magnification for precise manual focus on stars, distant lights, or any visible detail.
Moving Subjects in Low Light
This is the hardest scenario. Options:
- Pre-focus to anticipated position
- Use zone focusing with depth of field
- Add AF assist light if close enough
- Push ISO higher for faster shutter speeds that reduce blur from minor focus misses
- Accept some focus imperfection, because a slightly soft shot beats a missed moment
Events and Concerts
Stage lighting creates dramatic but challenging focus conditions.
Tips:
- Focus during well-lit moments
- Use spot focus on faces or high-contrast clothing
- Pre-focus for predictable positions (podium, stage mark)
- Single point AF typically outperforms wide-area
Wildlife in Low Light
Animals in dim conditions with no AF assist light available.
Approaches:
- Pre-focus on expected positions
- Focus during movement when animal passes through better light
- Use single point on any visible eye catch light
- Accept that some shots will be soft, and take many frames
Evaluating Your Focus Success
In low light, you can't trust your camera's LCD to show focus accuracy. The screen is too small and viewing conditions too poor.
Better evaluation:
- Wait until you can view images on a larger screen
- Zoom to 100% in playback to check critical focus
- Shoot multiple frames of important moments to increase odds of sharp capture
Key Takeaways
- Focus on high-contrast edges (like the boundary between dark clothing and light skin) to give your autofocus system something it can reliably lock onto.
- Use your camera's AF-assist beam or a flashlight to temporarily illuminate your subject so autofocus can acquire focus before you shoot.
- Switch to manual focus with live view magnification when autofocus repeatedly fails, since you can often see sharpness more reliably than the AF system.
- Pre-focus on a known distance before your subject arrives, then keep the focus locked so you are ready when the moment happens.
More in This Guide
Continue building your low-light photography skills.