Your low light photos look wrong, but how they look wrong matters. Grainy and blurry are different problems with different causes and different solutions. Fix the wrong one and you'll make your images worse, not better.
Before you can improve your low light photography, you need to accurately diagnose what's actually happening in your images. This guide helps you identify the specific problem, then shows you how to address it. It's one of the best starting points in our low light guide. We'll mention noise, motion blur, depth of field, and other technical terms throughout. The photography glossary has plain-English definitions for all of them.
Grainy vs. Blurry: The Two Low Light Problems
When photographers say their low light images "don't look right," they usually mean one of two things:
Grainy (Noise): The image shows a speckled texture, particularly visible in shadows and solid-colored areas. Details exist but appear peppered with dots or color variations.
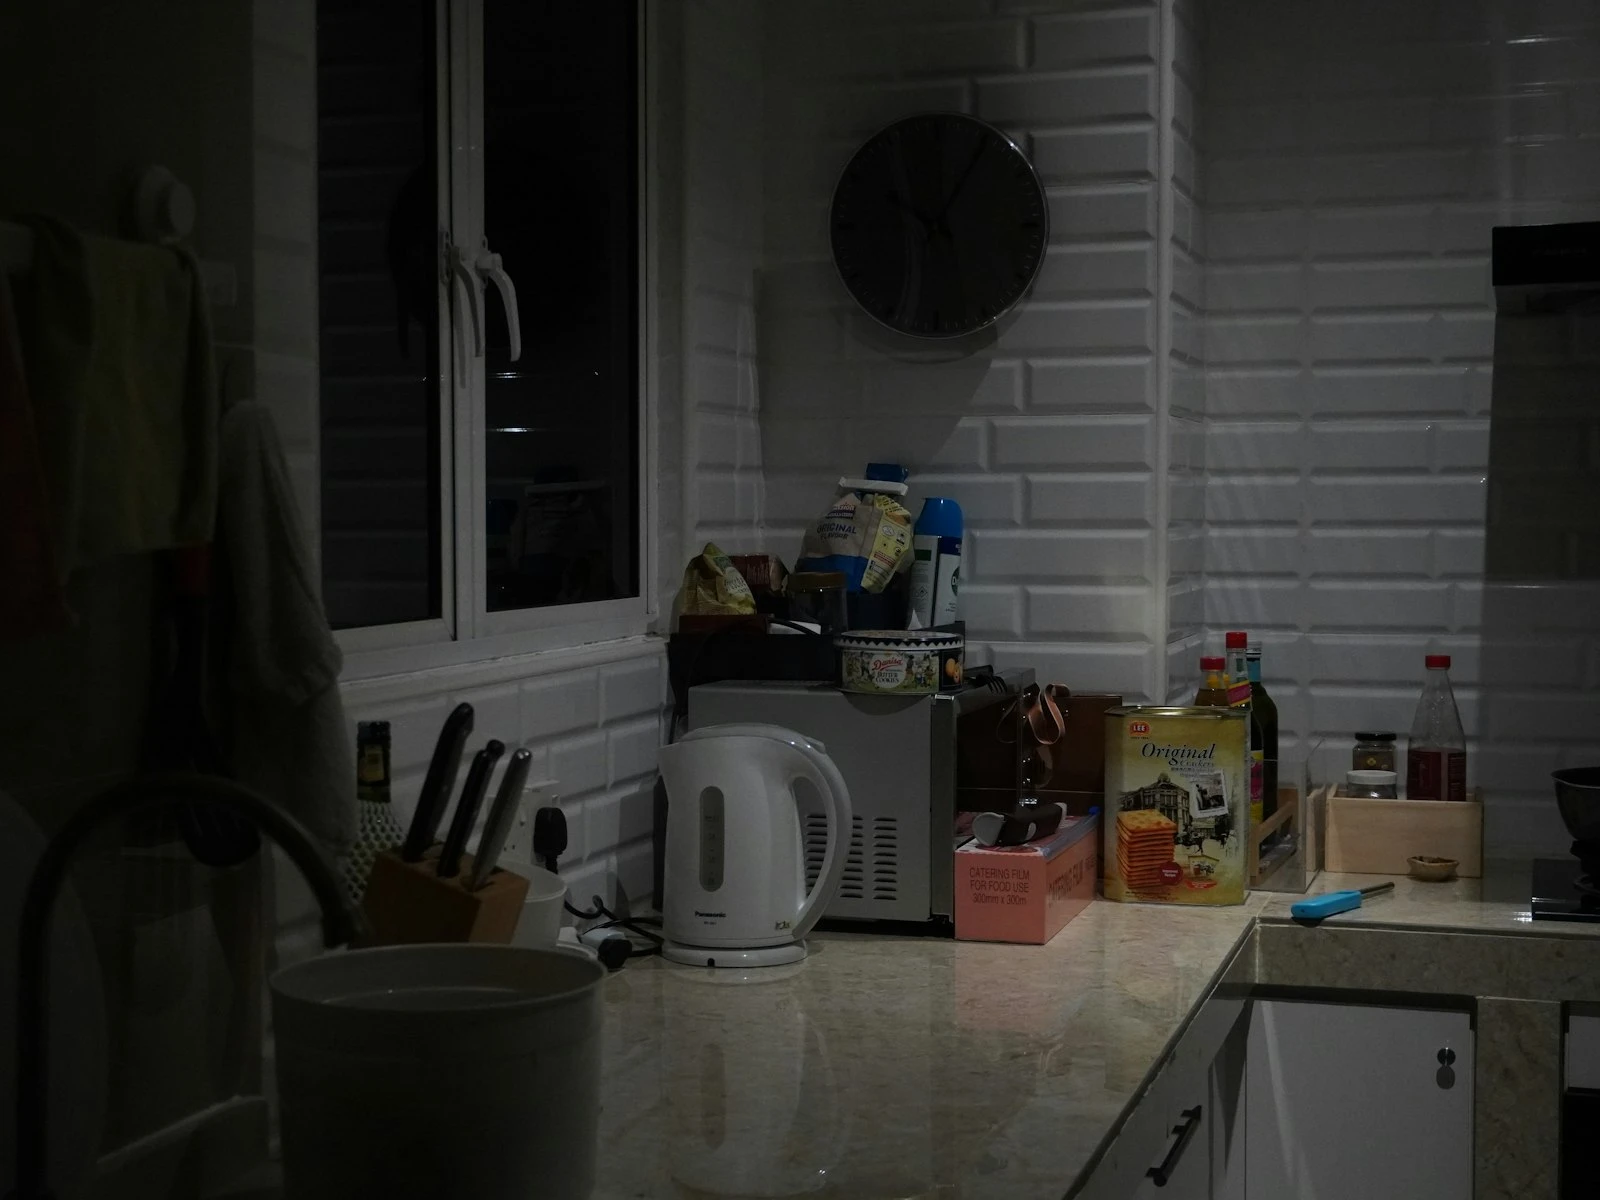
Blurry (Motion or Focus): The image lacks sharpness. Details that should be crisp appear smeared, doubled, or soft. Fine textures are missing or smudged.
These problems have opposite causes and opposite solutions. Understanding which one you're dealing with is the essential first step.
How to Identify Noise (Grain)
Digital noise appears as unwanted texture where smooth tones should exist. It has several recognizable characteristics:
Visual Signs of Noise
Luminance noise: Random bright and dark speckles, like film grain. Most visible in shadows and evenly-toned areas like skin or sky.
Color noise: Random colored speckles, often magenta, green, or blue, appearing where they shouldn't. Particularly visible in shadow areas that should be neutral.
Pattern retention: Despite the grain, edges and details are still discernible. Zoom in and you can see where lines should be, even if they're peppered with noise.
Consistent throughout frame: Noise affects the entire image relatively evenly (though it's more visible in certain tones).
When You'll See Noise
- High ISO settings (ISO 3200 and above most commonly)
- Underexposed images that were brightened in editing
- Pushing shadow recovery too aggressively
- Long exposures can show some noise types (thermal noise)
Checking Your Settings
Look at the image's EXIF data (an EXIF viewer can pull this from any photo). If your ISO was high (relative to your camera's capability), noise is likely the issue. If ISO was low but the image is still grainy, you may have underexposed and over-corrected in post.
How to Identify Blur
Blur means lack of sharpness. Details that should be crisp appear soft or smeared. But different types of blur look different and have different causes.
Camera Shake Blur
Cause: Your hands moved during the exposure.
Visual signature:
- Everything in the frame is equally blurry
- Double or ghosted edges on fine details
- Blur often has directional quality (smear in one direction)
- Distant and close subjects equally affected
When it happens: Shutter speed too slow for handheld shooting with your focal length. The old guideline: shutter speed should be at least 1/(focal length). A 50mm lens needs at least 1/50s; with image stabilization, you might manage slower.
Subject Motion Blur
Cause: Your subject moved during the exposure.
Visual signature:
- Moving subject is blurred; static background is sharp
- Blur follows the subject's direction of movement
- Stationary elements in frame appear crisp
When it happens: Shutter speed too slow to freeze your subject's movement. A person walking needs roughly 1/60s minimum; running or fast action needs 1/250s or faster.
Focus Miss Blur
Cause: The camera focused on the wrong distance.
Visual signature:
- Some part of the image IS sharp, just not the part you wanted
- Gradual softness rather than smearing
- Background or foreground may be in focus instead of subject
When it happens: Autofocus acquired the wrong target, or you focused and recomposed too much with shallow depth of field.
Depth of Field Blur
Cause: Wide aperture created shallow depth of field.
Visual signature:
- Clear focus plane with smooth blur before and behind
- The in-focus area is genuinely sharp
- Blur is creamy/smooth, not grainy or smeared
This might not be a problem: If eyes are sharp but ears are soft in a portrait, that's shallow depth of field working as intended with wide apertures. Only a "problem" if you needed more depth.
The Diagnostic Test
Not sure whether you're seeing noise or blur? Here's a systematic way to tell:
Step 1: Zoom to 100%
View your image at 100% magnification on a good monitor. At this level, both problems become clearly visible and distinguishable.
Step 2: Find a High-Contrast Edge
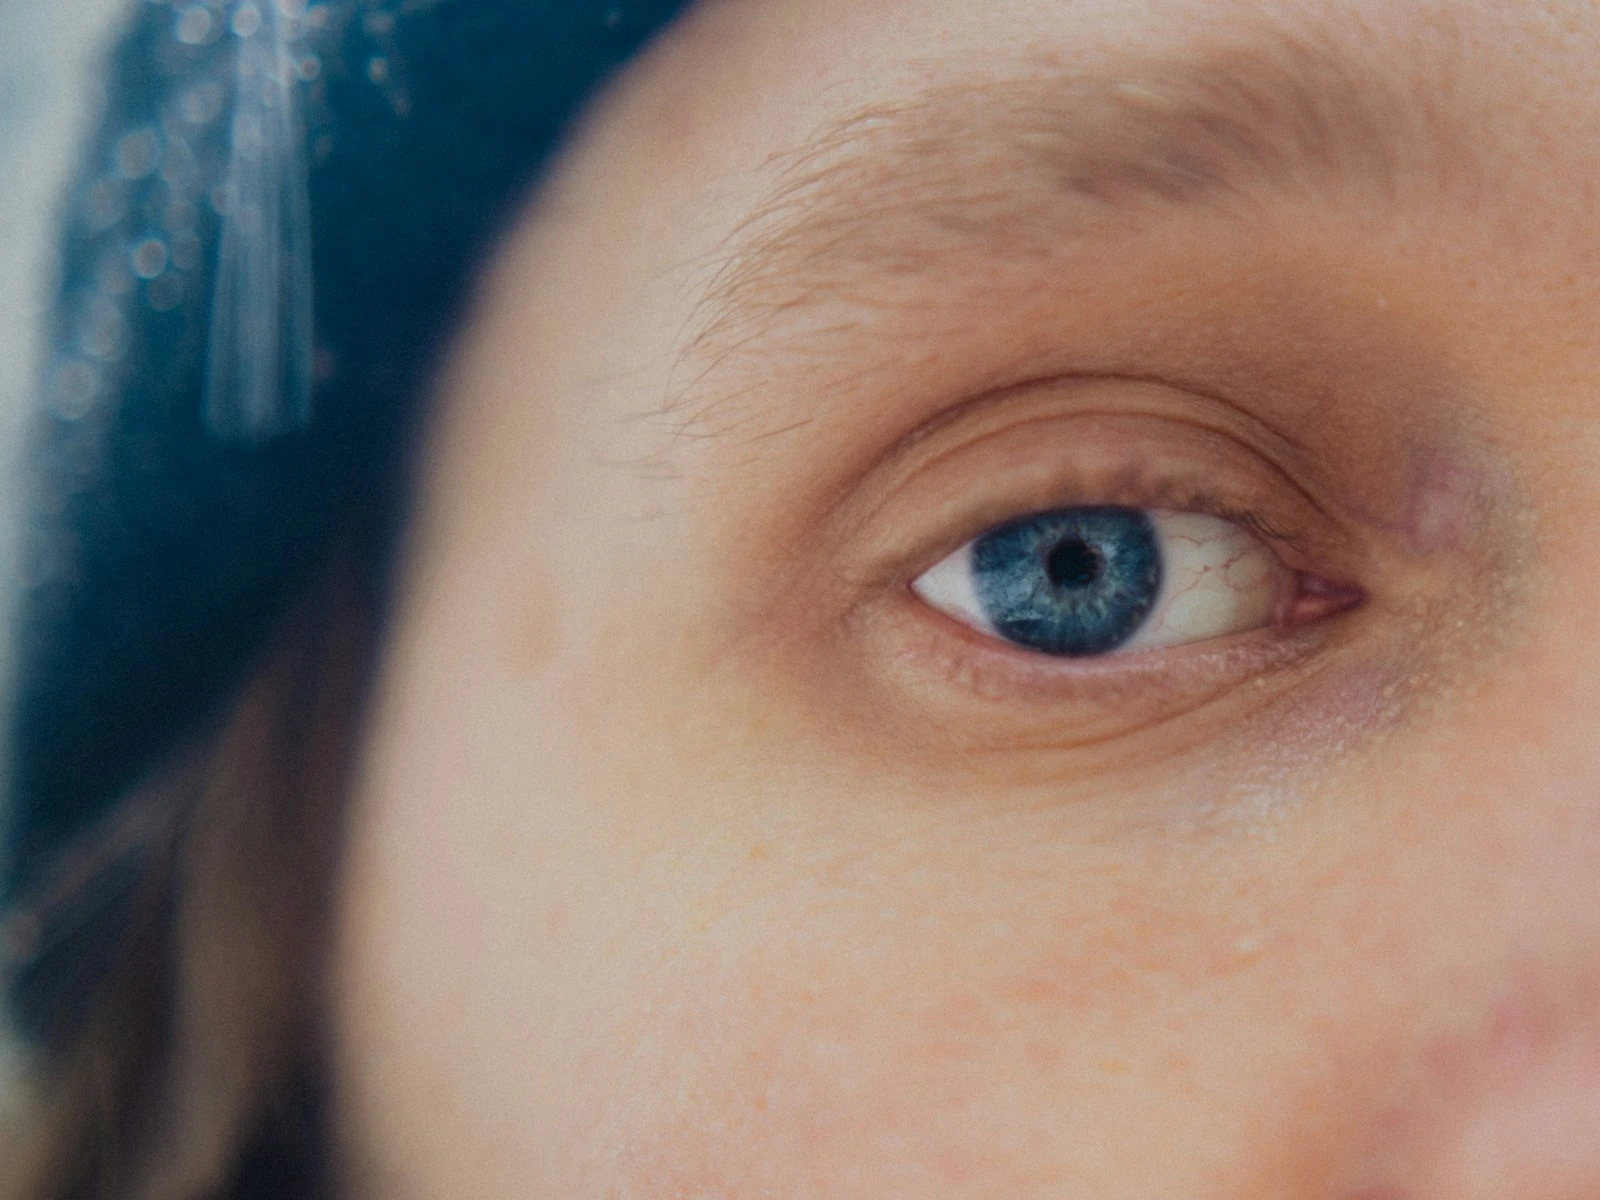
Look for a clear edge: text, architectural lines, eyelashes, any area where light meets dark sharply.
Step 3: Examine the Edge
If edges are defined but peppered with dots: That's noise. The edge exists, you can see it, but there's texture overlaid.
If edges are doubled, ghosted, or smeared: That's blur. The edge itself has been spread across multiple pixels.
If edges are soft but not smeared: That's focus miss or shallow depth of field. Check if another area of the image is sharper.
Step 4: Check the Shadows
Look at the darkest areas of your image.
Speckled but detailed: Noise. You can see into the shadows, but they're textured.
Smooth but undefined: Could be either. Potentially blur combined with underexposure, or just very dark.
Fixing Noise Problems
Once you've confirmed noise is your issue, you can address it both in-camera and in post.
In-Camera Solutions
Use lower ISO when possible:
- Open aperture wider (if depth of field allows)
- Slow shutter speed (if camera shake allows)
- Add light (window, lamp, flash)
Expose correctly (or slightly over):
- Underexposure plus brightening creates more noise than proper exposure at higher ISO
- Slight overexposure, carefully recovered, often has less noise
Use your camera's native ISO range:
- Extended ISO settings (ISO 50, ISO 51200+) often perform worse than the native range
- Check your manual for your camera's native ISO span
Post-Processing Solutions
Apply noise reduction:
- Lightroom, Capture One, DxO, and other software include effective noise reduction
- Start conservatively because over-processing creates waxy, detail-free images
- Target color noise more aggressively than luminance noise
- Consider dedicated denoise software for severe cases (DxO PureRAW, Topaz DeNoise)
Don't over-lift shadows:
- Aggressive shadow recovery amplifies noise
- Accept some darkness rather than pushing recovery too far
Consider output size:
- Noise becomes less visible at smaller print or display sizes
- Full-resolution pixel-peeping shows worst-case
Fixing Blur Problems
Blur requires prevention rather than correction. Once an image is blurred, you can't truly recover the lost detail.
Fixing Camera Shake
Use faster shutter speed:
- Minimum 1/focal length (1/50s for 50mm)
- With stabilization, maybe 2-4 stops slower
- When in doubt, go faster
Enable image stabilization:
- Turn on IBIS or lens stabilization
- Both together if available
Stabilize yourself:
- Tuck elbows to body
- Brace against solid objects
- Breathe out and shoot in the pause
Use a tripod:
- Eliminates handheld shake entirely
- Enables shutter speeds of any duration
Fixing Subject Motion Blur
Use faster shutter speed:
- Walking: 1/60s minimum
- Running, active children: 1/250s+
- Sports, fast action: 1/500s or faster
Accept higher ISO:
- Noise is fixable; blur is not
- A sharp noisy image beats a smooth blurry one
Anticipate movement:
- Shoot at peak action (jumper at apex, etc.)
- Use burst mode to capture sharpest moment
Fixing Focus Misses
Use single-point autofocus:
- Place the AF point on your intended subject
- Don't let the camera choose
Check AF mode:
- Single AF (AF-S) for still subjects
- Continuous AF (AF-C) for moving subjects
Focus carefully with wide apertures:
- f/1.8 depth of field is paper-thin
- Slight recomposing can shift focus plane
Use back-button focus:
- Separates focus from shutter
- More deliberate focus control
Fixing Depth of Field Issues
Stop down your aperture:
- f/2.8 gives more depth than f/1.4
- f/4 or f/5.6 for groups
Accept the tradeoff:
- Stopping down requires higher ISO or slower shutter
- Choose based on what matters more
The Worst Case: Both Problems Together
Sometimes low light images suffer from both noise and blur. This happens when you push everything to limits and still don't quite have enough light.
Triage approach:
- Fix blur first (if present). Noise reduction on a blurry image won't help.
- Apply noise reduction carefully. Don't soften what little sharpness you have.
- Accept limitations. Some shots in extreme low light won't be technically excellent.
Prevention approach:
- If you're regularly getting both problems, you need more light or better equipment
- A faster lens helps significantly (f/1.8 vs f/3.5 is huge)
- Better high-ISO camera performance helps
When the Problem Isn't Settings
Sometimes grainy or blurry results come from equipment limitations rather than technique.
Old or entry-level cameras:
- ISO performance has improved dramatically
- A 2024 entry-level camera often outperforms a 2014 flagship at high ISO
Slow lenses:
- f/3.5-5.6 kit lenses limit your options severely
- A 50mm f/1.8 (~$200) dramatically improves low light capability
Dirty equipment:
- Smudged front element or filter creates overall softness
- Dirty sensor creates spots (different from noise pattern)
Realistic Expectations
Low light photography has inherent challenges. Even with perfect technique:
- Some noise is normal at high ISO because you're working with less light
- Some scenarios are genuinely too dark for good results without added light
- Smartphone cameras struggle significantly more than dedicated cameras
The goal is making the best possible images given your light and equipment, understanding what's limiting you, and making informed tradeoffs.
Key Takeaways
- Zoom to 100% to diagnose whether your problem is grain (speckled texture in smooth areas) or blur (smeared details with missing fine texture).
- Grain comes from high ISO and is fixable in post-processing with noise reduction; blur comes from slow shutter speed or missed focus and cannot be fixed.
- If your photos are blurry, increase shutter speed by raising ISO or opening your aperture wider, since a noisy sharp photo beats a clean blurry one.
- If your photos are grainy but sharp, apply noise reduction in editing or use Lightroom's AI denoise, which can recover remarkable quality from high-ISO images.
More in This Guide
Continue building your low-light photography skills.