Flash changes everything about a photograph. The harsh shadows, the deer-in-headlights look on faces, the way it flattens depth and kills atmosphere. There are good reasons you want to avoid it.
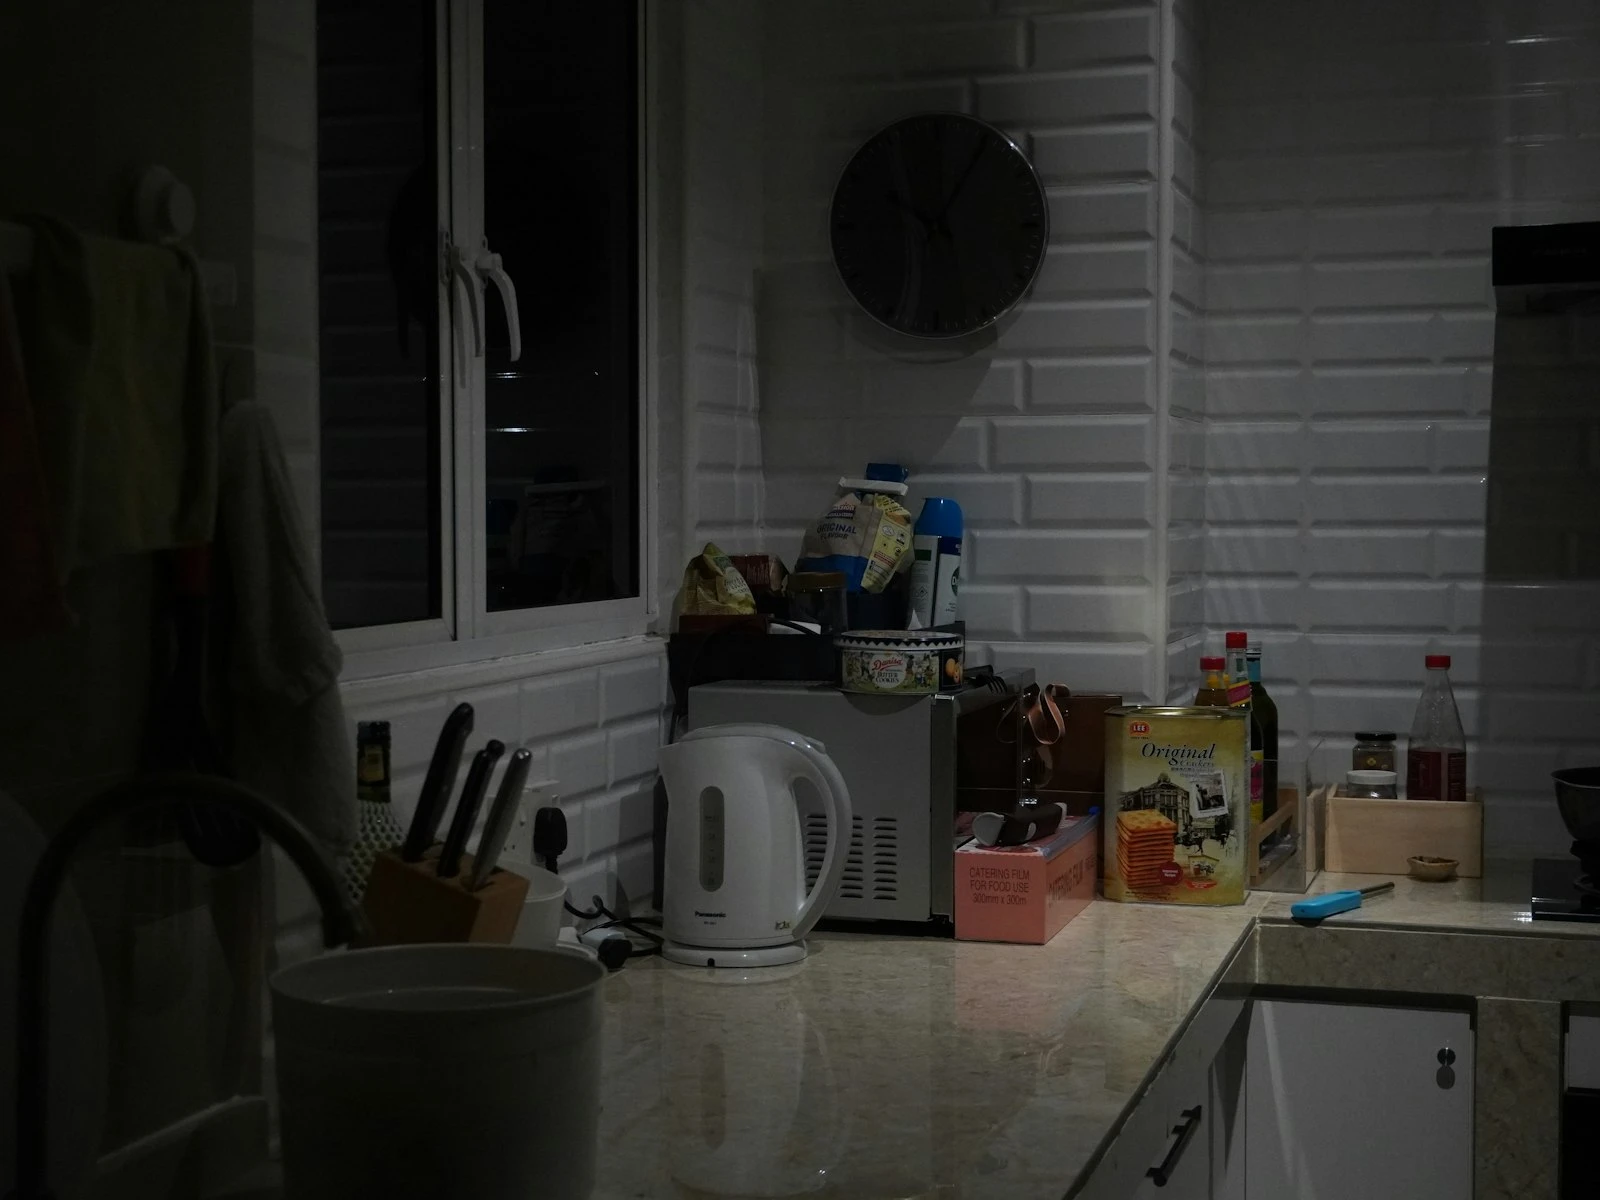
But indoor light is often dim. The cozy restaurant, your living room at night, the museum with its carefully controlled lighting. These spaces challenge cameras designed for outdoor illumination.
You can absolutely photograph indoors without flash, and it's one of the most practical scenarios we cover in our low light guide. The approach requires understanding what limited light demands from your settings and how to work with available light rather than fighting against it.
Why Indoor Light Is Challenging
Outdoor daylight is abundantly bright, far more than our eyes perceive. Even on a cloudy day, outdoor light levels exceed most indoor environments by factors of 10 to 100.
Our eyes adapt to indoor lighting so effectively that we don't notice how dim it actually is. Walk from sunlight into a restaurant and within moments everything looks normally lit. Your camera's sensor doesn't adapt the same way.
Typical light levels (in lux):
- Bright outdoor sun: 100,000
- Overcast outdoor: 10,000
- Well-lit office: 500
- Living room evening: 50
- Candlelit restaurant: 10
That restaurant feels romantic and well-lit to your eyes. To your camera, it's 10,000 times darker than outside. This explains why indoor photography without flash requires a fundamentally different approach.
The Three Adjustments You Can Make
When light is limited, you have exactly three ways to gather more of it:
- Open your aperture wider. Lets more light through the lens
- Slow your shutter speed. Gives more time for light to accumulate
- Raise your ISO. Amplifies the image signal so your camera can produce a brighter exposure
Every indoor photograph without flash involves some combination of these three adjustments. Your job is choosing which compromises work for your specific situation.
Starting Settings for Indoor Available Light
Rather than memorizing rigid numbers, understand the reasoning behind indoor settings:
Aperture: Wide Open (Usually)
Your lens's widest aperture lets in the most light. If your lens opens to f/1.8, that's your starting point indoors.
Trade-off: Wider apertures create shallower depth of field. At f/1.8, only a thin plane stays sharp. For portraits, this often works beautifully, with sharp eyes and soft backgrounds. For groups or scenes where you need depth, it becomes limiting.
Practical approach: Start at your widest aperture. Only stop down if you have light to spare or depth of field is more important than image brightness.
Shutter Speed: Fast Enough to Handhold
The minimum shutter speed you can use depends on:
- Your focal length (longer lenses need faster speeds)
- Whether your subject moves
- Your personal steadiness
- Whether you have image stabilization
The old rule of thumb: Shutter speed should be at least 1/focal length. A 50mm lens needs at least 1/50s; a 100mm needs at least 1/100s.
Modern reality: Image stabilization extends this by 2-4 stops. A stabilized 50mm might handhold at 1/15s. But this only prevents camera shake, not subject motion blur.
For people indoors: Use 1/60s minimum for mostly still subjects, 1/125s or faster if they're moving, talking animatedly, or if you're photographing children.
ISO: As High as Necessary
ISO is often treated as a setting to minimize, but indoors it's usually the variable you adjust after fixing aperture and shutter speed.
The calculation: Once you've set aperture wide and shutter speed as slow as practical, ISO becomes whatever produces correct exposure.
Modern camera reality: ISO 1600 on most cameras made after 2015 produces usable images. ISO 3200-6400 is workable on most current cameras. High-end cameras handle ISO 12800+ acceptably.
A sharp, properly exposed image at ISO 6400 beats a blurry, underexposed image at ISO 800. Noise is fixable in editing, but blur is permanent.
Finding and Using Available Light
Not all indoor light is equal. Learning to see and position your subjects relative to available light sources transforms your indoor photography.
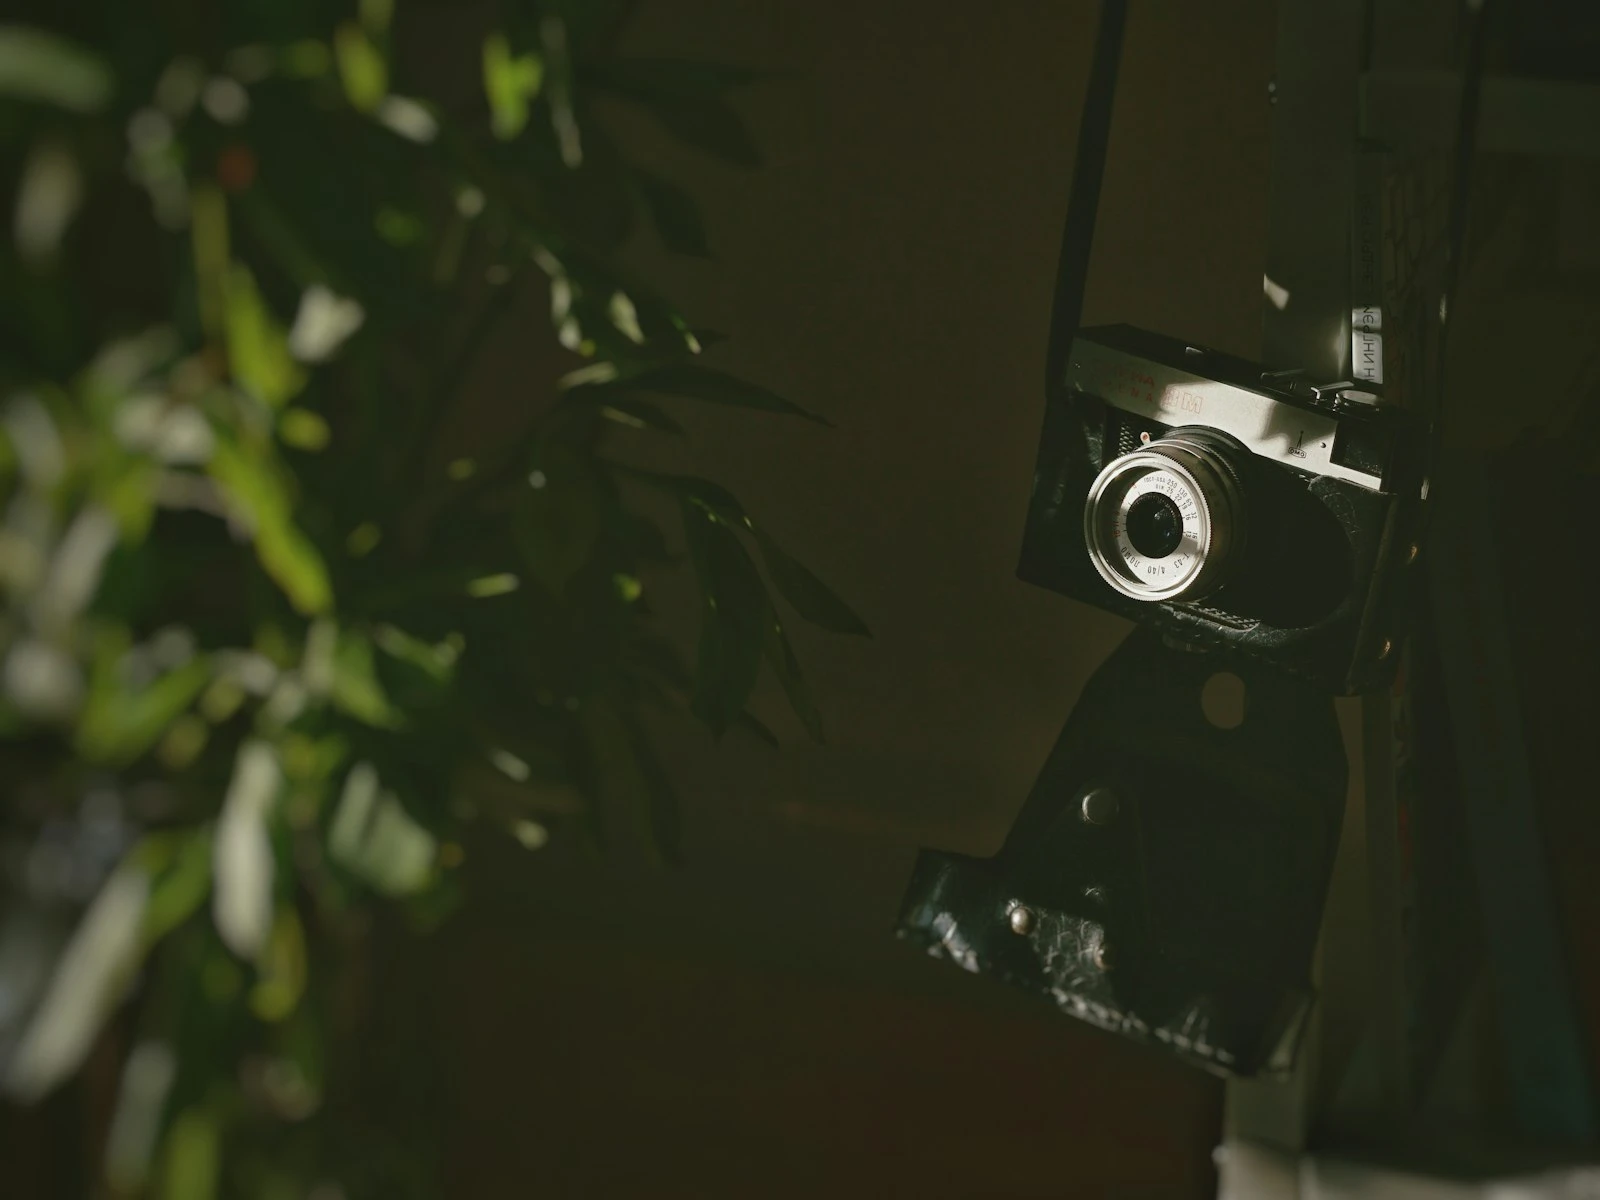
Window Light: Your Best Friend
Windows provide soft, directional light that flatters faces and creates depth. Even on cloudy days, a window provides significantly more light than typical interior fixtures.
Working with window light:
- Position subjects facing the window or at 45 degrees to it
- The closer to the window, the more light
- Avoid placing subjects directly between camera and bright window (creates silhouettes)
- Sheer curtains diffuse harsh direct sun into beautiful soft light
Light direction matters: Side lighting from a window creates dimension through shadows. Front lighting from a window illuminates evenly but flattens features.
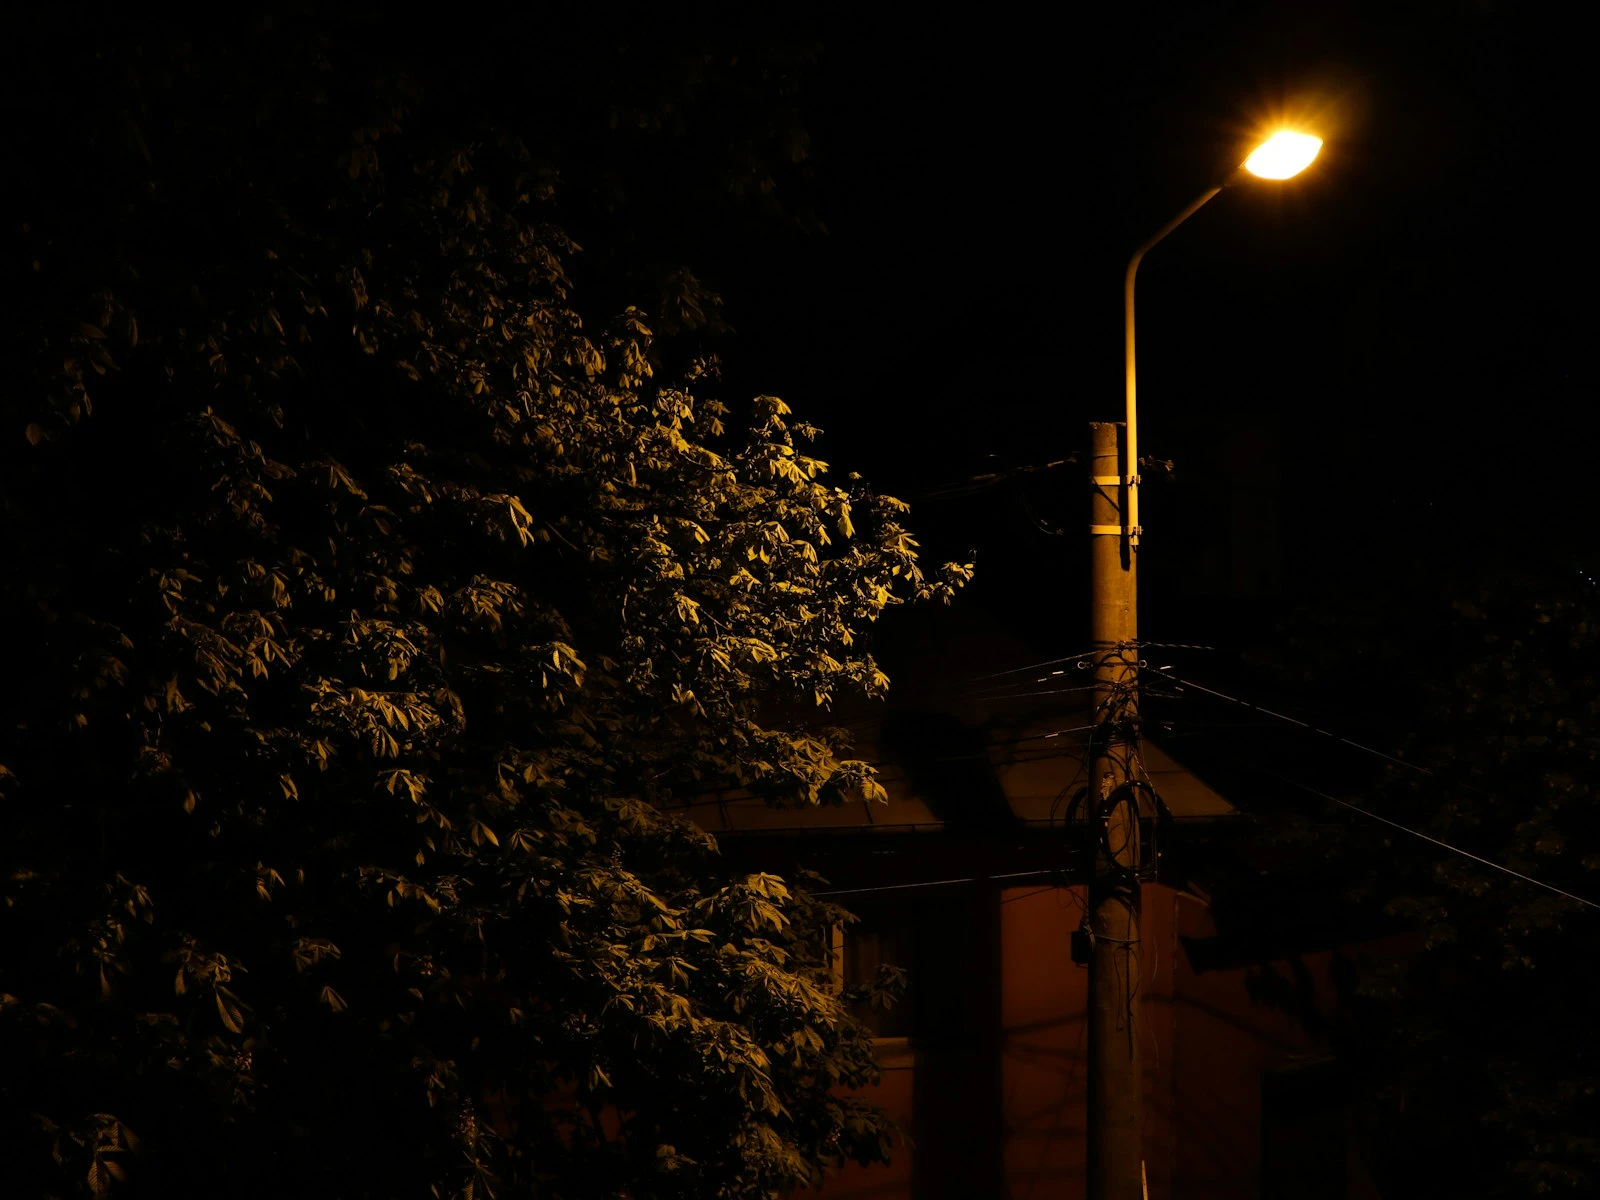
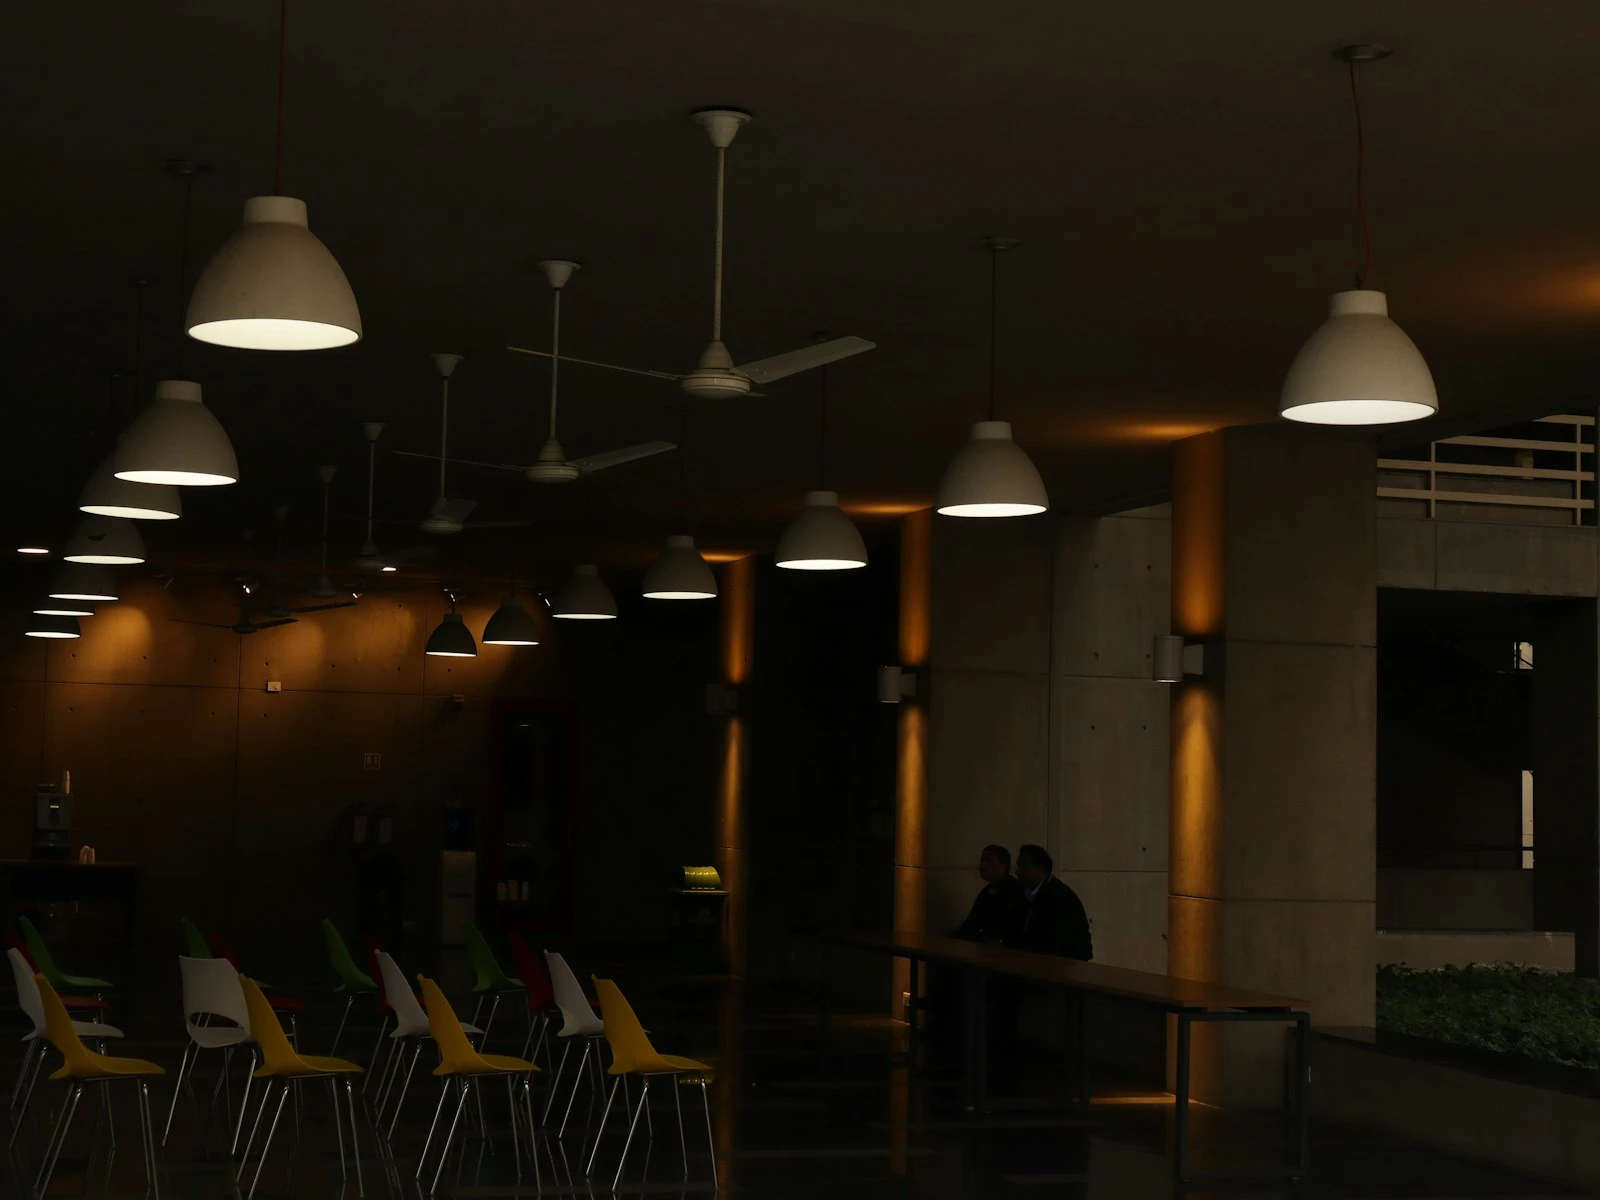
Overhead Fixtures: Be Selective
Most ceiling lights create unflattering downward shadows, like dark eye sockets and harsh nose shadows. They work for general illumination but rarely create attractive portrait lighting.
When overhead lights help: For wider scene shots where you need overall illumination rather than flattering portrait light. Also useful when subjects look up or when combined with other light sources.
Lamps and Practical Lights
Table lamps, floor lamps, and other "practical" light sources add warmth and serve as compositional elements.
Using practicals effectively:
- Position subjects near lamps to benefit from their light
- Include the lamp in frame for atmosphere
- Be aware of color temperature, since incandescent lamps cast warm orange light
Mixed Light Sources
Indoor environments often combine multiple light sources: window daylight, tungsten lamps, fluorescent overheads. Each has a different color temperature.
Managing mixed light:
- When possible, position subjects to receive light primarily from one source
- Accept that some color variation adds natural atmosphere
- Auto white balance handles mild mixing; manual adjustment helps extreme cases
Technique Adjustments for Low Light
Beyond settings, your shooting technique matters more in low light than in bright conditions.
Brace Yourself
When shutter speeds drop toward your handheld limit, stability becomes critical.
Stabilization techniques:
- Tuck elbows against your body
- Press the camera against your face
- Lean against walls, doorframes, or furniture
- Exhale and shoot in the natural pause
- Spread feet shoulder-width for stable stance
Each technique gains you a fraction of a stop. Combined, they can mean the difference between sharp and blurry.
Burst Mode Helps
Shoot three or four frames of important moments. Your first frame often catches the mirror slap or initial movement; subsequent frames tend to be sharper.
Shooting a quick burst acknowledges that at marginal shutter speeds, not every frame will be perfectly sharp, so give yourself options.
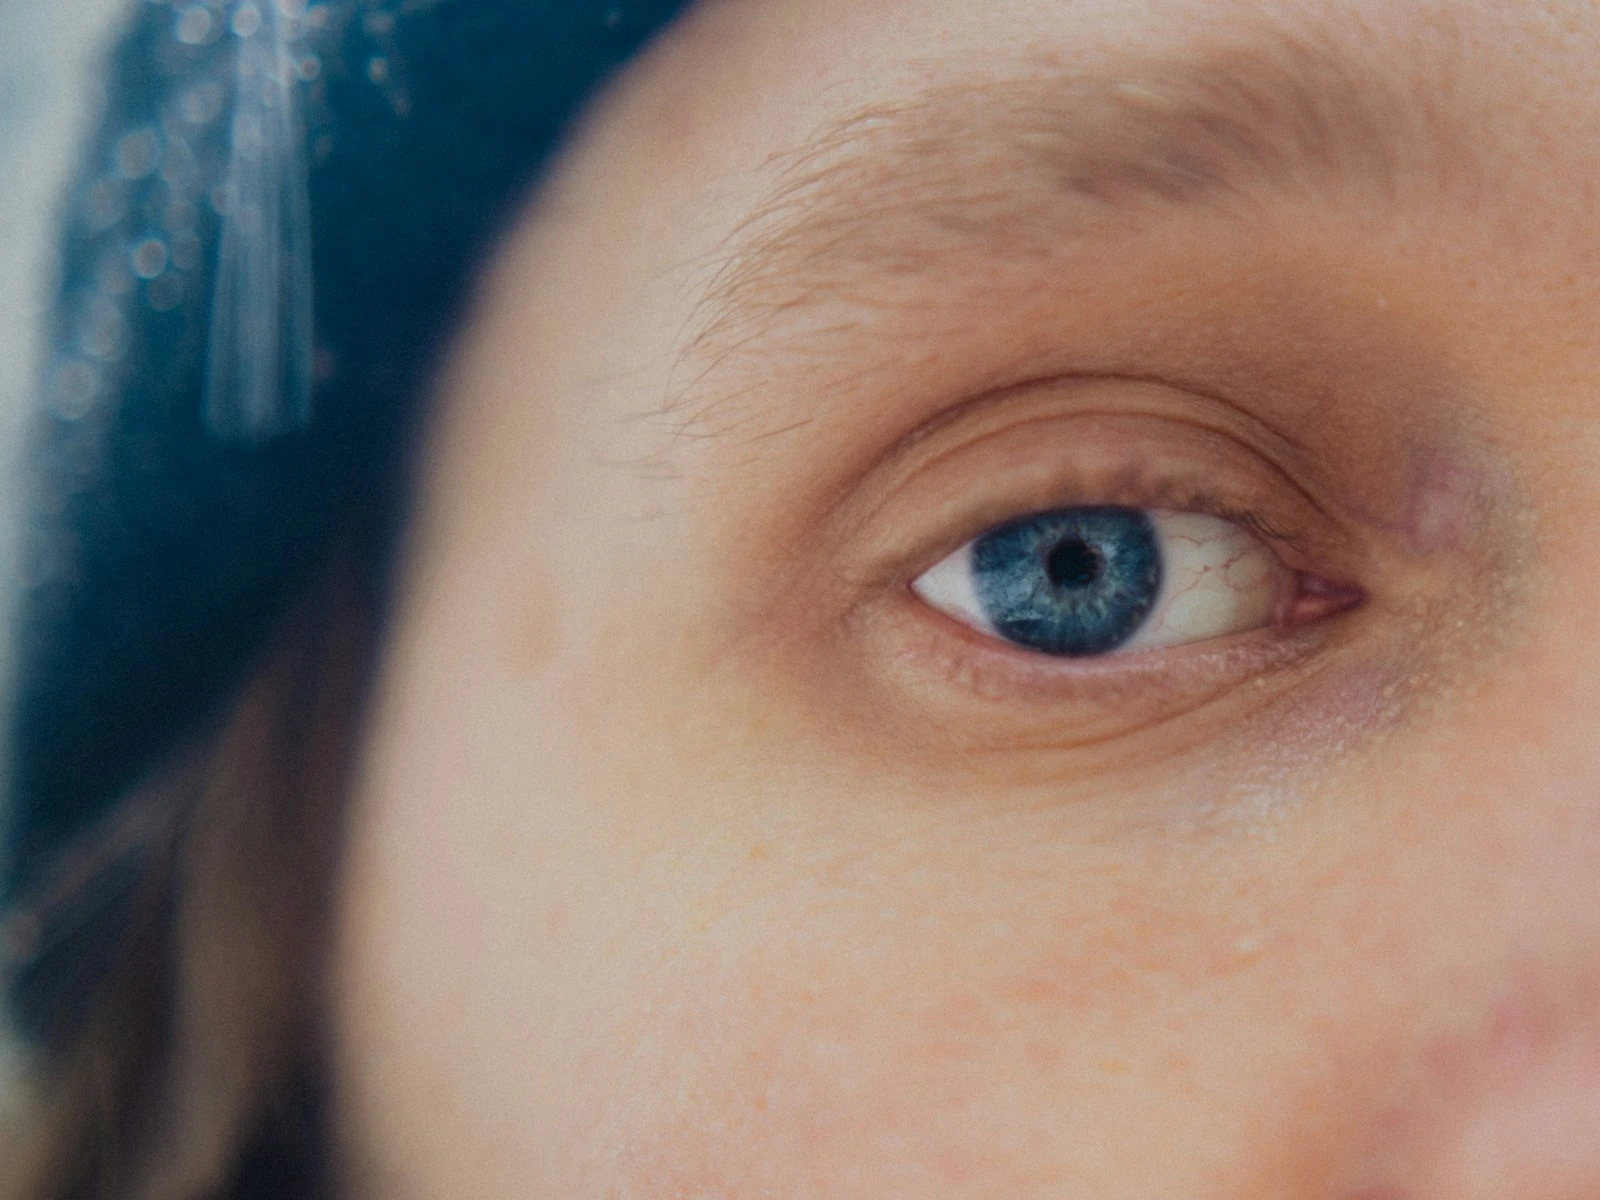
Focus Carefully
Autofocus can struggle in dim conditions, and wide apertures leave no room for focus errors.
Low light focusing approach:
- Focus on eyes for portraits (always)
- Use single-point autofocus on your specific target
- If AF hunts, try focus and recompose or manual focus
- Back-button focus separates focus from shutter release for more control
Common Indoor Scenarios
Family Gatherings and Parties
Challenges: Moving subjects, mixed lighting, candid moments
Approach:
- Open aperture fully
- Shutter speed 1/125s or faster for movement
- ISO pushed to whatever works (often 3200-6400)
- Position yourself where window light helps
- Accept that not every shot will be perfect. Capture moments
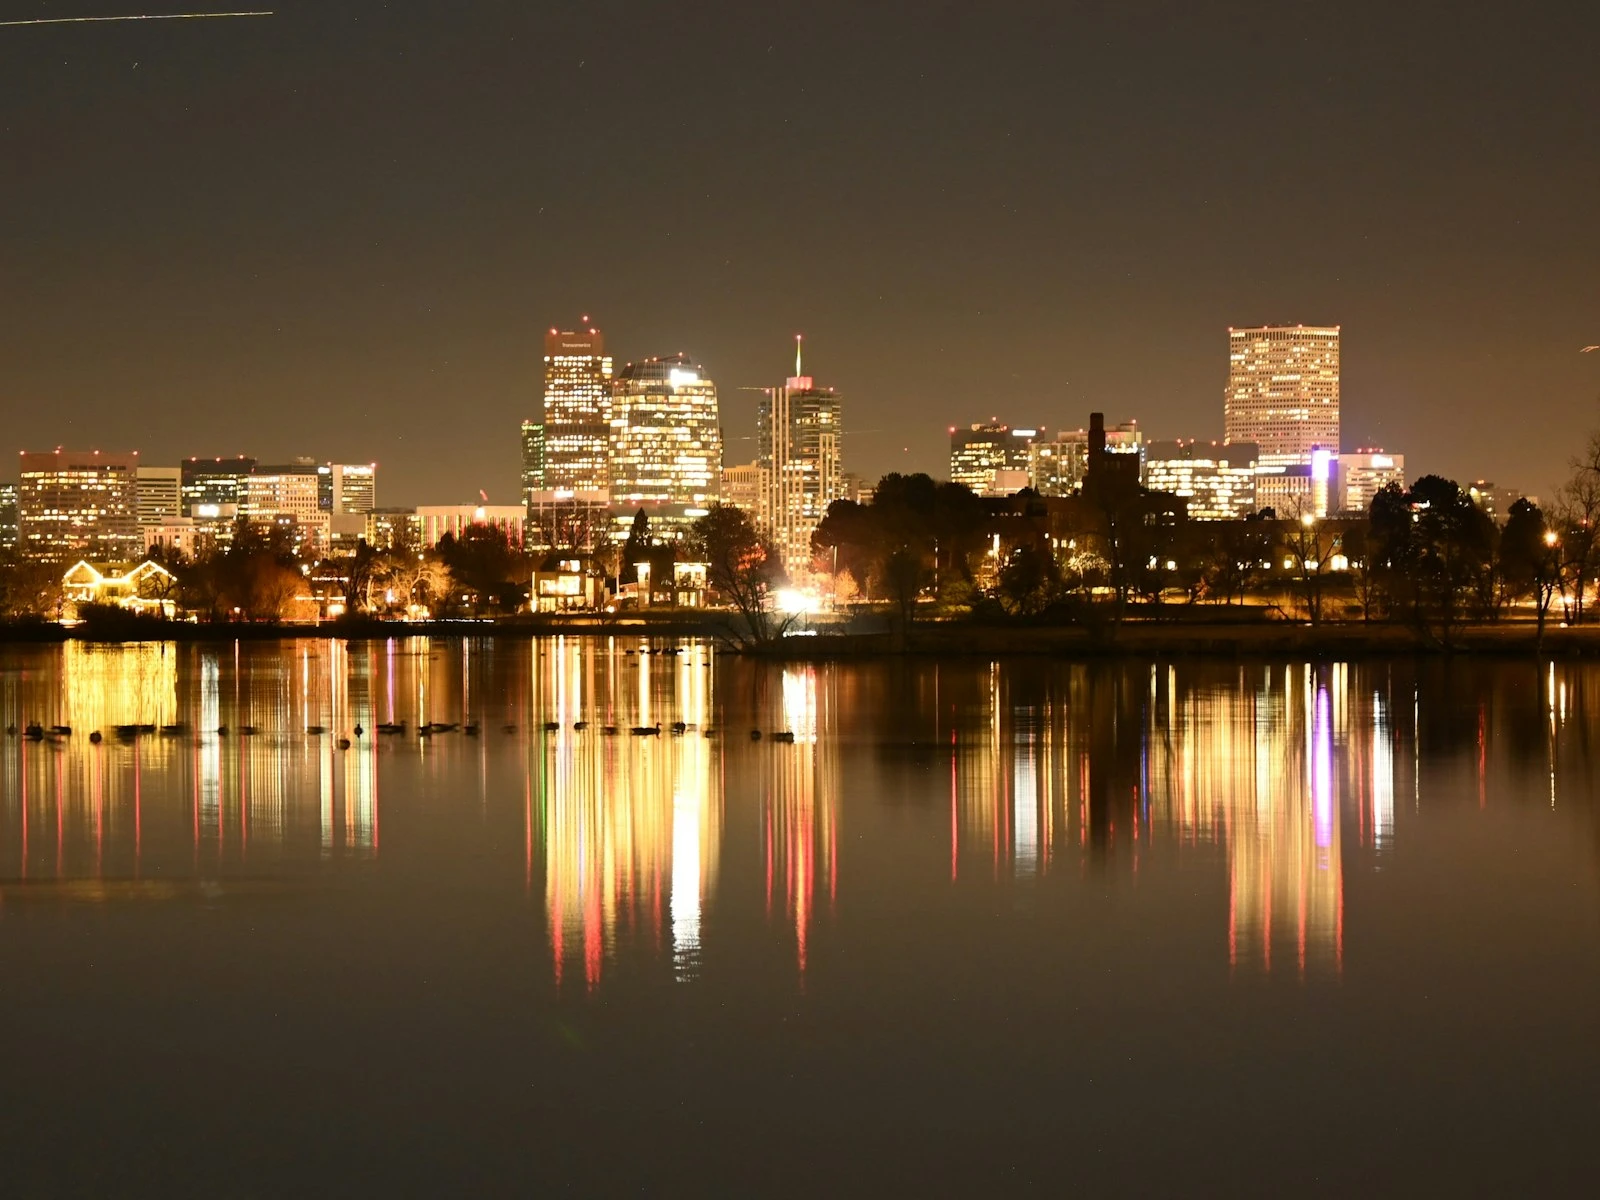
Restaurant and Cafe Photography
Challenges: Very low light, atmosphere you want to preserve
Approach:
- Wide aperture for subject isolation and light gathering
- Shutter 1/60s (subjects usually relatively still)
- ISO 1600-3200 typically
- Use candles and table lamps as accent light
- Position subjects to benefit from whatever light exists
Museums and Galleries
Challenges: Often no flash allowed, controlled low lighting, potential glare
Approach:
- Wider apertures and higher ISO required
- Watch for reflections in glass-covered art
- Respect rules about photography (some prohibit entirely)
- Long exposures on tripod if permitted and subjects don't move
Indoor Sports and Events
Challenges: Fast movement, poor gymnasium lighting, distance from subjects
Approach:
- This scenario is genuinely difficult without fast telephoto lenses
- Push ISO high because action blur is worse than noise
- Shutter speeds 1/250s minimum, faster if possible
- Longer focal lengths require faster shutter speeds
- Accept some noise; reject motion blur
When Flash Actually Makes Sense
Despite this article's focus on available light, there are situations where flash is the better tool:
Fill flash outdoors: Subtle flash reduces harsh shadows in bright sun Bounce flash indoors: Bounced off ceiling or walls provides soft, room-filling light Creative intent: When you want the flash aesthetic deliberately
The goal is to choose flash intentionally rather than defaulting to it because you don't know how to work without it.
The Lens Factor
Your lens significantly affects indoor capabilities.
Fast Primes: Low Light Specialists
A 50mm f/1.8 lens (often under $200) gathers four times more light than a typical kit lens at f/3.5. The difference between needing ISO 6400 versus ISO 1600 is substantial.
Recommended first fast prime: 50mm f/1.8 exists for virtually every camera system and provides dramatic low light improvement at low cost.
Kit Lens Limitations
The 18-55mm f/3.5-5.6 kit lens works fine outdoors but struggles indoors. At the long end (55mm at f/5.6), you're giving up significant light-gathering ability.
Working within kit lens limits:
- Stay at wider focal lengths where aperture is faster
- Push ISO higher to compensate
- Use the kit lens as motivation to learn, then consider a fast prime
Post-Processing Considerations
Indoor available light photos often benefit from specific editing approaches:
Noise reduction: Higher ISO images need noise reduction. Modern software handles this well; don't over-process or you'll lose detail.
White balance adjustment: Mixed indoor lighting often needs white balance correction or creative color grading.
Shadow recovery: Lifting shadows reveals detail your eye saw but the camera couldn't initially capture at high ISO.
Embrace the mood: Indoor available light has character. Don't edit it to look like studio lighting. Preserve the atmosphere that made you want to shoot without flash in the first place.
Key Takeaways
- Position subjects near windows to take advantage of the strongest available light source, and angle their face toward the light for flattering illumination.
- Open your aperture as wide as possible, set shutter speed fast enough to freeze your subject, and let ISO rise to fill the exposure gap.
- Brace yourself against walls, tables, or doorframes to stabilize the camera when shooting handheld at the edge of acceptable shutter speeds.
- Accept that indoor available-light photos will be noisier and have shallower depth of field than outdoor photos, and work with those constraints rather than fighting them.
More in This Guide
Continue building your low-light photography skills.