Every camera has an ISO ceiling, the point where noise becomes unacceptable for your purposes. But that ceiling varies enormously between camera models, and the only way to know your camera's actual limit is to test it yourself.
Online recommendations don't help much here. "Don't go above ISO 800" might be sensible advice for a 2010 point-and-shoot but overly conservative for a 2024 full-frame camera. Your camera's real-world ISO performance depends on sensor size, technology generation, and your personal tolerance for noise.
This guide helps you find your camera's actual usable ISO limit through practical testing, and understand the factors that determine why different cameras perform so differently. It's one of the most camera-specific topics in our low light guide.
Why ISO Performance Varies So Much
Not all cameras handle high ISO equally. Understanding why helps you interpret your results and set realistic expectations.
Sensor Size: The Biggest Factor
Larger sensors gather more total light, which translates directly to better high-ISO performance.
Full-frame sensors (36x24mm):
- Best high-ISO performance available in consumer cameras
- Often usable to ISO 6400-12800 or higher
- Professional sports and wedding cameras push to ISO 25600+
APS-C/crop sensors (~23x15mm):
- About 1-1.5 stops worse than full-frame at equivalent ISO
- Typically usable to ISO 3200-6400
- Newer APS-C often outperforms older full-frame
Micro Four Thirds (17x13mm):
- About 1-2 stops behind full-frame
- Typically usable to ISO 1600-3200
- Requires more careful ISO management
1-inch sensors (13x9mm):
- Compact camera and some premium point-and-shoots
- Usable to ISO 800-1600 in good conditions
- Shows noise earlier than larger sensors
Smartphone sensors (tiny):
- Heavily processed to compensate for sensor limitations
- Computational photography masks underlying noise
- Struggle significantly in true low light
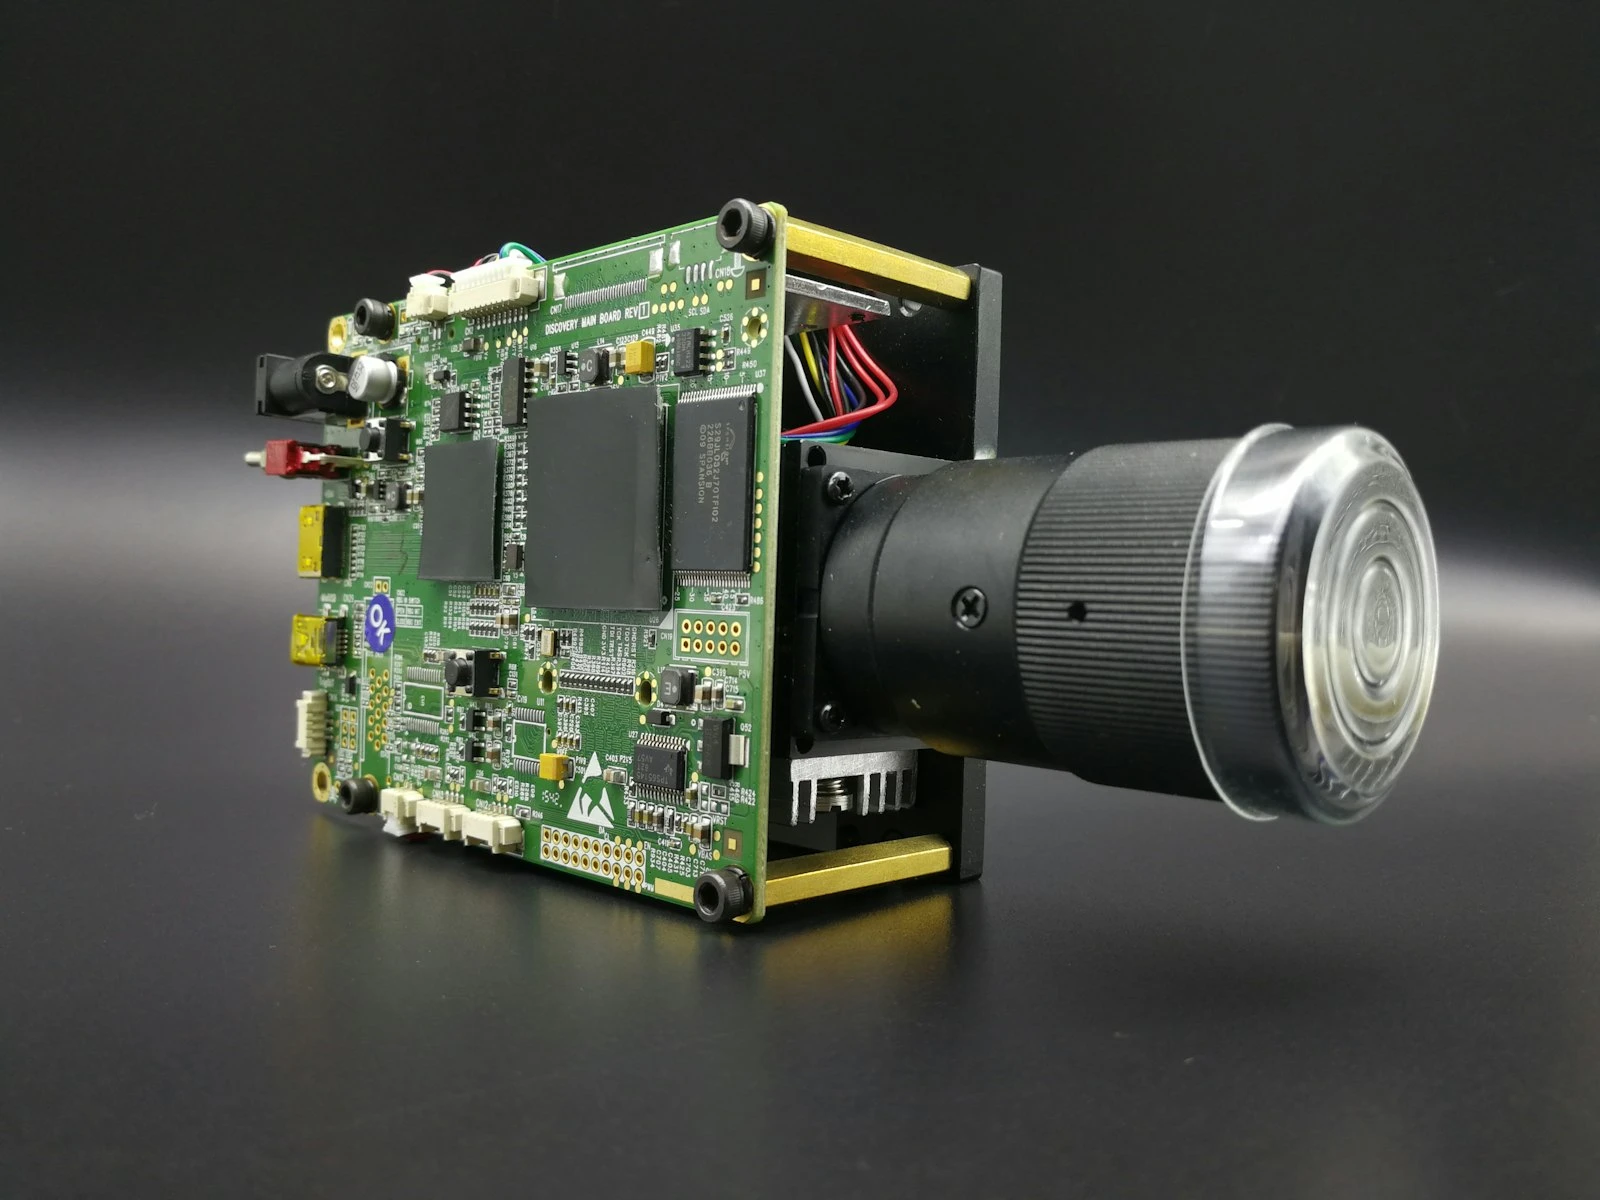
Technology Generation
A 2024 sensor outperforms a 2014 sensor of the same size. Manufacturing improvements, better readout electronics, and smarter processing all contribute.
General guideline: A modern crop sensor often matches or exceeds an older full-frame sensor. Don't assume full-frame always wins, and check the generation instead.
Megapixel Count
Higher megapixels on the same sensor size means smaller individual pixels, which can mean slightly more noise. However, modern high-megapixel cameras often have noise handling that compensates effectively.
In practice, megapixel count matters less than sensor size and generation for noise performance.
Manufacturer Processing
Camera manufacturers apply different levels of in-camera noise reduction. Some produce cleaner JPEGs but smoother results; others preserve more detail with more visible noise.
RAW files bypass most in-camera processing, showing the sensor's true performance. Your results from RAW processing may differ from camera JPEGs.
Finding Your Camera's Actual ISO Limit
Rather than trusting online charts (which may reflect different testing conditions, processing, or standards), test your specific camera with your specific workflow.
The Practical ISO Test
What you'll need:
- Your camera
- A tripod or stable surface
- A subject with fine detail (magazine page, textured fabric, detailed object)
- Consistent lighting (artificial is fine, just keep it constant)
- Your normal editing software
Setup:
- Mount camera on tripod to eliminate variables
- Frame a subject with fine detail, mid-tones, and some shadow areas
- Set aperture to a mid-range value (f/5.6-f/8 for optimal sharpness)
- Focus carefully and use timer or remote to prevent shake
- Set white balance manually to keep it consistent
The test sequence:
Shoot the identical scene at each ISO setting your camera offers:
- ISO 100 (or your camera's base ISO)
- ISO 200
- ISO 400
- ISO 800
- ISO 1600
- ISO 3200
- ISO 6400
- ISO 12800
- Higher if your camera offers it
Adjust shutter speed for each ISO to maintain consistent exposure. As you double ISO, halve your shutter speed.
Evaluating Your Results
Import all test images into your editing software. Compare them at 100% magnification.
What to look for:
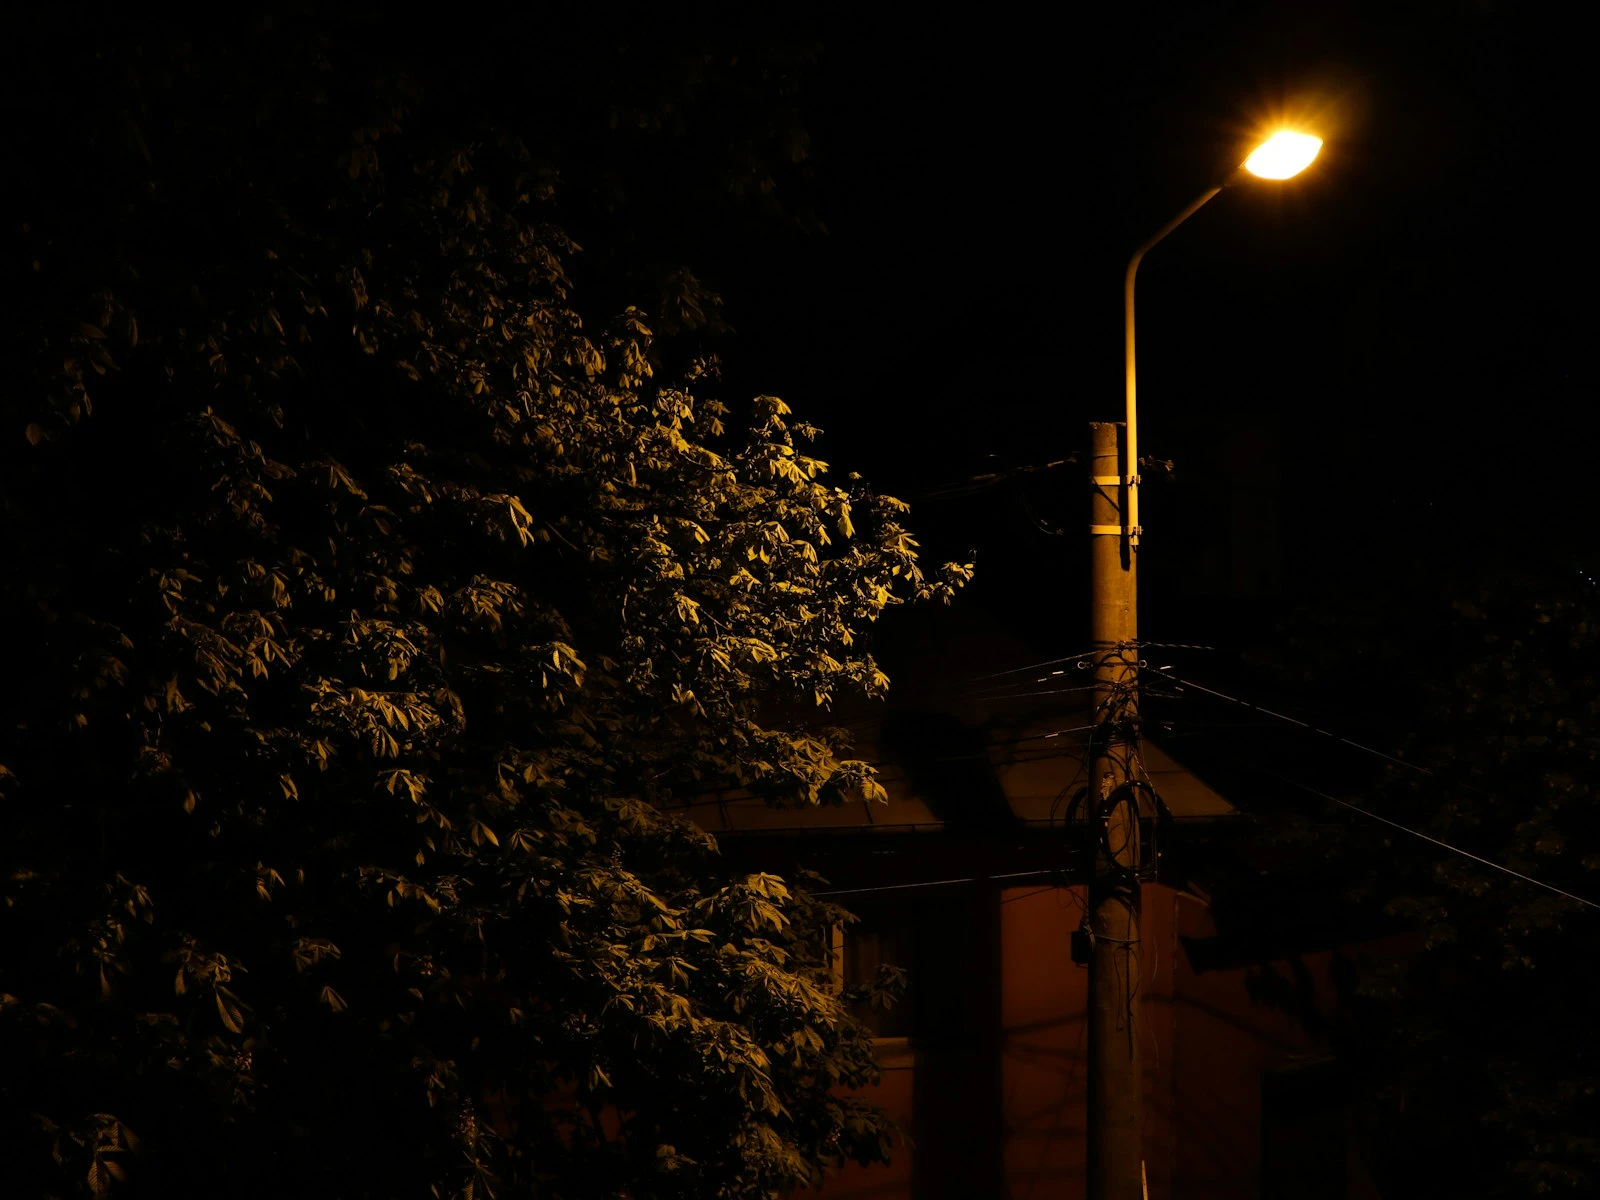
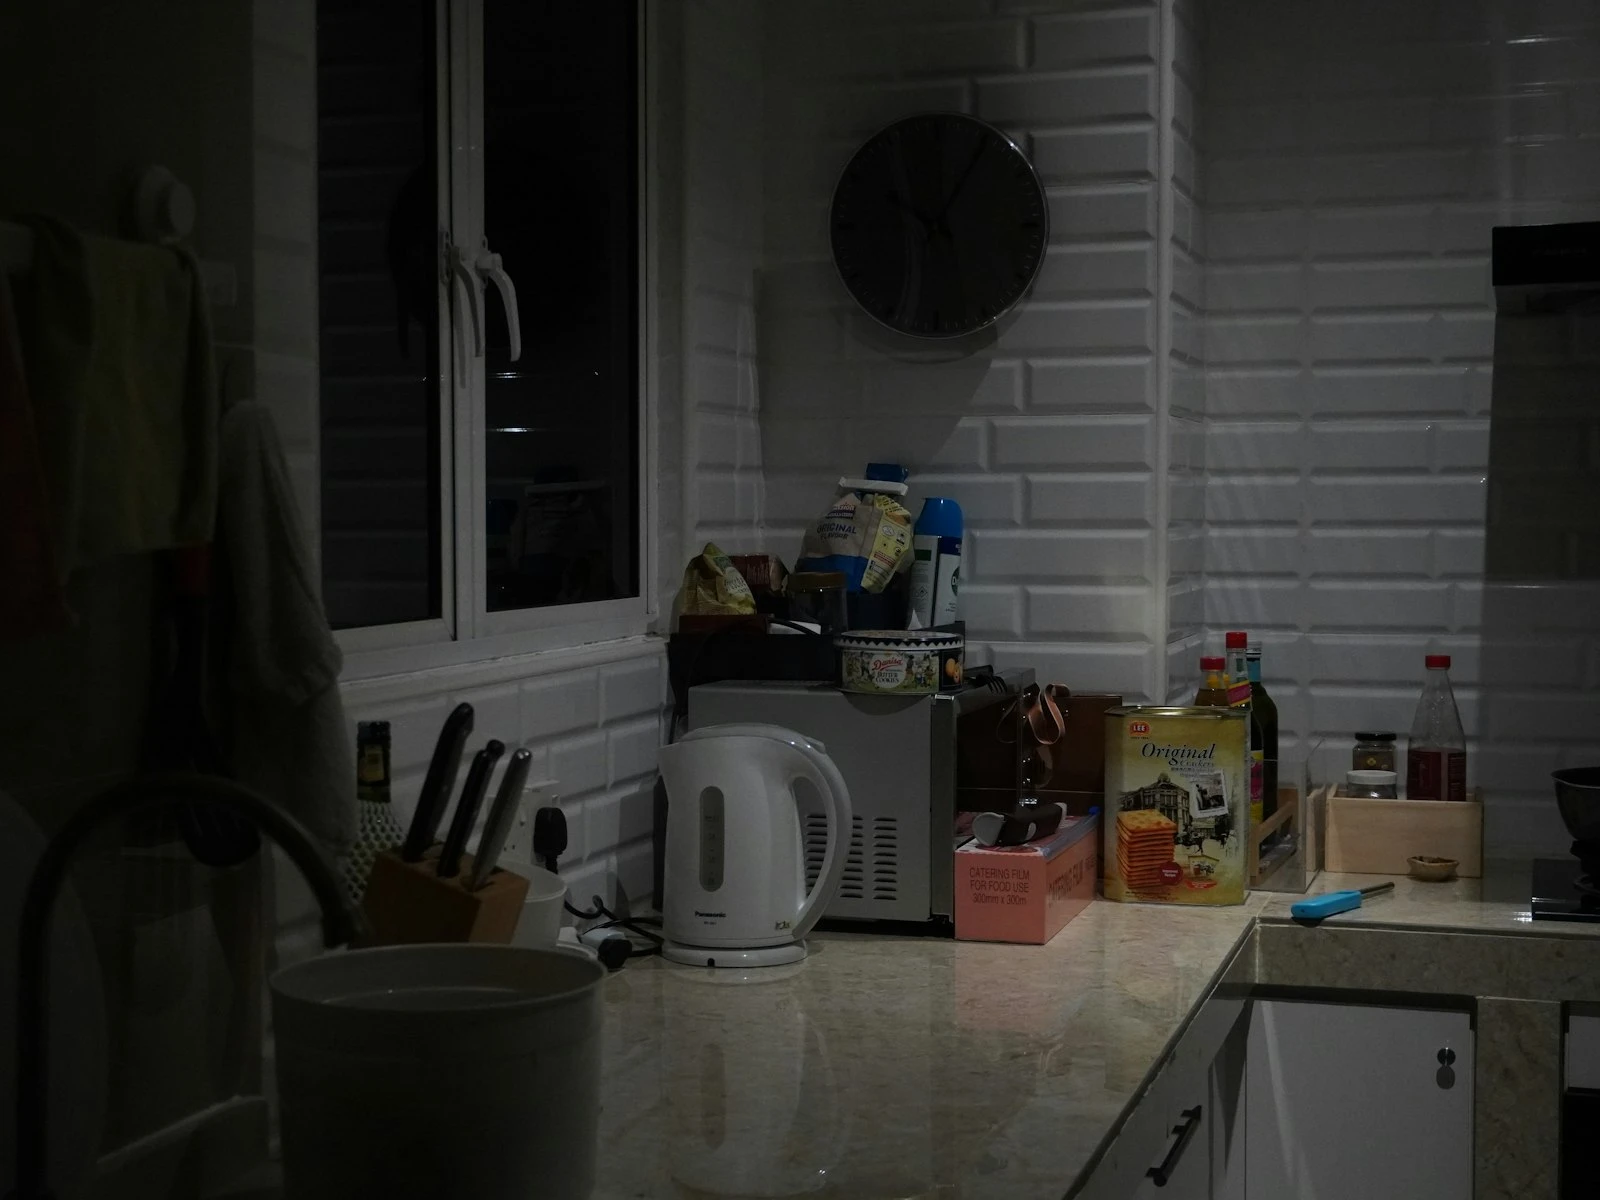
In mid-tones: When does grain become visible? When does it become distracting?
In shadows: Shadows show noise first. At what ISO do shadow areas become unacceptably textured?
In fine detail: When do fine textures start to blur or lose definition from noise?
In colors: When do color variations (color noise) appear? When do colors start looking muddy?
Establishing Your Personal Limits
Based on your evaluation, establish three thresholds:
Ideal ISO: The highest ISO where you see minimal quality impact. Use this whenever possible.
- Often ISO 400-800 for most cameras
- Where you'd shoot if light allows
Acceptable ISO: The highest ISO where quality remains good for most purposes. Suitable for normal use.
- Might be ISO 1600-3200 for modern cameras
- Some noise visible on close inspection, acceptable in normal viewing
Maximum usable ISO: The highest ISO you'd use when you have no choice. Quality compromised but image still useful.
- Could be ISO 6400-12800 on good cameras
- Clearly noisy but sharp details preserved
- Better than missing the shot or getting blur
Test at Your Output Size
ISO that looks rough at 100% on a 4K monitor may look perfectly fine in a typical web image or standard print.
Test for your actual use:
- If you mainly share online at 2000 pixels wide, check noise at that size
- If you print 8x10s, examine at that equivalent
- If you sell large prints, you need to evaluate at full resolution
Your "maximum usable ISO" for web sharing might be considerably higher than for large prints.
ISO Performance by Camera Category
While individual testing is essential, here are general starting points by camera type. Your specific camera may perform better or worse than these guidelines.
Current Full-Frame Cameras (2020+)
Typical usable range: ISO 100-12800 Often acceptable: ISO 25600 Sometimes usable: ISO 51200+
Modern full-frame sensors handle high ISO remarkably well. Professional cameras in this category often deliver usable results at ISO settings that would have been unthinkable a decade ago.
Current APS-C Cameras (2020+)
Typical usable range: ISO 100-6400 Often acceptable: ISO 12800 Sometimes usable: ISO 25600
Modern crop sensors have improved dramatically. Current APS-C often matches full-frame from just a few years prior.
Current Micro Four Thirds (2020+)
Typical usable range: ISO 100-3200 Often acceptable: ISO 6400 Sometimes usable: ISO 12800
Smaller sensors show noise earlier, but modern processing helps. Latest MFT cameras are significantly better than older models.
Older Cameras (2015 and earlier)
Performance varies significantly. Test your specific camera rather than assuming. A 2015 flagship often outperforms a 2020 entry-level model. Check the sensor, not just the age.
Entry-Level vs. Professional
Within each generation, professional cameras typically have better high-ISO performance than entry-level cameras with similar sensors, due to better processing and sometimes physically different sensor implementations.
Understanding Extended ISO
Most cameras offer "native" ISO range and "extended" or "expanded" ISO range (often marked as H1, L1, etc. or shown in a different color in menus).
Native ISO
The range where your sensor operates most naturally. Processing is optimized for these values. Generally ISO 100/200 to ISO 6400/12800.
Extended High ISO
Values above native range (H1, H2, ISO 51200+). These are created by additional digital amplification and typically show:
- More noise than top native ISO
- Reduced dynamic range
- Sometimes strange color behavior
Use cautiously: Extended high ISO often doesn't perform as well as you might expect from the number. ISO 51200 extended may look worse than ISO 25600 native with proper exposure.
Extended Low ISO
Values below native base (L1, ISO 50). Created by overexposing and pulling back in processing. Can:
- Reduce dynamic range in highlights
- Provide slight noise reduction in shadows
- Be useful in very bright conditions when you need longer exposure
Practical value: Limited. Usually better to use native base ISO with a neutral density filter if you need slower shutter speeds.
The "Expose to the Right" Consideration
Underexposing and brightening in post creates more noise than proper exposure at higher ISO. This is counterintuitive but important.
The principle: If you need ISO 6400 for proper exposure, using ISO 3200 and brightening 1 stop in editing typically produces worse results than shooting ISO 6400 properly exposed.
Why: Brightening underexposed images amplifies the noise that exists. Proper exposure at high ISO has the sensor and processing optimized for that gain level.
Practical application: Don't shy away from the ISO you actually need. Underexposing to use lower ISO usually backfires.
Noise Reduction's Role
Your ISO limit depends on your complete workflow including post-processing noise reduction.
Good noise reduction software can extend your usable ISO by making images shot at your "maximum usable" look like your "acceptable" ISO.
Modern AI-powered denoise tools (DxO PureRAW, Topaz DeNoise AI, Adobe's AI denoise) can recover significant quality from high-ISO images, potentially adding 1-2 stops of usable range.
Factor this into your limit: If you shoot RAW and use quality noise reduction, your practical ISO ceiling may be higher than you initially assess from unprocessed files.
Practical High-ISO Decision Making
When to Push ISO
Subject motion matters more than noise: A sharp image at ISO 6400 always beats a blurry image at ISO 1600.
The moment is fleeting: If you're missing shots trying to keep ISO low, your priorities are backwards.
Post-processing can help: Modern denoise tools recover significant quality from high-ISO files.
When to Limit ISO
You have other options: If you can add light, use a tripod, or open aperture, do that instead of pushing ISO.
Output demands quality: Large prints, commercial work, or clients who expect perfection warrant more conservative ISO.
You've hit your true limit: Beyond your tested maximum, quality degrades faster than the light benefit you gain.
Test, Don't Guess
Online ISO charts, forum recommendations, and general guidelines can't tell you how your specific camera performs for your specific needs. The 30 minutes spent running a proper ISO test gives you:
- Confidence to push ISO when needed
- Knowledge of when you're approaching limits
- Ability to make informed tradeoffs
- Elimination of guesswork in pressure situations
Your tested limits beat any online recommendation because they're based on your camera, your workflow, and your quality standards. The ISO and noise visual guide shows how noise looks at different ISO levels across common camera sensors, which can help calibrate your expectations.
Key Takeaways
- Test your own camera by shooting the same scene at every ISO from 400 to max, then evaluate the results at the size you actually use them (screen, print, or social media).
- Full-frame sensors typically handle 1-1.5 stops higher ISO than crop sensors, and newer cameras almost always outperform older ones regardless of sensor size.
- Your acceptable ISO limit depends on output size: social media and phone viewing tolerate much higher ISO than large prints examined closely.
- Set your personal ISO ceiling based on your test results, then use Auto ISO with that maximum so you never accidentally exceed your camera's usable range.
More in This Guide
Continue building your low-light photography skills.