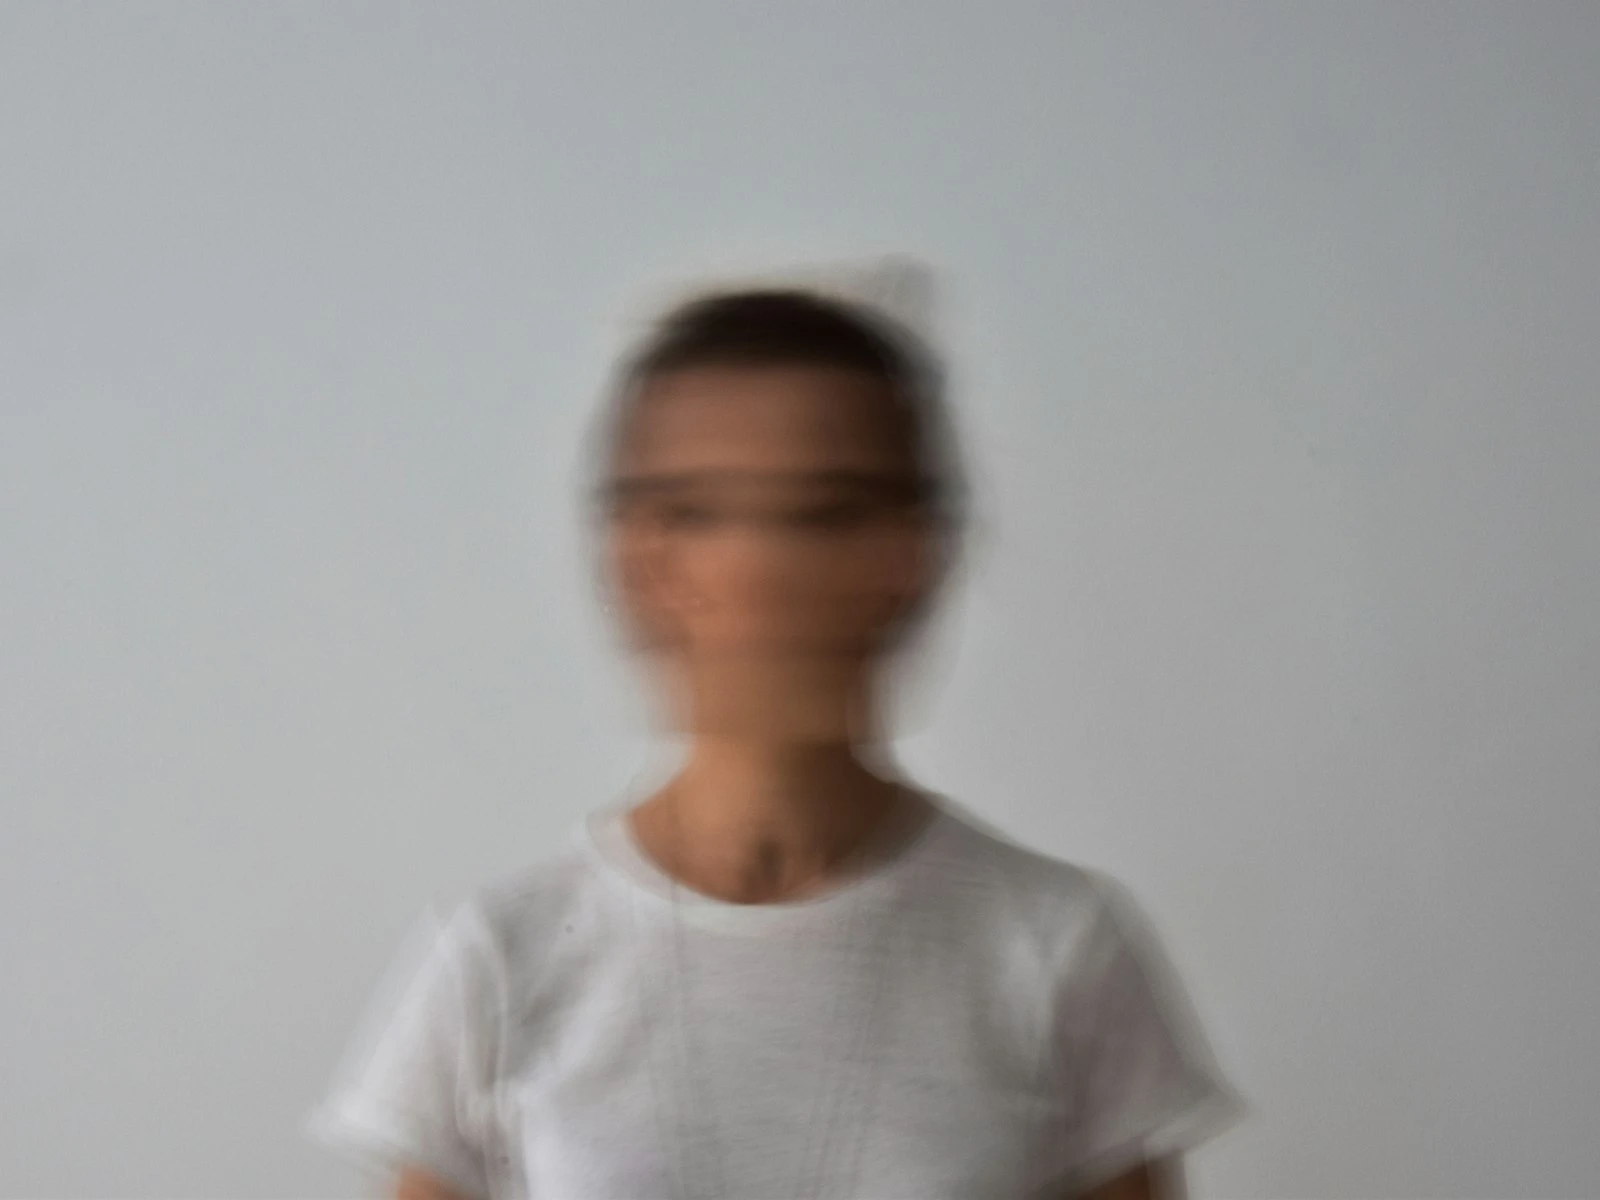
You've seen the photos where someone looks amazing, better than you've ever seen them in person. And you've seen the photos where a perfectly attractive person looks inexplicably off.
It's a handful of technical choices that either work with the person's features or against them.
Flattering photography is learnable, and there are specific angles, lighting positions, and techniques that work for almost everyone. It's the foundation of our entire portraits guide. Once you know them, you can make anyone look good, not through heavy editing or unrealistic standards, but by presenting them in their best natural light.
The Chin-Forward Secret
This single adjustment flatters nearly everyone, and almost no one does it naturally.
Ask your subject to push their chin slightly forward, then angle it down just a touch. This sounds awkward described, and it feels awkward at first. But it:
- Defines the jawline by stretching the skin slightly
- Reduces any appearance of a double chin
- Creates separation between the face and neck
- Adds a subtle confidence to the expression
Don't overdo it. Extreme chin thrust looks strange. Think "push your forehead toward me" rather than "stick your chin out." The movement is subtle.
Try it yourself in a mirror. Normal position, then chin forward and down. You'll see the difference immediately. This one adjustment appears in virtually every professional headshot and portrait because it works universally.
Angles Matter More Than You Think
The camera angle relative to your subject changes everything about how they're perceived.
Slightly above eye level is the most universally flattering angle. When you shoot from above:
- Eyes appear larger and more prominent
- The face appears narrower
- The jawline becomes more defined
- Any weight appears minimized
This doesn't mean dramatically overhead. Just position the camera slightly above their eye line, angling down perhaps 10-15 degrees.
Eye level is neutral. It's how we see each other in conversation, so it feels natural. Neither particularly flattering nor unflattering.
Below eye level emphasizes whatever is closest to the lens, usually the chin, nostrils, and underside of the face. It can add perceived weight and is generally unflattering for most people, unless you're intentionally going for a powerful, dominant look.
For seated subjects: If they're sitting and you're standing, you're automatically shooting from above. This is one reason seated portraits often look good, because the angle is built in.
The practical tip: For standing subjects, have them on a slight elevation (stairs, a curb, a small platform), or you lower yourself slightly into a subtle squat. Small height adjustments create the flattering downward angle.
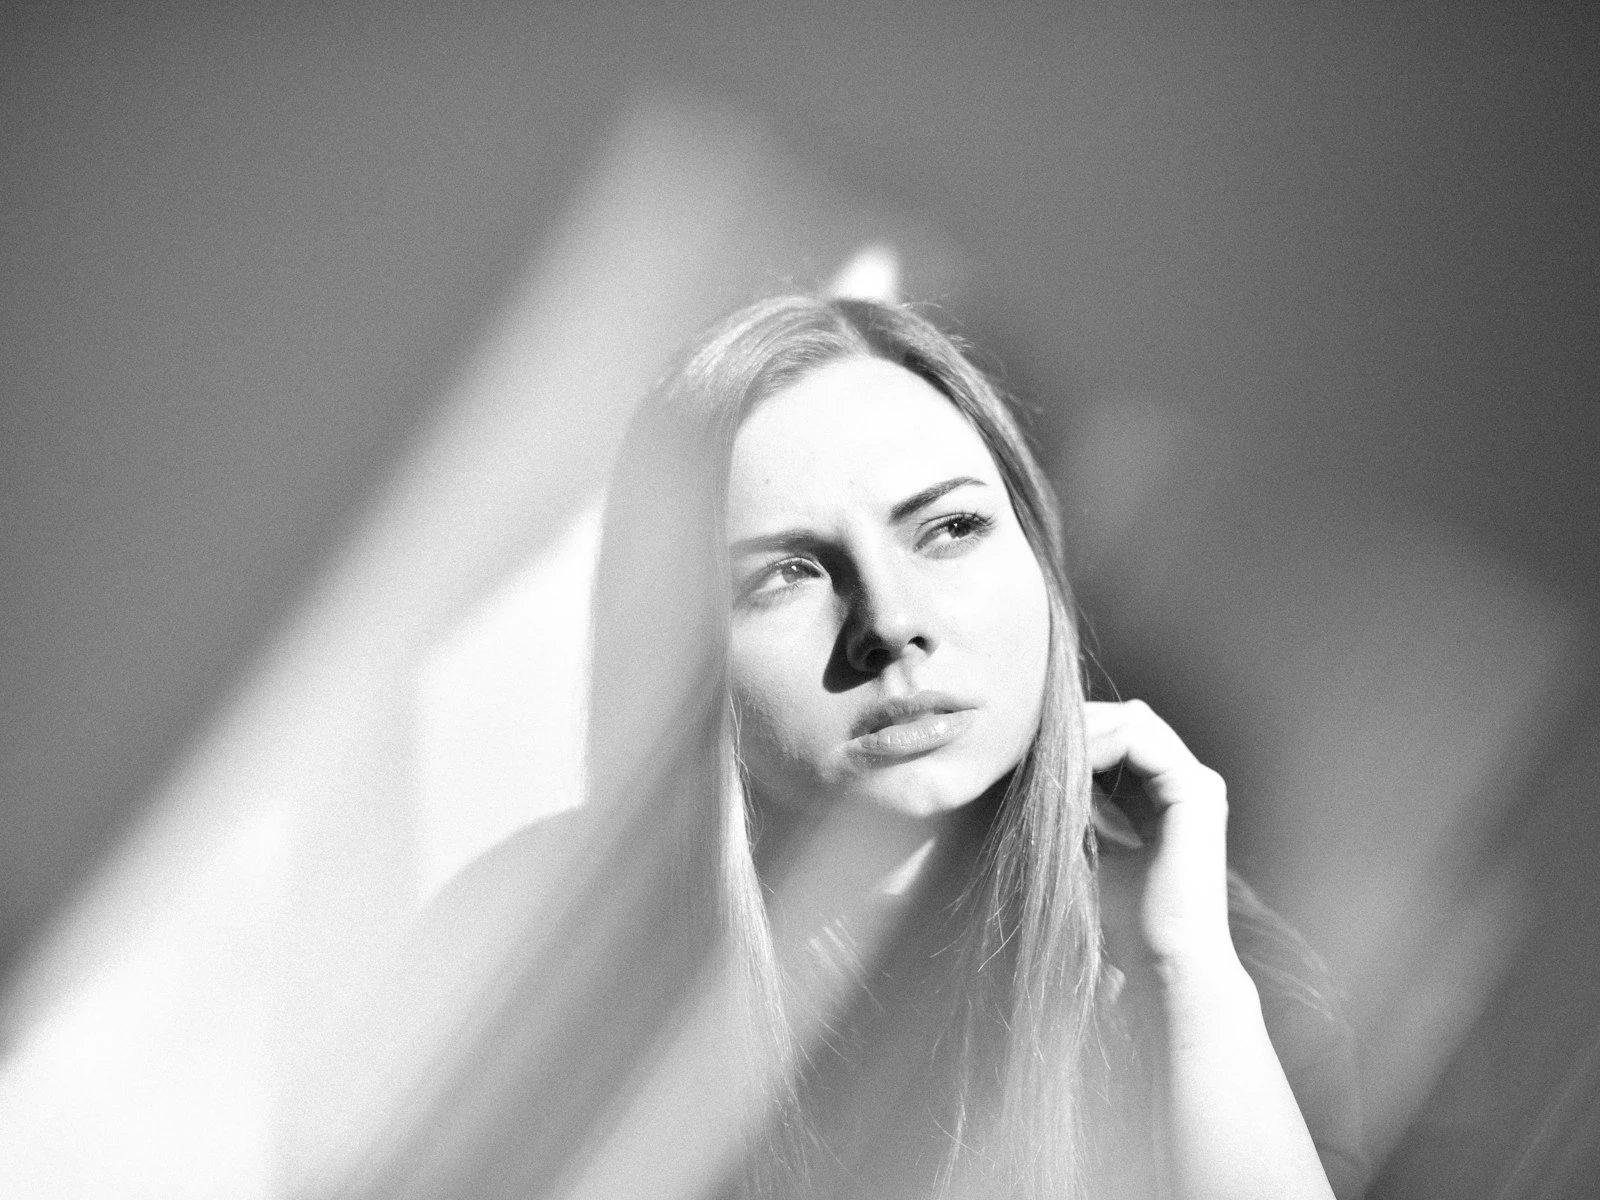
Light Position: The Foundation of Flattery
No amount of angle adjustment saves a badly lit portrait. Fortunately, flattering light isn't complicated to find or create.
The universal setup is soft light coming from slightly above and to one side of the face. This creates:
- Gentle shadows that add dimension without harshness
- A natural look that matches how we see faces in daily life
- Minimized skin texture (soft light is forgiving)
- No squinting (indirect light doesn't make people squint)
Where to position people for flattering light
Window light: Have them face the window at about a 45-degree angle. Not straight-on (flat light) and not profile to the window (dramatic but sometimes too harsh). The 45-degree sweet spot gives you dimension without unflattering shadows.
Open shade: Position them facing the open sky, not the shaded area behind them. The shade blocks harsh direct sun; the open sky provides soft, directional light.
Overcast days: These are naturally flattering. The clouds diffuse the sun into a giant softbox. Just avoid positioning subjects under awnings or trees where what little direction the light has gets blocked.
What to avoid
Hard overhead light creates shadows in eye sockets ("raccoon eyes"), emphasizes every skin texture, and highlights any imperfections.
Light from below produces the "flashlight under the chin" horror movie look. Nothing flatters when lit from underneath.
Harsh direct sun causes squinting, creates unflattering contrast, and bakes in every skin texture.
Mixed light sources like indoor lights plus window light often create conflicting color casts that look unnatural on skin.
Body Position and Weight Distribution
Small changes in how someone holds their body significantly impact how they photograph.
Turn the body 45 degrees. Squared-up to the camera adds visual width. Even a slight angle creates a more flattering, dynamic shape. The "model's T" is a common technique: turn the body 45 degrees, bring the shoulder closest to the camera slightly forward, and turn the face back toward the camera.
Shift weight to the back foot. When someone stands evenly on both feet, they look stiff. Shifting weight to the back foot creates a natural relaxation in the posture and often a more flattering hip angle for full-body shots.
Create space between arms and body. Arms pressed against sides look wider than they are. Having elbows slightly out, like hands on hips, arms crossed, or holding something, creates a visible gap that slims the appearance.
For seated subjects: Have them sit forward, not back. Leaning into the camera creates engagement and naturally angles the body forward, hiding what might appear unflattering about a settled, relaxed seated position.
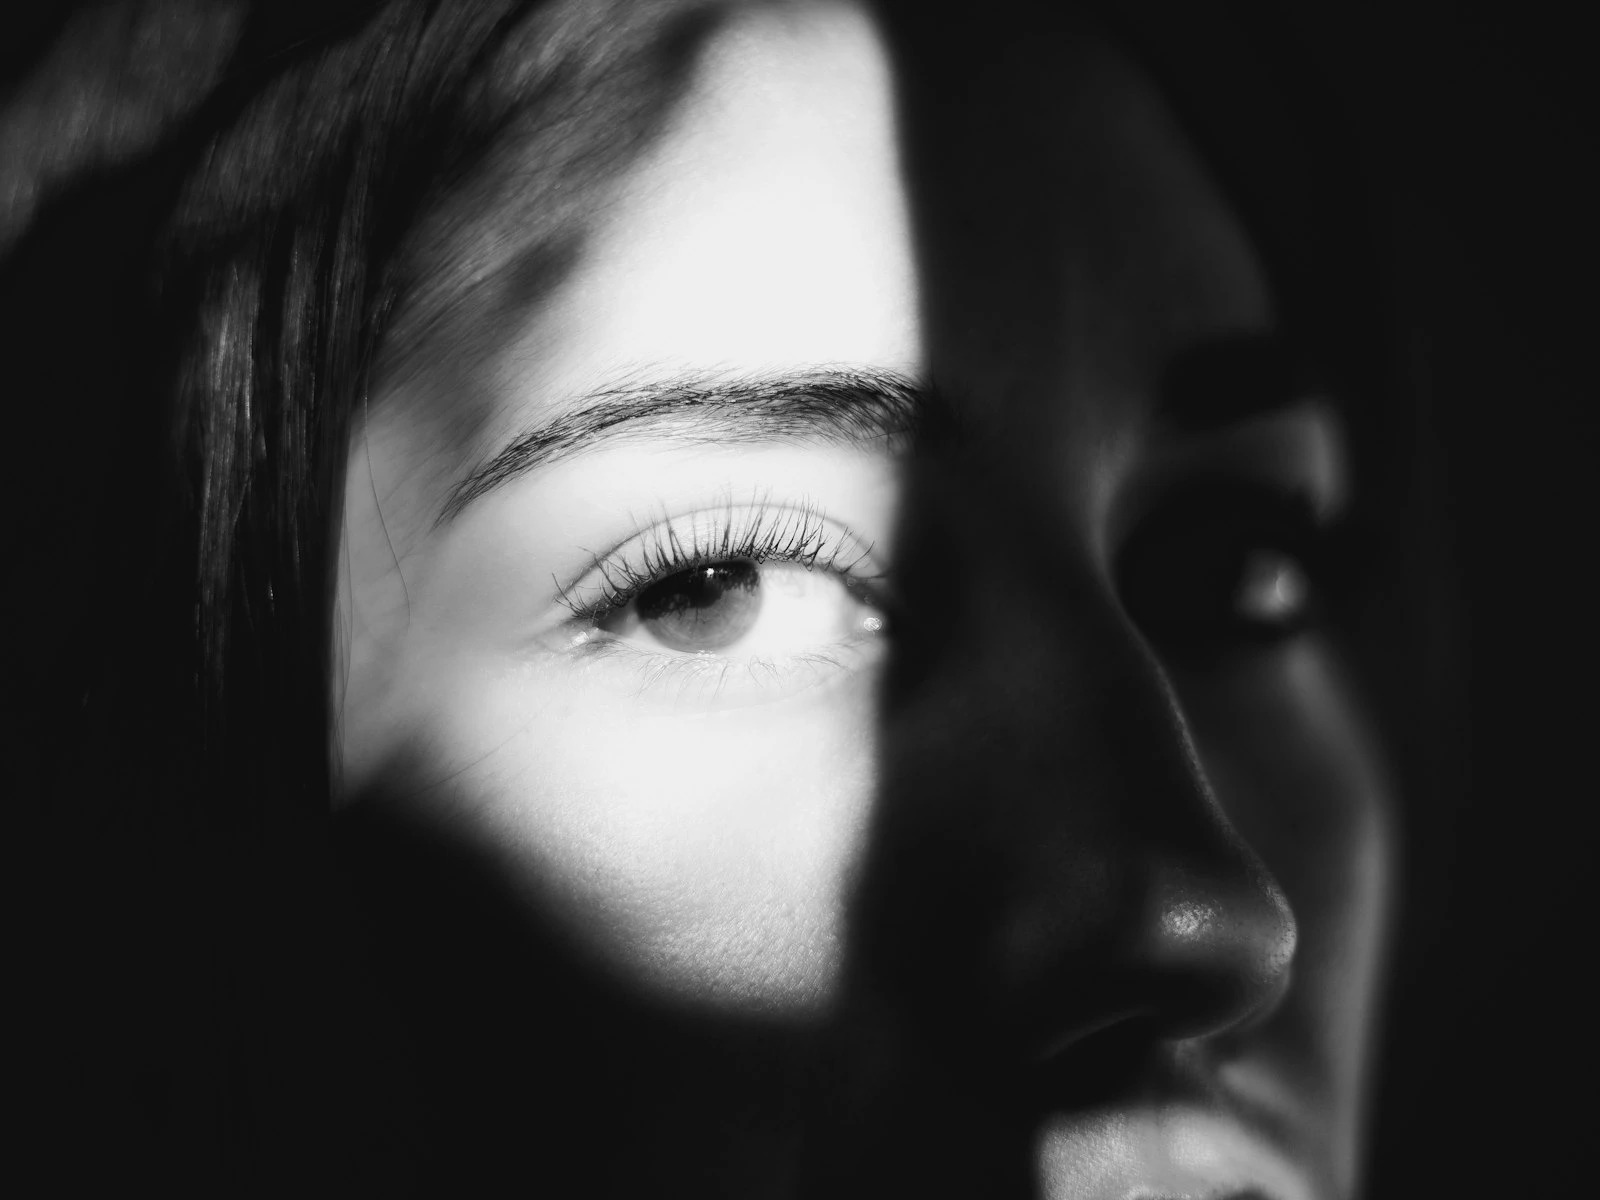
The Eyes: Where Flattery Lives or Dies
Eyes make or break portraits, because flattering everything else while getting the eyes wrong still creates an unsuccessful image.
Direct gaze versus looking away. Both can work, but each creates a different energy. Direct eye contact is more engaging and intimate, while looking away is more relaxed and candid. Choose based on the purpose of the portrait.
Avoid partial eye coverage. Eyelids covering half the iris, eyes partially obscured by hair, or that "just about to blink" look. All of these create unflattering or awkward moments. Shoot in short bursts to catch fully open eyes.
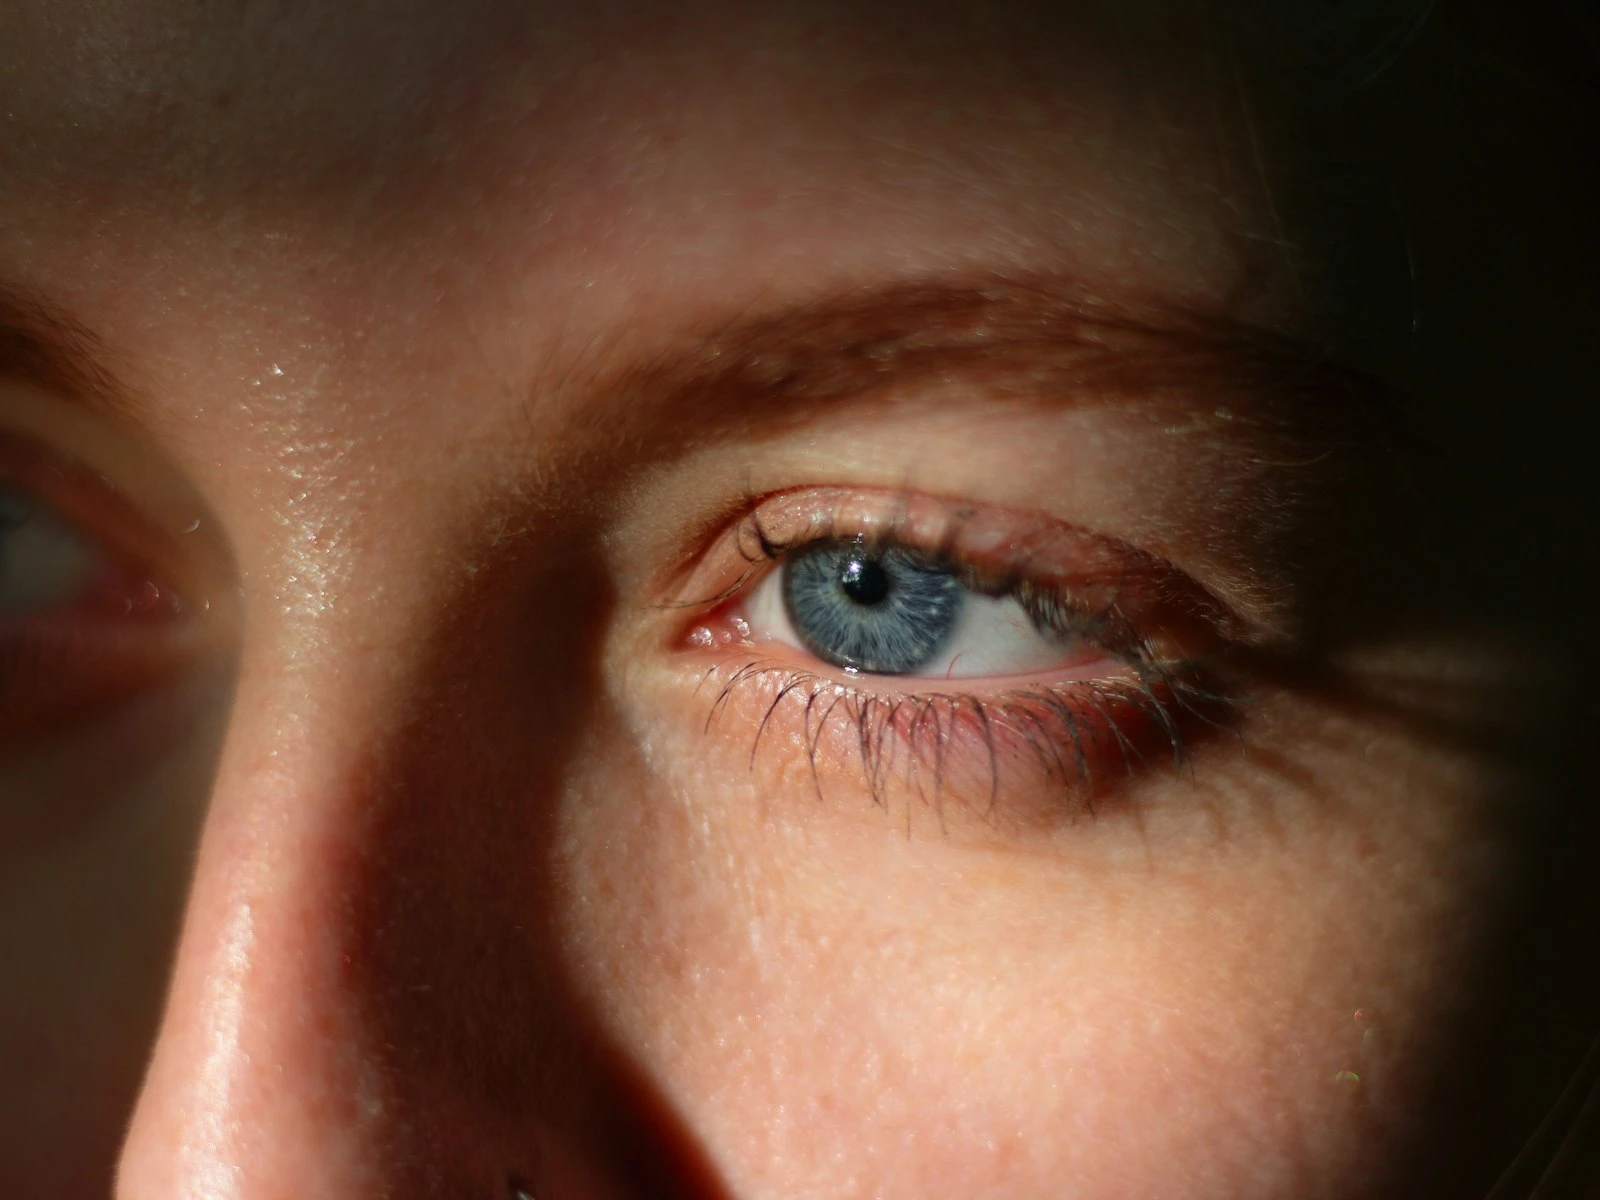
Catchlights matter. The reflection of the light source in the eyes creates life and sparkle. No catchlights = dull, lifeless eyes. Position your subject so you can see the light source reflected in their eyes.
Squinting is contagious. If you're in bright light, they'll squint. Move to shade, or turn them so the light isn't directly in their eyes. Even slight squinting narrows eyes and creates tension in the face.
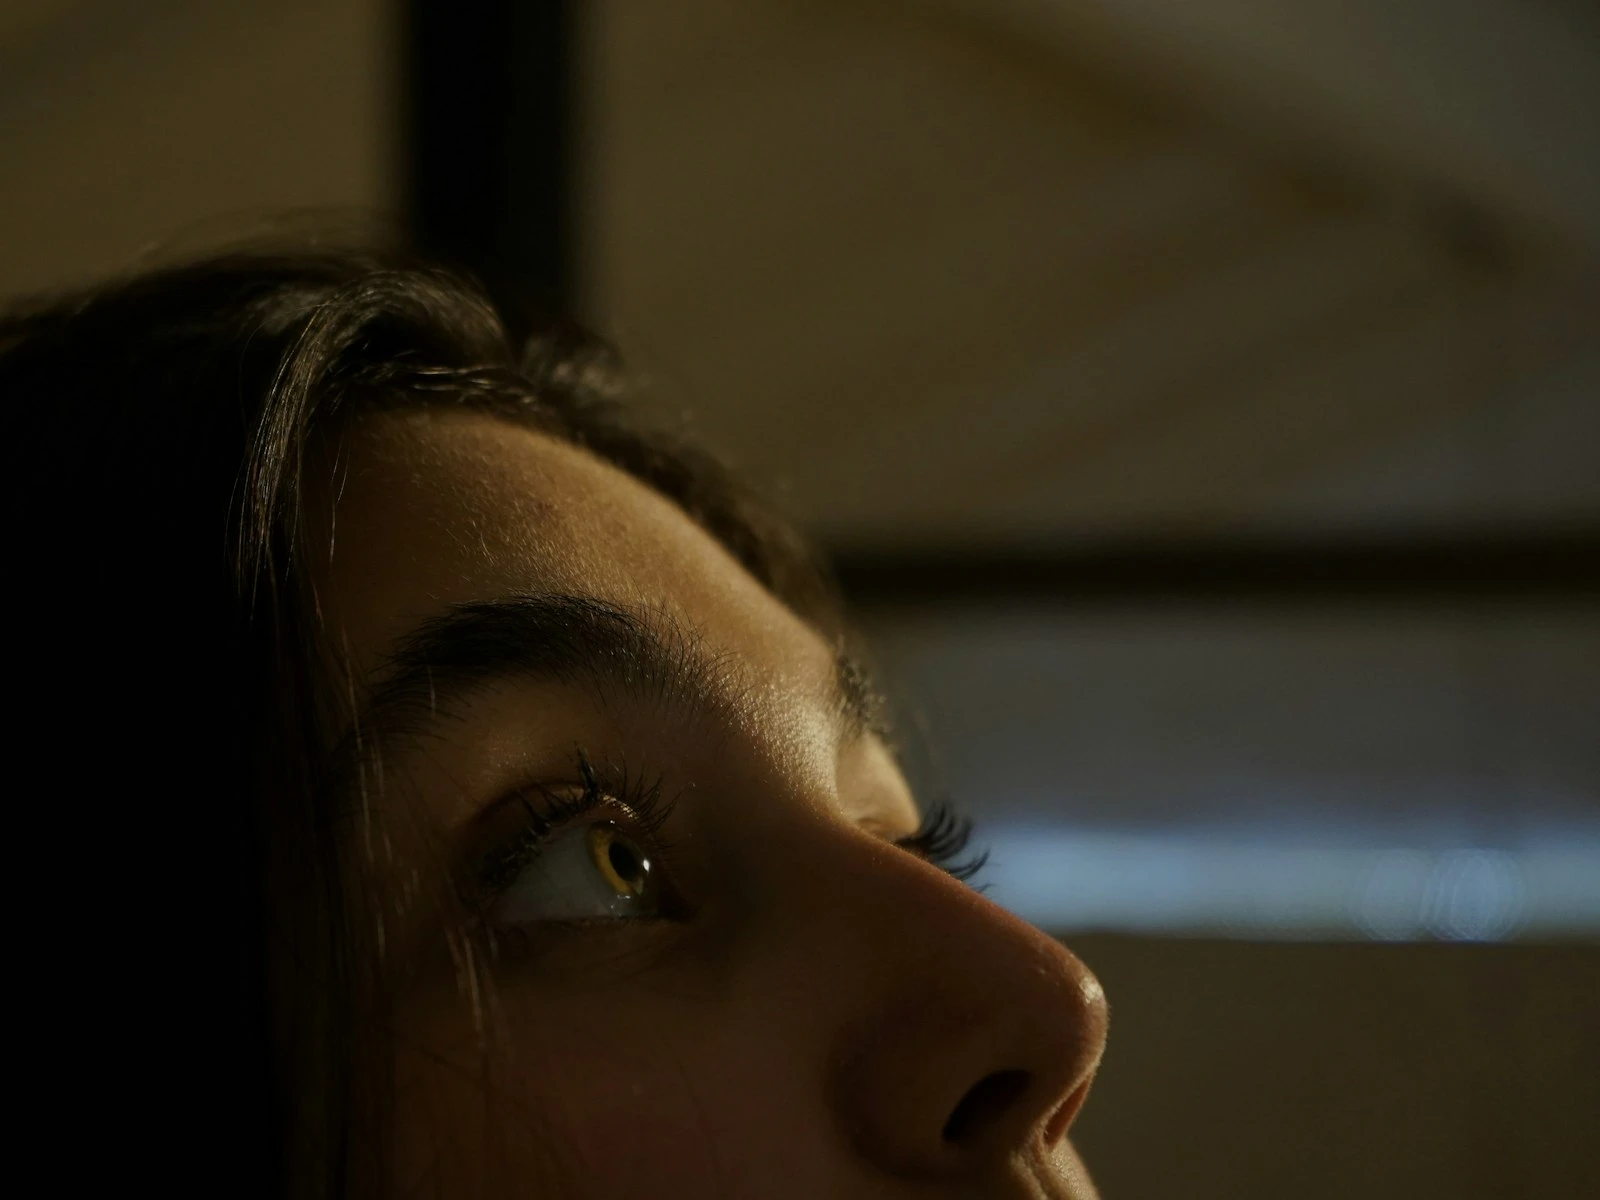
Watch the direction. If they're looking off-camera, the direction matters. Looking toward the light is generally more flattering than looking away from it. Looking slightly above camera level is more flattering than looking down.
Common Feature Challenges
Different people have different features that concern them. These are ways to address the most common ones.
Double chin concerns. The chin-forward technique handles most of this. You can also have them look slightly up, shoot from slightly above, or position them so their chin extends slightly beyond their chest.
Asymmetrical features. Everyone's face is asymmetrical. Most people have a "better side," often the side where the eye appears slightly larger or the jaw slightly more defined. Ask which side they prefer, or try both and compare.
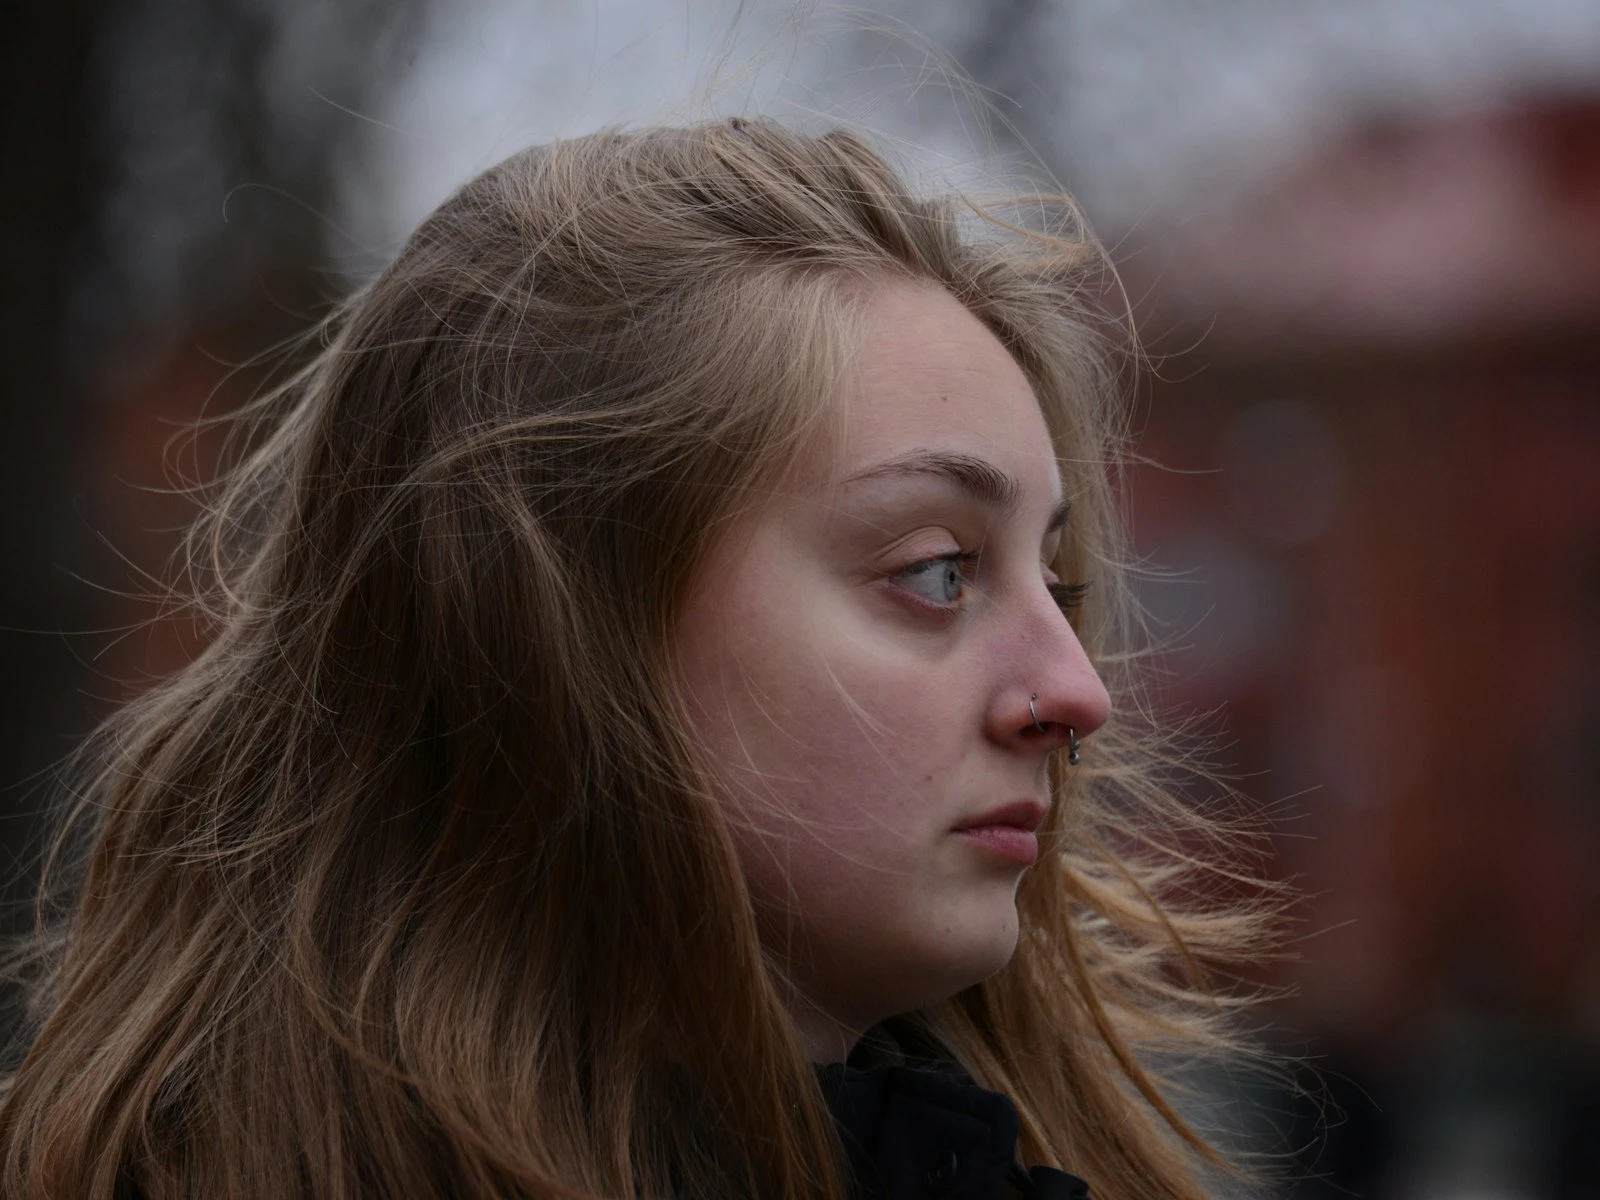
Prominent nose. Avoid profiles, which emphasize nose shape. Straight-on or a slight angle minimizes perceived nose size. Also avoid shooting from below, which emphasizes nostrils.
Weight concerns. Higher angles, soft light, darker clothing, turning the body, and creating arm-body separation all help. Avoid wide-angle lenses close up because they distort and add apparent width.
Eye size differences. Angle the face so the smaller eye is closer to the camera. Objects closer to the lens appear larger, which equalizes the apparent size.
Skin texture or blemishes. Soft light is your friend. It minimizes texture more than any editing can. Avoid hard side light, which emphasizes every bump and pore.
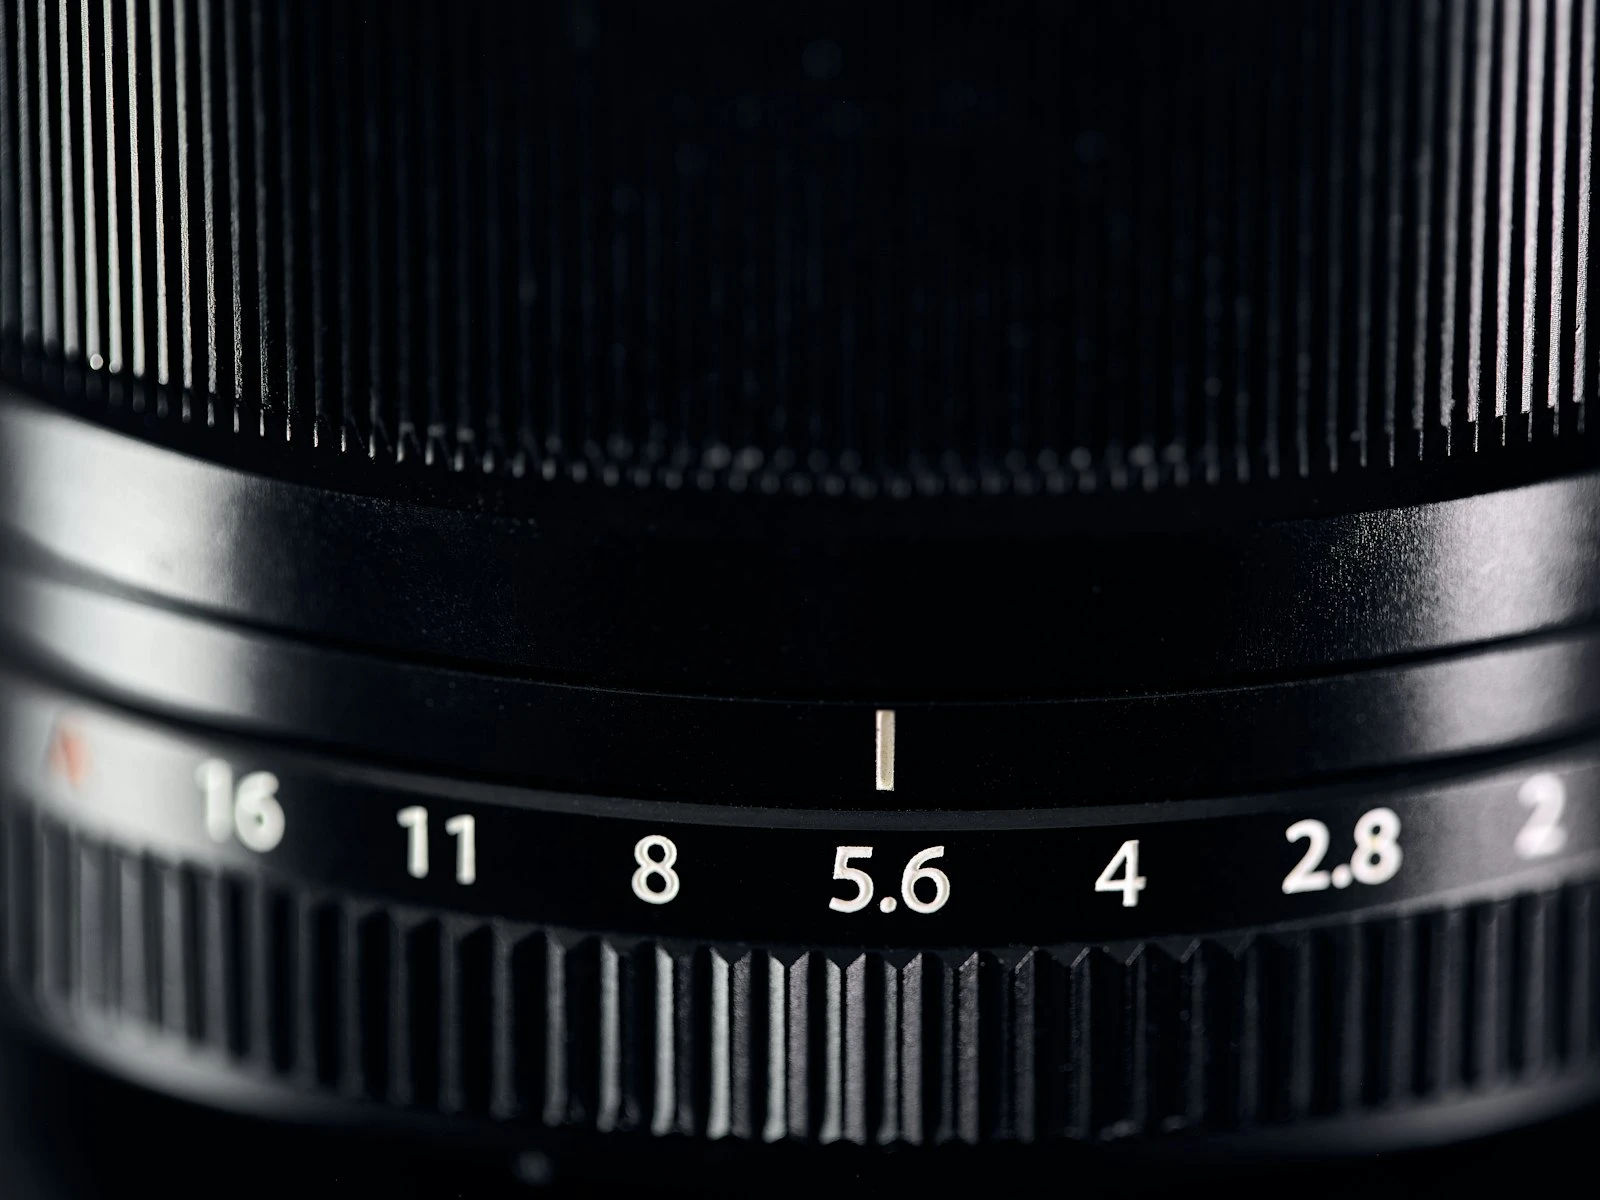
Focal Length Flattery
The lens you choose affects facial proportions.
50-85mm (full-frame equivalent) represents faces most naturally. This range minimizes distortion while allowing reasonable working distances.
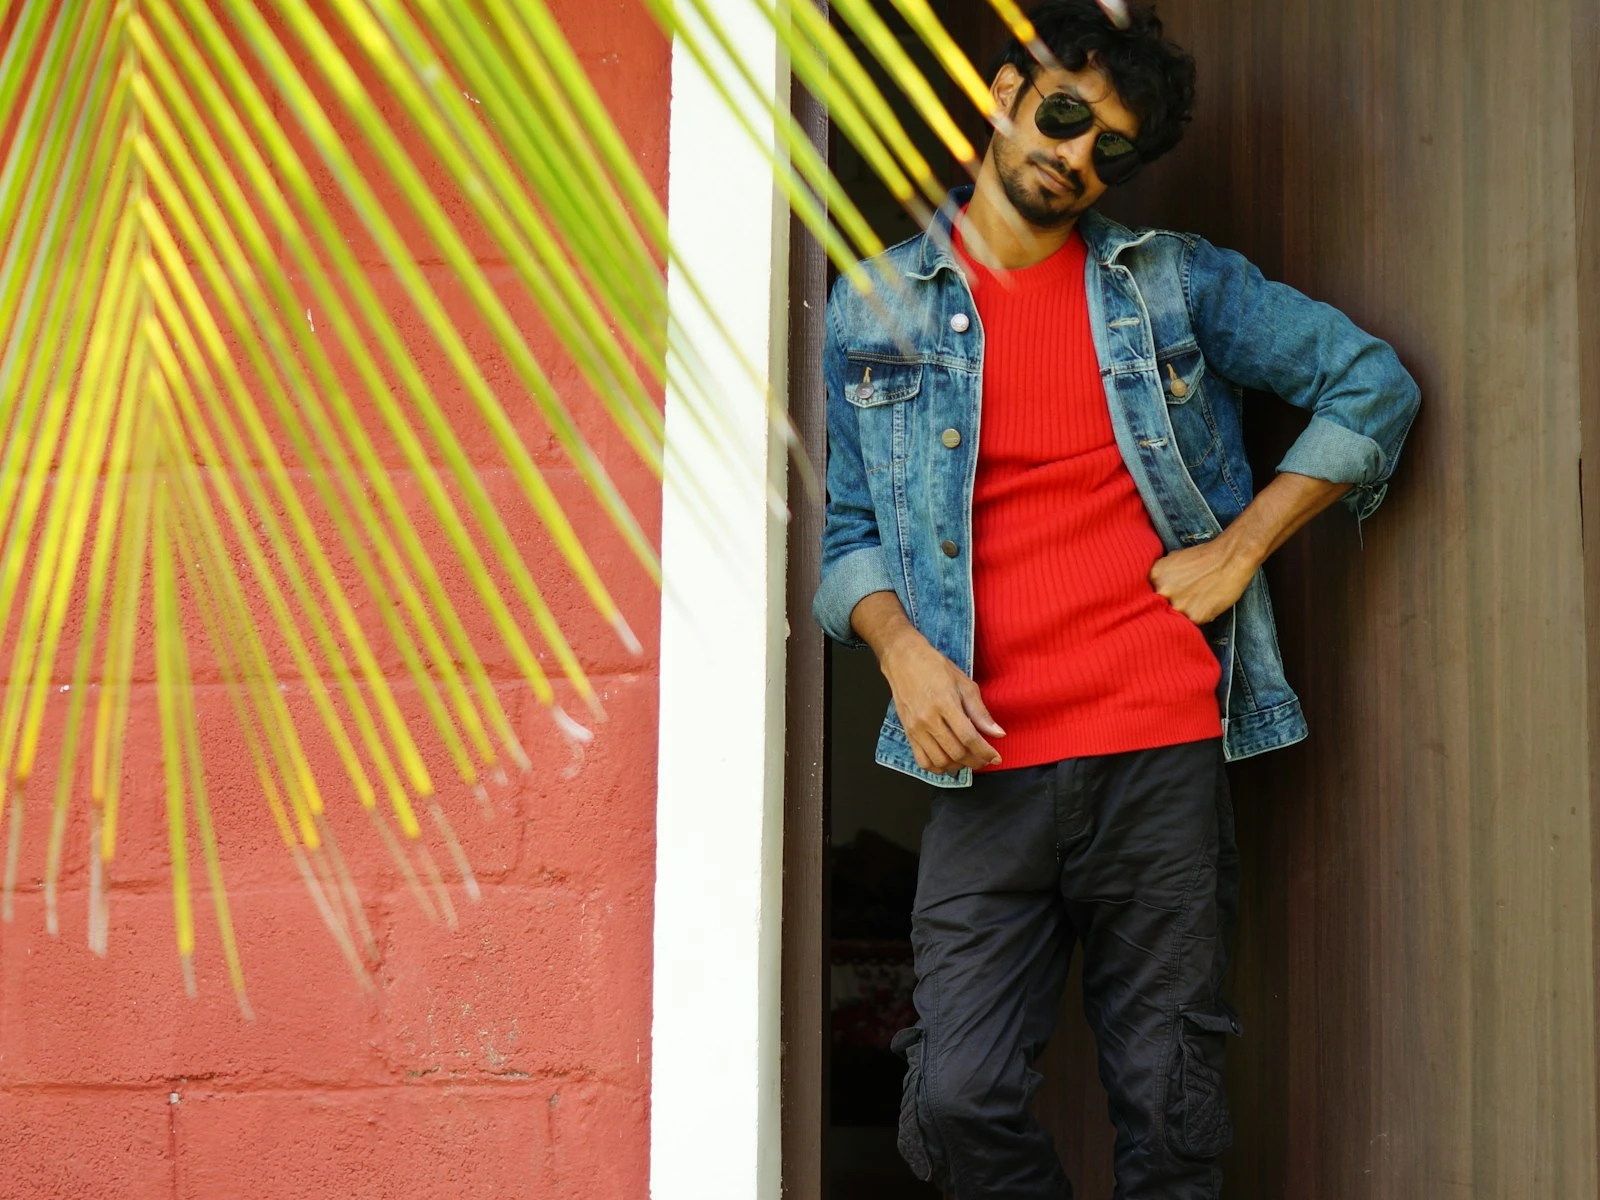
Shorter focal lengths (24-35mm) stretch features, making noses larger, faces wider, and anything close to the lens exaggerated. These can work for environmental portraits where the person is a smaller part of the frame, but they're unflattering for headshots.
Longer focal lengths (100mm+) compress features, flattening depth and reducing the three-dimensionality of the face. While this can work for beauty shots, it can also make faces look overly flat. 85mm is usually the upper limit for general flattery.
For most portrait situations, the 50-85mm range is your flattering sweet spot.
Expression and Timing
Technical choices can only do so much, and a genuine expression beats a technically perfect but stiff shot every time.
Don't ask for smiles. "Smile!" produces fake smiles. Instead, ask them to think about something funny, tell a joke, or have a genuine conversation. Real expressions emerge from real engagement.
Watch for "settling" moments. After you give direction, people often look stiff for a moment, then settle into a more natural position. That settling moment often produces the best expression.
Keep shooting during conversation. Many of the most flattering moments happen between posed shots, when they're listening to you, responding to something you said, or momentarily forgetting they're being photographed.
Avoid forcing expressions that don't fit. If someone naturally has a more serious face, forcing big smiles creates tension. Work with their natural range rather than against it.
The Flattering Photo Checklist
Before you press the shutter, quickly check these elements.
- Light source is soft and from slightly above/to the side
- Camera angle is at or slightly above eye level
- Chin is forward and slightly down
- Body is angled, not squared to camera
- Eyes are fully open with catchlights visible
- Background isn't competing with the subject
- Arms have space from the body
- Expression looks natural, not forced
You won't consciously run through this list for every shot. But keeping these factors in mind ensures you're making choices that flatter rather than fighting against them.
Practice on Yourself
The best way to learn flattering angles is to practice on yourself.
Set up your camera on a tripod with a timer, or use a mirror and your phone. Try:
- Different chin positions
- Different angles (above, eye level, below)
- Different body positions relative to light
- Different facial angles (straight-on, 45 degrees, profile)
You'll quickly discover your own better side, your preferred chin position, and what lighting works for your features. This self-knowledge translates directly to photographing others, and you'll understand intuitively what adjustments create which effects.
Flattering photography is about presenting people in the way that feels most like their best selves. Everyone deserves to see photos where they look good, and these techniques help you give them exactly that.
Key Takeaways
- Ask subjects to push their chin slightly forward and angle it down to define the jawline and eliminate double chins.
- Use soft, directional light from the side to add dimension to faces without creating harsh, unflattering shadows.
- Shoot from slightly above eye level rather than below, which is universally more flattering by slimming the face and emphasizing the eyes.
- Use a longer focal length (50mm-85mm or above) to avoid wide-angle distortion that enlarges noses and stretches facial features.
More in This Guide
Continue exploring portrait techniques.


Related Guides


