Photographing people is different from photographing anything else. Landscapes don't worry about their angles. Products don't get nervous. Buildings don't need direction.
People do all of these things, and that makes portrait photography its own discipline, with its own challenges and its own rewards.
If you're just starting with portraits, you might feel overwhelmed by everything you're supposed to know, from lighting ratios to focal lengths, posing techniques, and catchlights. There's a lot, but you can take good portraits without mastering everything at once.
Start with the fundamentals, get these right, and you'll have images that make people happy. Everything else builds from here, and you'll find all of it in our complete portraits guide. This guide mentions terms like aperture, depth of field, focal length, and catchlights. You can find definitions for all of these in the photography glossary.
Before You Touch Your Camera
The biggest beginner mistake in portrait photography is forgetting that there's a person in front of you.
Your subject's comfort level determines more than any camera setting, and a relaxed person in mediocre light beats a tense person in perfect light every time.
Before you start shooting, focus on building rapport.
Have a real conversation. Not "Okay, let's get started," but actual human interaction. Ask them about their day. Notice something about them. Let them warm up to you and the situation.
Explain what you're doing. Mystery creates anxiety. When you say "I'm going to have you move closer to the window because the light's really nice there," they understand why you're directing them. When you silently reposition them, they feel like props.
Set low-pressure expectations. "We're just going to try some things and keep what works" is more relaxing than "Let's get the perfect shot."
This human foundation makes every technical decision easier. A comfortable subject will naturally give you better expressions, more relaxed body language, and more patience for repositioning.
Find the Light First
Light is the most important technical element in portraits, and fortunately, it's also the easiest to understand.
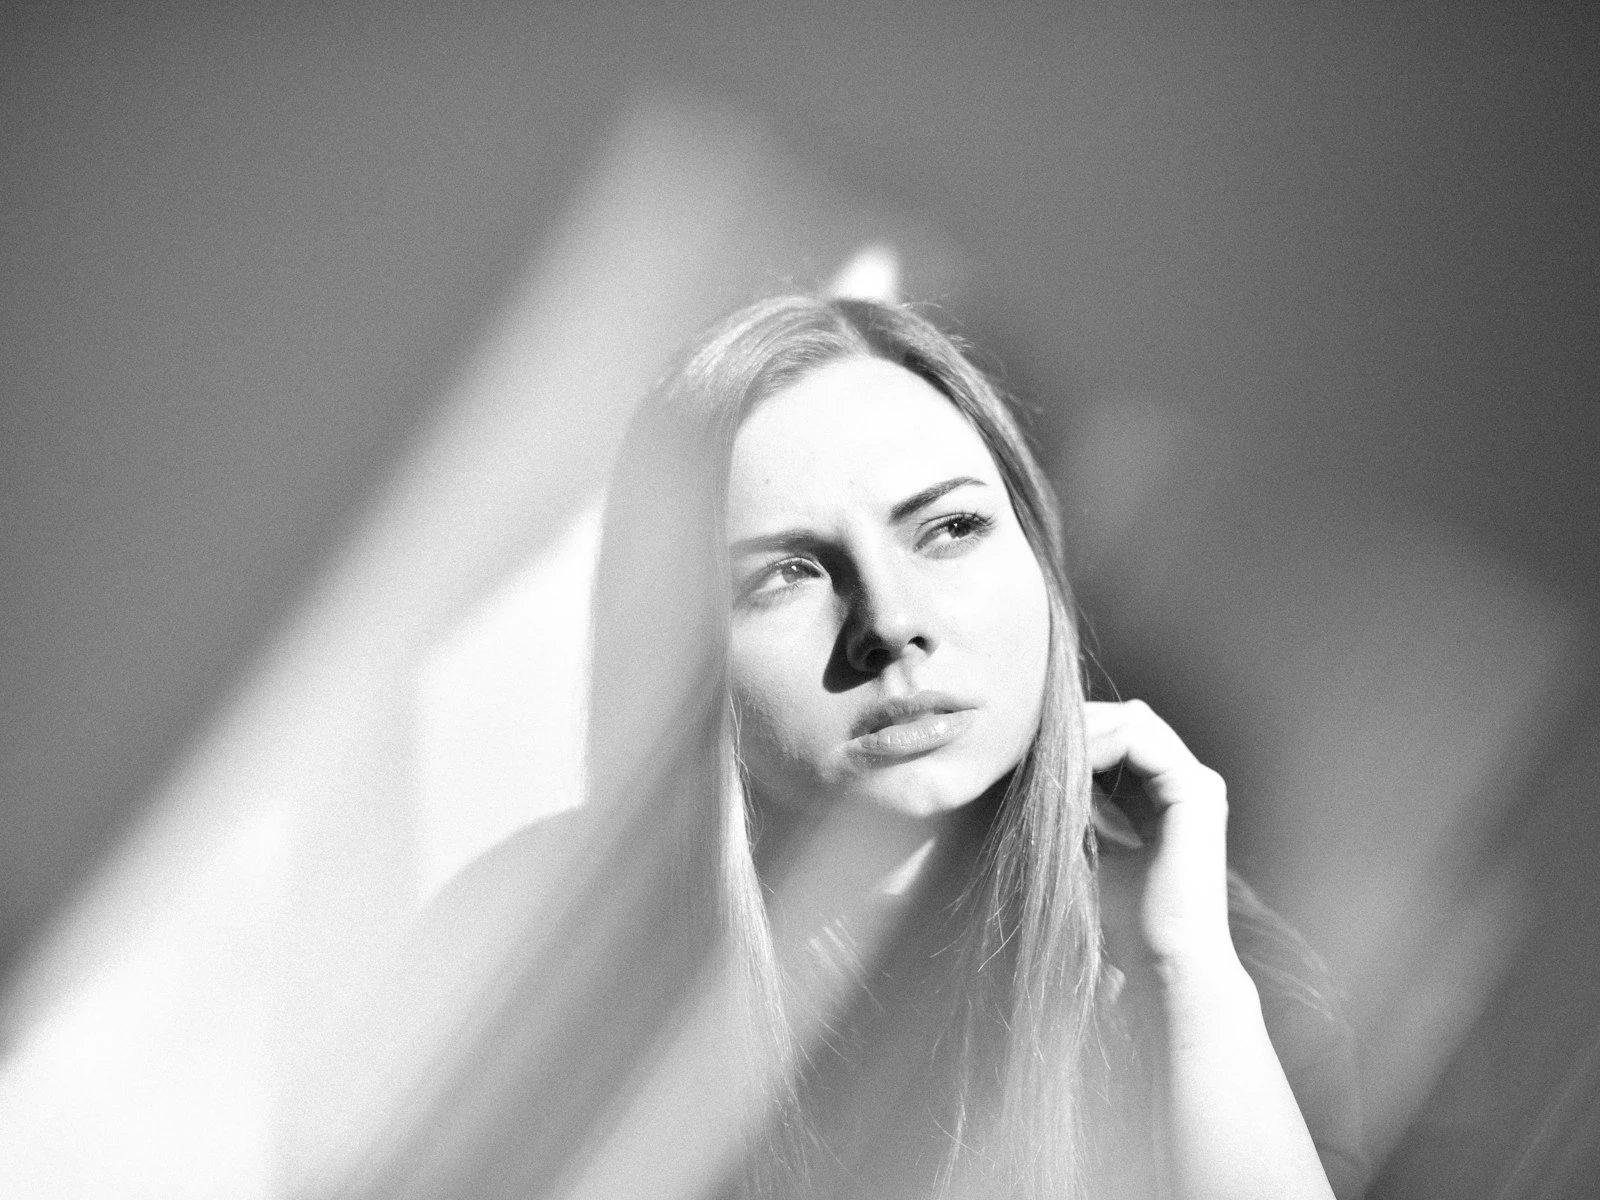
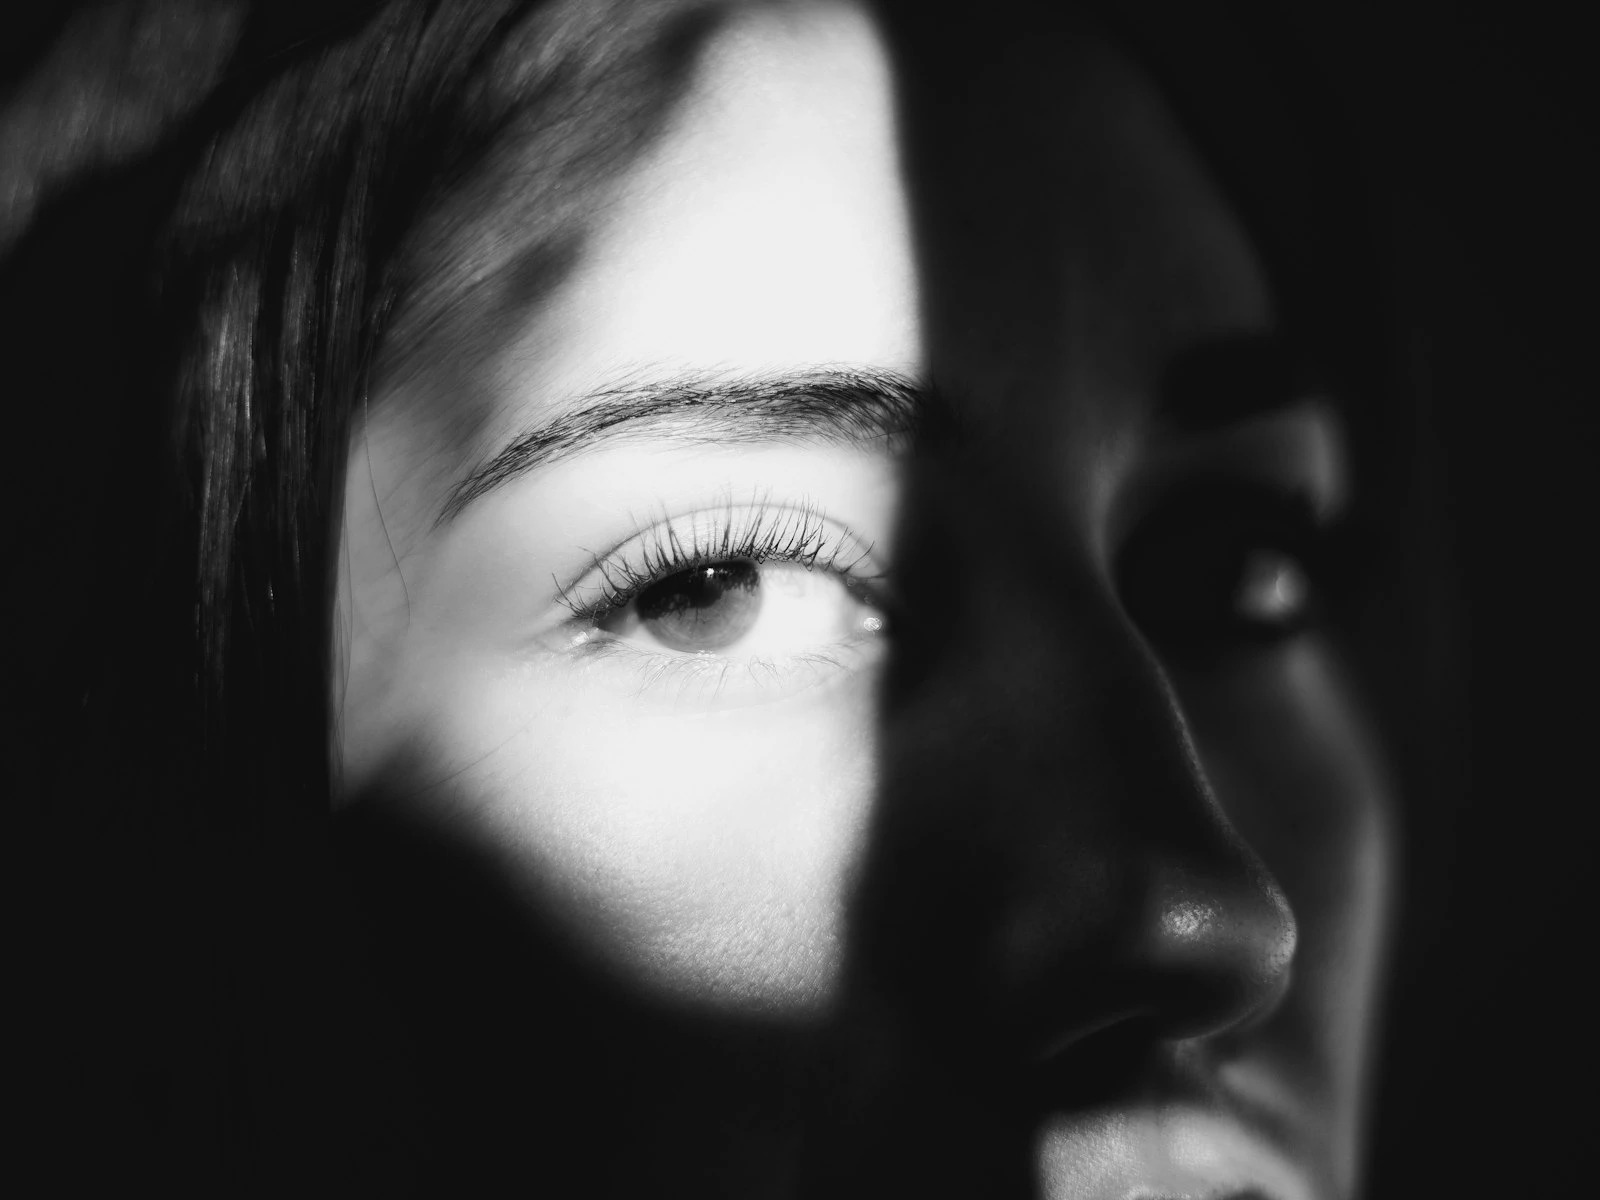
What works. Soft light from slightly above and to one side creates gentle shadows that add dimension without harshness, and it flatters almost everyone.
Where to find it:
- Large windows with indirect light (not direct sun)
- Open shade on sunny days (under awnings, in doorways, on the shaded side of buildings)
- Overcast days (the entire sky becomes a giant softbox)
- The golden hour (the last hour before sunset)
What to avoid:
- Direct midday sun (harsh shadows, squinting)
- Light from below (unflattering for everyone)
- Dappled light through trees (creates spotty patterns on faces)
- Mixed light sources (confusing color casts)
When you arrive at any location, find the good light before you position your subject. Walk around, hold up your hand, watch how the light falls. Then bring your subject to that spot.
This simple habit of finding light first separates successful portrait photographers from frustrated ones.
Position Your Subject Thoughtfully
Once you've found good light, you need to position your subject to use it well.
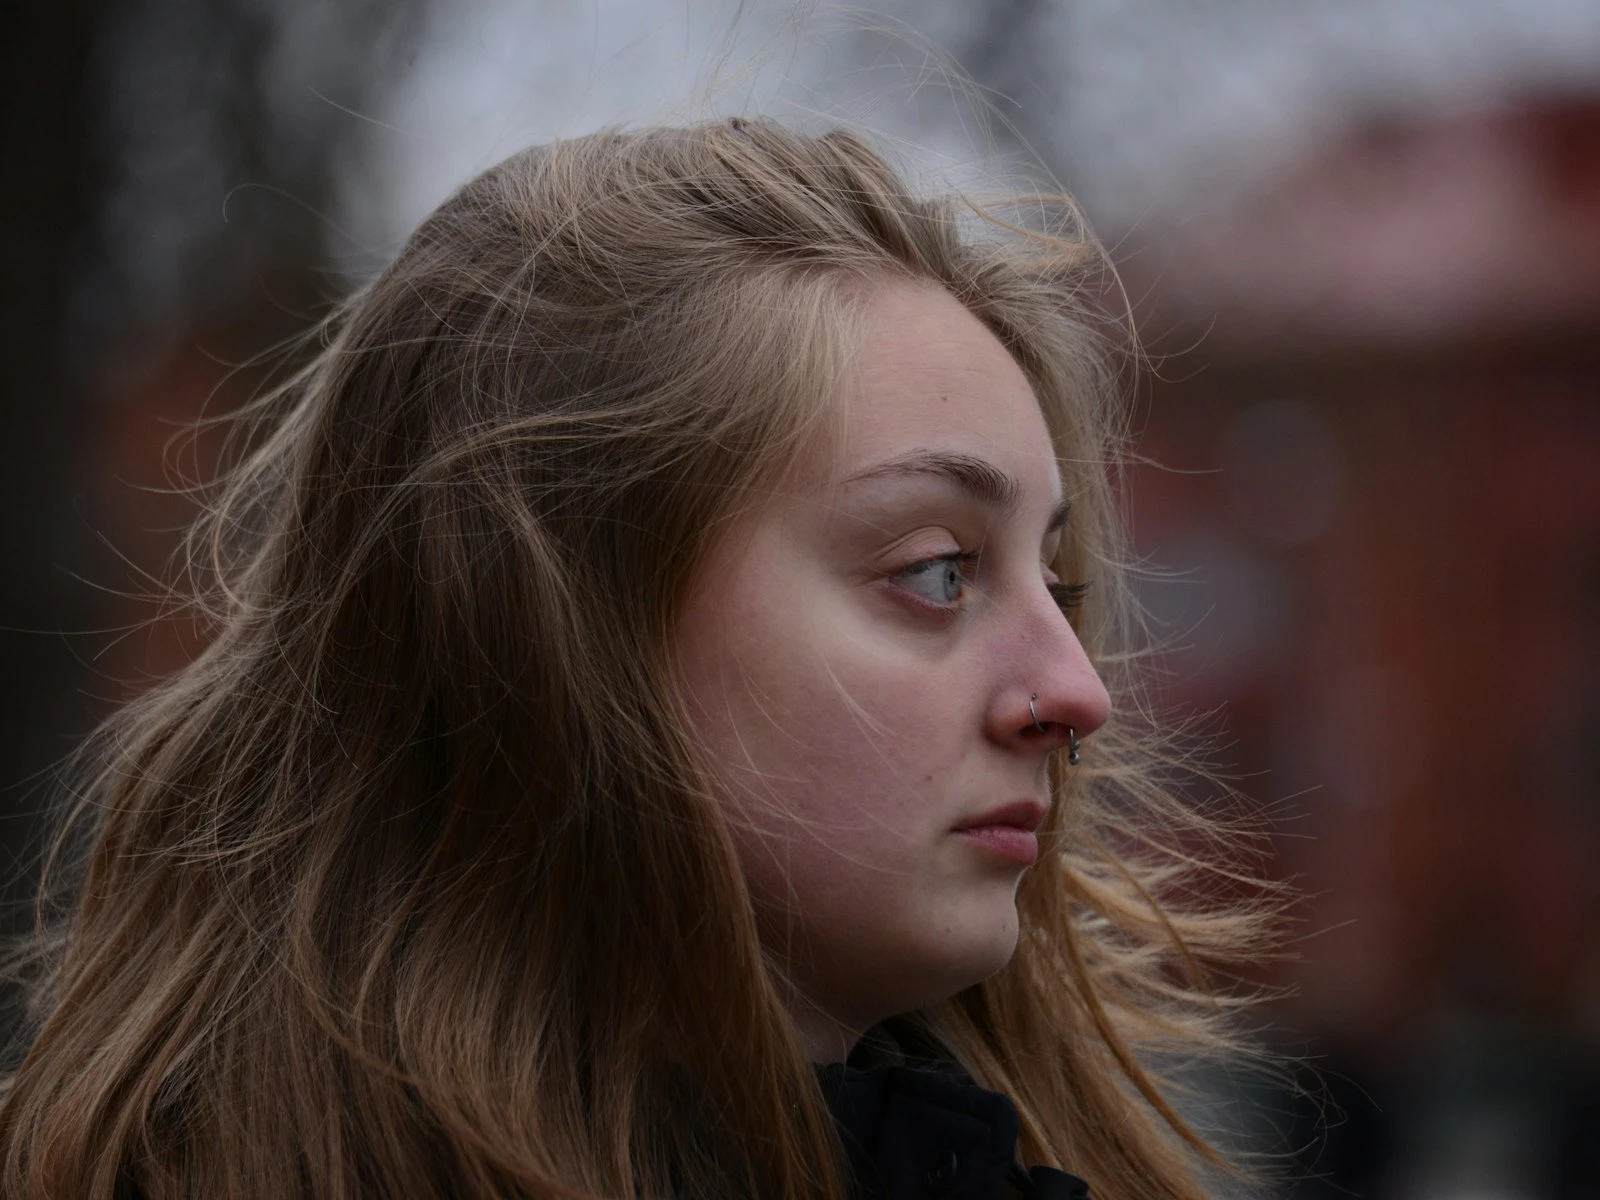
Face toward the light source. Not directly at it like they're staring into the sun, but angled toward it so the main light hits the front of their face more than the back.
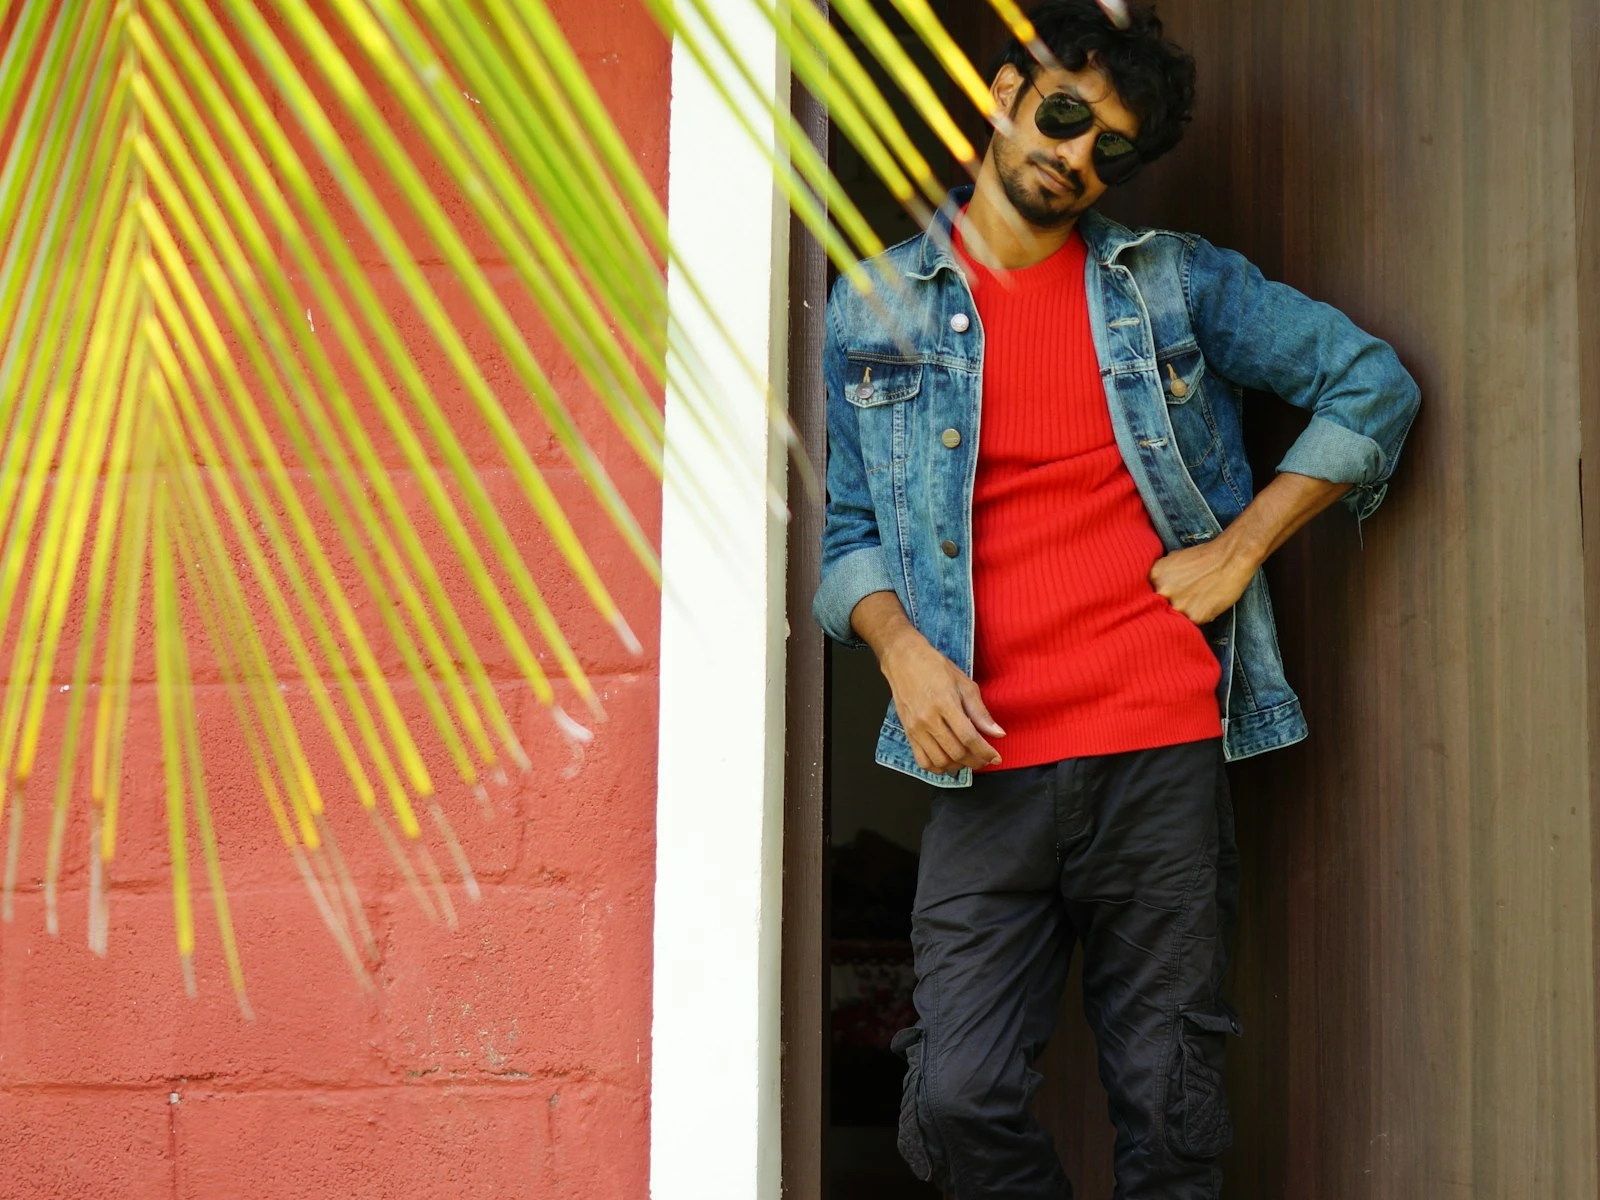
Turn the body slightly. Squared-up to the camera adds visual width. Having them angle their body, even 10-15 degrees, is more flattering and creates more interesting shapes.
Elevate if possible. A subject sitting on a stool or step, with you slightly above, is generally more flattering than you shooting upward at them. From above, faces narrow and eyes appear larger. From below, nostrils and chins dominate.
Create space from the background. The further your subject is from the background, the more you can blur it with a wide aperture. Distance creates separation.
These aren't rigid rules but defaults that work when you're not sure what else to do. As you gain experience, you'll break them intentionally.
Camera Settings That Work
Portrait photography doesn't require exotic settings, and a few reliable choices handle most situations.
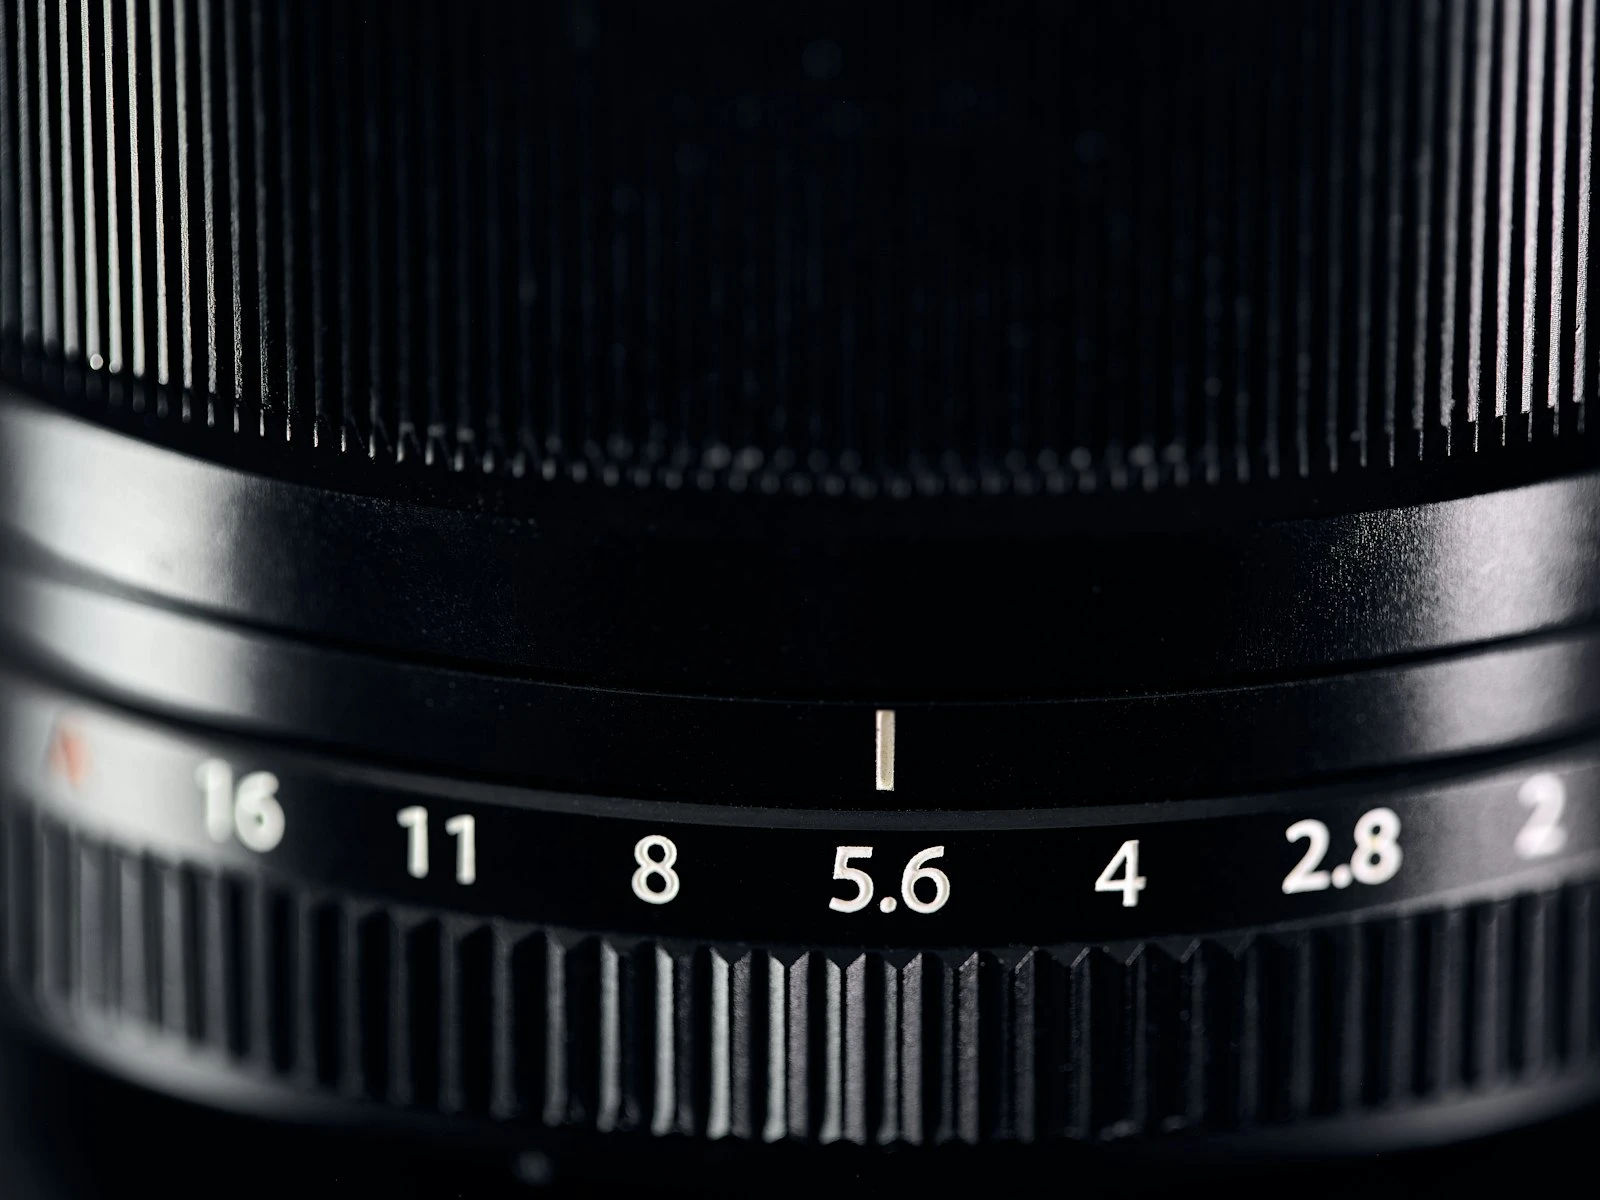
Aperture: f/2.8 to f/4 for individuals. This creates pleasing background blur while keeping the face sharp. Go wider (f/1.8, f/2) if you want dreamier backgrounds, but watch that focus since at f/1.8, the far ear might be blurry when the near eye is sharp.
Focal length: 50-85mm equivalent. This range minimizes facial distortion. Wider lenses (24-35mm) stretch features and longer lenses (100mm+) compress them, while the 50-85mm range represents faces most naturally.
Shutter speed: 1/125s minimum. Go faster if your subject is moving, if you're not stabilized, or if they're animated, because blur from subject movement or camera shake ruins otherwise good portraits.
ISO: Whatever you need for proper exposure. Modern cameras handle high ISO well, and an ISO 1600 portrait with good light and sharp focus beats an ISO 100 portrait that's dark or blurry.
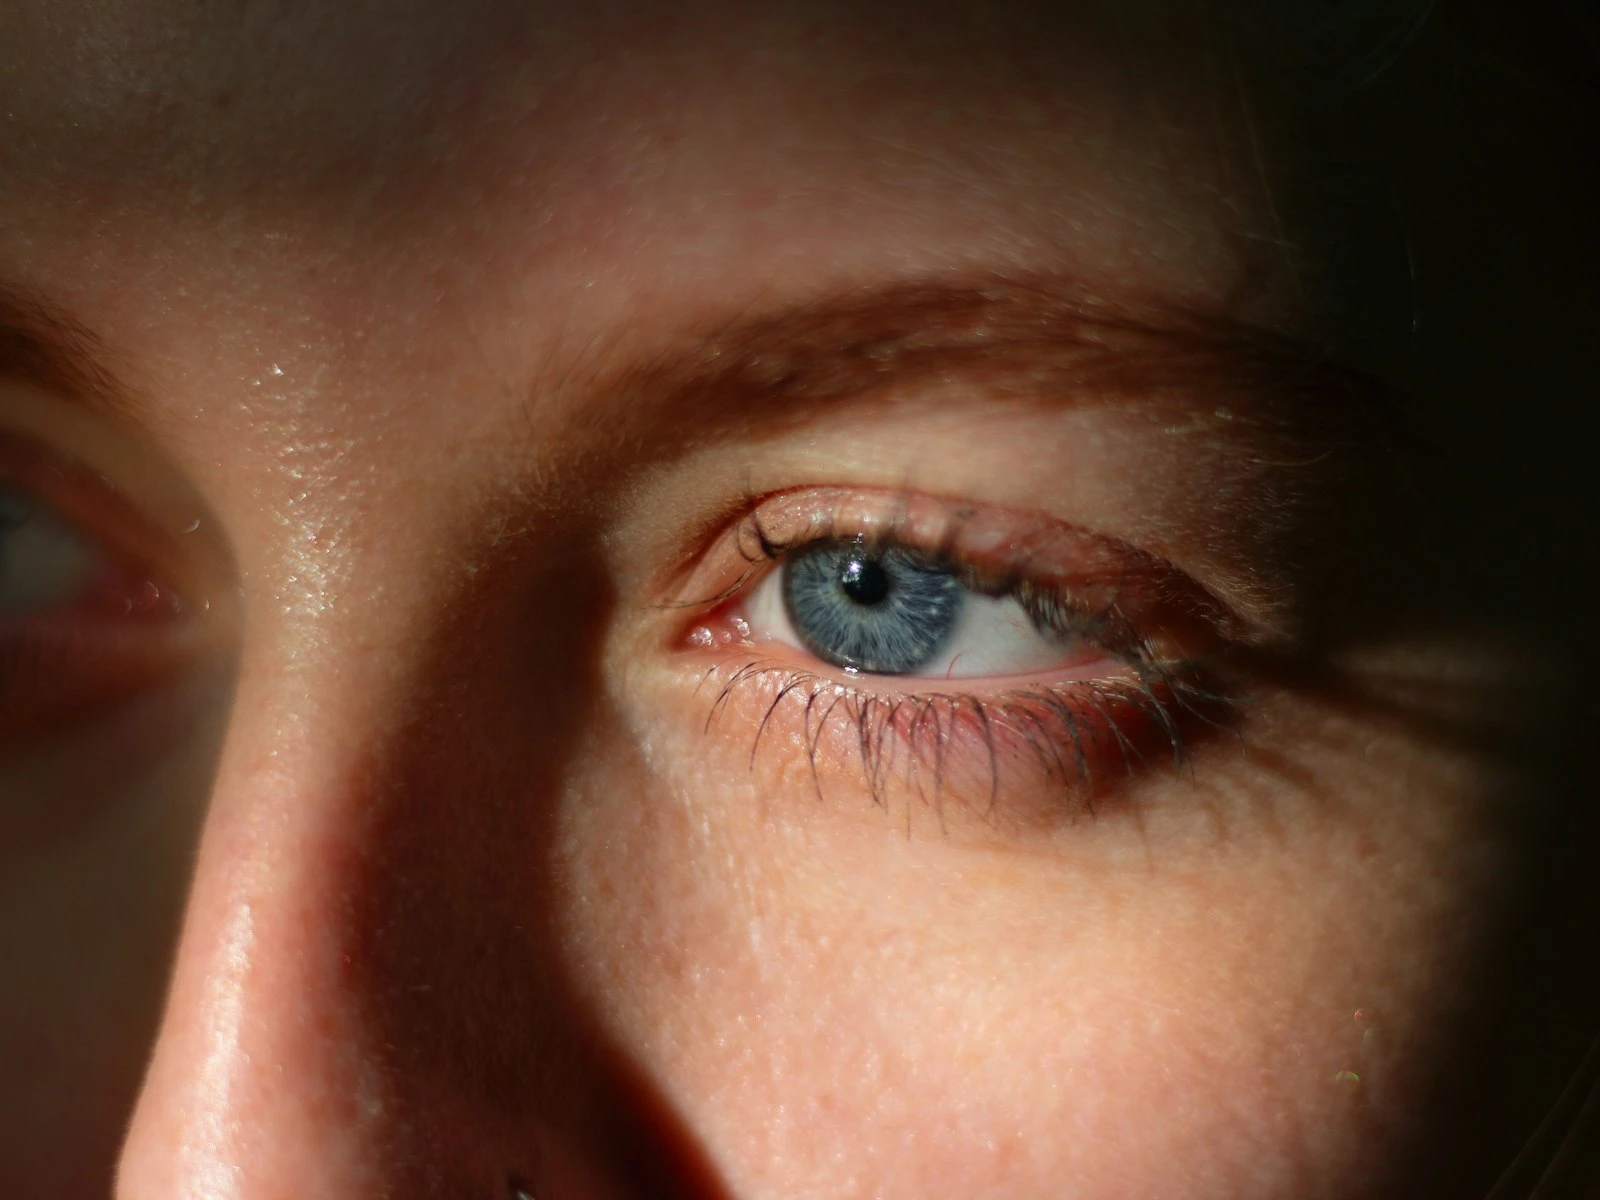
Focus: Always on the eyes. The nearest eye to the camera should be the sharpest point in the image. Out-of-focus eyes make portraits feel wrong, even if everything else is right.
Set these and forget them for most situations. Let your camera handle the rest so you can focus on your subject.
Give Direction Without Dominating
Directing your subject is necessary because most people don't know how to pose. If you don't guide them, they'll default to stiff, awkward positioning.
But there's a line between helpful direction and overwhelming control.
Start with big adjustments, then refine. "Can you turn to face the window a bit more?" Then: "Good, now chin down just slightly."
Explain the why. "If you shift your weight to your back foot, it creates a more relaxed pose" is better than "Stand on your back foot."
Give them something to do. "Pretend you're about to tell me a secret" or "Think about your dog" gets more genuine expressions than "Smile!" or "Look happy!"
Use mirroring. Sometimes showing them what you want works better than describing it. Tilt your own head to show the angle you mean.
Keep shooting during adjustments. Some of the best moments happen while people are settling into position, before they're "ready."
Take breaks. Portrait subjects tire faster than you'd expect. A three-minute break every ten minutes keeps energy up.
Your goal is giving enough structure that they're not paralyzed by options, but not so much that they feel like puppets.
Watch the Details
Small things make big differences in portraits.
Check the background. A tree branch "growing" out of someone's head, a distracting sign, or a bright spot that pulls attention are all easy to miss when you're focused on your subject.
Watch for hair in faces. Stray hairs across foreheads and eyes are distracting. Gently mention them so your subject can adjust.
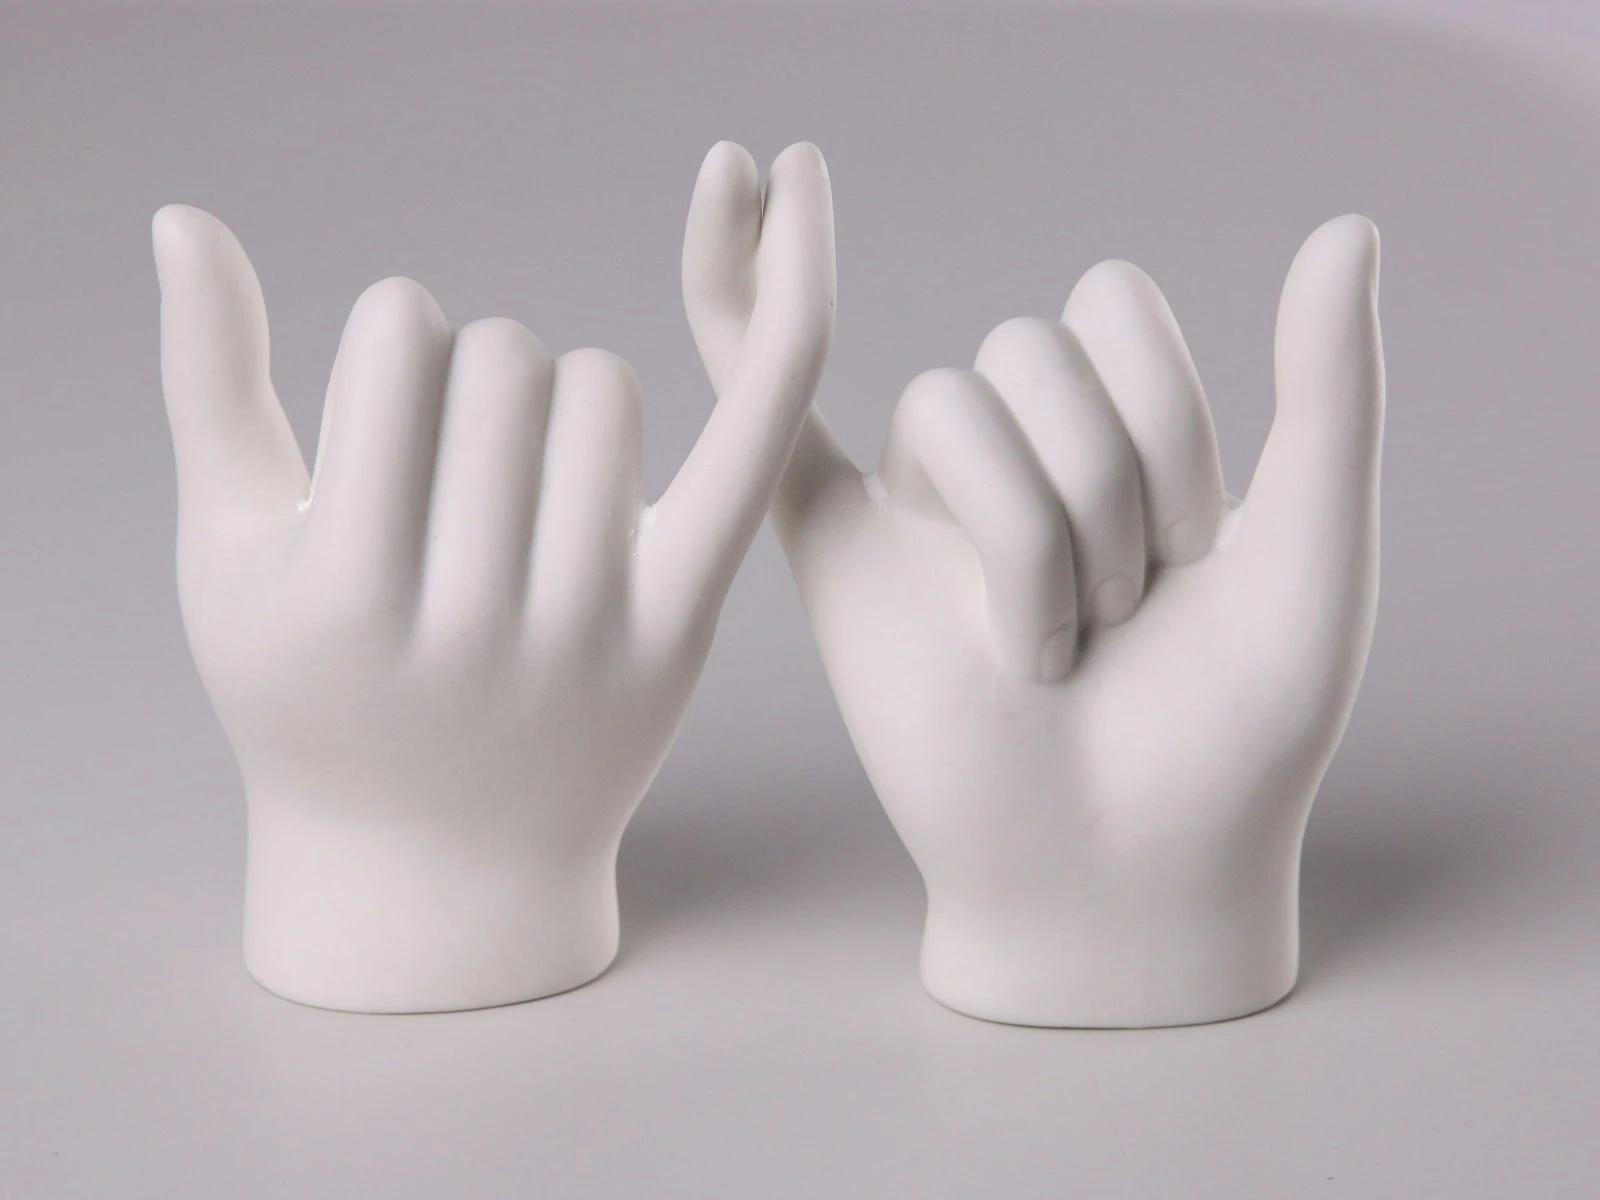
Mind the hands. Hands are awkward when they have nothing to do. Give them a pocket, a prop, or a surface to rest on.
Look at the eyes. Are they engaged, open enough, and not squinting from the light? The eyes carry the portrait.
Check for blinks. Shoot in short bursts of 2-3 frames to catch at least one with eyes open.
Watch necklines. Collars bunching, necklaces twisted, shirt tags showing. These details distract.
Review your LCD regularly, not obsessively, but enough to catch issues before the session ends.
Work the Session
Beginning portrait photographers often stop too soon. They get what looks like a good shot, feel the pressure of having someone waiting, and call it done.
Instead, work through the session methodically.
Start safe, then experiment. Get the classic, reliable shots first. Once you have those, try something different: new angle, different background, movement.
Vary your distance. Tight headshots, half-body, full-body, environmental. Variety gives you options.
Change positions. Standing, sitting, leaning, walking. Different body positions create different feels.
Watch for genuine moments. Between poses, when they're adjusting or responding to something you said, real expressions happen. Stay ready.
Check in with your subject. "How are you doing? Want to see some?" Building confidence with a good image relaxes them for the rest of the session.
A portrait session is about creating many options, including some that surprise both of you.
Common Beginner Mistakes
Standing too far away. Beginning photographers often shoot portraits from conversation distance (6-8 feet) when they should be closer, so move in and fill more of the frame with your subject.
Using too wide a lens. That 18-55mm kit lens at 18mm distorts faces noticeably. Zoom to 50mm or longer for portraits.
Shooting at eye level only. It's the safe choice, but it's also flat, so try slightly above or have them look up at you, because angle creates interest.
Accepting the first expression. People often give a nervous smile or blank stare first, so wait it out and talk to them. The good expressions come after they relax.
Fighting bad light. If the light where you're standing is harsh or flat, move. It's easier to move to good light than to fix bad light.
Over-editing. Heavy skin smoothing, oversaturated colors, and aggressive sharpening make portraits look processed rather than professional.
Recognize these patterns in your work, and you're already ahead of most beginners.
Your First Portrait Assignment
Take a portrait of someone who trusts you, like a friend or family member who'll be patient while you learn.
Before you shoot:
- Find a location with good natural light (window or open shade)
- Position them facing toward the light
- Use 50mm or longer
- Set aperture to f/2.8-f/4
- Focus on the nearest eye
During the shoot:
- Talk to them about something they enjoy
- Give gentle direction without overwhelming
- Vary the poses and distances
- Check your LCD for focus and exposure
After:
- Select the 5-10 best images
- Edit gently
- Show them the results
This simple exercise covers all the fundamentals. Master it, and you're ready for more complex portrait situations.
Key Takeaways
- Focus on making your subject comfortable first, since a relaxed person in mediocre light always looks better than a tense person in perfect light.
- Focus on the eyes (specifically the eye closest to the camera), because sharp eyes make a portrait feel alive while soft eyes make it feel wrong.
- Find soft, directional light and clean backgrounds before worrying about camera settings or posing details.
- Talk to your subject throughout the session to maintain connection, and shoot during natural moments of laughter, thought, and transition.
More in This Guide
Continue exploring portrait techniques.


Related Guides


