Every photo you take comes down to three decisions.
Three actual decisions about what matters most in the image you are about to capture.
Understanding these decisions is simpler than most tutorials make it sound.
The Real Problem With Learning Camera Settings
Most photography guides teach settings like vocabulary words, where aperture means this, shutter speed does that, and ISO is a number between here and there. (Sound familiar? It's one of the most common things photographers get stuck on.)
Then they leave you standing in front of a sunset, camera in hand, wondering which number goes where.
Camera settings are trade-offs to weigh. Every single time you press the shutter, you are making decisions about competing priorities: How much light do you need? How much blur do you want? What quality trade-offs are acceptable?
Once you see settings as decisions, manual mode stops being intimidating and becomes a conversation with your camera about what you want from each shot. If you're looking for a practical starting point, our 10 photography tips for beginners covers the habits that make the biggest difference right away.
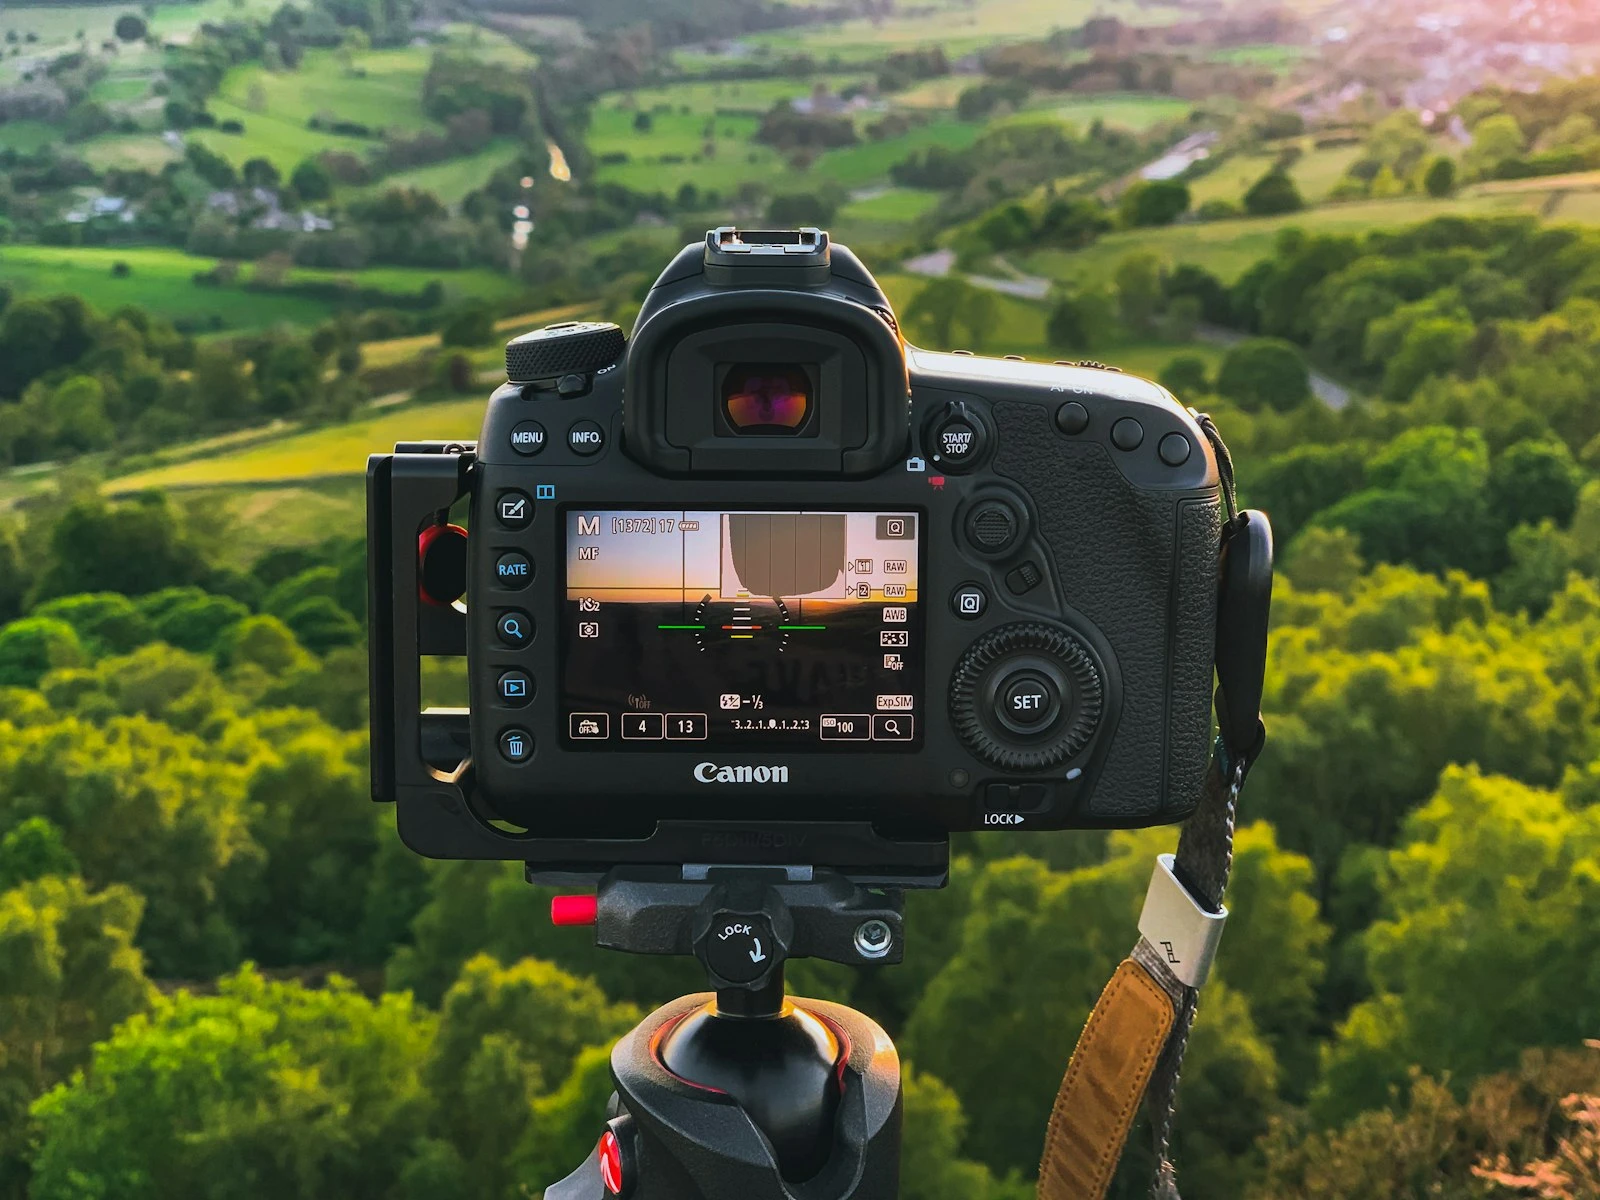
The Exposure Triangle: Three Connected Decisions
You have probably heard of the exposure triangle. Most explanations focus on what each element does in isolation, which misses the point.
The exposure triangle matters because changing one setting forces you to adjust another. They are connected trade-offs, not independent controls.
Let me walk you through each decision.
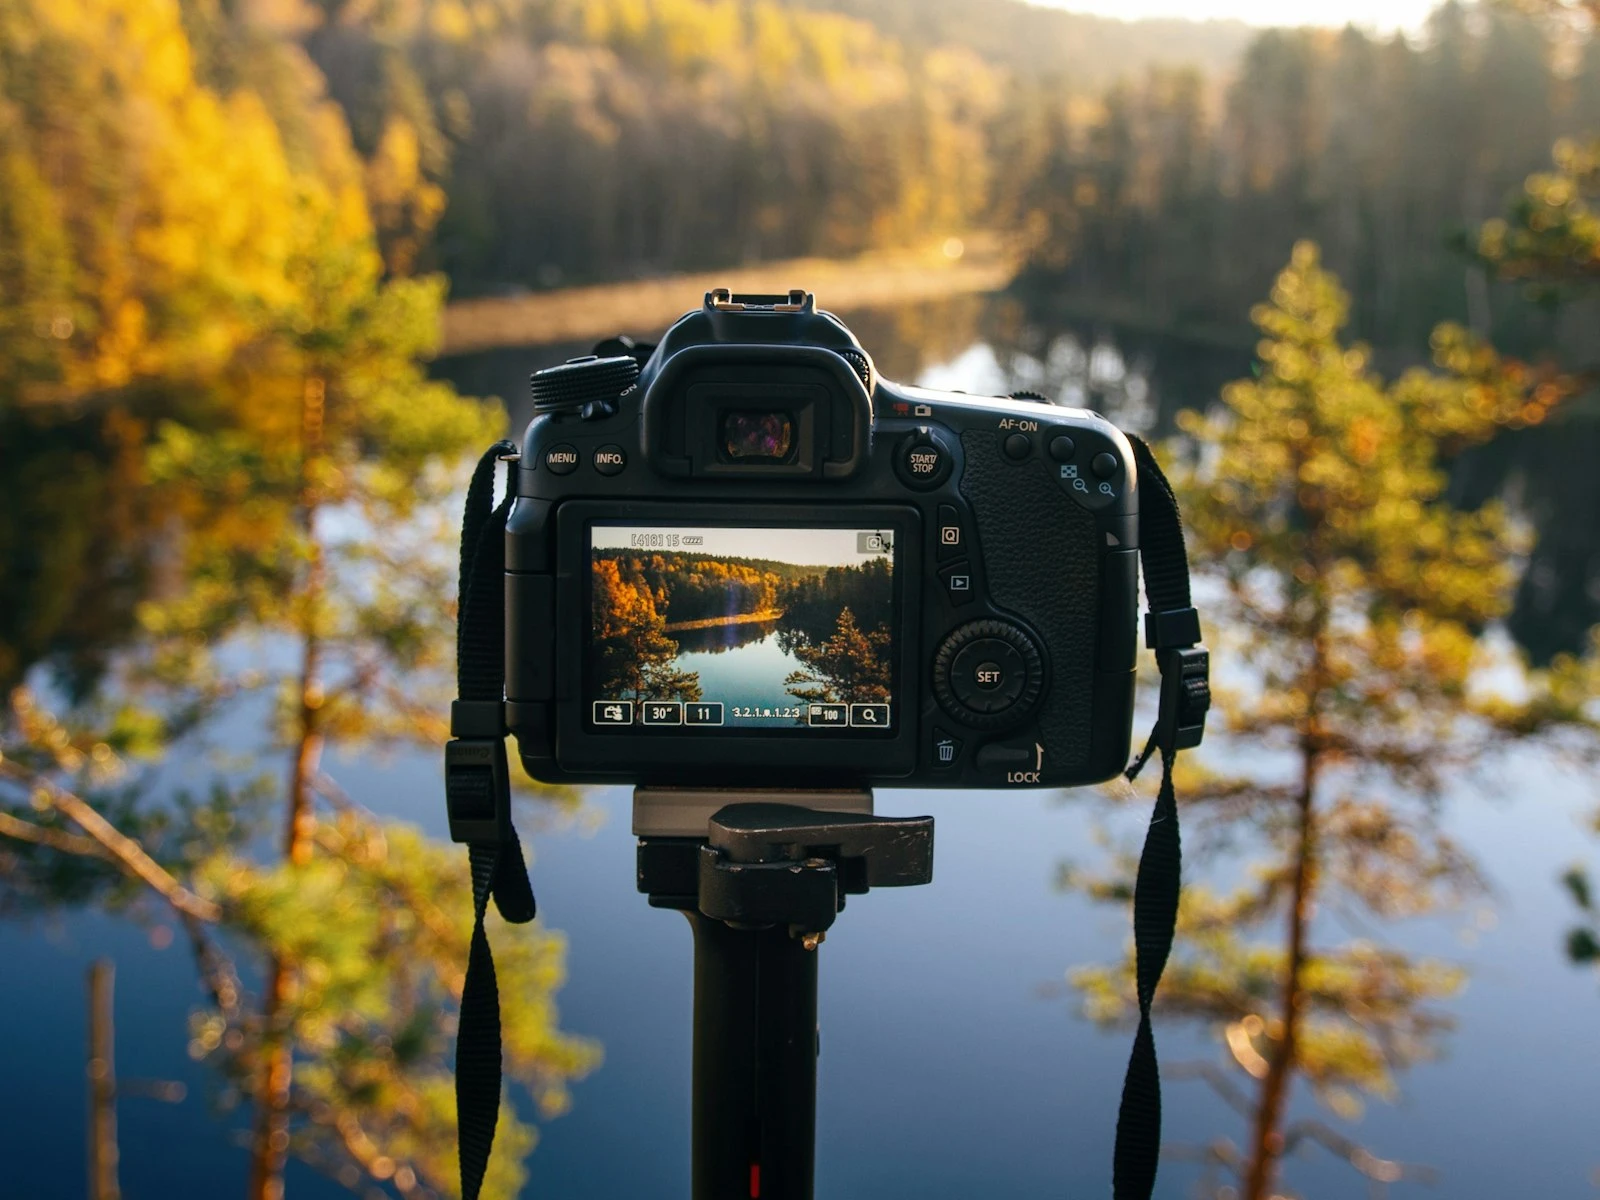
Decision One: How Much of Your Scene Should Be Sharp?
This is aperture, the size of the opening in your lens.
A wide aperture (small f-number like f/1.8) lets in lots of light but keeps only a thin slice of your scene in focus. Perfect for portraits where you want a blurry background, challenging for group photos where everyone needs to be sharp.
A narrow aperture (large f-number like f/16) lets in less light but keeps most of your scene in focus. Great for landscapes where you want sharpness from the flowers at your feet to the mountains in the distance.
The real decision is "what do I want sharp, and what am I willing to blur?" Aperture controls how much light enters the lens, but it also determines your depth of field, how much of the scene stays sharp from front to back.
Decision Two: How Do You Want Motion Rendered?
This is shutter speed, how long your camera sensor collects light.
A fast shutter speed (1/1000 second) freezes motion completely, capturing water droplets suspended in air or a basketball player sharp mid-jump, but you need lots of light to use it.
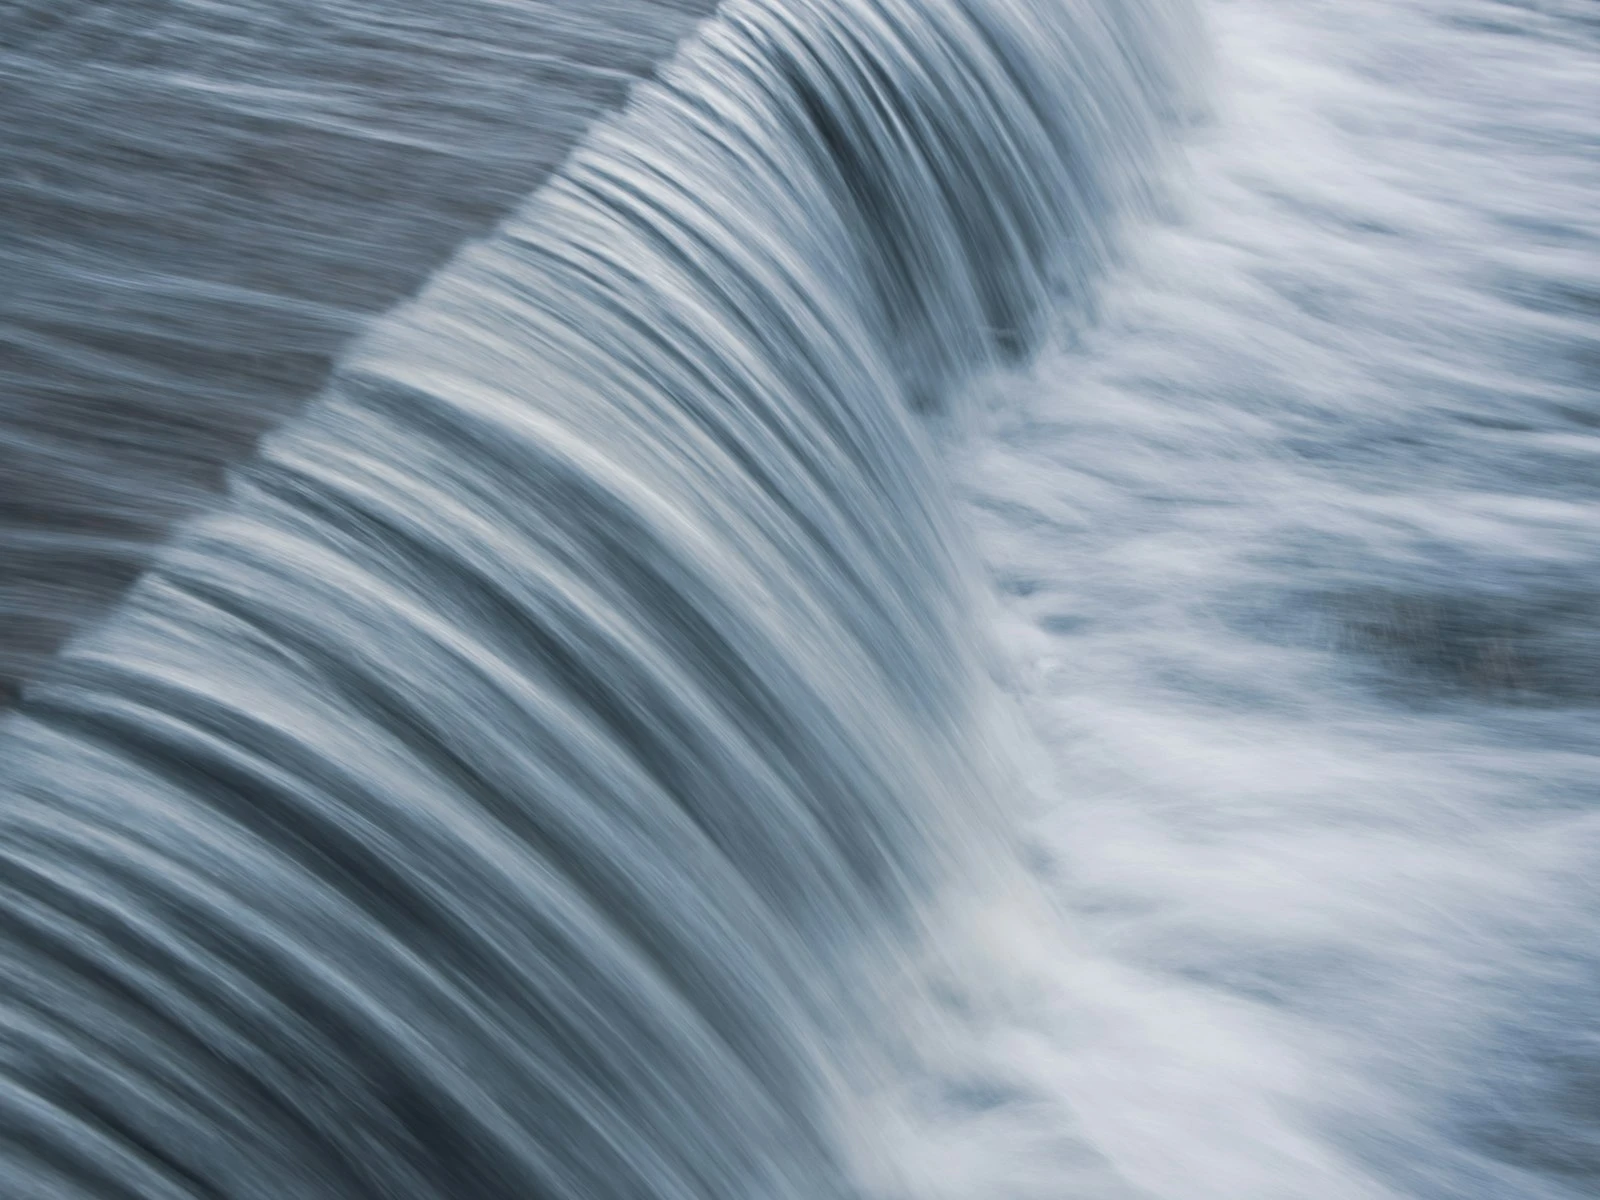
A slow shutter speed (1/30 second or longer) lets moving things blur while stationary things stay sharp, creating silky waterfalls and light trails from cars, but camera shake becomes a real problem.
The real decision is "do I want to freeze this moment or show movement?" Shutter speed gives you a spectrum from frozen action to silky motion blur, and where you land on that spectrum shapes the entire feel of the image.
Decision Three: How Much Image Quality Are You Willing to Trade?
This is ISO, a gain setting that amplifies the image signal to brighten your exposure.
Low ISO (100-400) produces clean, detailed images with rich colors. But you need good light or slow shutter speeds to use it.
High ISO (3200 and up) lets you shoot in darker conditions with faster shutter speeds. But you pay with noise, which looks like grain or speckles in your image, and reduced detail.
The real decision is "how much quality am I willing to sacrifice for the shot I need?" Knowing when to raise ISO and when to keep it low is often the difference between a sharp, slightly noisy photo and a clean, hopelessly blurry one.
Why These Decisions Are Connected
This is where it all clicks.
Say you want a portrait with a beautifully blurred background. You choose a wide aperture, f/2.8. That lets in a lot of light.
Now you have too much light for a proper exposure. You need to compensate.
You could use a faster shutter speed to let light in for less time, lower your ISO for less sensitivity, or both.
But what if you are shooting a soccer game at dusk? You need a fast shutter speed to freeze action. You want decent depth of field so you do not miss focus. And light is fading.
Something has to give, and usually it is ISO. You accept more noise to get the shot.
This is the dance, where every photography situation presents a different set of priorities, and your job is deciding which trade-offs make sense for that specific shot.
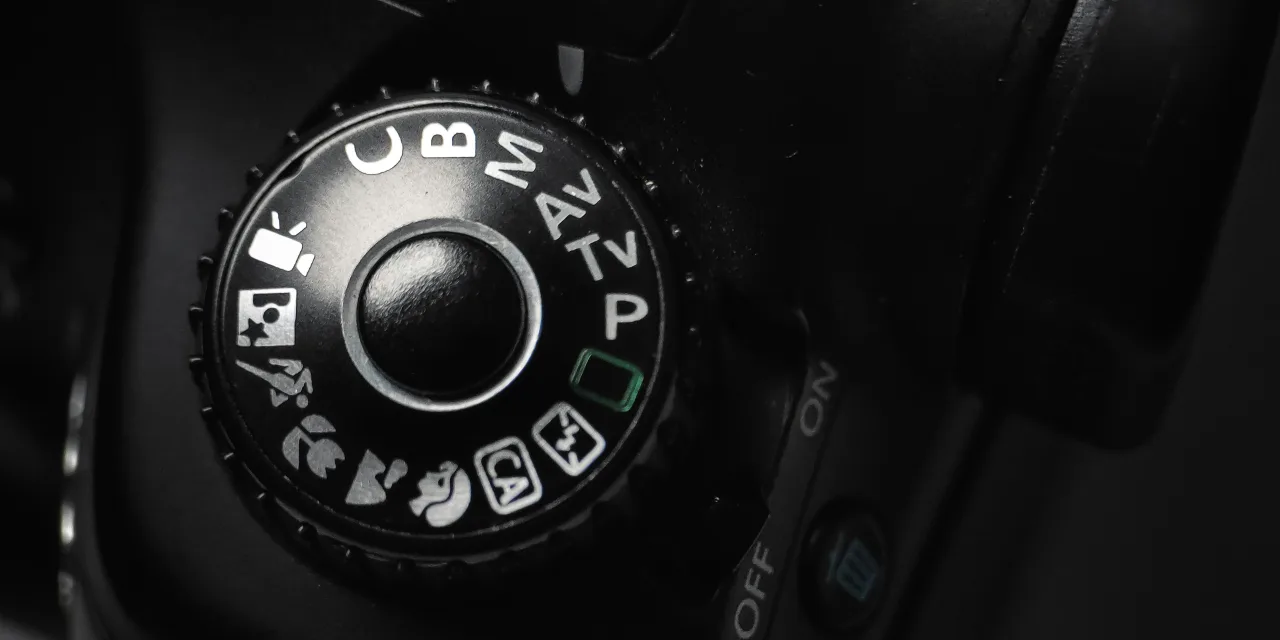
Manual Mode: Taking Control of the Decisions
Auto mode makes these decisions for you, and it often makes them wrong.
Your camera does not know you want that background blurry. It does not understand that some motion blur would make this photo more dynamic. It just aims for technically acceptable exposures, usually prioritizing sharpness and low noise over artistic intent.
Manual mode hands you the controls. You decide what matters.
Auto mode is fine for learning, but shooting in manual mode is what helps you move from taking pictures to making photographs. If full manual feels like a big jump, aperture priority is a great middle ground where you control depth of field and the camera handles the rest.
When Good Exposures Go Wrong
Even when you understand the triangle, you will still get exposures that look off, whether too dark, too bright, or weirdly inconsistent between similar shots.
Usually the problem comes down to how your camera measures light.
Your camera's light meter is trying to help, but it can be fooled by bright backgrounds, dark subjects, and high contrast scenes. Understanding how your camera's light meter works helps you predict when it will need correction, and if your shots are consistently coming out too dark or too bright, that guide will help you troubleshoot what is going wrong.
Putting It Into Practice
Theory matters, but you also need to know what actually works in the field. The trade-offs play out differently depending on what you're shooting.
Portraits are all about wide apertures for background blur and fast enough shutter speeds to freeze a blink. Landscapes flip those priorities, narrowing the aperture for front-to-back sharpness and slowing down for maximum quality. And low light without flash is where the triangle gets really tight, because every setting is a compromise and the right answer changes with every scene.
Related Guides