How much of your scene do you want sharp?
That's the question that actually matters when you're standing there with your camera. Do you want your subject isolated against blur, or do you want the whole scene in focus?
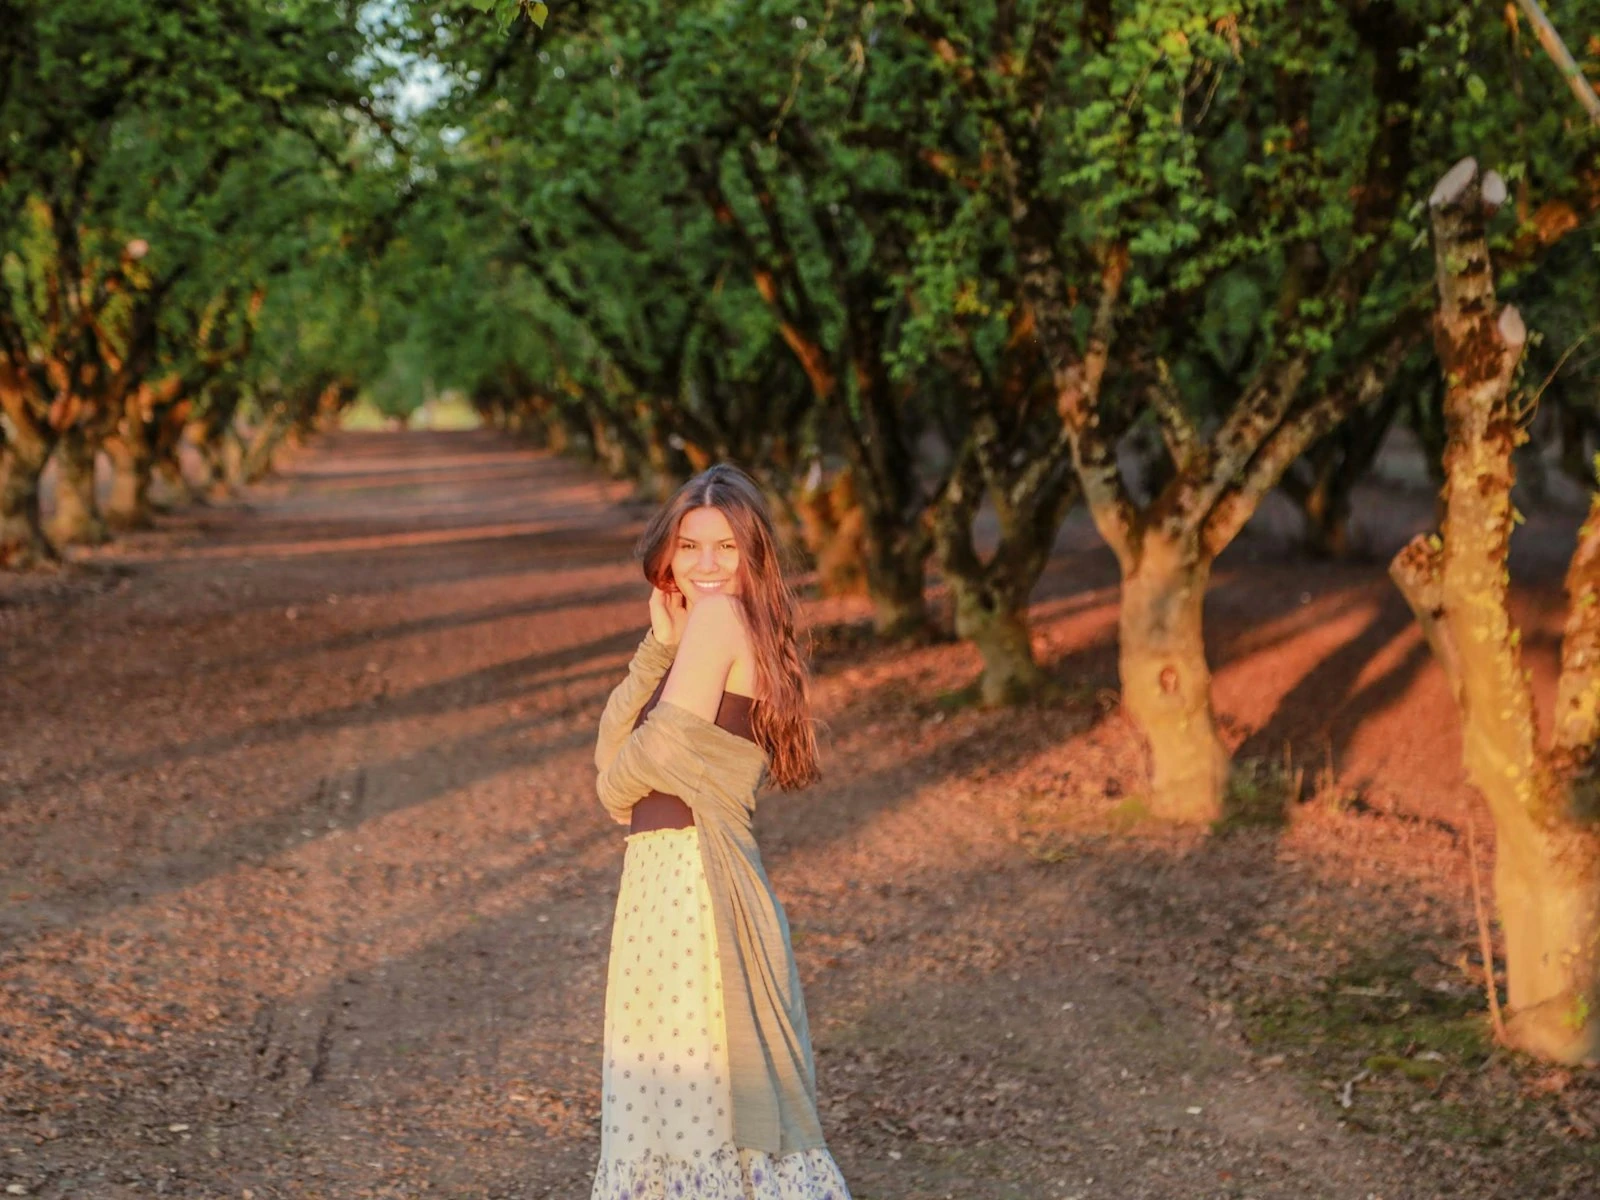
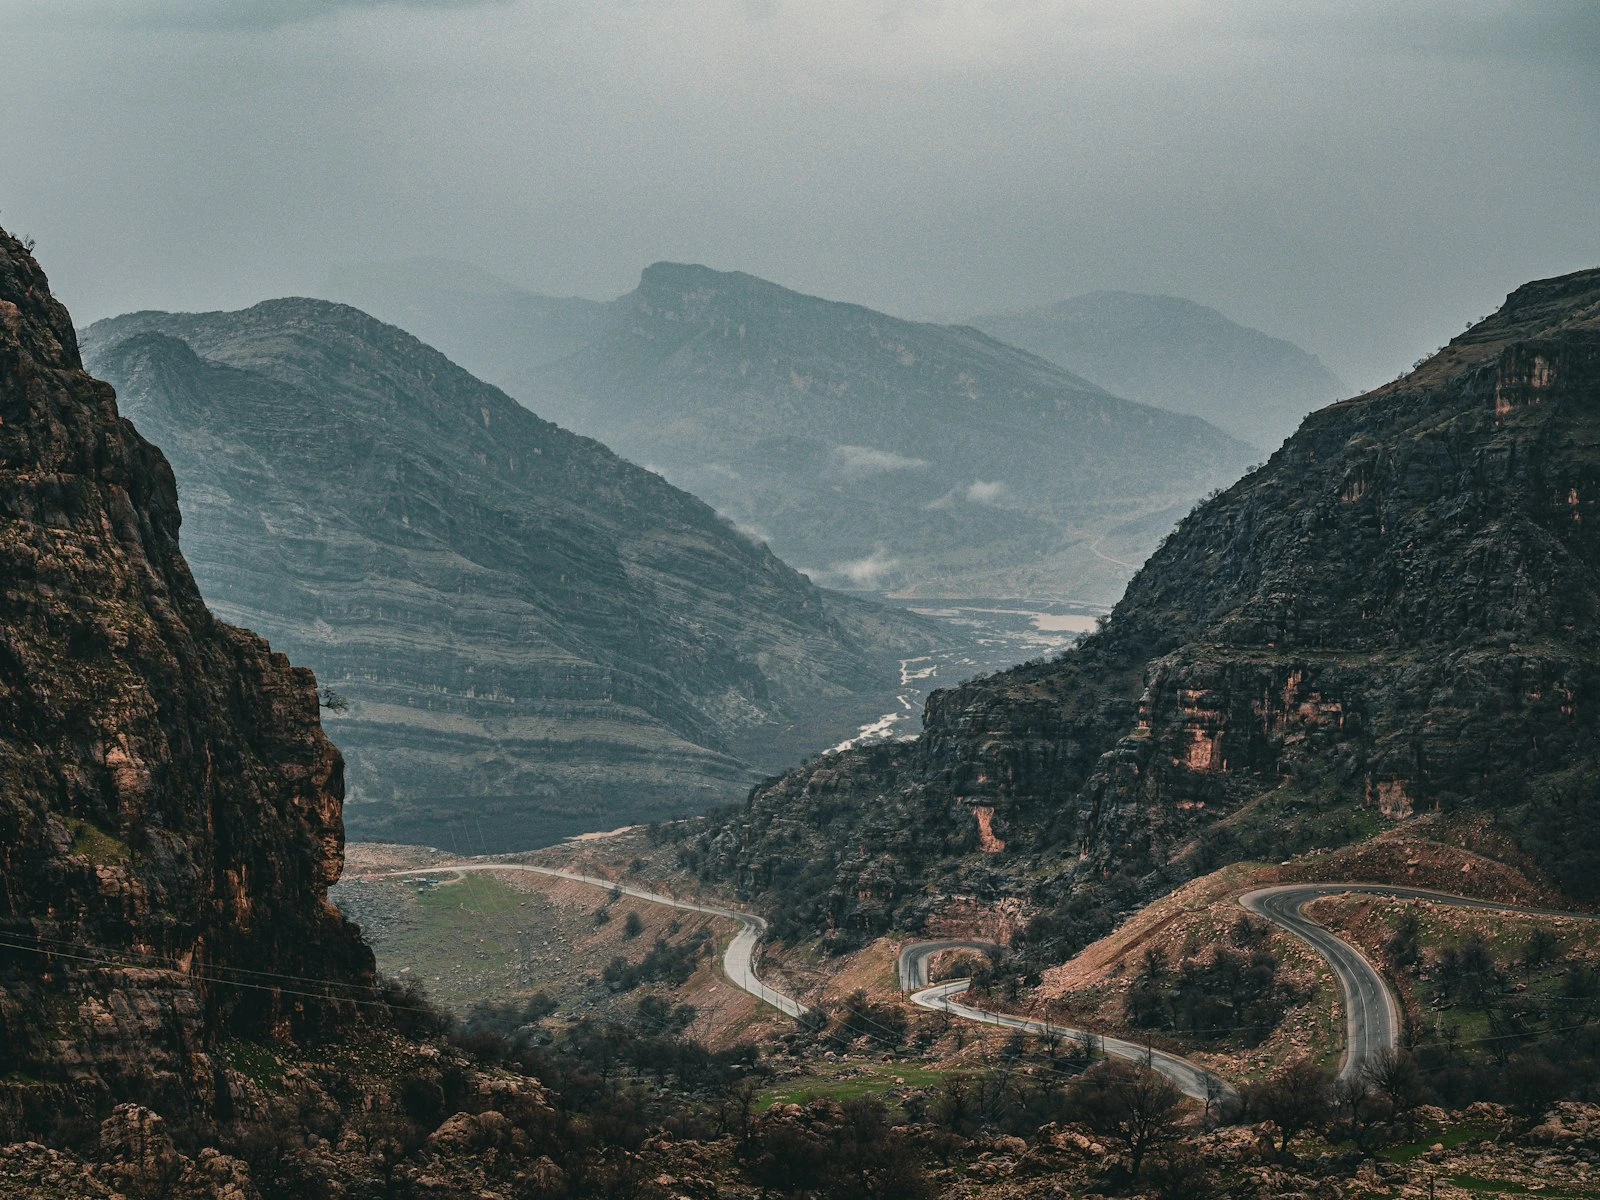
This is a creative choice, and it shapes the entire feel of your photo. A portrait with a creamy, blurred background says "look at this person and nothing else." A landscape where everything from the nearby wildflowers to the distant mountains is sharp says "look at all of this, it all matters."
Both are valid, but you have to choose.
Most photographers learn depth of field as a technical concept where aperture affects how much is sharp and smaller numbers mean less depth of field. That's true, but it's like learning to drive by studying engine mechanics. You can memorize all of it and still not know when to use it. (If terms like aperture, f-stop, or bokeh are still unfamiliar, the photography glossary has quick definitions for all of them.)
Let me show you how to actually think about depth of field as a creative decision. It's one of the most powerful concepts in our full camera settings guide.
The Creative Choice: Blur vs Context
Before we talk about f-stops and focal lengths, let's talk about what you're really deciding.
Shallow depth of field removes context. It isolates your subject by making everything else a soft wash of color and shape. This pulls your viewer's attention exactly where you want it. No distractions, no competing elements, just the thing you focused on.
Deep depth of field provides context. It keeps everything sharp, which means everything competes for attention equally. This works when the environment matters as much as the subject, or when there isn't a single subject at all.
The choice depends entirely on what story you're trying to tell.
Photographing a musician at a crowded venue? Shallow depth of field can separate them from the chaos around them, making them the clear star of the image. But if you want to show what it felt like to be there, the crowd, the lights, the energy, deeper focus tells that story better.
Shooting a flower in a garden? Shallow depth makes it a portrait of that single bloom. Deeper focus makes it a photo of the garden itself, with that flower as one element among many.
There's no formula for this, just a judgment call you make based on what you want the photo to communicate. But you have to make it consciously. Otherwise, you're just accepting whatever default your camera gives you.
The Four Factors That Control Depth of Field
Aperture gets all the attention, but it's only one of four factors that determine how much of your scene is sharp. Understanding all four gives you more options, especially when one of them is fixed by your situation.
Factor 1: Aperture
Wider apertures (smaller f-numbers like f/1.8 or f/2.8) create shallower depth of field. Narrower apertures (larger f-numbers like f/11 or f/16) create deeper depth of field.
This is the factor you probably already know. It's also the one you have the most direct control over.
The tradeoff: Wider apertures let in more light. If you're shooting in low light and need fast shutter speeds, you might be forced into shallow depth of field whether you want it or not. Conversely, narrow apertures require more light, which might mean slower shutters or higher ISO.
Factor 2: Distance to Subject
The closer you are to your subject, the shallower your depth of field becomes, even at the same aperture.
This is why macro photography is so challenging. When you're inches away from a tiny subject, the depth of field becomes razor-thin even at f/8 or f/11. And it's why shooting a landscape from a viewpoint where nothing is closer than 30 feet away gives you functionally infinite focus even at moderate apertures.
Practical application: If you want more background blur but your lens doesn't go very wide, get closer to your subject (and make sure your background is farther away). If you want everything sharper and you're already at f/11, back up.
Factor 3: Focal Length
Longer focal lengths create shallower depth of field at the same aperture and distance. A 200mm lens at f/4 gives you significantly more background blur than a 35mm lens at f/4, assuming you're the same distance from your subject.
The nuance: If you change focal length but adjust your position to keep the same framing, the effect is less dramatic than pure physics would suggest. But in practice, longer lenses still look like they have shallower depth of field because of how they compress backgrounds and render out-of-focus areas.
Practical application: If you want more blur and can't change your aperture, try a longer lens. Portrait photographers often use 85mm to 135mm lenses partly for this reason because they give beautiful subject separation without requiring f/1.4 apertures.
Factor 4: Sensor Size
Larger sensors create shallower depth of field when shooting at equivalent framing and aperture. A full-frame camera at f/2.8 has shallower focus than an APS-C camera at f/2.8, which has shallower focus than a smartphone at f/2.8.
This is why it's nearly impossible to get significant background blur with a phone camera. The tiny sensor keeps everything sharp by default.
Practical application: If you're struggling to get shallow depth of field with a crop-sensor camera or kit lens, know that it's genuinely harder, not that you're doing something wrong. The physics are working against you. You'll need wider apertures, longer focal lengths, or closer distances to achieve the same blur a full-frame shooter gets more easily.
Shallow Depth of Field: When and Why
Use shallow depth of field when:
You want to isolate your subject. A person against a blurry background immediately reads as a portrait. The blur removes distractions and tells your viewer exactly what matters.
The background is ugly or distracting. Busy backgrounds compete with your subject for attention. Blur eliminates them as visual competition. This is invaluable for street portraits, event photography, or anytime you can't control what's behind your subject.
You want to create visual hierarchy. Sharpness draws the eye. When only one thing in your frame is sharp, that's where viewers will look first. This is a powerful compositional tool.
You're emphasizing detail. Food photography, product shots, and portraits. Shallow focus lets you highlight texture and detail in one area while simplifying everything else.
My general approach: For single-subject photos where the environment doesn't matter, I default to shallow depth of field. Portraits, headshots, detail shots, and pets. Anything where there's clearly one thing that should be the star.
Starting apertures for shallow depth of field:
- f/1.4 to f/2.0: Very shallow, best for single subjects with backgrounds you want completely dissolved
- f/2.8 to f/4: Moderate blur, more forgiving for focus accuracy, good for portraits where you want some context
Deep Depth of Field: When and Why
Use deep depth of field when:
The environment is part of the story. Environmental portraits: a chef in their kitchen, a musician surrounded by instruments, an athlete on their field. You want to see them and their context.
You're photographing multiple subjects at different distances. Group photos, multi-person portraits. Shallow depth of field means someone's going to be soft, and that's rarely what you want.
Everything in the scene matters equally. Landscapes, architecture, street scenes where there's no single subject. Deep focus lets the viewer's eye explore the entire frame.
You need focus margin for error. Moving subjects are hard to track precisely. A slightly deeper depth of field means small focus misses are less catastrophic.
Documentary and journalistic intent. Deep focus says "I'm showing you reality." It has an objectivity that shallow focus, with its inherent selectivity, doesn't.
My general approach: For landscapes, cityscapes, architecture, and any photo where I want viewers to explore the whole frame, I shoot for deep focus. Same for groups larger than two people.
Starting apertures for deep depth of field:
- f/8 to f/11: Sharp across the frame for most lenses, good for landscapes and environmental shots
- f/5.6: A middle ground when you need some depth but not everything sharp
How to Get Shallow Depth of Field With Kit Lenses
Kit lenses typically max out at f/3.5-5.6. That makes achieving significant background blur genuinely harder, but it's not impossible.
Get closer to your subject. This is the most effective technique. Even at f/5.6, if you're three feet from someone and the background is twenty feet away, you'll see separation.
Increase the distance between subject and background. Same aperture, same subject distance, but move them away from the wall or background. This makes the blur more pronounced.
Use the long end of your zoom. At 55mm instead of 18mm, your kit lens will produce more blur. You'll be at f/5.6 instead of f/3.5, but the focal length effect more than compensates.
Combine all three. Get close, use the long end, position your subject away from the background. You won't match a 50mm f/1.4, but you'll get noticeably shallow results.
Consider an affordable prime lens. A 50mm f/1.8 is typically $100-200 and opens up shallow depth of field possibilities your kit lens can't match. It's often the first upgrade that makes the biggest visible difference in your photos.
How to Get Everything Sharp When You Need It
Deep focus has its own challenges. Here's how to ensure everything that should be sharp actually is.
Use f/8 to f/11 for most situations. These apertures give you depth without hitting diffraction limits that actually reduce overall sharpness. Going to f/16 or f/22 rarely helps and often hurts.
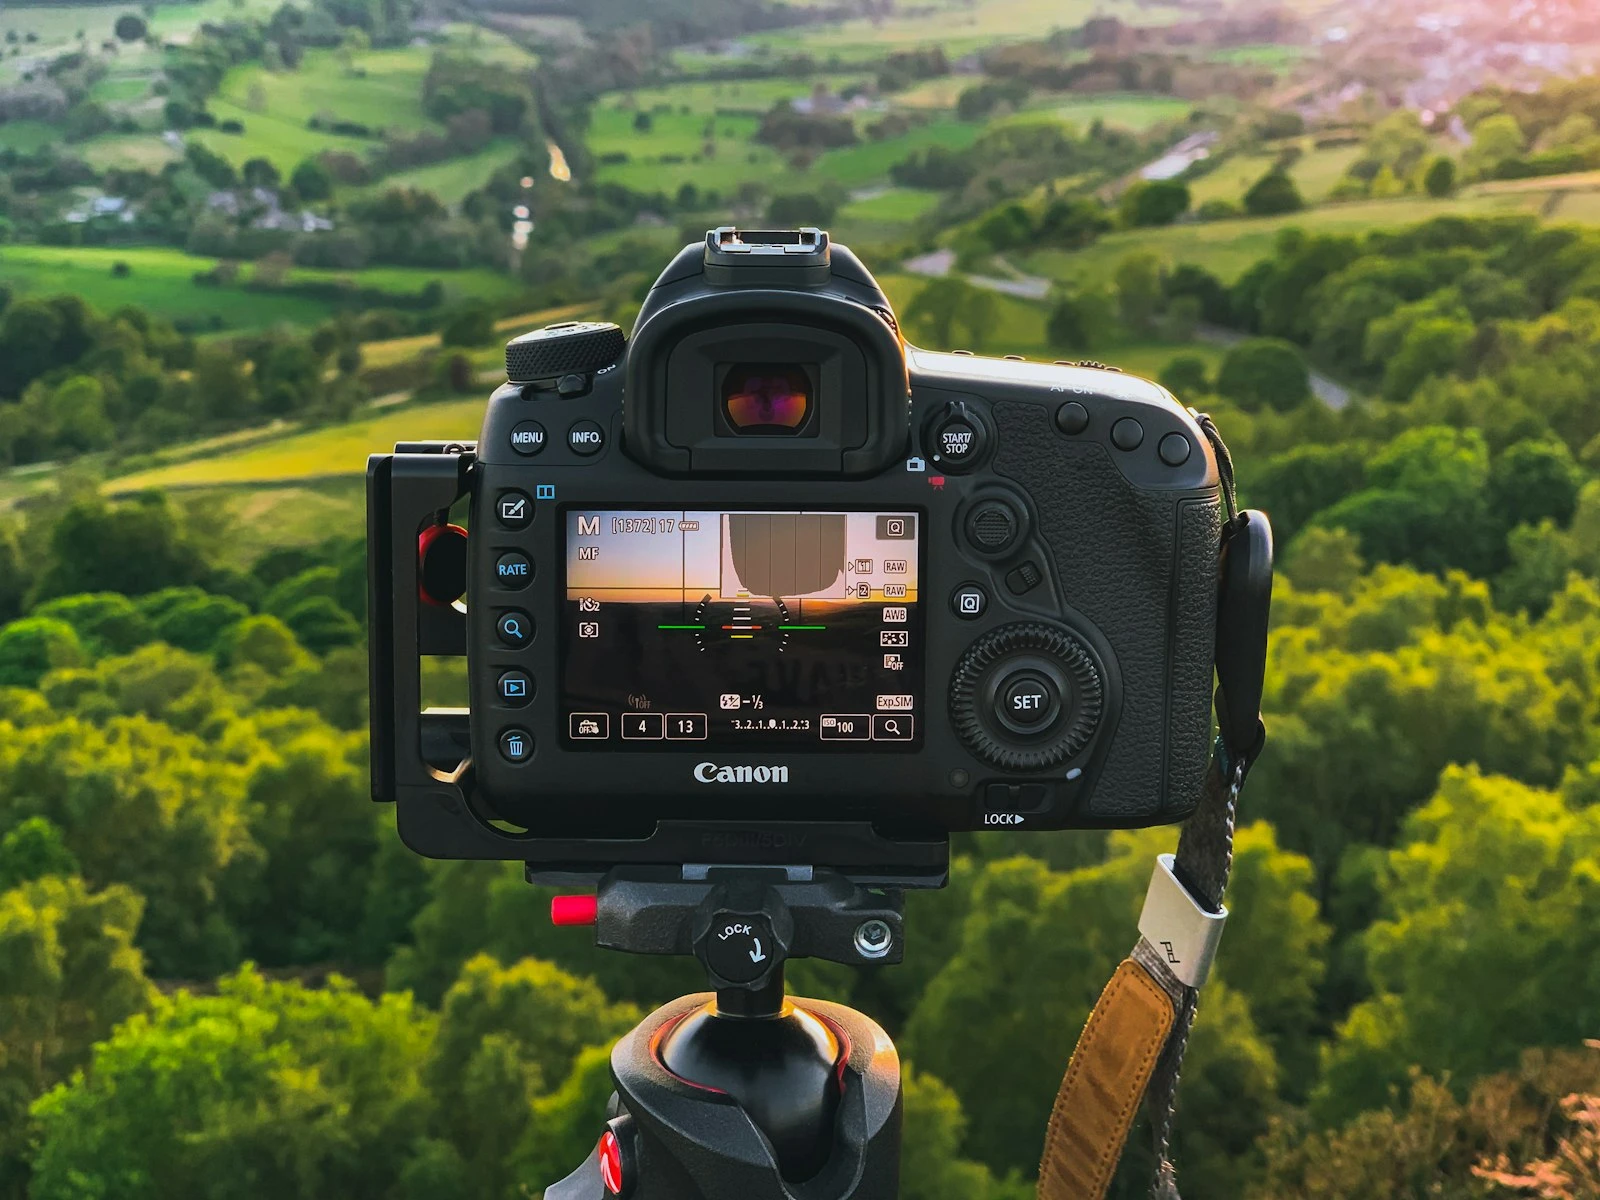
Focus in the right place. For landscapes with foreground and background elements, focus roughly one-third into the scene, not on the horizon. This distributes your depth of field more effectively.
Check your hyperfocal distance. For any given aperture and focal length, there's a focus distance where everything from half that distance to infinity is acceptably sharp. Knowing this number for your lens removes the guesswork from landscape focusing.
Use a tripod. Deep depth of field often means narrow apertures, which mean slower shutter speeds. Camera shake can ruin the sharpness you're trying to achieve.
Stop down, but not too far. Every lens has a diffraction limit where the physics of light bending around the aperture blades reduces sharpness. For most cameras, that's somewhere between f/11 and f/16. Going to f/22 rarely produces sharper results than f/11.
Common Depth of Field Mistakes and Fixes
Mistake: Shooting wide open for everything
Some photographers discover f/1.4 and never use anything else. The result is photos where there's no reason for the shallow focus. It's just a default, not a choice.
Fix: Ask yourself before each shot: "Does this photo need blur?" If the background isn't distracting and context might add to the image, try stopping down.
Mistake: Focus on the wrong element
With shallow depth of field, what you focus on matters enormously. Focusing on someone's nose instead of their eyes is visible. Focusing on the wrong person in a two-person shot is obvious.
Fix: Be deliberate about your focus point. Use single-point autofocus so you choose where focus lands, not your camera.
Mistake: Not enough blur to be intentional
There's a middle ground where the background is slightly soft but not really blurred. It looks like you couldn't decide, neither sharp nor beautifully blurred.
Fix: Commit to one approach. Either blur the background enough that it clearly reads as intentional, or stop down and keep it sharp. The in-between often looks like a mistake.
Mistake: Missing the plane of focus with groups
Shooting a group at f/2.8 and focusing on the person in front leaves everyone behind them soft.
Fix: For groups, use f/5.6 or narrower. Arrange people in the same focal plane when possible (side by side rather than front to back). If they must be at different distances, focus on the front person and use enough depth to cover everyone.
Mistake: Fighting your gear
Trying to get shallow depth of field from a phone camera or kit lens in situations where it just won't happen.
Fix: Work with your gear by embracing the deep focus and composing for it, or simply get closer, since distance is free and doesn't require new equipment.
Key Takeaways
- Decide before each shot whether you want shallow depth of field (isolate subject, remove distractions) or deep depth of field (show environment, provide context).
- Aperture, subject distance, focal length, and sensor size all control depth of field, so use whichever you can adjust when one factor is fixed.
- Get closer to your subject and increase subject-to-background distance for more blur, even with a kit lens.
- Commit to either clearly blurred or clearly sharp backgrounds, because the in-between often looks like a mistake.
- For groups, stop down to f/5.6 or narrower and arrange people in the same focal plane to keep everyone sharp.
More in This Guide
Continue building your understanding of camera control.