Every photograph you take is shaped by three settings working together: aperture, shutter speed, and ISO. Change one, and the other two have to respond. This relationship, the exposure triangle, is the single most important concept in photography, and once you internalize it, you'll stop guessing and start making deliberate creative decisions with your camera.
Understanding the exposure triangle is one of the most important topics in our camera settings guide. If any of these terms are unfamiliar, our photography glossary covers all of them.
The exposure triangle is a framework for thinking. And thinking is what separates a photographer who reacts from one who creates.
Why the Exposure Triangle Matters
Your camera needs a specific amount of light to create a properly exposed image. Too much light and the image washes out. Too little and it disappears into shadow. The exposure triangle gives you three different ways to control how much light reaches your sensor, and each one comes with a creative side effect.
That's the part most tutorials gloss over. Aperture controls light and depth of field. Shutter speed controls light and motion. ISO controls light and image quality. Every exposure decision is really a creative decision in disguise.
Understanding the triangle means understanding the tradeoffs. And understanding the tradeoffs means you can make them intentionally.
Aperture: Controlling Depth and Light
Aperture is the adjustable opening inside your lens that controls how much light passes through. It's measured in f-stops (f/1.8, f/4, f/8, f/16), and here's where it gets counterintuitive. Smaller numbers mean a wider opening and more light.
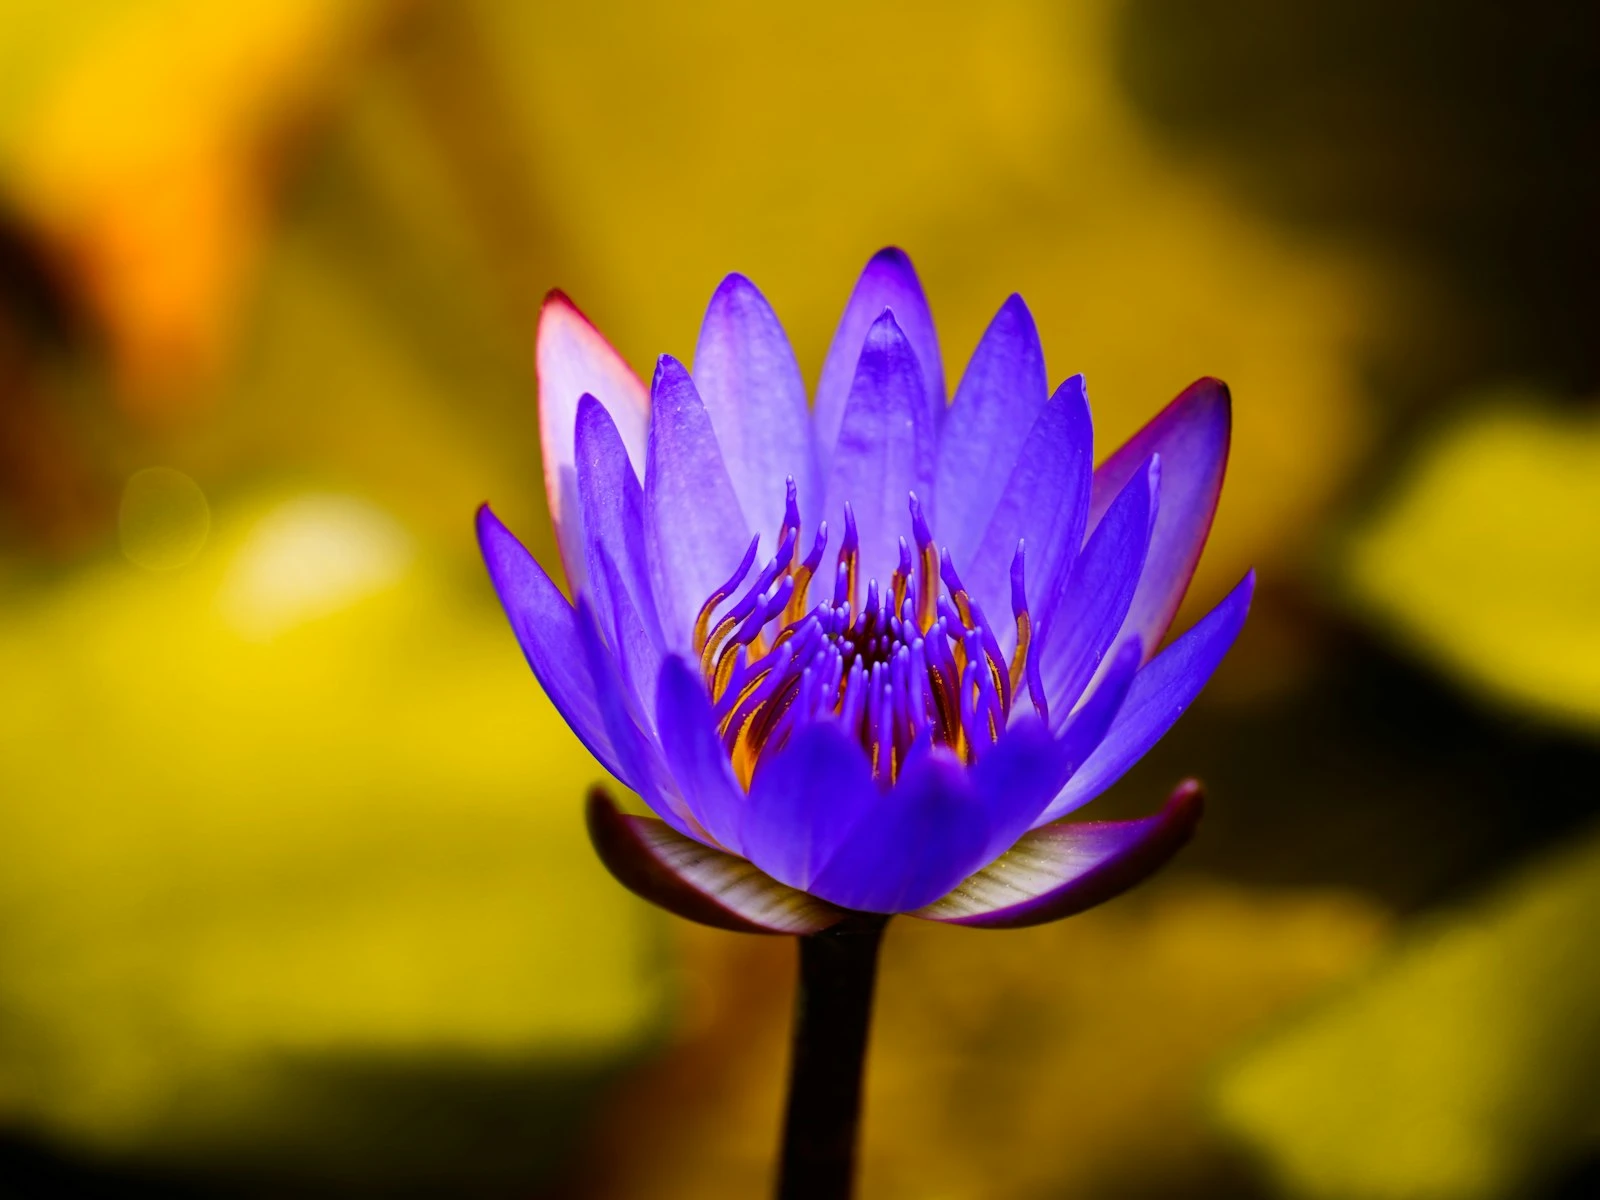
Aperture's creative power is depth of field, which determines how much of your scene appears sharp from front to back.
- Wide apertures (f/1.4 to f/2.8): Shallow depth of field. Your subject is sharp, the background melts into a creamy blur. This is why portrait photographers love fast lenses.
- Mid-range apertures (f/4 to f/8): A balanced zone. Enough depth of field for most situations while still letting in reasonable light. f/8 is where most lenses produce their sharpest results.
- Narrow apertures (f/11 to f/22): Deep depth of field. Everything from foreground to horizon stays sharp. Landscape photographers live here, but push too far past f/16 and diffraction starts softening your image.
The real question to ask yourself. What do I want sharp, and what am I willing to let go soft? Start there, and aperture becomes intuitive.
How Aperture Affects the Triangle
Open your aperture wider and you flood the sensor with light. That means you can use a faster shutter speed or lower ISO. Stop it down and you're cutting light, so something else has to compensate. Maybe you slow the shutter. Maybe you raise ISO. That negotiation is the triangle in action.
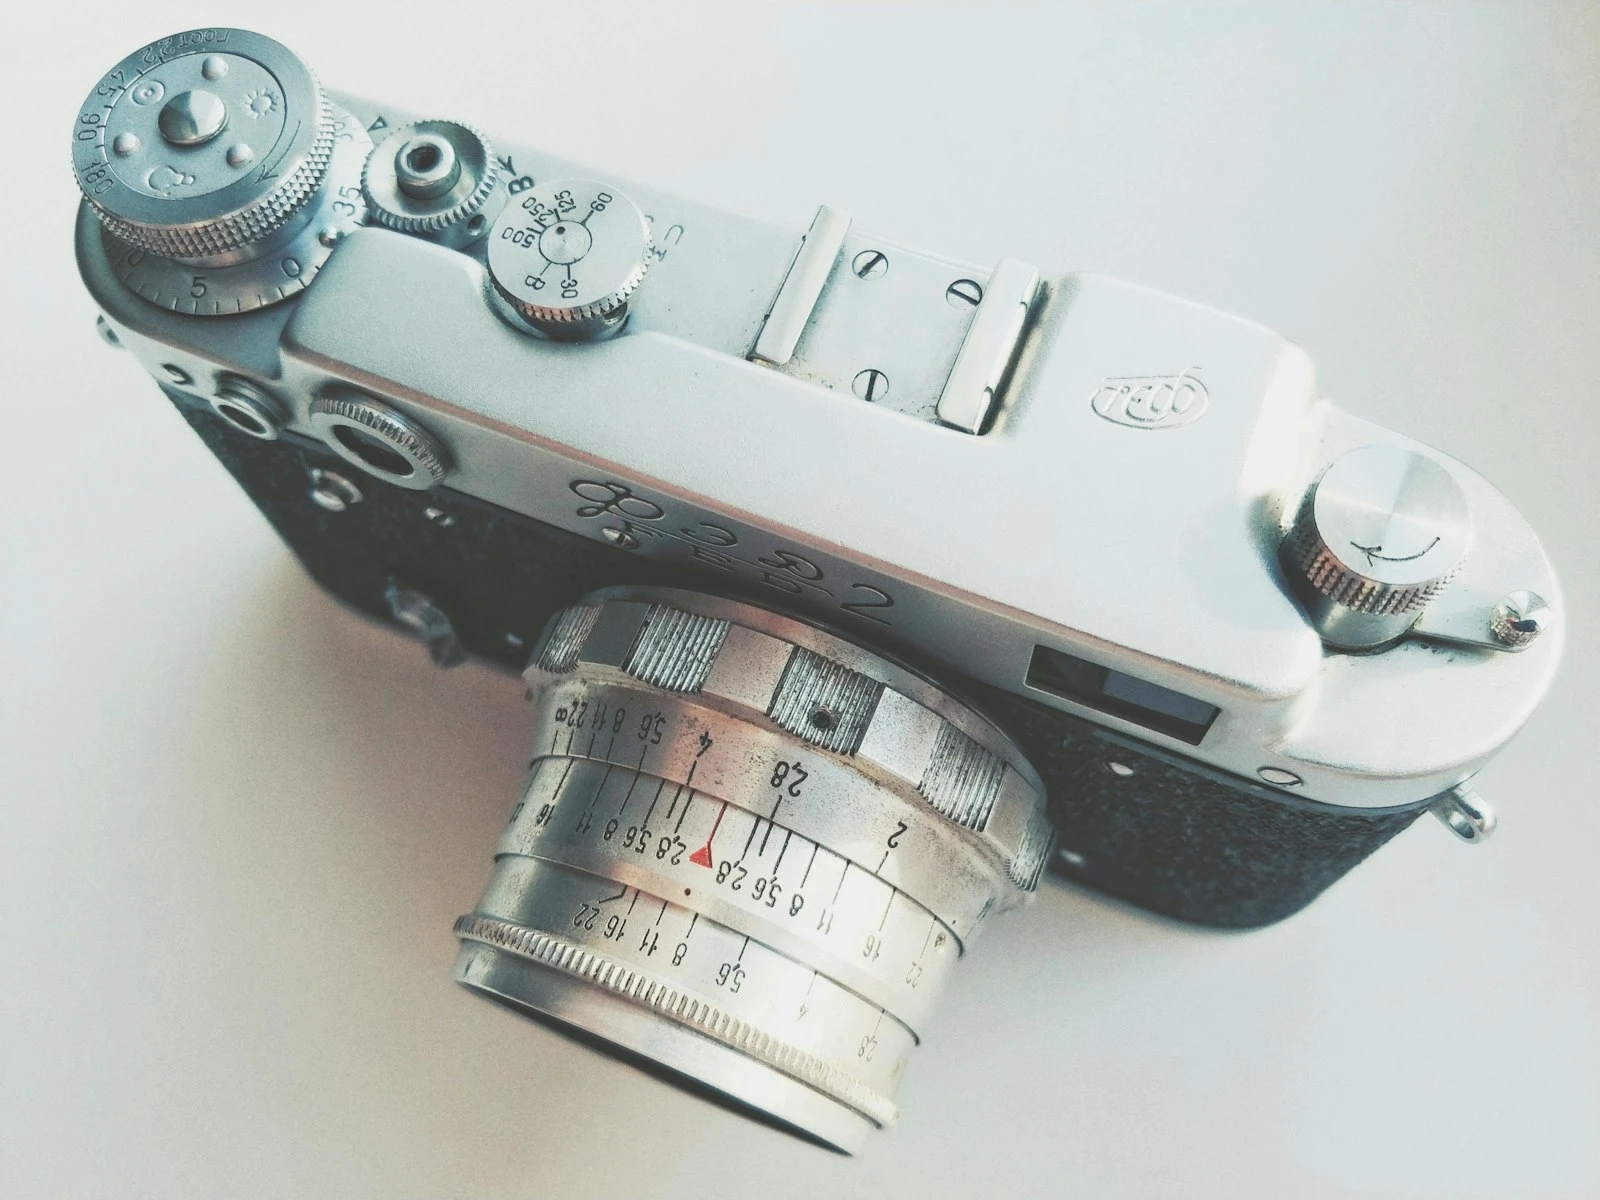
Shutter Speed: Controlling Motion and Light
Shutter speed is how long your sensor is exposed to light. It's measured in fractions of a second (1/1000, 1/250, 1/60) or full seconds for long exposures.
The creative tradeoff here is motion.
- Fast shutter speeds (1/500 and above): Freeze action. A bird mid-flight, a splash of water, a runner in stride. At 1/1000 or faster, almost nothing moves.
- Moderate shutter speeds (1/60 to 1/250): The everyday range. Fast enough to handhold your camera without blur for most focal lengths. The old rule of thumb, shoot at least 1/focal length, still holds up well.
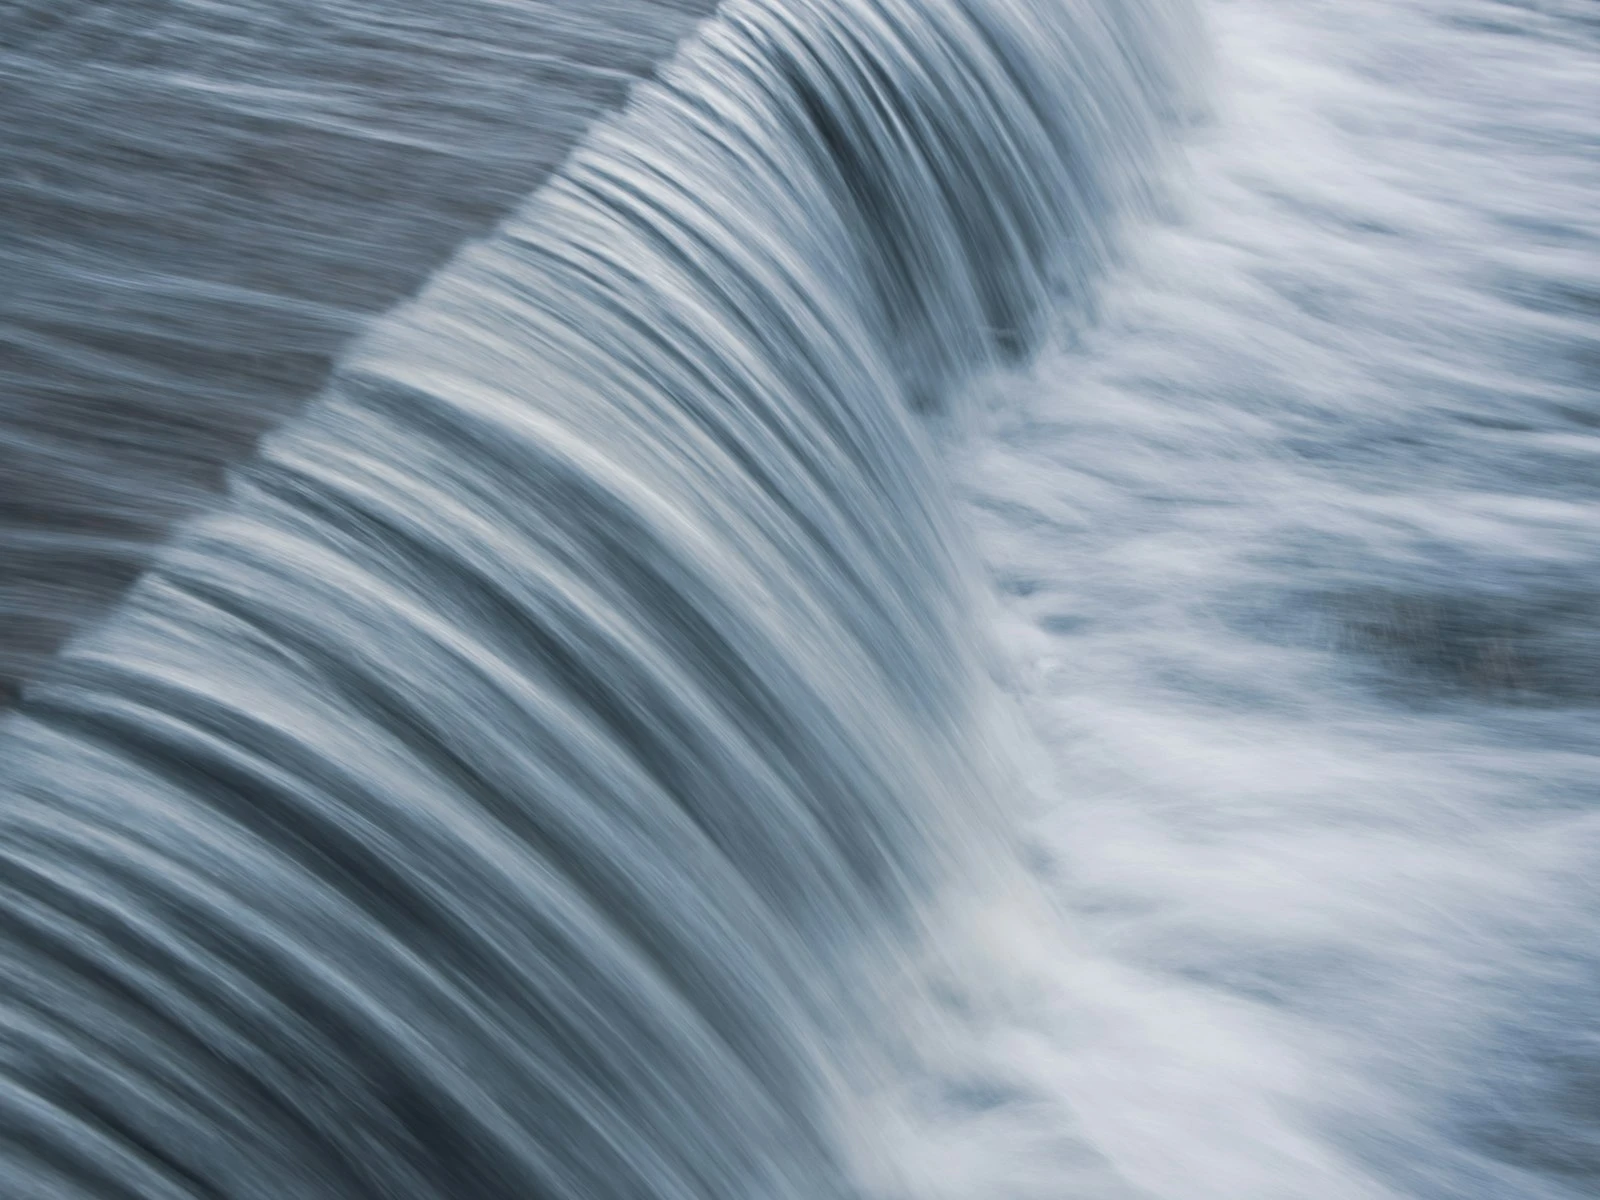
- Slow shutter speeds (1/30 and below): Intentional blur. Silky waterfalls, light trails from cars, the ghostly movement of a crowd. You'll typically need a tripod here.
The decision framework. Am I freezing a moment, or am I showing movement? That single question tells you which direction to push your shutter speed.
How Shutter Speed Affects the Triangle
A faster shutter speed means less time for light to hit the sensor. You'll need to compensate by opening the aperture wider or raising your ISO. A slower shutter speed lets more light in, giving you room to stop down the aperture or drop the ISO. It's always a negotiation.
ISO: Controlling Sensitivity and Quality
ISO controls your sensor's sensitivity to light. Low numbers like ISO 100 or 200 mean minimal sensitivity, producing clean, noise-free images. Higher numbers like ISO 3200 or 6400 amplify the signal, brightening your image but introducing grain.
Here's the mindset shift that helps. ISO is a tool, and you should treat it like one.
- Low ISO (100 to 400): Maximum image quality. Use this when you have plenty of light, whether that's bright daylight, studio strobes, or tripod-mounted long exposures.
- Medium ISO (800 to 1600): The practical middle ground. Modern cameras handle this range beautifully. Don't hesitate to use it when you need to maintain a usable shutter speed indoors or in shade.
- High ISO (3200+): Low-light survival mode. Concert halls, dimly lit rooms, night photography. Yes, there's noise, but a sharp, noisy photo always beats a clean, blurry one.
The hierarchy I follow. Get the shot. Get it sharp. Then get it clean. In that order. A perfectly exposed image with zero noise means nothing if it's blurred because you were afraid to raise your ISO.
How ISO Affects the Triangle
Raising ISO effectively makes your sensor more sensitive, which means you can use a faster shutter speed or narrower aperture without losing brightness. The cost is noise. Lowering ISO demands more light from somewhere, whether that's a wider aperture, a slower shutter, or additional lighting.
How the Three Settings Work Together
Here's where it all clicks. Imagine you're shooting a portrait outdoors in late afternoon light. You want a blurred background, so you set your aperture to f/2.8. Your light meter says you're properly exposed at 1/500 and ISO 200. Beautiful.
Now a cloud rolls in. The light drops. You have three options.
- Open the aperture wider. You're already at f/2.8 and your lens maxes out there.
- Slow the shutter speed. Drop to 1/250. Still fast enough for a portrait. Problem solved.
- Raise the ISO. Bump to 400. Barely any difference in noise on a modern camera.
Or some combination of all three. This is the triangle working in real time. There's no single right answer, just tradeoffs that align with your creative intent.
The Concept of Equivalent Exposures
One of the most powerful ideas in photography is that many different combinations of aperture, shutter speed, and ISO produce the same overall brightness. These are called equivalent exposures.
For example, all of these produce the same amount of light.
- f/4, 1/250, ISO 200
- f/2.8, 1/500, ISO 200
- f/4, 1/500, ISO 400
- f/5.6, 1/125, ISO 200
Same brightness, completely different creative results. The first gives moderate depth and motion freeze. The second gives shallower depth with faster freeze. The third trades image quality for speed. The fourth gives more depth but requires a steadier hand.
Understanding equivalent exposures is what transforms you from someone who follows camera suggestions to someone who makes intentional choices. You can experiment with different combinations using our exposure calculator.
Common Exposure Triangle Mistakes
Always shooting wide open. A fast lens at f/1.4 is gorgeous, but not every photo needs paper-thin focus. If your subject's eyes are sharp but their nose is soft, you've gone too far.
Treating ISO like the enemy. Modern sensors handle ISO 1600 to 3200 remarkably well. A noisy sharp photo printed at any reasonable size looks far better than a clean blurry one.
Ignoring shutter speed until it's too late. Many photographers set aperture and ISO first, then wonder why their shots are soft. If you're handholding, shutter speed is your floor. Set it first, then work the other two around it.
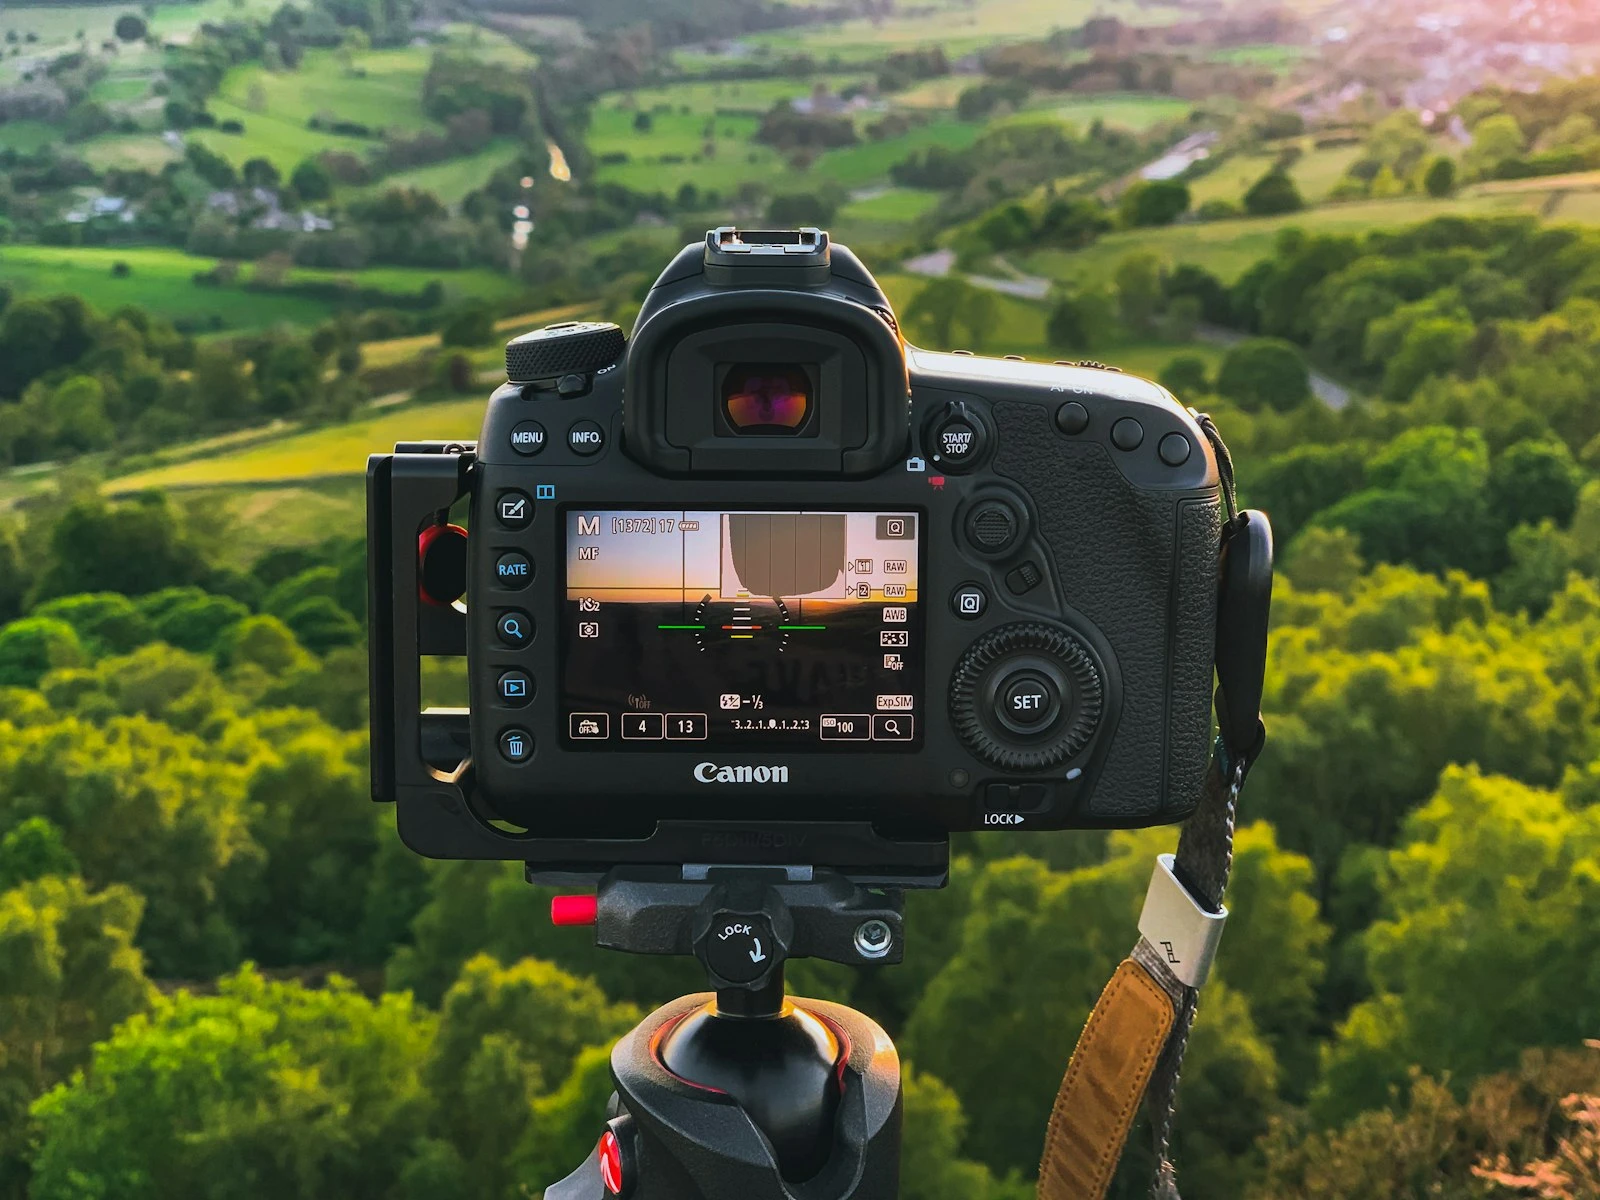
Not checking the histogram. Your camera's rear screen can mislead you depending on ambient lighting. The histogram tells the truth. Learn to read it. It takes five minutes and will save you thousands of ruined exposures.
Putting It Into Practice
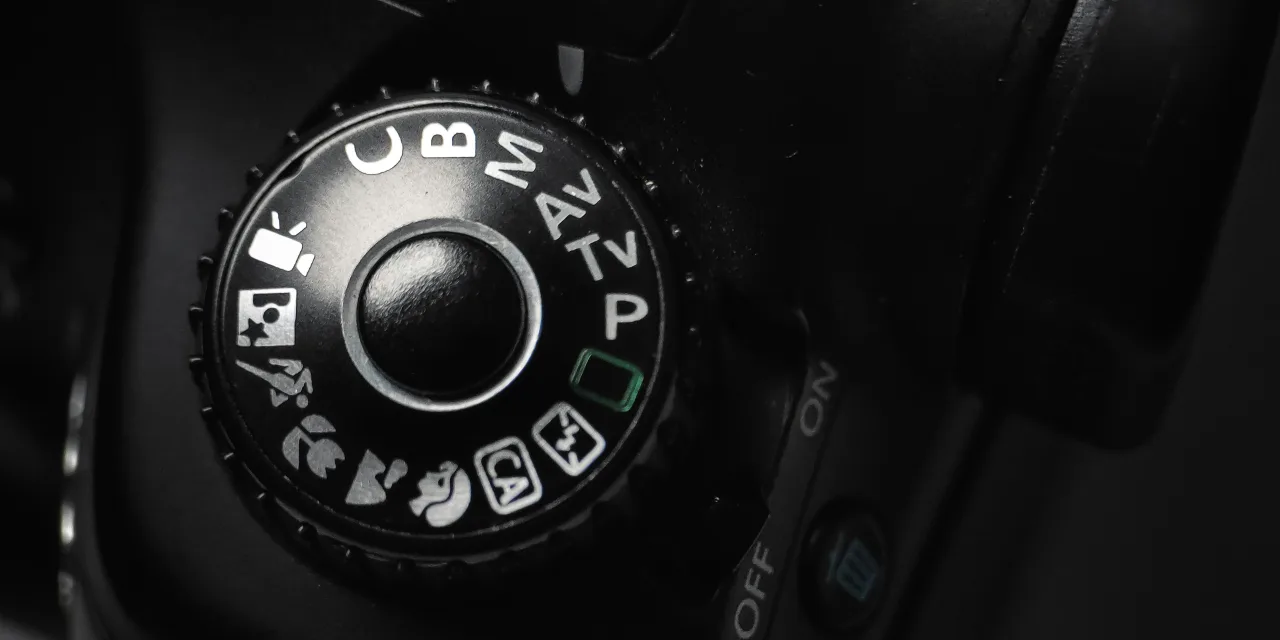
The fastest way to internalize the exposure triangle is to shoot in Aperture Priority mode (A or Av on your dial). You control the aperture and ISO. The camera handles shutter speed. This gives you creative control over depth of field while the camera manages the exposure math.
Once that feels natural, switch to Manual. Manual mode forces you to understand every decision. Spend one afternoon shooting in Manual, adjusting one setting at a time and watching what the other two need to do in response.
Try this exercise. Find a subject with good light. Take the same photo at f/2.8, f/5.6, f/8, and f/16, adjusting shutter speed each time to maintain the same exposure. Compare the images. Notice how the background changes. Notice how the sharpness shifts. That's the triangle teaching you.
For a quick reference you can bring on shoots, grab our free exposure triangle cheat sheets.
Key Takeaways
- The exposure triangle is the relationship between aperture, shutter speed, and ISO. Change one, and the others must compensate.
- Each setting controls light and a creative element. Aperture controls depth of field, shutter speed controls motion, and ISO controls image noise.
- There is no single "correct" exposure, only tradeoffs that serve your creative intent.
- Equivalent exposures mean you can achieve the same brightness many ways, each with different visual results.
- Prioritize getting a sharp, well-exposed shot over chasing perfectly low noise. Raise your ISO when you need to.
- Start with Aperture Priority to build confidence, then practice in Manual to deepen your understanding.
More in This Guide
Dive deeper into each element of camera control.