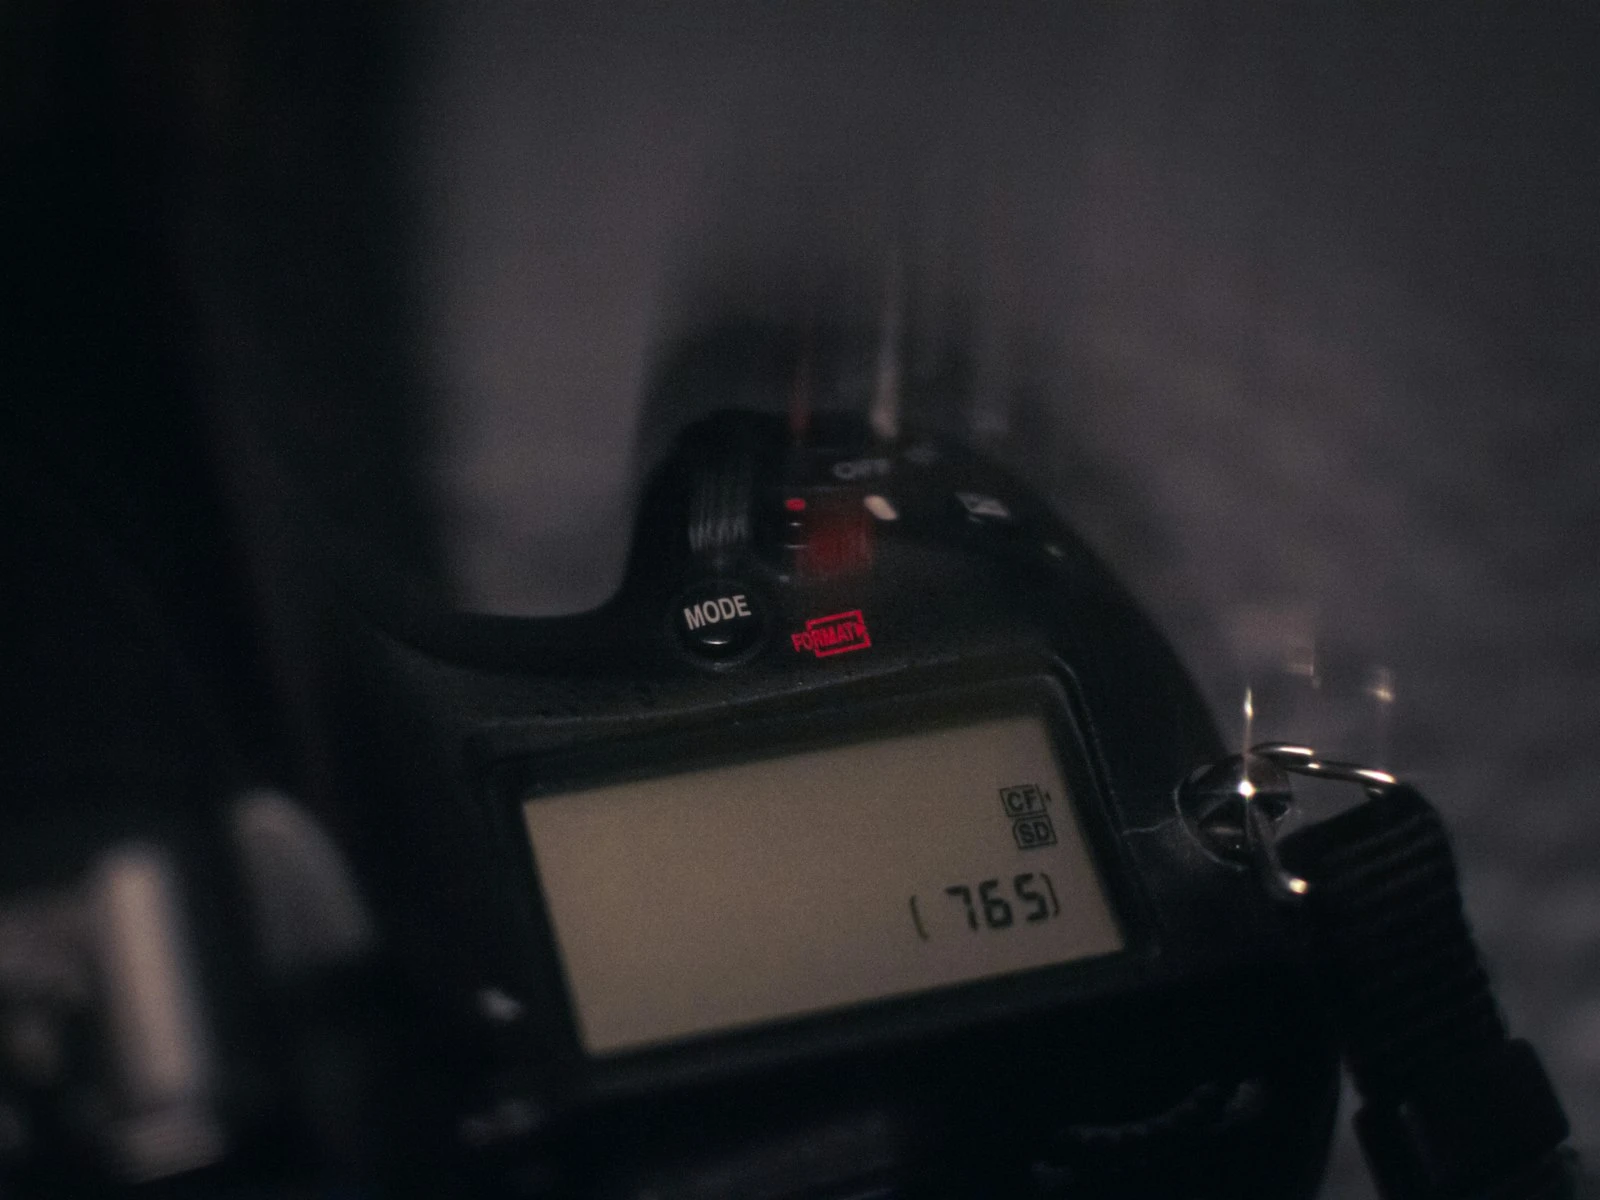
ISO is the setting most photographers get wrong, not because they don't understand what it does, but because they're afraid of it.
You've probably heard some version of "keep your ISO as low as possible." That's decent advice taken too far. Photographers who treat ISO like something to avoid at all costs end up with blurry photos shot at shutter speeds that were too slow, all because they refused to bump ISO up a little.
The truth is simpler: ISO is a tool. Like aperture and shutter speed, it involves a tradeoff. Understanding that tradeoff, and knowing when it's worth making, is what separates someone who understands exposure from someone who's just guessing. It's a key part of mastering your camera settings.
What ISO Actually Does
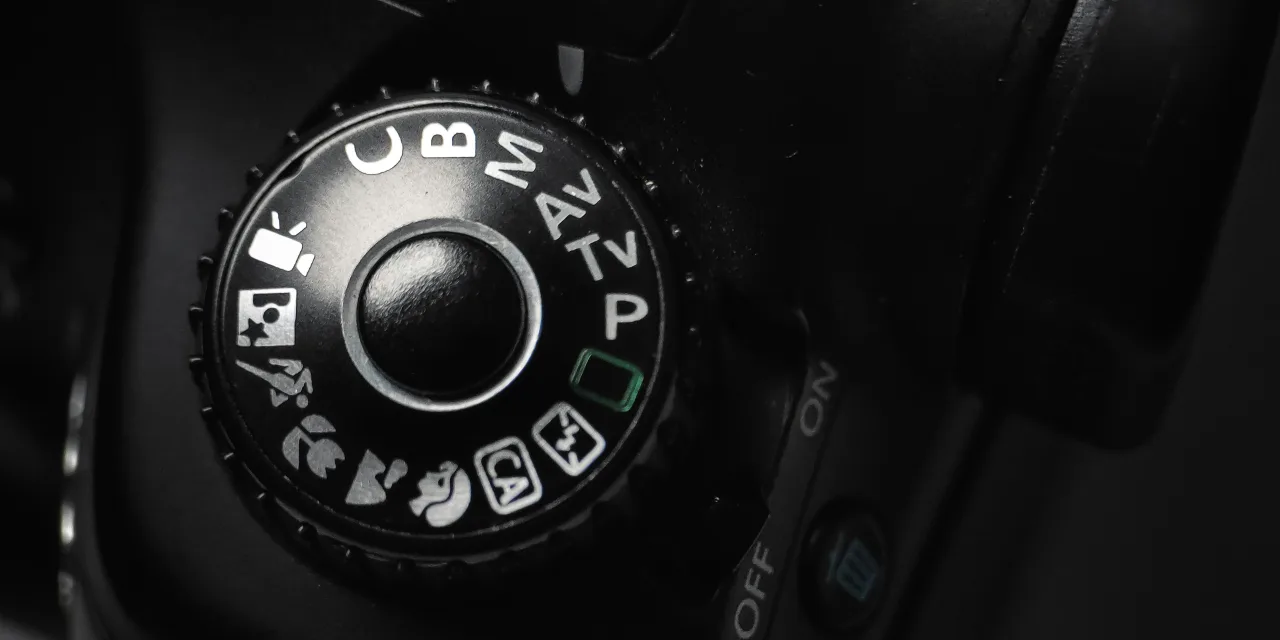
ISO is the third leg of the exposure triangle, alongside aperture and shutter speed. It controls how sensitive your camera's sensor is to light. A higher number means more sensitivity, which means a brighter image from the same amount of light.
- Low ISO (100-400): Less sensitivity, cleaner image, less noise
- Medium ISO (800-1600): More sensitivity, some noise starts appearing
- High ISO (3200-6400+): Much more sensitivity, noticeable noise and possible loss of detail
That's the fundamental tradeoff. More sensitivity means more noise, that grainy, speckled texture that makes photos look rough, especially in shadows and darker areas.
But here's what matters: noise is not the worst thing that can happen to a photo. Blur is worse. A missed moment is worse. A photo you didn't take because you were fiddling with settings to keep ISO low is worse.
The Real Decision: Noise vs. Everything Else
Every time you change ISO, you're making a tradeoff against aperture and shutter speed. These three settings are locked together. Raising one means you can lower another.
This is why ISO matters practically:
Say you're photographing your friend's birthday dinner in a dim restaurant. You've already opened your aperture as wide as it goes (f/1.8). Your shutter speed is at 1/60, and photos are coming out slightly blurry because people keep moving.
You have two choices:
- Keep ISO at 400 and accept blurry photos
- Raise ISO to 1600 or 3200, get your shutter speed to 1/250, and freeze the motion
Option two gives you a noisier photo. It also gives you a sharp photo. That's almost always the better trade.
My hierarchy of priorities:
- Get the shot (be there, press the shutter)
- Get it sharp (fast enough shutter speed)
- Get it clean (lowest ISO you can manage)
Notice that noise is last. Not because it doesn't matter, but because it matters less than the first two.
How Much Noise Is Too Much?
This depends entirely on what you're doing with the photo.
Posting to Instagram or viewing on a phone? You can get away with surprisingly high ISOs. Phone screens are small and compress images heavily. ISO 6400 often looks perfectly fine.
Printing large? Noise becomes more visible at bigger sizes. For large prints, you'll want to keep ISO lower when you can, but even here, modern cameras handle ISO 1600-3200 very well.
Your camera matters too. Full-frame sensors handle high ISO dramatically better than crop sensors or phone cameras. A full-frame camera at ISO 3200 often looks cleaner than a crop sensor at ISO 1600. If you've upgraded your camera recently, your old ISO fears might be outdated.
The honest answer: Most modern cameras produce perfectly usable images up to ISO 3200, and many are fine at 6400 or beyond. The noise at ISO 1600 on a camera made in the last five years is nothing compared to what ISO 800 looked like a decade ago.
Test your own camera. Shoot the same scene at ISO 400, 800, 1600, 3200, and 6400. Look at the results at the size you normally use them. You'll probably be surprised at how high you can go before noise actually bothers you.
Every sensor has a different usable ISO range, and knowing yours saves guesswork in the field.
When to Keep ISO Low
Despite everything I've said about not fearing high ISO, there are absolutely times to keep it low.
When you have plenty of light. Bright daylight, studio strobes, well-lit interiors. If you don't need the extra sensitivity, don't use it. There's no benefit to raising ISO when you have enough light.
When you're on a tripod. A tripod eliminates camera shake, which means you can use very long shutter speeds instead of raising ISO. Landscape photographers shooting on tripods routinely use ISO 100 because they can use 1-second or longer exposures without any penalty.
When you're shooting for large prints or commercial work. Maximum image quality matters when clients are paying or when you're printing big. In controlled situations where you can manage your light, keep ISO at base.
When the scene has lots of shadow detail you need. Noise is most visible in shadows. If your composition relies on subtle shadow detail (dark interiors, moody portraits), lower ISO preserves that detail better.
When to Raise ISO Without Hesitation
Indoors without flash. Restaurants, museums, churches, homes. These are chronically underlit for photography. ISO 1600-3200 is your friend here.
Events and social gatherings. You can't control the light, you can't use a tripod, and moments happen fast. Raise your ISO to whatever gives you a usable shutter speed and stop worrying about it.
Moving subjects in imperfect light. Kids, pets, sports, street photography. Anything that moves needs a fast shutter speed, and if the light isn't bright enough to support that at low ISO, raise it.
Golden hour and blue hour. That beautiful warm light right before sunset? It's dimmer than you think. As the light fades, don't be afraid to push ISO up to keep shooting handheld.
Whenever the alternative is missing the shot. A noisy photo of a once-in-a-lifetime moment beats a clean photo of nothing.
Auto ISO: When It Makes Sense
Most modern cameras have an Auto ISO feature that adjusts ISO automatically while you control aperture and shutter speed. This is genuinely useful in situations where light is changing quickly.
How I use it: I set a minimum shutter speed (say 1/250 for people) and a maximum ISO (say 6400). The camera keeps my shutter speed at or above 1/250 by raising ISO as needed, up to my ceiling.
This works brilliantly for events, street photography, and any situation where lighting conditions change as you move around. It keeps your shutter speed safe and makes ISO decisions automatic.
When I turn it off: Studio work, landscapes on a tripod, or any controlled situation where I want maximum quality and have time to think about settings.
Noise Reduction in Post-Processing
If you do end up with noisy photos, modern editing software handles noise reduction remarkably well. Lightroom's AI-powered denoise, for example, can clean up high-ISO images to a degree that would have seemed impossible a few years ago.
This is another reason not to obsess over ISO in the field. Shoot at whatever ISO gets you the shot, and clean it up later if needed. It's not a perfect solution (noise reduction can soften fine detail), but it's far better than the alternative of missed or blurry photos.
Reducing noise in post has gotten remarkably good, so a high-ISO shot that looked rough on the back of the camera might clean up better than you'd expect.
Putting It Into Practice
Next time you're shooting in anything less than bright daylight, try this exercise: deliberately shoot at an ISO you'd normally consider "too high." ISO 3200 or 6400. Look at the results. Actually look at them at the size you'd normally use them.
You'll probably discover two things. First, the noise isn't as bad as you feared. Second, your photos are sharper and more consistent because you weren't fighting for every photon.
The goal isn't to use the highest ISO possible. It's to stop treating ISO as something scary and start treating it as what it is: the third leg of the exposure triangle, a practical tool that helps you get the photo you want in the conditions you have. If terms like ISO, noise, or exposure triangle are new to you, the photography glossary breaks them all down in plain English.
Key Takeaways
- Prioritize getting a sharp shot over keeping ISO low, because a noisy photo beats a blurry photo every time.
- Most modern cameras produce perfectly usable images up to ISO 3200, and many handle ISO 6400 well, so test your own camera to know its real limits.
- Use Auto ISO with a minimum shutter speed and maximum ISO ceiling for situations where light changes quickly.
- Keep ISO at base (100-200) only when you have plenty of light, are using a tripod, or need maximum image quality for large prints.
- Modern noise reduction software can clean up high-ISO images remarkably well, so shoot at whatever ISO gets the shot and clean up in post if needed.
More in This Guide
Continue exploring camera settings to build a complete understanding.