Your camera has been lying to you.
The light meter in your camera is making assumptions about what you want, and those assumptions are wrong more often than most photographers realize.
Understanding what your meter actually measures, and when its helpful suggestions become harmful advice, is how you start confidently getting the photos you want on the first try.
This guide is about building intuition for when to trust that little scale in your viewfinder and when to smile politely and do your own thing. It's one of the more advanced topics in our camera settings guide, but it will transform how you shoot.
What Your Meter Is Actually Measuring
Most photography tutorials gloss over a fundamental fact. Your camera's light meter does not measure the light hitting your scene. It measures the light bouncing back from your scene into the lens.
Why does this matter? Because your meter has no idea what it is looking at.
Your camera cannot tell the difference between a white wall in shade and a gray wall in sun. Both might reflect the same amount of light toward the lens. The meter sees identical brightness and suggests the same exposure for both, even though one scene is actually much brighter than the other.
This is the core limitation you need to internalize. Your meter is measuring reflected light, not the actual illumination of your scene. And that reflected light depends entirely on the surfaces you are pointing at.
The Middle Gray Problem
Your camera's meter is calibrated to one specific assumption: whatever you point it at should end up as middle gray in the final image. This middle gray, sometimes called 18% gray, is a tone roughly halfway between pure black and pure white.
When you center your meter, you are telling your camera to expose the scene so that the average of what it sees becomes this middle gray.
For many scenes, this works perfectly. A landscape with green trees, brown earth, blue sky, and white clouds averages out to something close to middle gray. The meter nails it.
But point your camera at something that is not middle gray, and the meter will try to make it middle gray anyway.
A snow-covered field? Your camera sees all that bright white and thinks: "This must be really bright light. Better darken the exposure." You end up with gray snow.
A black dog against a dark background? Your camera sees all that darkness and thinks: "This must be dim light. Better brighten the exposure." You end up with a gray dog and washed-out shadows.
The meter is not broken in these situations. It is doing exactly what it is designed to do. The problem is that its design assumption does not match your creative intent.
How to Read the Exposure Scale
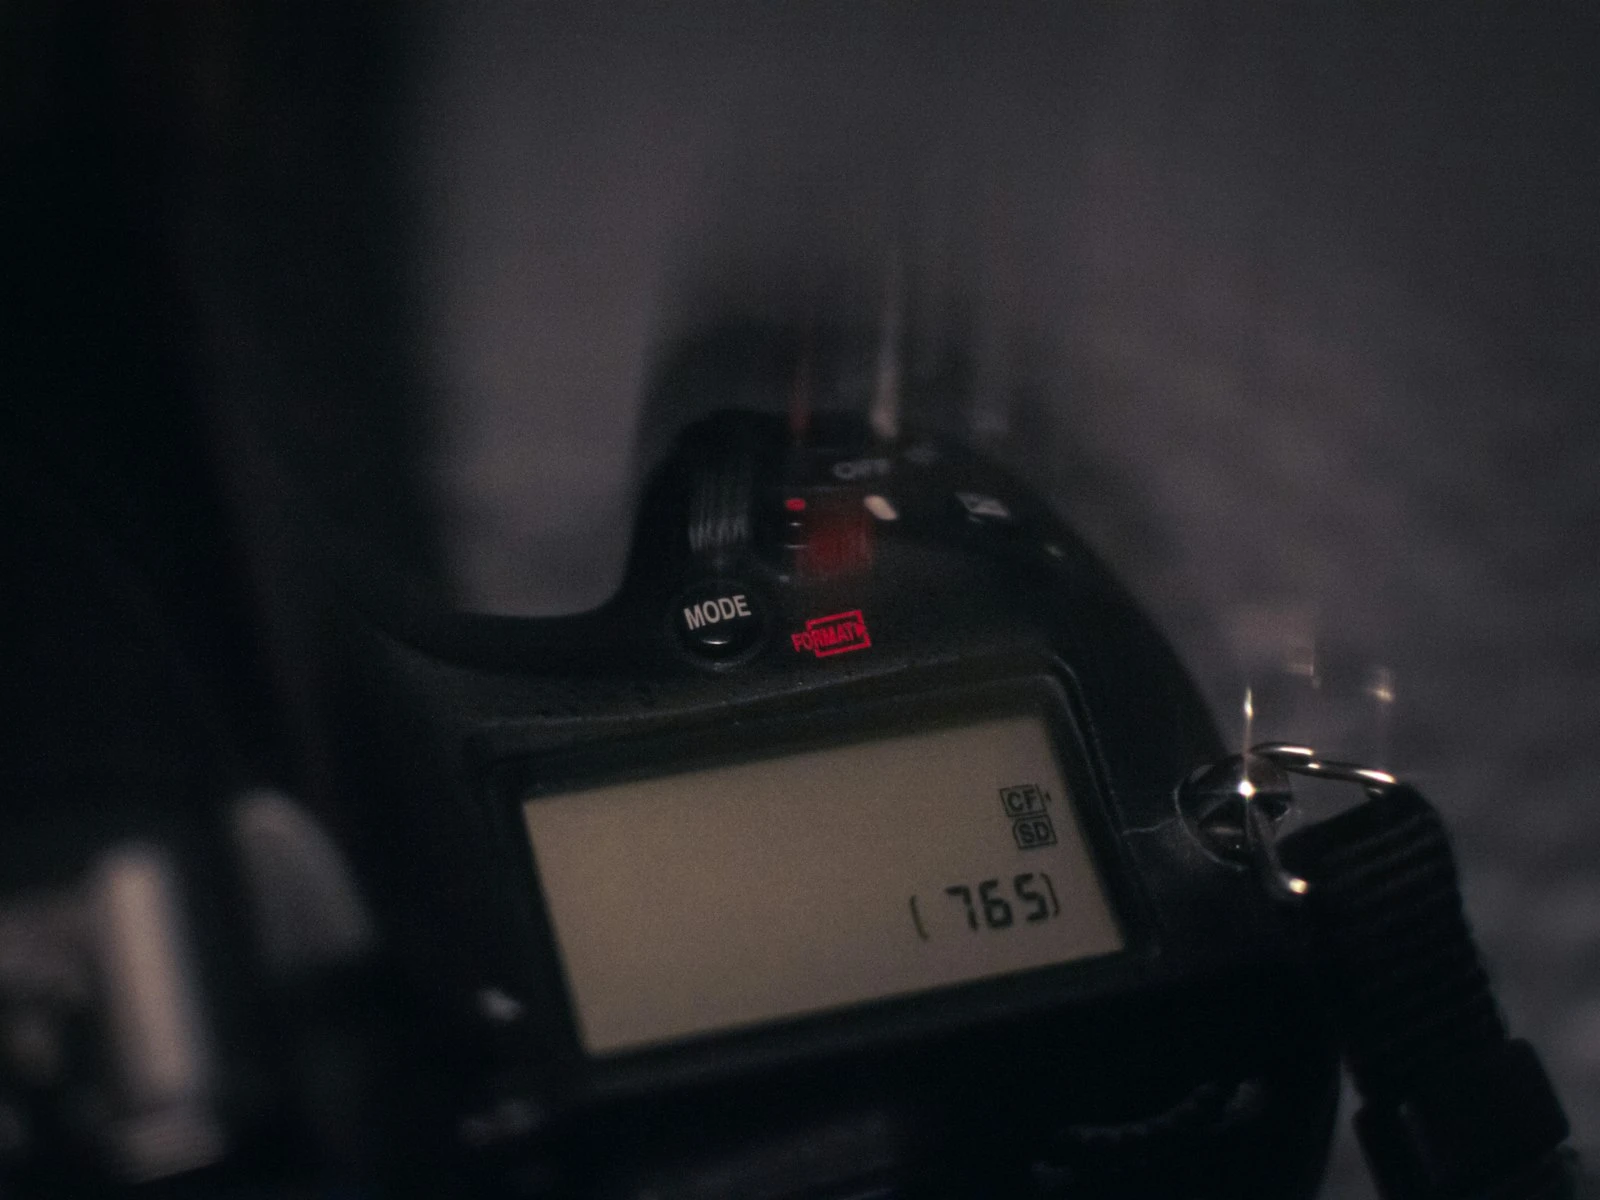
That little scale in your viewfinder or on your rear screen, usually ranging from -3 to +3 with a zero in the middle, is your meter's way of communicating.
At zero: Your current settings will produce an exposure that renders the metered area as middle gray. The meter considers this "correct."
In the negative: Your current settings will produce a darker exposure than the meter recommends. Each mark typically represents one stop of underexposure.
In the positive: Your current settings will produce a brighter exposure than the meter recommends. Each mark represents one stop of overexposure.
Stop thinking of zero as "correct" and negative or positive as "wrong." Instead, think of the scale as information about what your camera will do with your current settings. This reframe is what makes manual mode feel liberating instead of intimidating.
When I photograph a person in a white wedding dress against a bright window, my meter might scream +2 at me. My meter is simply telling me I am letting in two stops more light than it thinks I need. And I know, from experience, that two stops over what the meter wants is exactly right for preserving that dress as white instead of gray.
The scale is a tool for prediction, not a rule for obedience.
Metering Modes: Three Ways to Sample Light
Most cameras offer multiple metering modes. Each one changes how much of your frame the meter samples when calculating its recommendation.
Evaluative (Matrix) Metering
This is usually your default mode. The camera divides your frame into zones, measures each independently, and uses algorithms to guess what kind of scene you are shooting. Modern cameras are remarkably good at this, comparing your scene to databases of thousands of images to predict the right exposure.
When it works well: General photography, scenes with mixed tones, situations where you want reasonable exposures without much thought.
When it struggles: High contrast scenes, backlit subjects, any situation where the "average" of your scene does not represent what you actually care about exposing correctly.
I use evaluative metering probably 80% of the time. It is a good starting point that I then adjust based on experience with specific situations.
Center-Weighted Metering
This mode still evaluates the whole frame but gives significantly more importance to the center. The assumption is that your subject is probably in the middle of the frame and probably matters more than the edges.
When it works well: Portraits where your subject is centered, any situation where you want a quick reading biased toward the middle of your composition.
When it struggles: Subjects that are not centered, scenes where the center happens to be unusually bright or dark compared to your actual subject.
I rarely use center-weighted metering. It feels like an awkward compromise between evaluative and spot, not quite smart enough to handle complex scenes and not precise enough when I need specific control.
Spot Metering
This mode measures only a tiny area of your frame, typically 1-5% of the image. Whatever is under that spot determines the meter reading, and everything else is ignored.
When it works well: High contrast scenes where you need precise control, backlit subjects, any situation where you want to expose for one specific element.
When it requires care: You must point the spot at something that represents the tone you want rendered correctly. Spot meter the wrong thing and your exposure will be wrong.
I use spot metering when I know exactly what I want and the scene is tricky enough that evaluative metering will get confused. It requires more thought but gives more control.
When Your Meter Is Right
Despite everything I have said about meter limitations, your camera gets exposure right surprisingly often. Here are the situations where you can generally trust it:
Evenly lit scenes with mixed tones. Parks, cityscapes, interiors with balanced lighting. When your scene contains a natural mix of lights, midtones, and darks that average to something close to middle gray, the meter does its job.
Front-lit subjects. When light is coming from behind you and illuminating your subject evenly, there are fewer tricks for the meter to fall for.
Overcast days. Soft, even light produces soft, even meter readings. Clouds are your meter's best friend.
Subjects that are actually middle gray. Green foliage, blue skies (away from the sun), weathered wood, many natural surfaces. If you are photographing a forest, your meter is probably calibrated almost perfectly for the task.
In these situations, center your meter and shoot with confidence. Save your mental energy for the tricky stuff.
When Your Meter Is Wrong
Here is where experience becomes essential. Your meter will systematically fail in predictable ways for certain scene types.
Snow and Bright Sand
Your meter sees all that white and tries to turn it gray. The result is underexposed images with dingy-looking snow or sand.
The fix: Deliberately overexpose by 1 to 2 stops from what your meter recommends. Check your histogram to make sure you are not clipping highlights, but push it brighter than the meter wants.
Backlit Subjects
When light is coming from behind your subject, your meter sees all that bright background and exposes for it. Your actual subject ends up silhouetted.
The fix: If you want detail in your subject, overexpose by 1.5 to 2 stops from the meter reading. Alternatively, use spot metering on your subject's face or body and let the background blow out.
Dark Backgrounds
Photographing a person against a dark wall or a night scene? Your meter sees all that darkness and overexposes, trying to make it middle gray. Your subject ends up too bright and your shadows look washed out.
The fix: Trust the darkness and underexpose by 1 to 2 stops from what the meter suggests. Let blacks be black.
Very Bright Subjects
A white bird against a pale sky. A person in a white dress in bright sun. Your meter averages all that brightness and underexposes, trying to calm it down.
The fix: Similar to snow, overexpose by 1 to 1.5 stops. You want that white to stay white.
Very Dark Subjects
A black car, a dark-furred animal, a person in black clothing against shadows. Your meter tries to brighten everything to middle gray, losing the rich darkness that makes these subjects compelling.
The fix: Underexpose by 1 to 1.5 stops. Preserve the darkness that defines your subject.
High Contrast Scenes
Half your scene is in bright sun, half in deep shade. Your meter cannot handle both. It will compromise by averaging, often leaving highlights blown and shadows crushed simultaneously.
The fix: Decide what matters more. If the highlights are your subject, expose for them and let shadows go dark. If shadows contain your subject, expose for them and accept some blown highlights. When neither compromise works, exposure problems often require techniques like HDR, exposure blending, or fill flash.
How to Compensate: Building Your Intuition
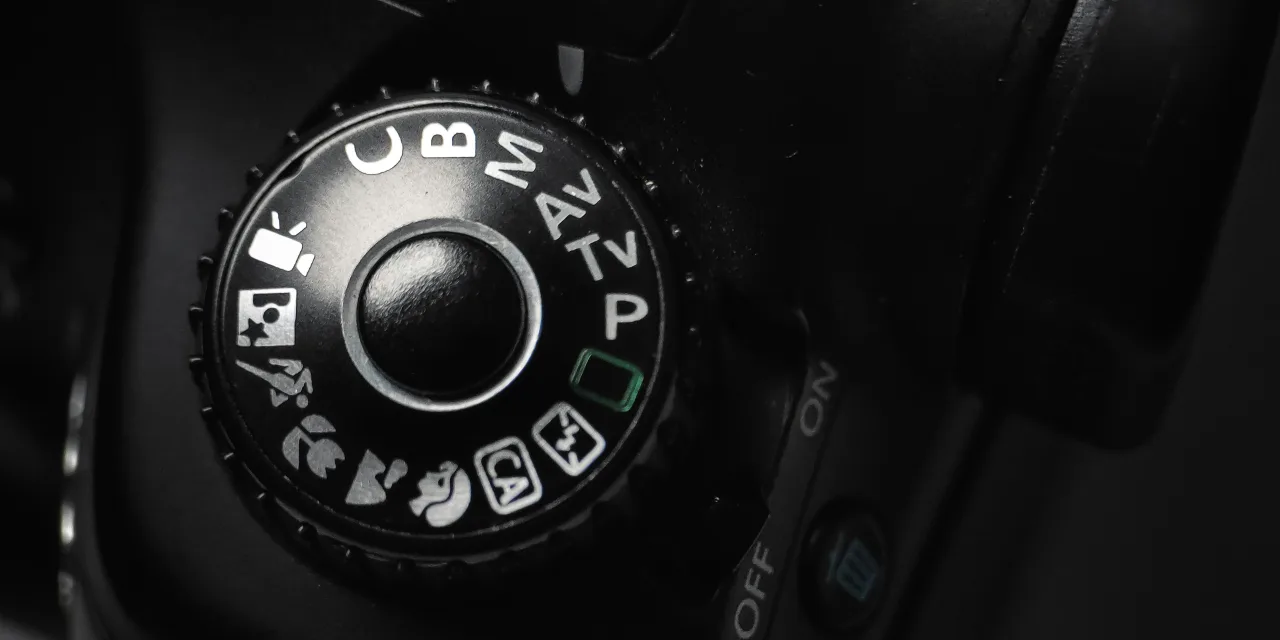
The exposure compensation dial (usually marked with +/- near your shutter button or in your menu) is how you tell your camera "I know better."
My practical approach works like this.
Start with pattern recognition. After a few shoots, you will notice that snow always needs +1.5, your black dog always needs -1, backlit portraits always need +2. These patterns become second nature.
Use the LCD and histogram. After your first shot in any tricky situation, check your results. Not just the image preview, which can be misleading, but the histogram. If your highlights are climbing the right wall and clipping, dial back. If everything is bunched to the left with nothing in the highlights, open up.
Bracket when uncertain. Shoot one at the meter reading, one a stop over, one a stop under. You can decide which works best later, since storage is cheap.
Learn your specific camera. Some cameras expose slightly bright by default. Some are conservative. Shoot the same scenes repeatedly and learn your camera's personality.
The goal is to develop quick instincts for common situations so you can spend your mental energy on composition and timing instead of exposure math.
The Meter as Starting Point
Your camera's light meter is a suggestion, not a command.
Your meter tells you what exposure it thinks will render your scene as middle gray. That information is genuinely useful. It gives you a starting point, a baseline to adjust from.
But "middle gray" is not the goal of photography. Your goal is an image that looks the way you want it to look. Sometimes that means overexposing for airy brightness. Sometimes it means underexposing for moody shadows. Sometimes it means trusting the meter completely.
The photographers who consistently nail exposure understand what the meter is telling them and know when to listen and when to deviate.
Your meter is a useful tool, but you are the photographer.
Key Takeaways
- Your camera meter measures reflected light and tries to make everything middle gray, which fails predictably with snow, backlit subjects, and dark scenes.
- Overexpose by +1 to +2 stops from the meter reading for snow, bright sand, and backlit subjects to keep whites looking white.
- Underexpose by -1 to -2 stops for dark backgrounds and dark subjects to preserve rich blacks instead of washed-out grays.
- Use evaluative metering as your default, switch to spot metering when you need precise control over what the camera measures.
- Build pattern recognition for common scenes so exposure compensation becomes instinctive rather than reactive.
More in This Guide
Deepen your understanding of exposure and camera control.