Manual mode has a reputation problem, with photographers talking about it like it's some advanced technique reserved for professionals. Forums are filled with debates about whether beginners should even attempt it. And camera manufacturers don't help, burying manual mode behind intimidating dials and menus that seem designed to confuse.
Manual mode is actually simpler than the semi-automatic modes most beginners struggle with. It's not easier at first, but it is simpler, and that difference matters.
In manual mode, you make three decisions, and that's it. And when you learn to make them in the right order, the whole process becomes almost automatic. That's why manual mode is such a central topic in our camera settings guide.
This guide isn't going to teach you what aperture, shutter speed, and ISO "are" in some textbook sense, since you can find that anywhere (and if any of those terms are unfamiliar, our photography glossary has plain-English definitions for all of them). Instead, I'm going to show you how to think in manual mode. The order of decisions that transforms what feels overwhelming into something that feels like second nature.
Why Manual Mode Feels Hard (And Why It Isn't)
Most beginners approach manual mode backwards, trying to learn all three settings equally, then attempt to juggle them simultaneously while also trying to compose a shot. That's like learning to drive by focusing on the steering wheel, gas pedal, and brakes all at the same moment.
The photographers who make manual mode look effortless are doing one thing at a time, in a specific order.
The shift that changes everything is that you don't adjust all three settings for every shot. In most situations, one setting is essentially "locked" by your creative intent, another is constrained by the scene, and only the third requires real adjustment.
Manual mode becomes simple when you treat it as a sequence of decisions.
The Three Decisions (And the Order That Matters)
Every photograph requires three choices:
Aperture: How much of the scene should be in focus? This is a creative choice that affects the look of your image.
Shutter Speed: Can things be moving, or do they need to freeze? This is partly creative, partly practical, and it depends on your subject.
ISO: How much grain can you tolerate? This is almost always a compromise you make after the other two decisions are set.
Notice that these are questions, and the answers depend entirely on what you're photographing and what you want it to look like.
The order you answer these questions varies by situation, but here's the approach that works for most beginners:
Step 1: Decide What Matters Most
Before you touch any dial, ask yourself: What's the non-negotiable for this shot?
-
Shooting a portrait where you want a blurry background? Aperture matters most. You need a wide aperture (low f-number) to create that background blur.
-
Photographing your kid's soccer game? Shutter speed matters most. You need it fast enough to freeze the action.
-
Working in a dim restaurant? ISO might need to come first because the available light forces your hand.
This first decision is usually obvious once you ask the question. And once you make it, that setting is locked. You're not adjusting it. You're building around it.
Step 2: Set the Second Constraint
Now look at what the scene demands.
If aperture was your first choice (like in that portrait example), shutter speed comes next. Ask: Is this fast enough to prevent camera shake and freeze any movement? For most handheld shots, you want at least 1/125 second. For a still subject, you might get away with slower.
If shutter speed was your first choice (like the soccer example), aperture comes next. Ask: Given this shutter speed and the available light, what aperture do I need? Check your light meter and adjust.
Step 3: Let ISO Fill the Gap
ISO is almost always your last decision. It's the setting you adjust to make the math work after you've committed to your creative choices.
Set your aperture and shutter speed based on what you actually need. Then adjust ISO until your meter shows proper exposure, and you're done.
Real Scenarios: Different Orders for Different Shots
Theory is useful, but practice is better. Let's walk through how this decision order changes based on what you're actually shooting.
Scenario 1: Portrait in Open Shade
What matters most: You want a beautifully blurred background, so aperture is your first decision. Set it wide, around f/2.8 or f/4.
Second constraint: Your subject is standing still, so shutter speed just needs to be fast enough to avoid camera shake. 1/200 second gives you margin for safety.
Fill the gap: Adjust ISO until your meter reads zero. In open shade, this might be ISO 200-400.
The whole process takes about five seconds once you've internalized it.
Scenario 2: Dog Running at the Park
What matters most: You need to freeze motion, so shutter speed is your first decision. For a running dog, 1/1000 second minimum.
Second constraint: Aperture needs to let in enough light while giving you reasonable focus area. A moving subject is hard to track precisely, so f/5.6 gives you some margin for error.
Fill the gap: ISO gets pushed higher to compensate. On a sunny day, ISO 400-800. Overcast? Might need ISO 1600 or higher.
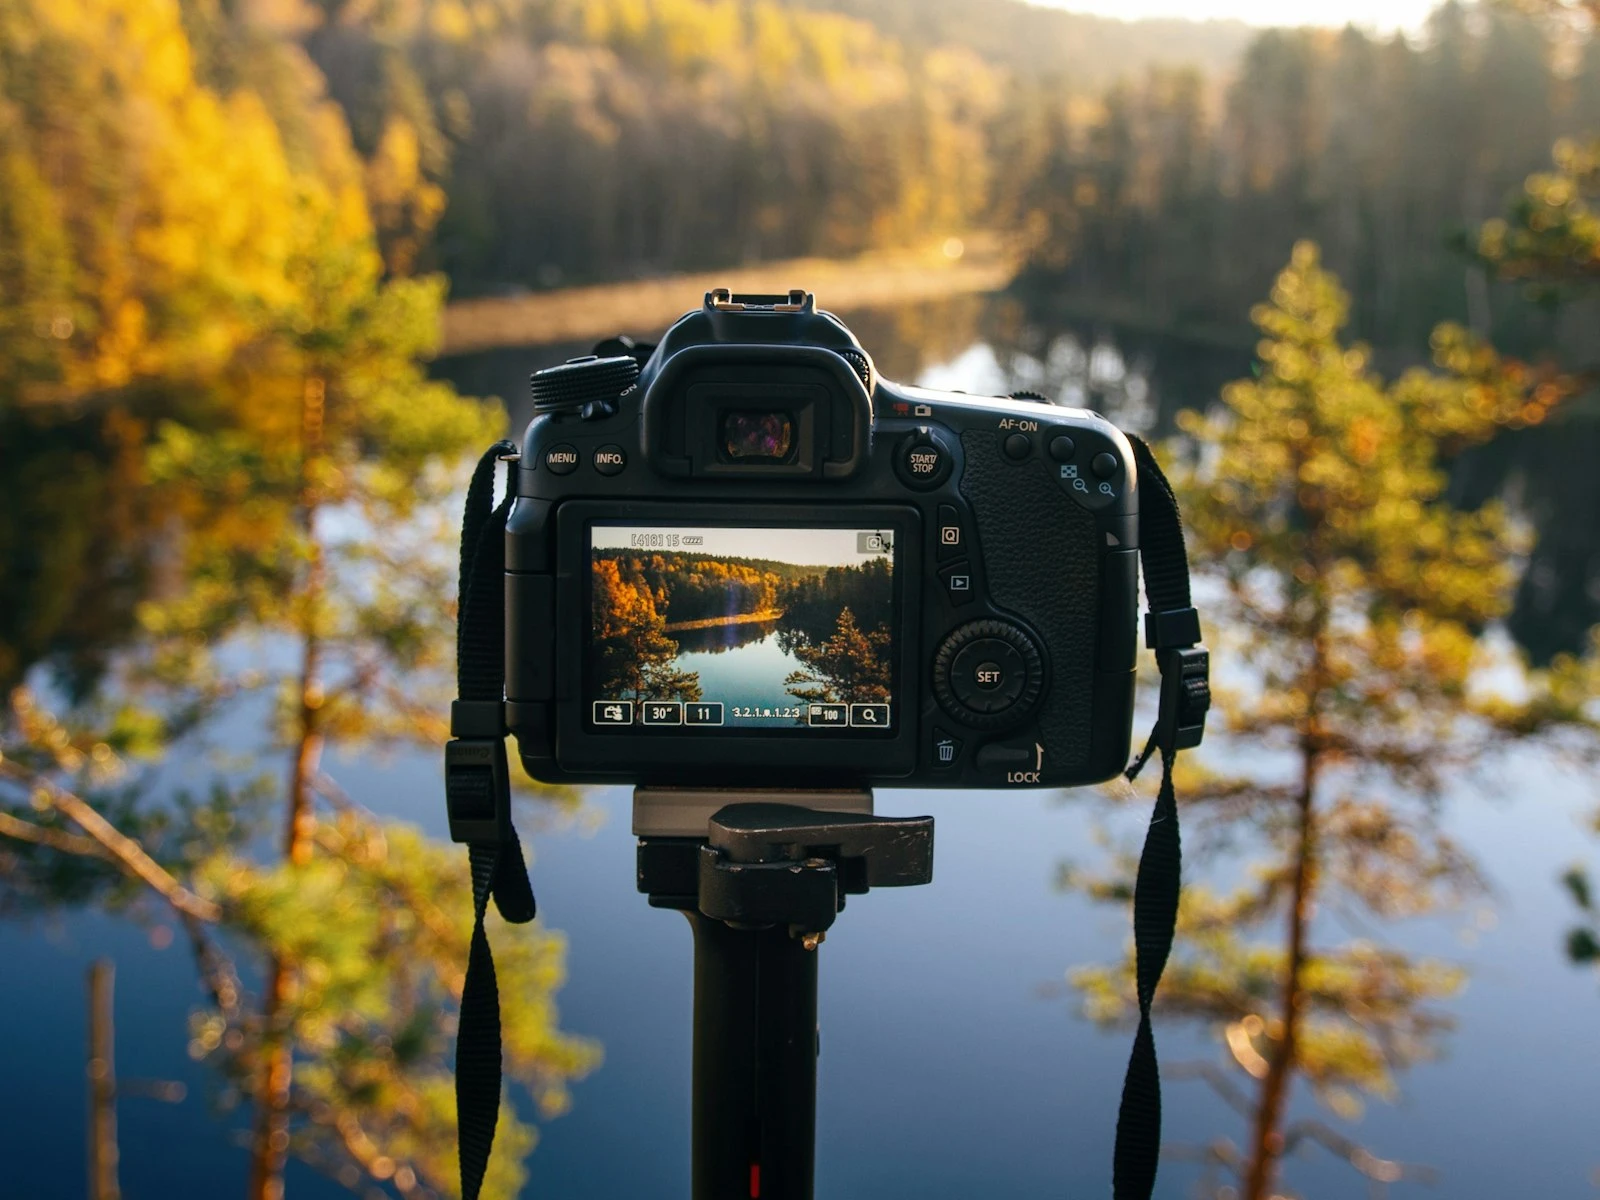
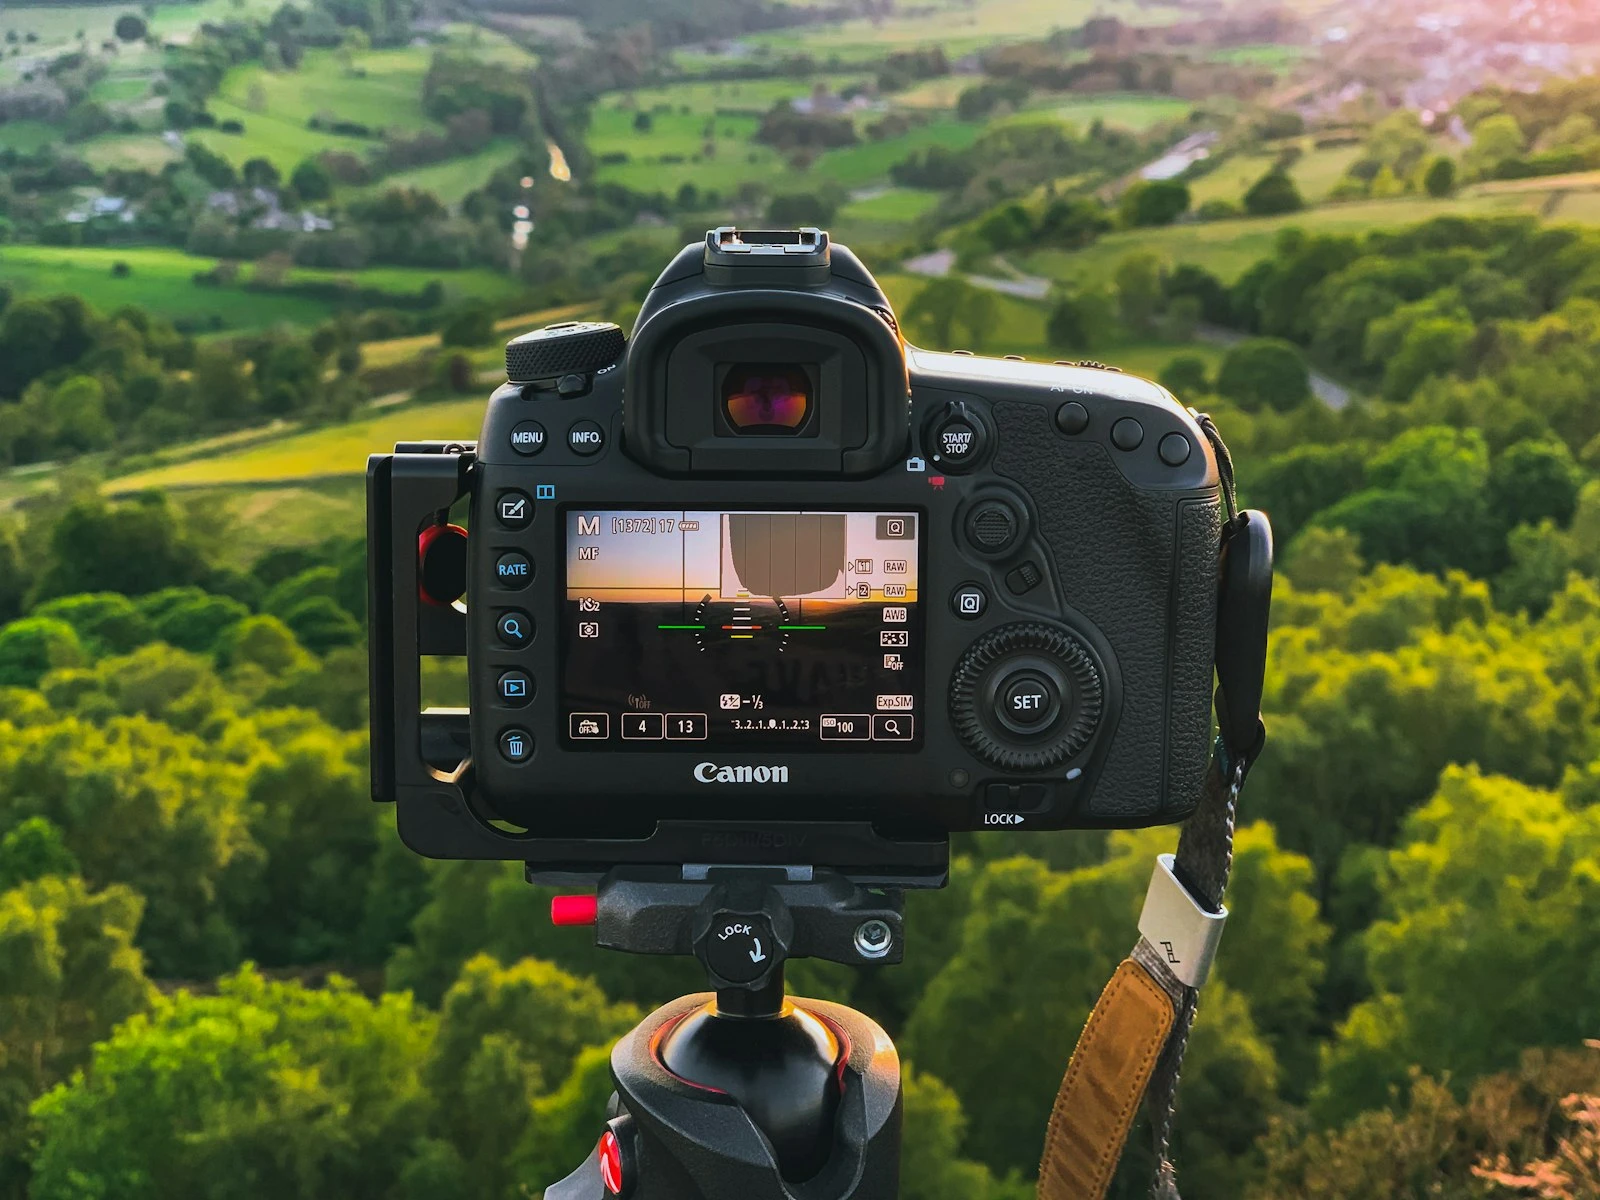
Scenario 3: Landscape at Golden Hour
What matters most: You want everything sharp from foreground to background, so aperture is your first decision. f/8 to f/11 gives you deep focus while maintaining sharpness.
Second constraint: You're using a tripod, so shutter speed can be almost anything. Set it based on what the meter needs.
Fill the gap: Keep ISO at its lowest setting (usually 100) for maximum image quality. With a tripod, you don't need to compromise here.
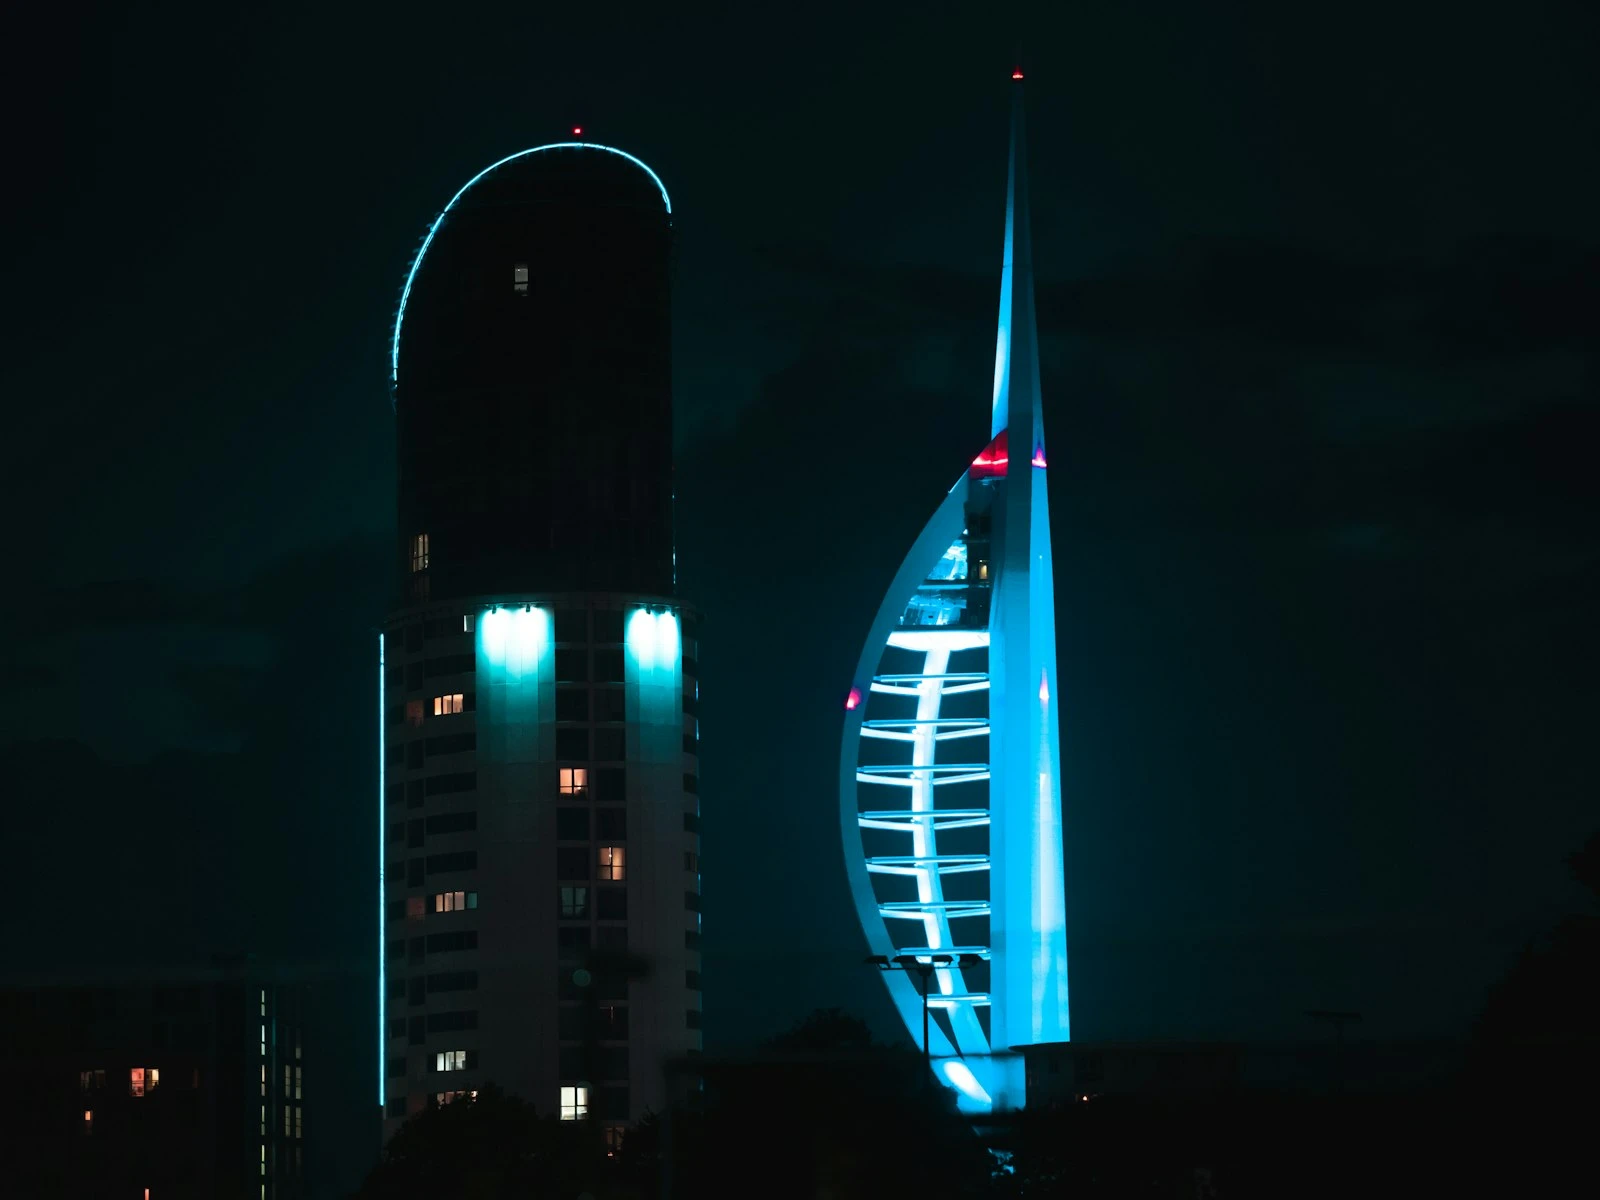
Scenario 4: Indoor Event, No Flash Allowed
What matters most: The light is genuinely limited, so ISO actually comes first. You're going to need to push it high, probably ISO 3200-6400.
Second constraint: Your aperture should be as wide as your lens allows, maybe f/2.8 or f/4.
Fill the gap: Shutter speed is whatever remains. Hope it's fast enough to avoid blur. If not, you'll need to either push ISO higher or accept some softness.
Notice how the same three settings get addressed in different orders depending on what the shot demands. The framework stays consistent, but the starting point shifts.
Playing with an exposure settings is a good way to internalize how the three settings push and pull against each other without burning through memory cards.
The "Automatic" Part of Manual Mode
Experienced photographers don't consciously run through this decision tree for every shot because it becomes instinctive.
After a few months of consistent practice, you'll walk into a situation and your hands will move to the right settings without much deliberation. You'll see a portrait opportunity and automatically start wide. You'll notice movement and instinctively think about shutter speed first.
This is why manual mode eventually becomes faster than auto modes for many photographers, because you already know what you want instead of letting the camera guess.
Common Decision Traps (And How to Avoid Them)
Trap 1: Trying to Use the "Best" Settings
There are only appropriate settings for what you're trying to achieve. A portrait shot at f/11 is just a different creative choice than f/2.8. Focus on deciding what you want rather than searching for optimal.
Trap 2: Adjusting Everything for Small Changes
Light shifted slightly? You don't need to reconsider all three settings. If your aperture and shutter speed are still giving you what you want creatively, just bump ISO up or down. That's the whole point of having a system.
Trap 3: Fighting Your Camera's Meter
Your light meter is a tool, not a rule. If it says you're a stop underexposed but the image on your screen looks good, trust your eyes. Meters can be fooled by unusual lighting situations.
Trap 4: Refusing to Raise ISO
Modern cameras handle high ISO remarkably well. A sharp photo at ISO 3200 beats a blurry photo at ISO 400 every single time. Don't let fear of grain cost you the shot.
When Semi-Auto Modes Actually Make Sense
I've spent this entire guide championing manual mode, but there are situations where aperture priority or shutter priority work better.
Aperture Priority shines when light is changing rapidly and your creative priority is consistent depth of field. Street photography, for instance. You set your aperture once and let the camera handle the rest as you move between sun and shadow.
Shutter Priority works well when motion control is critical and lighting varies. Sports photography outdoors sometimes falls into this category.
The difference is that in these modes, you're still making the creative decision. You're just letting the camera do the math. That's fine once you understand why you're choosing one setting over another.
Knowing when aperture priority makes more sense than full manual is part of mastering both.
Your First Week in Manual Mode
If you're ready to commit, here's a simple practice plan:
Days 1-2: Photograph only still subjects in good light. Focus on the aperture-first workflow. Get comfortable with the rhythm of setting aperture, then shutter speed, then ISO.
Days 3-4: Add movement. Photograph your pet, a ceiling fan, passing cars. Practice starting with shutter speed and building from there.
Days 5-7: Shoot in challenging light. Indoors, evening, overcast days. Experience what happens when ISO has to carry more weight.
By the end of the week, you'll have felt the full range of the decision framework. Some shots will be great and some won't, but both are learning.
Key Takeaways
- Manual mode becomes simple when you make one decision at a time: lock the creative priority first, set the second constraint, then let ISO fill the gap.
- For portraits, start with aperture; for action, start with shutter speed; for dim interiors, start with ISO.
- You do not need to adjust all three settings for every shot, usually only one setting needs real adjustment.
- Practice for one week in manual mode across different subjects and lighting to internalize the decision framework.
- Once you understand manual mode, switch freely between modes based on the situation rather than loyalty to one approach.
More in This Guide
Dive deeper into each element of camera control.