Low light photography is a negotiation between sharp images, clean files, and properly exposed subjects. Your camera wants more light than you have. Something has to give.
This is where photographers get stuck. They know the exposure triangle. They understand that aperture, shutter speed, and ISO each do something different. But when the lights go down and flash is not an option, you need to know which setting to sacrifice.
That is what this guide covers, the actual decisions you face when there is not enough light and you have to make tradeoffs.
The Low-Light Tradeoff Triangle
In good light, you can have everything. Sharp images, clean files, and any aperture you want. Low light forces you to choose.
Here are your three options, and what each one costs you.
Open your aperture wider: More light reaches the sensor. But you get shallower depth of field, which means a smaller margin for focus error. Miss by a little and your subject's eye is soft.
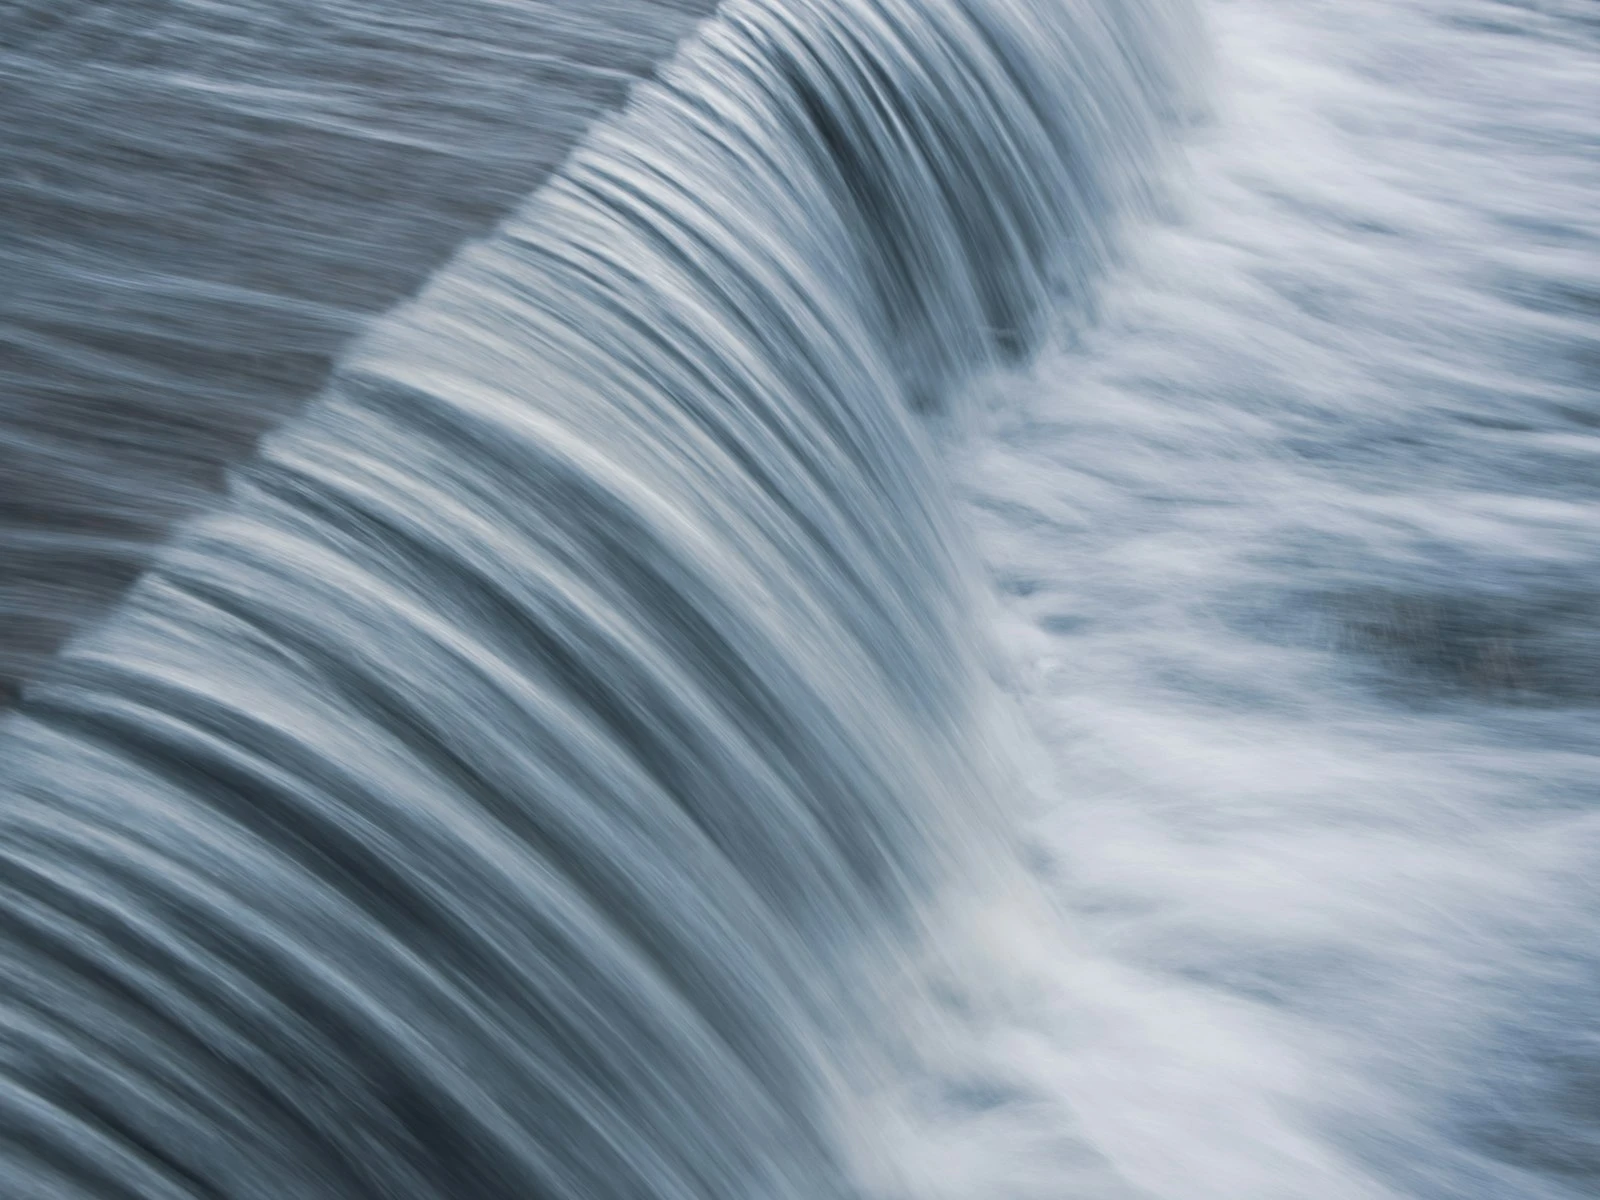
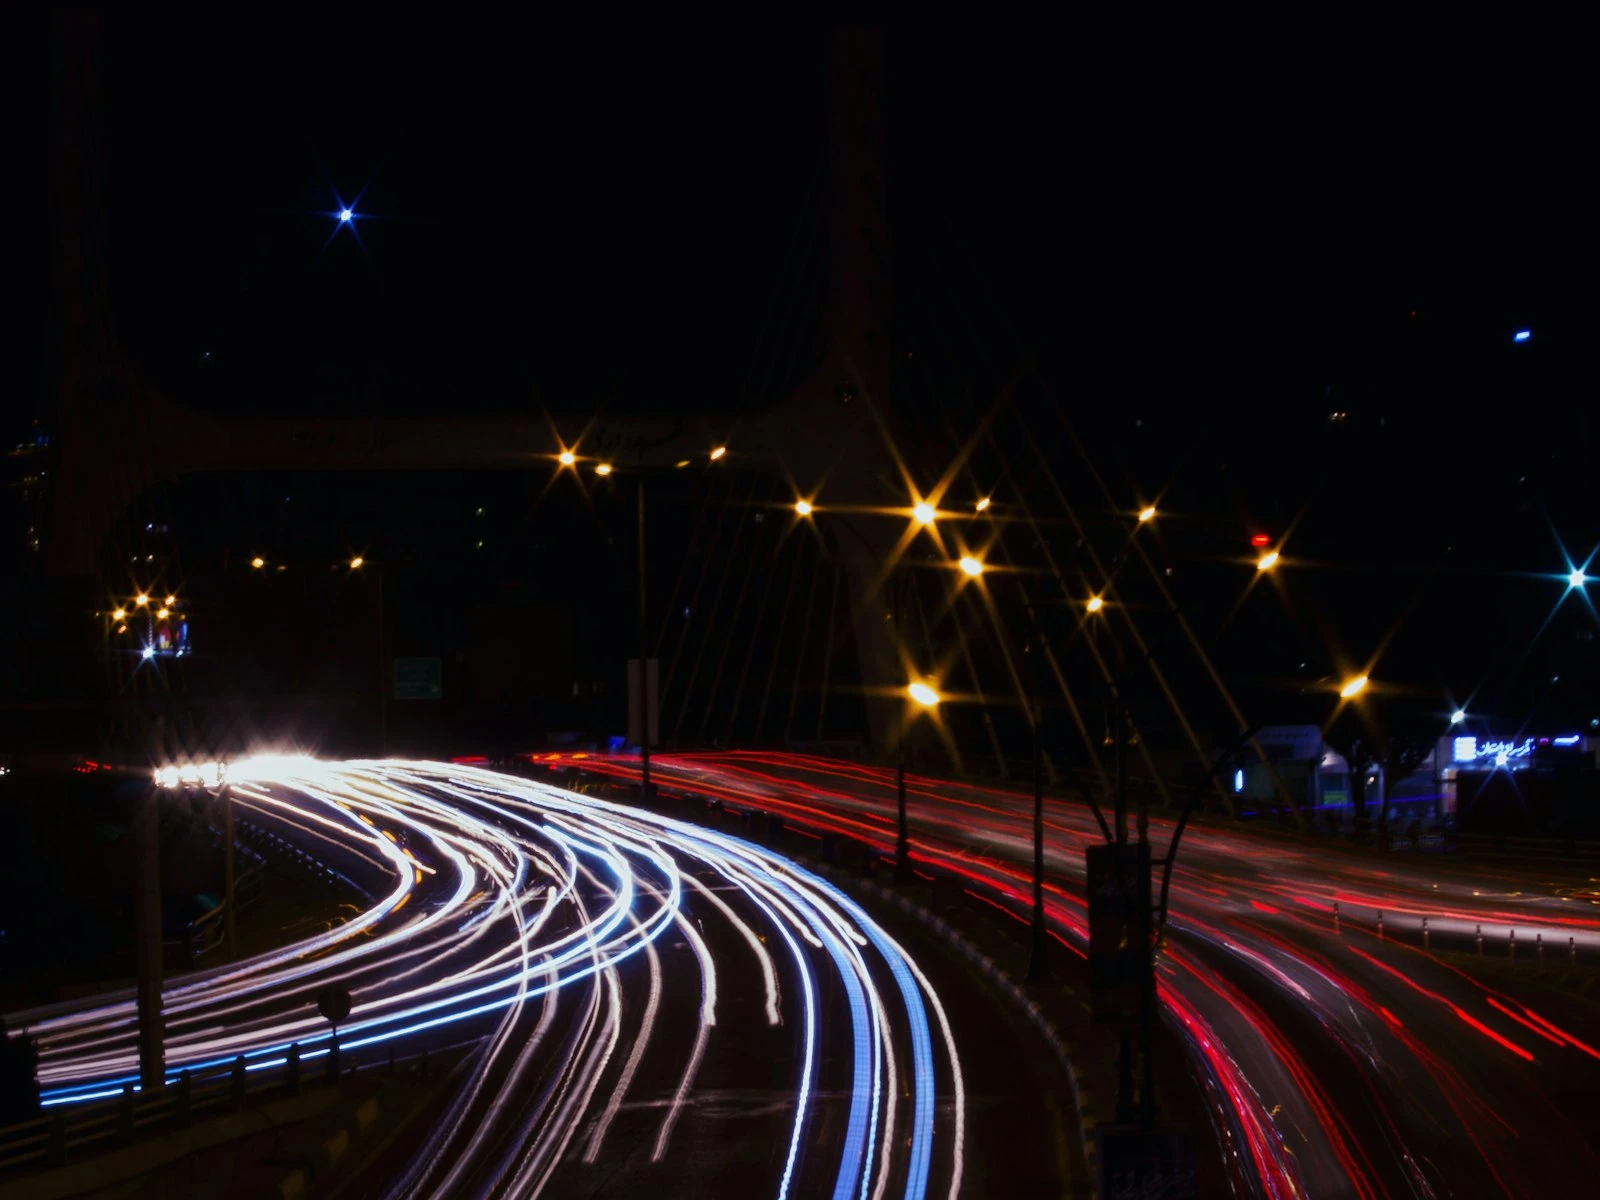
Slow your shutter speed: More light accumulates during the exposure. But you risk motion blur from either camera shake or subject movement. The image might be bright enough but too soft to use.
Raise your ISO: Your sensor amplifies the light signal. But you introduce noise, that grain or speckle that degrades image quality. The shot might be sharp but rough-looking.
None of these tradeoffs is inherently bad. The question is which one hurts your specific photo the least.
A portrait where you miss focus is unusable. A candid shot with slight motion blur might still capture the moment. A noisy image viewed on Instagram looks fine. A noisy image printed at 24 inches might not.
The right choice depends on your subject, your output, and your tolerance for imperfection. But there is an order of operations that works in most low-light situations.
Priority One: Shutter Speed Floor
Before you touch anything else, establish the slowest shutter speed you can use without getting blur. This is your floor. Everything else builds from here.
There are two kinds of blur to prevent:
Camera shake happens when your hands move during the exposure. The traditional rule says your shutter speed for handheld shooting should be at least 1/focal length. So 1/50 for a 50mm lens, 1/200 for a 200mm lens.
But this rule is a minimum, not a guarantee. I personally add a safety margin and use double the focal length as my baseline. That means 1/100 for a 50mm, 1/400 for a 200mm.
Subject motion is the other concern. Even if your camera is perfectly still, a moving subject will blur at slow shutter speeds. People walking need at least 1/125. People gesturing or talking need 1/250. Kids or pets in motion need 1/500 or faster.
Your shutter speed floor is whichever number is higher: the speed needed to prevent camera shake or the speed needed to freeze your subject.
In low light, this floor often feels uncomfortably fast. You might need 1/250 to freeze a toddler, but the available light is begging for 1/60. That is the tension you are managing.
Do not compromise on this number. A noisy photo is fixable, but a blurry photo is not. Shutter speed is the one setting where you cannot negotiate down. Find your floor and stay above it.
Priority Two: Aperture Wide Open
Once you have established your shutter speed floor, open your aperture as wide as your lens and your depth of field needs allow.
For most low-light situations, this means shooting wide open or close to it. If your lens opens to f/1.8, use f/1.8. If it opens to f/2.8, use f/2.8.
There are some reasons you might stop down slightly:
Focus reliability. At f/1.4 or f/1.8, your depth of field is razor thin. If your subject moves even a few inches, they might slip out of the focus plane. Stopping down to f/2 or f/2.8 gives you a little more margin for error.
Multiple subjects. Two people standing side by side at f/1.4 probably means one of them is soft. For groups, you might need f/4 or f/5.6, which will force you to compensate elsewhere.
Lens sharpness. Some lenses are noticeably softer wide open. If you know your lens sharpens up significantly at f/2.8, the image quality gain might be worth the light loss.
But these are exceptions, and the default in low light is wide open. Let as much light in as possible before you ask ISO to carry the burden.
Priority Three: Let ISO Rise
After you have locked in your shutter speed floor and opened your aperture, look at your meter. Are you still underexposed? Then raise your ISO until you are not.
This is where photographers often hesitate. They have heard that high ISO is bad. They worry about noise ruining their images. So they compromise on shutter speed or accept underexposure, and they end up with blurry or unusable files instead.
On modern cameras, high ISO is not the disaster it used to be.
Current sensors handle ISO 3200 with ease. Many produce usable results at ISO 6400 or even 12800. The noise that seemed unacceptable ten years ago barely registers on today's equipment.
More importantly, noise is context-dependent. A photo viewed on a phone or social media compresses away most grain. An 8x10 print viewed from normal distance hides it too. Only large prints examined up close, or images cropped heavily, really suffer from high ISO noise.
So when your shutter speed and aperture are set and you are still underexposed, raise your ISO without guilt. ISO 1600 is completely normal for indoor work. ISO 3200-6400 is reasonable for dim venues. ISO 12800 might be necessary for very dark spaces.
The hierarchy is clear: A noisy sharp photo beats a clean blurry photo every single time.
Finding Stability Without a Tripod
When tripods are not allowed or practical, you can still find stability to push your shutter speed floor a little lower.
Brace against something. A wall, a doorframe, a table. Press your body or your camera against a solid surface. This can give you one or two stops of additional stability.
Create a human tripod. Tuck your elbows into your sides. Press the camera against your face. Exhale slowly and squeeze the shutter gently rather than jabbing at it. Good technique matters more in low light than in bright conditions.
Use burst mode. Take three or four rapid frames and keep the sharpest one. The middle shots in a burst often have less shake than the first or last.
Lean down or sit. Lower positions are often more stable. If you can shoot from a seated position with your elbows braced on your knees, you gain significant stability.
Find a surface to rest the camera on. A table, a ledge, the back of a chair. Even without a tripod, resting your camera on something solid lets you drop shutter speed dramatically.
These techniques do not replace good shutter speed discipline. But they can help you eke out a usable shot when conditions are pushing you to your limits.
Settings for Specific Low-Light Situations
Here are practical starting points for common low-light scenarios. These are not rules, just frameworks to help you start close to the right settings.
Indoor Family Events and Parties
The challenge: Mixed lighting, unpredictable moments, subjects moving through the space.
Starting settings:
- Aperture: f/2.8 or wider
- Shutter speed: 1/125 minimum (faster if kids are running)
- ISO: 1600-3200
Key decision: Accept wide aperture for the light gain, even though it means shallow focus. People move unpredictably, so some shots will have missed focus. Take more frames than you think you need.
Restaurants and Cafes
The challenge: Very dim ambient light, stationary or slow-moving subjects, intimate atmosphere you want to preserve.
Starting settings:
- Aperture: f/2 or wider
- Shutter speed: 1/60-1/125
- ISO: 3200-6400
Key decision: Subjects are usually seated and relatively still, so you can push shutter speed lower than in other scenarios. The atmosphere benefits from available light, so embrace the grain. It often looks appropriate for the setting.
Concerts and Performances
The challenge: Extreme darkness punctuated by stage lighting, performers moving constantly, often no flash allowed.
Starting settings:
- Aperture: As wide as possible
- Shutter speed: 1/250-1/500 (performers move fast)
- ISO: 6400-12800 or higher
Key decision: This is where ISO really climbs. You need fast shutter speeds to freeze performers, and stage lighting is wildly inconsistent. Accept significant noise. Concert photos with grain look authentic. Concert photos with motion blur look like mistakes.
Museums and Galleries
The challenge: Dim lighting, flash prohibited, subjects are stationary but you might want some depth of field for context.
Starting settings:
- Aperture: f/2.8-f/4
- Shutter speed: 1/60-1/125
- ISO: 1600-3200
Key decision: Since subjects do not move, you can use slower shutter speeds with good technique. You might also want more depth of field to show artwork in context. This is one scenario where you can be pickier about aperture.
Church Ceremonies and Weddings
The challenge: Dark interiors, critical moments you cannot retake, flash often prohibited or inappropriate.
Starting settings:
- Aperture: f/2.8 or wider
- Shutter speed: 1/125-1/250
- ISO: 3200-6400
Key decision: You cannot miss the moment. A noisy photo of the first kiss is infinitely better than a blurry one. Err toward faster shutter speeds because you cannot ask anyone to redo anything.
When to Embrace Grain vs Fight It
Noise is not always your enemy. Sometimes it is part of the aesthetic.
Embrace grain when:
- The mood is intimate, moody, or documentary
- You are shooting in venues where grain looks natural (concerts, bars, candlelit dinners)
- Your output is social media or small prints
- The alternative is missing the shot entirely
- You want a film-like quality
Fight grain when:
- You are delivering commercial work with cleanliness expectations
- You plan to make large prints for close viewing
- You need to crop significantly
- You will push shadows heavily in post-processing
- The aesthetic calls for clinical sharpness
Even when you want to minimize grain, the hierarchy stays the same. Get the shot first. Worry about noise second.
Modern noise reduction software has become remarkably good. Tools like DxO PureRAW, Topaz DeNoise, or Lightroom's noise reduction can clean up files significantly. Shooting at higher ISO and reducing noise in post is often better than compromising shutter speed and getting blur.
The Good Enough Mindset
Low light photography requires accepting imperfection. Your images will not be as clean as photos taken in golden hour. Your depth of field will be shallower than you prefer. Your ISO will be higher than feels comfortable.
This is the normal cost of photographing in challenging conditions.
The photographers who get great low-light images understand tradeoffs and make good decisions quickly.
When light is limited:
- Protect your shutter speed floor. Never compromise on this.
- Open up your aperture to gather light.
- Let ISO rise to fill the gap.
- Find stability when possible.
- Accept that "good enough" in low light would be "great" in better conditions.
A sharp, slightly noisy photo of a genuine moment beats a technically perfect photo of nothing in particular. Make the tradeoffs, take the shot, and move on.
Key Takeaways
- Set your shutter speed floor first (fast enough to freeze your subject) and never compromise on it, because blur cannot be fixed in post.
- Open your aperture as wide as your lens allows to gather maximum light before raising ISO.
- Let ISO rise without guilt to fill the exposure gap, since a noisy sharp photo always beats a clean blurry one.
- Brace against walls, tuck elbows in, and use burst mode to squeeze extra stability out of handheld shooting.
- Accept that low light photography means imperfect images, and focus on making smart tradeoffs rather than chasing technical perfection.
More in This Guide
Continue building your camera settings knowledge.