Your camera's automatic settings were not designed for portraits.
They were designed for general-purpose photography where the goal is "acceptable exposure of whatever is in front of the lens." Skin tones, eye sharpness, background separation, the subtle expressions that make a portrait worth keeping. Your camera does not know these things matter. It just sees light and tries to balance it.
This is why so many portrait attempts fail even when the technical settings seem correct. The exposure might be fine and the image might be sharp, but something feels off. The person blends into the background, the skin looks muddy, and the eyes are not quite in focus.
Portrait photography requires different thinking about every setting. Not because people are technically harder to photograph, but because what makes a portrait successful is completely different from what makes a landscape or product shot successful.
Here is how to adjust your settings to actually serve your subject. This is one of the most important topics in our camera settings guide, because the wrong settings can undermine even the best portrait moment.
Why Portraits Need Different Settings
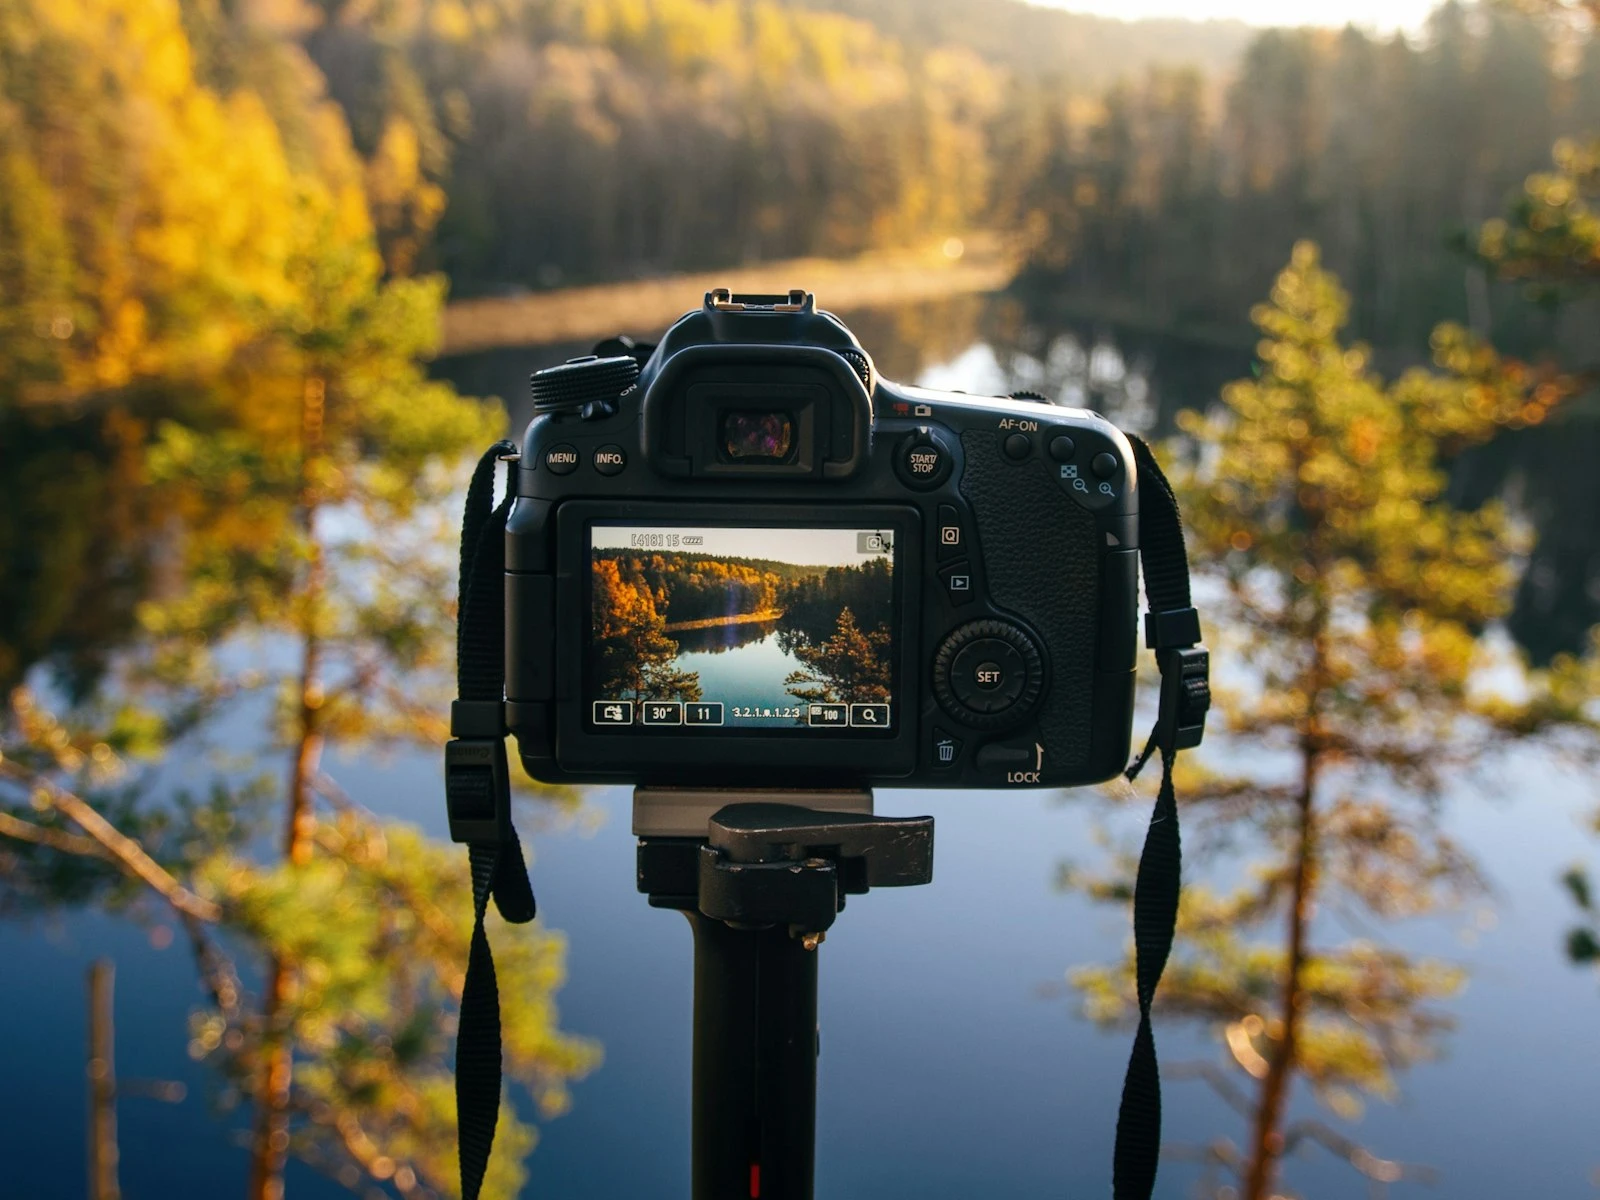
When you photograph a landscape, you want everything sharp from foreground to background. When you photograph a product, you want even lighting that shows detail. When you photograph a person, you want the viewer to connect with a human being.
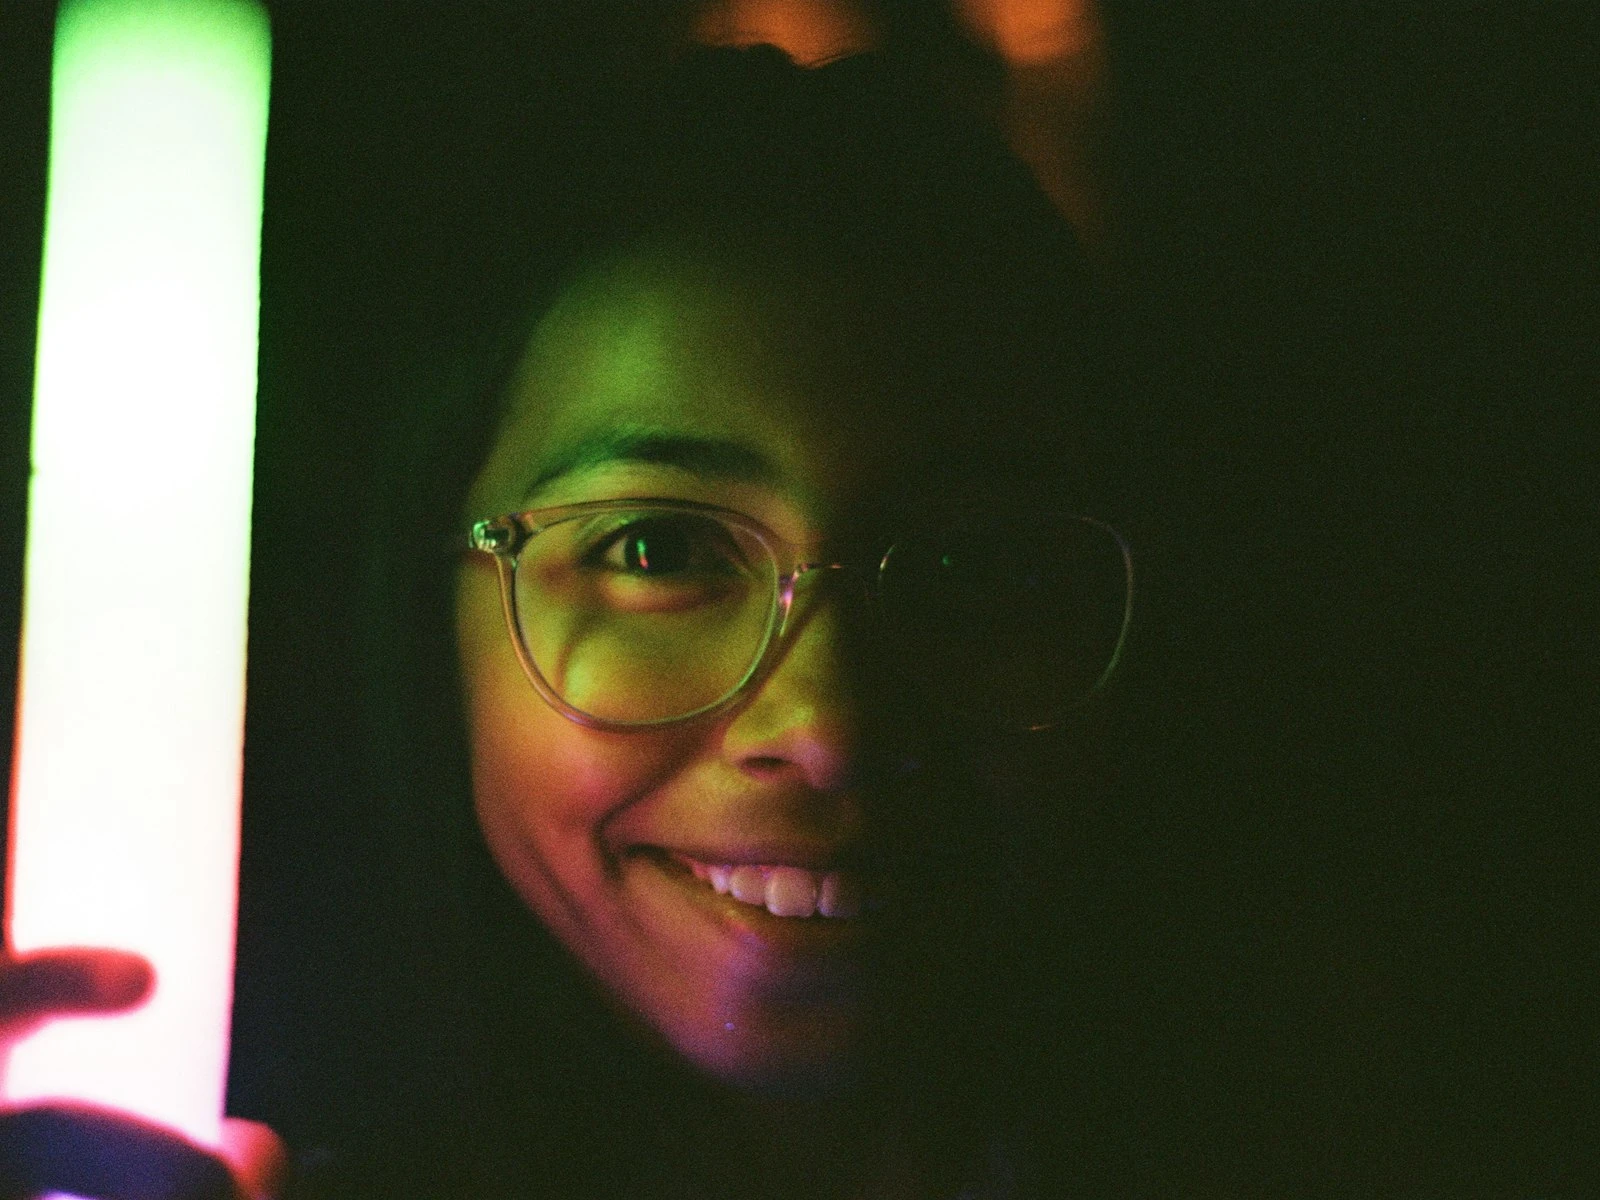
That connection requires your technical choices to make this person stand out, look flattering, and draw the viewer's attention exactly where you want it, usually the eyes.
Automatic modes fail at this because they optimize for general correctness, not for human subjects. Your camera might choose f/8 for "safe" depth of field when f/2.8 would create the subject separation that makes portraits compelling. It might meter for the overall scene when your subject's face is what actually matters.
Understanding portrait settings is about knowing what you are trying to achieve and which settings help you get there.
Aperture for Portraits: The f/1.8 to f/4 Range
Aperture is your most important portrait setting because it controls two things that matter enormously: how much your subject separates from the background and how much of their face stays in focus.
Why Wide Apertures Work
The classic portrait look, a sharp subject against a smoothly blurred background, comes from shooting at wide apertures like f/1.8, f/2, or f/2.8. That background blur eliminates distractions and makes your subject the obvious focal point.
But there is a balance to find. The wider your aperture, the shallower your depth of field becomes.
At f/1.8: The depth of field is so thin that if you focus on someone's eye, their ear might be noticeably soft. Beautiful for dramatic effect, challenging for reliability. Miss focus by a centimeter and you have a sharp nose and soft eyes.
At f/2.8: A more forgiving option. You still get excellent background blur and subject separation, but both eyes will typically be sharp even if your subject's face is slightly angled.
At f/4: The practical sweet spot for many portrait situations. Background blur is still visible and pleasing, depth of field is deep enough to keep the entire face sharp, and you have margin for minor focus errors.
When to Go Wider or Narrower
Use f/1.8 to f/2 when you want maximum background blur, your subject is perfectly still, and you trust your focusing skills. Works beautifully for headshots against distracting backgrounds.
Use f/2.8 to f/4 for most portrait situations. This range gives you the classic portrait look with practical reliability. Good for single subjects at normal portrait distances.
Use f/5.6 to f/8 for group portraits or environmental portraits where context matters. Two or more people at f/2.8 means someone is probably out of the focal plane. The more people and the deeper they are arranged, the smaller your aperture needs to be.
The Background Distance Factor
Something many photographers overlook is that background blur depends on more than aperture. The distance between your subject and the background matters just as much.
A person standing three feet in front of a wall will have a less blurred background at f/2.8 than a person standing thirty feet in front of trees. If you want maximum separation, move your subject away from the background when possible. Understanding depth of field helps you predict how distance, aperture, and focal length combine to create blur.
Shutter Speed: 1/125 and Faster
People move, even when they think they are holding still, shifting weight, breathing, blinking, and adjusting their expression. Your shutter speed needs to freeze these micro-movements.
The 1/125 Baseline
For a relatively stationary adult in controlled conditions, 1/125 second is your minimum handheld shutter speed. This freezes subtle body sway and typical expression changes while giving you flexibility with ISO and aperture.
But 1/125 is a minimum, not a target. I often shoot portraits at 1/250 or faster simply for additional margin.
Faster for Moving Subjects
Kids: Start at 1/250 for calm children, 1/500 for active play. Children move unpredictably and faster than adults. A shutter speed that works when they are sitting often fails when they suddenly shift.
Pets: Similar to kids. 1/500 minimum, 1/1000 or faster for running animals. A dog that looks still will turn their head faster than you expect.
Outdoor portraits with wind: Hair blowing is either a feature or a problem. If you want to freeze it, 1/500 or faster. If you like the movement, slower speeds can work, but faces still need to be sharp.
The Handheld Calculation
The focal length rule says your shutter speed should be at least 1/focal length when handheld, so 1/50 minimum for a 50mm lens and 1/85 minimum for an 85mm portrait lens.
But this rule only prevents camera shake. It does not account for subject movement. For portraits, I recommend starting with the focal length rule, then ensuring you are also above 1/125 for adults or faster for moving subjects.
With modern image stabilization, you can often push the handheld limit slower for stationary subjects. But you cannot stabilize away their movement, so when in doubt, go faster.
ISO: Whatever the Shot Requires
Here is where portrait photography differs from landscapes and products. In controlled conditions with good light, sure, keep ISO low. But in real-world portrait situations like indoors, in shade, or during events, you need ISO flexibility.
The Priority Hierarchy
For portraits, my settings priority goes:
- Shutter speed fast enough for a sharp subject
- Aperture appropriate for depth of field needs
- ISO whatever makes the exposure work
A sharp, properly exposed portrait at ISO 1600 beats a technically cleaner image with motion blur or missed focus. Modern cameras handle ISO 1600-3200 remarkably well. Even ISO 6400 produces usable portraits on current sensors.
Typical Portrait ISO Ranges
Outdoor, good light: ISO 100-400. You have plenty of light to work with.
Open shade: ISO 200-800. The light is softer and often more flattering, but there is less of it.
Indoor with window light: ISO 400-1600. Window light creates beautiful portraits but often requires higher ISO, especially as subjects move away from the window.
Indoor event, no flash: ISO 1600-6400. Accept the higher ISO. These moments matter more than minimal noise.
Treat ISO as a tool that lets you maintain the shutter speed and aperture you actually need.
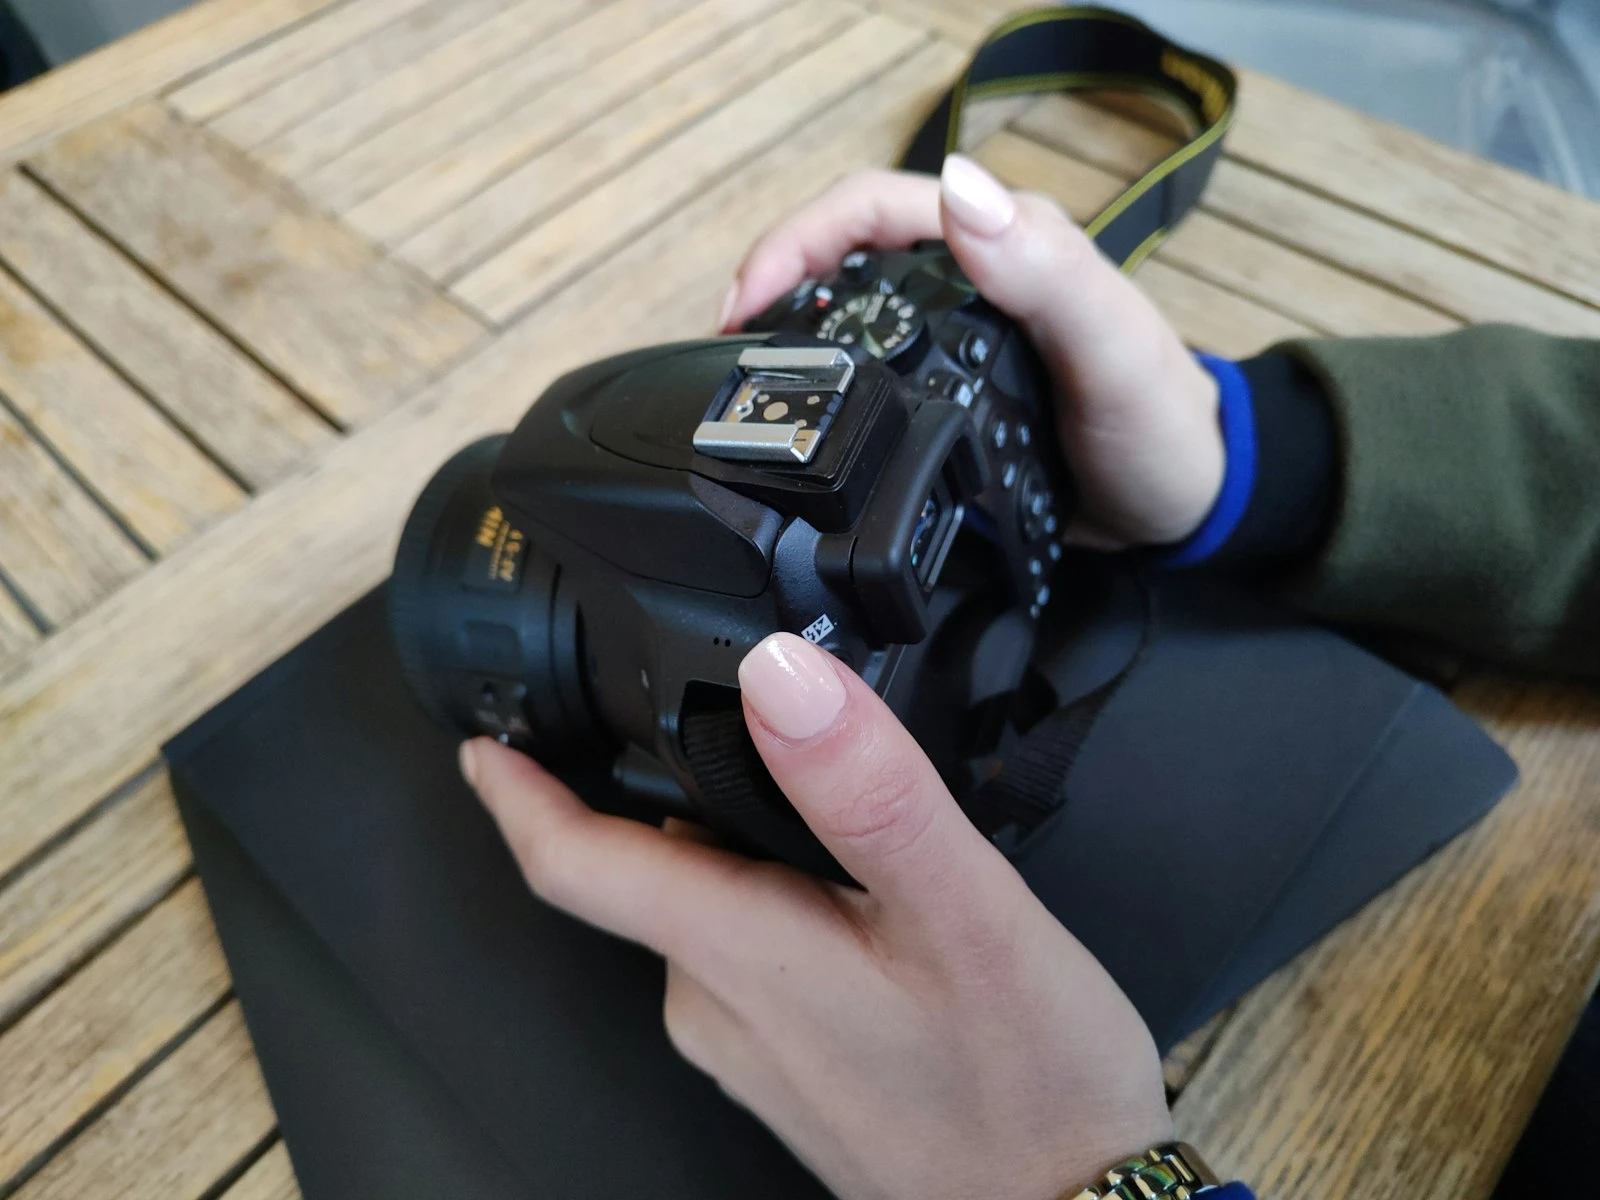
Focus Mode and Point Selection
This is where many portrait photographers lose sharpness without understanding why. Autofocus systems are sophisticated, but they still need direction.
Single Point on Eyes
Use single-point autofocus and place that point on your subject's eye, specifically the eye closest to the camera.
Why? Eyes are where viewers look first. Sharp eyes make a portrait feel sharp even if other elements are slightly soft, while soft eyes make an otherwise technically perfect portrait feel wrong.
Most cameras now offer eye-detection autofocus, which tracks and focuses on eyes automatically. If your camera has this feature, use it. It is a genuine improvement over manual point selection for moving subjects.
AF-S vs AF-C
AF-S (Single): Focus locks when you half-press the shutter. Best for stationary subjects where you can focus, recompose if needed, and shoot.
AF-C (Continuous): Focus continuously adjusts as long as you hold half-press. Better for subjects who move unpredictably, such as children, candid shots, or anyone who might shift between your focus lock and your shutter press.
For portraits of adults in controlled settings, AF-S works well. For children, events, or any situation with movement, AF-C with eye tracking will save you missed shots.
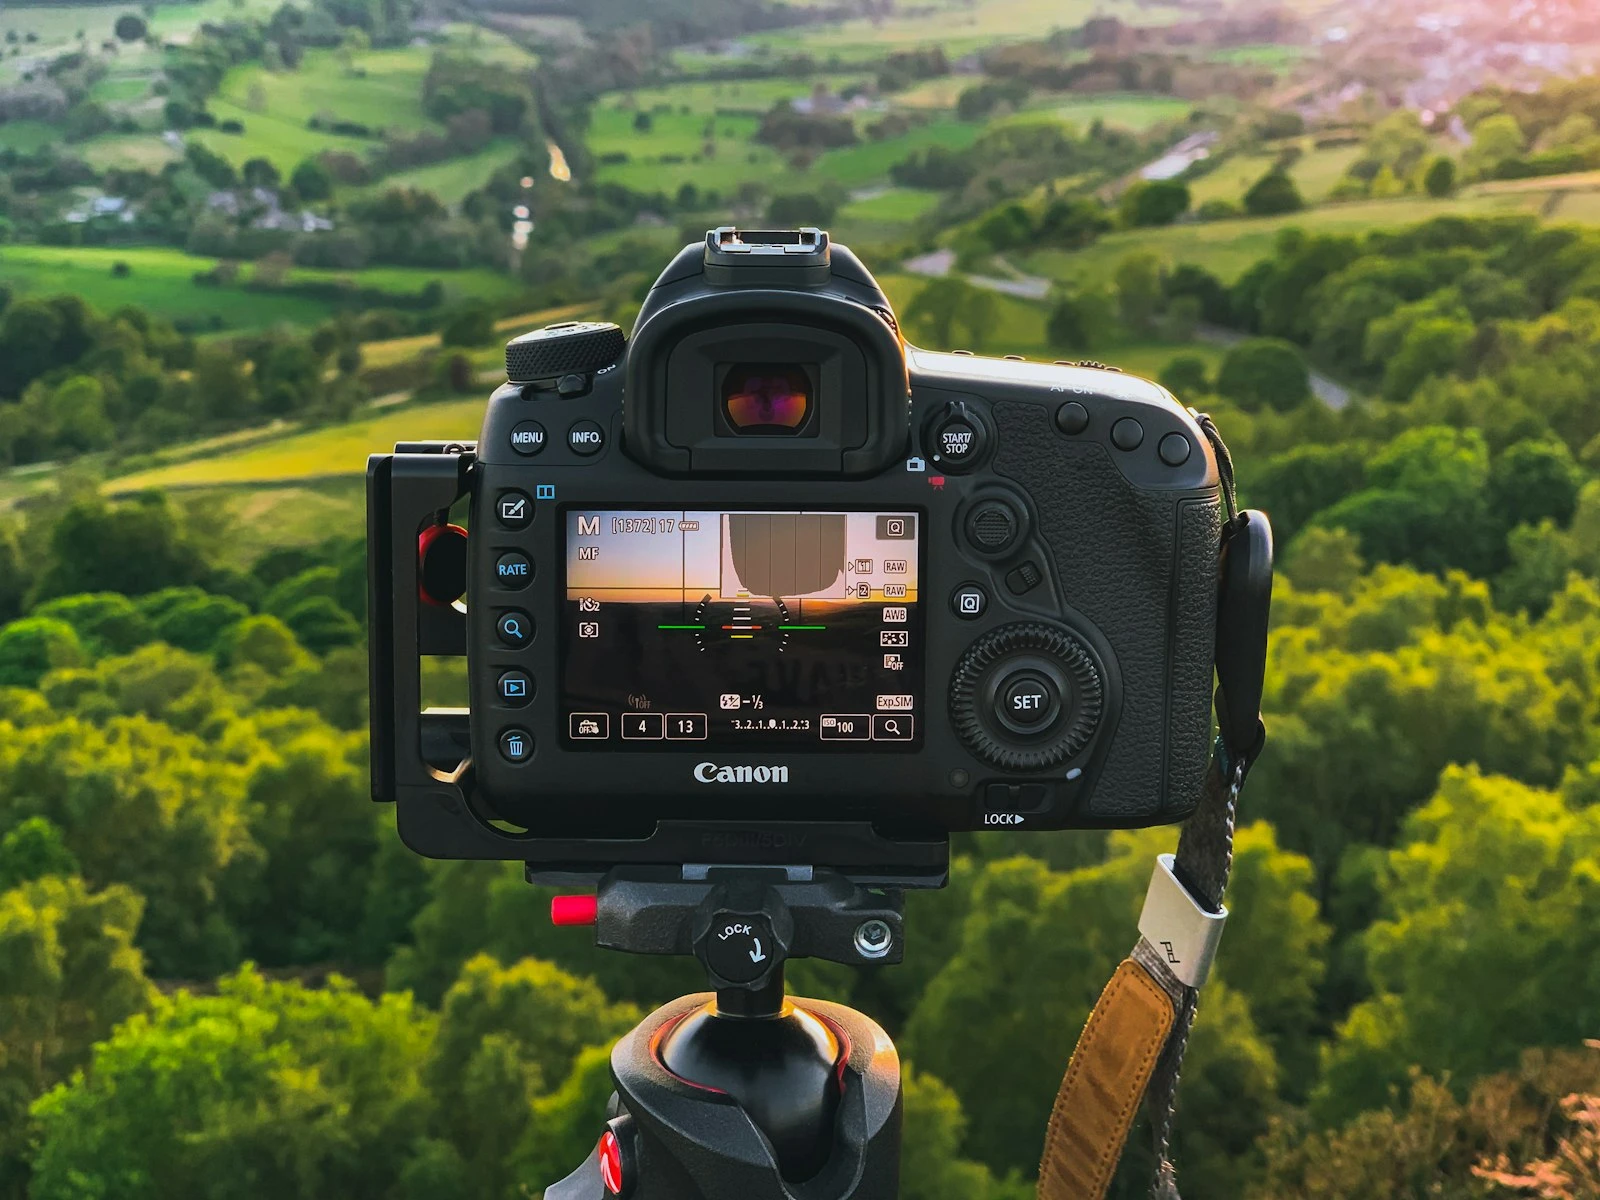
Metering for Skin Tones
Your camera's light meter can be fooled by portrait situations, particularly with bright backgrounds or unusual skin tones.
The Problem With Default Metering
Evaluative or matrix metering looks at the whole scene and tries to balance everything. But in portraits, the whole scene is not what matters. Your subject's face is.
If your subject is lit but standing against a bright window, evaluative metering will try to balance that bright background, potentially underexposing your subject's face. If they are wearing very dark or very light clothing, the meter might compensate in ways that affect skin exposure.
Better Metering Approaches
Spot metering reads only from a small area. Place it on your subject's face and expose for their skin. This ignores backgrounds and clothing.
Center-weighted metering emphasizes the middle of the frame. Works well when your subject's face is centered, which it often is in portraits.
For most portrait situations, I use evaluative metering but watch the histogram and adjust exposure compensation as needed. If I am fighting the meter constantly, I switch to spot metering on the face.
Exposure Compensation for Skin
Meters are calibrated for middle gray. Very fair skin might need +1/3 to +2/3 exposure compensation to look natural. Very dark skin might need -1/3 to avoid the meter overexposing.
The goal is getting the exposure that makes skin look like actual skin rather than meter-balanced gray.
Indoor vs Outdoor Portrait Settings
The settings that work outdoors at noon will fail indoors under artificial light. Here are practical adjustments for each environment.
Outdoor in Good Light
- Aperture: f/2.8-f/4 for single subjects, wider if you want maximum blur
- Shutter speed: 1/250-1/500 gives margin for movement and wind
- ISO: 100-400, rarely higher
- White balance: Daylight or auto usually works well
Watch for harsh shadows at midday. Open shade often produces more flattering light than direct sun.
Outdoor in Shade or Overcast
- Aperture: f/2-f/4, can go wide since light is softer
- Shutter speed: 1/125-1/250 still works in most shade
- ISO: 200-800 depending on depth of shade
- White balance: Shade preset often adds pleasing warmth, or stay on auto
This light is often ideal for portraits: soft, even, and flattering.
Indoor With Window Light
- Aperture: f/2-f/2.8 to let in maximum light
- Shutter speed: 1/125 minimum, faster if subject moves
- ISO: 400-1600 typically needed
- White balance: Auto or daylight, watch for mixed lighting from room lights
Position your subject facing the window or at 45 degrees to it. The light falls off quickly as they move away from the window.
Indoor Without Natural Light
- Aperture: As wide as your lens allows
- Shutter speed: 1/125 minimum. Do not sacrifice this for lower ISO
- ISO: 1600-6400 often necessary
- White balance: Set specifically for your light source (tungsten, fluorescent, etc.)
These are the hardest conditions. Consider whether you can add light. A simple reflector bouncing existing light or an off-camera flash can transform these situations.
Common Portrait Setting Mistakes
Stopping Down Too Much
Shooting portraits at f/8 because "that's where lenses are sharpest" ignores why you would want f/8 sharpness. Landscape sharpness across the frame matters when you want everything in focus. Portrait sharpness matters on the face, and f/2.8 is plenty sharp for that while giving you subject separation.
Trusting Auto ISO Too Much
Auto ISO will keep you properly exposed, but it often raises ISO when you could instead open your aperture. For portraits, you usually want the widest practical aperture anyway. Set your ISO manually or set auto ISO with a minimum shutter speed limit.
Focusing and Recomposing at Wide Apertures
At f/1.8, the depth of field is inches deep. If you focus on the eye, then recompose to put your subject to one side of the frame, you may shift your focus plane enough to lose eye sharpness. Either use the appropriate focus point for your final composition or focus after composing.
Fighting Available Light
Struggling to shoot at ISO 100 indoors when ISO 1600 would solve all your problems is stubbornness that costs you good photos.
Forgetting About Catchlights
The position and quality of light in your subject's eyes can make or break a portrait. No setting fixes this, since it comes down to where your subject stands relative to light sources. Look for catchlights before you shoot.
Key Takeaways
- Use f/2.8 to f/4 for single-subject portraits to get background blur with reliable focus, and f/5.6+ for groups.
- Keep shutter speed at 1/125 minimum for still adults, 1/250+ for kids, and 1/500+ for pets or fast movement.
- Focus on the eye closest to the camera using single-point or eye-detection autofocus, since sharp eyes make or break a portrait.
- Let ISO rise to whatever the shot requires, because a sharp portrait at ISO 3200 beats a blurry one at ISO 100.
- Move your subject away from the background to increase blur, which often matters more than opening up the aperture.
More in This Guide
Deepen your understanding of the settings that make portraits work.