You've probably heard that faster shutter speeds freeze motion and slower speeds create blur. That's technically correct, but it's also the least useful way to think about shutter speed.
The question that actually matters is whether the blur in your photo is a problem, or exactly what you wanted.
That distinction changes everything. A blurry photo of your kid's soccer game? That's a problem. A silky waterfall shot where the water looks like flowing fabric? That's intentional. The camera doesn't know the difference. You have to.
This guide is about developing the judgment to know when you want motion frozen, when you want it blurred, and how to get exactly the result you're imagining. It's one of the three pillars of our camera settings guide and shapes every photo you take.
The Real Question: Freeze or Blur?
Before touching your shutter speed dial, ask yourself one question: Do I want to see this moment frozen in time, or do I want to show that movement was happening?
There's no objectively correct answer. Both can make great photos. But they tell completely different stories.
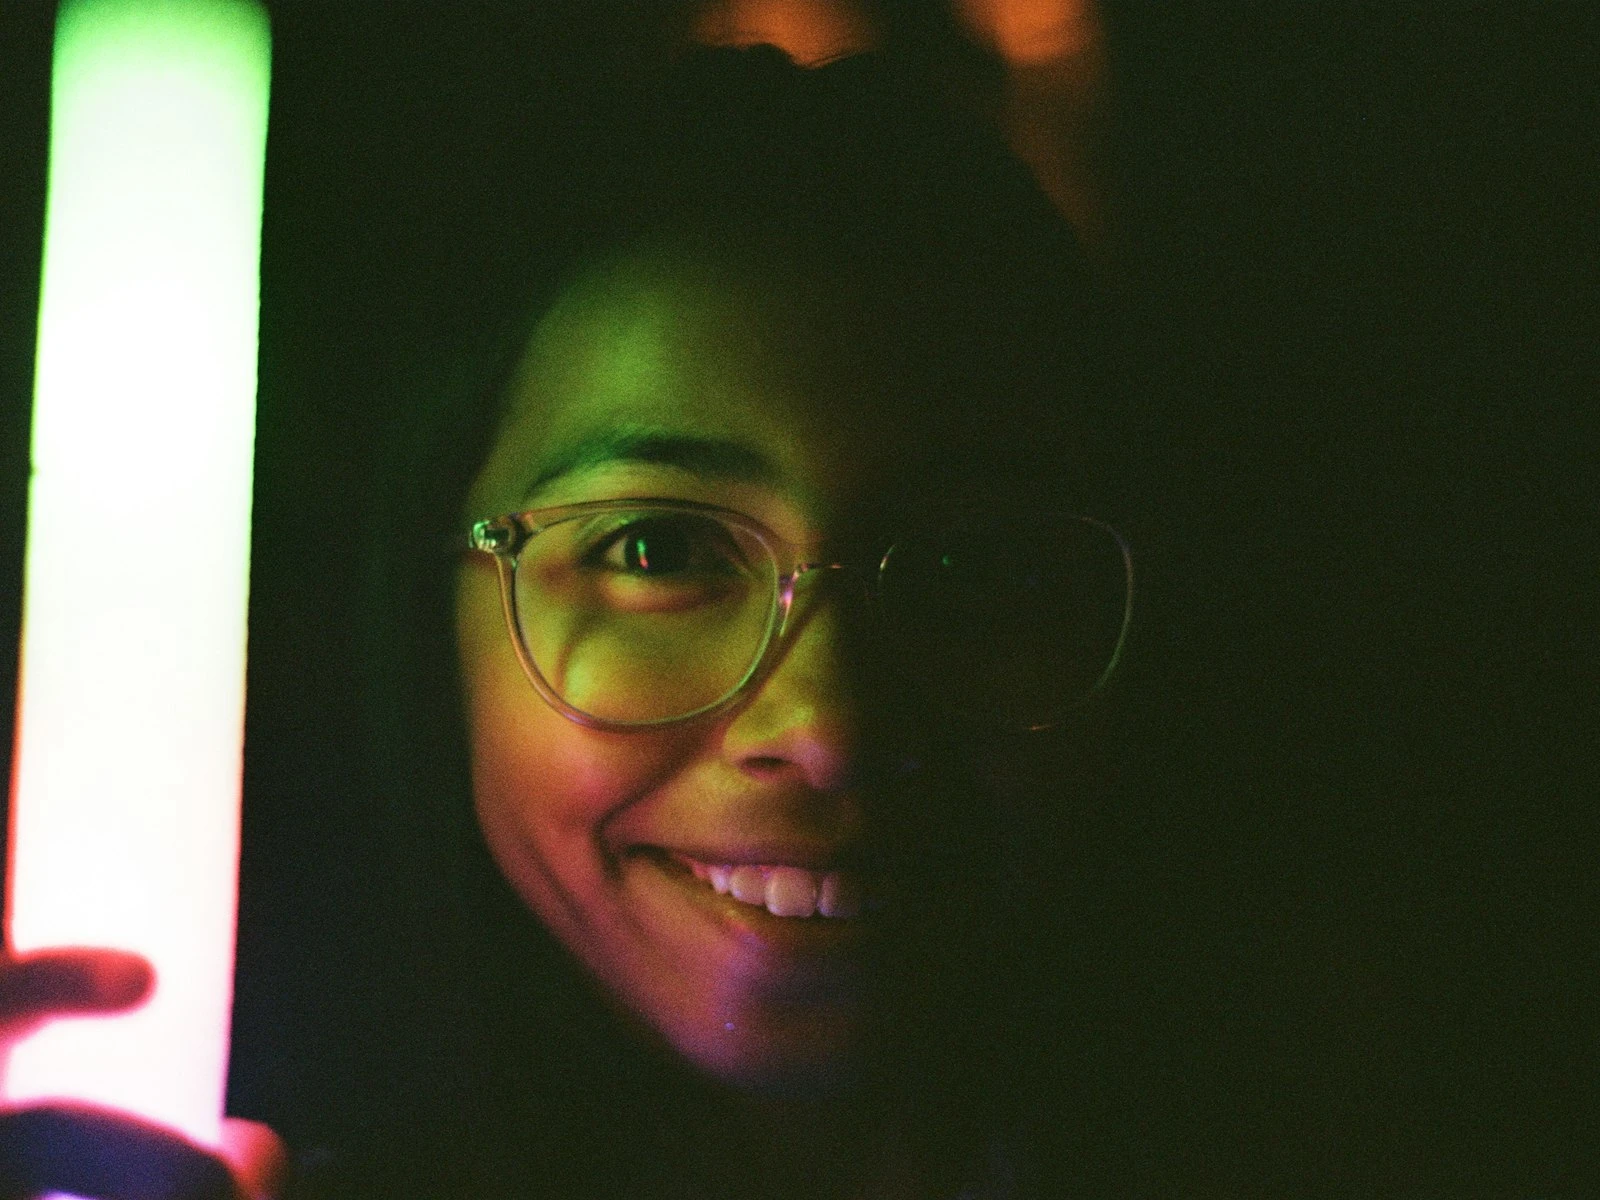
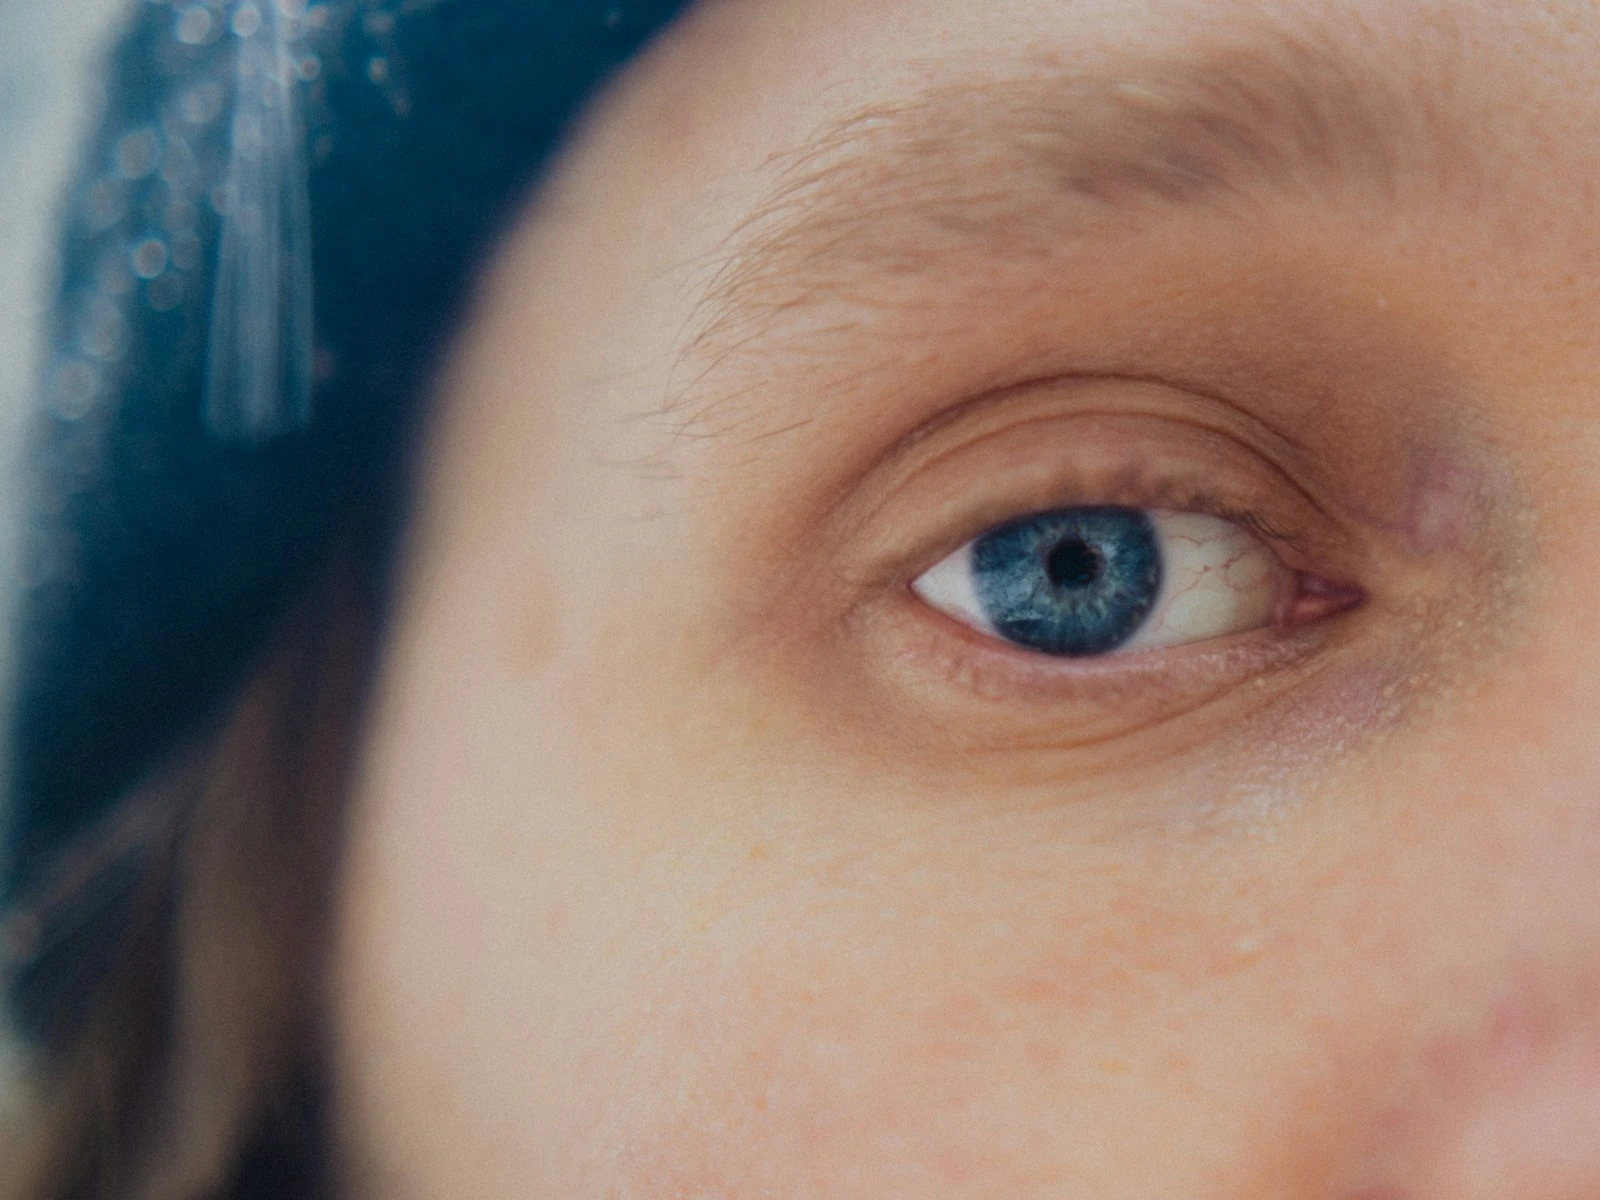
Frozen motion says: "Look at this precise instant. This exact fraction of a second." It's perfect for catching facial expressions, the peak of a jump, a water droplet mid-splash, or any moment that would be impossible to see with your naked eye.
Motion blur says: "Something was moving. Time was passing. There's energy here." It's perfect for conveying speed, the flow of water, the bustle of a busy street, or creating a sense of dynamism that frozen shots can't capture.
Neither is more "correct" than the other. But one is probably more appropriate for what you're trying to communicate.
When Blur Is a Mistake (And How to Know)
Most of the time, blur is a problem rather than a creative choice. Here's how to recognize accidental blur.
The Subject's Face Is Soft
If you're photographing a person and their face isn't sharp, that's almost always a mistake. Humans instinctively look at faces first, and we're incredibly sensitive to whether eyes look sharp or not. A slightly blurry face reads as "something went wrong," not "artistic choice."
The fix: Your shutter speed needs to be fast enough to freeze any movement your subject is making. For a stationary person, 1/125 second is usually sufficient. For someone walking, you'll want 1/250 or faster. Kids running around? Start at 1/500 and go faster if needed.
Everything Is Equally Blurry
When the entire frame has the same amount of blur, background, subject, and everything, that's camera shake. Your hands moved during the exposure. This is different from motion blur where a moving subject is blurry against a sharp background.
The fix: Either use a faster shutter speed, stabilize your camera, or both. More on the handheld threshold below.
The Wrong Thing Is Sharp
Sometimes your background is perfectly sharp but your subject is a blur. This means your shutter speed was fine for stationary objects but too slow for your moving subject. The camera was stable; your subject wasn't.
The fix: Use a faster shutter speed, always matching it to your fastest-moving subject, not your slowest.
It Doesn't Look Intentional
The subjective test is whether the blur looks like you meant it. Intentional motion blur usually has a clear direction and purpose. Accidental blur looks random, inconsistent, or just "off."
When in doubt, freeze the action. You can always add motion blur in post-processing, but you can't sharpen a photo that was blurry to begin with.
When Blur Is Intentional (And How to Get It Right)
Once you can reliably freeze motion, you've earned the right to deliberately blur it. Here's where shutter speed gets creatively interesting.
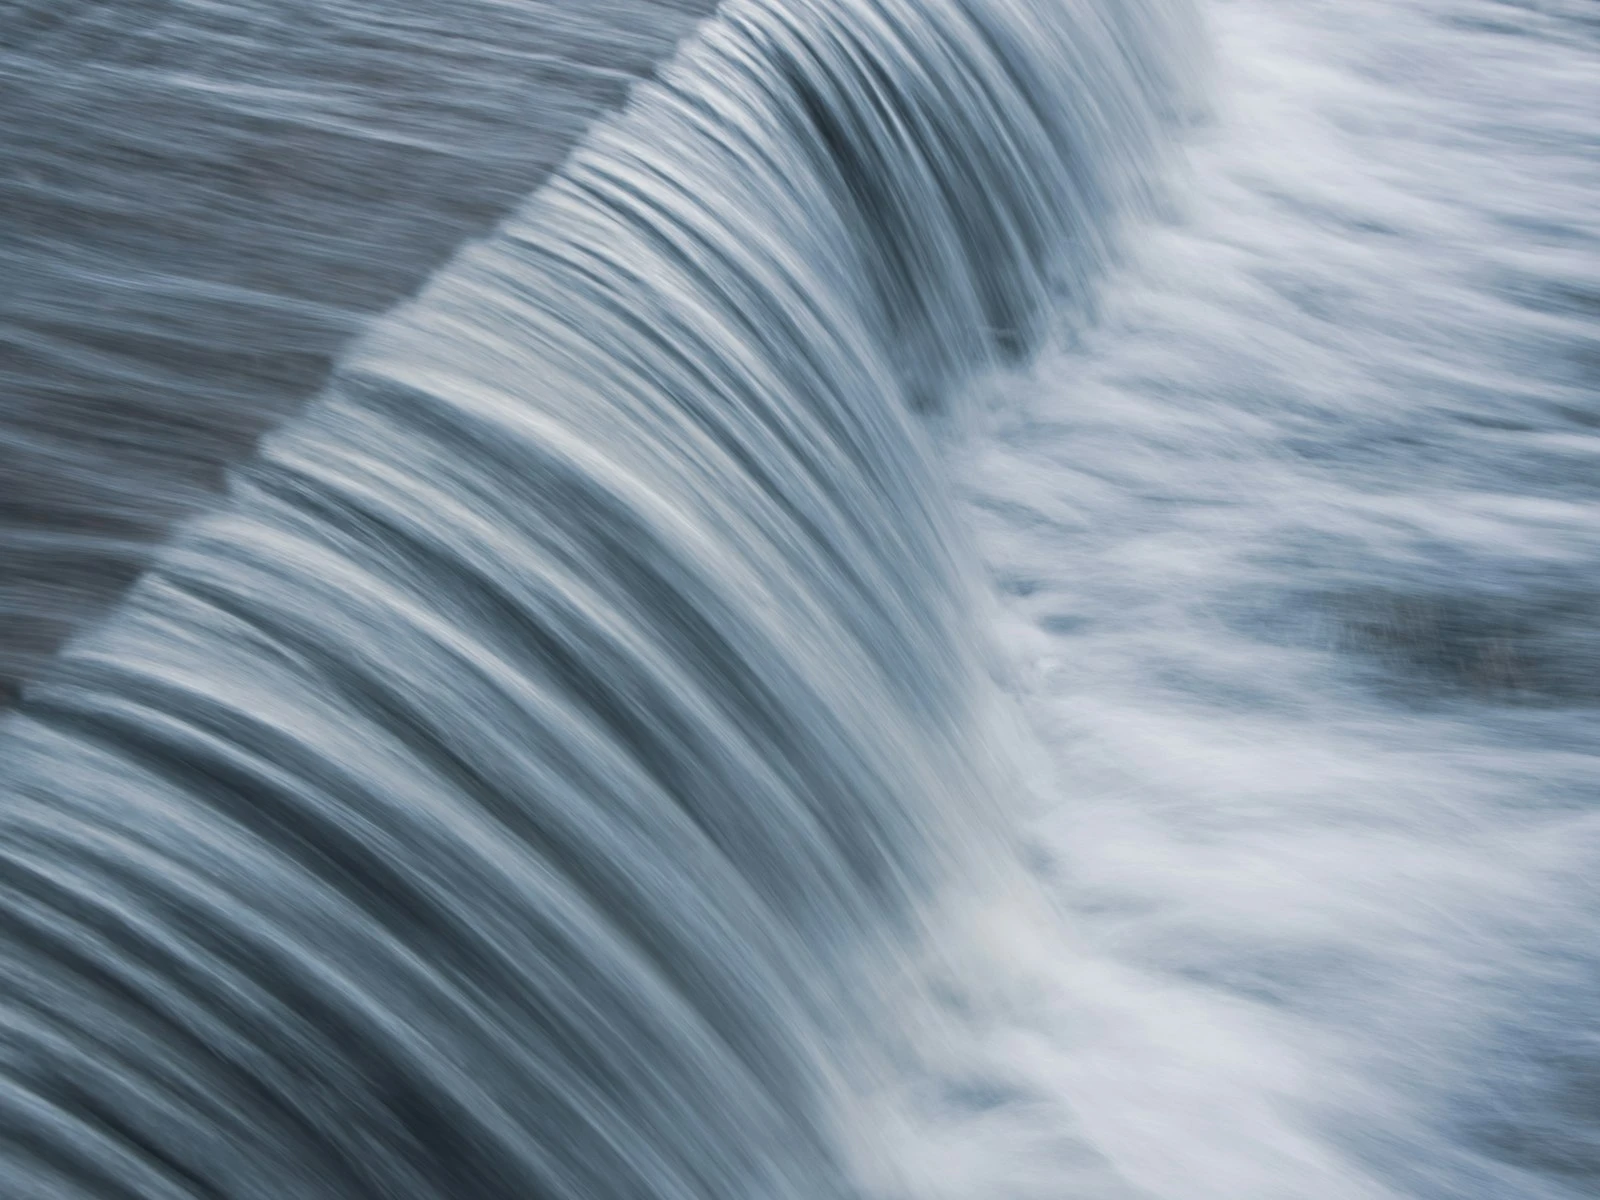
Waterfalls and Moving Water
This is the classic example, and one of the most rewarding subjects to practice with. At fast shutter speeds, water looks frozen in place, with individual droplets suspended in air. At slow shutter speeds, it transforms into silky, flowing ribbons.
Decision point: Do you want to show the power and chaos of crashing water? Freeze it at 1/500 or faster. Do you want to convey the peaceful flow and passage of time? Go slow, 1/2 second or longer.
My take: the silky waterfall look is beautiful, but it's also a bit overdone. Don't default to it just because you've seen it in other photos. Sometimes the raw energy of frozen water tells a more compelling story.
Practical note: Slow shutter speeds in daylight usually require a neutral density (ND) filter to avoid overexposure. Without one, you'll likely blow out your highlights.
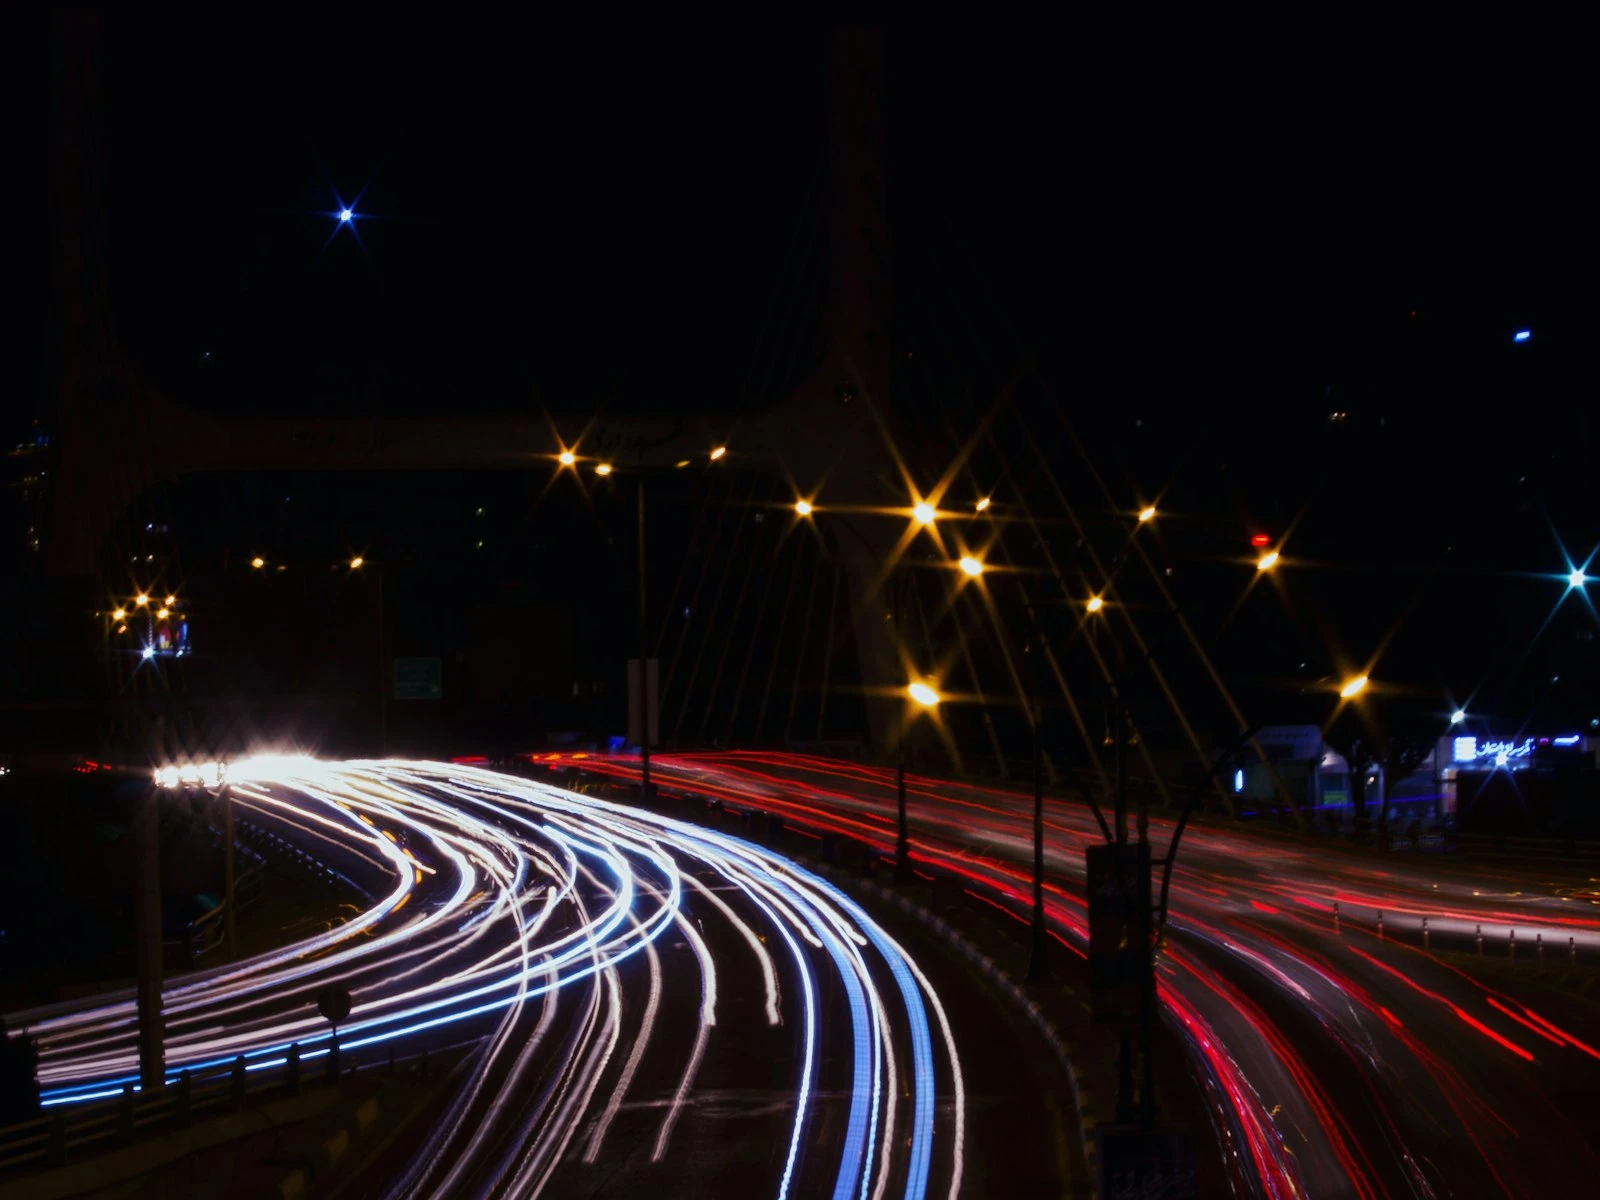
Light Trails and Car Headlights
Long exposures at night can turn car headlights and taillights into beautiful streaking lines through your frame. The longer your exposure, the longer the trails.
Starting point: 10-30 seconds for substantial light trails. You'll need a tripod because there's no handheld option here.
Decision point: Do you want to see the cars themselves, or just their light paths? Very long exposures make the cars disappear entirely, leaving only the light trails. Shorter exposures (1-5 seconds) might show ghost-like car shapes along with some trailing.
Panning for Speed
Panning means moving your camera to follow a moving subject during a longer exposure. Done right, you get a sharp subject against a horizontally streaked background. It screams "speed" in a way that frozen motion can't.
Starting point: 1/30 to 1/60 second for cars or cyclists. Faster shutter speeds are easier to nail but give less background streak.
Honest warning: Panning is hard. Expect a lot of failures before you get a keeper. The technique requires smooth, consistent camera movement that matches your subject's speed. Practice with cars driving past before you try it on anything important.
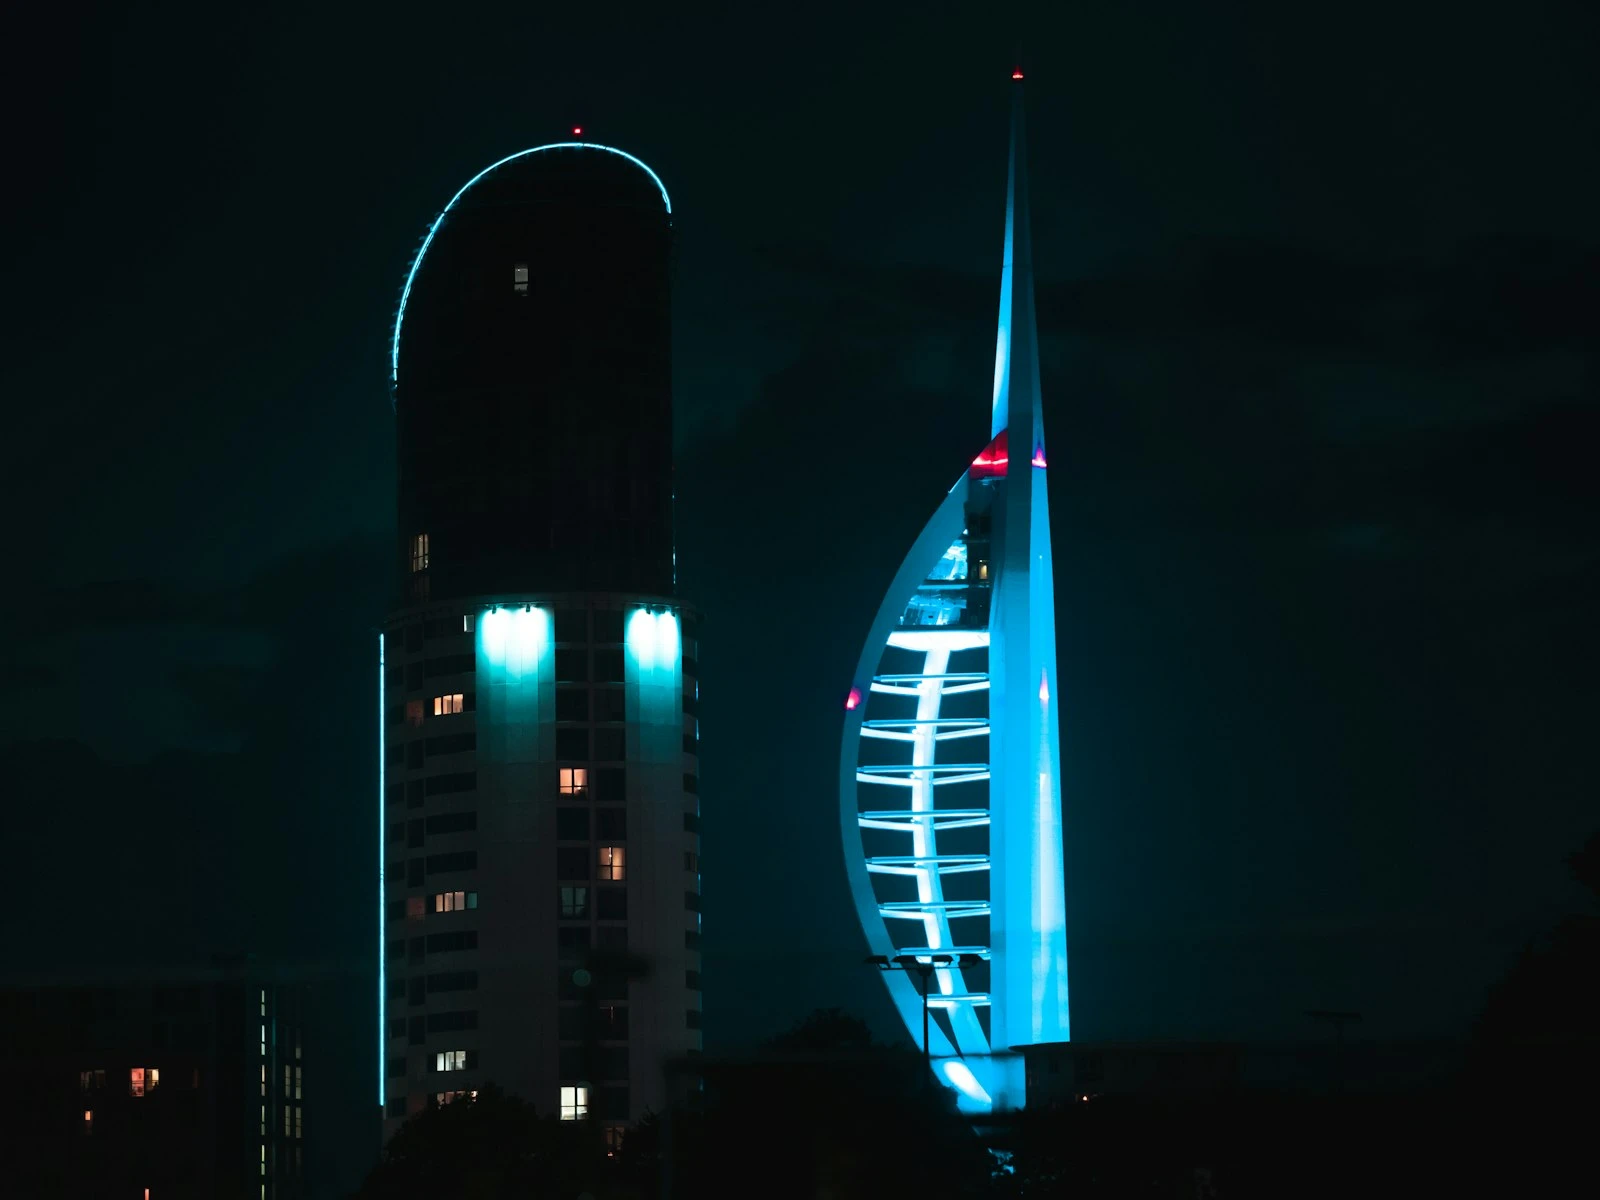
Crowds and Busy Spaces
Long exposures in busy areas can turn moving people into ghostly blurs while static elements (buildings, statues, benches) stay sharp. This is a great way to show "busy-ness" without the visual chaos of frozen crowds.
Starting point: 1-4 seconds, depending on how crowded the space is and how "ghostly" you want the people to appear.
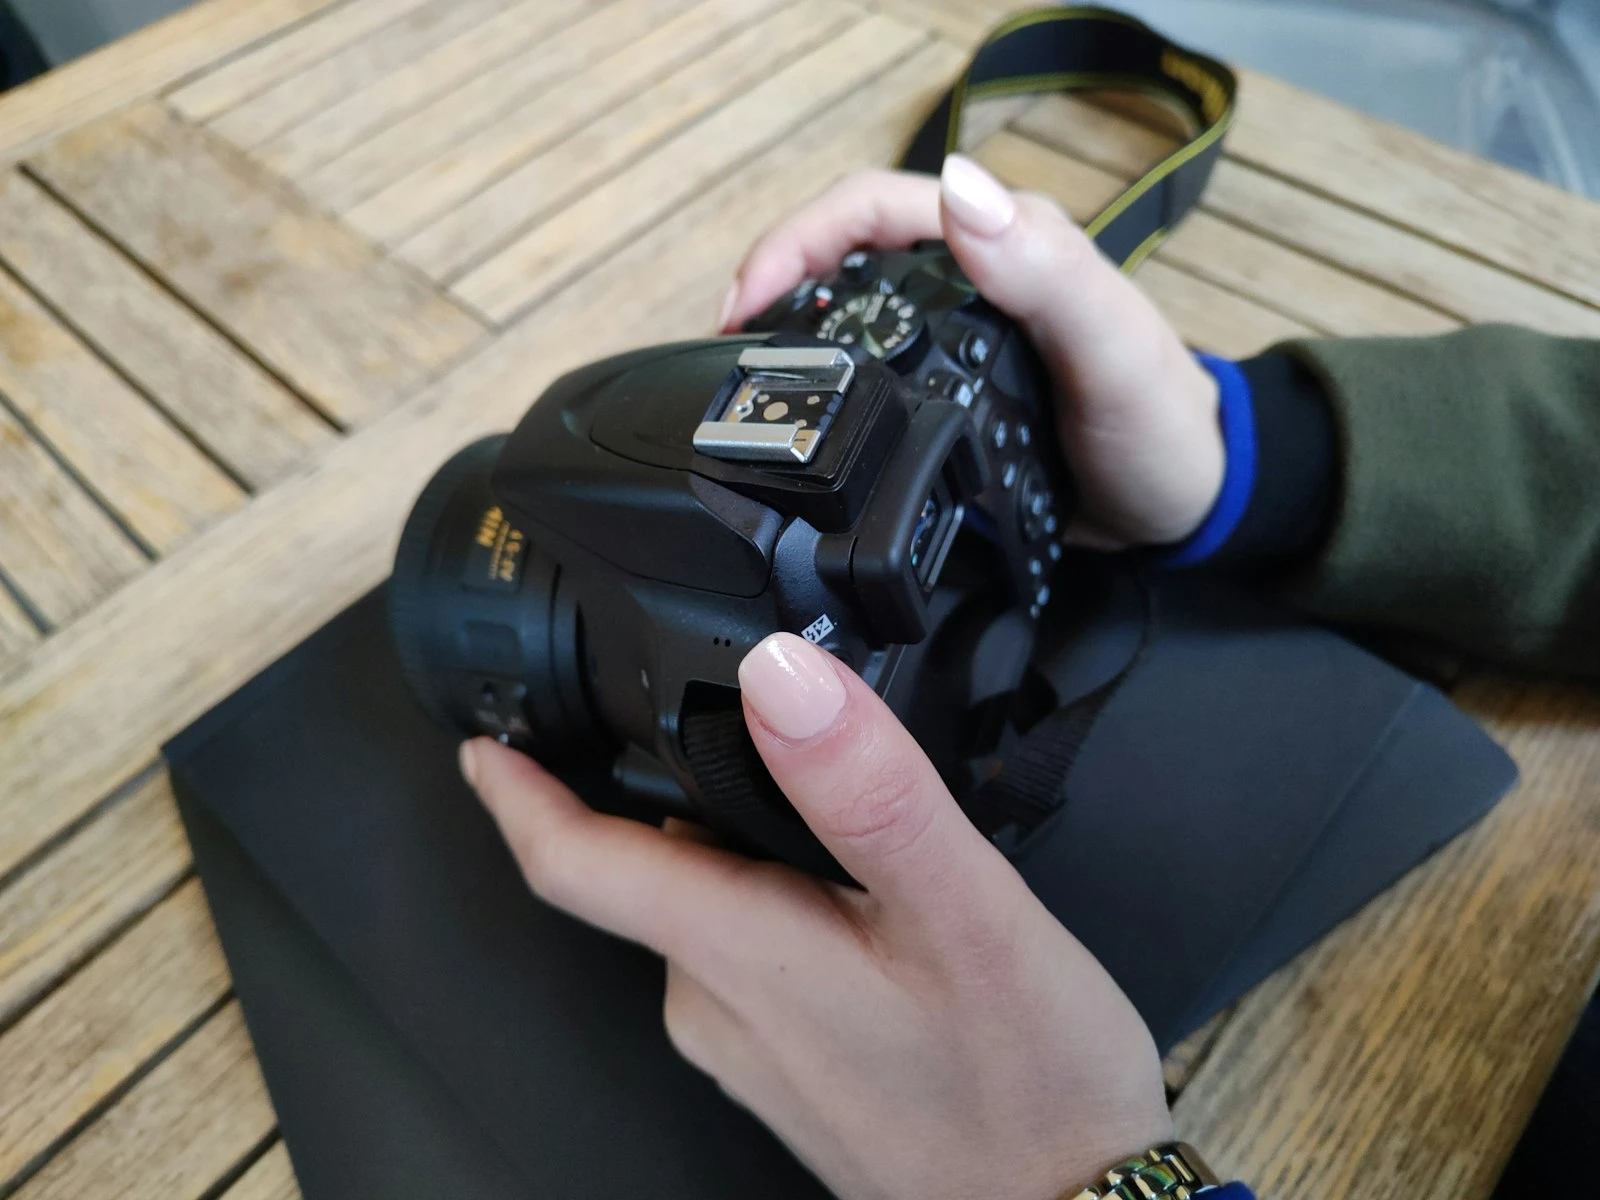
The Handheld Threshold (And Why It Varies)
There's a common rule of thumb that your minimum handheld shutter speed should be 1/focal length. So if you're shooting at 50mm, don't go slower than 1/50 second. At 200mm, no slower than 1/200.
This rule is useful as a starting point, but it varies wildly based on you, your gear, and your subject.
Factors That Let You Go Slower
Image stabilization: Modern in-body or lens-based stabilization can give you 2-5 extra stops. That 1/50 minimum at 50mm might become 1/15 or even slower with good stabilization.
Solid technique: If you know how to brace yourself properly, with elbows tucked, controlled breathing, and squeezing the shutter gently, you can beat the rule.
Your personal steadiness: Some people have naturally steady hands. Others (like me after too much coffee) shake more, so know your own steadiness.
Factors That Require You to Go Faster
Higher resolution sensors: A 45-megapixel camera shows every tiny shake that a 12-megapixel camera would hide. Higher resolution demands more precision.
Moving subjects: The rule only accounts for camera shake, not subject motion. A stationary landscape at 1/50 is very different from a walking person at 1/50.
Telephoto lenses: The rule accounts for this mathematically, but telephoto lenses also magnify your hand tremors. Sometimes you need to go faster than the rule suggests.
Your output size: Viewing a photo on your phone hides blur that would be obvious in a large print.
My Practical Adjustment
I personally double the rule of thumb as my starting point: 1/100 for a 50mm, 1/400 for a 200mm. Our handheld shutter speed guide covers this in more detail. Then I adjust based on the situation. It's better to have a slightly higher ISO and a sharp photo than a "technically correct" shutter speed and a subtly blurry one.
Shutter Speed Decisions for Common Situations
Here's a quick reference for real-world scenarios. These are starting points, so adjust based on what you see in your results.
Portraits (Stationary Subject)
- Indoors, controlled setting: 1/125 or faster
- Outdoors, mild movement: 1/250 or faster
- Subject is gesturing or talking: 1/250-1/500
Kids and Pets
- Playing calmly: 1/250 or faster
- Running around: 1/500 or faster
- Sports or fast action: 1/1000 or faster
Kids and pets are unpredictable, so when in doubt, go faster than you think you need.
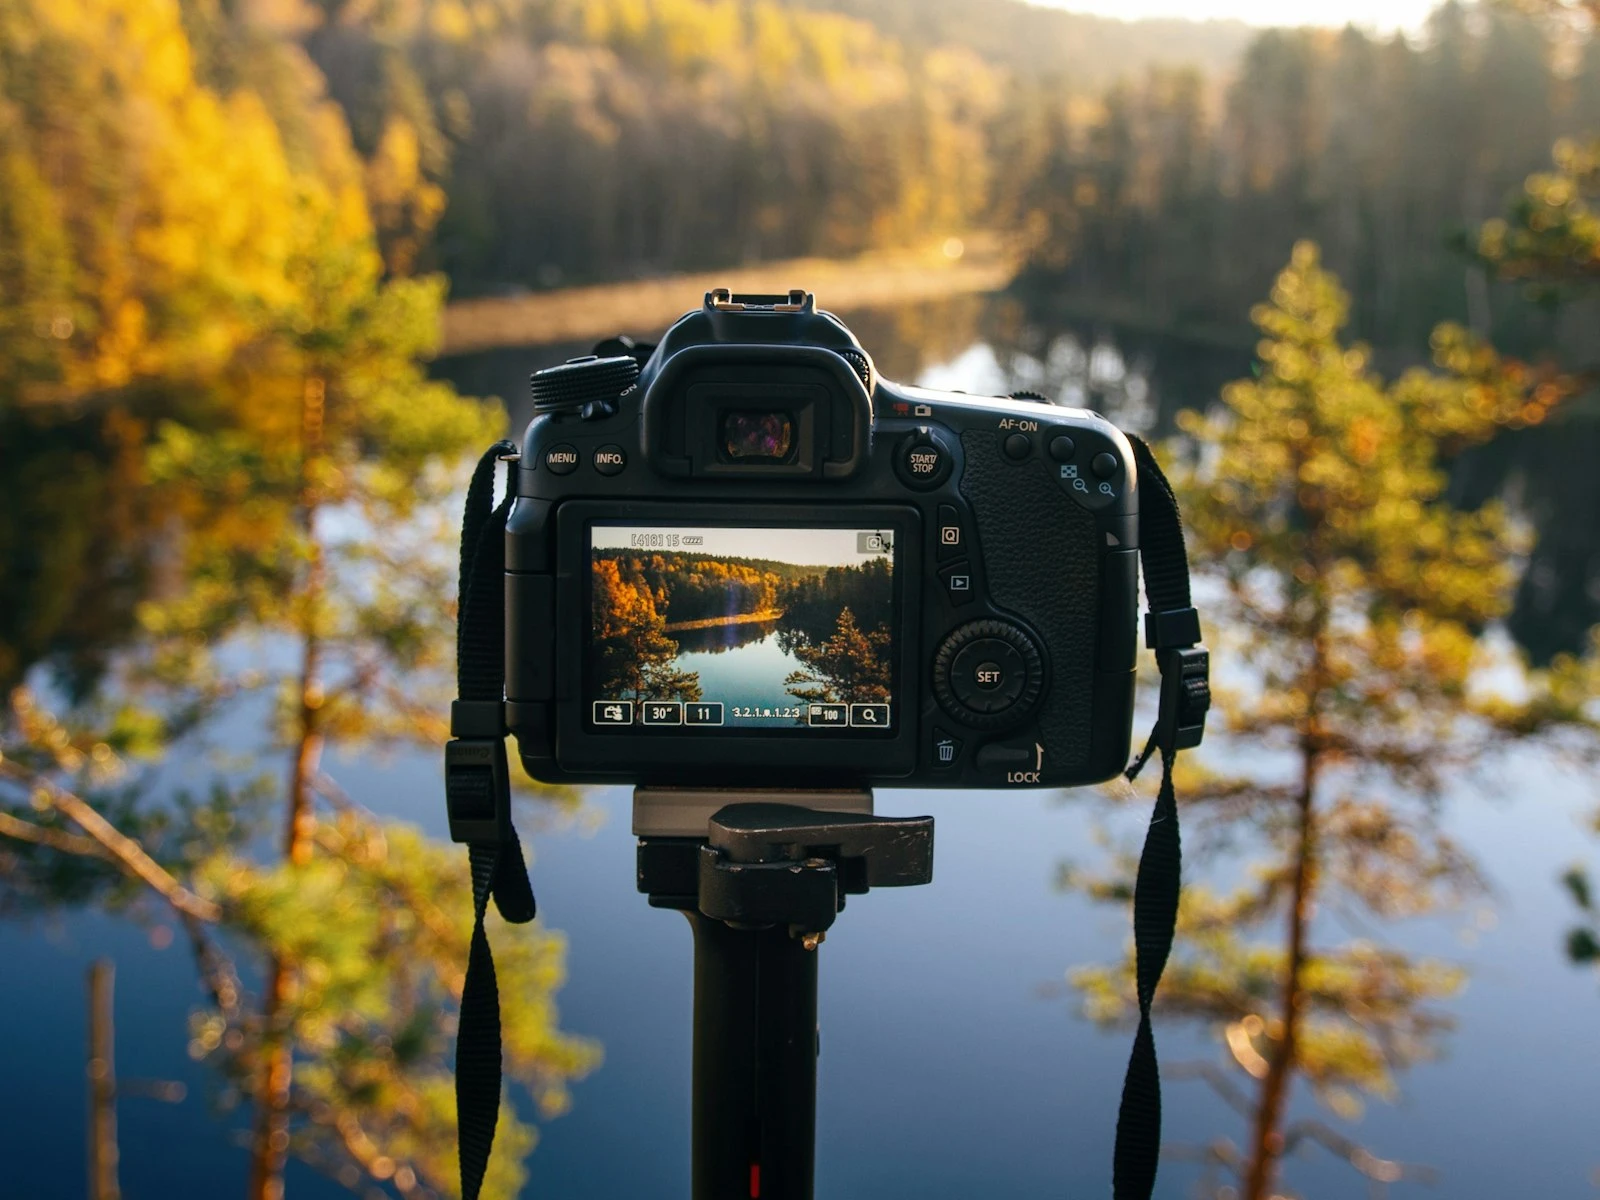
Landscapes
- Handheld, standard lens: 1/125 or faster (or use the focal length rule)
- On tripod, no motion in scene: Any speed works
- Moving water, intentional blur: 1/2 second or longer (tripod required)
- Moving foliage in wind: Either freeze at 1/250+ or blur intentionally at 1/15 or slower
Sports and Action
- Most sports: 1/500 minimum, 1/1000+ preferred
- Motorsports, fast birds in flight: 1/2000 or faster
- Intentional panning for motion blur: 1/30-1/125 depending on subject speed
Street Photography
- People walking: 1/250 or faster to freeze
- Intentional crowd blur: 1/15 or slower (brace or use tripod)
- General handheld: 1/125 as a safe baseline
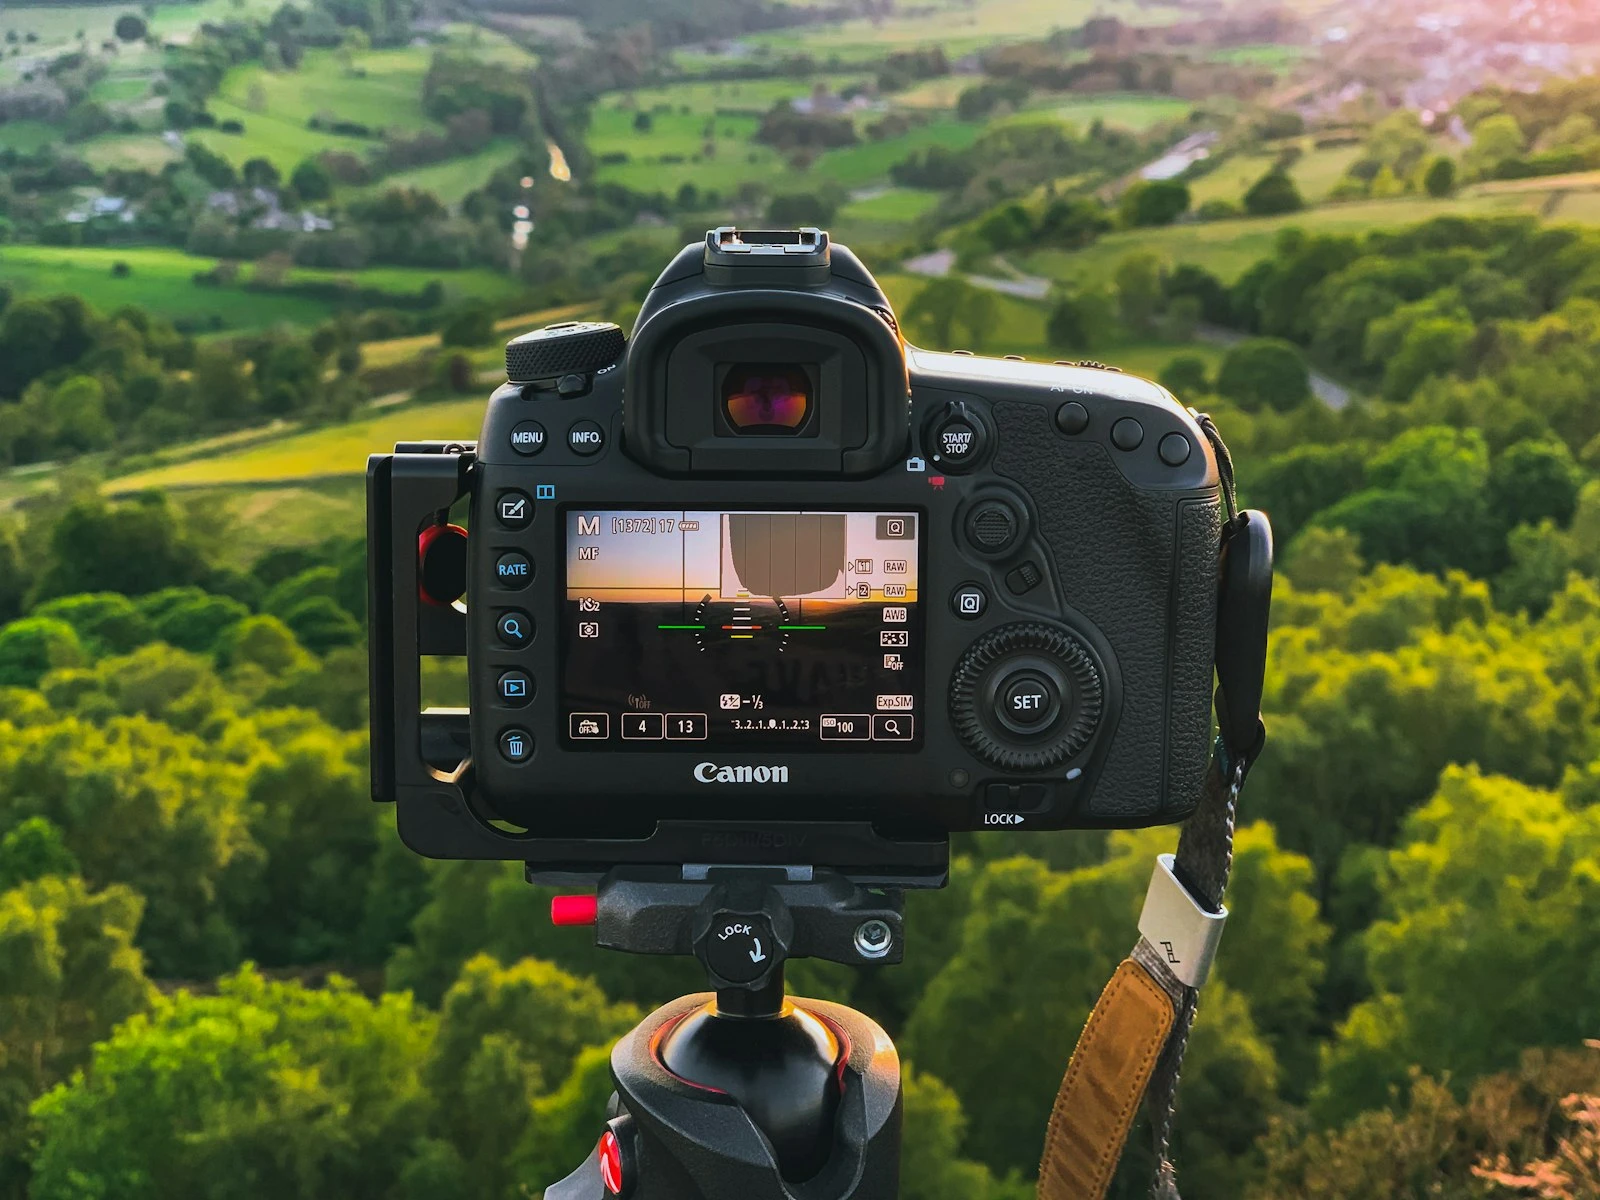
Low Light Without Flash
This is where shutter speed decisions get hard. You're balancing three competing needs: enough light, fast enough to freeze motion, and low enough ISO for acceptable noise.
My hierarchy of priorities:
- Sharp photo (fast enough shutter speed)
- Acceptable noise (lowest ISO you can manage)
- The shot you wanted (everything else)
A noisy photo that's sharp is better than a clean photo that's blurry. Don't sacrifice shutter speed to keep ISO low, even if it means pushing into higher ISO territory. This tradeoff becomes especially important in low-light situations where every stop of light counts.
The Tradeoff With ISO and Aperture
Shutter speed doesn't exist in isolation. It's one point of the exposure triangle, and changing it affects your other options.
Faster shutter speed requires more light. To compensate, you either:
- Open your aperture wider (smaller f-number, shallower depth of field)
- Raise your ISO (more noise)
Slower shutter speed lets in more light. This allows you to:
- Use a smaller aperture (larger f-number, deeper depth of field)
- Lower your ISO (cleaner image)
The creative question becomes: what matters most for this specific shot?
If you need both fast shutter speed AND deep depth of field (sports with stadium context, for example), you'll pay for it with high ISO. That's just physics. Playing with an exposure settings makes the relationship between the three settings feel intuitive fast.
If you're shooting a still landscape on a tripod, you can use any shutter speed you want, which gives you complete freedom with aperture and ISO.
The Bottom Line
Shutter speed is about understanding what you want your photo to say about motion.
Start with the question: Should this motion be frozen or blurred?
Then consider: What's the minimum shutter speed to achieve that? Can I handhold at this speed, or do I need support? What tradeoffs am I making with aperture and ISO?
The goal is making intentional choices that match your creative vision. Sometimes that means a crisp, frozen moment. Sometimes it means silky water or streaking lights or a ghostly crowd.
The camera doesn't know which one you want, and that's your job to decide.
Key Takeaways
- Before choosing a shutter speed, decide whether you want motion frozen or blurred, since both can make great photos but serve different purposes.
- Use at least 1/125 for stationary people, 1/500 for kids and pets, and 1/1000+ for sports and fast action.
- Double the 1/focal-length rule for your handheld minimum to build in a safety margin against camera shake.
- When in doubt, freeze the action, because you can add motion blur in post but you cannot sharpen a blurry photo.
- A noisy sharp photo is always better than a clean blurry one, so raise ISO before dropping shutter speed below your floor.
More in This Guide
Continue building your camera settings knowledge.