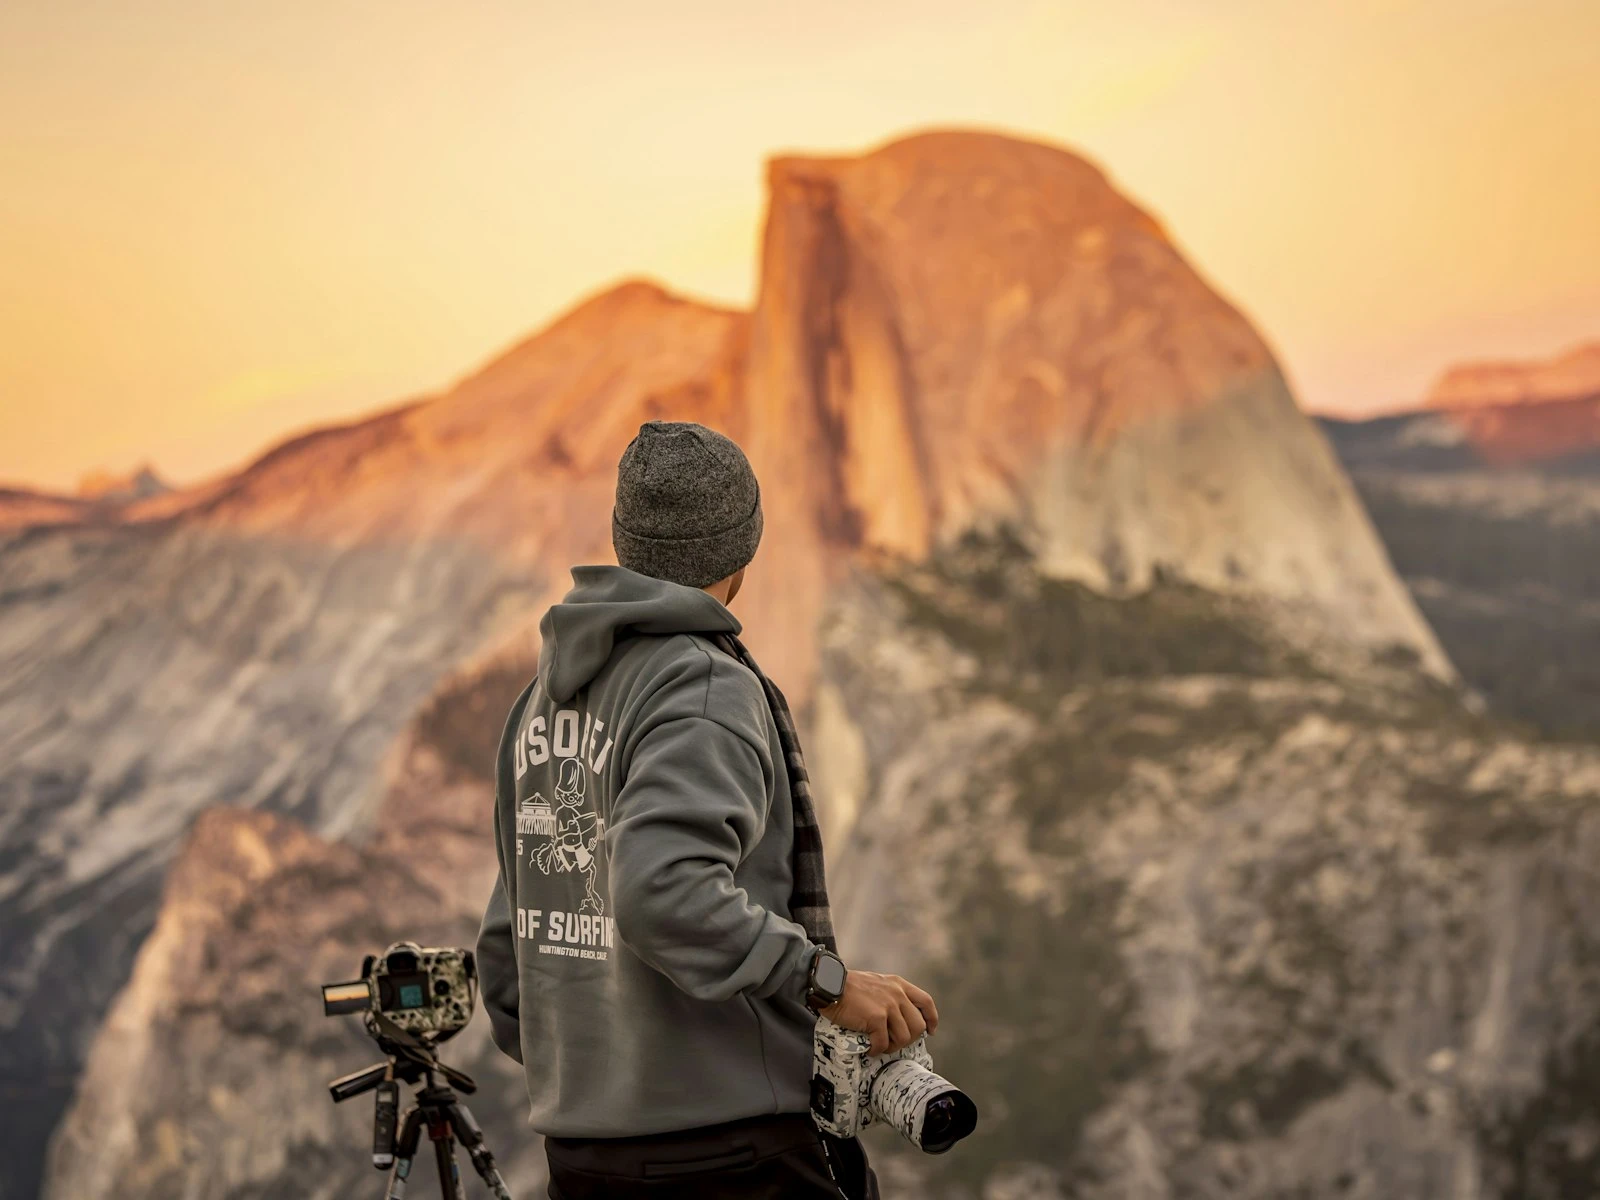
You stood before a scene that took your breath away. Rolling hills receding into the distance, mountains stacked behind mountains, a sense of vast space that made you feel small in the best way.
But in the photo, everything looks like it exists on a single plane, with the depth and dimension you experienced completely gone.
This is the most common frustration in landscape photography, and it happens to everyone. Understanding why it happens, and how to fix it, will transform your landscape images. It's one of the first problems we tackle in our landscape guide. This guide uses terms like depth of field, focal length, and tonal contrast. New to these? The photography glossary explains them all.
Why Flatness Happens
To fix the problem, you need to understand it. Flat landscape photos typically result from one or more of these causes.
Your Eyes See Differently Than Your Camera
When you stand before a landscape, your eyes are constantly moving, focusing at different distances, adjusting to varying brightness levels. Your brain assembles all this information into a rich, three-dimensional experience.
Your camera captures a single, static slice of that experience. It can't adjust to different brightness ranges simultaneously. It can't focus at multiple distances in one shot. It records a two-dimensional representation that lacks all the depth cues your brain provides.
This is simply the reality of photography, and the photographer's job is learning to create the illusion of depth within those two-dimensional limits.
Flat Light Creates Flat Images
Light is the single biggest factor in whether a landscape feels dimensional or flat. When light hits a scene straight-on (like midday sun overhead), it eliminates the shadows that reveal texture and form.
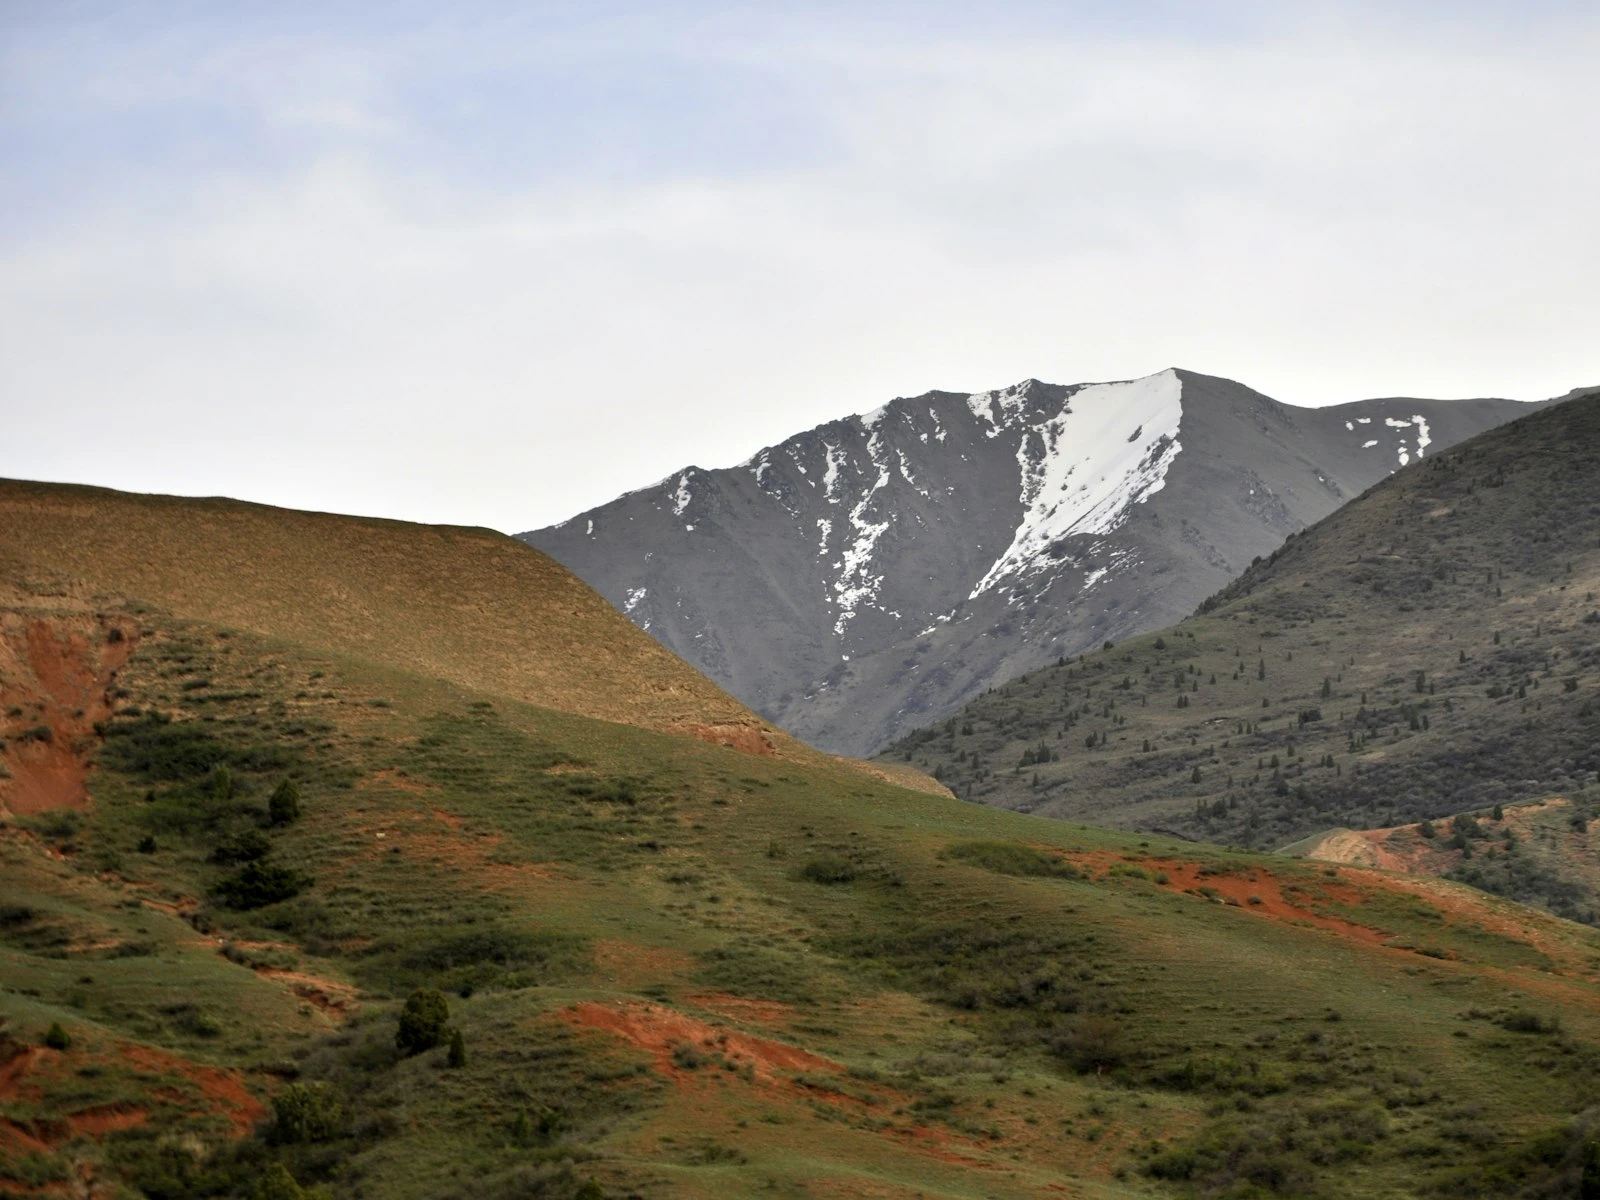
Think about a sand dune at noon versus the same dune at sunset. At noon, it's a smooth, undifferentiated beige shape. At sunset, side-lighting creates shadows that reveal every ripple and ridge. Suddenly the dune has texture, depth, character.
The quality and direction of light literally sculpts how three-dimensional your subject appears.
Missing Depth Cues
In the real world, we perceive depth through numerous visual cues: objects getting smaller with distance, atmosphere creating haze, colors shifting cooler in the distance, objects overlapping other objects.
When we compose without attention to these cues, or accidentally eliminate them, images lose their sense of depth.
Diagnosis: What's Making Your Photos Flat?
Before applying solutions, identify which issues are affecting your specific images. Look at a flat photo and check for these problems.
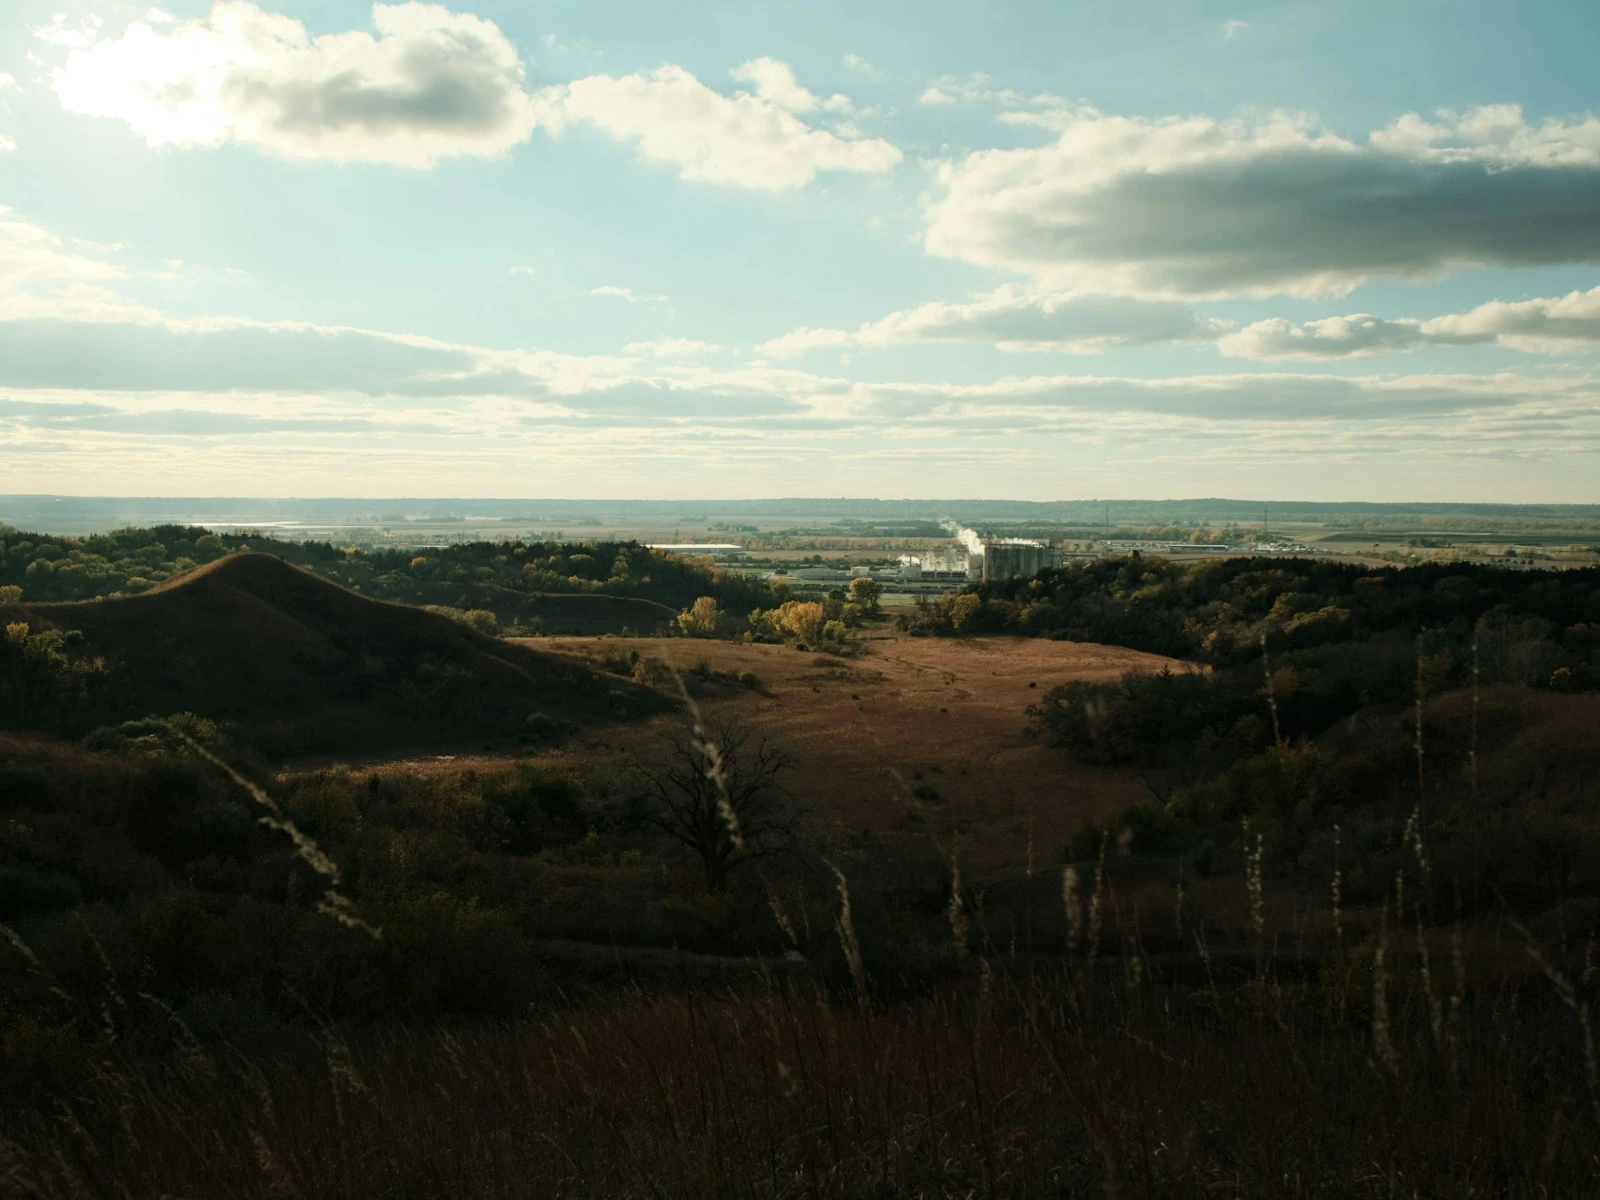
Problem 1: Empty Foreground
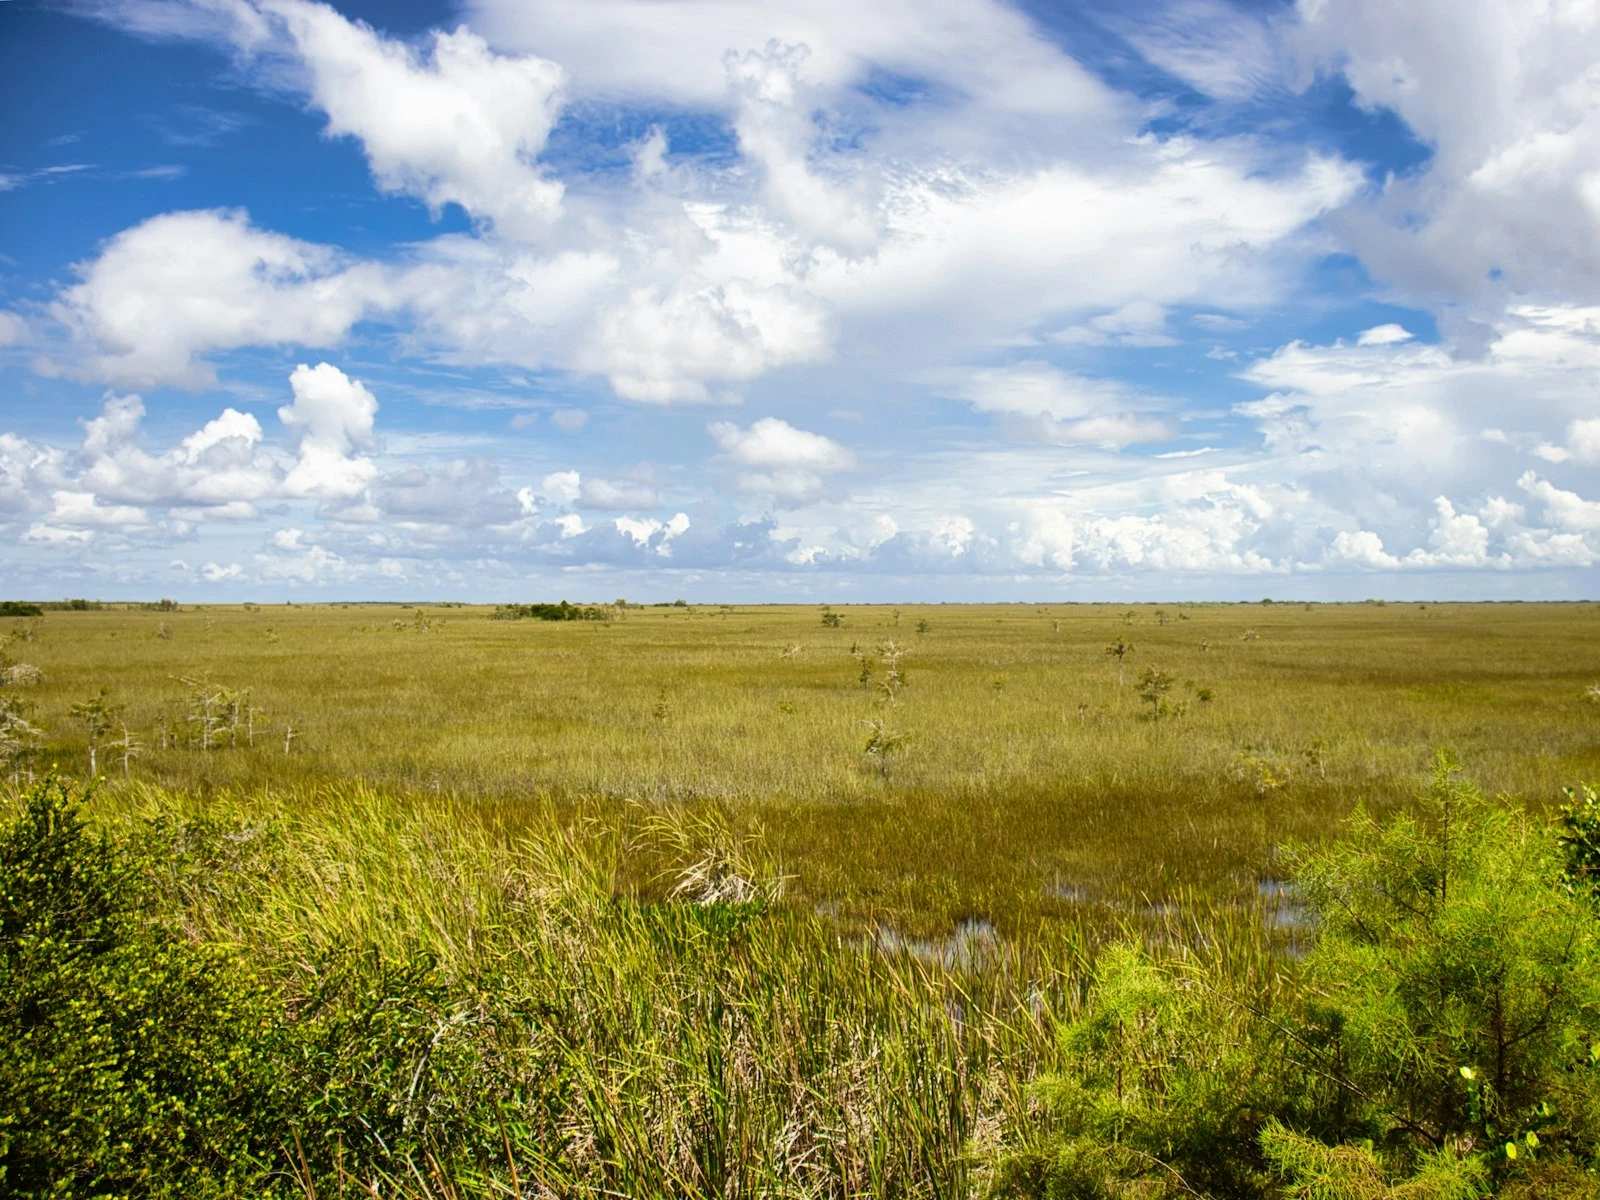
Open a typical flat landscape photo and examine the bottom third of the frame. Is there anything interesting there? Or is it just grass, pavement, or generic ground?
An empty foreground creates a visual void that the eye skips over, jumping directly to the middle and background. Without that near element, you lose the front-to-back progression that creates depth.
How to spot it: Cover the bottom third of your image with your hand. Does the photo improve? If so, your foreground was dead weight rather than an asset.
Problem 2: Flat Light
Look at your image and identify where the shadows fall. Can you see texture in surfaces like rocks, bark, or sand? Are there areas of light and dark that give objects form?
If everything appears evenly lit with minimal shadow detail, you were shooting in flat light conditions.
How to spot it: Squint at your image. If everything blends into similar tones without distinct light and dark patterns, your lighting was flat.
Problem 3: No Separation Between Layers
Can you clearly distinguish foreground from middle ground from background? Or does everything blend together into one undifferentiated mass?
When different planes of distance aren't visually separated, the image loses its sense of depth.
How to spot it: Try to outline where foreground ends and middle ground begins. If you can't clearly identify these boundaries, your layers aren't separated.
Problem 4: Cluttered Composition
Sometimes flatness comes from chaos. When too many elements compete for attention at different distances without clear organization, the eye can't construct a sense of depth. It just sees a confusing jumble.
How to spot it: Can you explain in one sentence what this photo is about? If you struggle to identify a clear subject, clutter may be the issue.
Problem 5: Wrong Focal Length
Ultra-wide lenses exaggerate the distance between near and far objects, which can make distant mountains look tiny and far away while stretching the foreground. Meanwhile, telephoto lenses compress scenes, stacking elements together and making distant mountains look closer to the foreground. Both effects can either enhance or eliminate depth depending on the scene.
How to spot it: Did objects that seemed far apart in person appear similar in distance in your photo?
The Fixes: Adding Depth to Your Landscapes
Now let's address each problem with specific solutions you can apply immediately.
Fix 1: Activate Your Foreground
This single change improves more landscape photos than any other. Find something interesting in the near field and make it part of your composition.
What to look for:
- Rocks, boulders, or interesting rock formations
- Flowers, plants, or fallen leaves
- Patterns in sand, mud, ice, or grass
- Water's edge with reflections
- Textured surfaces like cracked earth or lichen-covered stone
- Manmade elements like fences, paths, or old structures
How to include it:
- Get low. Kneel, crouch, or even lie down to give foreground elements visual prominence.
- Get close. Move toward interesting foreground subjects so they occupy meaningful frame real estate.
- Use a wider focal length if needed to include both near and far elements.
- Focus carefully, usually about one-third into the scene to maximize depth of field.
Example transformation: Instead of photographing a mountain from standing height, find an interesting rock formation, get down low enough that the rock fills the bottom third of your frame, and suddenly your image has depth. The eye travels from the nearby rock, across the valley, to the distant peak.
Foreground interest covers this technique in depth.
Fix 2: Chase Better Light
Directional light is your best ally for adding depth. Light that comes from the side or behind your subject creates shadows that reveal form and texture.
The golden hours: The hour after sunrise and hour before sunset provide naturally directional, warm light that sculpts landscapes beautifully, because the low sun angle creates long shadows that add dimension to every surface.
Side lighting: When the sun is to your left or right (rather than behind you), surfaces gain texture and depth. A cliff face lit straight-on looks like a flat wall. The same cliff with side lighting reveals every crack and ledge.
Backlight: Shooting toward the light (carefully) can create dramatic rim lighting on subjects, separating them from backgrounds and adding dimensional glow.
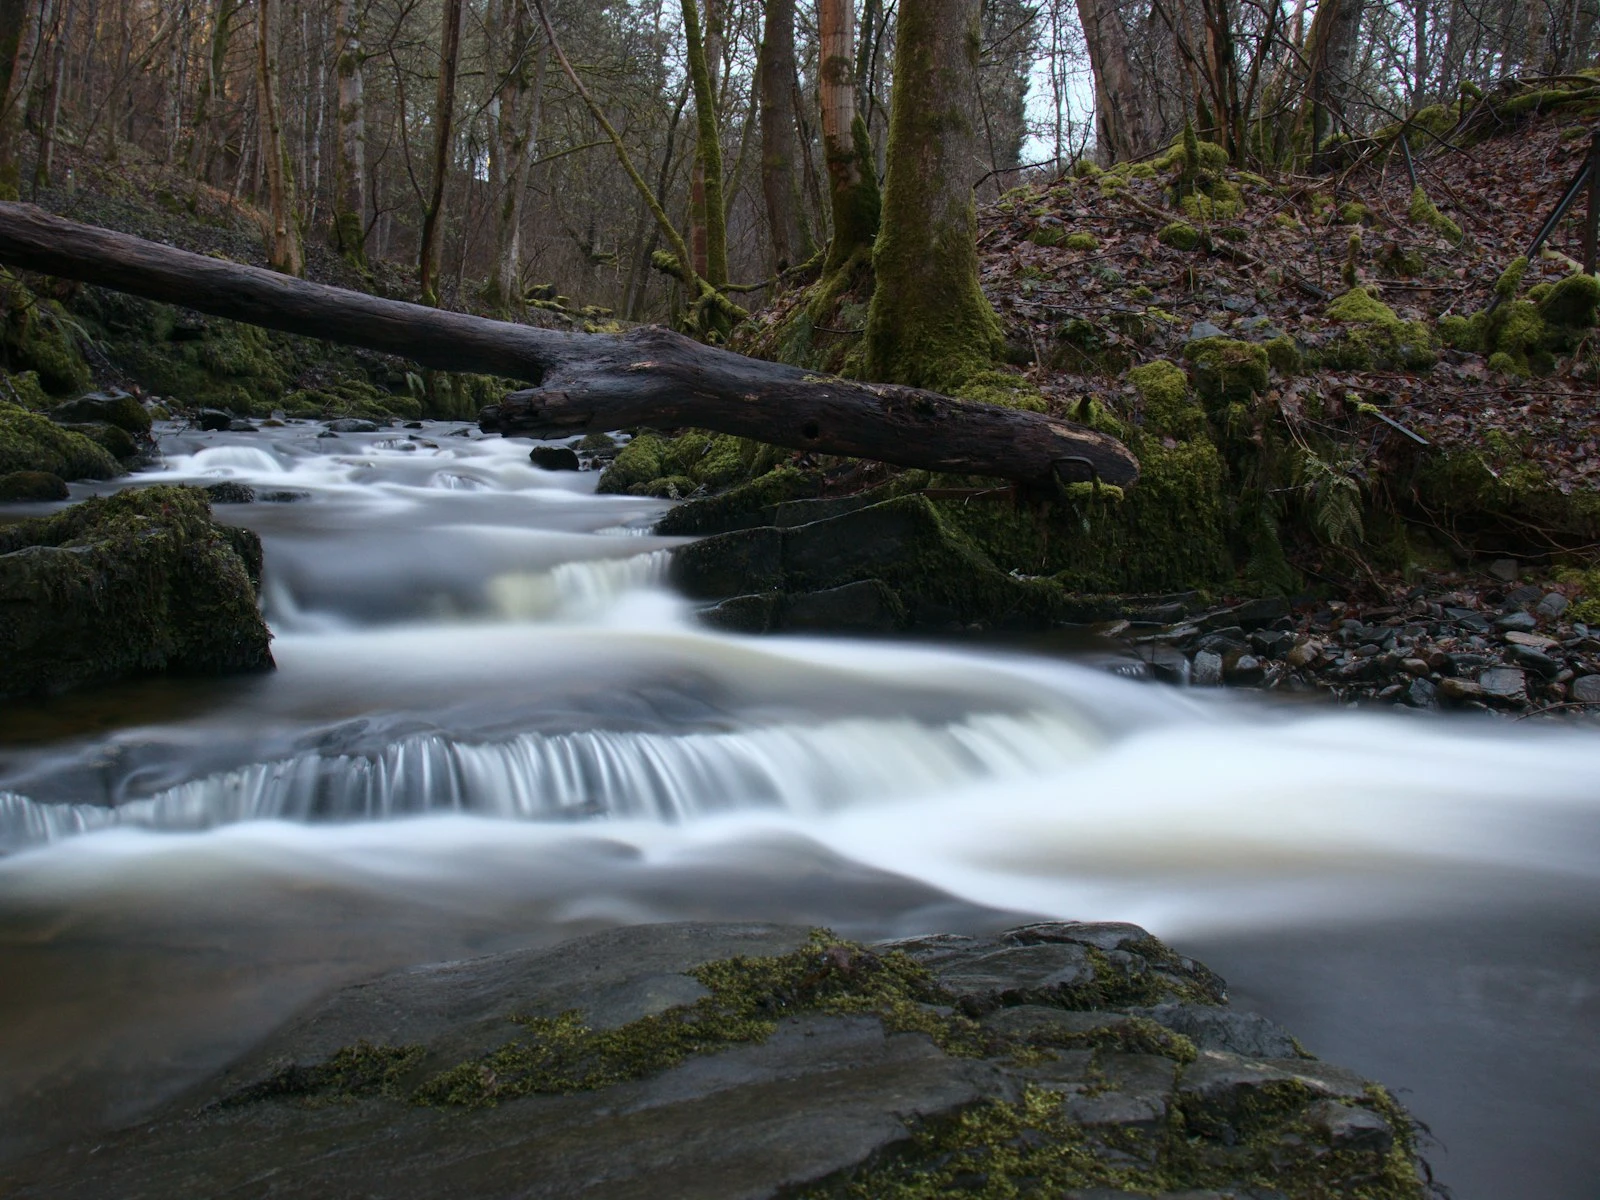
Overcast opportunity: Cloudy days eliminate the harsh shadows of midday sun, creating even illumination that works well for some subjects like waterfalls, forests, and intimate scenes. The light is soft rather than flat, and there's a difference.
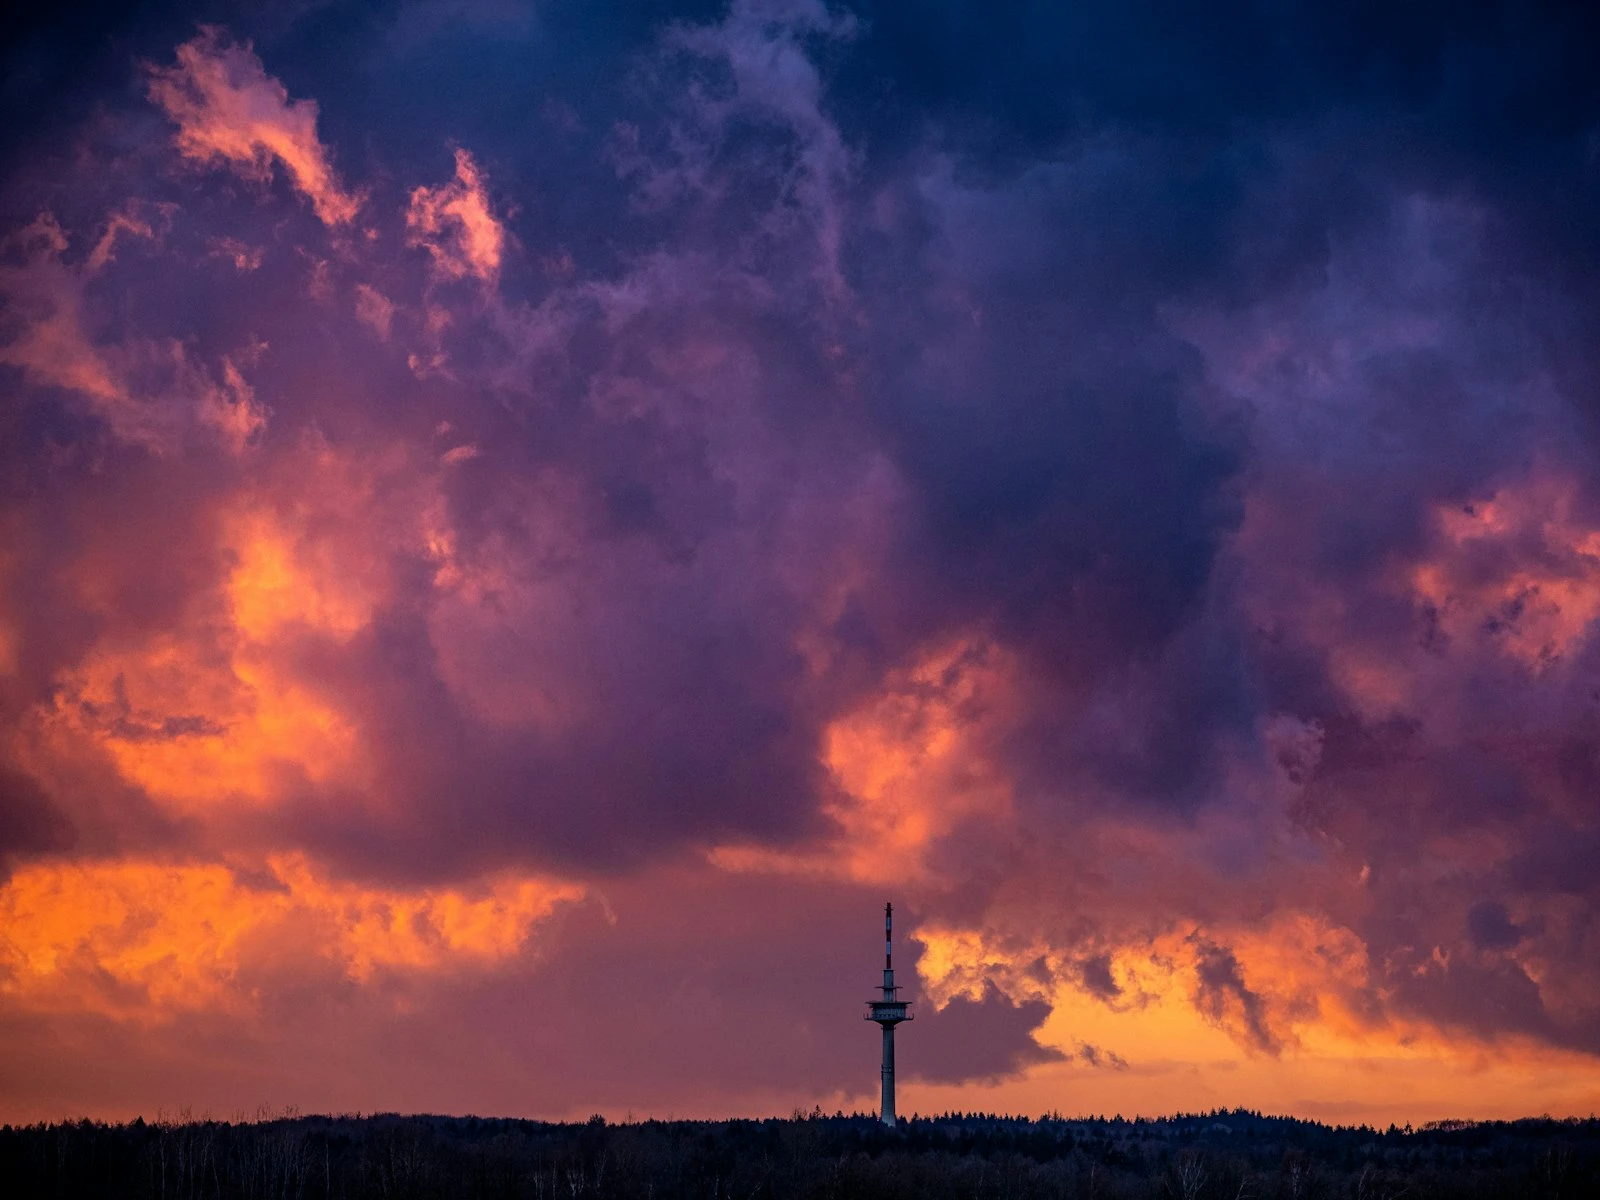
Storm light: The dramatic light that occurs when sun breaks through clouds during or after storms creates extraordinary dimension. These moments are worth waiting for.
[Lighting fundamentals](/start-here/) covers landscape lighting in more detail.
Fix 3: Separate Your Planes
Creating visual separation between foreground, middle ground, and background helps the eye perceive depth. Several techniques accomplish this.
Tonal contrast: When your foreground is darker than your background (or vice versa), the eye perceives them as separate planes. A shadowed foreground leading to a sunlit mountain clearly establishes two distinct distances.
Color temperature: Distant objects typically appear cooler (more blue) than near objects due to atmospheric haze. You can enhance this in editing or seek conditions where it's naturally pronounced.
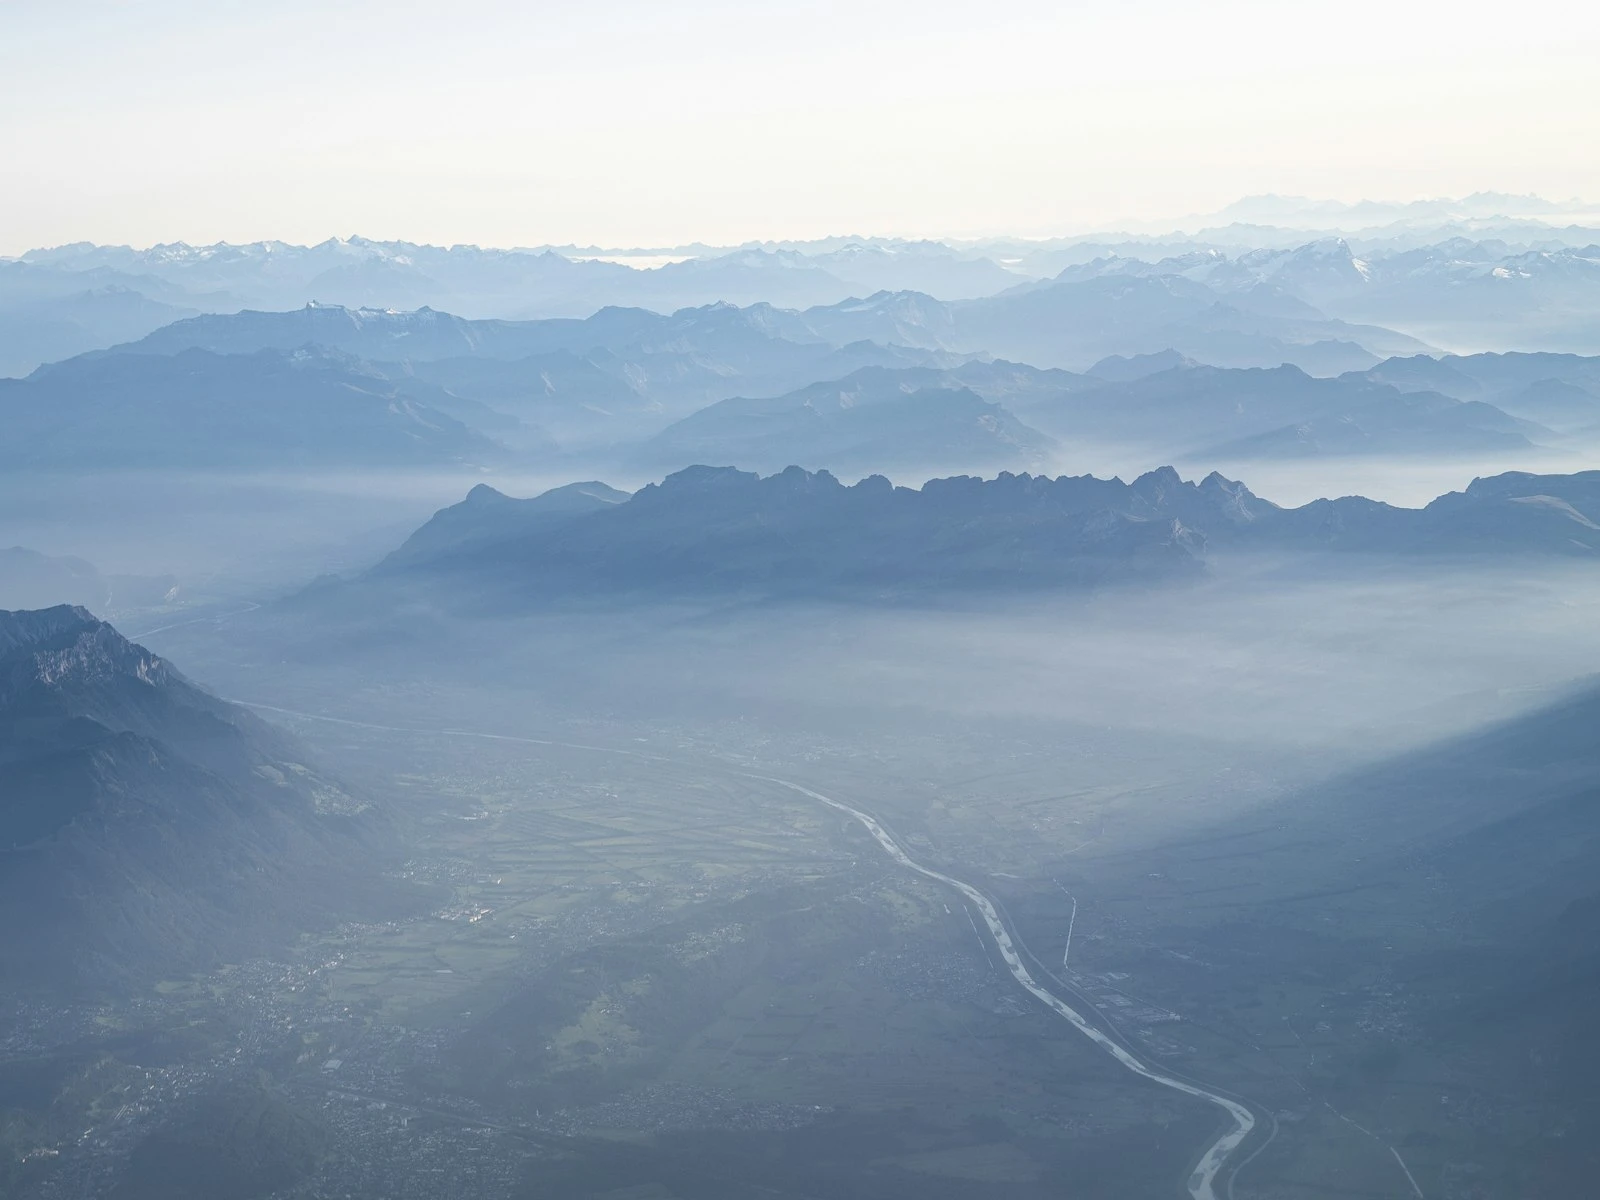
Atmospheric perspective: Haze, mist, or fog creates natural separation between layers. A mountain with three ridges receding into progressively hazier distance reads as deeply three-dimensional.
Overlapping elements: When one object partially blocks another, the brain immediately understands that one is closer. Compositionally, look for overlapping elements, like a tree partially obscuring a hill partially obscuring a mountain.
Focus choices: Using selective focus (wide aperture) to keep foreground sharp while background softens slightly can enhance plane separation. This works against the typical landscape approach of maximum depth of field, but can be effective in some images.
Fix 4: Simplify and Organize
If clutter is causing your flatness, the solution is ruthless simplification.
Find one subject: Before shooting, identify the single most important element in your scene. Everything else should support that subject or be excluded.
Create a visual journey: Arrange elements so the eye has a clear path through the image, typically from foreground through middle ground to background, following leading lines.
Use negative space: Empty areas of sky, water, or simple ground can separate busy elements and reduce visual chaos.
Zoom in: Sometimes the solution is to photograph less of the scene. A cluttered wide shot might contain a beautiful tight composition hiding inside it.
Fix 5: Choose the Right Lens
Different focal lengths create different depth relationships.
Wide angles (16-35mm): Exaggerate the difference between near and far. Objects close to the camera appear larger relative to distant objects, which can enhance depth when you have strong foreground elements.
Standard focal lengths (35-70mm): Provide the most natural-looking perspective, similar to human vision. A depth of field tool can help you compare how different focal lengths and apertures affect your zone of sharpness.
Telephoto (70mm+): Compress distance, making elements appear closer together. This can reduce depth perception but creates graphic, layered compositions where planes stack on top of each other.
The technique: For maximum depth sensation, use a wider lens, get close to foreground elements, and include distant background elements. The extreme difference between near and far creates powerful depth.
Putting It All Together: A Workflow
When you arrive at a landscape location, use this process to prevent flat images.
Step 1: Assess the Light
Before anything else, evaluate your lighting conditions. Is the light directional? Is it creating shadows that reveal texture? If you're shooting in flat midday light, consider:
- Waiting for better conditions
- Finding subjects that work in flat light (like waterfalls)
- Returning at a better time
- Working with what you have, knowing you may need to compensate compositionally
Step 2: Find Your Subject
Identify the one specific element within the view that captured your attention and make that what this photograph is about.
Step 3: Search for Foreground
Before setting up your camera, walk around looking for interesting foreground elements that can lead toward your subject. Get low to evaluate how potential foreground elements would appear in your frame.
Step 4: Build the Composition
With foreground and subject identified, compose your image to create clear separation between layers. Check that the eye has a path through the frame. Verify you've simplified and eliminated distractions.
Step 5: Verify Before Shooting
Before pressing the shutter, ask:
- Does this frame have distinct foreground, middle ground, and background?
- Is there visual separation between these layers?
- Does the light create shadows that add dimension?
- Is the composition simplified with a clear subject?
If you can answer yes to these questions, you've addressed the main causes of flat landscapes.
When Flat Is Intentional
Sometimes flatness serves a creative purpose. Minimalist landscapes intentionally reduce depth cues to create graphic, abstract images. Patterns and textures can be more powerful when rendered without dimensional distraction.
The key is intentionality. While accidental flatness disappoints, deliberate flatness can be a valid artistic choice.
Learn the rules of creating depth first. Then you can choose when to break them.
Key Takeaways
- Shoot during golden hour or blue hour when low-angle light creates shadows that reveal texture, form, and three-dimensionality in the scene.
- Add foreground interest to create depth by giving viewers a "near" element to contrast with the "far" background.
- Include layers (foreground, midground, background) connected by leading lines to build a visual journey through the image.
- Use side lighting rather than flat frontal light to sculpt the landscape and make features stand out from each other.
More in This Guide
Continue exploring landscape photography.