The single technique that improves more landscape photographs than any other is putting something interesting in the front of your frame.
Foreground interest creates depth by giving viewers a place to start their visual journey, transforming "a picture of a mountain" into an invitation to explore an entire scene.
This technique separates flat, forgettable landscapes from images that make people stop and look, and it's one of the most important concepts in our landscape guide.
Why Foreground Matters So Much
Photography faces a fundamental challenge: representing three-dimensional space on a two-dimensional surface. When we stand before a landscape, we experience depth: near things, far things, and everything in between.
A photograph collapses all that depth into a flat rectangle. Without deliberate techniques to suggest depth, that magnificent vista you experienced becomes... just another picture of a mountain.
The Depth Illusion
Foreground elements create the illusion of depth through several mechanisms:
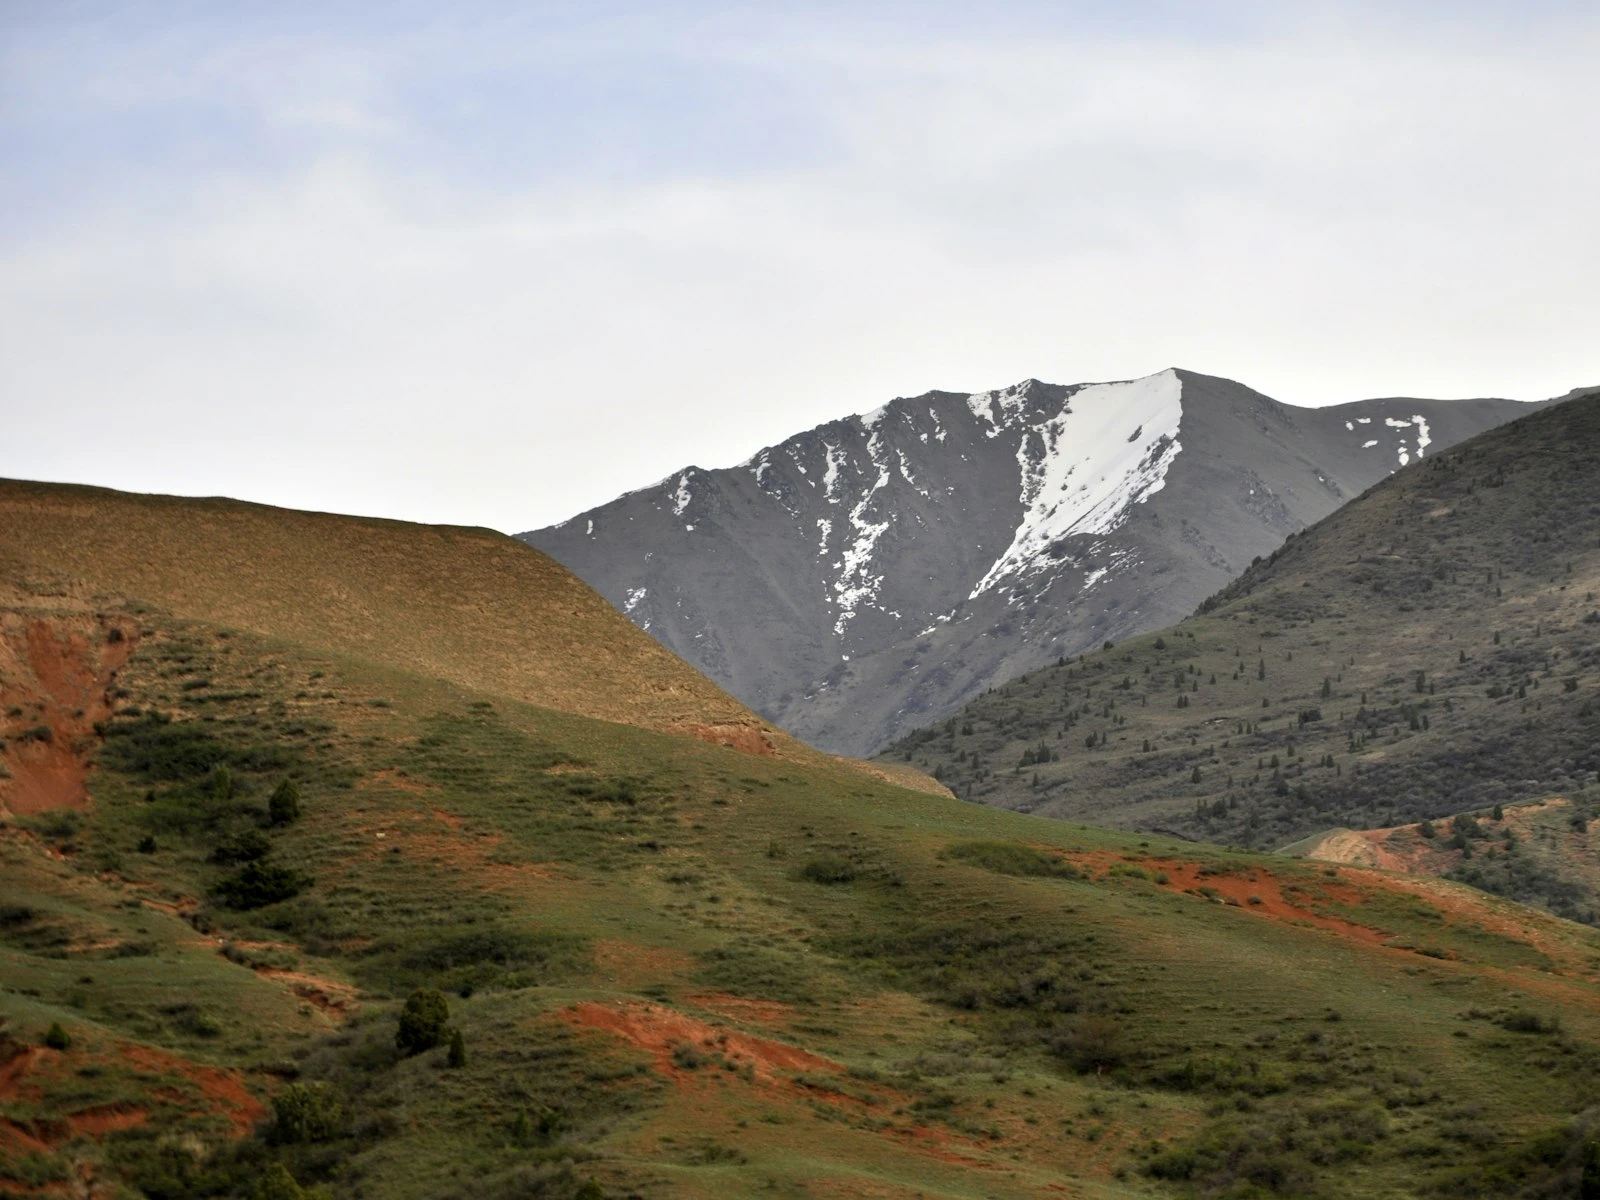
Size relationships. A large rock in the foreground next to a distant mountain tells your brain the mountain is far away. Without that size comparison, distance becomes unclear.
Focus differences. Even with extensive depth of field, slight softening of very distant elements compared to sharp foreground creates depth perception.
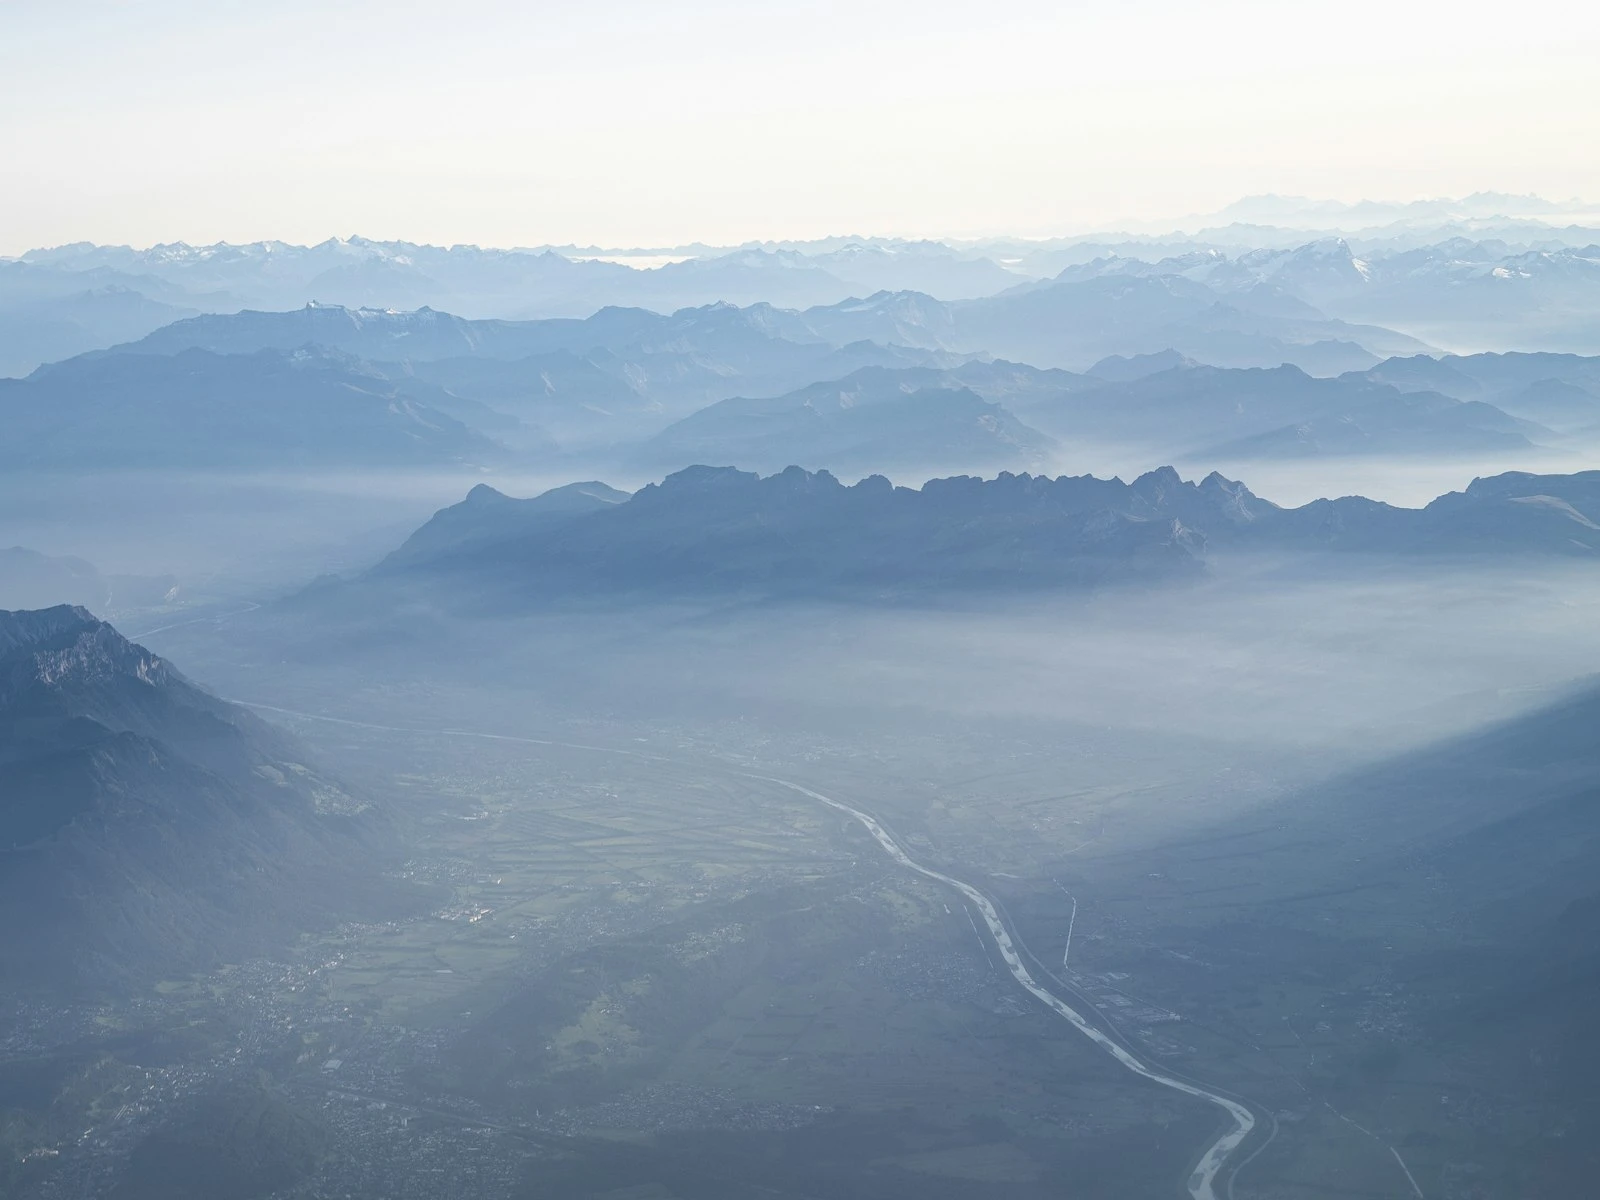
Tonal progression. Foreground elements are typically darker and more saturated than distant elements, which are lighter and hazier. This atmospheric perspective suggests distance.
Overlapping elements. When foreground objects partially obscure middle-ground objects, which partially obscure background objects, your brain constructs a sense of depth from these overlapping layers.
The Entry Point
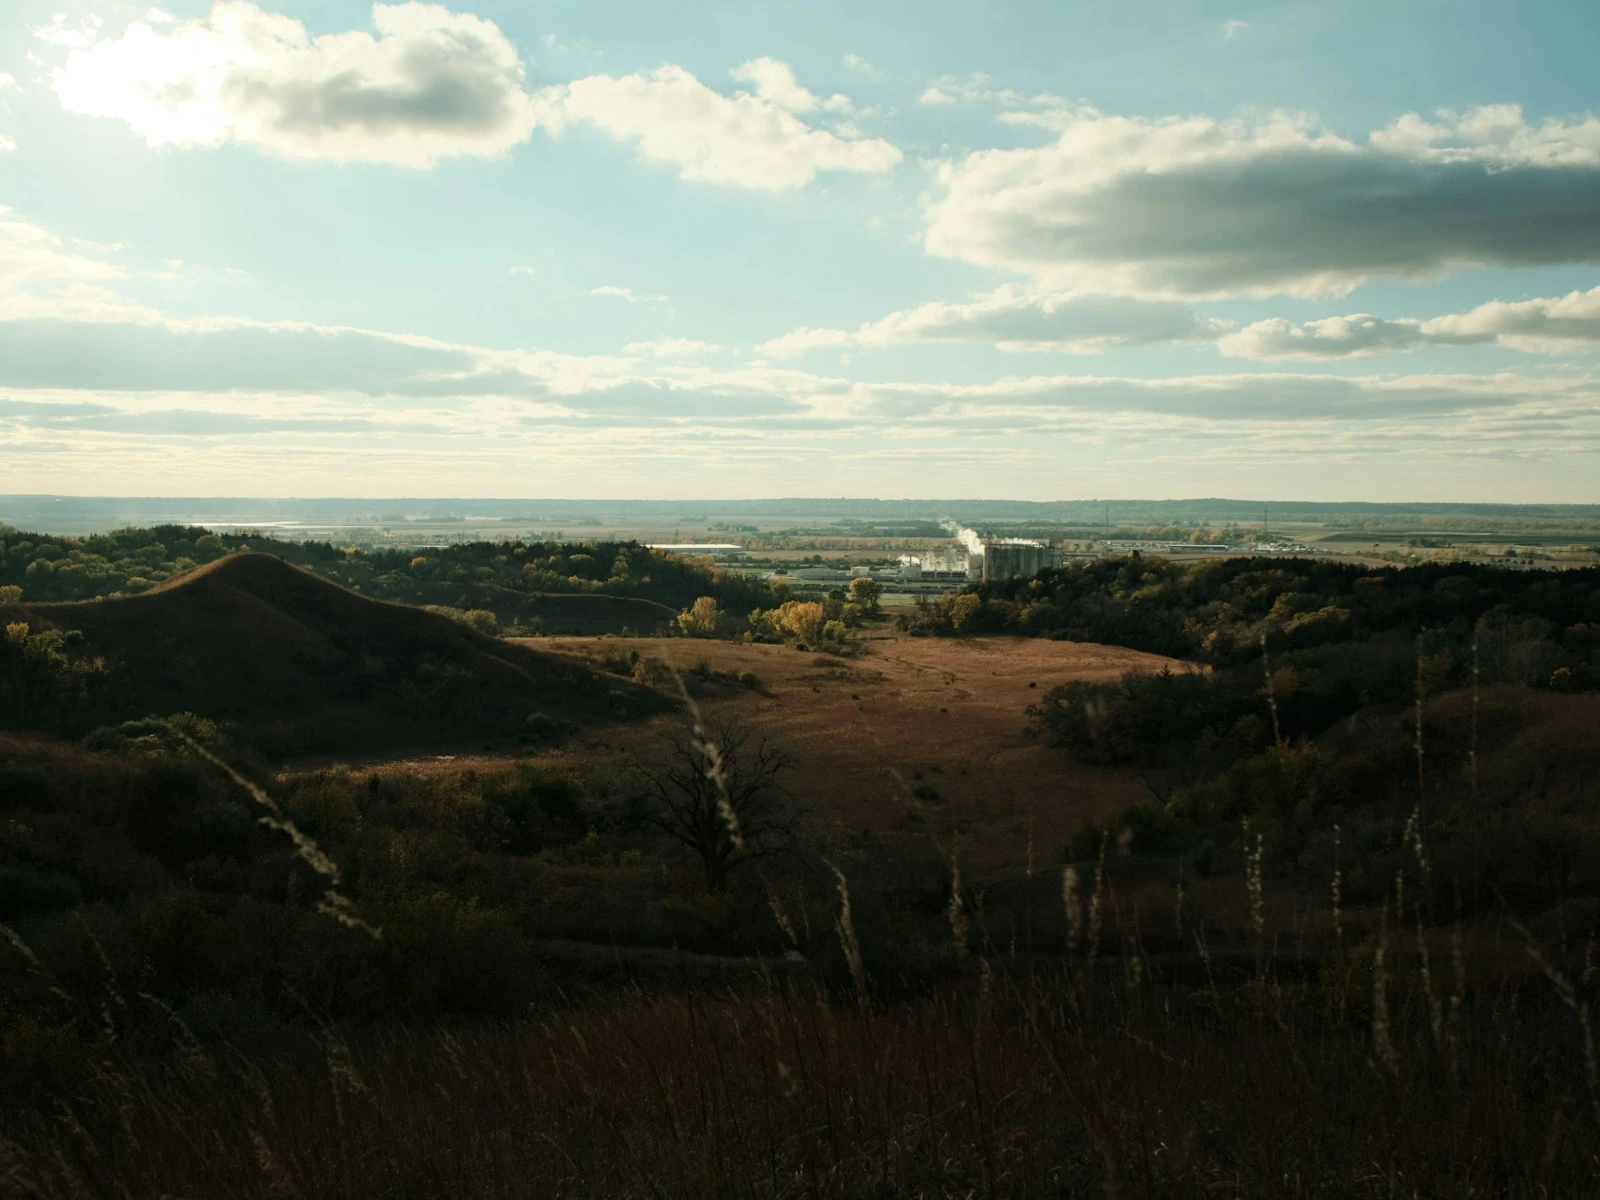
A strong foreground gives viewers a place to begin looking. Without it, the eye jumps immediately to the obvious distant subject, like the mountain, the horizon, or the sunset, and has nowhere else to go.
With an engaging foreground, the eye lands on the near element first, then travels through the middle ground, arriving finally at the distant subject. This visual journey is what transforms a glance into an exploration.
The Anchor
Foreground interest grounds your image in physical reality. It says "this photograph was taken from here, looking there." Without foreground, a landscape can feel generic and disconnected, like a postcard view seen from nowhere in particular.
Finding Foreground Elements
The real challenge is finding interesting foreground elements in the field, so here's where to look.
Natural Elements
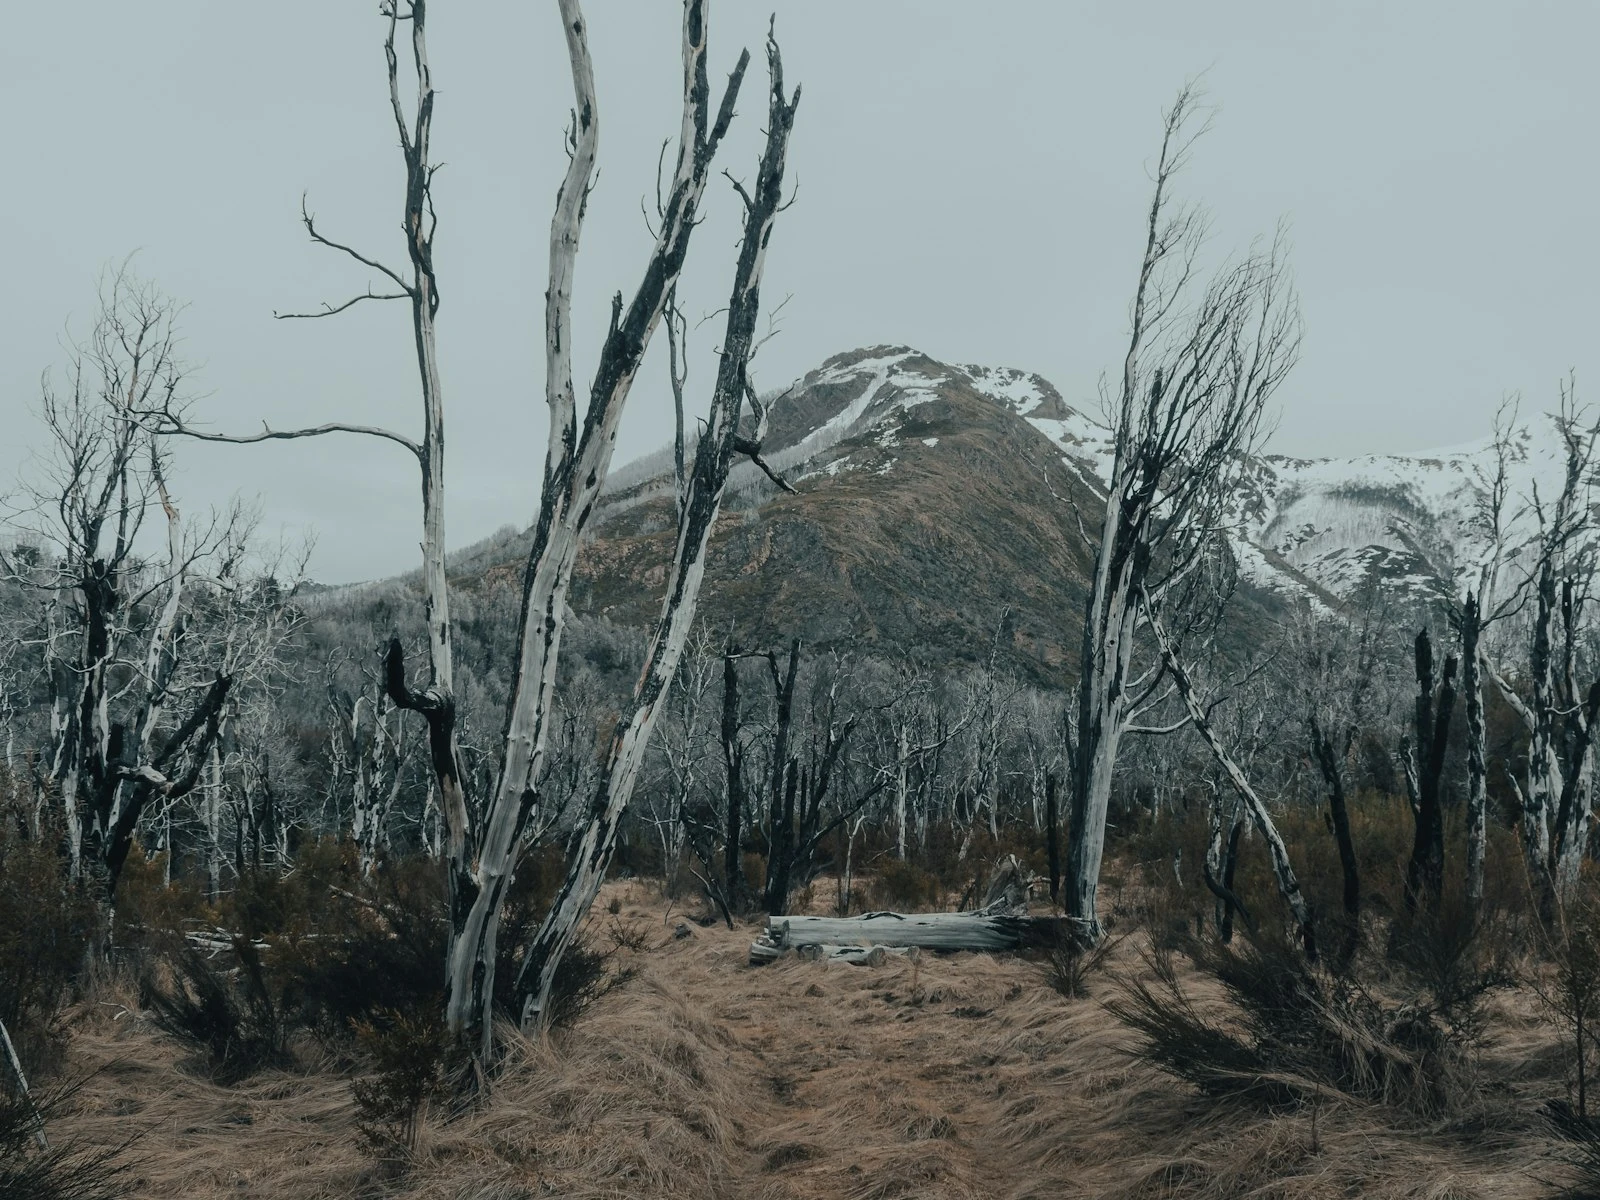
Rocks and boulders. Perhaps the most classic foreground interest. Look for rocks with interesting shapes, textures, or colors. Lichens, moss, and weathering patterns add visual appeal.
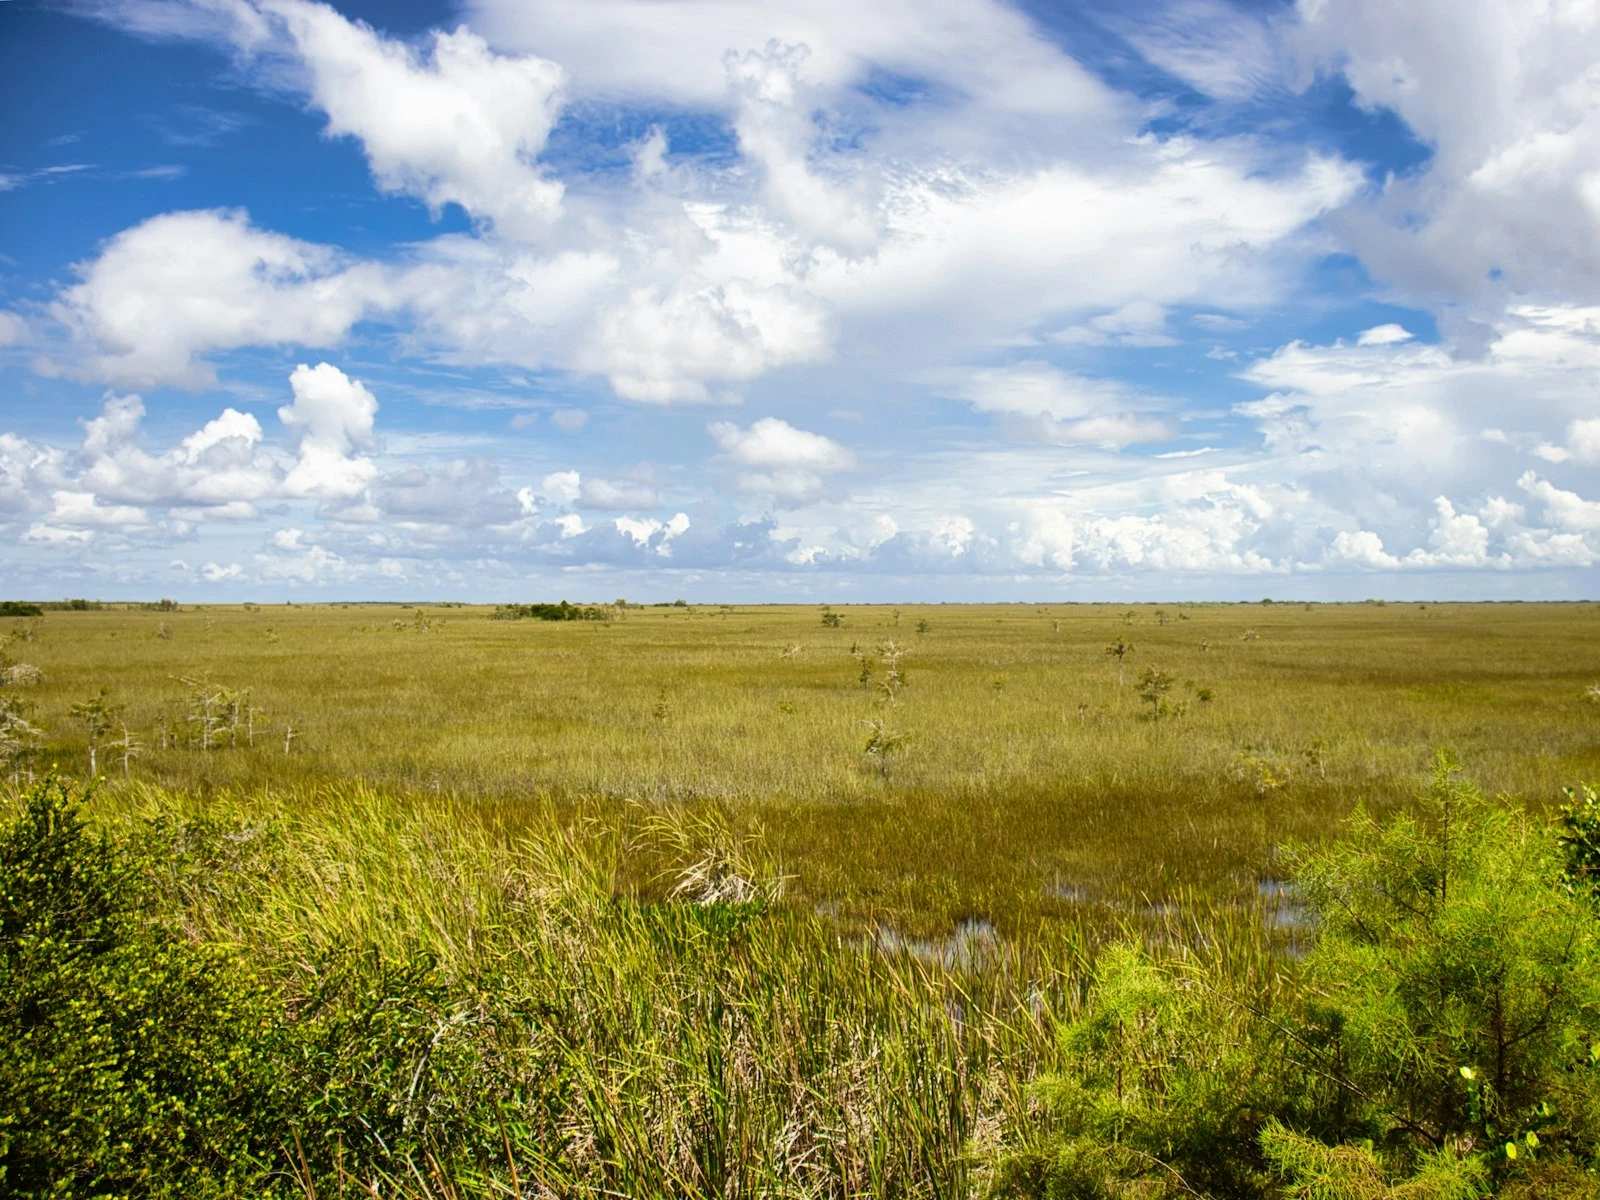
Flowers and plants. Wildflowers create instant foreground interest, especially when leading toward larger landscape elements. Grasses, ferns, and vegetation also work well.
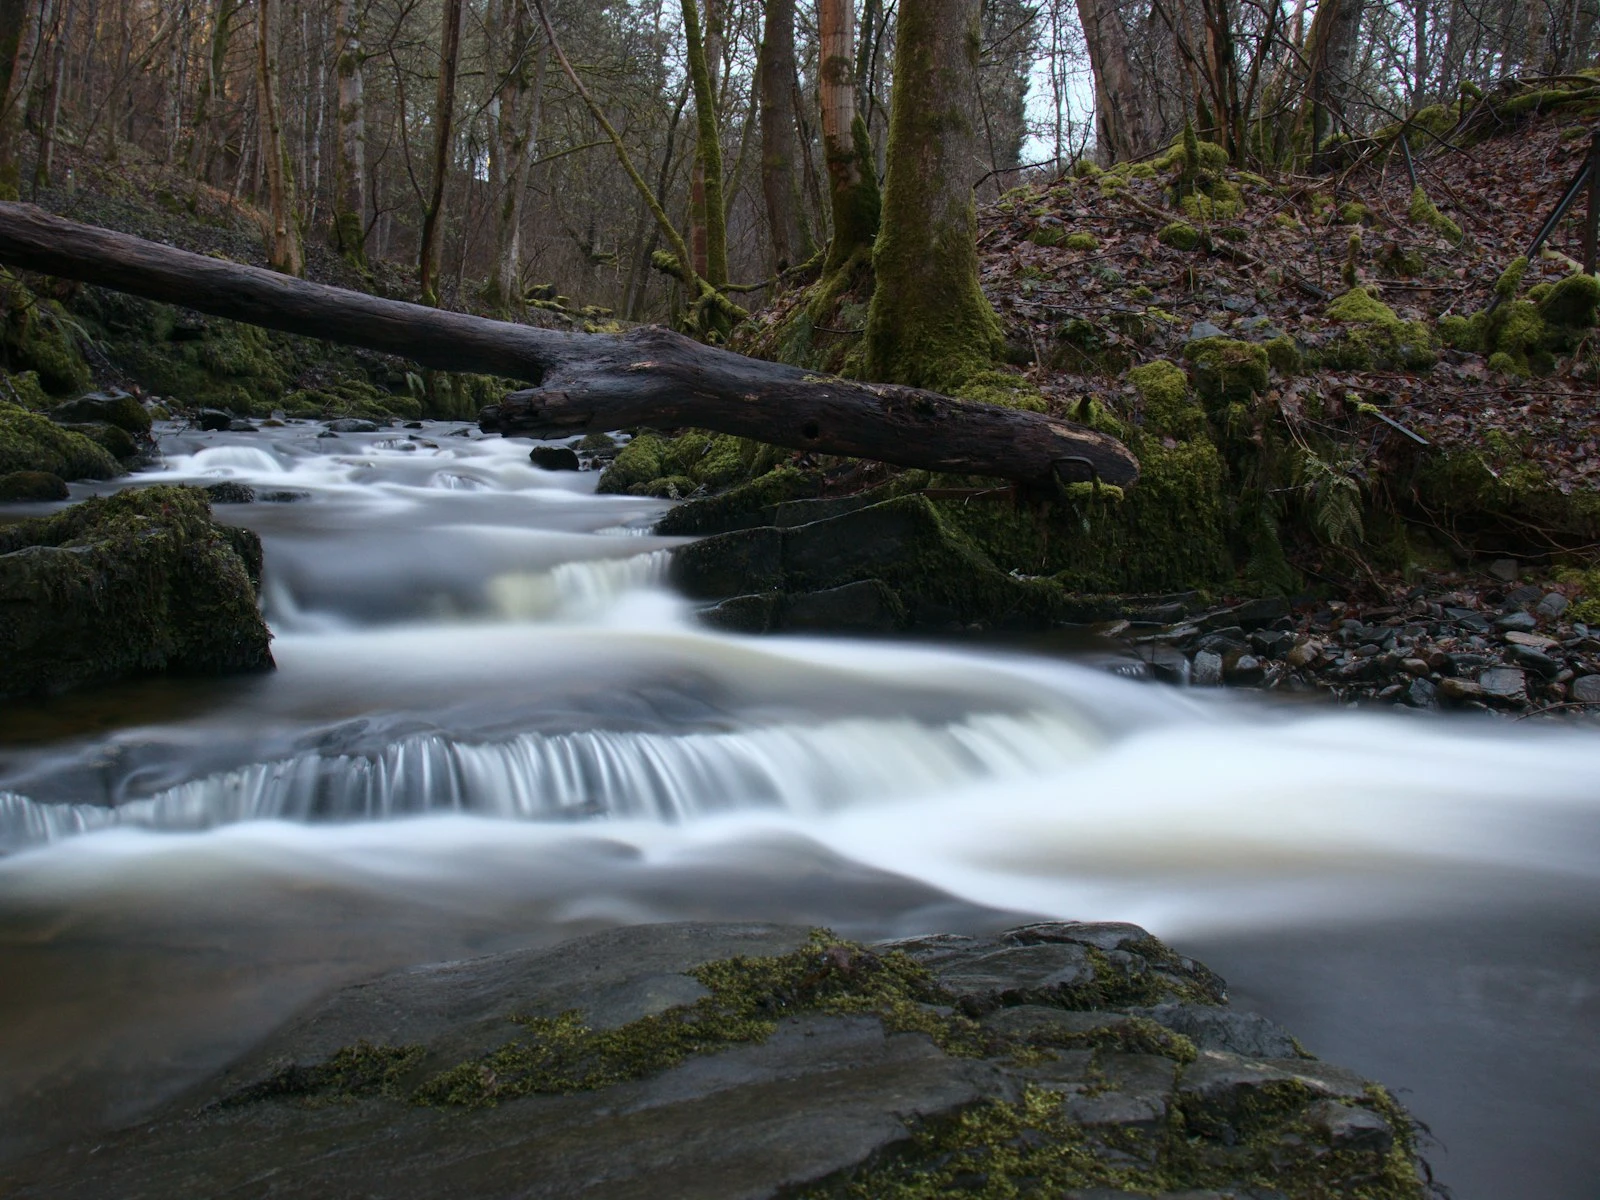
Water features. Stream edges, tidepools, reflective puddles, and shore lines provide natural foreground and often include leading lines toward distant subjects. Photographing water covers how shutter speed choices affect these elements.
Sand and earth patterns. Ripples in sand, cracked mud, frost patterns, or erosion textures can create compelling foreground in barren landscapes.
Fallen debris. Fallen trees, driftwood, leaves, or branches can anchor foreground and add natural texture.
Ice and snow. Frozen puddles, icicles, snowdrifts, and frost patterns provide seasonal foreground opportunities.
Man-Made Elements
Paths and roads. A trail disappearing into the landscape creates both foreground interest and a leading line toward your subject.
Fences and walls. Stone walls, wooden fences, and similar barriers make excellent foreground elements, often with leading line potential.
Structures. Old buildings, ruins, monuments, or other architecture can anchor landscapes and add historical context.
Boats and vehicles. A beached boat, an abandoned car, or similar objects tell stories while filling foreground space.
Found Objects
Shells and bones. Beach landscapes benefit from shell-filled foregrounds. Desert scenes might feature bleached bones or skulls.
Debris and detritus. What washes ashore or collects in corners can create unexpected foreground interest.
Contextual objects. A hiking boot, a compass, a backpack. Objects that tell the story of being in that place.
Techniques for Using Foreground
Finding foreground elements is only half the challenge. Using them effectively requires specific techniques.
Get Low
The most common mistake with foreground interest is shooting from standing height. When you're five or six feet off the ground, foreground elements appear small and insignificant because they don't fill much of your frame.
The solution: Get your camera lower by kneeling, crouching, or even lying down. The closer your camera is to the ground, the more prominent your foreground becomes.
A rock that's barely visible at standing height can dominate the foreground when photographed from ground level. This single change, simply getting lower, transforms foreground from afterthought to anchor.
Get Close
Foreground elements need presence in your frame. A distant rock at the bottom edge is just an object that happens to be in front, not true foreground interest.
Move toward your foreground subject until it occupies meaningful space in your composition. The rock shouldn't just be visible; it should command attention, filling a significant portion of the lower frame.
Choose the Right Focal Length
Wide-angle lenses (16-35mm on full frame) are the traditional choice for landscape foregrounds because they:
- Exaggerate the size difference between near and far
- Allow you to include close foreground and distant background in the same frame
- Create a sense of expansive space
But this isn't the only option. Standard and even telephoto lenses can work with foreground interest, though the relationship between foreground and background changes. Experiment with different focal lengths to see how they alter the foreground's visual weight.
Focus Carefully
With foreground close to your camera and subjects extending to infinity, achieving sharpness throughout requires attention.
The challenge: At any given aperture, there's a limit to how much depth can appear sharp. When your foreground is very close, you may not be able to get both the foreground rock and the distant mountain simultaneously sharp at wide apertures.
The solutions:
- Use smaller apertures (f/11, f/13, f/16) to maximize depth of field
- Focus using hyperfocal distance techniques
- Use focus stacking in post-processing for critical work
- Accept slight softness in the far background if foreground sharpness is essential
If you want to check whether your aperture covers both your foreground and the background, run the numbers through the depth of field before you head out.
Create Visual Flow
The best foreground elements don't just sit there. They lead the eye into the scene. Look for elements that create visual flow toward your main subject.
Leading lines. A stream flowing toward distant mountains. A path winding toward a peak. A row of rocks pointing toward the horizon.
Directional patterns. Lines in sand, rows in fields, furrows in earth. Any pattern that suggests movement toward the background.
Decreasing size. Elements that repeat with decreasing size toward the distance (fence posts, trees, rocks) create powerful depth progression.
Balance Foreground and Background
Too much foreground overwhelms your main subject. Too little fails to create the depth you're seeking. Finding the right balance requires experimentation.
General guideline: Foreground often works well in the bottom third of your frame, with middle ground and background occupying the upper two-thirds. But this varies with every composition.
Questions to ask:
- Is my foreground competing with or supporting my main subject?
- Does the eye travel smoothly from front to back?
- Would more or less foreground improve this image?
Consider Light on Foreground
Foreground elements need light to be interesting. A foreground in deep shadow fails to add visual appeal because it just becomes a dark mass at the bottom of your frame.
Side-lighting reveals texture in foreground elements like rocks and vegetation.
Warm light (golden hour) makes foreground glow and feel inviting.
Front-lighting illuminates foreground clearly but can flatten texture.
Backlight can silhouette foreground elements, which works when their shape is distinctive but fails when they become undefined dark blobs.
Common Foreground Mistakes
Mistake 1: Empty Foreground
The most common error is simply having no foreground at all. The bottom third of the frame is just grass, pavement, or empty space that the eye skips entirely.
Fix: Before shooting, identify something interesting within five feet of your camera position. If nothing's there, move to a position where foreground exists.
Mistake 2: Foreground Too Far Away
You've included a rock in your composition, but it's ten feet away and appears small. It's in the frame, but it's not functioning as foreground interest.
Fix: Get closer. Move toward your foreground until it has real presence in the frame.
Mistake 3: Camera Too High
You're standing at full height, looking down at the foreground. It appears small and the angle looks down rather than through.
Fix: Get low. Bring the camera close to the level of your foreground element.
Mistake 4: Foreground Unrelated to Scene
A random object thrown into the foreground for the sake of foreground looks exactly like that: random and forced.
Fix: Choose foreground elements that relate to your scene contextually. Shells belong on beaches. Wildflowers belong in meadows. The foreground should feel like it belongs.
Mistake 5: Foreground Distracting from Subject
When foreground is too interesting, too bright, or too large, it can overwhelm your main subject and steal attention.
Fix: Foreground should support your subject, not compete with it. Reduce foreground presence if it's fighting with your main subject.
Mistake 6: Foreground Out of Focus
Soft foreground against a sharp background looks like a mistake. Unless you're intentionally using shallow focus, foreground should be sharp.
Fix: Use smaller apertures, careful focus placement, or focus stacking to ensure foreground sharpness. Even boring locations have foreground worth getting sharp.
Foreground in Different Landscape Types
Beach and Coastal
- Shells, rocks, and seaweed at tide line
- Patterns in wet sand
- Waves approaching shore
- Tidepools and their contents
- Driftwood and debris
Mountain and Alpine
- Rocks and boulders with lichen
- Wildflowers and alpine plants
- Streams and snowmelt
- Fallen logs and tree roots
- Patterned rock surfaces
Desert and Arid
- Sand ripples and dune patterns
- Desert plants and cacti
- Cracked earth and dried mud
- Weathered rocks and formations
- Sparse vegetation in interesting arrangements
Forest and Woodland
- Fallen trees and stumps
- Mushrooms and fungi
- Ferns and forest floor plants
- Root systems and bark patterns
- Leaf litter in interesting colors
Prairie and Grassland
- Individual flowers or flower groups
- Grass patterns and seed heads
- Paths cutting through grass
- Fence lines and posts
- Weathered agricultural elements
Practice Exercises
Exercise 1: The Lower Perspective
Choose a landscape location and photograph the same scene three ways:
- From standing height with no foreground
- From standing height with a foreground element included
- From a low position (kneeling or lower) with the same foreground element
Compare the three images. Notice how perspective dramatically changes foreground impact.
Exercise 2: The Foreground Hunt
Visit a location and spend fifteen minutes just searching for potential foreground elements without photographing, simply identifying options. Challenge yourself to find at least five different foreground possibilities within the same general area.
Exercise 3: Leading Lines
Find foreground elements that create leading lines toward a background subject. Practice positioning yourself so the line leads effectively. Try different angles and note how the leading effect changes.
Exercise 4: The Foreground Shuffle
Find one good foreground element and photograph it with three different backgrounds. Move your position, change your angle, shift left or right. Same foreground, different compositions. Notice how foreground-background relationships change with small position adjustments.
Key Takeaways
- Get low and close to foreground elements to maximize their visual presence and create a strong entry point into the image.
- Look for foreground elements like rocks, flowers, water edges, and leading lines that relate to the scene rather than feeling random.
- Use a wide-angle lens to exaggerate the size relationship between near foreground and distant background, which amplifies the sense of depth.
- Ensure your foreground is sharp by focusing one-third into the scene at f/8-f/11 rather than on the distant background.
More in This Guide
Continue exploring landscape photography.