Ask any landscape photographer when to shoot, and you'll hear the same answer: golden hour and blue hour. These windows of light surrounding sunrise and sunset produce the most consistently beautiful conditions for landscape photography.
But "golden hour" and "blue hour" aren't interchangeable. They offer distinctly different light, create different moods, and require different technical approaches. Understanding what each provides helps you choose the right light for your vision and make the most of both windows. It's one of the most practical comparisons in our landscape guide.
Defining the Terms
Before comparing them, let's clarify exactly what we're talking about.
Golden Hour
Golden hour is the period shortly after sunrise and shortly before sunset when the sun is low on the horizon. The light is warm, directional, and soft compared to midday.
Technical definition: Roughly the period when the sun is between 0 and 6 degrees above the horizon (below the horizon is blue hour territory).
Practical timing: The 30-60 minutes immediately after sunrise, and the 30-60 minutes before sunset. Duration varies by season and latitude, lasting longer near the poles and shorter near the equator.
Characteristics:
- Warm color temperature (orange, gold, amber tones)
- Low-angle light creating long shadows
- Soft quality from passing through more atmosphere
- Direct illumination, since the sun is visible
- Landscapes actively lit by sunlight
Blue Hour
Blue hour is the period before sunrise and after sunset when the sun is below the horizon but still illuminating the sky. The light is cool, diffused, and even.
Technical definition: Roughly when the sun is between 4 and 8 degrees below the horizon.
Practical timing: The 20-40 minutes before sunrise, and the 20-40 minutes after sunset. Like golden hour, duration varies with location and season.
Characteristics:
- Cool color temperature (blue, cyan, purple tones)
- No direct sunlight, as the sky is the light source
- Extremely even, soft illumination
- Artificial lights (city, car headlights) become visible and balance with sky
- Transitional, twilight atmosphere
The Transition Zones
Between golden hour and blue hour, at sunrise and sunset themselves, exists a brief transition period that can offer elements of both. The sun touches the horizon, warm light reaches peak intensity, and within minutes gives way to cool twilight.
These transition minutes are often the most dramatic of all, though they're brief and change rapidly.
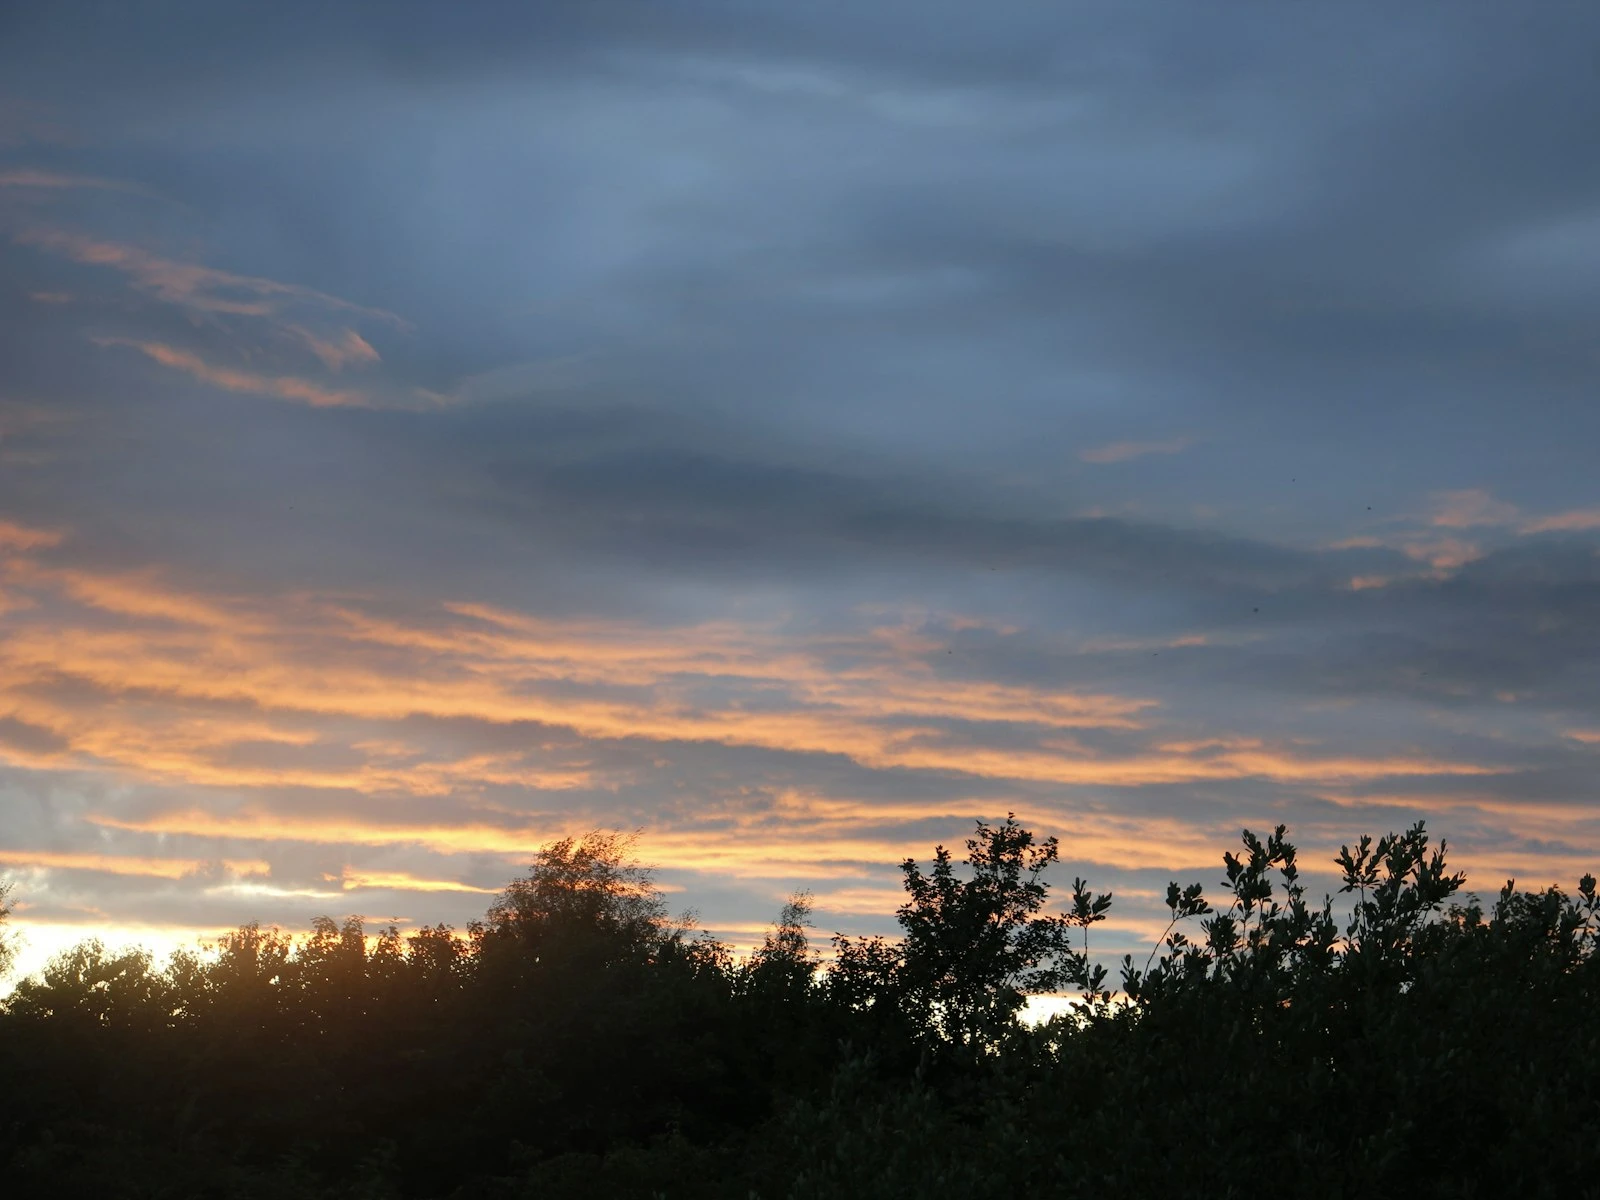
Golden Hour: Warm, Dramatic, Dimensional
Golden hour light has earned its reputation for good reason. It solves many of landscape photography's technical challenges while creating emotional warmth and visual drama.
What Golden Hour Does Well
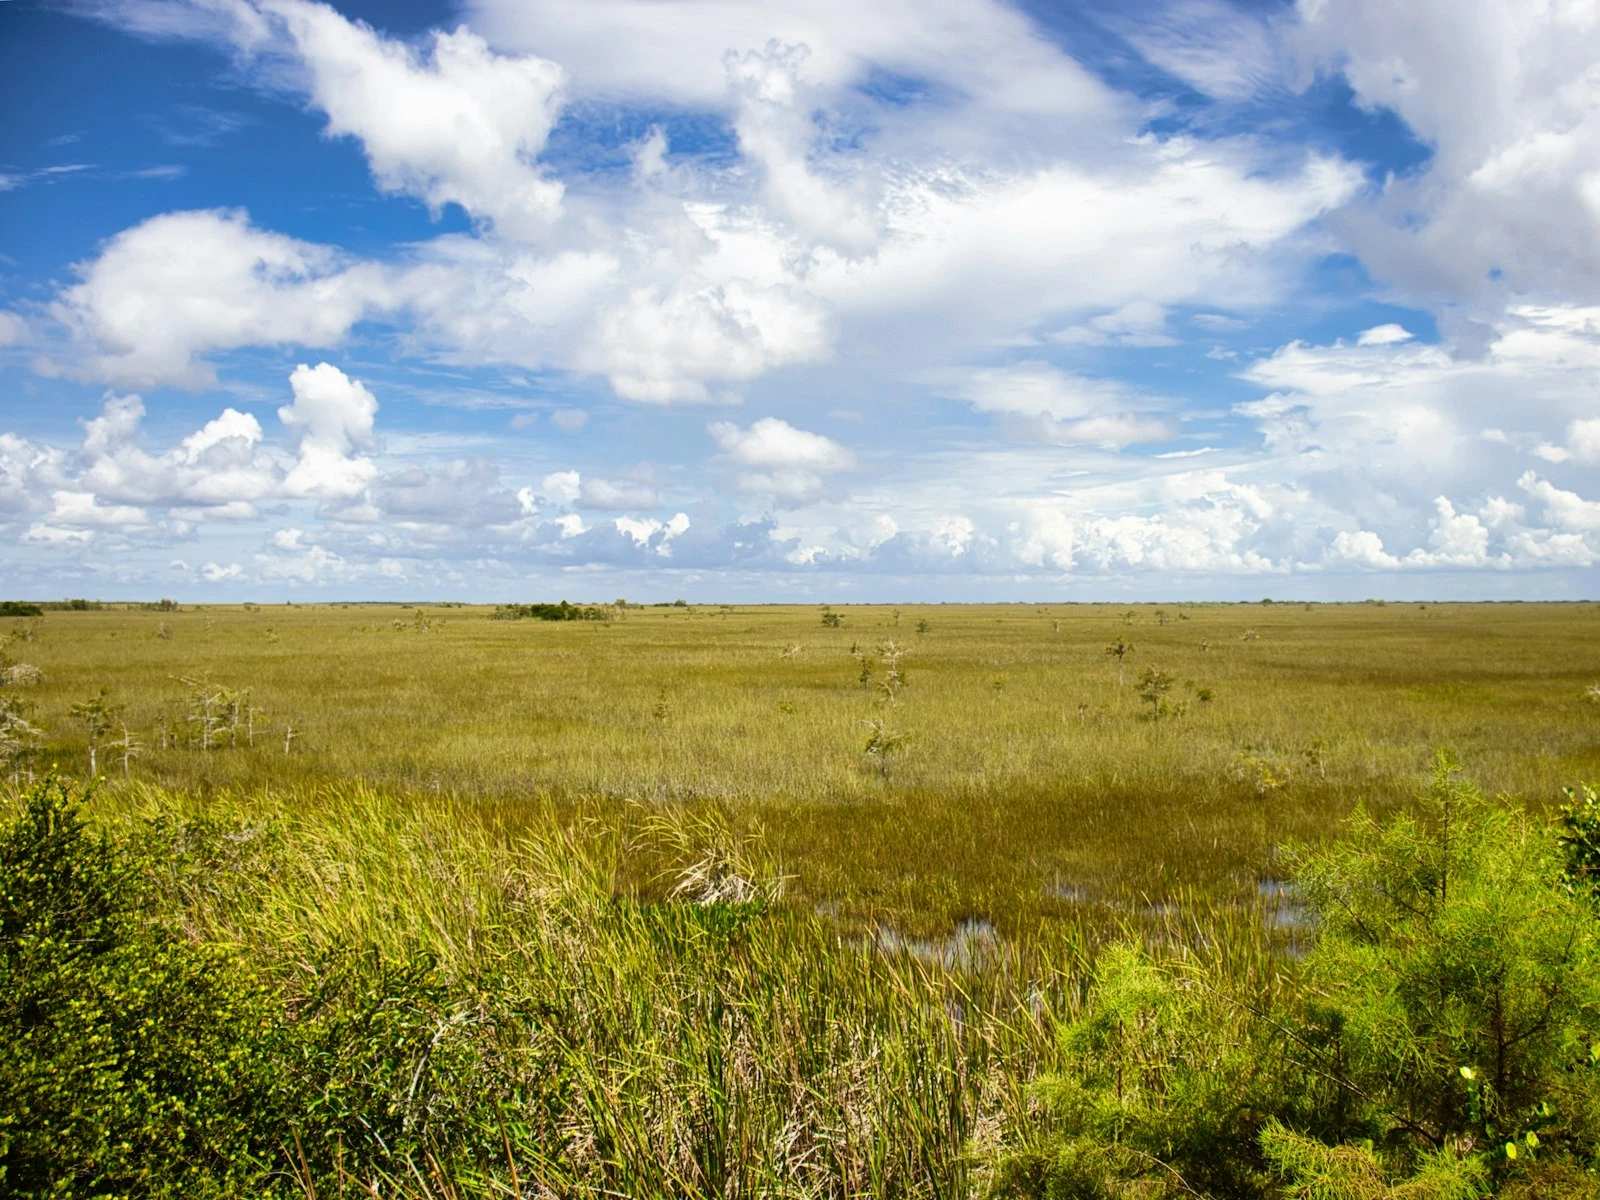
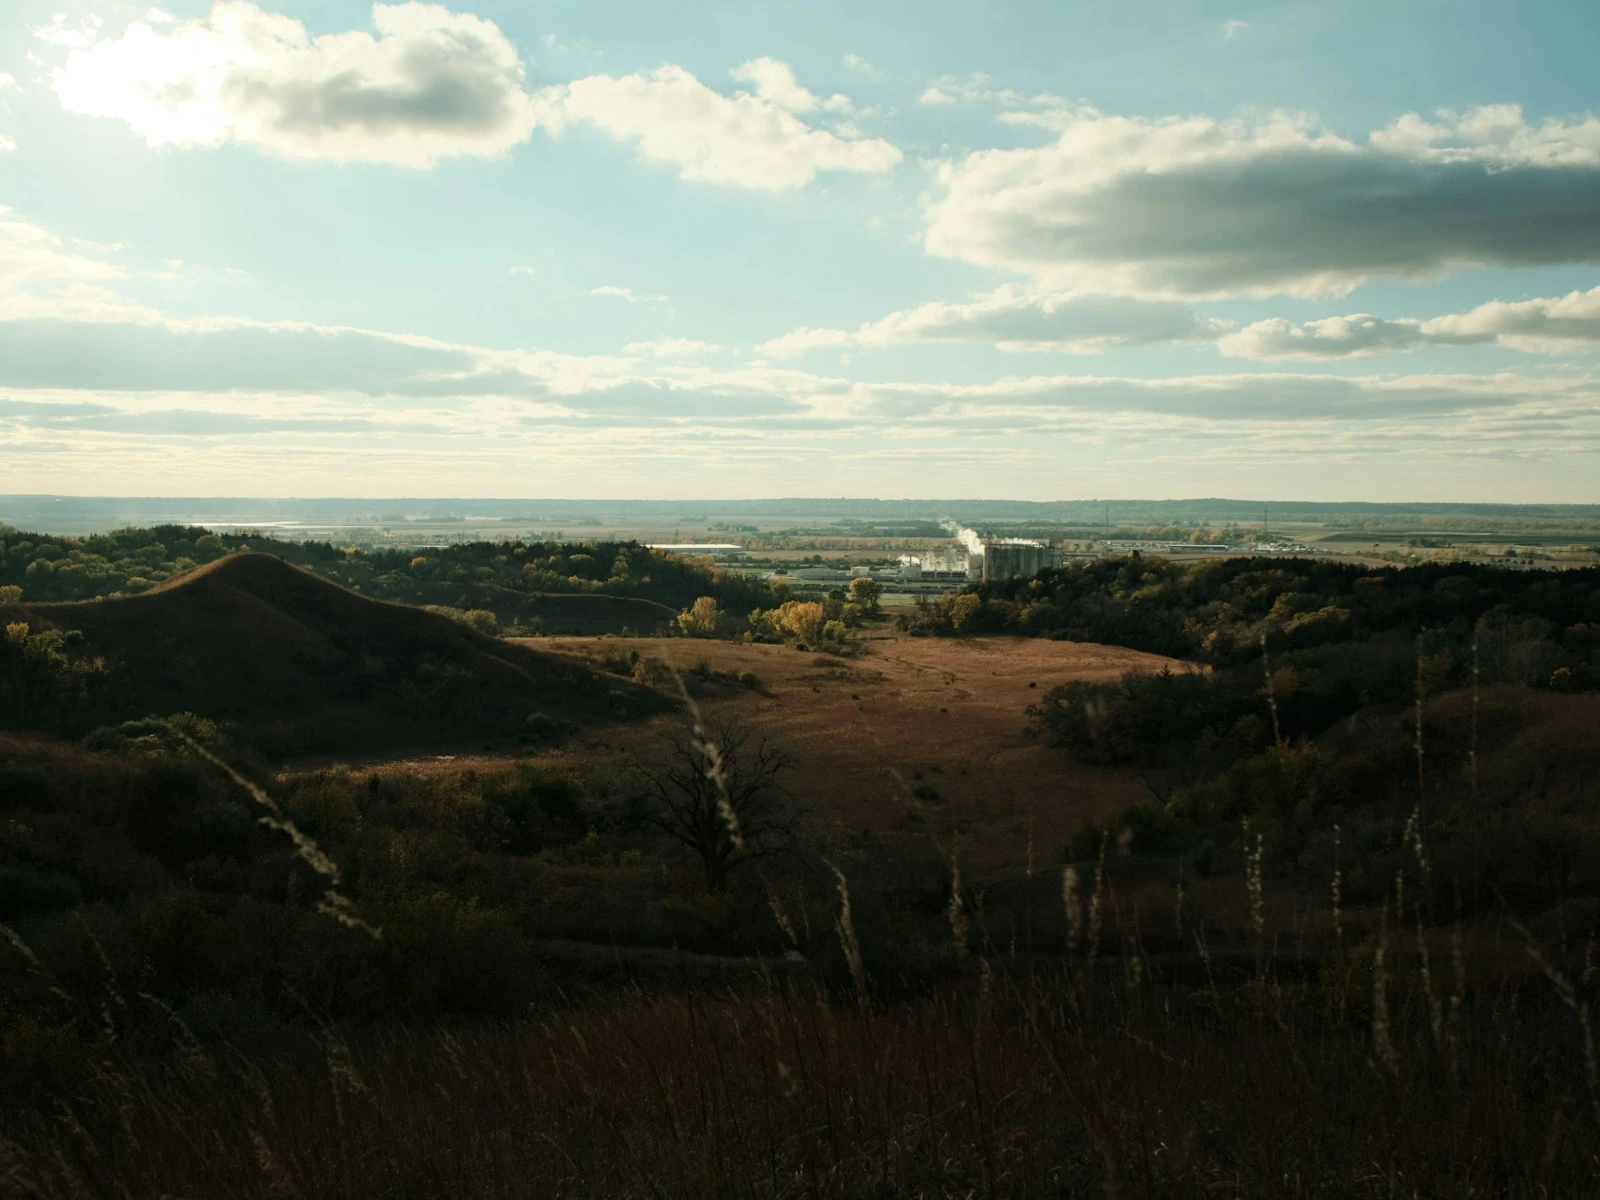
Reveals texture and dimension. Low-angle light creates shadows that show surface detail in rocks, bark, sand, and grass, adding texture that flat midday light erases.
Warms the scene. The golden color temperature creates emotional warmth. Images feel inviting, nostalgic, and pleasant. This warmth flatters nearly every subject.
Manages dynamic range. Soft, warm light reduces the contrast between shadows and highlights. Your camera can capture a broader range of tones without clipping.
Creates long shadows. Shadows become compositional elements, adding graphic interest and leading lines.
Backlighting opportunities. With the sun low, backlighting subjects becomes practical, creating rim lighting, silhouettes, and glowing edges.
Golden Hour Challenges
Brief window. Depending on your location and season, golden hour may last only 20-30 minutes before light transitions to blue hour or harsh daylight.
Rapidly changing conditions. The light transforms minute by minute. A composition that works early in golden hour may lose its impact as conditions change.
Requires early rising or staying late. Golden hour at sunrise means being on location before dawn. Golden hour at sunset means potentially returning home in the dark.
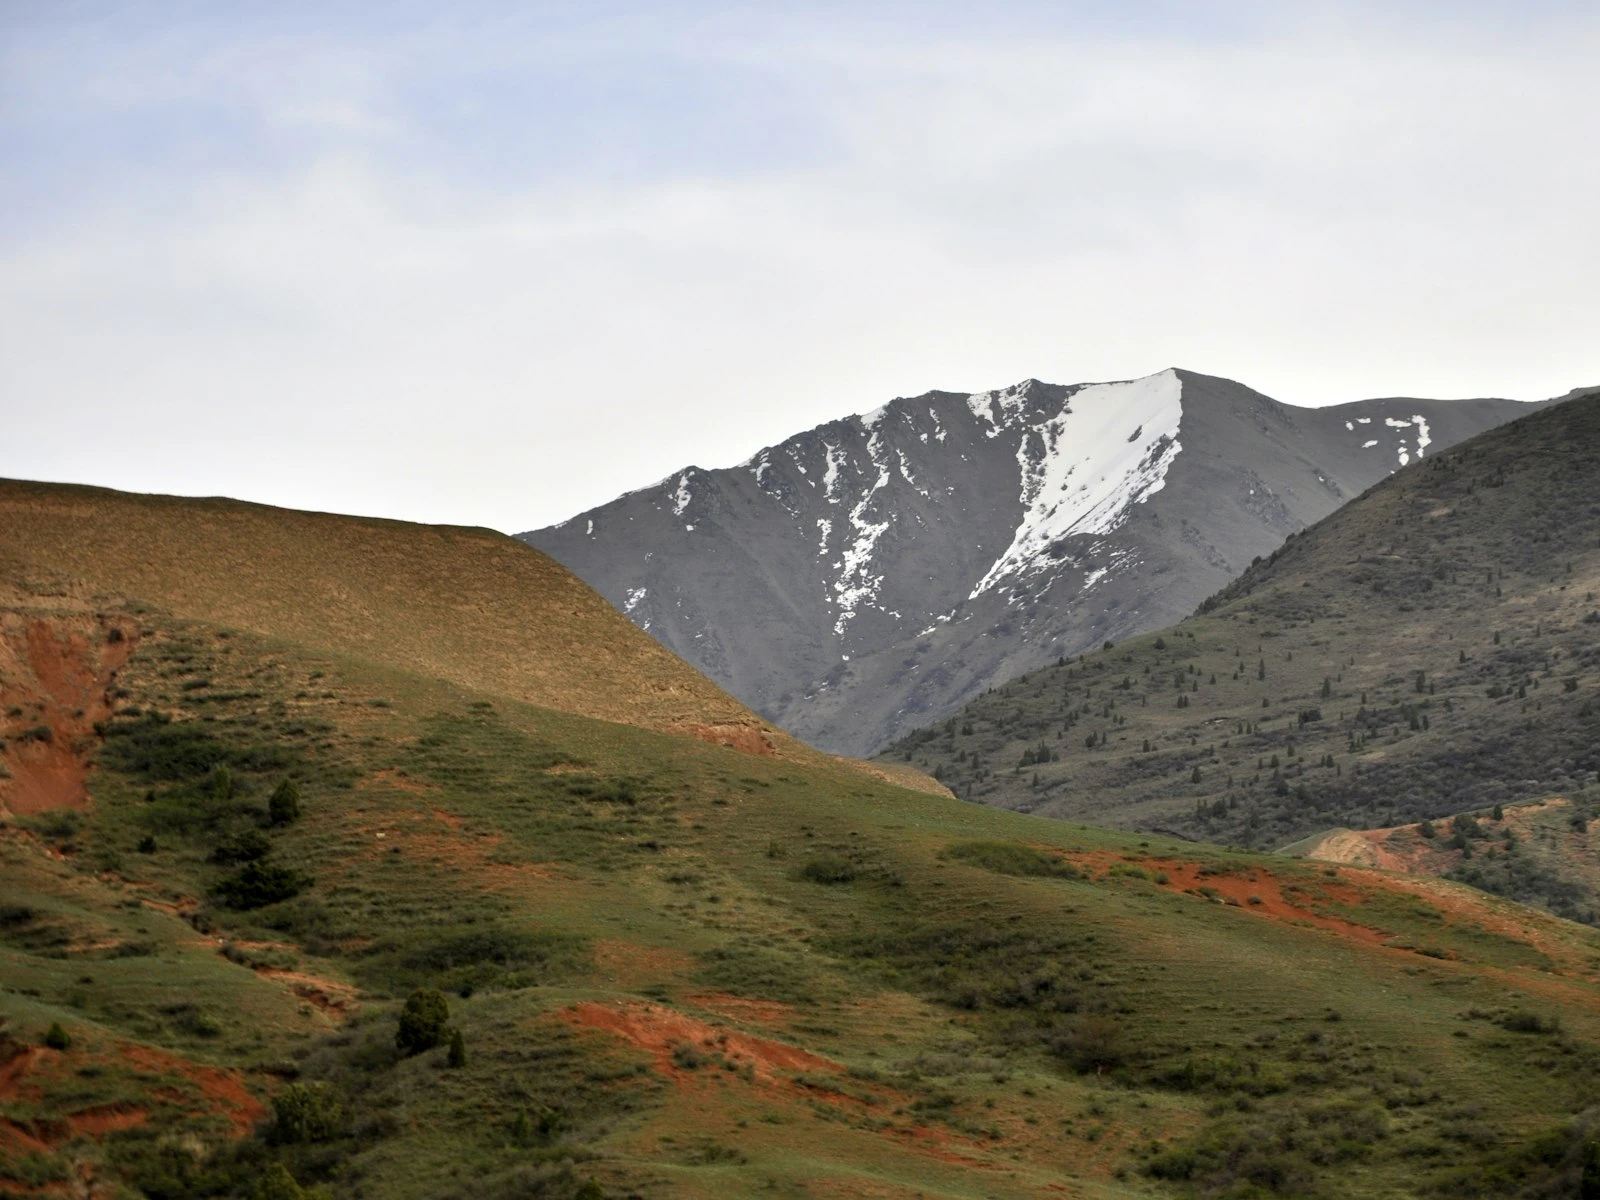
Best Subjects for Golden Hour
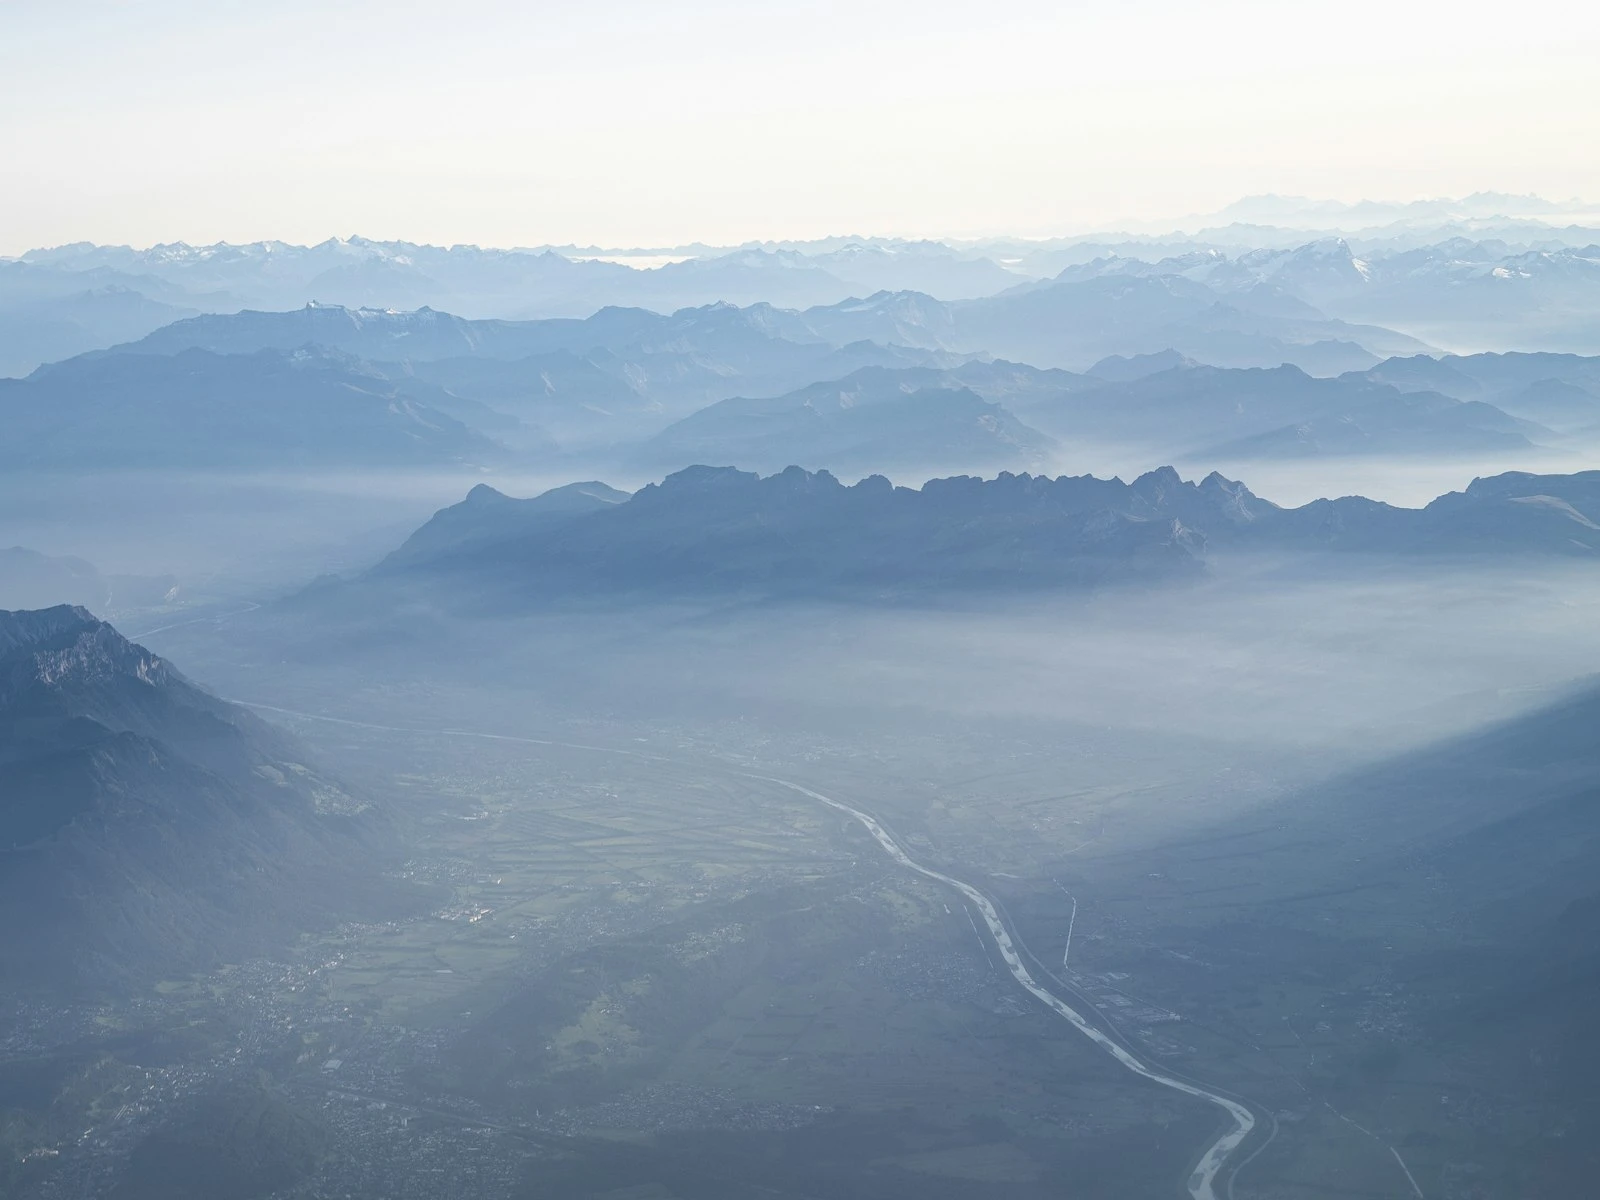
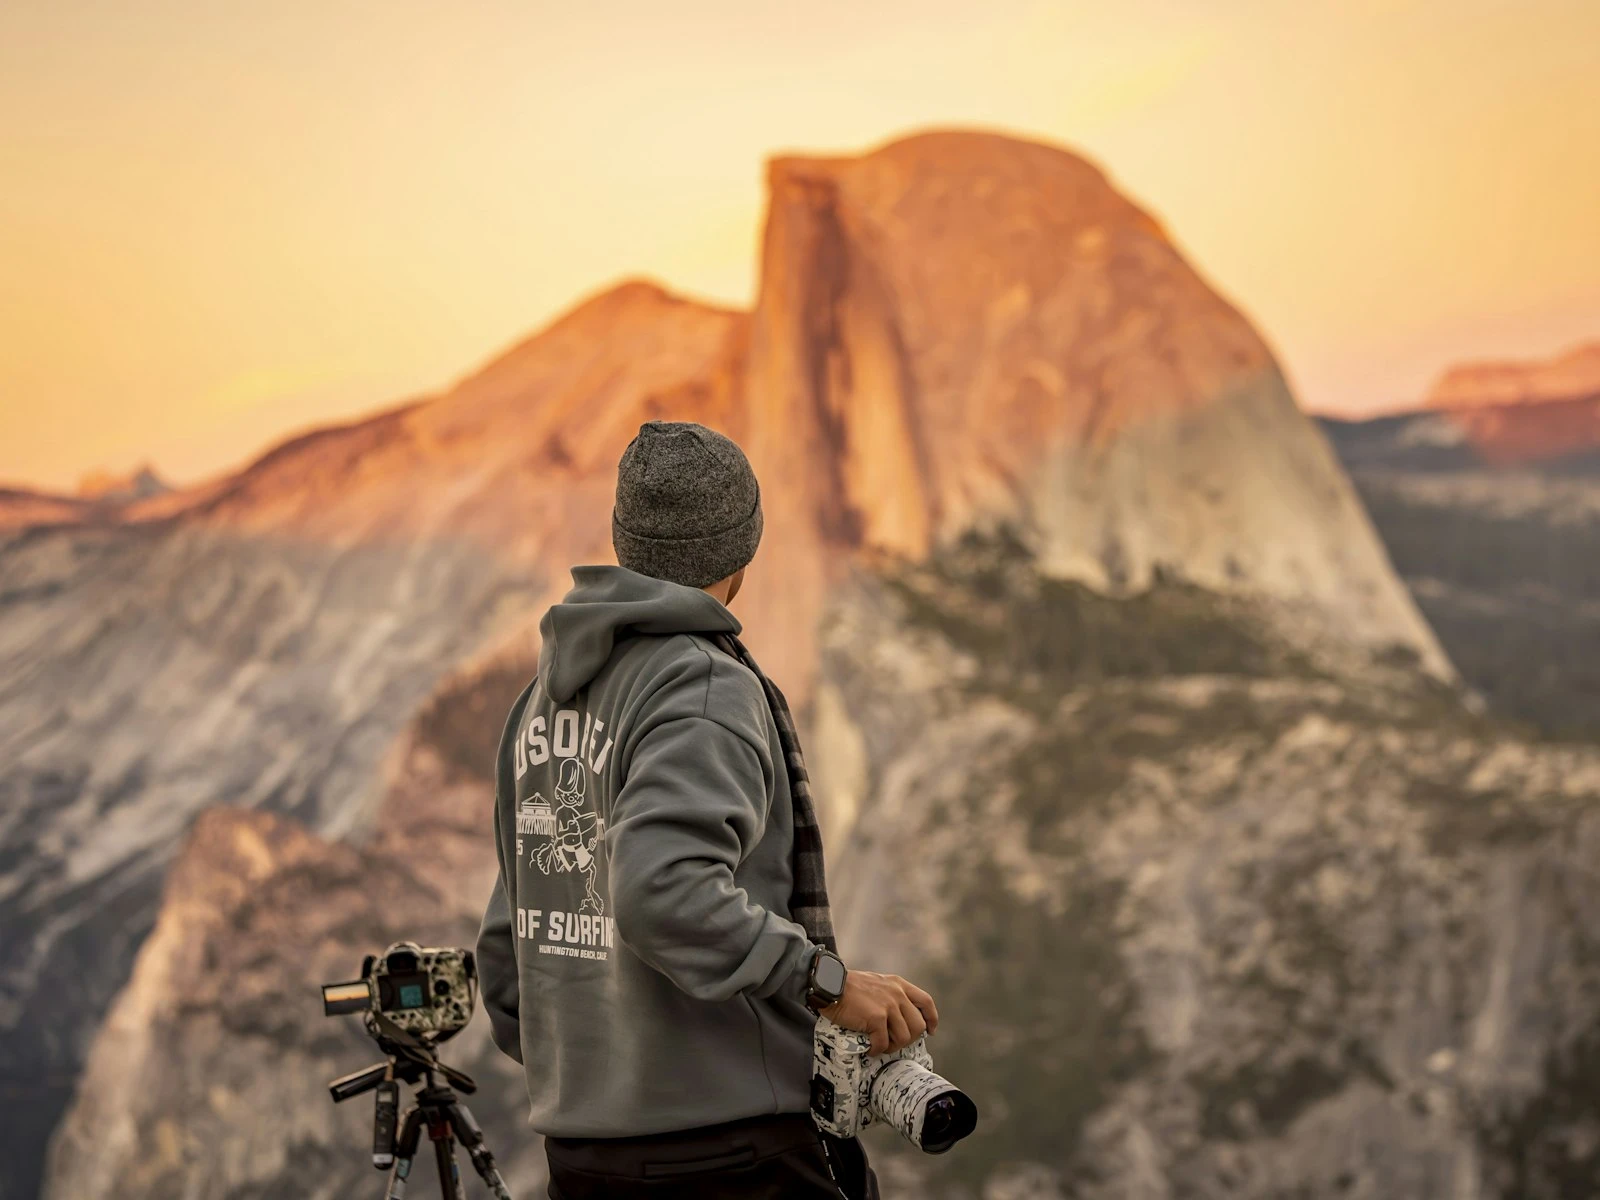
- Mountain landscapes where warm light illuminates peaks
- Coastal scenes with warm light on rocks and sand
- Rolling hills where shadows reveal terrain
- Any scene with interesting texture (bark, stone, grasses)
- Silhouettes and backlit subjects
- Scenes where you want warmth and invitation
Technical Considerations
White balance: Auto white balance may neutralize the warmth you want to preserve. Use Daylight or Cloudy presets to maintain golden tones, or shoot RAW and adjust later.
Exposure: Light levels change quickly, so recheck exposure frequently and watch highlights, because bright sky portions can clip easily.
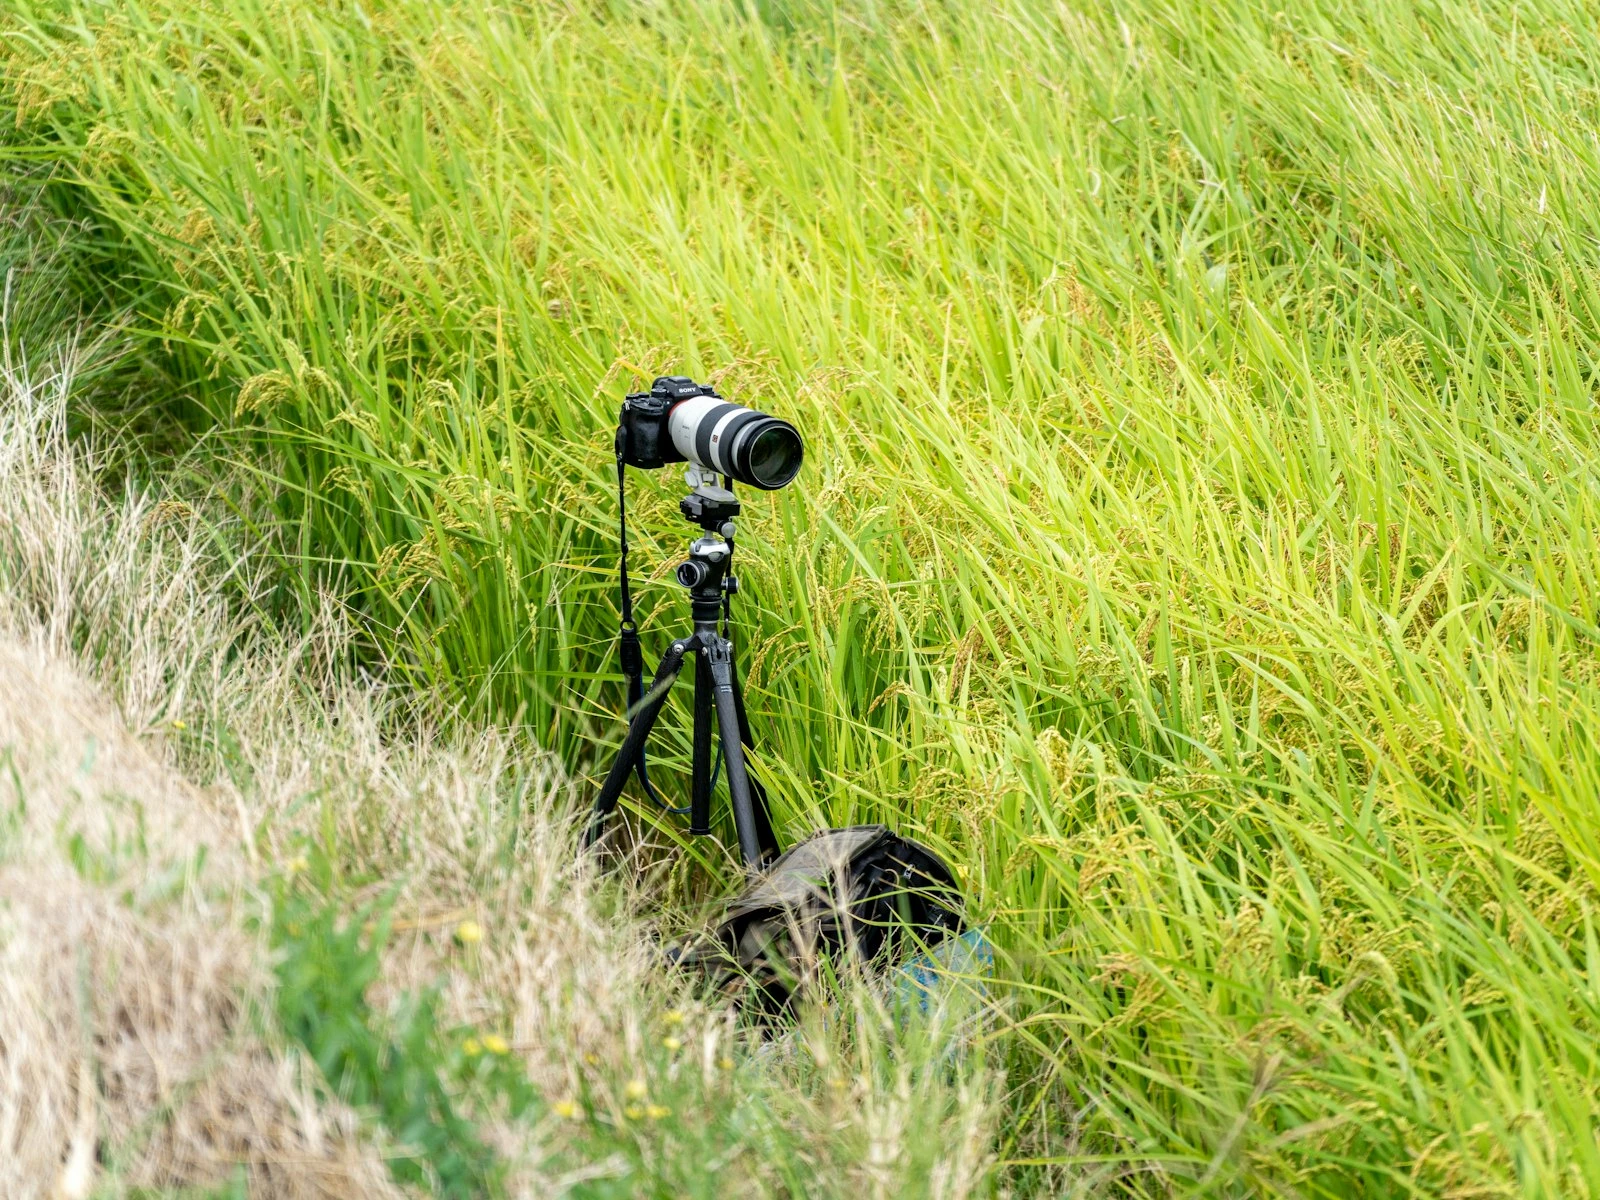
Tripod need: Varies. Early golden hour often has enough light for handheld shooting. Late golden hour (near sunset) may require tripod support.
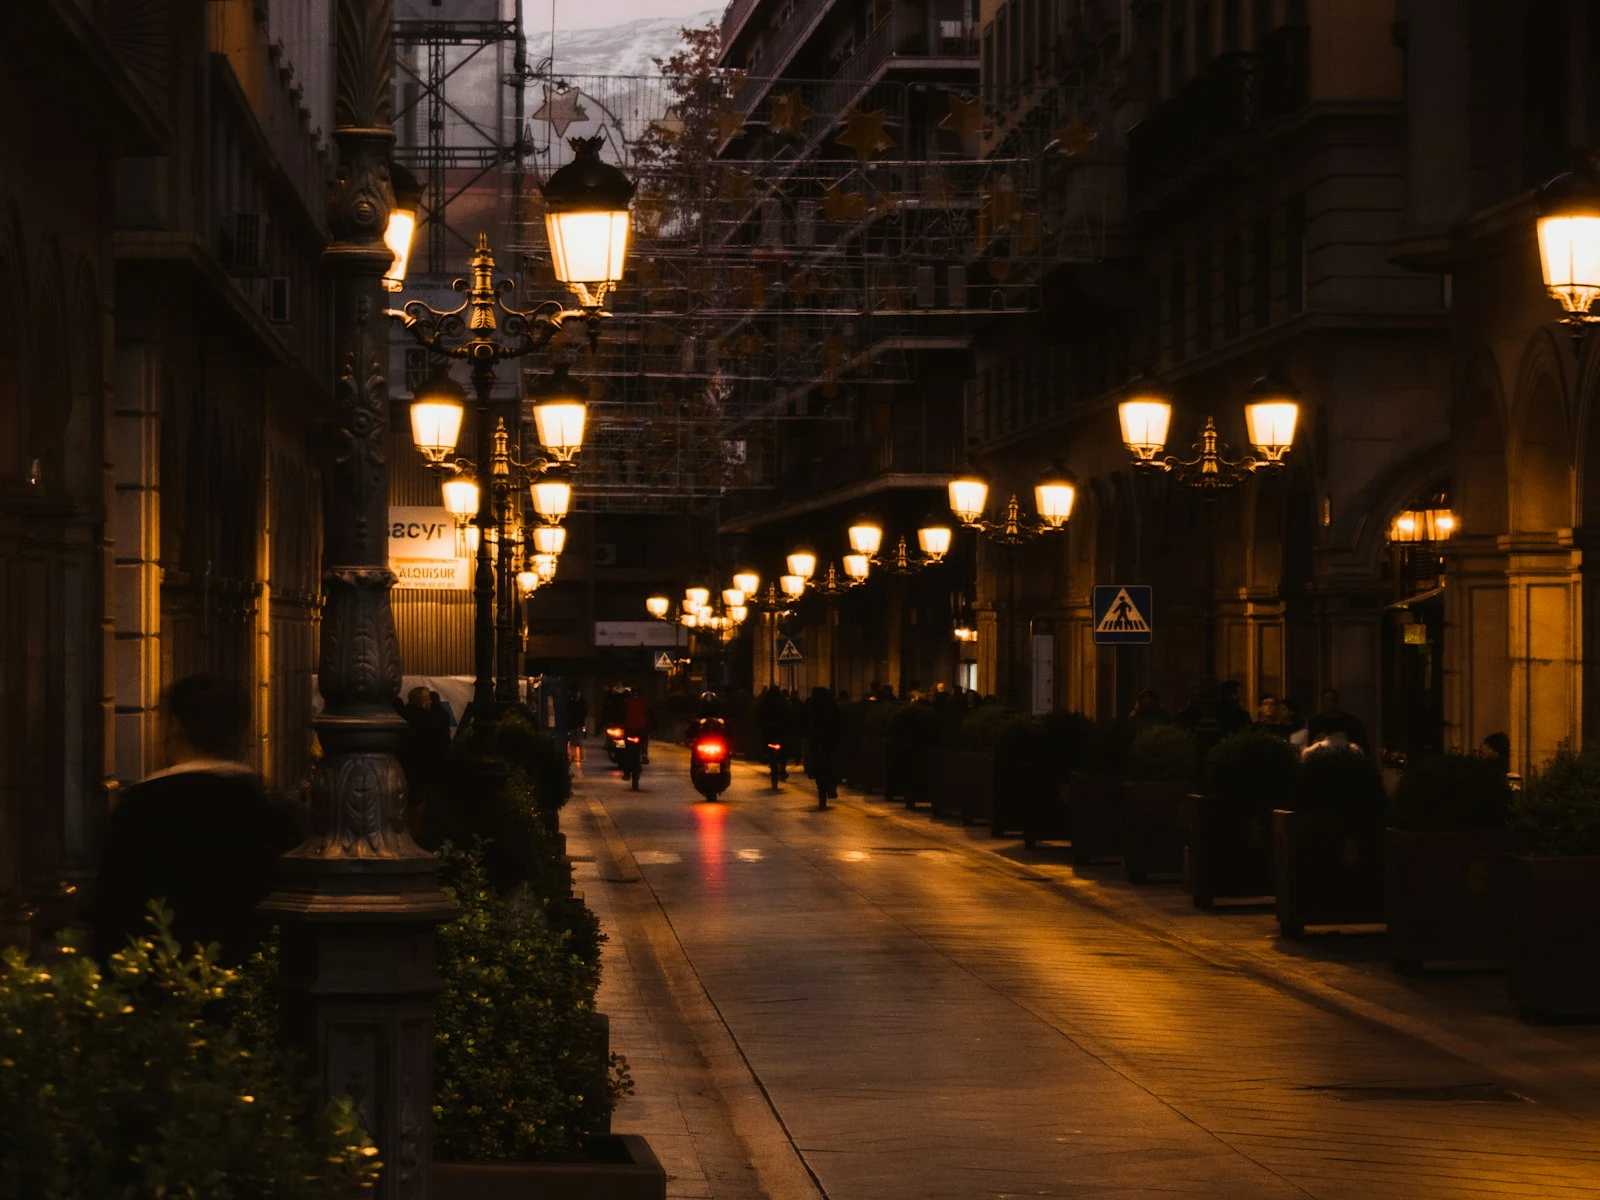
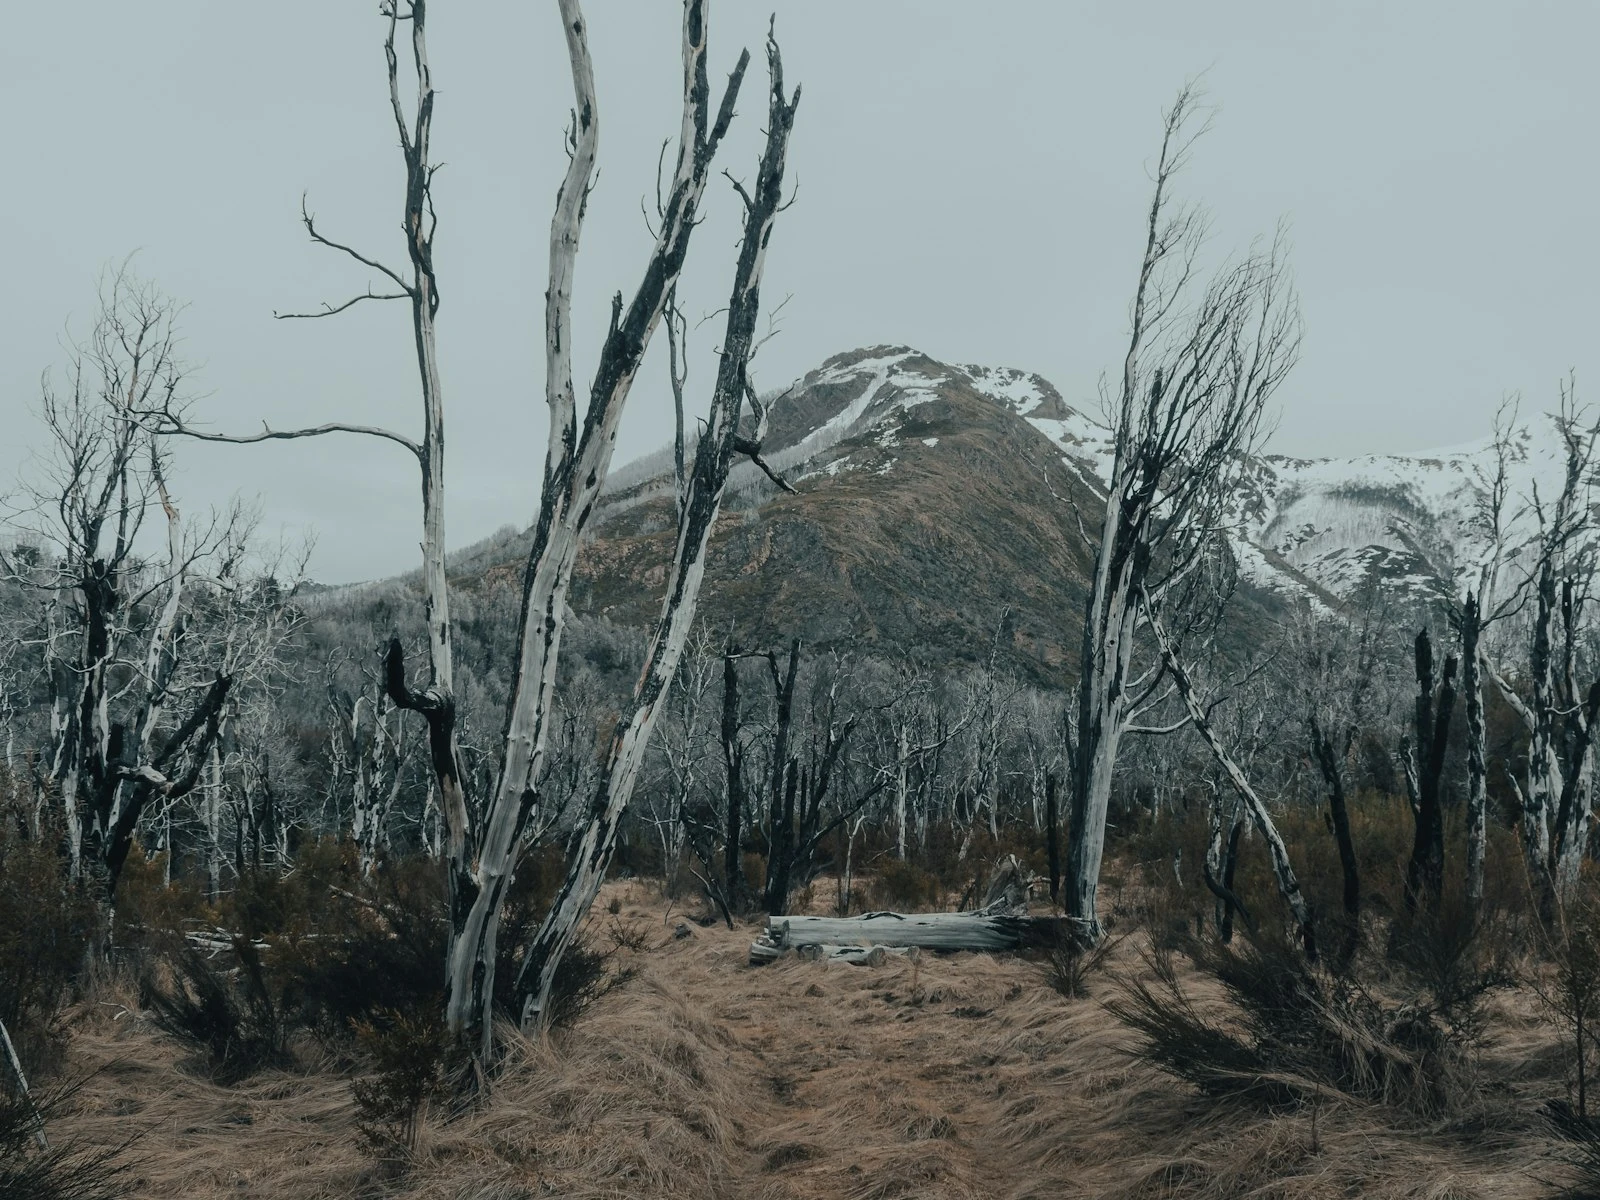
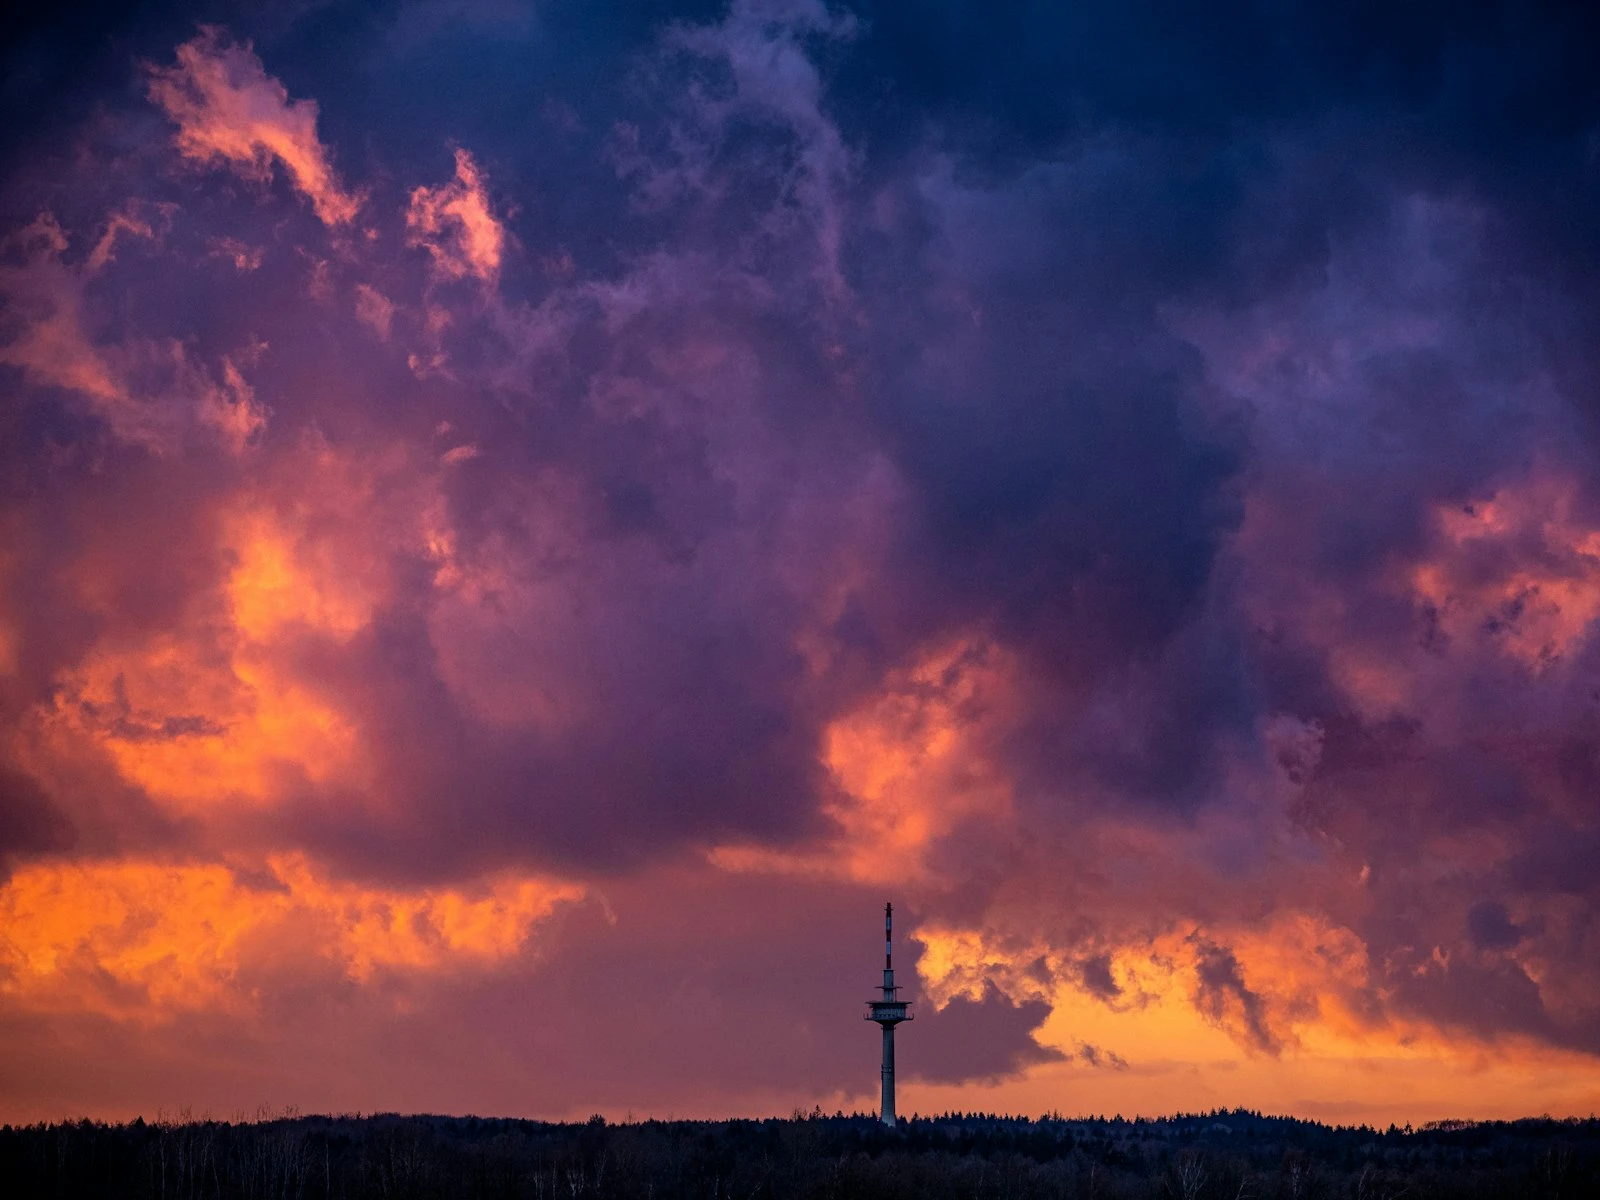
Blue Hour: Cool, Calm, Ethereal
Blue hour offers something entirely different: a quieter, more contemplative mood that many photographers underutilize.
What Blue Hour Does Well
Creates atmosphere and mood. The cool tones evoke calmness, mystery, and sometimes melancholy. Blue hour images feel different emotionally than golden hour shots.
Balances artificial light. City lights, car headlights, windows, and other artificial sources balance beautifully with the ambient blue sky. This is prime time for cityscapes and architecture.
Eliminates harsh shadows. With no direct sun, shadows become extremely soft. Subjects are lit by the whole sky, creating even illumination without contrast challenges.
Extends your shooting window. Many photographers pack up at sunset and miss the beautiful light that follows.
Offers unique colors. The gradients from warm horizon tones through purple and blue to deep twilight create colors unavailable at any other time.
Blue Hour Challenges
Low light levels. Blue hour is significantly dimmer than golden hour, so tripods become essential and ISO may need to rise.
Brief window. Blue hour is even shorter than golden hour, often only 20-30 minutes before full darkness or full daylight.
Cold tones don't suit all subjects. The cool palette can feel stark or cold for some scenes. Not every subject benefits from blue hour treatment.
Foreground may fall dark. Without direct illumination, foreground elements can become overly dark while sky remains bright.
Best Subjects for Blue Hour
- Cityscapes and urban scenes with artificial lights
- Architecture, especially illuminated buildings
- Water scenes where smooth reflections show sky gradients
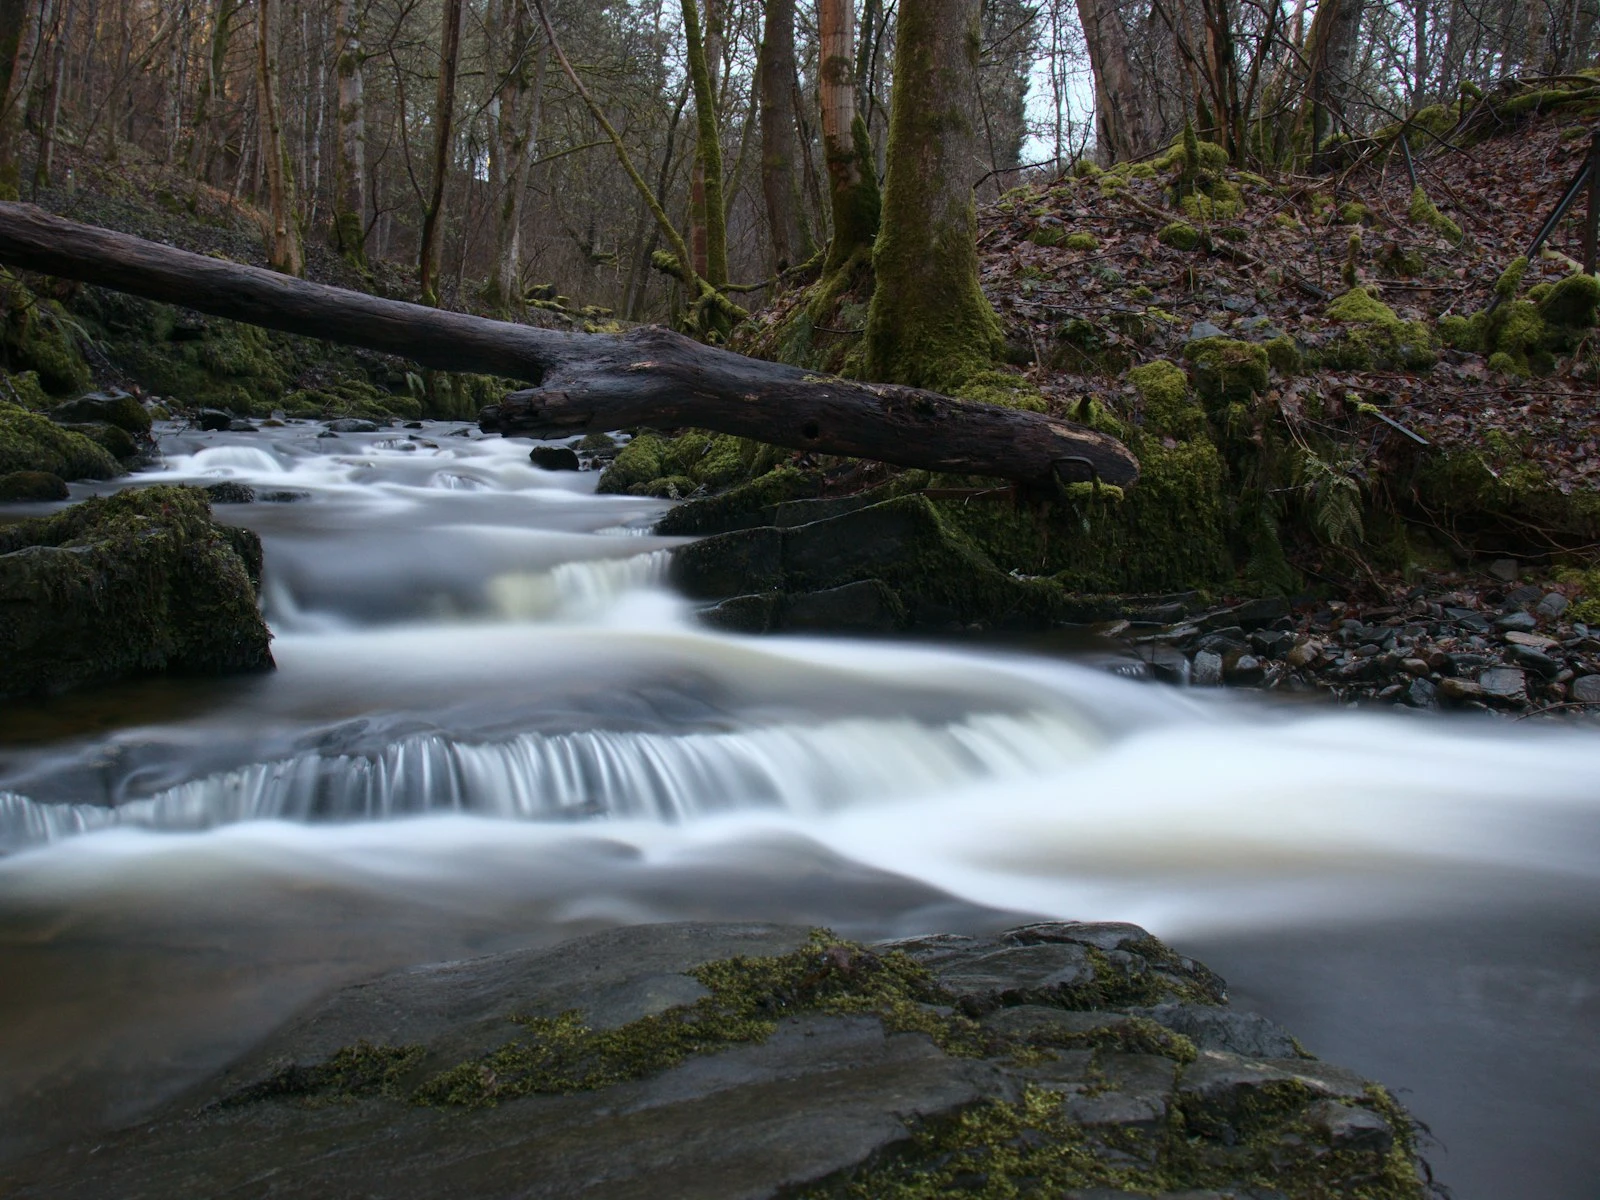
- Seascapes with long exposures
- Any scene where mood matters more than warmth
- Compositions where foreground illumination comes from artificial sources
Technical Considerations
Tripod essential. Blue hour exposures typically run from several seconds to 30+ seconds, making handheld shooting impossible.
White balance: Auto white balance may add warmth to neutralize the blue. If you want the cool tones, use Daylight or Tungsten presets, or shoot RAW.
Exposure bracketing: The extreme dynamic range between bright sky and dark ground often requires bracketing for later blending.
ISO management: Keep ISO as low as practical, but don't be afraid to raise it slightly if needed. A slightly noisy sharp image is better than a blurred one.
Choosing Between Them
The choice between golden hour and blue hour depends on your creative vision and subject matter.
Choose Golden Hour When:
- You want warmth and invitation in your image
- Texture and dimension are important
- Your subject benefits from direct illumination
- You're photographing natural landscapes without artificial elements
- You want that classic "beautiful sunset" look
- Conditions favor handheld shooting
Choose Blue Hour When:
- You want cool, contemplative mood
- Your scene includes artificial lights that should balance with sky
- You're shooting cityscapes or architecture
- Ethereal, long-exposure effects (smooth water, streaking clouds) are your goal
- You prefer even, shadowless illumination
- The transitions and gradients of twilight suit your vision
Shoot Both
The best approach, when possible, is to photograph through both windows. Arrive before golden hour begins and stay until blue hour ends. The same location photographed at different points through this progression yields dramatically different images.
This comprehensive approach requires time, potentially two hours or more, but provides maximum opportunity.
Maximizing Each Window
Before Golden Hour (or After Blue Hour)
Scout your location, check compositions, set up your tripod, and test exposures so that when golden light arrives, you'll be ready to capture it rather than still figuring out logistics. The Sun Position Planner can tell you exactly where the sun will be relative to your location.
During Golden Hour
Work quickly. The light changes constantly, and what looks perfect now will transform in five minutes. Take shots, then take them again as light evolves. Move through your compositions efficiently.
Watch the light on your subject. As the sun drops, illumination moves and changes. Rocks that were front-lit become side-lit, then backlit. Different moments favor different compositions.
At Sunset/Sunrise
The transition moments, like the sun touching the horizon and first or last direct light, are often the most dramatic, so don't pack up or pause and keep shooting through the transition.
During Blue Hour
Take your time, because the light changes more gradually than during golden hour, and exposures are longer anyway, making this a contemplative shooting period.
Look for artificial lights appearing. City lights switching on, cars with headlights, lit windows. These elements define blue hour opportunities.
Watch the sky gradient. The richest colors often appear in the middle of blue hour, with warm horizon tones contrasting against deep blue above.
After Blue Hour
Keep shooting until light truly fails. Some of the richest blue hour colors appear at the edges, just before full dark or just before the sun appears.
Planning for Success
Check Timing
Apps and websites provide exact golden hour and blue hour times for your location and date. PhotoPills, The Photographer's Ephemeris, and similar tools are invaluable. The golden hour timing gives you precise golden hour and blue hour windows for any date and location.
Don't rely on sunrise/sunset times alone. Arrive earlier and stay later than those times suggest.
Monitor Weather
Clouds dramatically affect both windows:
- Light clouds during golden hour catch warm light and create drama
- Heavy overcast can eliminate golden tones entirely
- Clear skies during blue hour show smooth gradients
- Clouds during blue hour can glow with reflected color
Check forecasts and be flexible. Sometimes the best light emerges unexpectedly when weather changes.
Account for Travel
If reaching your location requires a hike or drive, factor that time into your schedule. Being stuck in transit during golden hour is frustrating.
Better to arrive too early and wait than to arrive as the light fades.
Prepare for Conditions
Golden hour at sunrise means working in potentially cold conditions before the day warms. Blue hour after sunset means working in fading light, possibly in cold, and returning home in darkness.
Dress appropriately, bring a headlamp, and know your route back.
A Sample Session
Here's how a comprehensive golden hour/blue hour session might unfold for sunset:
60 minutes before sunset: Arrive and scout. Walk the location, identify compositions, note foreground elements, set up tripod.
30 minutes before sunset: Begin shooting. Golden light is developing. Work through planned compositions, but remain responsive to unexpected opportunities.
At sunset: Shoot intensively through the transition as the light changes rapidly, trying multiple compositions in both horizontal and vertical orientations.
10-20 minutes after sunset: Blue hour begins. Shift to longer exposures. Look for artificial lights. Switch to compositions that suit cool tones.
30-40 minutes after sunset: Peak blue hour. Richest colors, balanced artificial/natural light. Continue shooting until light fails.
After darkness: Review images, pack up, enjoy the satisfaction of maximizing the light.
Key Takeaways
- Golden hour provides warm, directional light with long shadows that reveal texture, while blue hour provides cool, even light with a calm, serene mood.
- Arrive early and stay late to capture both windows, since the best light often comes during the brief transition between golden and blue hour.
- Blue hour requires a tripod due to very low light levels, while golden hour is often bright enough for handheld shooting.
- Choose golden hour for landscapes where texture, warmth, and drama matter, and blue hour for scenes where calm, cool tones, and city lights add interest.
More in This Guide
Continue exploring landscape photography.