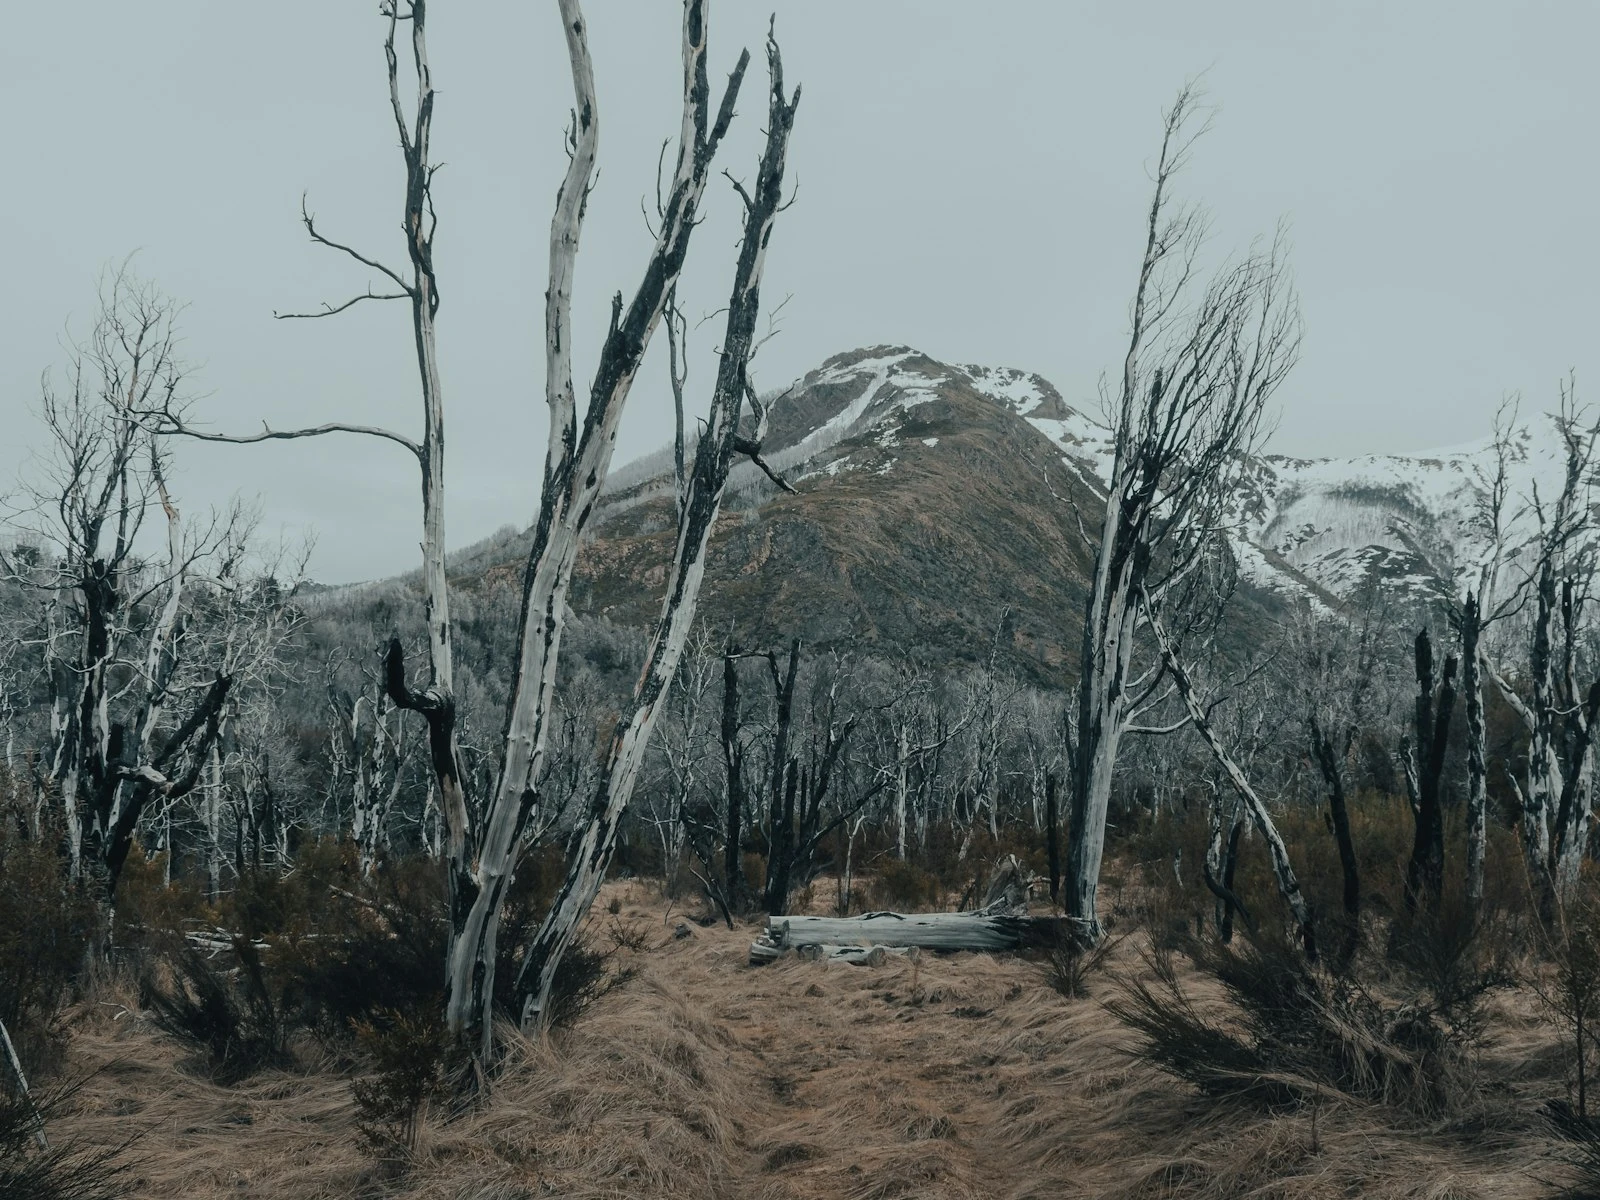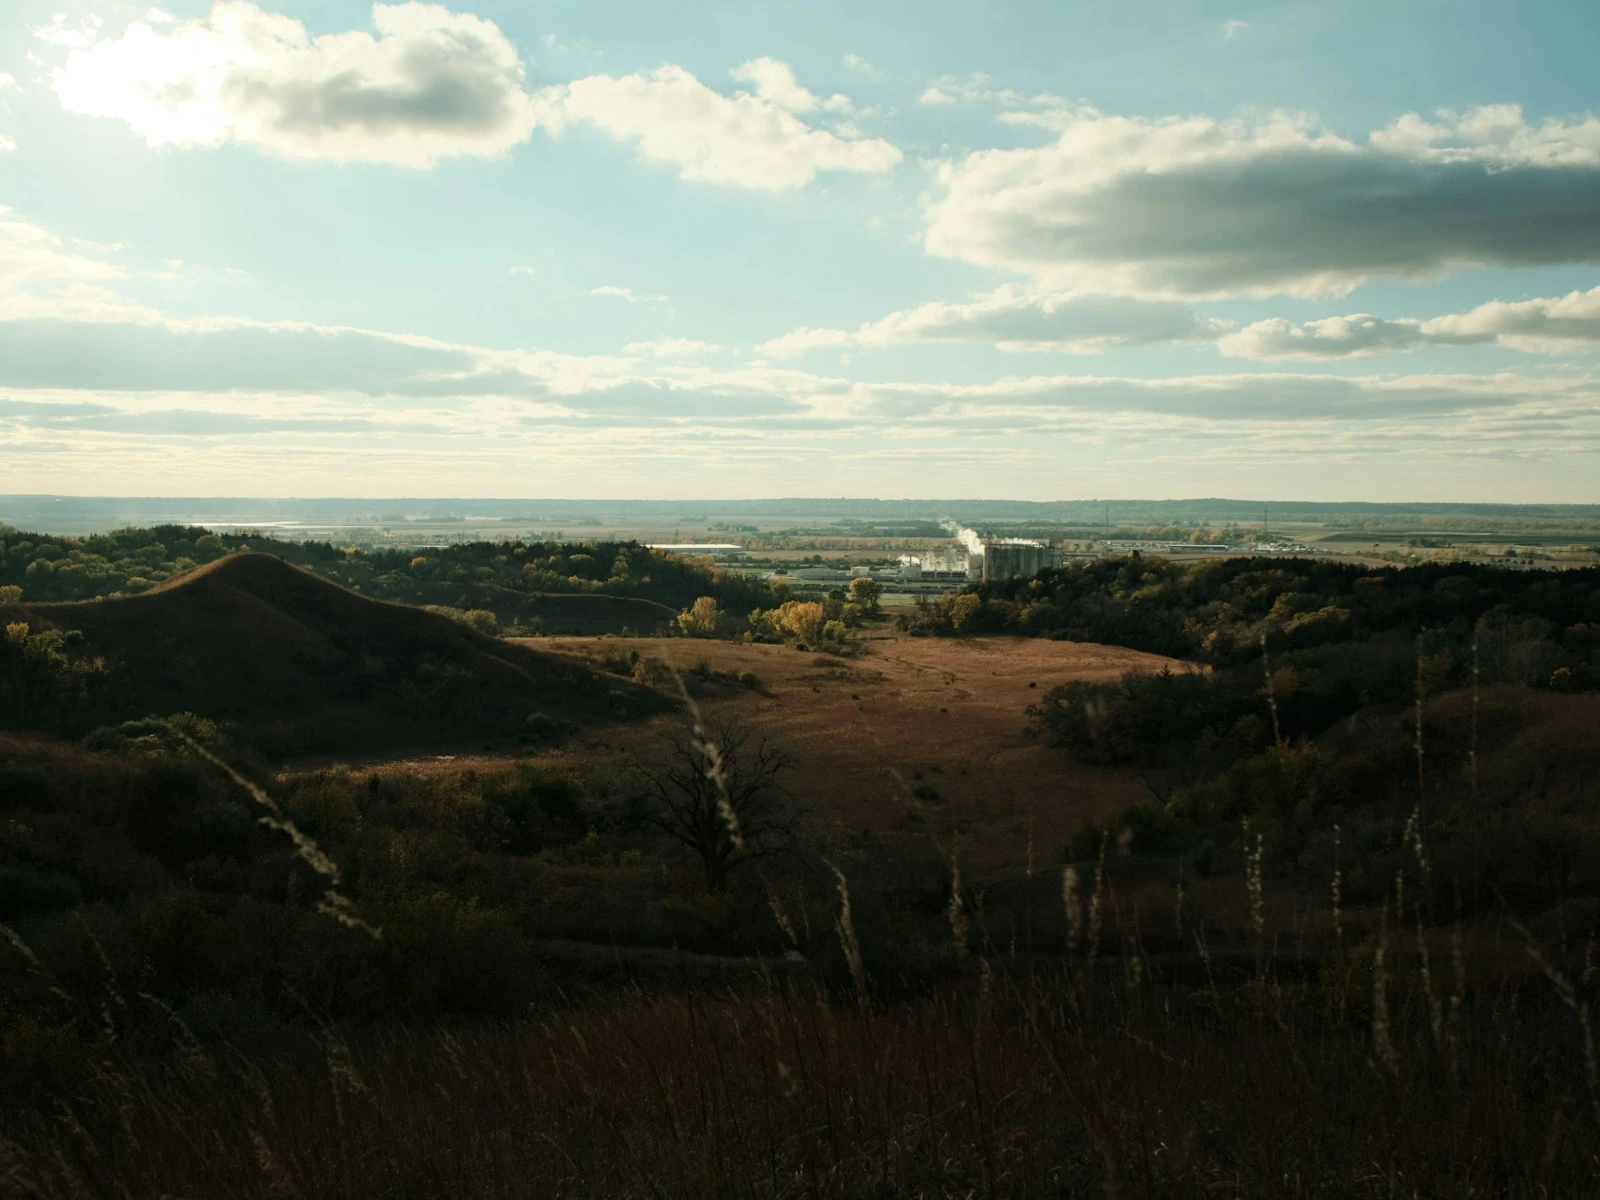
You've composed the perfect landscape: interesting foreground, compelling middle ground, dramatic background. You press the shutter. Back at your computer, you discover that the foreground is sharp but the mountains are soft, or the mountains are sharp but your foreground rock is blurry.
Getting everything in focus from front to back is one of landscape photography's core challenges, but it's completely solvable once you understand how focus and depth of field actually work.
This guide explains the principles in practical, non-mathematical terms and gives you techniques you can apply immediately. It's one of the most technical topics in our landscape guide, but the approach here keeps it simple.
Why "Everything Sharp" Is Hard
To solve the problem, you need to understand why it exists.
The Focus Plane
When you focus your lens, you're selecting a specific distance where subjects appear maximally sharp. Subjects at that exact distance are in perfect focus. Subjects closer or farther appear progressively less sharp.
This creates a "zone of sharpness," a range of distances that appear acceptably focused, with blur increasing as you move away from the focus plane in either direction.
Depth of Field
Depth of field is the depth of that zone of sharpness. A shallow depth of field means only a thin slice appears sharp. A deep depth of field means a large range appears sharp.
Three factors control depth of field:
Aperture. Smaller apertures (higher f-numbers like f/11, f/16) create deeper depth of field. Wider apertures (lower f-numbers like f/2.8, f/4) create shallower depth of field.
Focal length. Shorter focal lengths (wide angles) produce deeper depth of field at any given aperture. Longer focal lengths (telephotos) produce shallower depth of field.
Focus distance. Focusing on distant subjects creates deeper depth of field than focusing on close subjects.
The Landscape Challenge
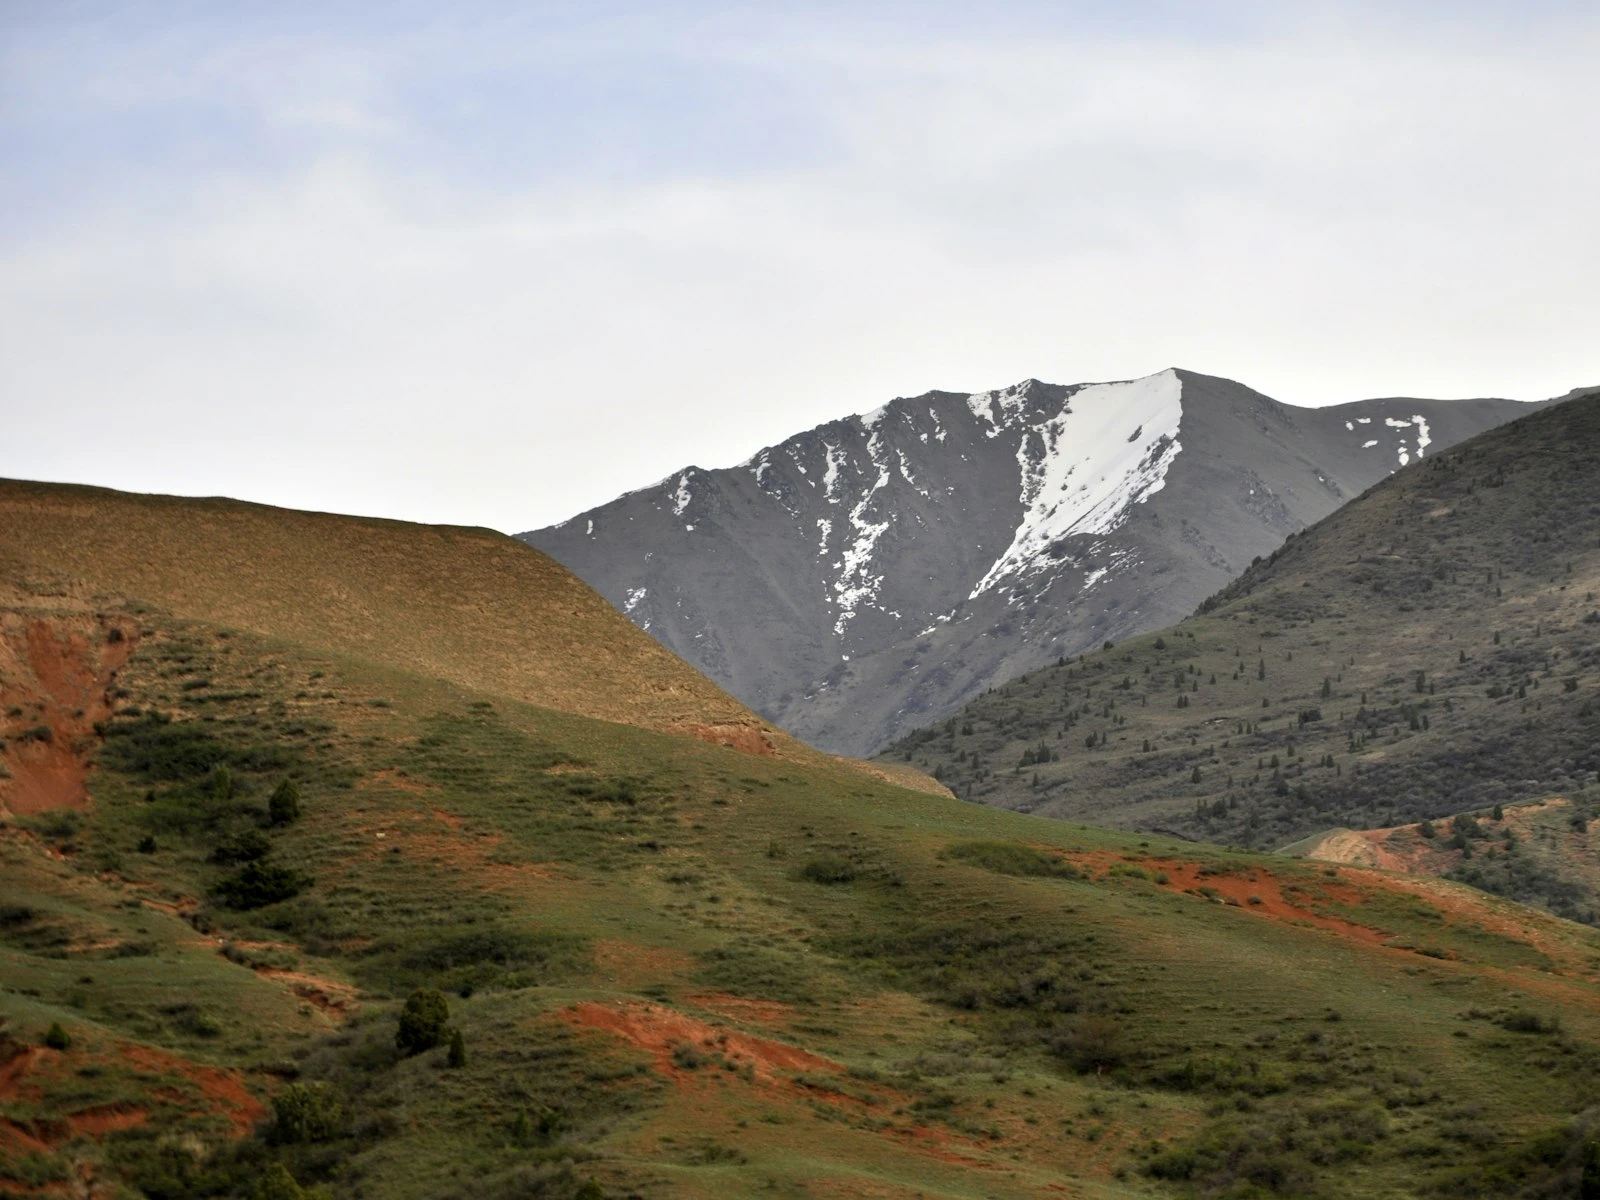
In a typical landscape, you want sharpness from perhaps 3 feet (that interesting rock in your foreground) to infinity (those distant mountains). That's an enormous range.
If you focus on the rock, the mountains go soft. If you focus on the mountains, the rock goes soft. The trick is finding the focus distance that maximizes depth of field to cover both extremes.
That optimal focus distance is called the hyperfocal distance.
Understanding Hyperfocal Distance
Hyperfocal distance is the closest focusing distance at which infinity remains acceptably sharp. When focused at hyperfocal distance, everything from half that distance to infinity appears in focus.
Example: If hyperfocal distance for your settings is 10 feet, then:
- Everything from 5 feet to infinity appears sharp
- Focus closer than 10 feet and you lose infinity
- Focus farther than 10 feet and you gain nothing (infinity was already sharp)
Hyperfocal distance changes with aperture and focal length:
- Smaller apertures = closer hyperfocal distance (more depth of field)
- Wider focal lengths = closer hyperfocal distance (more depth of field)
Why This Matters
Once you understand hyperfocal distance, you can make informed decisions:
- Is your foreground within the depth of field zone? If not, you need to focus closer or use a smaller aperture.
- Are you wasting depth of field by focusing too far? Focus at hyperfocal, not on the distant subject.
- Do you need a different aperture or focal length to achieve front-to-back sharpness?
Practical Methods for Sharp Landscapes
You don't need to memorize charts or perform calculations in the field. Here are practical approaches that work.
Method 1: The One-Third Rule
This is the simplest approach and works for most situations.
How it works: Focus approximately one-third of the way into your scene, measuring from the camera to the farthest subject.
Why it works: Depth of field extends roughly twice as far behind the focus point as in front of it. Focusing one-third in places the focus point where depth of field can reach both the foreground (one-third of the distance in front) and the background (two-thirds of the distance behind).
In practice: If your scene extends from 6 feet (foreground) to infinity, estimate the hyperfocal point at roughly twice your foreground distance, about 12 feet, and focus there.
Limitation: This is approximate. For critical work or challenging compositions (very close foregrounds), more precise methods help.
Method 2: The Double Distance Approach
A slight refinement of the one-third rule, specifically for infinity-background landscapes.
How it works: Identify your closest important foreground element. Focus at double that distance.
Example: Your foreground rock is at 4 feet. Focus at 8 feet. With appropriate aperture, you'll have sharpness from about 4 feet to infinity.
Why it works: This approximates hyperfocal behavior without needing exact calculations.
Limitation: Requires an appropriate aperture. If you're using f/4 with a telephoto lens, this method won't achieve front-to-back sharpness regardless of where you focus.
Method 3: Use a Hyperfocal Chart or App
For precise work, hyperfocal distance charts provide exact values for your specific camera, lens, and aperture.
How to use: Look up your focal length and aperture, and the chart provides the hyperfocal distance where you should focus.
Smartphone apps calculate hyperfocal distance instantly. Enter your camera sensor size, focal length, and aperture, and receive the hyperfocal distance plus the near and far limits of sharpness.
Popular apps: PhotoPills, DOF Calculator, HyperFocal Pro
The depth of field finds the hyperfocal distance for your specific camera, lens, and aperture before you head out.
Advantage: Precision when you need it.
Limitation: Requires stopping to check charts or apps, making it impractical for fast-moving situations.
Method 4: The Live View Test
Modern cameras let you verify focus before shooting.
How it works:
- Compose your shot
- Focus on your foreground element
- Switch to live view and magnify the background
- Is the background acceptably sharp? If not, focus slightly farther
- Check foreground sharpness at the new focus distance
- Iterate until both foreground and background appear sharp
Why it works: You're visually confirming depth of field rather than calculating it.
Limitation: Time-consuming. Difficult if light is fading quickly. May be hard to see fine detail on camera LCD.
Method 5: Focus Stacking (For Maximum Sharpness)
When no single focus point achieves front-to-back sharpness, focus stacking combines multiple exposures.
How it works:
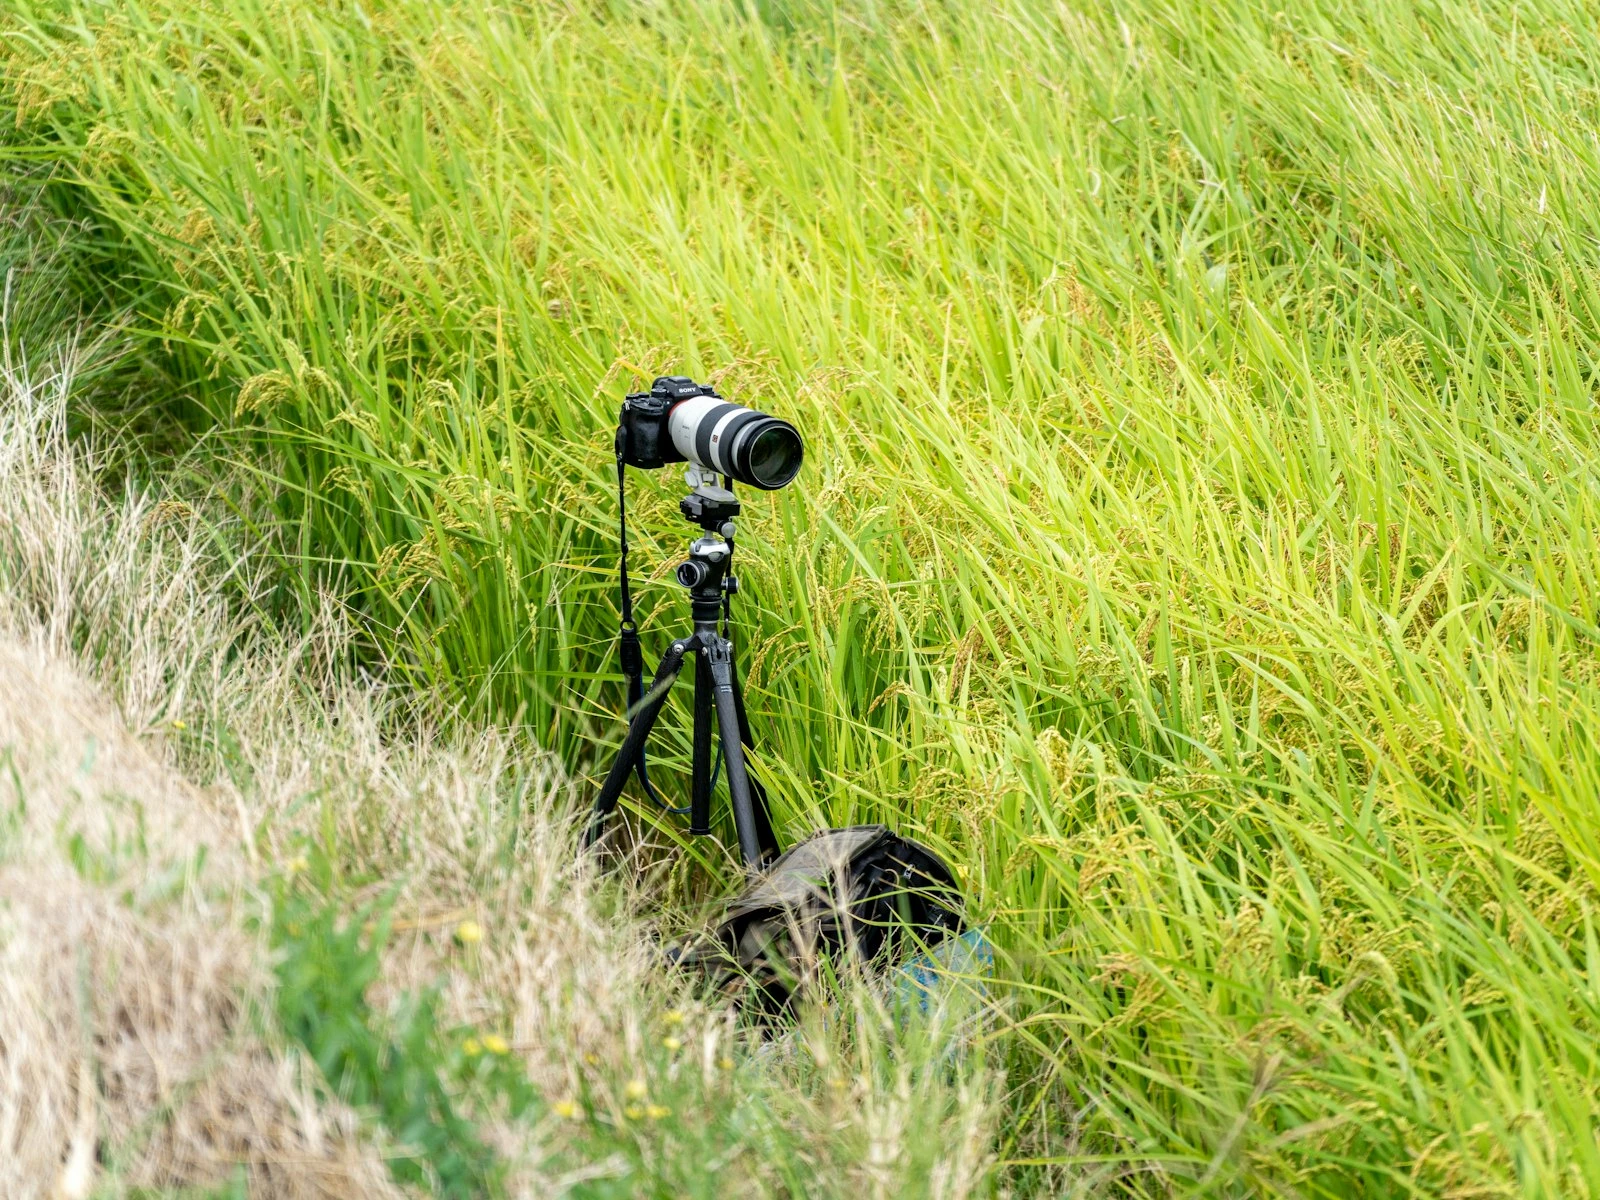
- Keep the camera perfectly still (tripod essential)
- Take one exposure focused on the foreground
- Take another focused on the middle ground
- Take another focused on the background
- Blend the sharp portions of each image in post-processing
Software options: Photoshop, Helicon Focus, Zerene Stacker
When to use:
- Very close foreground elements
- Maximum quality requirements
- Situations where depth of field is physically insufficient
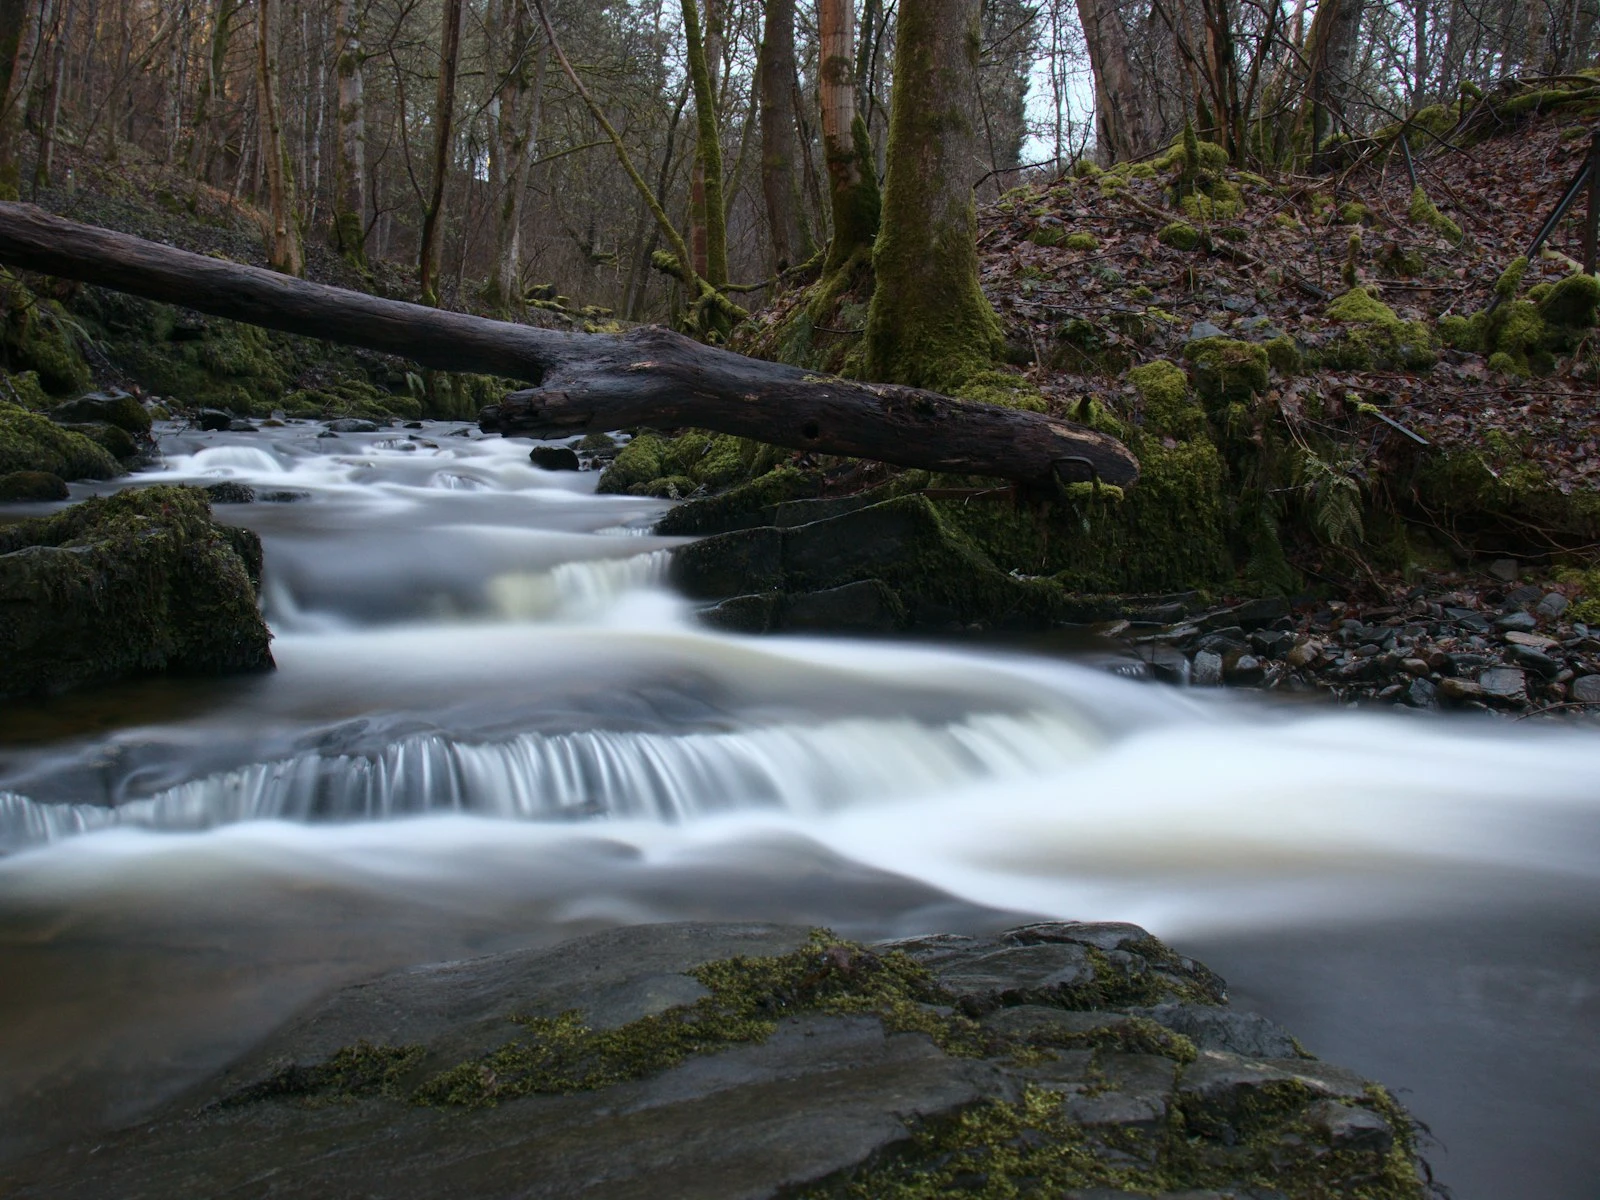
Limitation: Requires post-processing skills and stationary subjects. Any movement between frames (grass blowing, water moving) creates problems.
Setting Up for Maximum Depth of Field
Beyond focus placement, these camera settings and choices maximize your depth of field.
Aperture Selection
f/8 to f/11 is typically the sweet spot, offering excellent sharpness with significant depth of field. The landscape settings guide explains why this range works best.
f/13 to f/16 provides more depth of field but introduces slight softening from diffraction.
f/22 and smaller maximizes depth of field but diffraction noticeably softens the entire image, so use this range only when you must.
The trade-off: Smaller apertures give more depth of field but reduce overall sharpness. Find the balance point for your specific situation.
Focal Length Choice
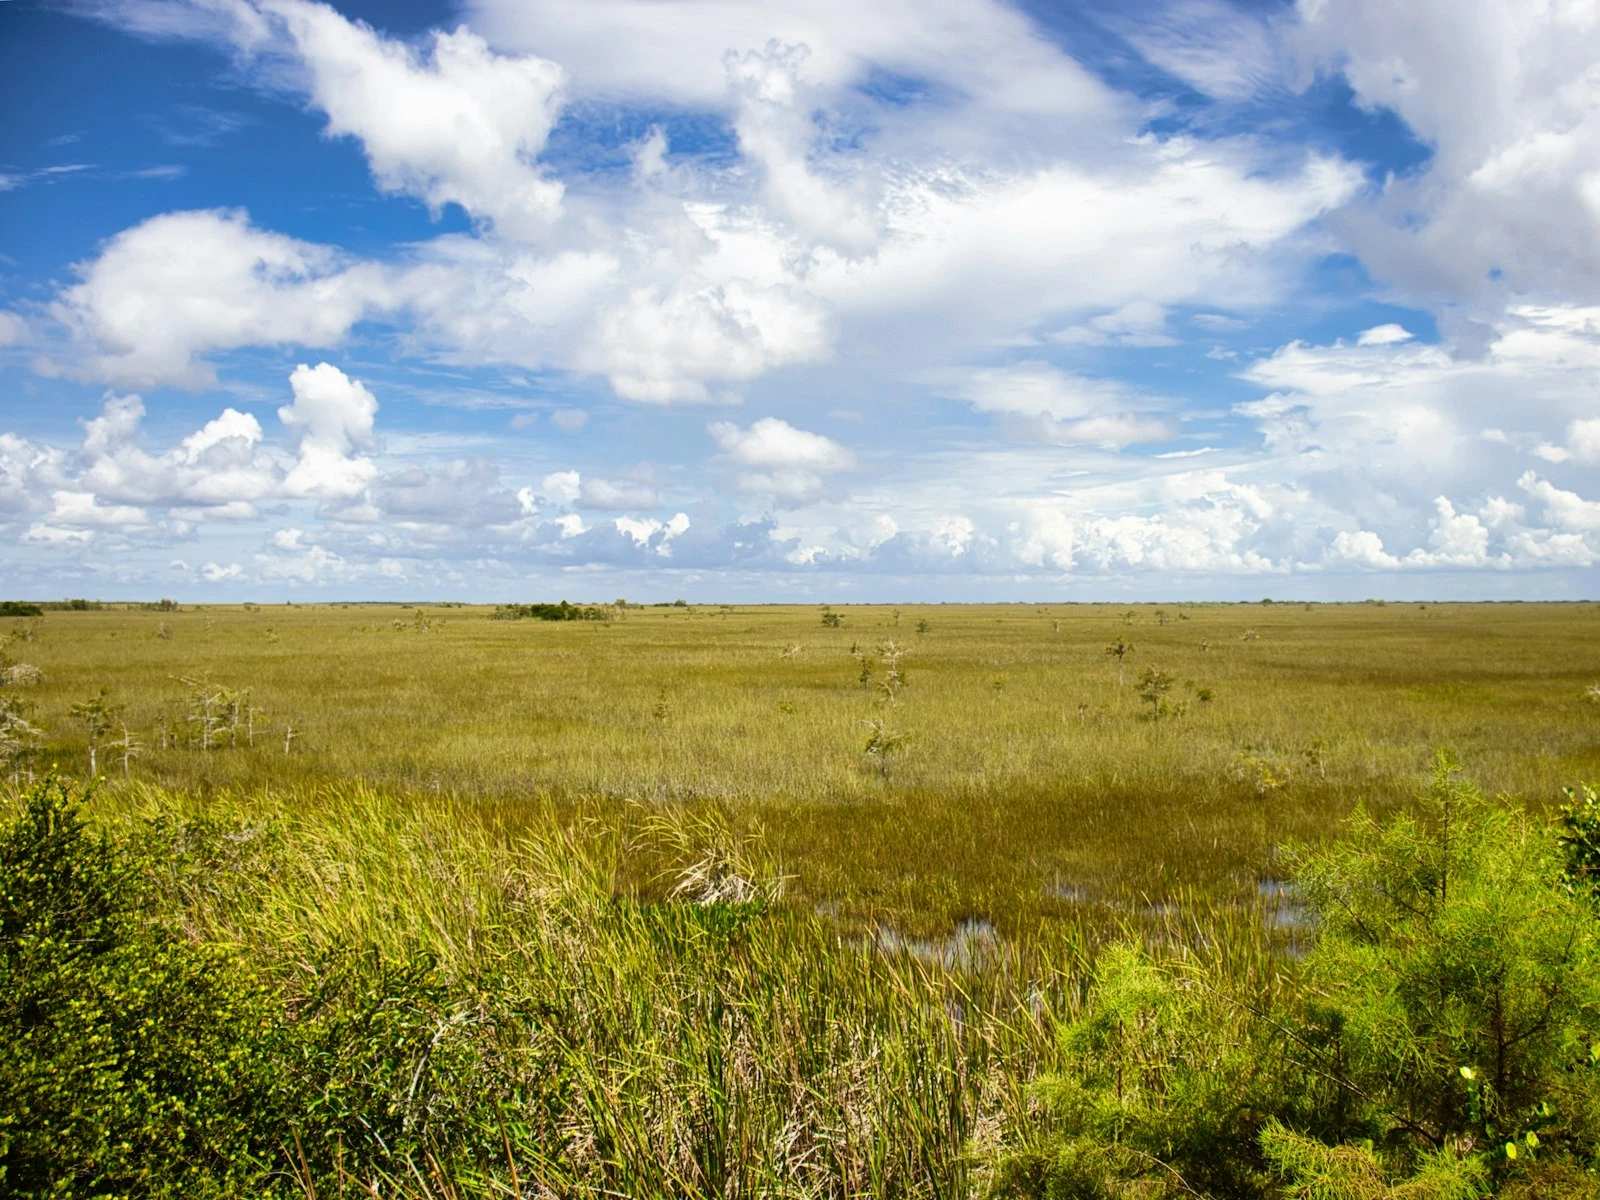
Wide-angle lenses (16-35mm on full frame) provide the deepest depth of field for any given aperture. They're the natural choice when front-to-back sharpness is paramount.
Standard lenses (35-70mm) offer moderate depth of field, sufficient for most landscapes without extreme foreground elements.
Telephoto lenses (70mm+) have inherently shallow depth of field, making front-to-back sharpness challenging. You may need focus stacking for telephoto landscapes with close elements.
Focus Mode
Single-shot autofocus (AF-S/One-Shot) is preferred. It locks focus when you half-press the shutter, preventing unexpected changes.
Manual focus offers maximum control for critical work. Use live view magnification to verify precise focus placement.
Avoid continuous autofocus modes for landscapes because they're designed for moving subjects and may shift focus at inopportune moments.
Focus Point Selection
Use a single autofocus point and place it deliberately. Don't let the camera choose, because it might select the wrong subject.
For hyperfocal focusing, you may need to:
- Point the camera at the desired focus distance
- Half-press to focus
- Recompose while holding focus (back-button focus helps here)
- Shoot
Or use manual focus and place the focus point exactly where needed.
Troubleshooting Common Focus Problems
Problem: Background Soft Despite Small Aperture
Likely cause: Focus point too close. Even at f/16, focusing on a foreground element 2 feet away may not render infinity sharp.
Solution: Focus farther into the scene. Use double-distance method or check hyperfocal charts.
Problem: Foreground Soft, Background Sharp
Likely cause: Focused too far away, likely on the distant subject or at infinity.
Solution: Focus closer. At hyperfocal distance, infinity remains sharp while foreground comes into the depth of field zone.
Problem: Overall Softness
Possible causes:
- Diffraction from very small aperture (f/22+)
- Camera shake from slow shutter without tripod
- Poor lens quality or dirty lens
- Focus missed entirely
Solutions:
- Open aperture to f/11 and reassess
- Use tripod for slow shutters
- Clean lens and check for damage
- Verify focus using live view magnification
Problem: Can't Achieve Both Sharp Foreground and Background
Likely cause: Foreground is too close or aperture is too wide for depth of field to span the required range.
Solutions:
- Use smaller aperture (accepting some diffraction softening)
- Use wider focal length (more depth of field)
- Move back from foreground element
- Focus stack multiple exposures
A Practical Workflow
Here's how to apply these concepts in the field.
Step 1: Compose Your Image
Determine your foreground and background elements before worrying about focus.
Step 2: Estimate the Challenge
How close is your nearest element? How far is your farthest? Is this a standard landscape (foreground at 5+ feet) or a challenging composition (foreground at 1-3 feet)?
Step 3: Choose Your Approach
Standard compositions: Use the double-distance method with f/8 to f/11.
Challenging compositions: Use a hyperfocal app for precision, or plan for focus stacking.
Step 4: Set Focus
Using your chosen method, focus at the calculated or estimated point.
Step 5: Verify
Use live view magnification to check both foreground and background sharpness before shooting.
Step 6: Shoot and Review
After shooting, zoom in on your camera LCD to verify sharpness. Check both near and far elements.
Step 7: Adjust If Needed
If sharpness is inadequate, adjust focus distance, aperture, or both, and reshoot.
When Perfect Sharpness Isn't Necessary
Not every landscape requires razor sharpness from front to back.
Intentional soft backgrounds can direct attention to foreground subjects.
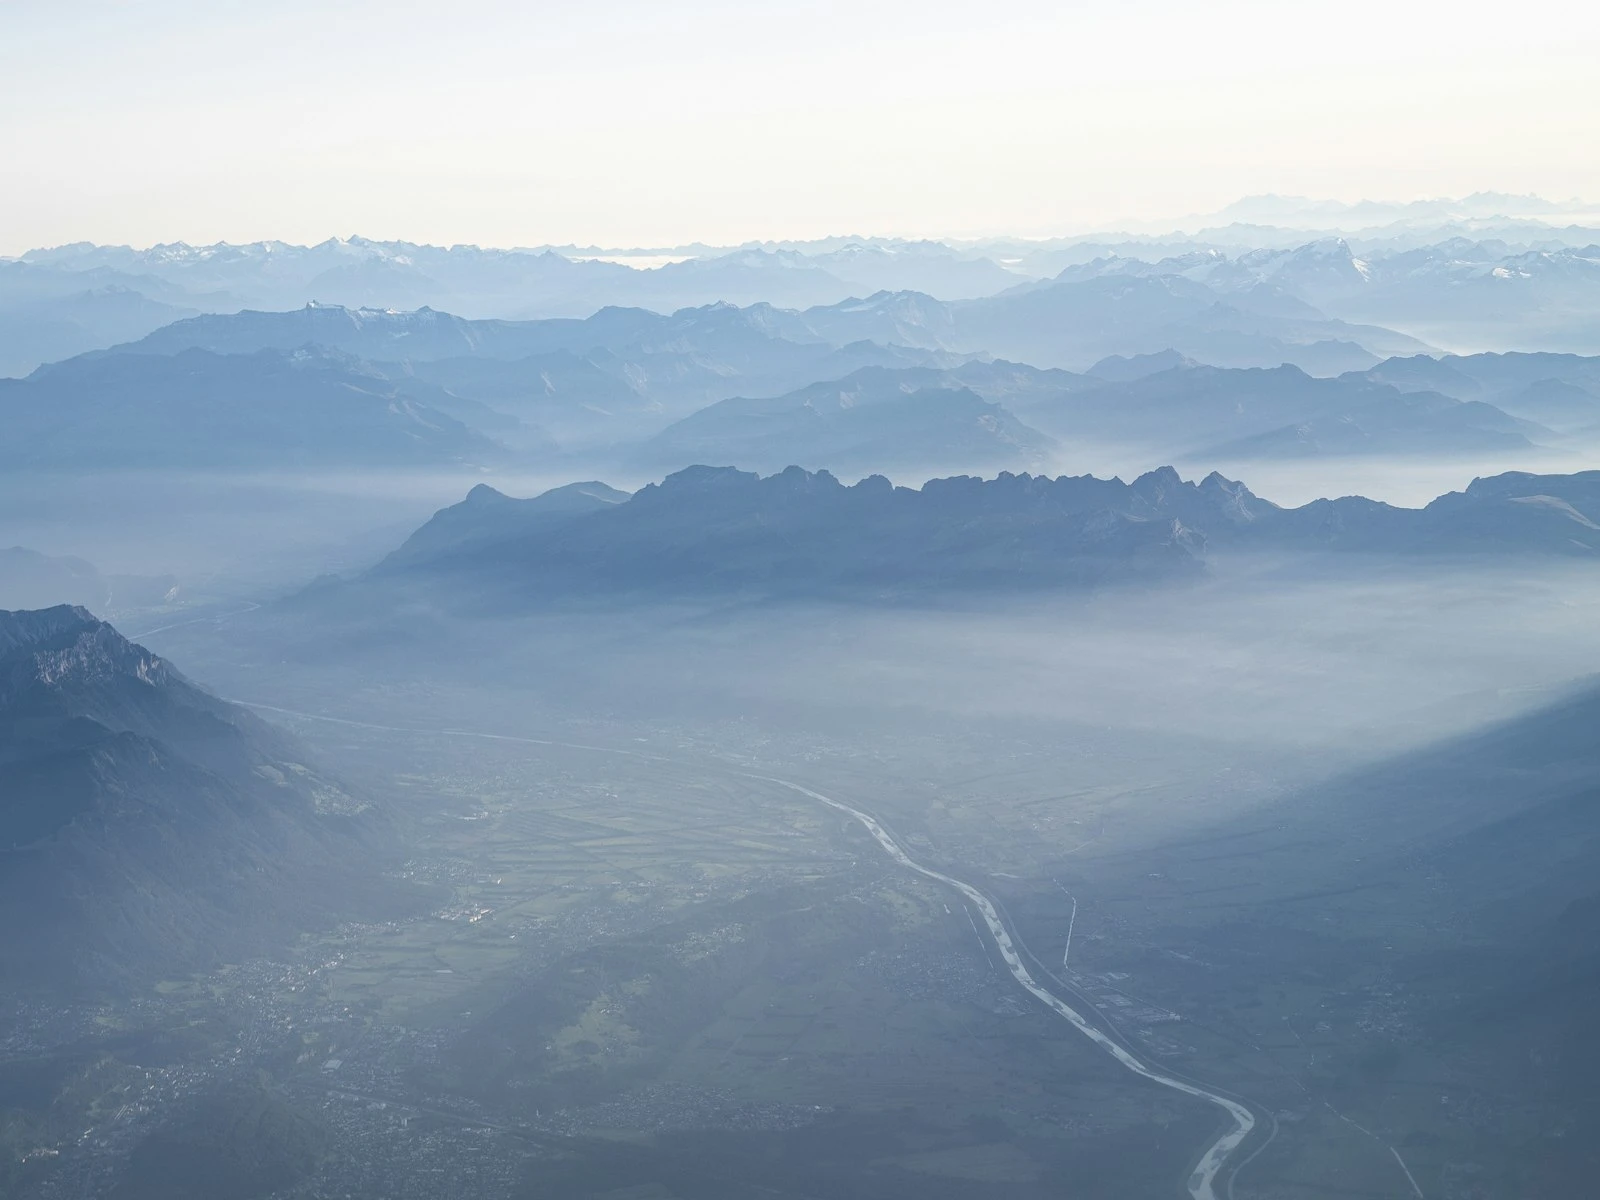
Atmospheric conditions (fog, haze) may naturally soften distant elements regardless of focus.
Artistic choices might emphasize one plane over others.
Viewing size affects how critical sharpness needs to be, since web images are more forgiving than large prints.
Master these techniques so you can achieve total sharpness when you want it. But don't feel obligated to pursue it blindly for every image.
Key Takeaways
- Focus one-third into your scene (not on the foreground, not on infinity) to maximize depth of field from near to far.
- Use f/8 to f/11 for the best balance of depth of field and lens sharpness, avoiding f/16+ where diffraction reduces overall quality.
- Switch to manual focus for landscapes so your camera does not refocus between composition and shutter press.
- Use focus stacking (multiple shots at different focus distances blended in software) when close foreground elements and distant backgrounds exceed single-shot depth of field.
More in This Guide
Continue exploring landscape photography.