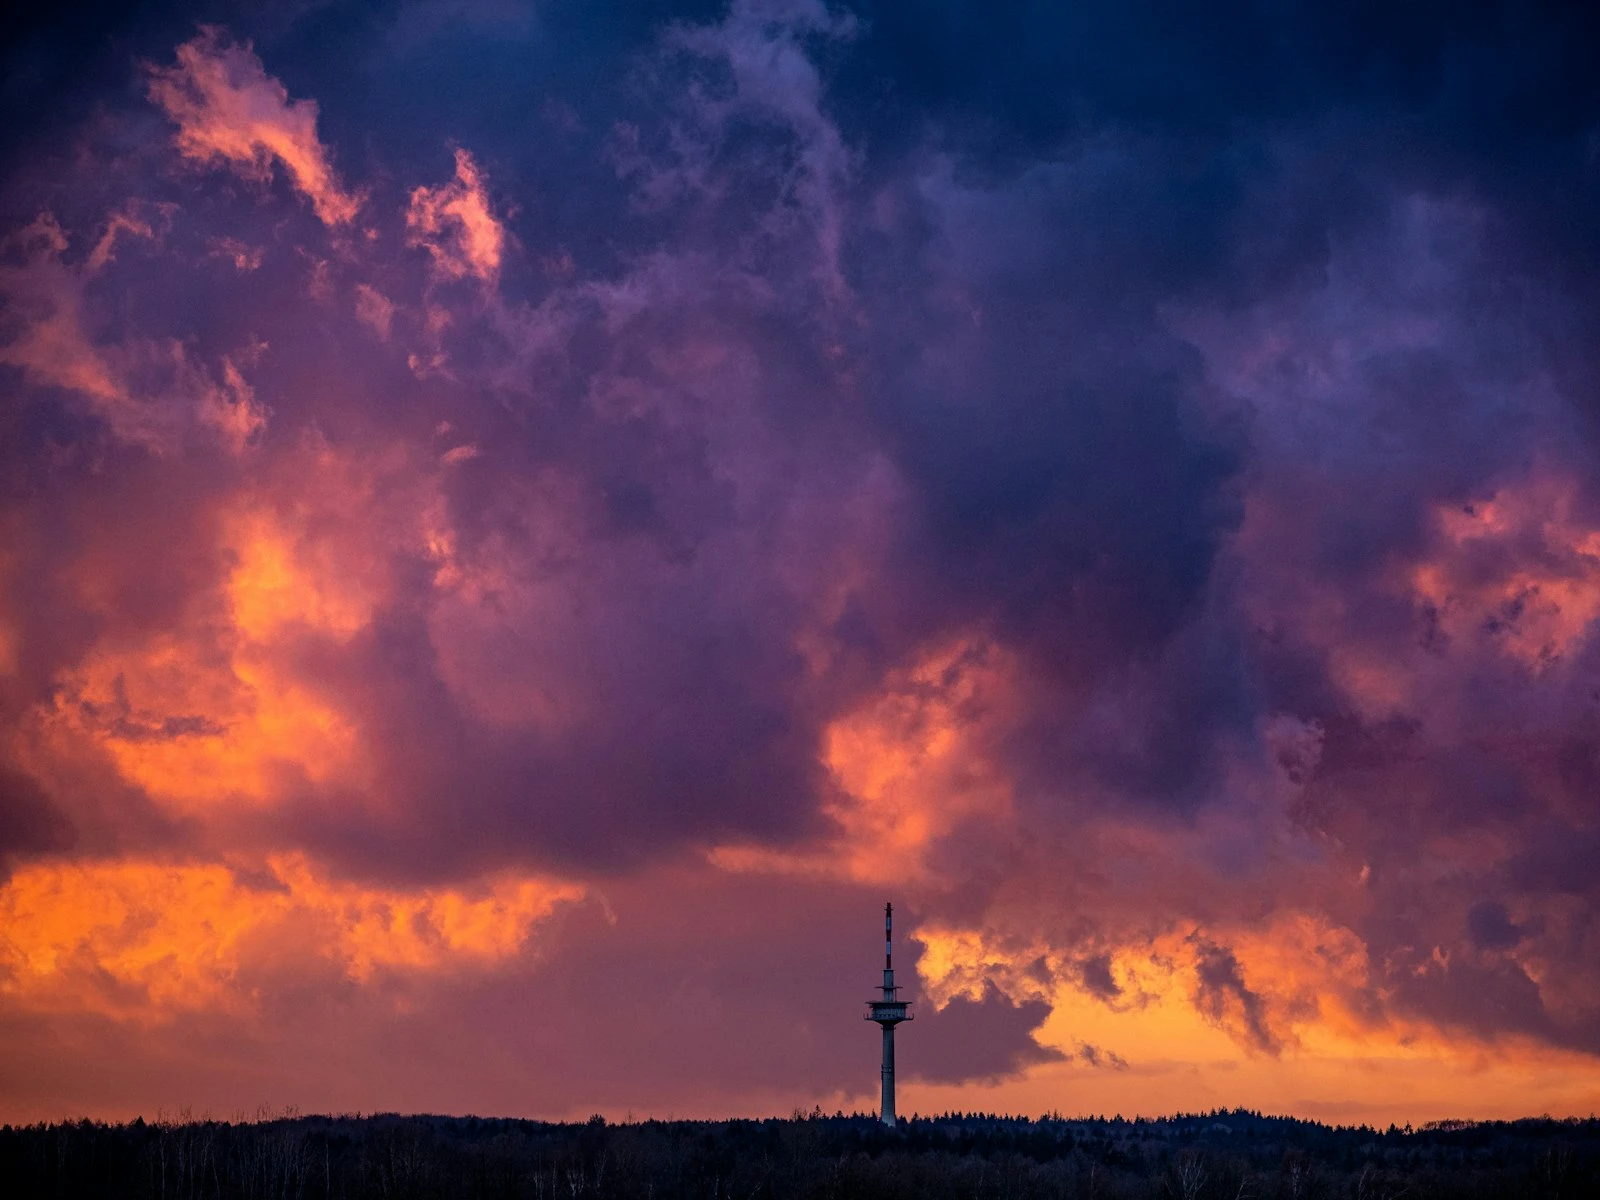
Standing before a beautiful vista, camera in hand, you feel certain this will be the shot, with the mountains, the sky, and the way light plays across the valley all looking perfect.
Then you look at the image on your screen, and the grandeur you felt just isn't there, leaving the photo looking ordinary.
Every landscape photographer has experienced this moment. The good news? A few core principles can dramatically improve your results, starting with your very next photo session.
This guide covers the foundational skills that transform snapshots of scenery into photographs that convey how being there actually felt, and it's the best starting point in our complete landscape guide. We'll reference terms like aperture, depth of field, and white balance throughout. If any of those are new, the photography glossary has quick definitions you can reference as you go.
The Most Important Landscape Photography Tip
Before we discuss settings, gear, or techniques, the one principle that matters more than all others is to slow down.
Landscape photography rewards patience, not rapid-fire shooting. When you arrive at a location, resist the urge to immediately start photographing. Instead:
-
Look around. Where is the light coming from? What catches your eye first? What might most people overlook?
-
Walk the area. Move left, right, forward, back. The same scene looks different from every angle. A few steps in any direction can transform your composition.
-
Consider timing. Is the light improving or fading? Would this scene look better earlier in the morning or later in the evening? Sometimes the best action is noting a location for a future return.
-
Think before shooting. What story do you want this image to tell? What's the main subject? What mood are you trying to create?
This deliberate approach might mean taking fewer photos, but each one will be more considered and more likely to succeed.
Five Essential Composition Principles
Composition, meaning how you arrange elements within your frame, determines whether your image captures attention or gets scrolled past. These five principles apply to virtually every landscape photograph.
1. Find a Clear Subject
A photograph of a beautiful view often fails because "everything" isn't a real subject, and trying to show too much leaves viewers unsure where to look.
Before pressing the shutter, answer this question: What is this photo about?
Maybe it's that lone tree on the ridge. Maybe it's the reflection in the lake. Maybe it's the pattern of shadows across the dunes. Whatever it is, make sure everything else in your frame supports that main subject.
Try this: If you can't identify your subject in one sentence, you're probably trying to capture too much and should narrow your focus.
2. Create Depth with Layers
Photographs are two-dimensional, but great landscapes feel three-dimensional. They achieve this through layering, including elements in the foreground, middle ground, and background.
- Foreground: Rocks, flowers, grass, sand patterns. Something close that anchors the image
- Middle ground: Trees, buildings, water features. Elements that bridge near and far
- Background: Mountains, sky, distant horizons. What draws the eye into the distance
When all three layers are present and working together, your image develops depth that makes viewers feel they could step into the scene.
Try this: Before shooting, identify something interesting within five feet of your camera. Can you include it in your composition?
3. Use Leading Lines
Lines naturally guide the eye through an image. Roads, rivers, fences, shorelines, rows of trees. Any linear element can direct viewers toward your main subject.
The most effective leading lines start from the corners or edges of your frame and travel inward toward your focal point. They create a visual journey that keeps viewers engaged with the image longer.
Try this: Look for natural lines in your scene. Could repositioning yourself allow those lines to lead toward your subject?
4. Apply the Rule of Thirds
Imagine dividing your frame into a 3x3 grid (many cameras can display this overlay). The rule of thirds suggests placing important elements along these lines or at their intersections rather than dead center.
Horizons typically work better on the upper or lower third line rather than cutting the image exactly in half. Main subjects often feel more dynamic when positioned off-center.
This isn't an absolute rule, and some images work beautifully with centered subjects or centered horizons. But when you're learning, the rule of thirds provides a reliable starting framework.
Try this: Compose a shot your usual way, then try the same scene with the subject moved to a third-line intersection. Compare the results.
5. Simplify, Simplify, Simplify
Every element in your frame should serve a purpose. That branch poking in from the edge? It's probably a distraction. That bright spot in the corner? It pulls attention from your subject.
Before shooting, scan the edges of your frame. Look for intrusions or distractions. Often, a small adjustment like a step to the side, a slight zoom, or tilting up or down eliminates problems.
Try this: After composing, ask yourself: "What can I remove from this frame?" Experiment with tighter compositions that eliminate non-essential elements.
The [composition fundamentals](/start-here/) guide goes deeper into all of these principles.
Basic Camera Settings for Landscapes
You don't need to master every camera function to start capturing good landscapes, but understanding these four settings will dramatically improve your results.
Aperture: Control Your Depth of Field
Aperture (measured in f-stops like f/4, f/8, f/11) controls two things: how much light enters your camera and how much of your scene appears sharp.
For most landscapes, you want extensive depth of field, meaning sharpness from near foreground to distant background. Apertures between f/8 and f/11 typically provide the best results, offering excellent sharpness and sufficient depth of field.
Avoid going too small (like f/22) unless absolutely necessary. Very small apertures can cause diffraction, which actually reduces sharpness.
ISO: Keep It Low
ISO is a gain setting that amplifies the image signal to brighten your exposure. Higher ISO allows shooting in darker conditions but introduces noise (grain) into your images.
For landscapes, keep ISO as low as possible, usually ISO 100 or 200. Since landscape subjects don't move much, you can use longer exposures instead of raising ISO. A tripod makes this possible even in quite dim light.
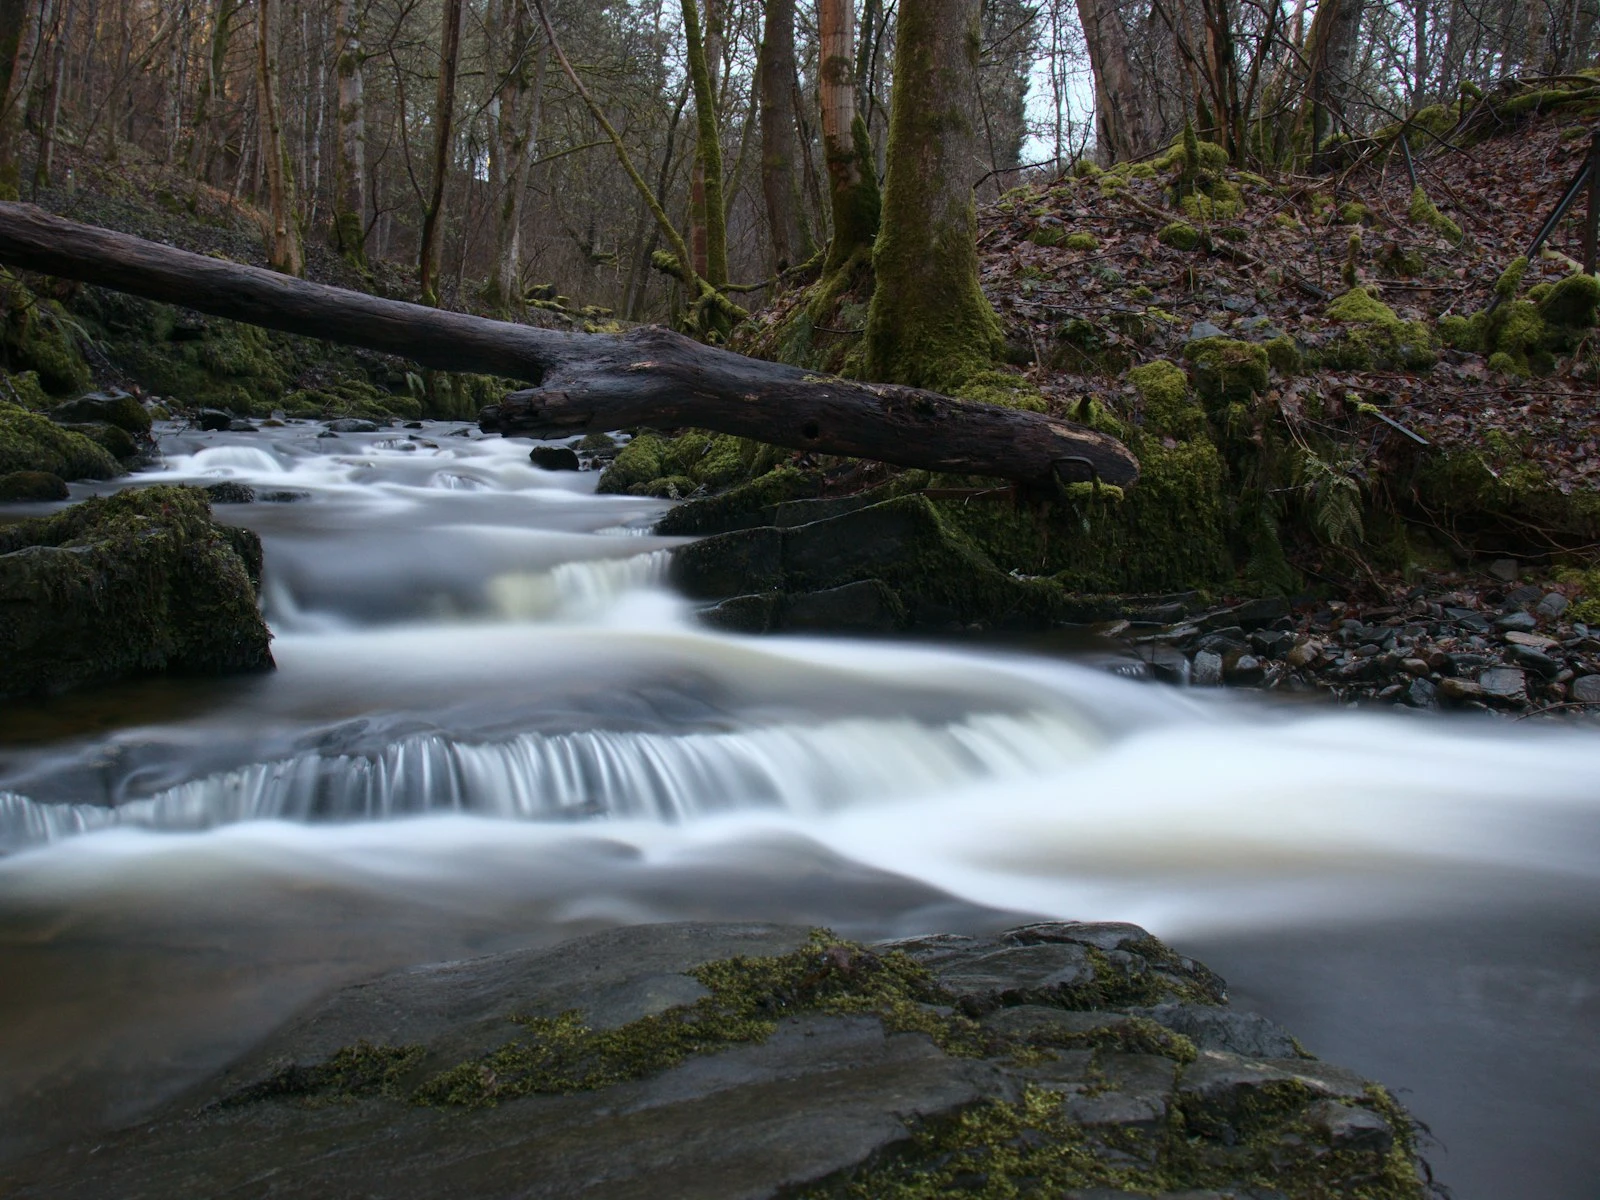
Shutter Speed: Match Your Conditions
Shutter speed determines how long your sensor is exposed to light. For landscapes, it also determines how moving elements (water, clouds, vegetation in wind) appear.
- Fast shutter speeds (1/500s and above) freeze motion, showing every droplet in a waterfall
- Slow shutter speeds (1/4s and below) blur motion, creating smooth, silky water effects
When hand-holding your camera, you generally need a shutter speed of at least 1/focal length (so 1/50s for a 50mm lens) to avoid camera shake. Slower than that, you'll need a tripod.
White Balance: Get Your Colors Right
White balance tells your camera how to interpret colors based on the lighting conditions. While you can adjust this later if shooting RAW, getting it close in-camera helps you evaluate images on location.
- Daylight/Sunny: For bright, sunny conditions
- Cloudy: For overcast skies (adds warmth)
- Shade: For deep shade (adds more warmth)
- Auto: Often works fine, especially for RAW shooters
Essential Beginner Gear
Landscape photography doesn't require expensive equipment to start, and here's what actually matters.
What You Need
Any camera with manual controls. Your current camera, whether a DSLR, mirrorless, or even an advanced compact, is enough to begin. Understanding composition and light matters far more than megapixels or sensor size.
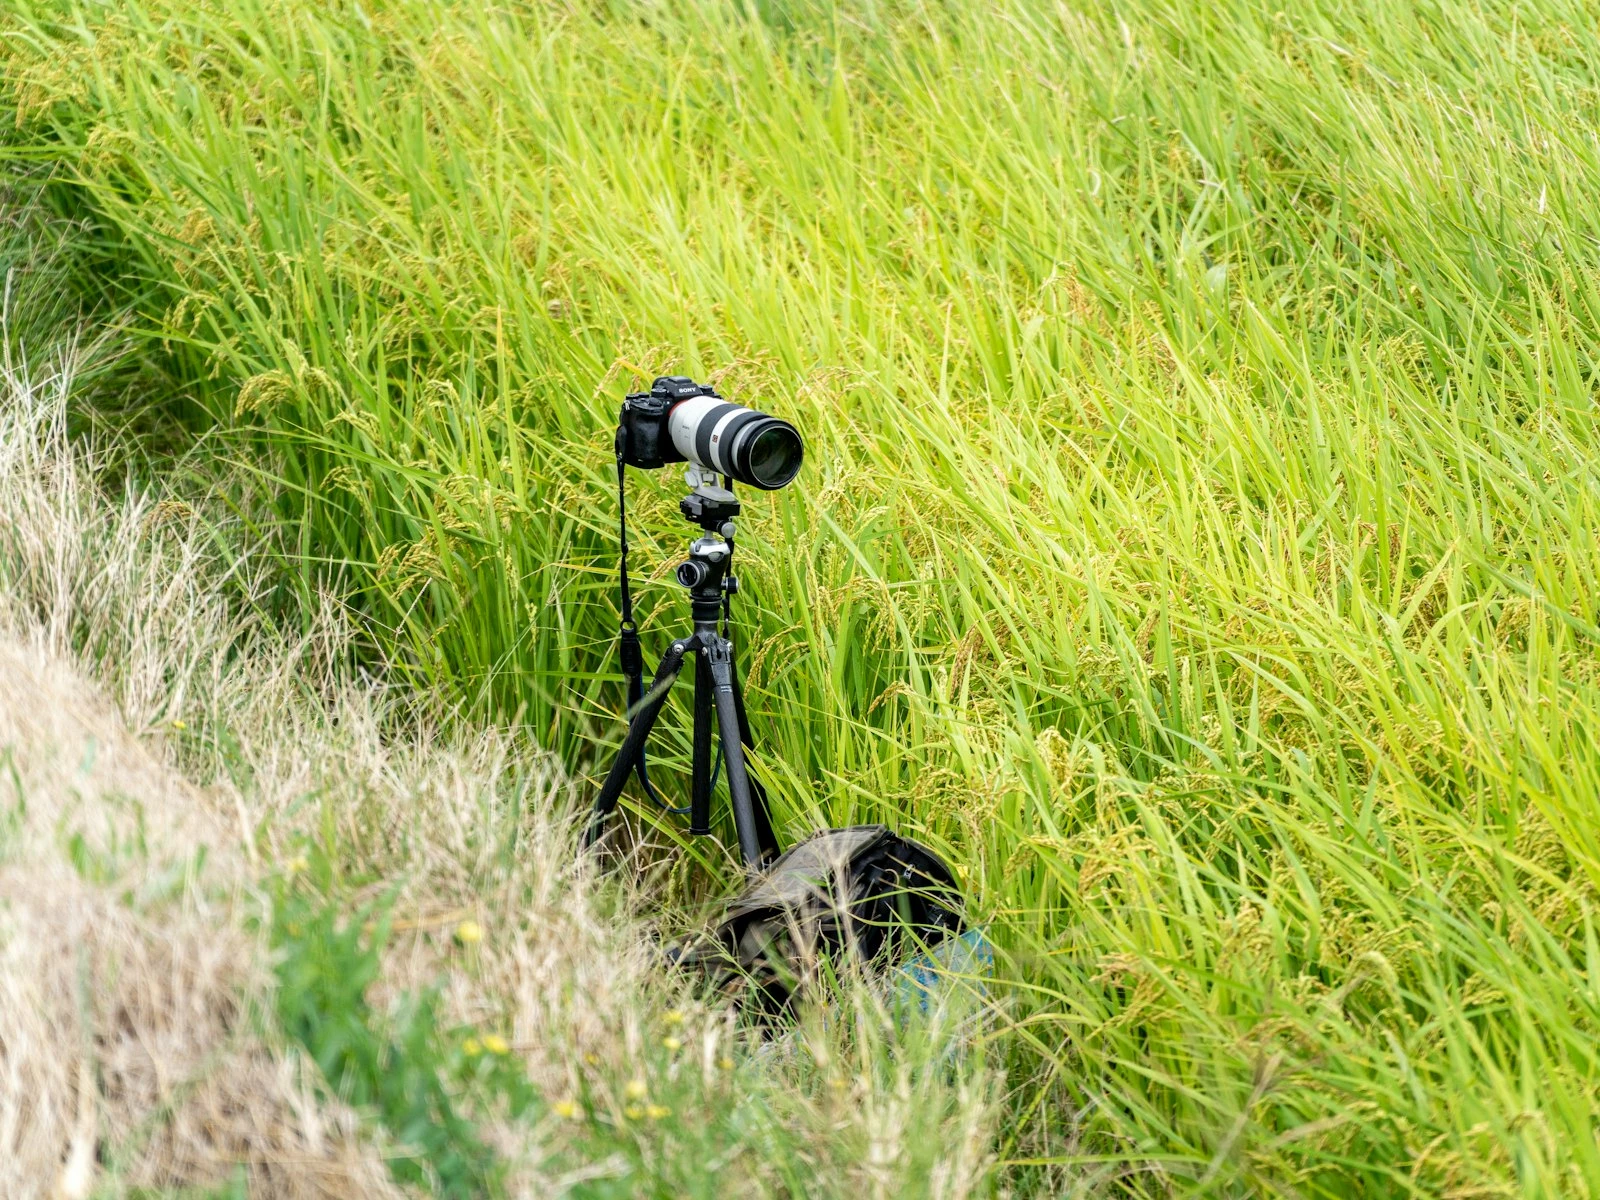
A sturdy tripod. Once you start shooting in beautiful morning or evening light, you'll need a tripod to keep your camera stable during longer exposures. This is the most important accessory purchase for landscape photographers.
Comfortable walking shoes. Great landscapes often require reaching locations beyond the parking lot. Invest in comfortable footwear before expensive lenses.
What You Don't Need (Yet)
Ultra-wide lenses. Standard kit lenses work fine for learning. Once you understand composition, you'll know whether a wider perspective serves your vision.
Expensive filters. You can learn a great deal without any filters. Add them later when you understand exactly what they'll accomplish.
Weatherproof everything. Unless you're shooting in genuinely extreme conditions, basic protection from moisture is sufficient while you're learning.
Common Beginner Mistakes (And How to Avoid Them)
Mistake 1: Shooting in Harsh Midday Light
The hours around noon produce the least flattering light for landscapes: flat, harsh, with strong shadows that your camera can't handle.
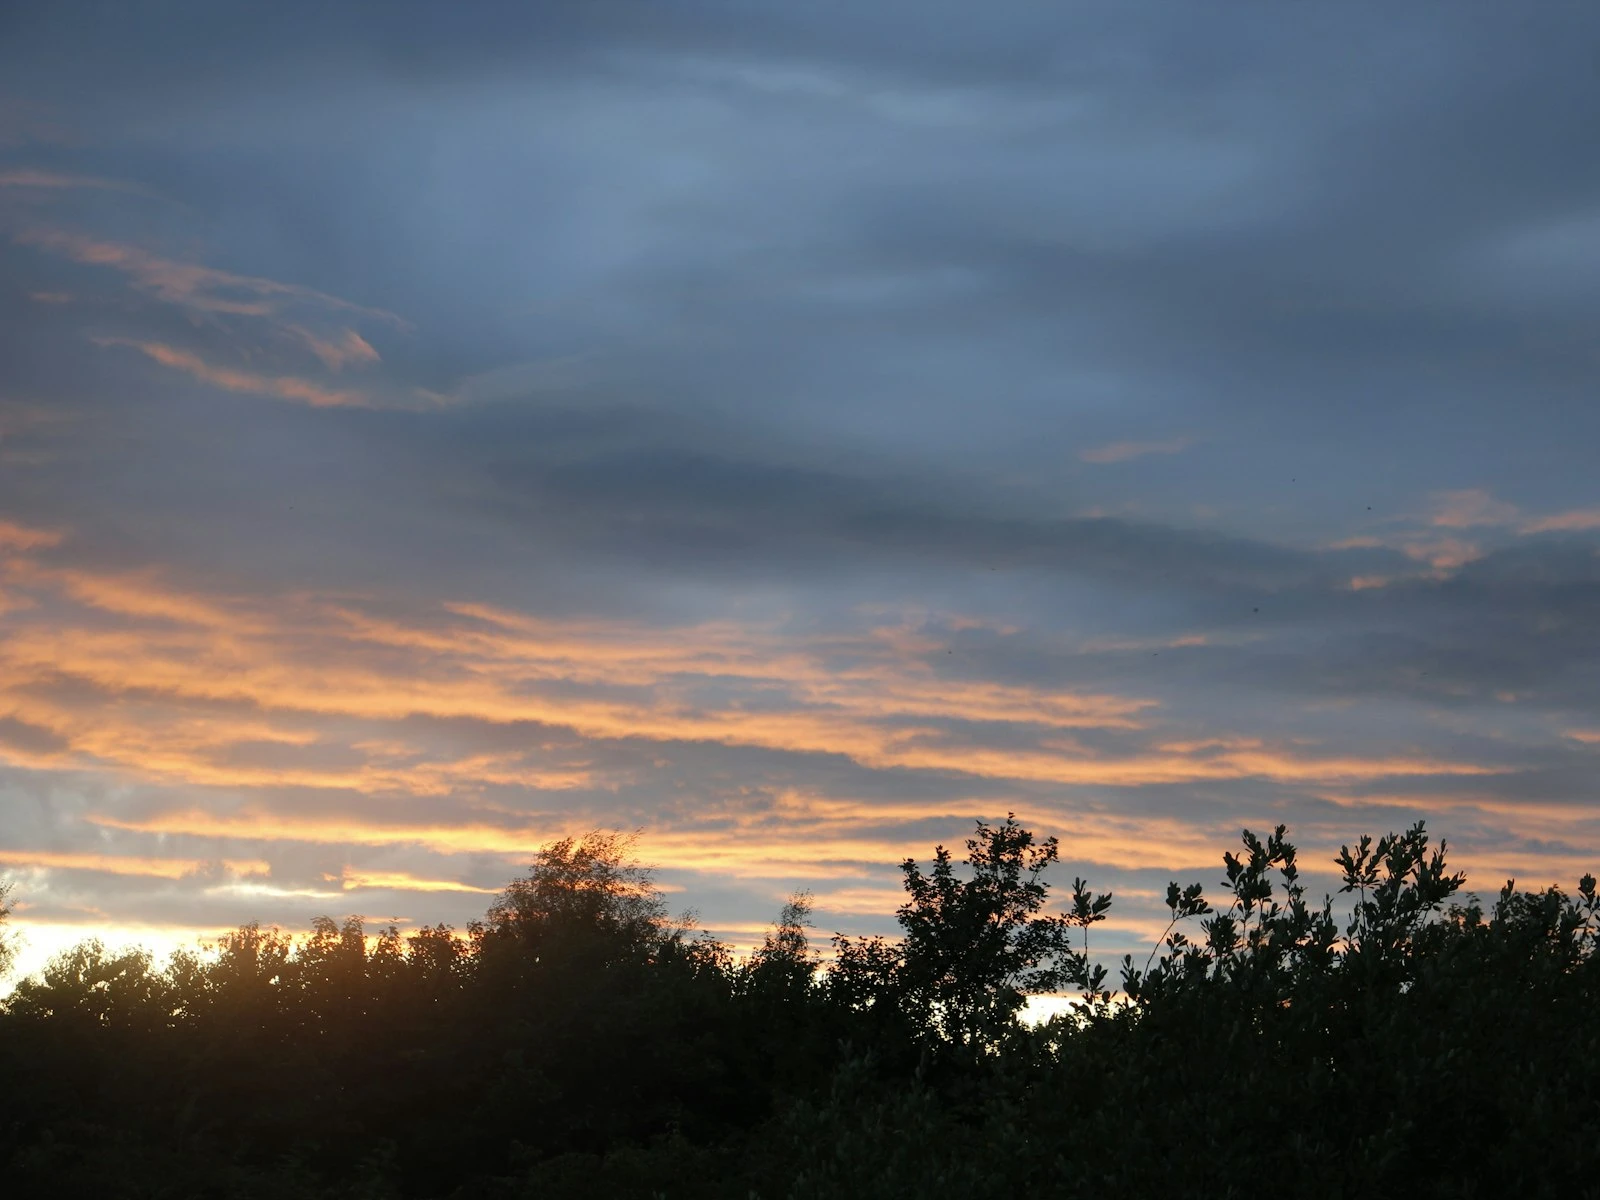
Solution: Schedule your shooting for the golden hour or blue hour. If you must shoot midday, look for overcast conditions, shaded subjects, or scenes where harsh shadows become a feature rather than a bug.
Mistake 2: Forgetting the Foreground
The most common composition flaw in beginner landscape photos is the empty foreground, a large area of uninteresting space in the bottom third of the frame.
Solution: Get lower and move closer to potential foreground elements like rocks, flowers, or patterns in sand or grass, anything that adds interest to the near ground. Foreground interest is the single biggest fix for flat landscape compositions.
Mistake 3: Centering Everything
Putting your subject dead center and your horizon line exactly in the middle creates static, unengaging compositions.
Solution: Apply the rule of thirds by placing horizons on upper or lower third lines and positioning main subjects off-center, which creates more dynamic, interesting images.
Mistake 4: Including Too Much
Trying to show the entire magnificent scene often results in images where nothing stands out.
Solution: Be ruthless about what you include. Sometimes the best landscape photo is a small detail from the larger scene, like a single tree rather than the whole forest, or one peak rather than the entire range.
Mistake 5: Ignoring the Sky
A washed-out white sky or a dull, empty sky can ruin an otherwise strong landscape image.
Solution: If the sky isn't interesting, minimize it. Compose with more land, less sky. If the sky is spectacular, feature it prominently. Match your composition to your conditions.
Your First Landscape Photo Session
Put these principles into practice with a structured first outing.
Preparation
- Choose a local location. A nearby park, lake, or open space works perfectly. You don't need dramatic terrain to practice composition and technique.
- Time it right. Arrive 30-45 minutes before sunset for your first session. This gives you time to explore before the best light arrives.
- Charge batteries, clear cards. Nothing's worse than running out of power or storage during beautiful light.
On Location
-
Walk first. Spend 10-15 minutes exploring without your camera raised. Notice where the light is best, what catches your eye, where potential foreground elements exist.
-
Find your subject. Identify one thing you want to photograph. Not "the whole scene," but one specific element that will anchor your image.
-
Build your composition. Include foreground, apply the rule of thirds, check frame edges for distractions.
-
Set up technically. Start with f/8 or f/11, ISO 100, and let your camera determine shutter speed. The landscape settings guide covers the details, but these defaults work for most scenes.
-
Shoot variations. For each composition, try horizontal and vertical orientations. Try moving your position slightly. Try including more sky, then less. Compare results.
After Shooting
Review your images at full size on a computer screen, not just the camera LCD. Ask yourself:
- Where does my eye go first? Is that where I intended?
- Does the image have depth, or does it feel flat?
- Are there distractions I didn't notice while shooting?
- What would I do differently next time?
This reflection process accelerates learning more than any other practice.
Key Takeaways
- Slow down and walk the area before shooting, since the first obvious composition is rarely the best one.
- Identify one clear subject for each photo rather than trying to capture "everything," and ensure all other elements support that subject.
- Create depth by including foreground interest, using layers from front to back, and shooting during golden hour when side lighting reveals texture.
- Shoot at f/8-f/11 for sharp landscapes, keep ISO low, and focus one-third into the scene for front-to-back sharpness.
More in This Guide
Continue exploring landscape photography.