A neutral density filter is a piece of dark glass that screws onto the front of your lens and cuts the amount of light reaching your sensor.
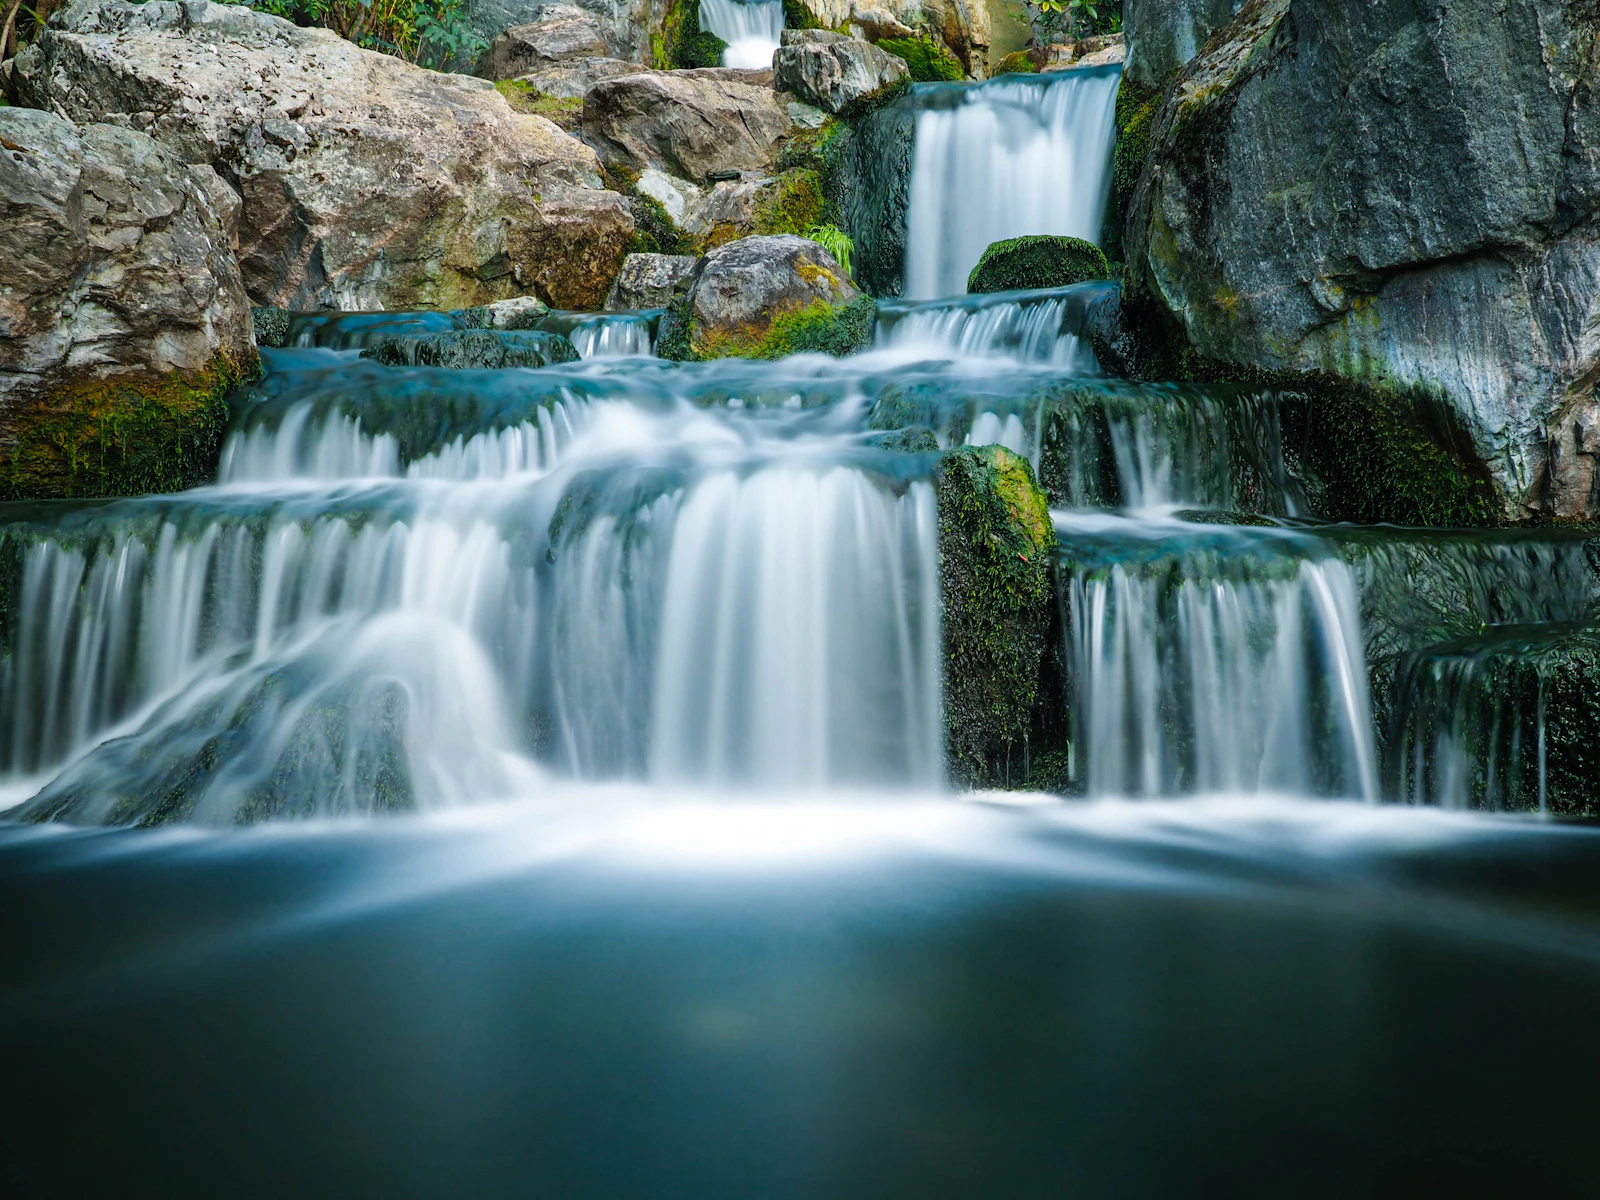
That sounds boring until you realize what it lets you do. With an ND filter, you can shoot a 30-second exposure in the middle of the afternoon. You can blur a waterfall on a sunny day. You can stand on a busy boardwalk for two minutes and watch every tourist disappear from your frame.
ND filters are the single most useful accessory in landscape photography, and most beginners overthink them. This guide walks through what they actually do, how the stop ratings translate to real shutter speeds, which one to buy first, and how to use them without ruining a good location.
What an ND Filter Actually Does
Think of an ND filter as sunglasses for your camera.
A pair of sunglasses dims the world without changing its color. A good ND filter does the same thing to your lens. It reduces the brightness of the light passing through, evenly across the entire frame, without affecting white balance, contrast, or sharpness in any way you can see.
The word "neutral" in the name is the important part. An ND filter is supposed to be color-neutral, which is what distinguishes it from a colored filter like a polarizer (which deepens blues) or a warming filter (which adds orange). A cheap ND can introduce a magenta or warm cast, which is the main reason quality matters when you buy one.
The word "density" refers to how much light it blocks. A 3-stop ND blocks 3 stops of light. A 10-stop ND blocks 10 stops. More on what "stops" means in a moment.
Why You Would Want Less Light
The fundamental reason ND filters exist is that you have less control over light than you think.
Your aperture has a useful range, maybe f/2.8 to f/22. Your ISO has a base value, usually 100. Your shutter speed can go as slow as you want, but you cannot make daylight darker just by wishing.
In bright midday sun, even at f/16 and ISO 100, your exposure might land at 1/30 of a second. That is way too fast to blur water, streak clouds, or remove people from a scene. The light is the problem, and dimming it is the only way out.
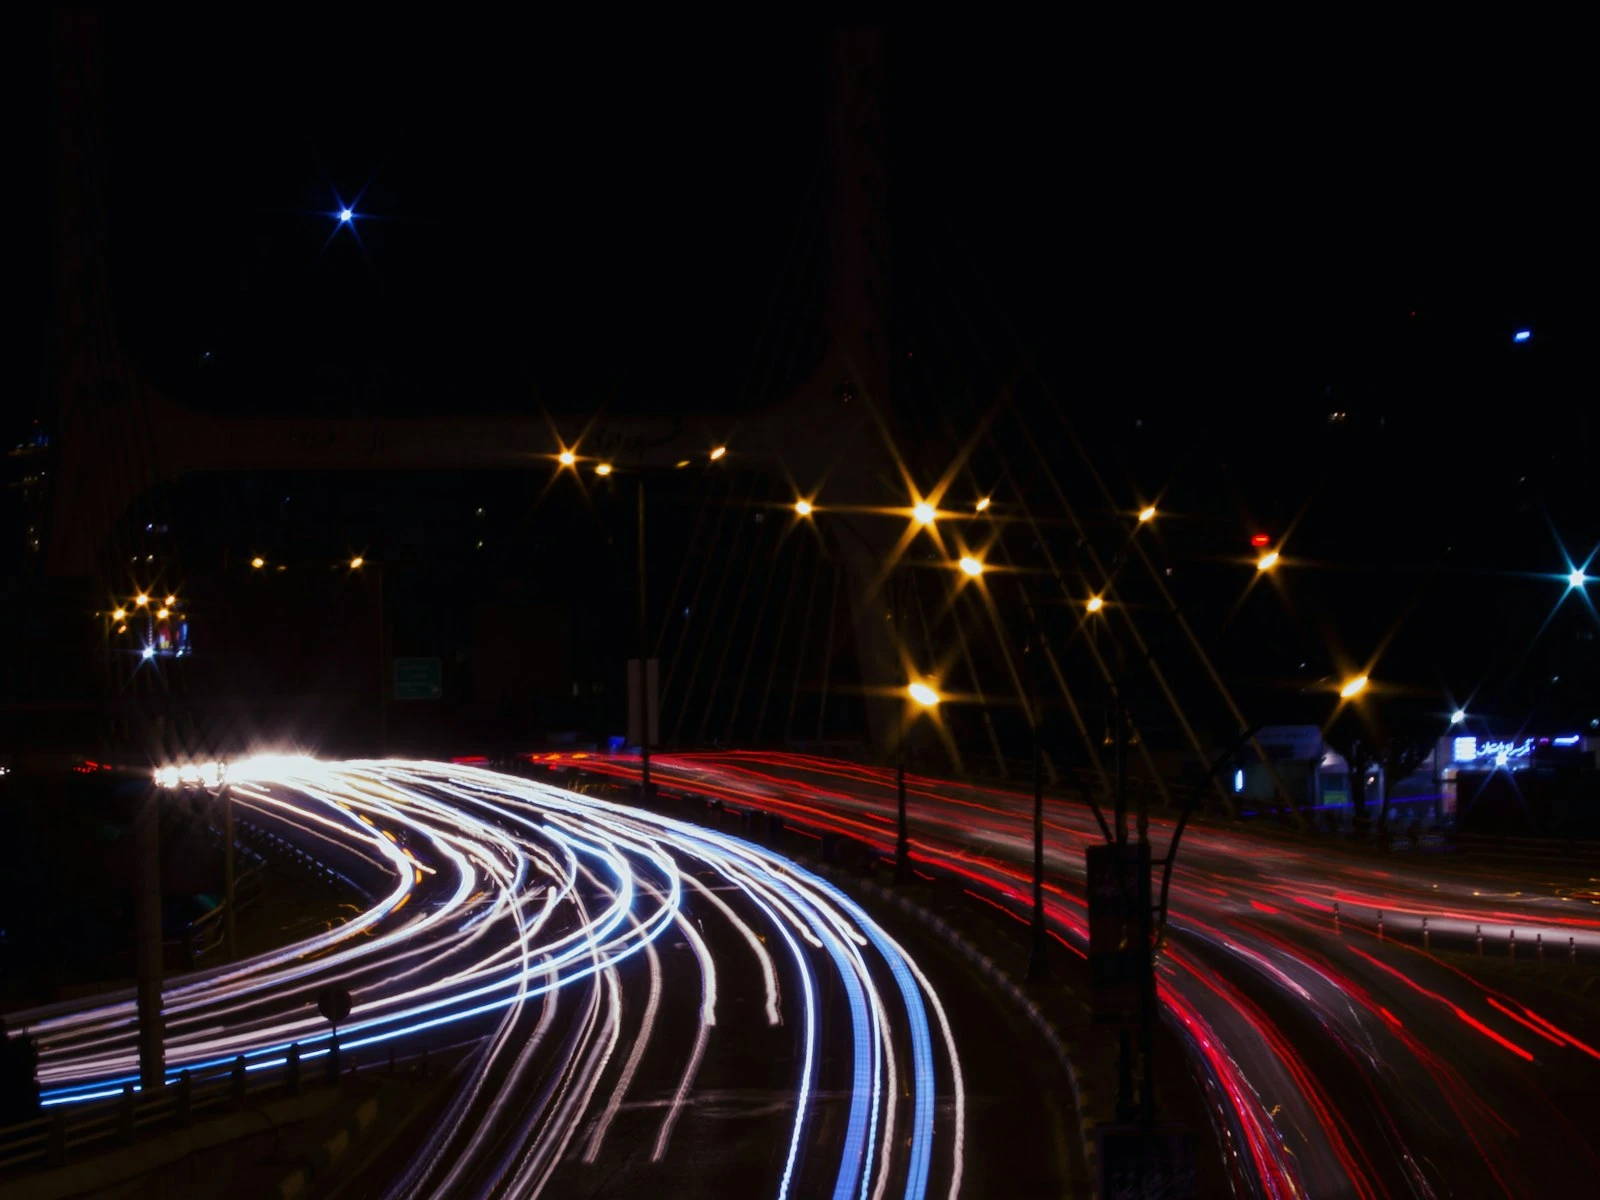
An ND filter gives you back the shutter speeds that bright daylight has stolen from you. A 10-stop ND turns that 1/30s exposure into a 30-second one. Choppy ocean waves become a glass-smooth surface. Wispy clouds turn into long streaks. People walking through the scene vanish entirely because no one stands still long enough to be recorded.
This is the same long-exposure look you would get at night, just achieved in the middle of the day. If you want a deeper foundation on the technique itself, our quick getting started guide to long exposure photography walks through the broader workflow.
Stops, ND Numbers, and Optical Density
The naming on ND filters is unnecessarily confusing because three different systems are in common use, often on the same box.
Stops. The cleanest system. A 3-stop ND blocks 3 stops of light. A 6-stop blocks 6. A 10-stop blocks 10. Each additional stop halves the light, which doubles the shutter speed.
ND numbers. ND8 means the filter lets through 1/8 of the original light, which works out to 3 stops. ND64 is 1/64, or 6 stops. ND1000 is roughly 1/1000, or 10 stops. The math is ND number = 2^stops.
Optical density. Written as a decimal like ND 0.9 or ND 3.0. Each 0.3 of optical density equals 1 stop. ND 0.9 is 3 stops, ND 1.8 is 6 stops, ND 3.0 is 10 stops.
The three systems describe the same physical filter, just with different labels. You will see them mixed freely on filter packaging.
A quick reference table.
| Stops | ND Number | Optical Density | Common Use |
|---|---|---|---|
| 3 | ND8 | 0.9 | Slowing daylight just enough to blur water gently |
| 6 | ND64 | 1.8 | Smoothing water, adding motion to clouds |
| 10 | ND1000 | 3.0 | Multi-minute daytime exposures, dramatic streaks |
| 15 | ND32000 | 4.5 | Extreme long exposures, often achieved by stacking |
The ND filter calculator does the math for you. Enter your base shutter speed, pick a filter strength, and it shows you the resulting exposure time. Worth bookmarking before your next long-exposure outing.
Which ND Filter Should You Buy First?
If you only buy one, get a 6-stop.
The 6-stop ND is the everyday workhorse of landscape photography. It is strong enough to turn a 1/60s exposure into a full second, which is the sweet spot for smoothing water without erasing every trace of texture. It works for streams, waterfalls, calm rivers, and the moving foreground of beach scenes. You can usually still see through it to compose and focus before screwing it on.
If you buy two, add a 10-stop. The 10-stop is for the dramatic stuff. Mirror-flat lakes in midday sun. Clouds streaking across the sky like time-lapse smudges. Crowds vanishing from busy locations. You cannot see through a 10-stop filter; the viewfinder goes black. Composing and focusing happen first, then the filter goes on. For planned time-lapse sequences using ND filters, the timelapse calculator helps you calculate the total frames and shooting duration you'll need.
A 3-stop filter is occasionally useful when you want subtle motion in moderately low light, or when you want to shoot wide-open in bright daylight (an f/1.8 portrait at noon, for example). For most landscape work, the 3-stop is the least essential of the three.
You can also stack filters to combine their strengths. A 6-stop plus a 10-stop gives you 16 stops total, which turns a 1/125s exposure into about nine minutes. Stacking is great for extreme exposures but watch for vignetting on wide-angle lenses, especially when using multiple thick filter rings together.
Variable ND Filters
Variable NDs deserve their own discussion because they are tempting and have real tradeoffs.
A variable ND is a single filter where you rotate the front ring to dial in different strengths, typically from 2 to 8 stops on the same piece of glass. The convenience is real, since one filter replaces a kit of three.
The catch is that at their darkest settings, variable NDs tend to produce an "X" pattern across the frame, where two parts of the image are noticeably darker than the rest. This happens because the filter works by stacking two polarizing layers, and when they reach a near-perpendicular alignment, light blocking becomes uneven.
For casual use up to around 5 to 6 stops, good variable NDs are fine. For 8-plus stop work, fixed filters give more reliable results. If you want one filter and shoot a mix of light conditions, a quality variable ND is a reasonable compromise. If image quality and consistency matter more than pocket space, stick with fixed filters.
How to Actually Use an ND Filter
A few habits save a lot of frustration when you start working with strong NDs.
Compose and Focus First
Once a 10-stop filter is on your lens, the viewfinder is essentially black. Autofocus cannot see anything to focus on, and you cannot see through the eyepiece to recompose.
Do everything before the filter goes on. Frame the shot. Set focus using autofocus on a contrasty edge. Switch the lens to manual focus so the camera does not try to refocus once the filter is in place. Then screw on the filter.
If your focus needs to change between shots, take the filter off, refocus, switch to manual, and put it back on.
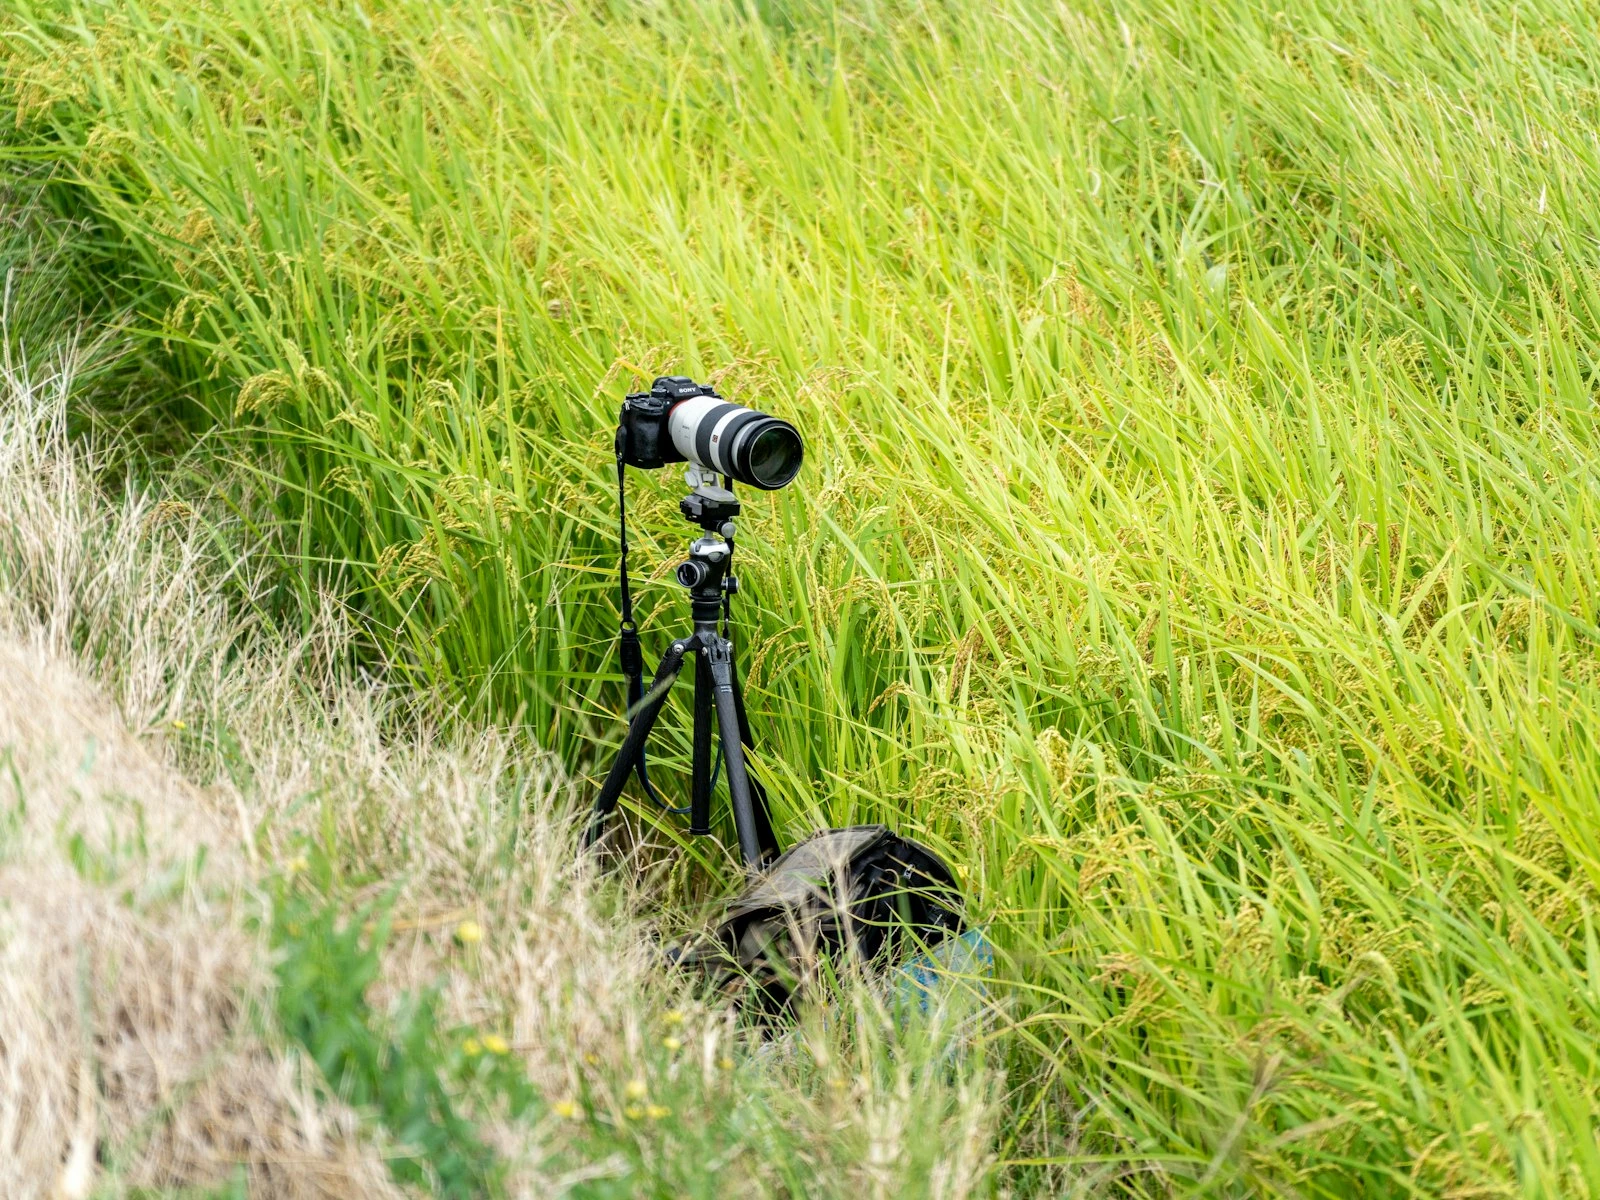
Lock Down the Tripod
A tripod is non-negotiable for any exposure longer than about 1/30 of a second. With a 10-stop ND in midday sun, you are looking at exposures of 10 to 60 seconds, and any vibration during that time will ruin the shot.
Push the tripod legs firmly into the ground. Hang your camera bag from the center column hook if it has one. Avoid extending the center column when wind is a factor. Turn off image stabilization once the camera is on the tripod, since on most cameras the stabilization tries to compensate for vibrations that are not actually there and softens the image.
Use a Remote or the Self-Timer
Pressing the shutter button introduces tiny vibrations that show up as softness in long exposures. The fix is either a remote shutter release or your camera's built-in 2-second self-timer.
If your exposure is longer than 30 seconds (your camera's typical maximum in Manual mode), you will need to use Bulb mode and time the shutter manually. A remote with a lock function helps a lot here. Your phone's timer works for tracking the seconds.
Cover the Viewfinder
On DSLRs especially, light can leak in through the eyepiece during a long exposure and create faint banding or color shifts. Some cameras come with a small rubber viewfinder cover for exactly this reason. If yours did not, a piece of gaffer tape works fine. Mirrorless cameras with an EVF do not have this issue.
Start With a Test Shot
Before the long exposure, take a normal shot without the filter at your intended aperture and ISO. Note the shutter speed the camera meters. That is your base exposure.
Now apply the filter and adjust the shutter speed by the same number of stops as the filter strength. A base of 1/60s with a 10-stop filter becomes 60 * (2^10 / 60) = roughly 17 seconds. The ND filter calculator does this in one click.
Take the long exposure. Check the histogram. If it leans too far left or right, adjust shutter speed (or aperture, if you have not nailed it down for compositional reasons) and try again. The exposure math is rarely exact in real-world conditions, especially around twilight when light changes minute to minute.
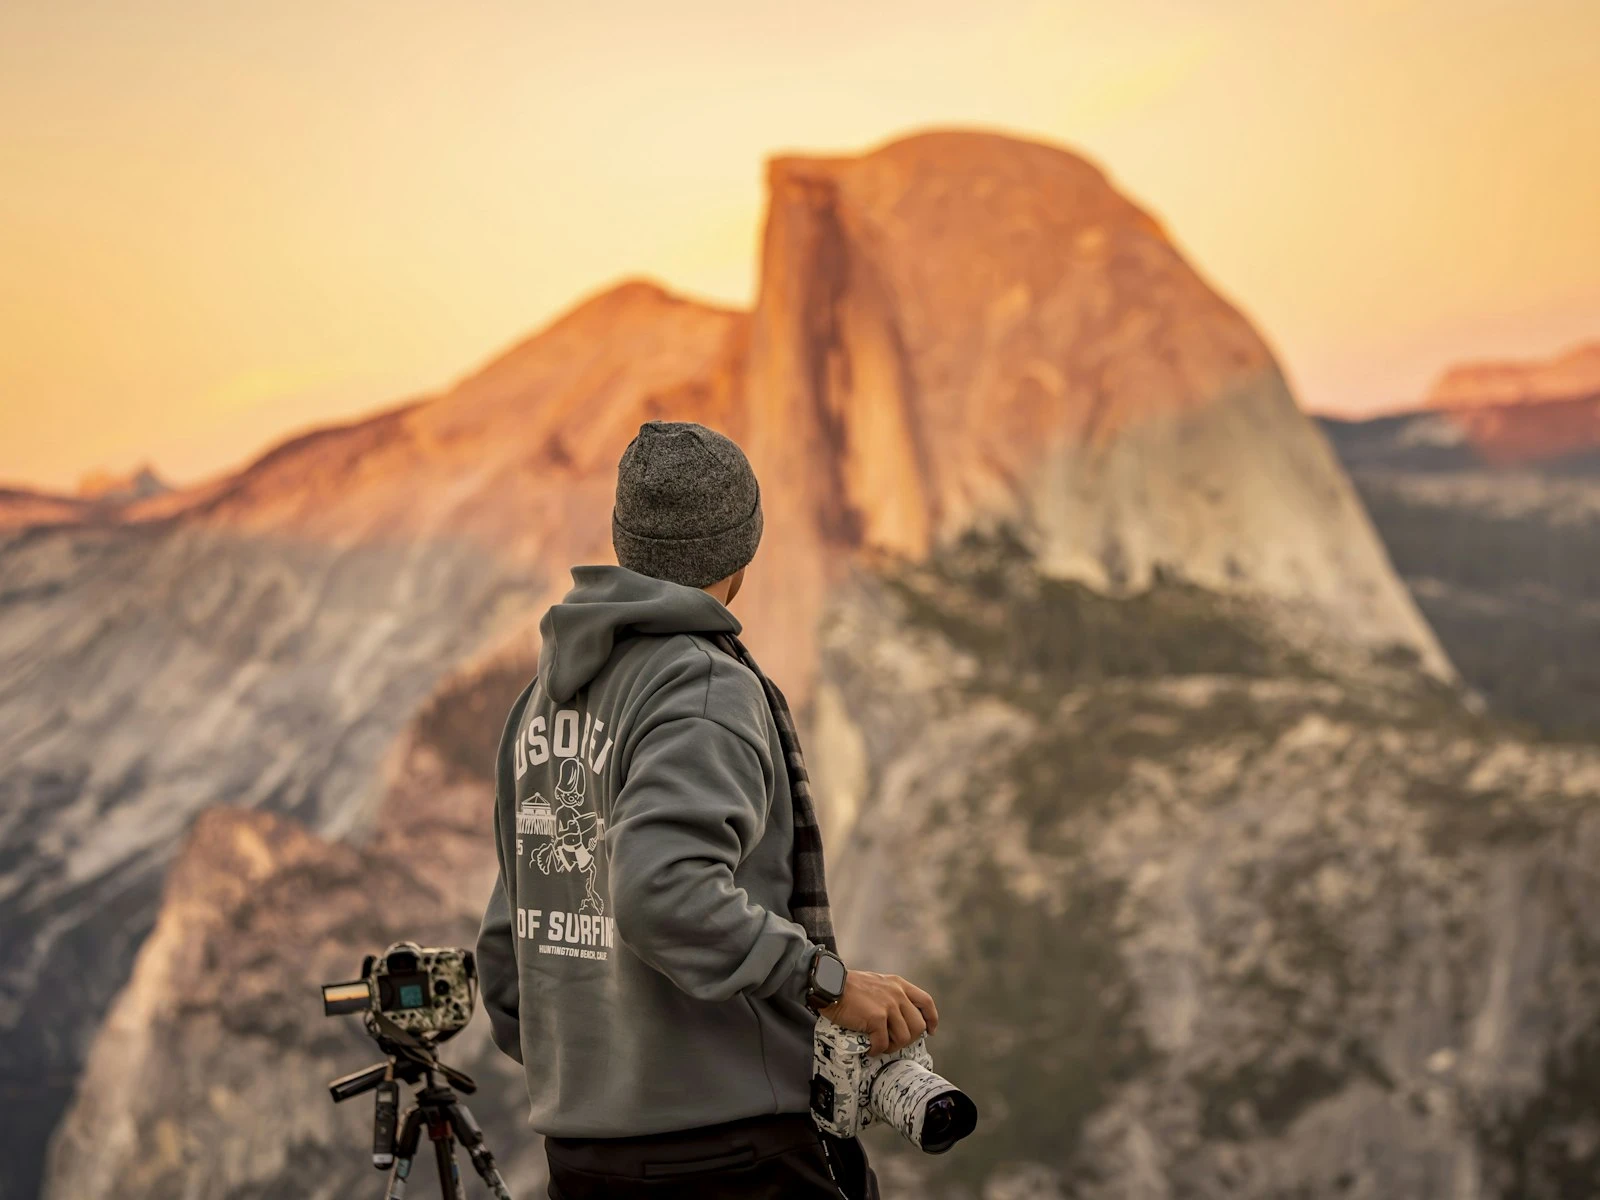
Best Conditions for ND Photography
Long exposures benefit from a few specific conditions.
Moving subjects in an otherwise static scene. A waterfall against still rocks. Clouds moving across a static skyline. Waves washing across a beach with fixed driftwood in the foreground. The contrast between blurred motion and frozen stillness is what makes the technique compelling.
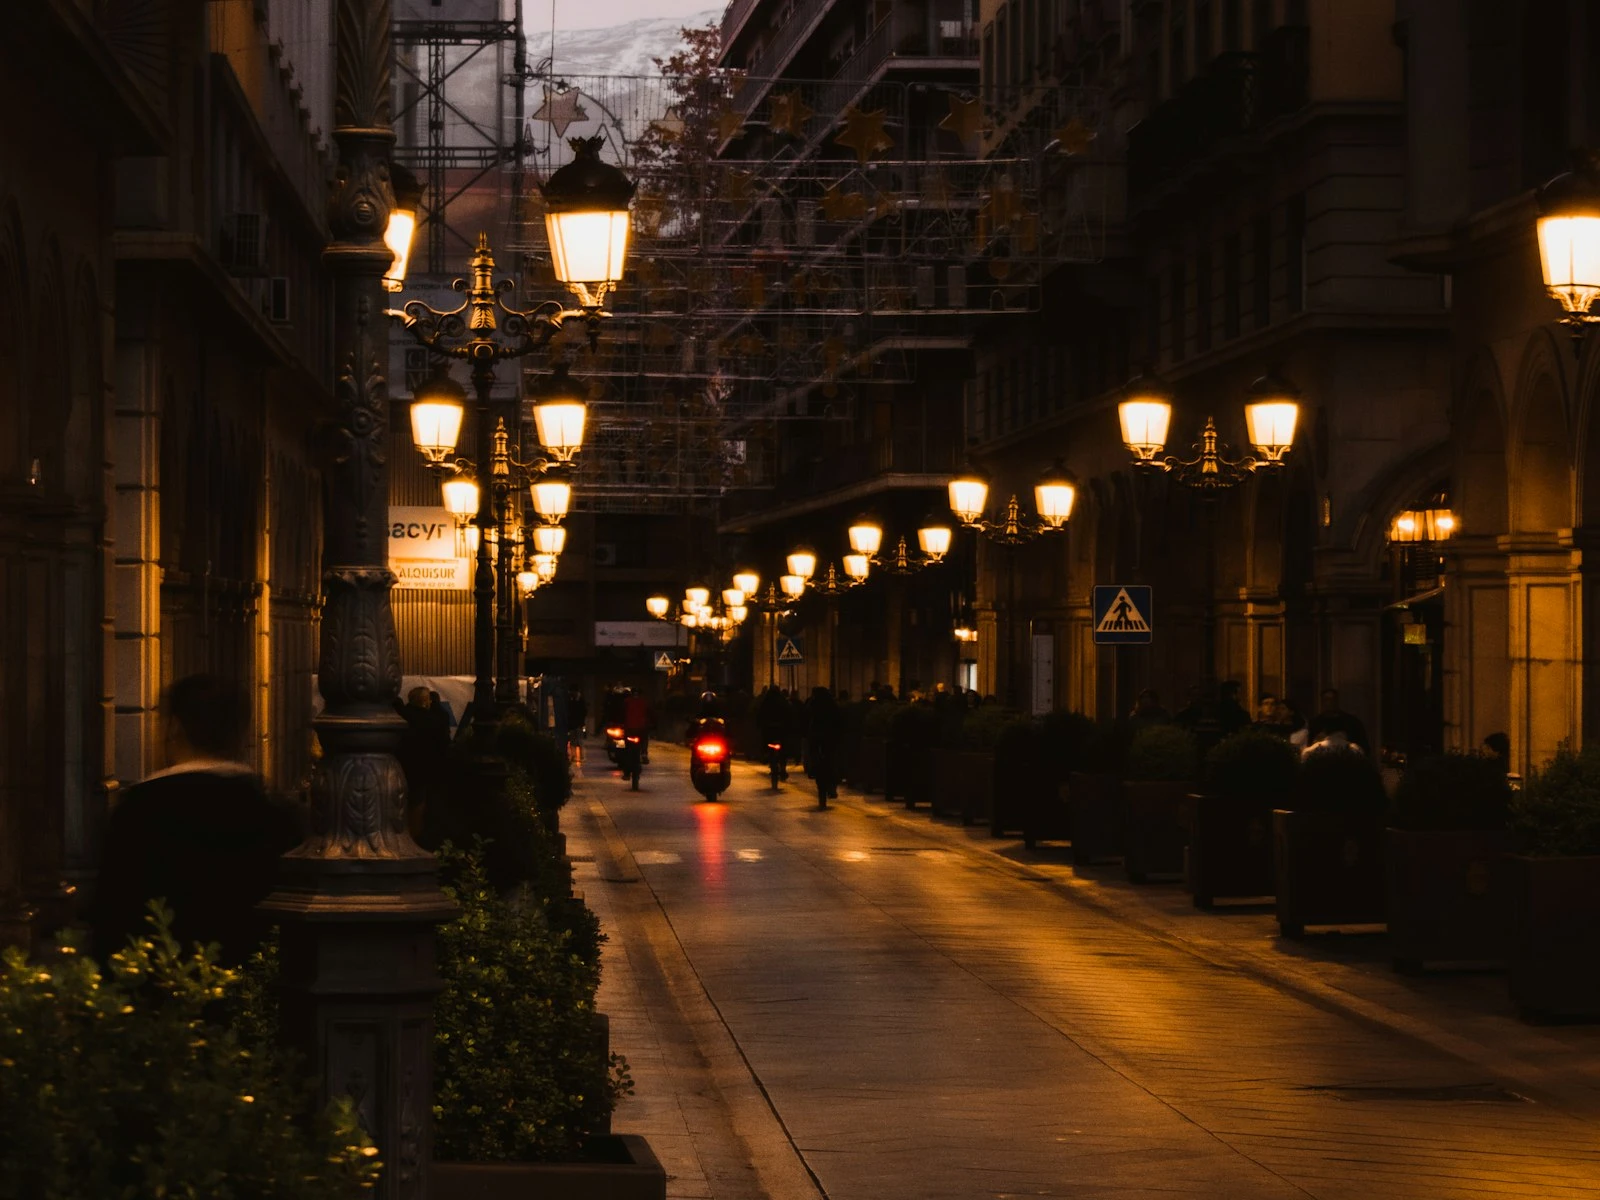
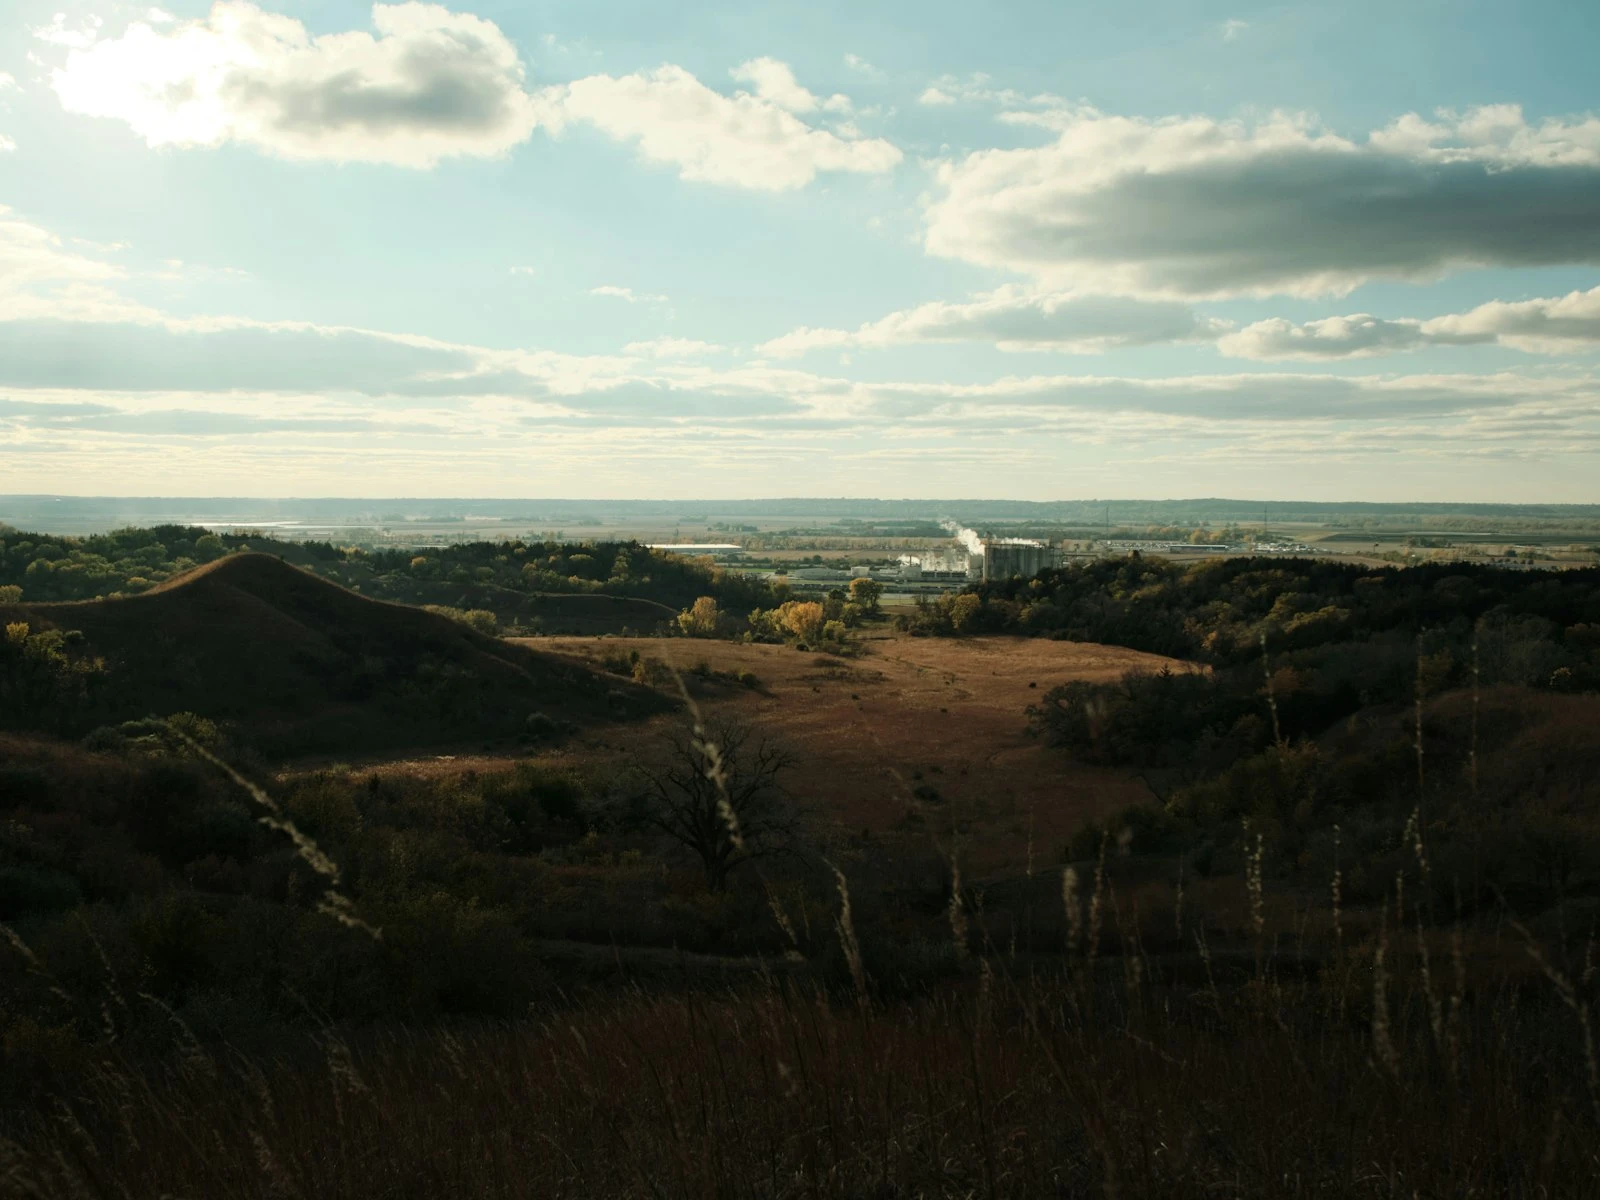
Even, soft light. Overcast skies, blue hour, the soft side of golden hour all work well. Harsh midday light still works but is less forgiving on highlights, and white water can blow out fast.
Wind that is consistent but not extreme. A breeze that pushes clouds steadily across the sky produces beautiful streaks. A gale that whips your tripod ruins everything. If trees and grass are visibly blurring in the wind, expect them to look like soft smears in your final image.
Water with current or wave motion. Rivers, oceans, fountains. Still ponds give you flat reflections instead of texture, which is its own look but a different one.
Common Mistakes With ND Filters
A few patterns that catch beginners.
Mistake. Buying Cheap Filters
Cheap NDs introduce color casts, reduce sharpness, and sometimes show banding across the frame. The cost of a quality filter is small compared to the cost of the lens it sits in front of and the time you spend hauling gear to a location.
Fix. Buy from established filter brands. Glass filters generally outperform resin. You will save money in the long run by not replacing your filter twice.
Mistake. Touching the Camera During the Exposure
A 30-second exposure that gets bumped at second 15 is a 30-second exposure of nothing usable. Even pressing the shutter button is enough to soften the result.
Fix. Use a remote or the 2-second timer. Step back from the tripod once the exposure starts. Do not lean on the camera bag if it is hanging from the center column.
Mistake. Forgetting to Switch to Manual Focus
You composed, focused, screwed on the filter, framed the shot, and pressed the shutter. The camera hunted for focus, could not find any contrast through the dark filter, and either gave up or locked focus on something random in the frame.
Fix. After autofocusing on your subject, switch the lens or camera to manual focus before the filter goes on. The focus stays where you put it, regardless of what the filter does to the view.
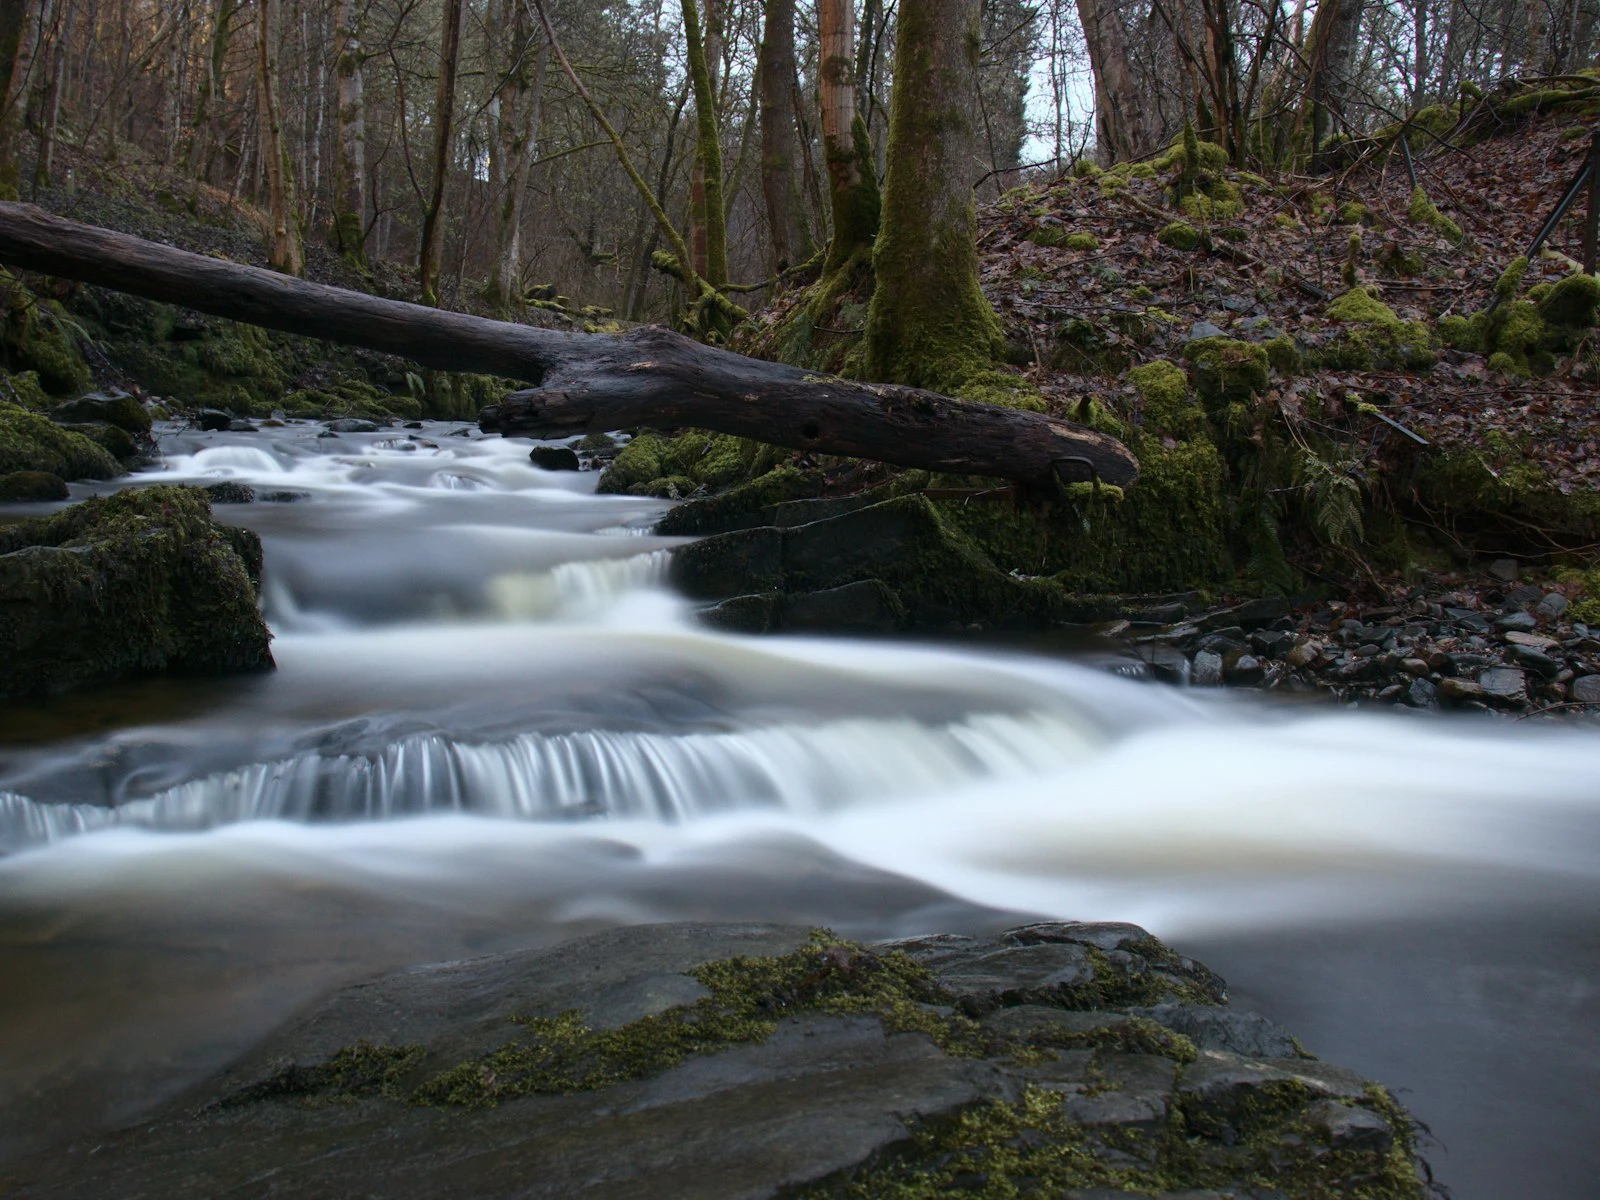
Mistake. Over-Smoothing the Water
A 1-second exposure of a waterfall gives you flowing silk. A 30-second exposure of the same waterfall often gives you flat, featureless blur that looks more like fog than water. More exposure is not always more dramatic, and there is a point where you have erased all the structure that made the scene interesting.
Fix. Take a range of exposures. Try 1 second, then 4 seconds, then 15 seconds, then 30. Compare them later. The right length depends on the speed of the water, the size of the falls, and your taste.
Mistake. Ignoring the Light Direction
Long exposures often look best with the light coming from the side or behind you. Shooting directly into the sun with a strong ND filter is a recipe for flare, ghosting, and weird color casts. A polarizer can help in some side-lit conditions, but it adds another 1 to 2 stops on top of the ND.
Fix. Scout for backlit foreground details earlier in the day. Save direct-into-sun compositions for normal exposures.
Key Takeaways
- An ND filter cuts the amount of light reaching your sensor without changing the color, which lets you use slow shutter speeds in bright conditions.
- Buy a 6-stop first for everyday landscape work, then add a 10-stop for the dramatic stuff. Skip the 3-stop until you have a specific reason for it.
- Compose and focus before the filter goes on, then switch the lens to manual focus so autofocus does not hunt through the dark glass.
- Use a tripod and a remote release (or the 2-second self-timer) for every long exposure, and take a test shot first to nail the exposure before committing to a long take.
More in This Guide
Continue exploring landscape photography.
Related Guides