Sunsets are probably the most photographed subject on Earth. Every day, millions of people point their cameras at the western sky and capture... pretty much the same image.
An orange sky, maybe some clouds, perhaps a dark silhouette, technically a sunset, but not a photograph that holds anyone's attention for more than a second.
Your sunset photos don't have to look like everyone else's. With thoughtful composition, smart timing, and attention to what makes a photograph compelling beyond just "pretty colors," you can create sunset images that actually stand out. It's one of the most popular topics in our landscape guide.
Why Most Sunset Photos Are Boring
Before we fix the problem, let's understand it. Most sunset photos fail for predictable reasons.
The Sky-Only Trap
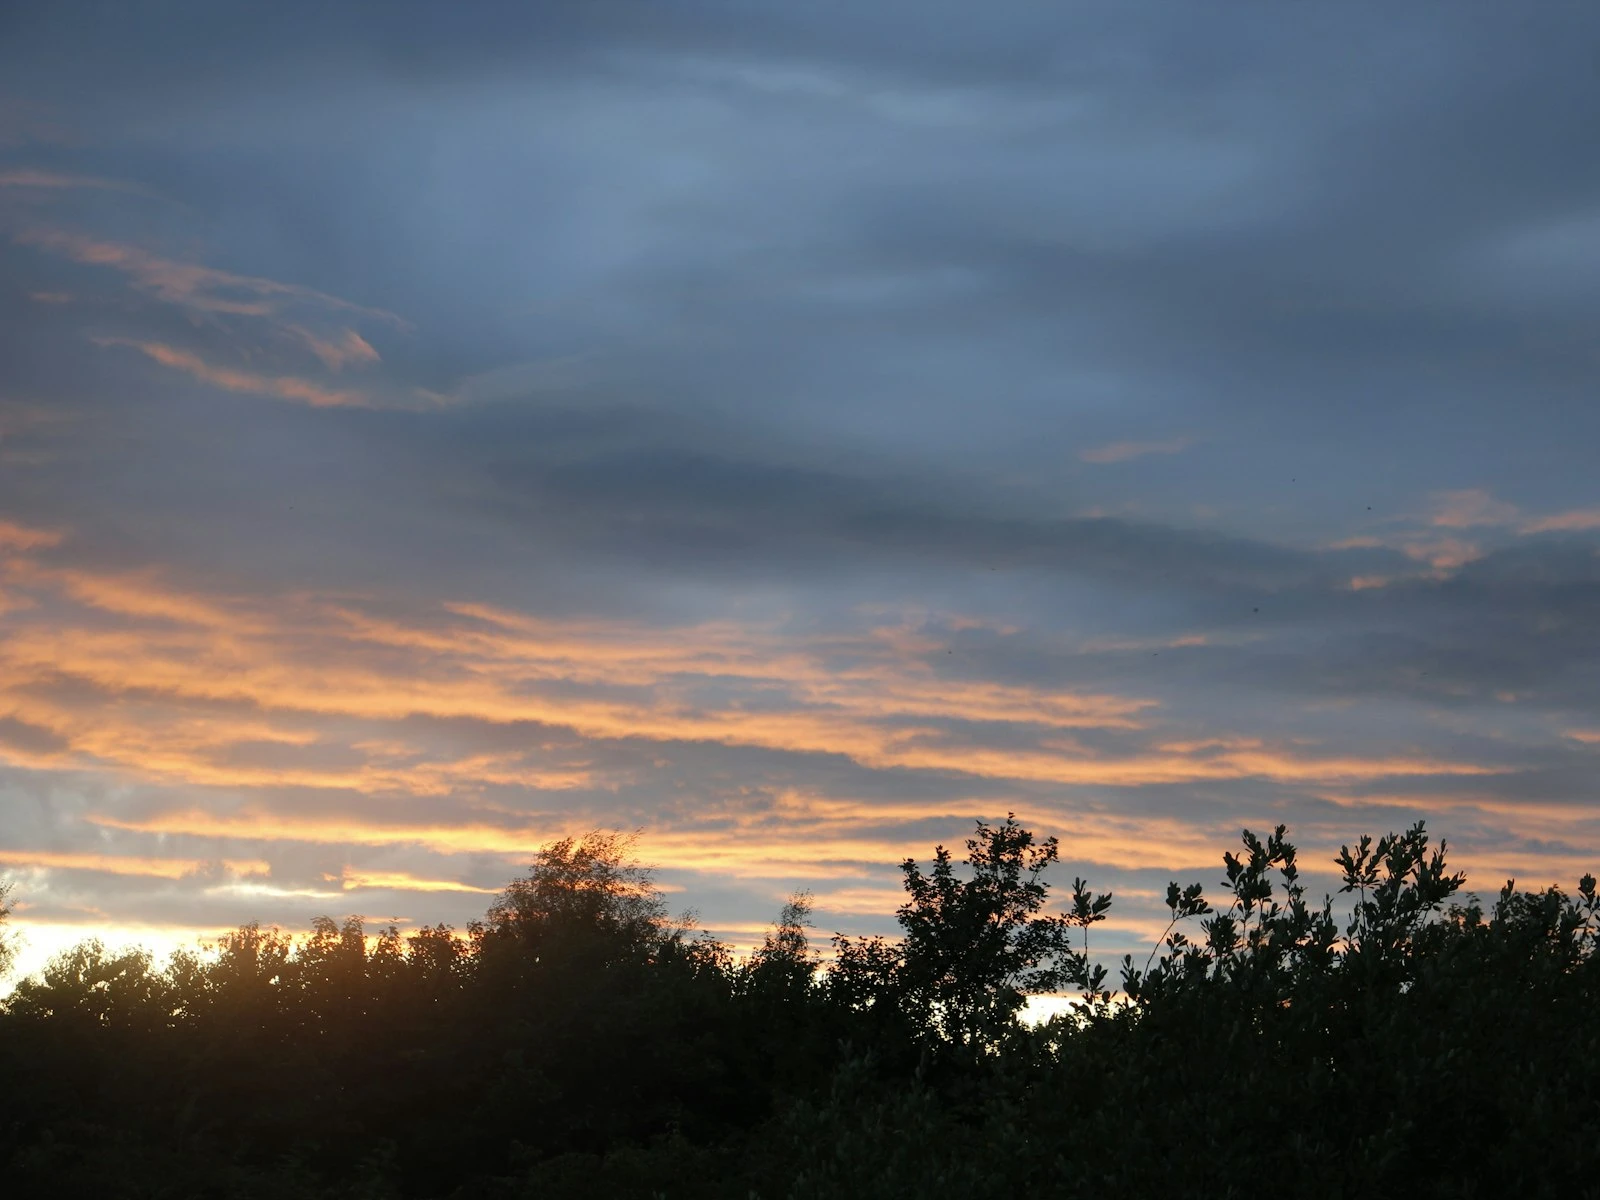
The most common sunset photo is just sky with no foreground, no subject, and no context, purely color. And while that color might have been breathtaking to witness, photographed in isolation it looks like a million other sunset snapshots.
Your eyes experienced that sunset as part of a complete moment, with the warmth of the air, the sounds around you, and the place you were standing. The photo strips all that away, leaving just abstract color that's rarely enough on its own.
The Generic Composition
Standard sunset composition: horizon across the middle, sun in the center, silhouetted trees or buildings forming a dark border. You've seen this exact image thousands of times, and so has everyone else.
When your composition matches everyone else's composition, your photo becomes background noise, instantly forgettable.
The Exposure Compromise
Sunsets present extreme dynamic range with very bright sky and very dark foreground, and cameras struggle with this. The typical result is either a washed-out sky (too bright) or a completely black foreground (no detail), and neither looks good.
The Timing Mistake
Many people start shooting when the sun touches the horizon and stop when it disappears. But the best light often comes earlier or later, when the sun is higher and side-lighting your scene, or after it sets when the sky fills with rich color.
What Makes a Sunset Photo Compelling
Now let's examine what separates memorable sunset images from forgettable ones.
A Subject Beyond the Sky
The best sunset photos treat the sky as lighting and use that dramatic light to illuminate something interesting like a landscape, a structure, people, or wildlife.
Think of the sunset as a massive, free softbox creating beautiful light. What will you point that light at?
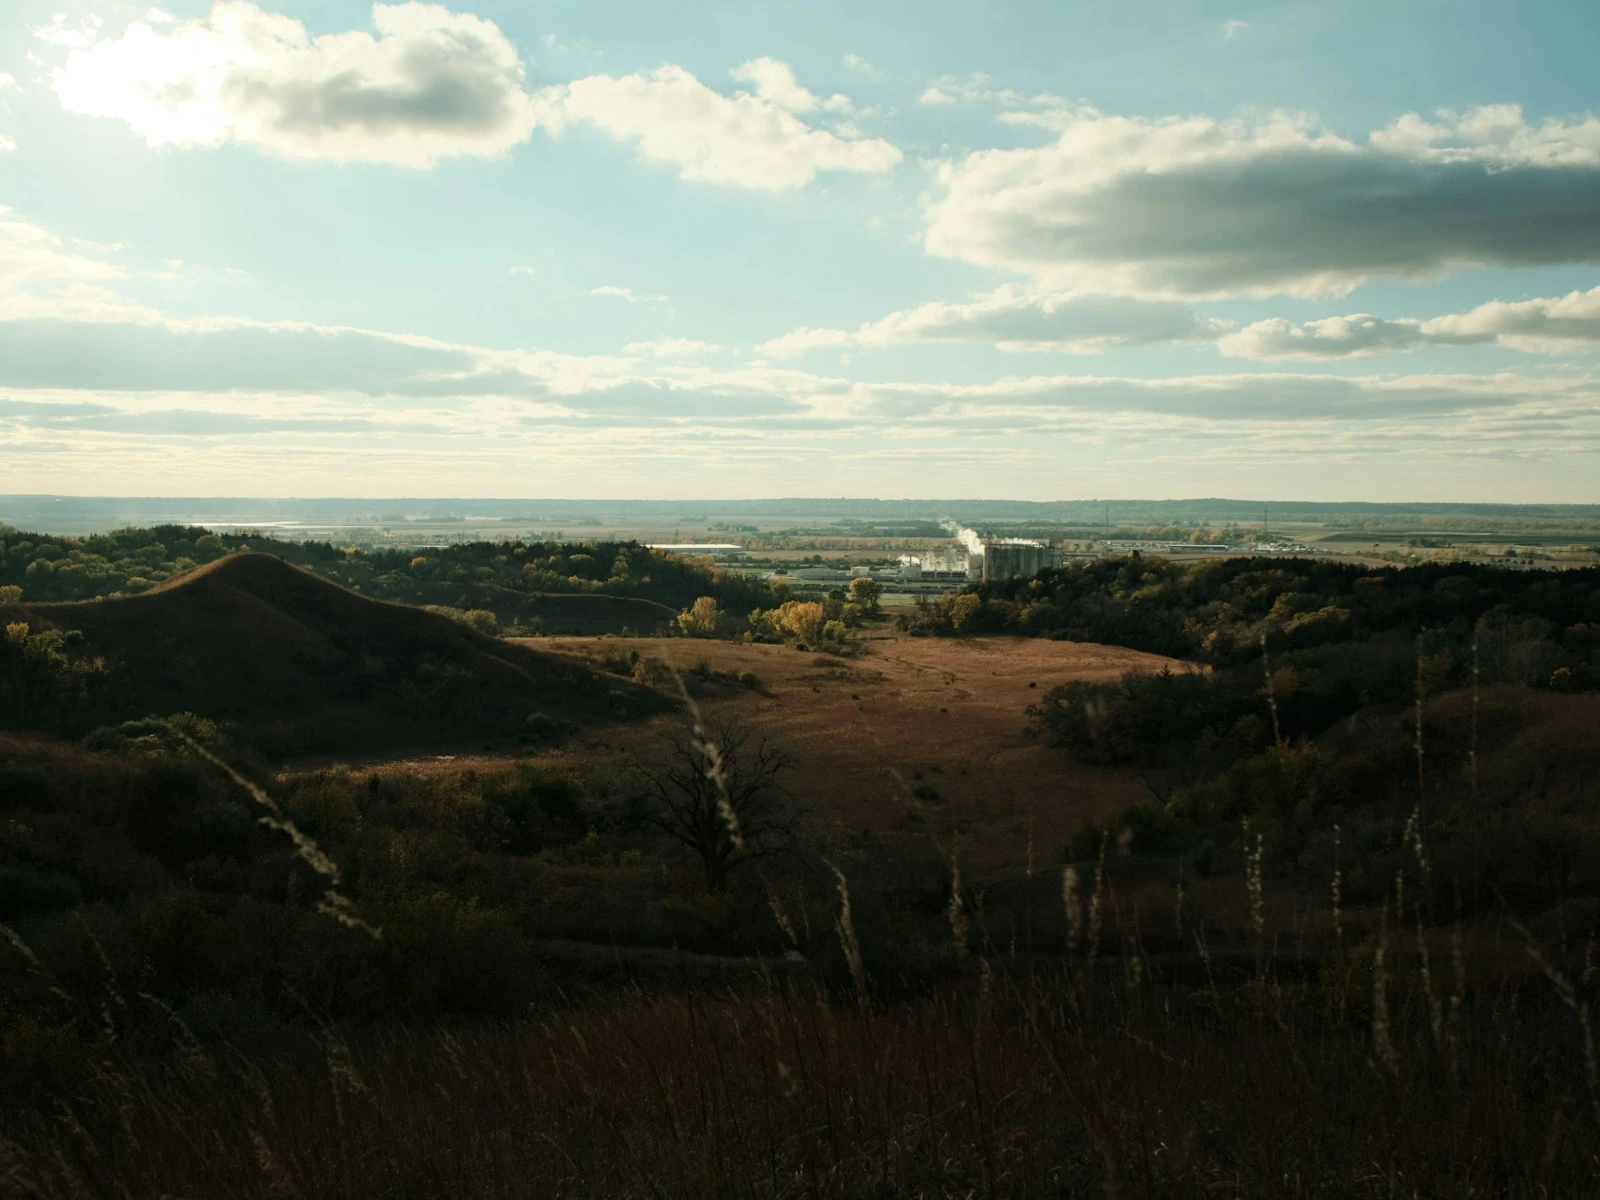
Context and Place
A sunset could happen anywhere, so images that convey a sense of place through distinctive terrain, architecture, vegetation, or other elements tell a story that generic sunsets simply cannot.
Deliberate Composition
Thoughtful placement of elements, strong leading lines, carefully balanced proportions, attention to the entire frame. These hallmarks of good composition apply to sunsets as much as any other subject.
Emotional Resonance
The best sunset photos make viewers feel something. Perhaps solitude, wonder, peace, anticipation, or melancholy. This emotional content comes from subject choice, composition, and timing far more than from the color of the sky alone.
Practical Techniques for Better Sunsets
Let's translate these principles into actionable techniques.
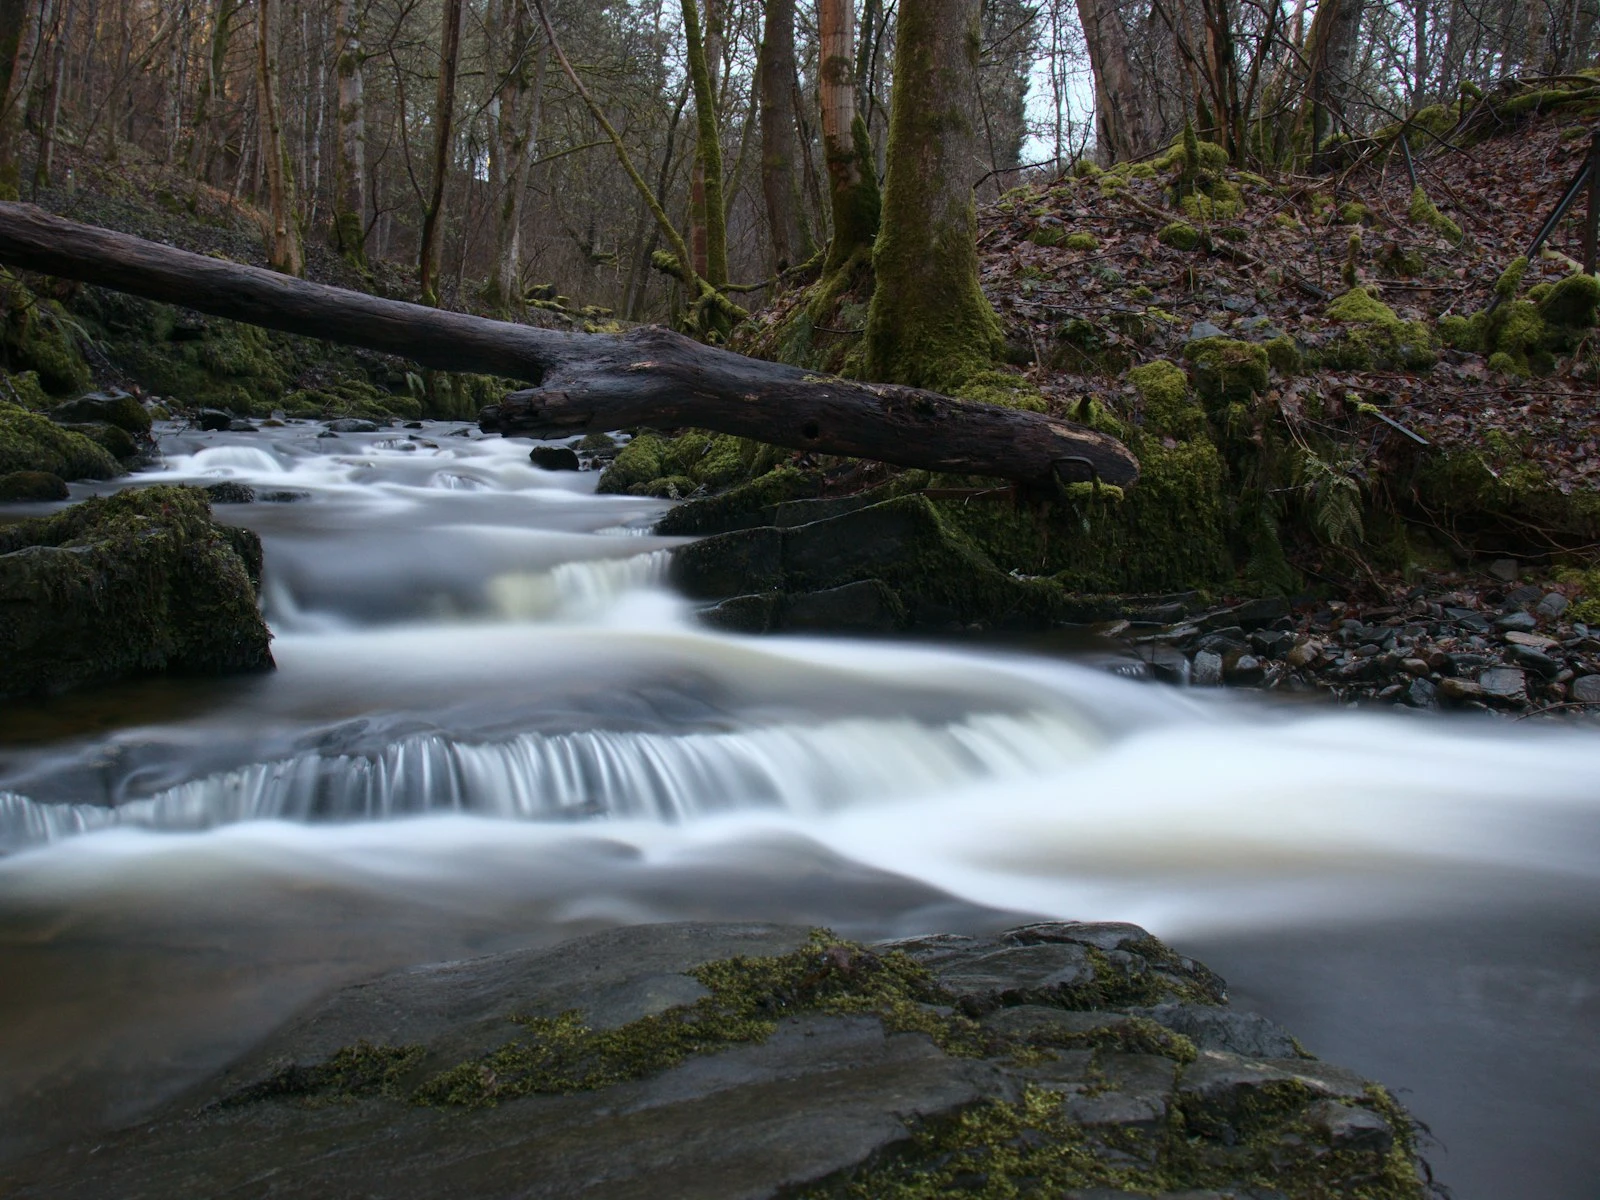
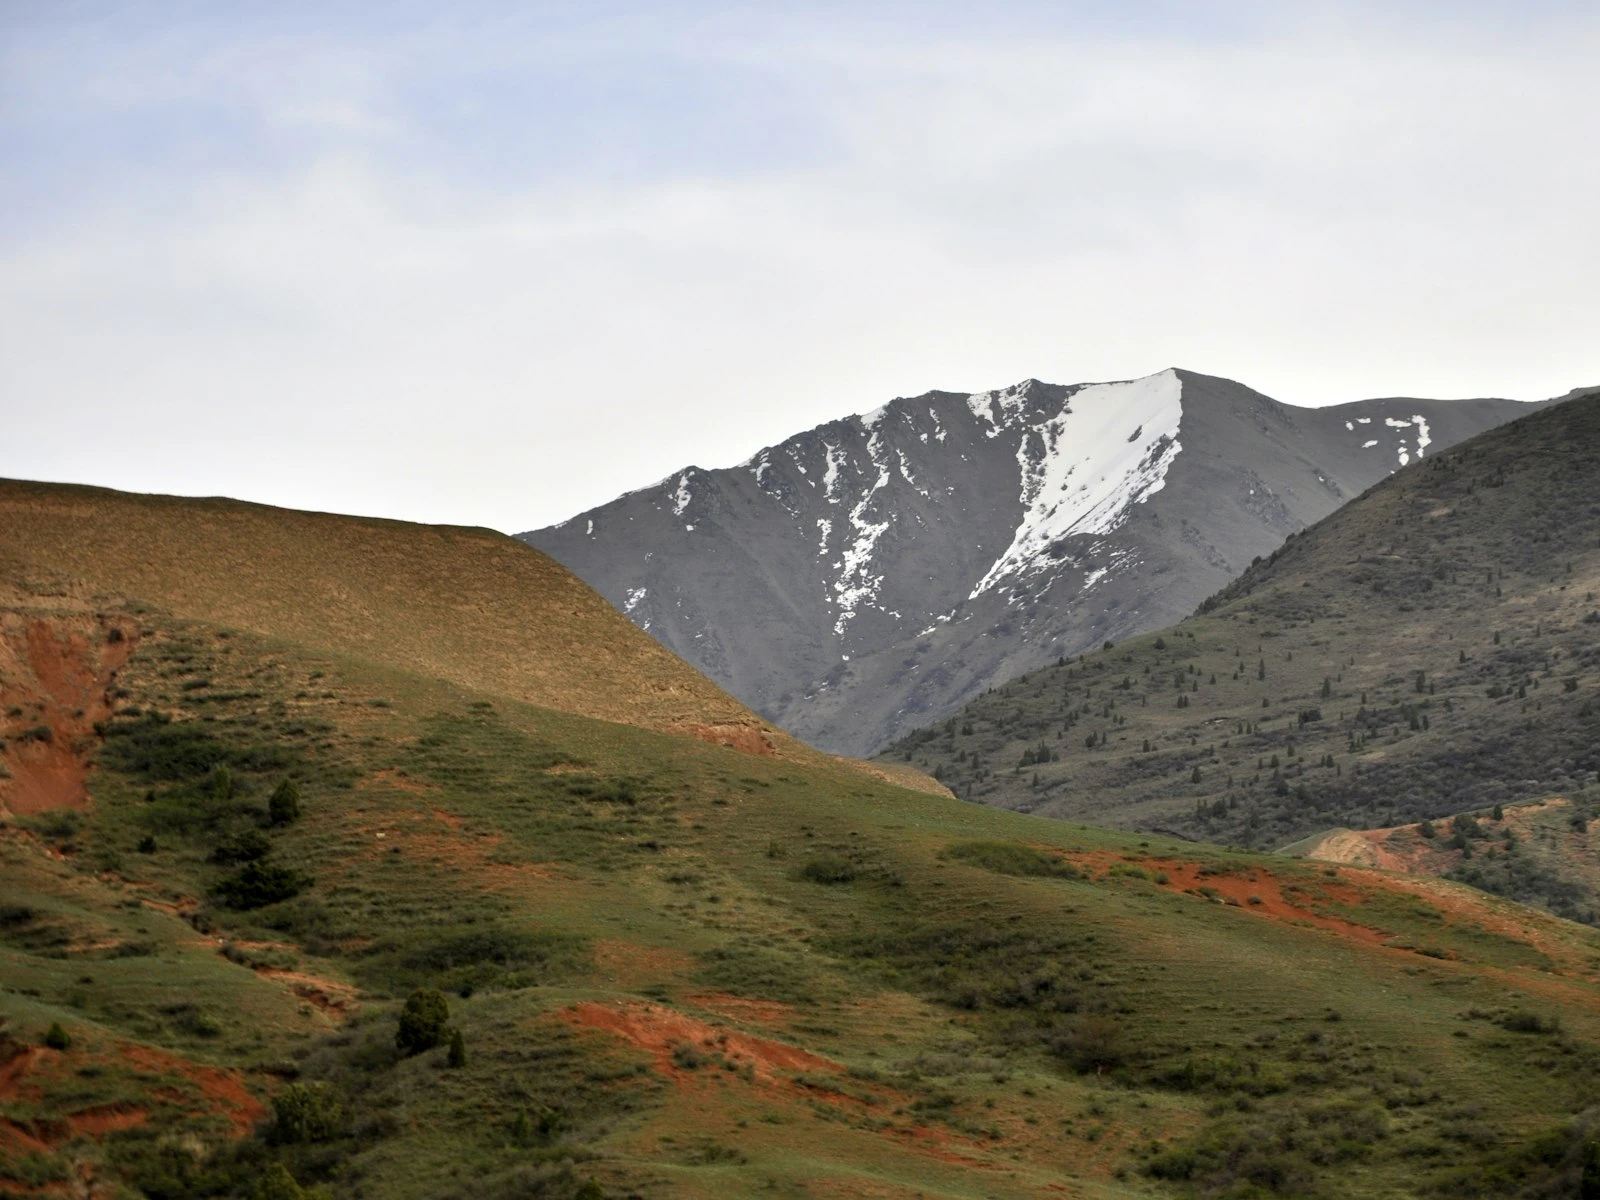
Technique 1: Find a Foreground Subject
Before the sun even approaches the horizon, identify what will anchor your photograph. Options include:
Natural elements:
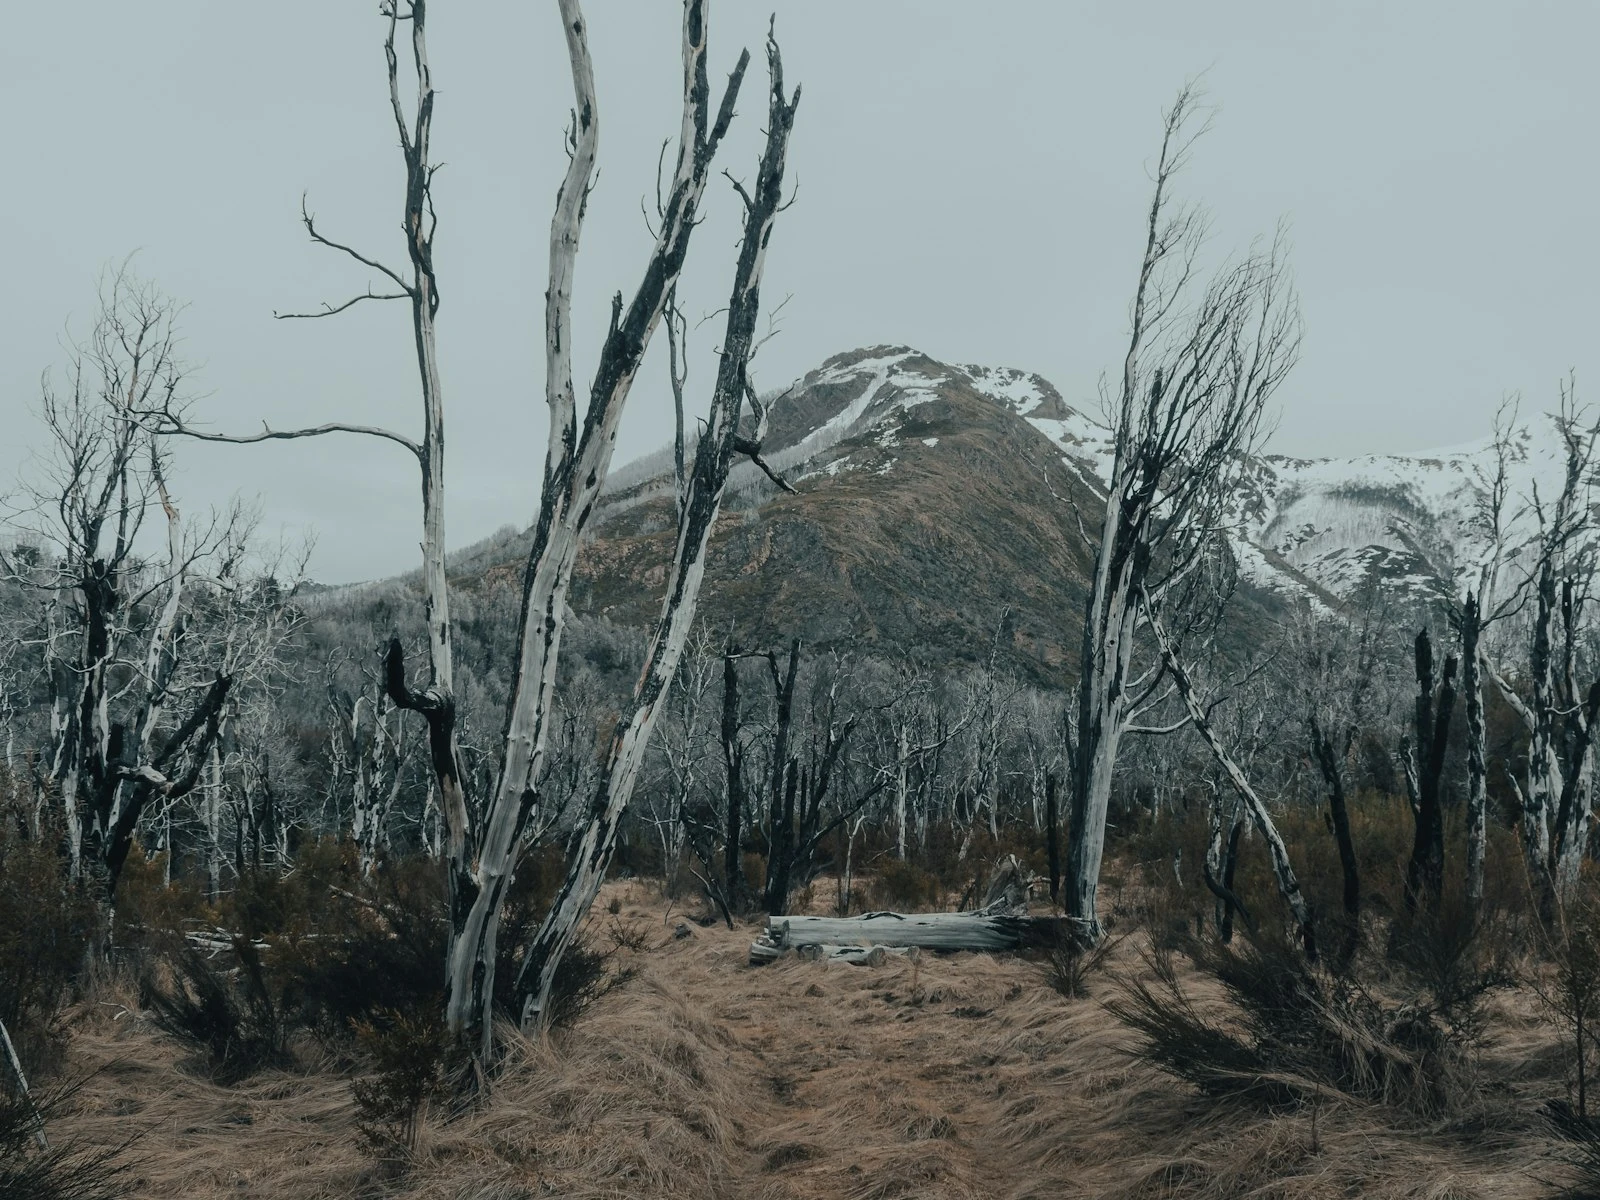
- Rock formations that catch the warm light
- Water that reflects the sky colors
- Trees or vegetation silhouetted or side-lit
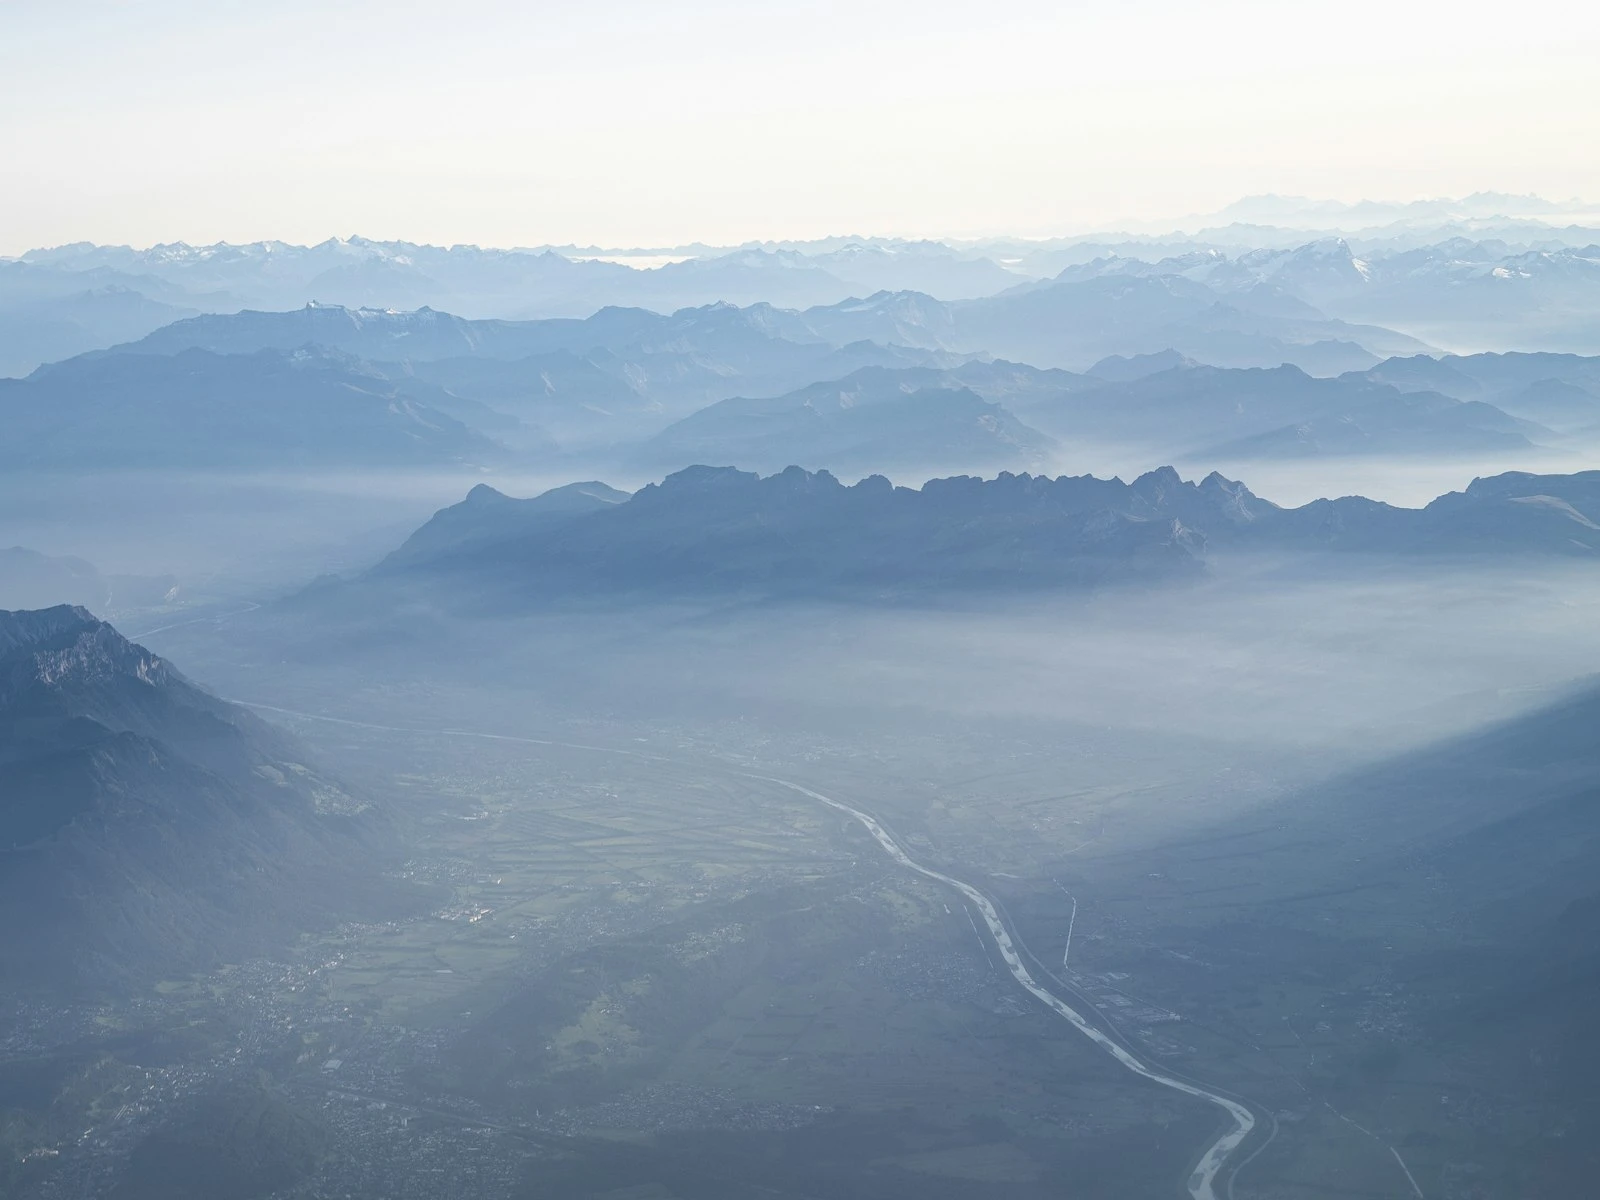
- Hills or mountains creating layered horizons
Man-made elements:
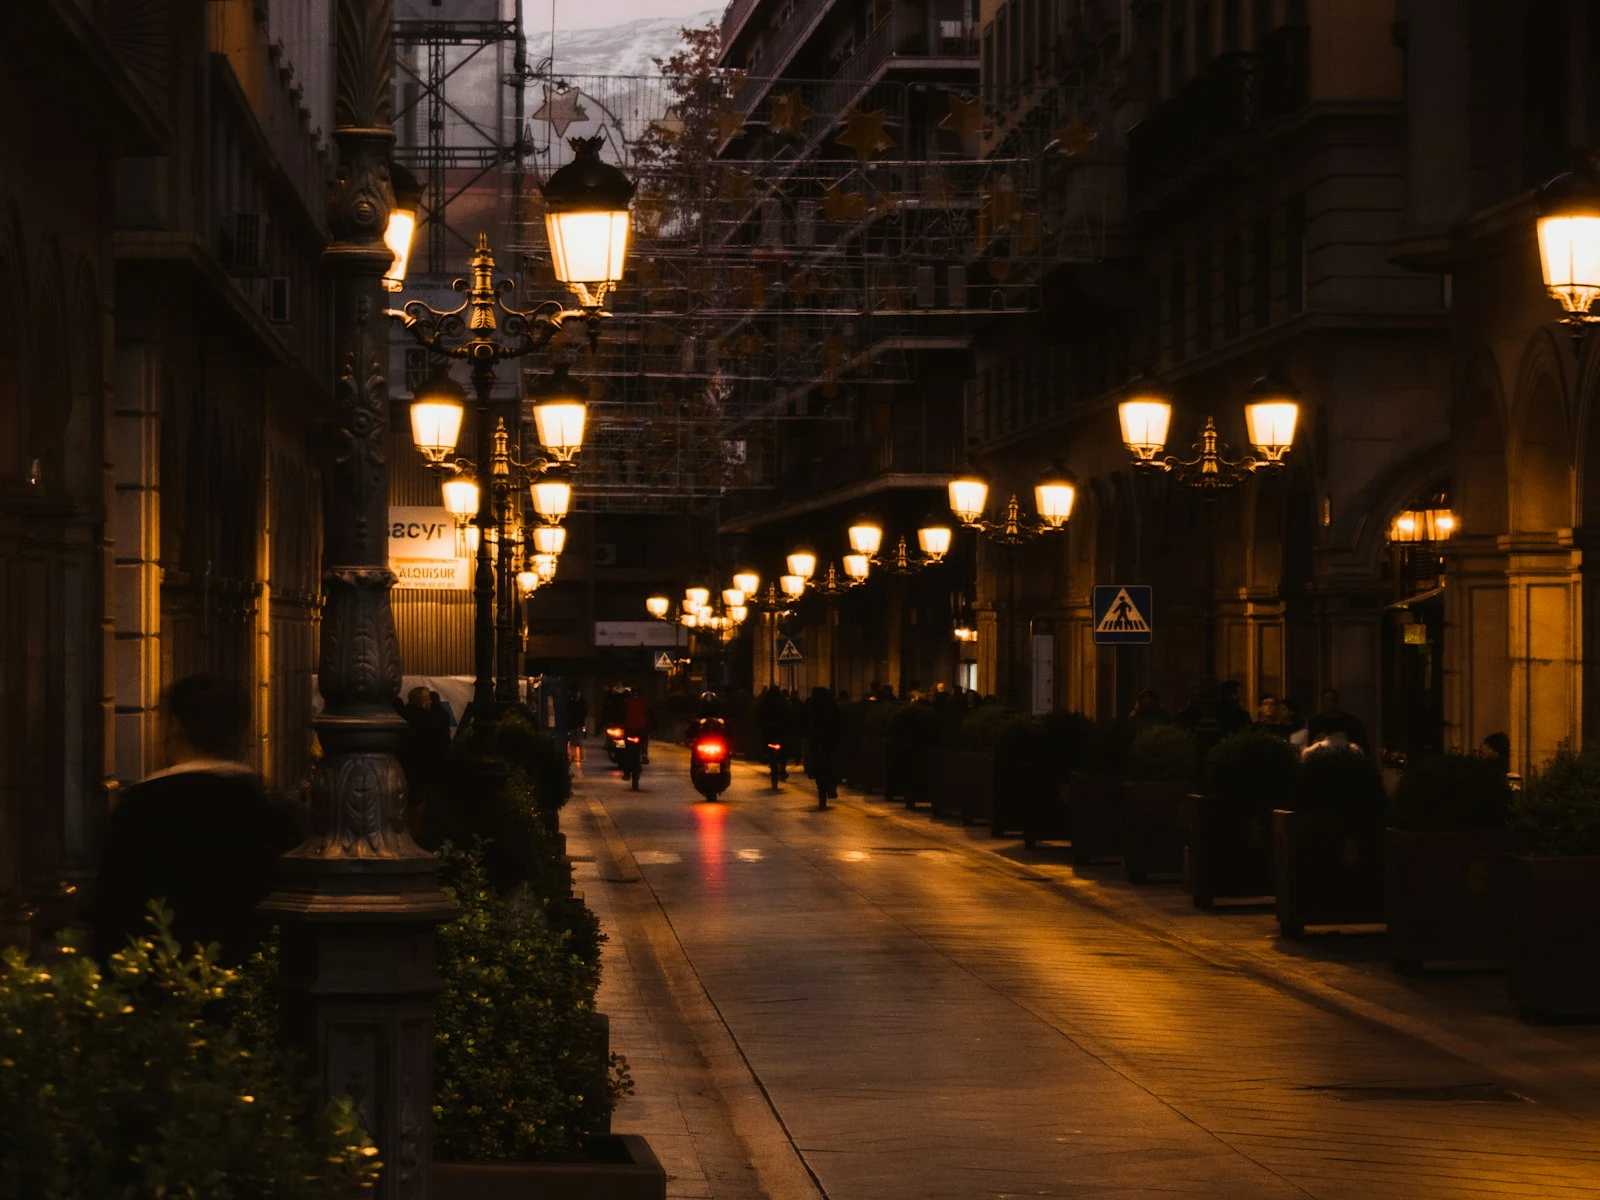
- Buildings and architecture catching golden light
- Boats, piers, docks on water
- Roads or paths leading toward the sunset
- Bridges, monuments, or distinctive structures
Living subjects:
- Wildlife silhouettes (birds especially)
- People (hikers, fishermen, couples)
- Pets or animals as focal points
The foreground should be interesting in its own right, not just "something to put there." It should contribute to the image's story.
Technique 2: Arrive Early, Stay Late
The best light often isn't at the moment of sunset.
30-60 minutes before sunset: Side-lighting is at its most dramatic. The sun is low enough to cast long shadows and warm light, but high enough to actually illuminate your subjects rather than silhouette them.
Golden hour: The roughly 60 minutes before sunset provides consistently beautiful light for photography. This is when you can capture landscapes, portraits, and architecture with that coveted warm glow.
At sunset: The most dramatic sky colors often happen just before or just after the sun touches the horizon, not during.
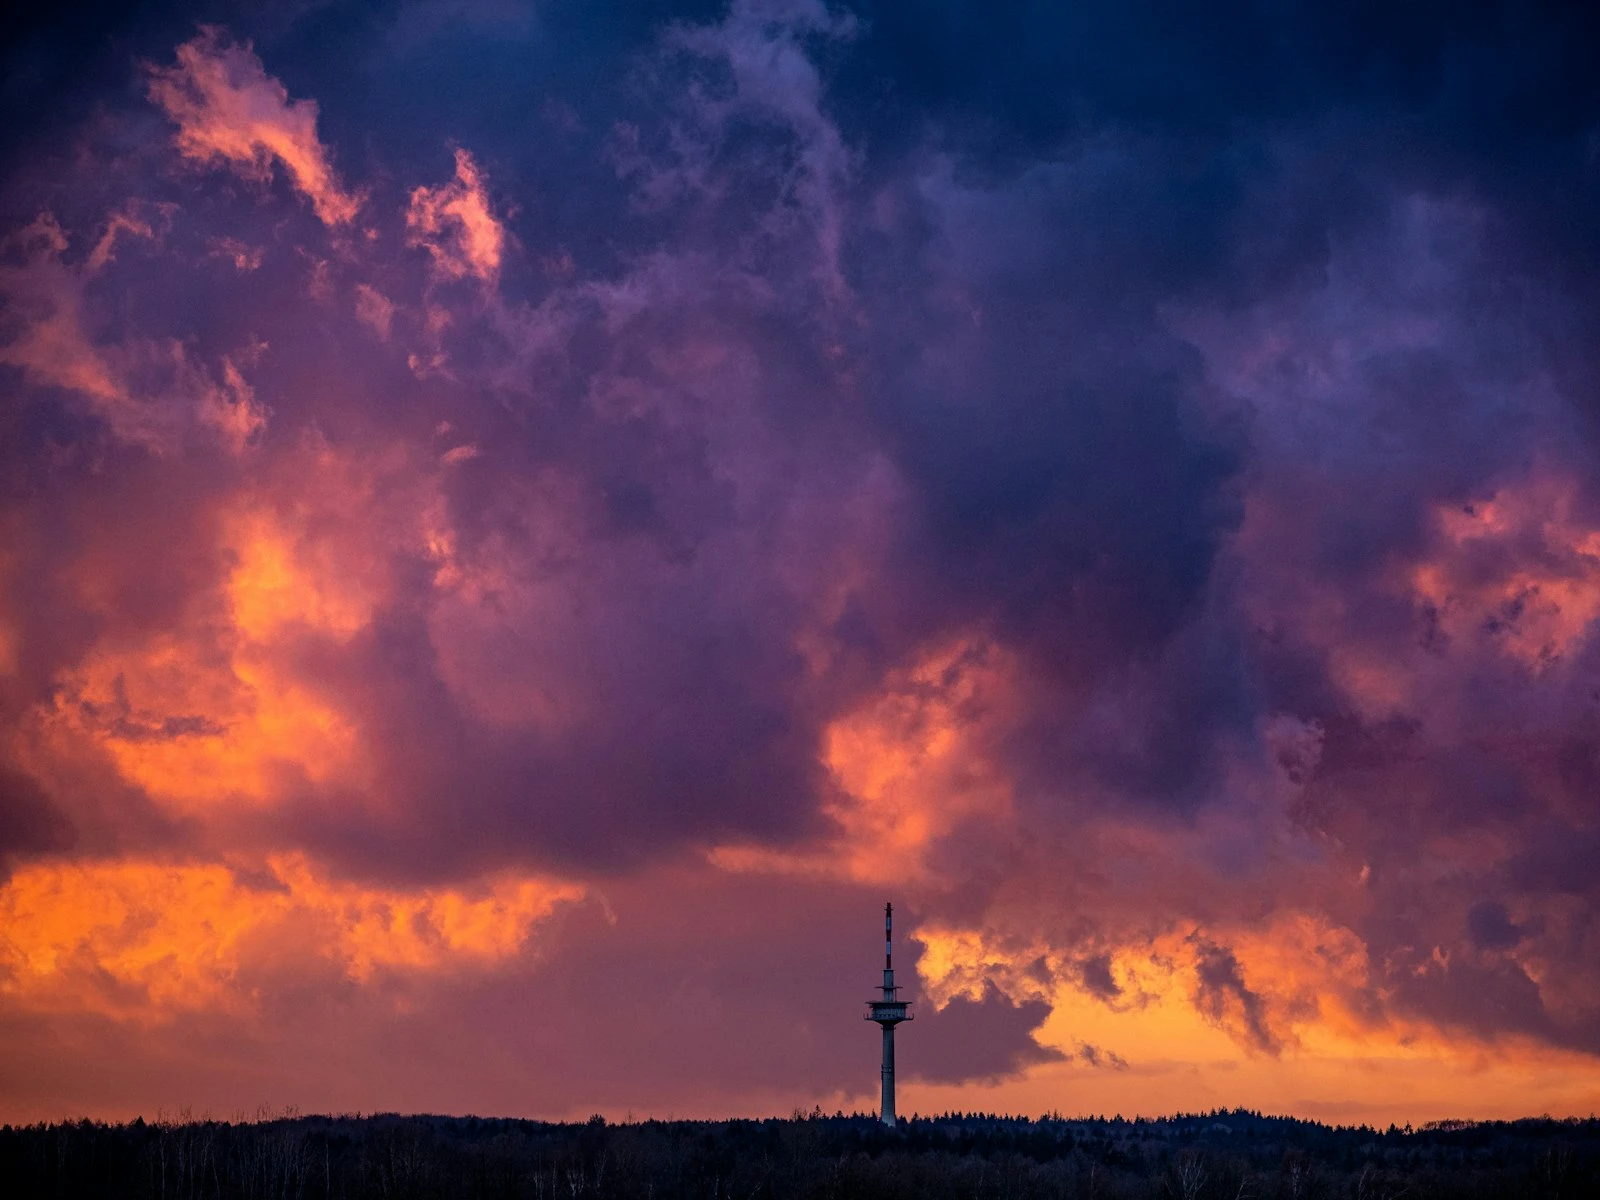
After sunset: The sky often explodes with color 10-20 minutes after the sun disappears. These post-sunset moments can provide the most vivid colors of the entire evening, and fewer photographers stick around for them.
Blue hour: The 20-40 minutes after sunset, as the sky transitions from warm to cool, offers its own possibilities. The combination of remaining warm horizon tones with deep blue upper sky creates beautiful contrast.
Plan to arrive an hour before sunset and stay until 30 minutes after. That 90-minute window contains countless photographic opportunities. If you want to know the exact sun position and direction for your location, the Sun Position Planner helps you scout the best vantage points in advance.
Technique 3: Use Silhouettes Intentionally
Silhouettes work beautifully against sunset skies, but only when they're deliberate. The key is choosing silhouette subjects with distinctive, recognizable shapes.
Strong silhouette subjects:
- Trees with interesting branch structure
- People in active poses (not just standing)
- Distinctive architecture
- Animals with characteristic profiles
- Objects with clear, simple shapes
Weak silhouette subjects:
- Lumpy, undefined shapes
- Cluttered overlapping forms
- Subjects that don't read clearly in outline
To create a silhouette, expose for the bright sky and let your foreground go dark. Meter on the sky (not the sun itself) and let the subject become pure shape.
Technique 4: Include Reflections
Water transforms sunsets. A lake, pond, river, ocean, or even a puddle can reflect sky colors, doubling their impact and creating symmetry.
Reflection techniques:
- Position yourself to include both sky and reflection
- Still water gives mirror-perfect reflections; rippled water creates abstract color patterns
- Get low to the water for maximum reflection visibility
- Include something breaking the reflection (a rock, a boat, a person) for visual interest
Technique 5: Shoot Away from the Sunset
One counterintuitive approach is to turn around.
The warm light of sunset illuminates everything facing west with beautiful color. Mountains, buildings, and clouds on the eastern horizon often glow pink and orange from reflected light. These east-facing views can be as dramatic as the sunset itself, with the advantage that no one else is photographing them.
Technique 6: Find Unusual Perspectives
Most sunset photos are taken from standing height, camera at eye level, horizon in the middle. Breaking any of these conventions makes your image stand out.
Get low: Shoot from ground level. Include more foreground, create a sense of vastness.
Get high: Find an elevated viewpoint like a hill, a building, or a parking garage. The expanded horizon creates different compositions.
Shoot vertically: Sunsets are almost always horizontal, but vertical compositions can work beautifully, especially with tall foreground elements.
Go wide or go tight: Either include vast amounts of scene with an ultra-wide lens, or zoom in tight on a detail with a telephoto. The "standard" medium-wide view is what everyone else shoots.
Technique 7: Manage Your Exposure
The dynamic range challenge requires technical solutions.
Option 1: Expose for the sky Accept silhouettes in your foreground. Meter on the sky (not directly on the sun) and let foreground go dark. This preserves sky color and creates dramatic contrast.
Option 2: Graduated neutral density filters These filters are dark on top and clear on the bottom, reducing sky brightness while leaving the foreground unaffected. They're an optical solution to the exposure problem.
Option 3: Exposure bracketing and blending Take multiple exposures, one for the sky, one for the foreground, perhaps one in between, then blend them in editing. This preserves detail throughout the dynamic range.
Option 4: Single exposure with shadow recovery If shooting RAW, you can often expose for the sky (protecting highlights) and then lift shadow detail in editing. Modern cameras have impressive dynamic range for this approach.
Technique 8: Work with Clouds
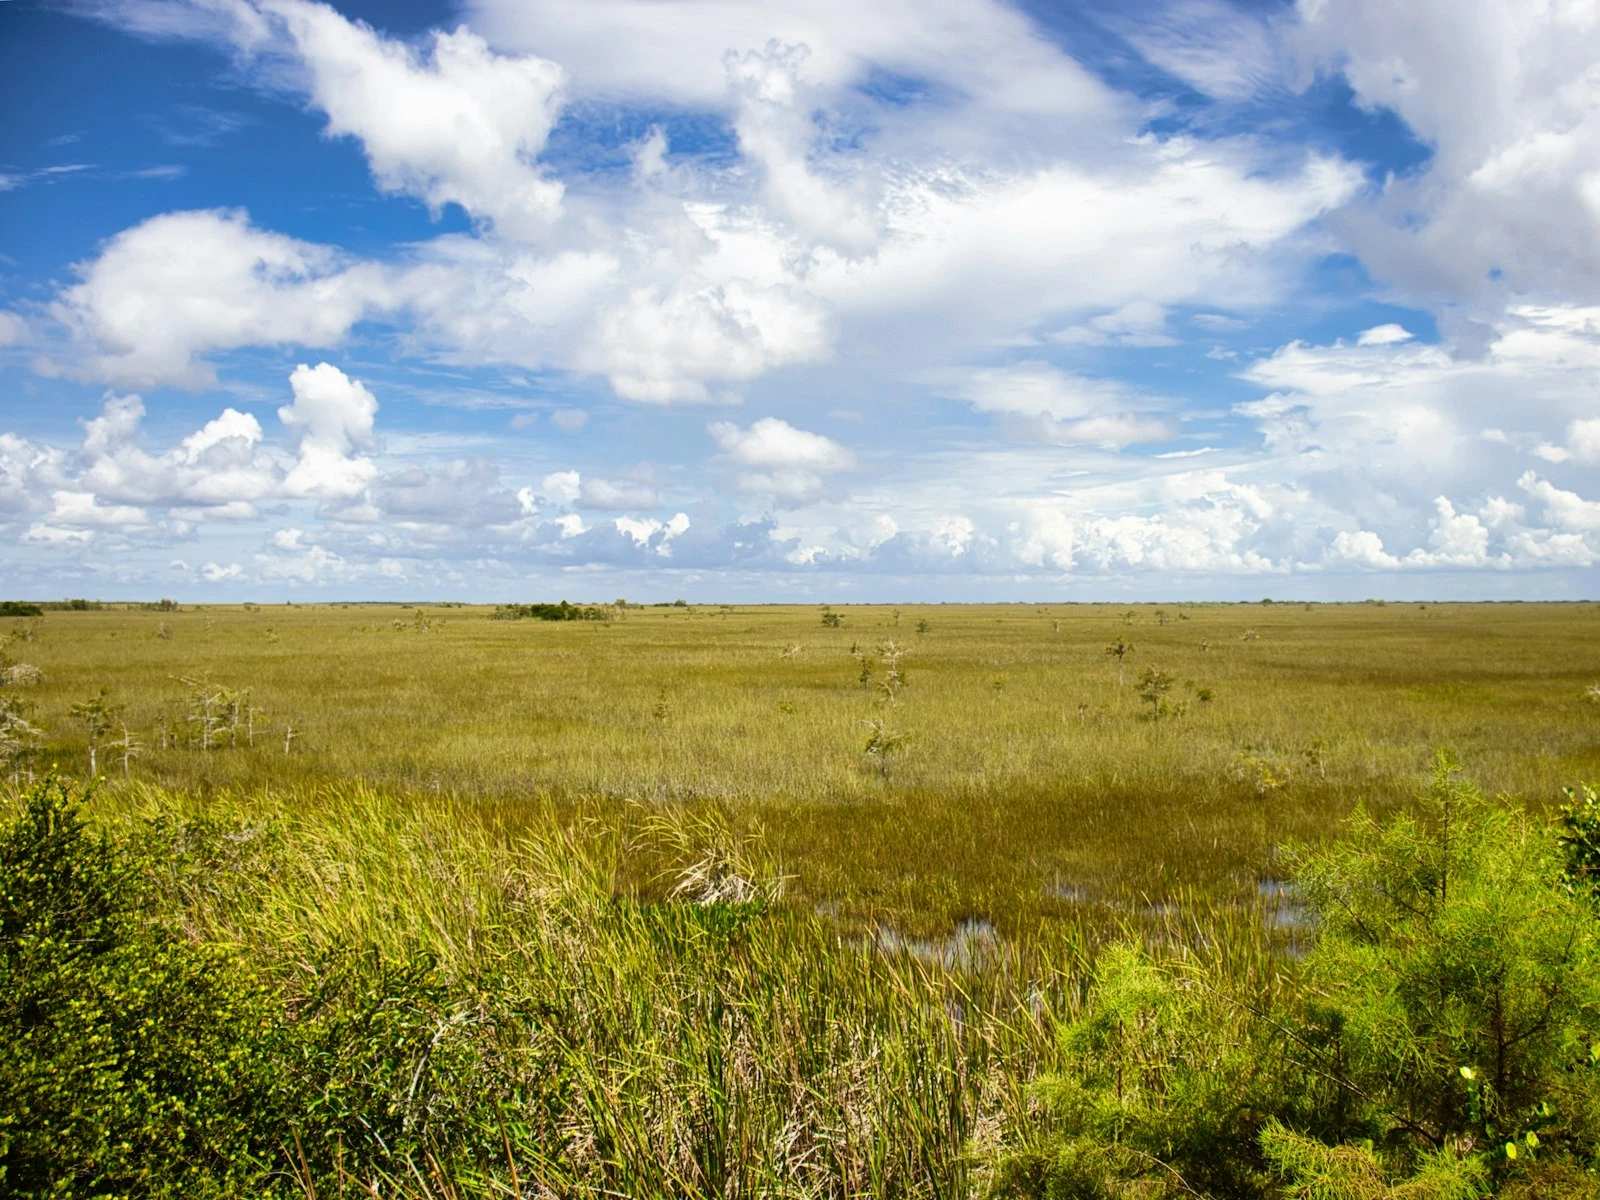
Clear skies produce boring sunsets, while clouds create drama.
Ideal conditions:
- Partial cloud cover with gaps for light to pass through
- High, wispy clouds that catch color
- Stormy skies with dramatic breaks
- Layered clouds at different altitudes
Problems to watch for:
- Solid overcast blocking the sun entirely
- Thick clouds on the western horizon hiding the sunset
- Too few clouds, leaving empty sky
Check weather forecasts for cloud predictions. The best sunset photos often happen when weather is dynamic: clearing storms, developing clouds, or scattered conditions.
Common Sunset Photography Mistakes
Mistake 1: Only Shooting the Sun
The sun is the brightest object in your frame and will draw the eye. But that doesn't mean it should be the subject. Often, images improve when the sun is excluded or minimized.
Mistake 2: Centering Everything
The sun in the center, horizon in the center. The most static, least dynamic composition possible. Apply the rule of thirds. Place the horizon on upper or lower third lines. Position the sun off-center.
Mistake 3: Forgetting the Foreground
Empty foregrounds make boring images, so always include something interesting in the bottom third of your frame. Foreground interest is the single biggest improvement for sunset shots.
Mistake 4: Oversaturating in Editing
The temptation to crank up saturation is strong because sunsets are colorful. But oversaturated images look garish and fake. Sunset colors should be vivid but believable.
Mistake 5: Stopping Too Soon
The camera comes down when the sun disappears. The best color is often still coming. Keep shooting until the light truly fades.
A Sunset Photography Session
Here's how to approach a deliberate sunset shoot.
Preparation (Hours Before)
- Choose a location with interesting foreground potential
- Check weather for cloud conditions
- Note sunset time and plan to arrive 60+ minutes early
- Scout if possible to know the best vantage points
Setup (60 Minutes Before Sunset)
- Arrive and explore. Walk around, find foreground elements, identify the best angle. The golden hour timing tells you exactly when the light shifts
- Set up your composition with afternoon light, since the scene will transform as the sun drops
- Take test shots to work out any technical issues
Active Shooting (30 Minutes Before to 30 Minutes After)
- Start with side-lighting while the sun is still providing illumination
- Vary your compositions as light changes and shoot multiple arrangements
- Watch for peak color and be ready when it arrives
- Keep shooting after sunset for the color explosion that often follows
- Turn around occasionally to see what the sunset light is doing behind you
Review and Reflect (After)
Look at your images on a computer screen. Which compositions worked? What would you do differently? These lessons inform your next sunset shoot.
Key Takeaways
- Treat the sunset as dramatic lighting for an interesting subject rather than making the sky the entire photo.
- Include strong foreground elements and composition instead of shooting sky-only, which looks like every other sunset snapshot.
- Keep shooting after the sun disappears, since the richest colors often come in the minutes following sunset during blue hour.
- Use exposure compensation or bracket exposures to handle the extreme dynamic range between bright sky and dark foreground.
More in This Guide
Continue exploring landscape photography.