There's a reason photographers obsess over golden hour. For roughly an hour after sunrise and an hour before sunset, the sun creates light that makes almost everything look better.
But knowing golden hour exists isn't the same as using it well. The window is short, the light changes constantly, and simply being outside during golden hour doesn't guarantee golden hour results.
This guide is about maximizing those precious minutes by understanding why this light works, how it changes throughout the window, and how to position for different effects. It's one of the most popular topics in our lighting guide.
What Makes Golden Hour Light Special
Golden hour isn't just "nice light." It has specific qualities that make it photographically valuable.
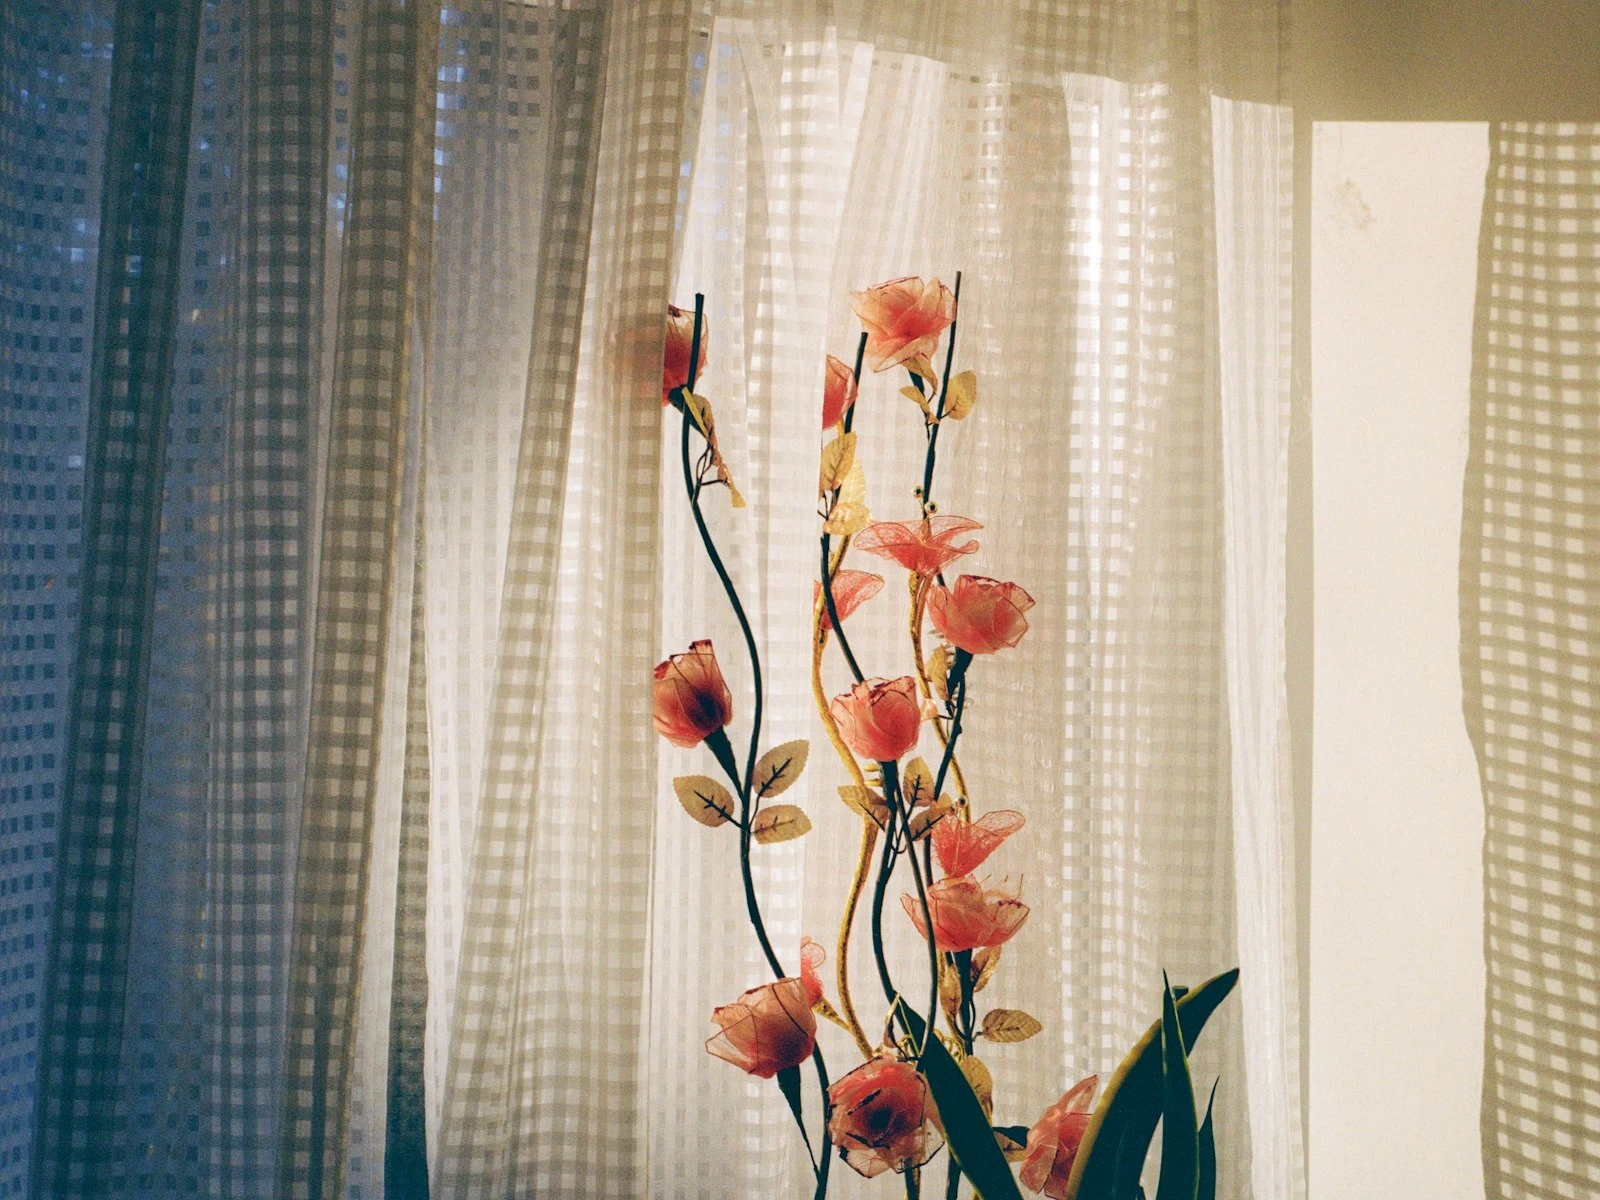
Warm color temperature. The sun sits lower, and its light travels through more atmosphere to reach you. Blue wavelengths scatter more, leaving warmer red and yellow tones. This warmth is naturally flattering for skin and creates emotional, nostalgic moods in landscapes.
Soft quality. That additional atmosphere acts like a giant diffuser. The light is softer than midday. Shadows still exist but with less harsh edges. You get dimension without brutality.
Directional but not overhead. Low sun means light hits subjects from the side or front, not from above. No more dark eye sockets, under-nose shadows, or top-of-head hot spots. The angle is inherently more flattering.
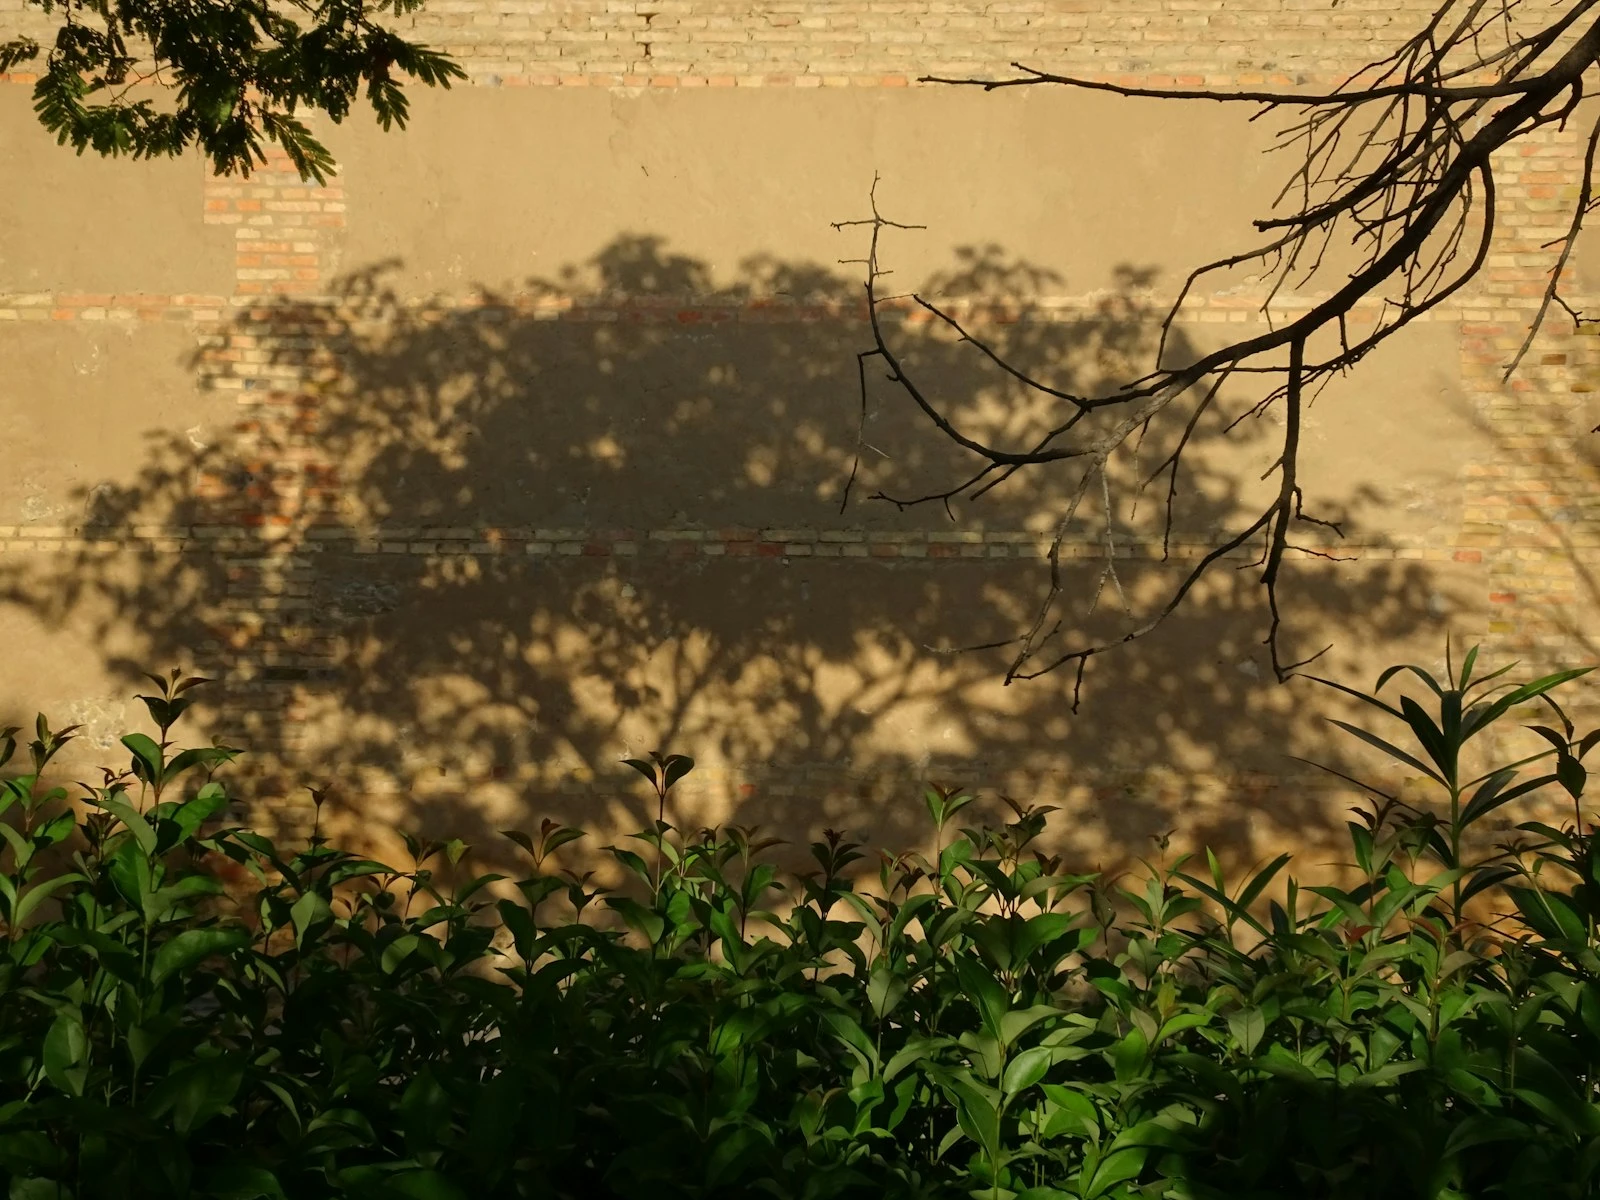
Long shadows. Low sun creates elongated shadows that add drama, depth, and graphic interest. They can become compositional elements themselves.
Easy exposure. The reduced intensity compared to midday means less squinting subjects and easier metering. Your camera handles the dynamic range better.
The combination of warm, directional, soft, and easy to expose is what makes golden hour so valuable, since few other conditions give you all four at once.
When Golden Hour Actually Happens
"An hour after sunrise and before sunset" is the rough guide, but the actual golden hour varies by:
Season. At mid-to-high latitudes, summer golden hours are longer because the sun takes a more oblique path across the horizon, lingering at low angles. In winter, the sun sets more steeply, shortening the golden window. Near the solstices, you might get 90 minutes. In spring and fall, closer to 45 minutes.
Latitude. The farther from the equator you are, the longer your golden hours (and during summer, they can merge into continuous magic around the clock in far northern/southern regions).
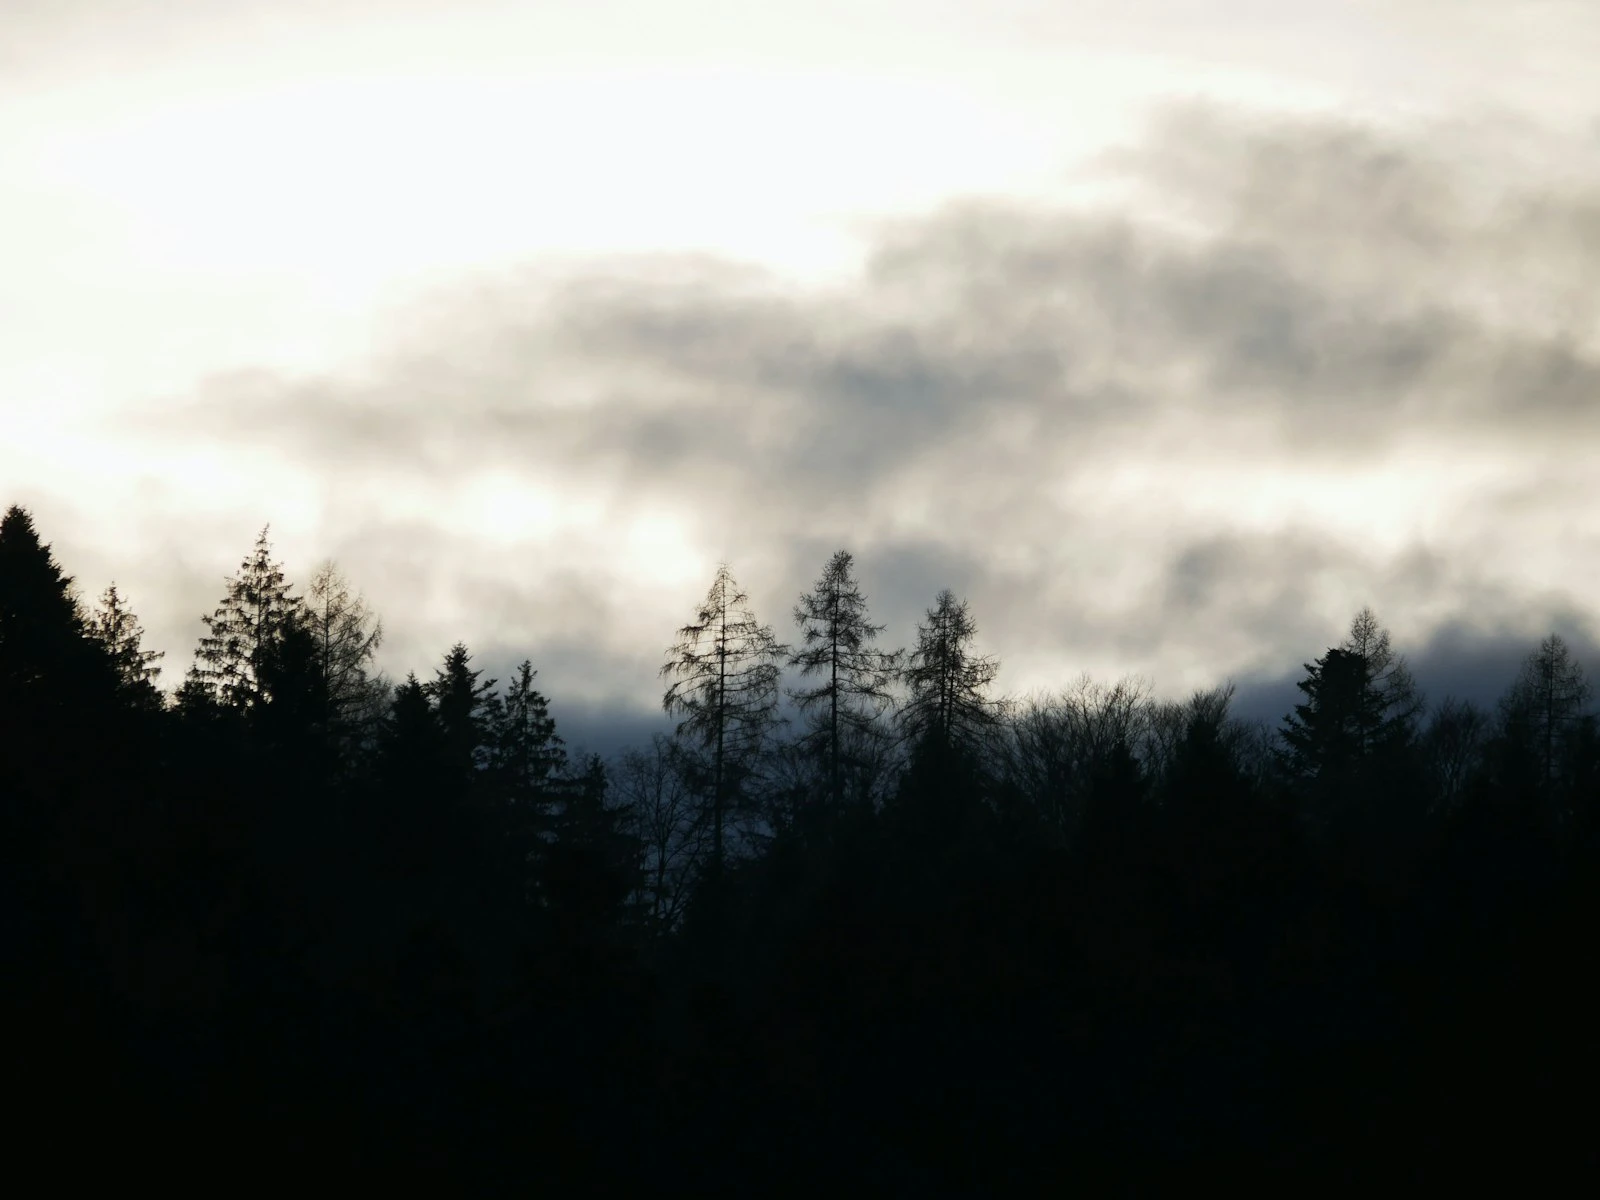
Weather. Clouds can extend the golden period by continuing to reflect warm light after the sun drops, or they can kill it entirely by blocking the sun before it gets low.
The actual "golden" quality, that warm, glowing light, typically peaks when the sun is about 6-10 degrees above the horizon. Before that, the light is present but not distinctly golden. After sunset (or before sunrise), you transition into blue hour, which is different.
Practical planning: Look up sunrise and sunset times for your location. Arrive 15-20 minutes early, scout your shots, and be ready when the light peaks. The best light often lasts 20-30 minutes, not a full hour.
How the Light Changes Within Golden Hour
Golden hour isn't static. The quality evolves throughout the window.
Early golden hour (higher sun): Light is warming but still relatively strong. Shadows are long but light isn't golden yet, more like a warmer version of daytime. Good for shots where you want detail and warmth without extreme drama.
Peak golden hour (sun near horizon): This is the magic. Intense warmth, soft quality, extreme side lighting if the sun is your source, or glowing backlight if you shoot toward it. The light has real character now.
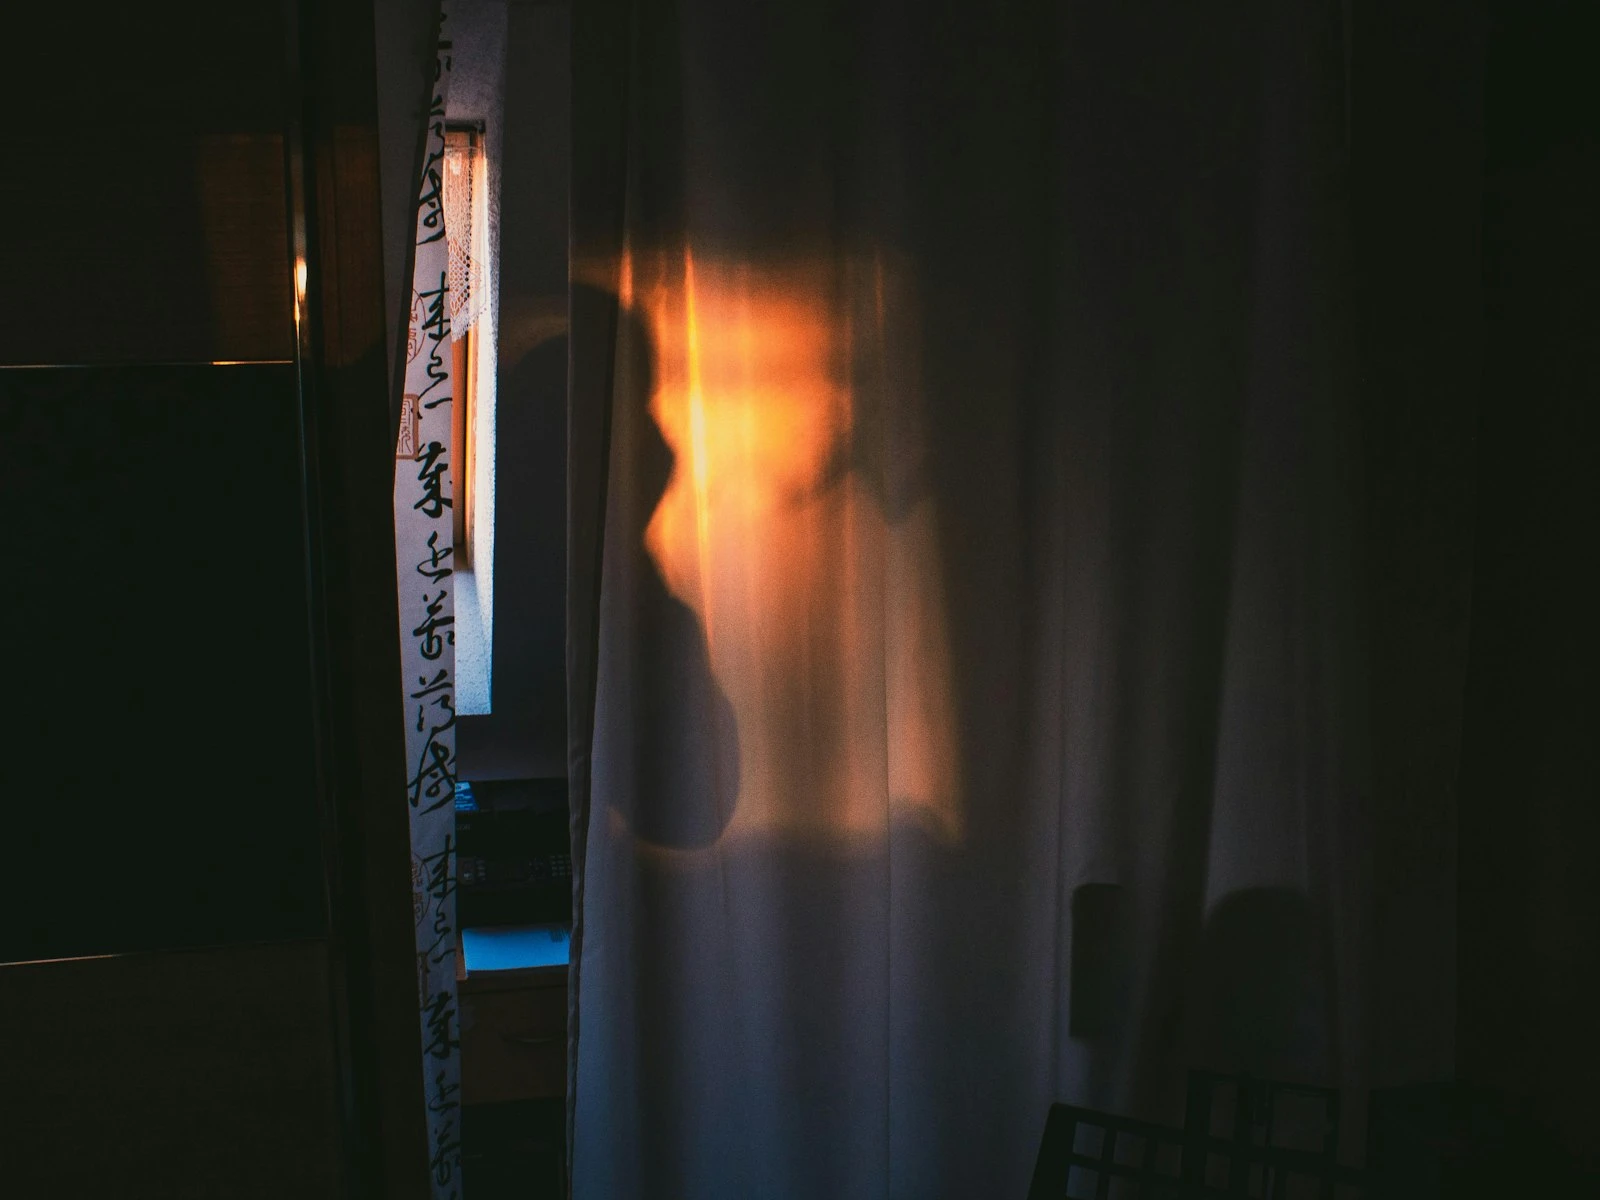
Late golden hour (sun at horizon): Maximum warmth, minimum intensity. Shadows are extremely long, light is extremely soft. The sun might even become a feature in your frame, big, orange, almost touchable. But light levels drop fast.
Post-sunset glow: The sun is gone but its warmth reflects off clouds and atmosphere for a few more minutes. This "afterglow" can be spectacular for landscapes, with the sky doing the work the sun did moments before.
Plan your shots across this progression. Know which images need the more intense middle period and which can use the softer bookends.
Positioning for Golden Hour: Four Approaches
Where you place your subject relative to the sun creates dramatically different images.
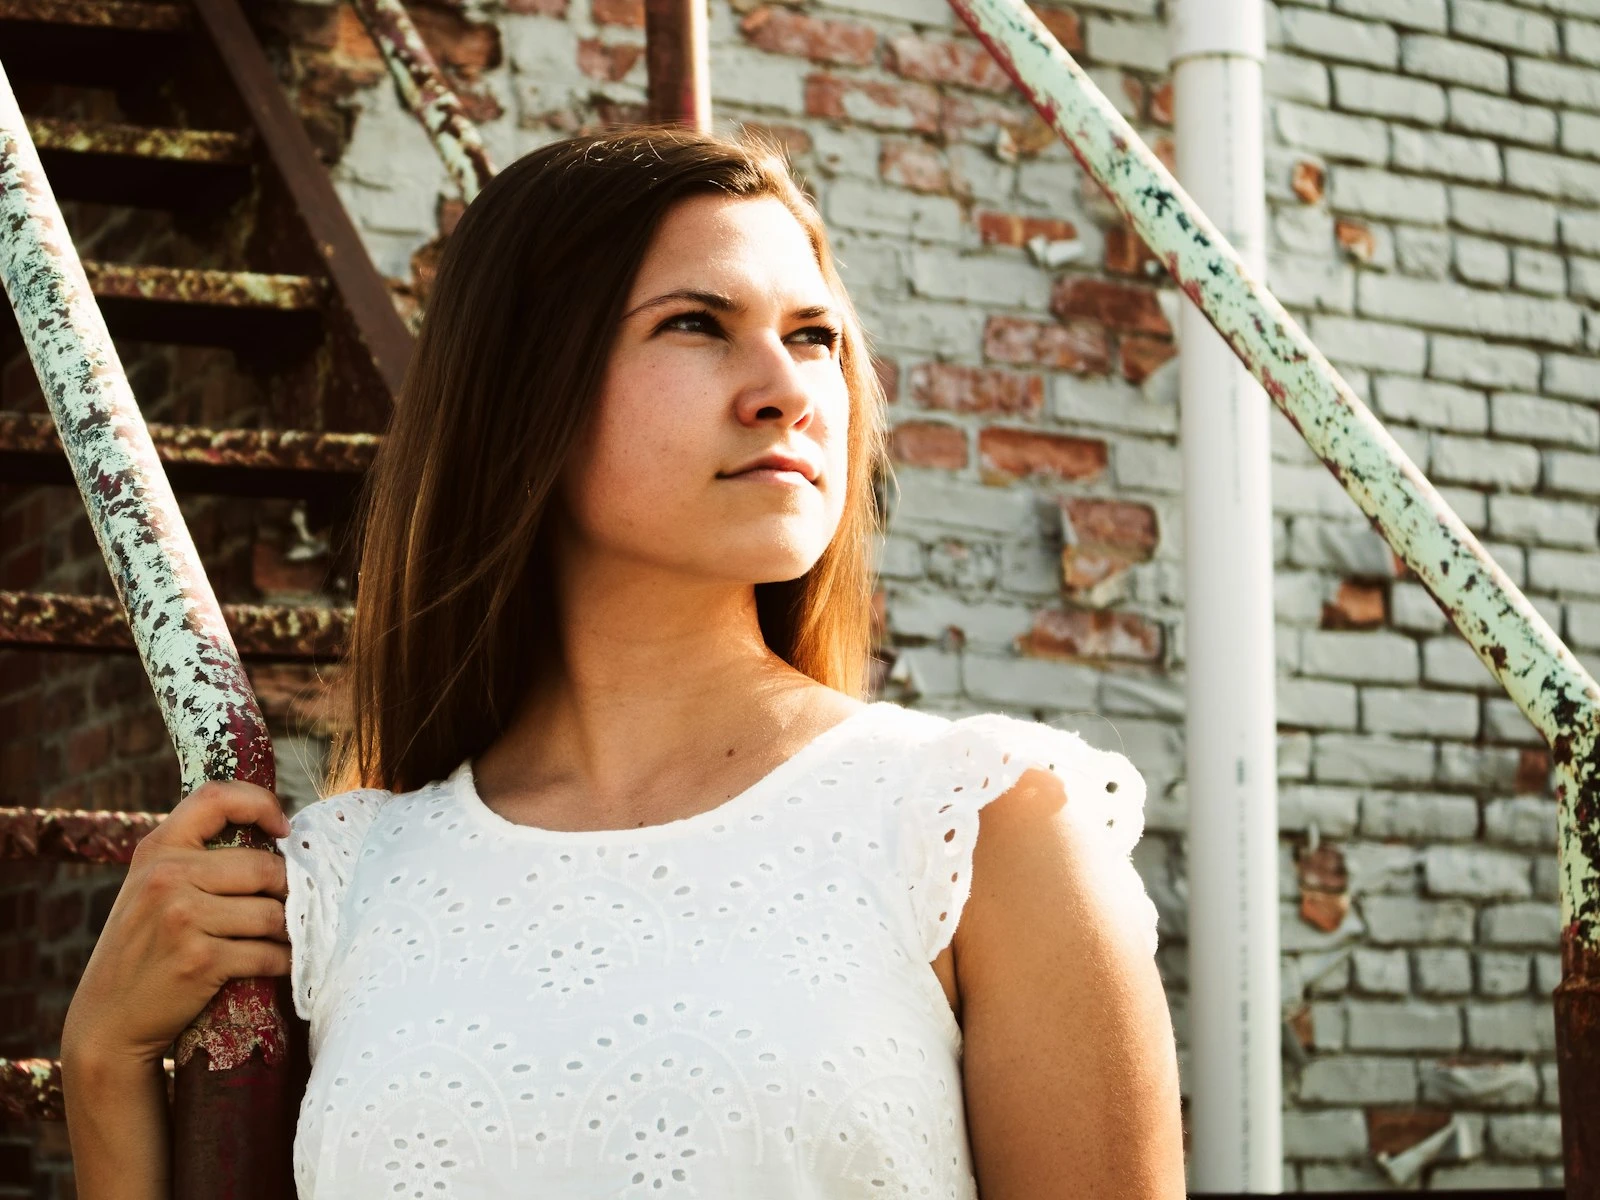
Front Light (Sun Behind You)
The sun illuminates your subject directly. Warm, even light on their face or front surface. The safest approach, and hard to mess up technically.
Best for: Even illumination of subjects, saturated colors, clear detail rendering, portraits where you want open, well-lit faces.
Watch for: Squinting if the sun is too bright, flat lighting if you want drama, your own shadow in the frame.
Side Light (Sun at 90 Degrees)
The sun hits your subject from the side, creating a lit side and a shadow side. Maximum texture and dimension.
Best for: Landscapes where you want terrain definition, portraits with sculpted features, architectural subjects where form matters, any scene where shape and texture are the story.
Watch for: High contrast between lit and shadow sides (expose for shadows or accept bright highlights), subjects that look too harsh in the shadows.
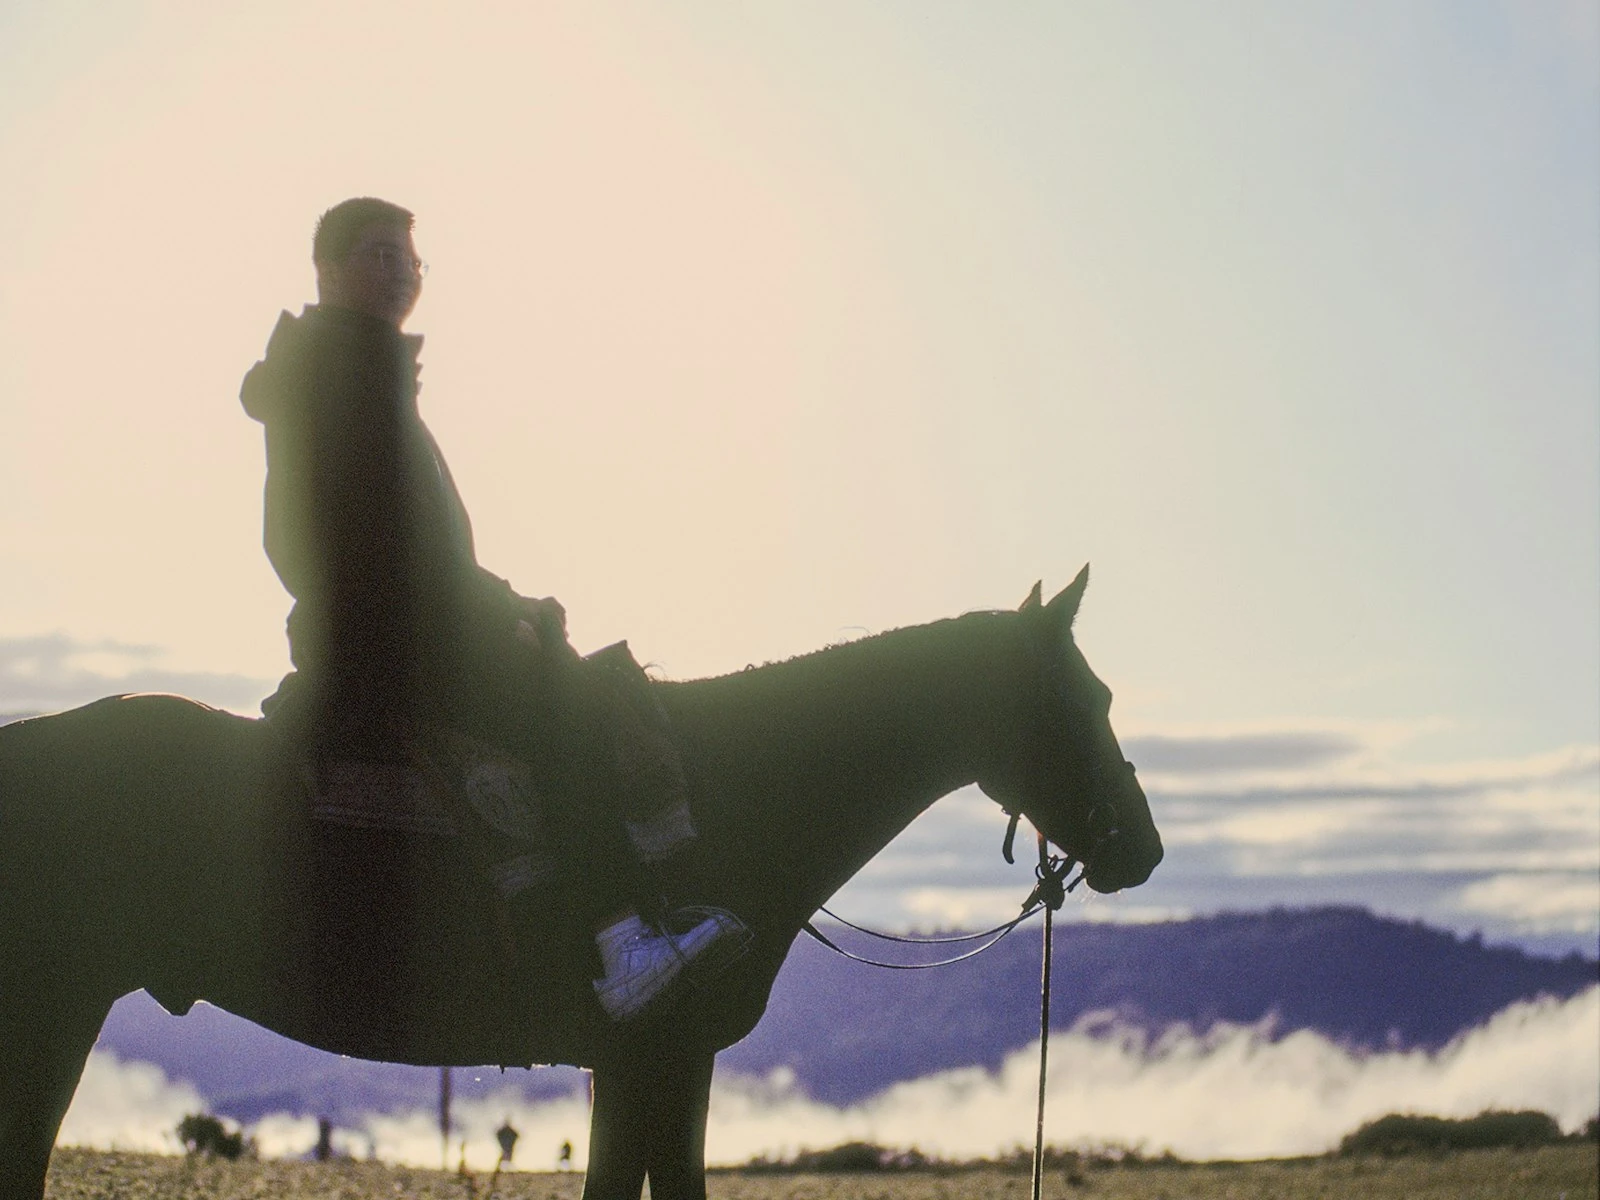
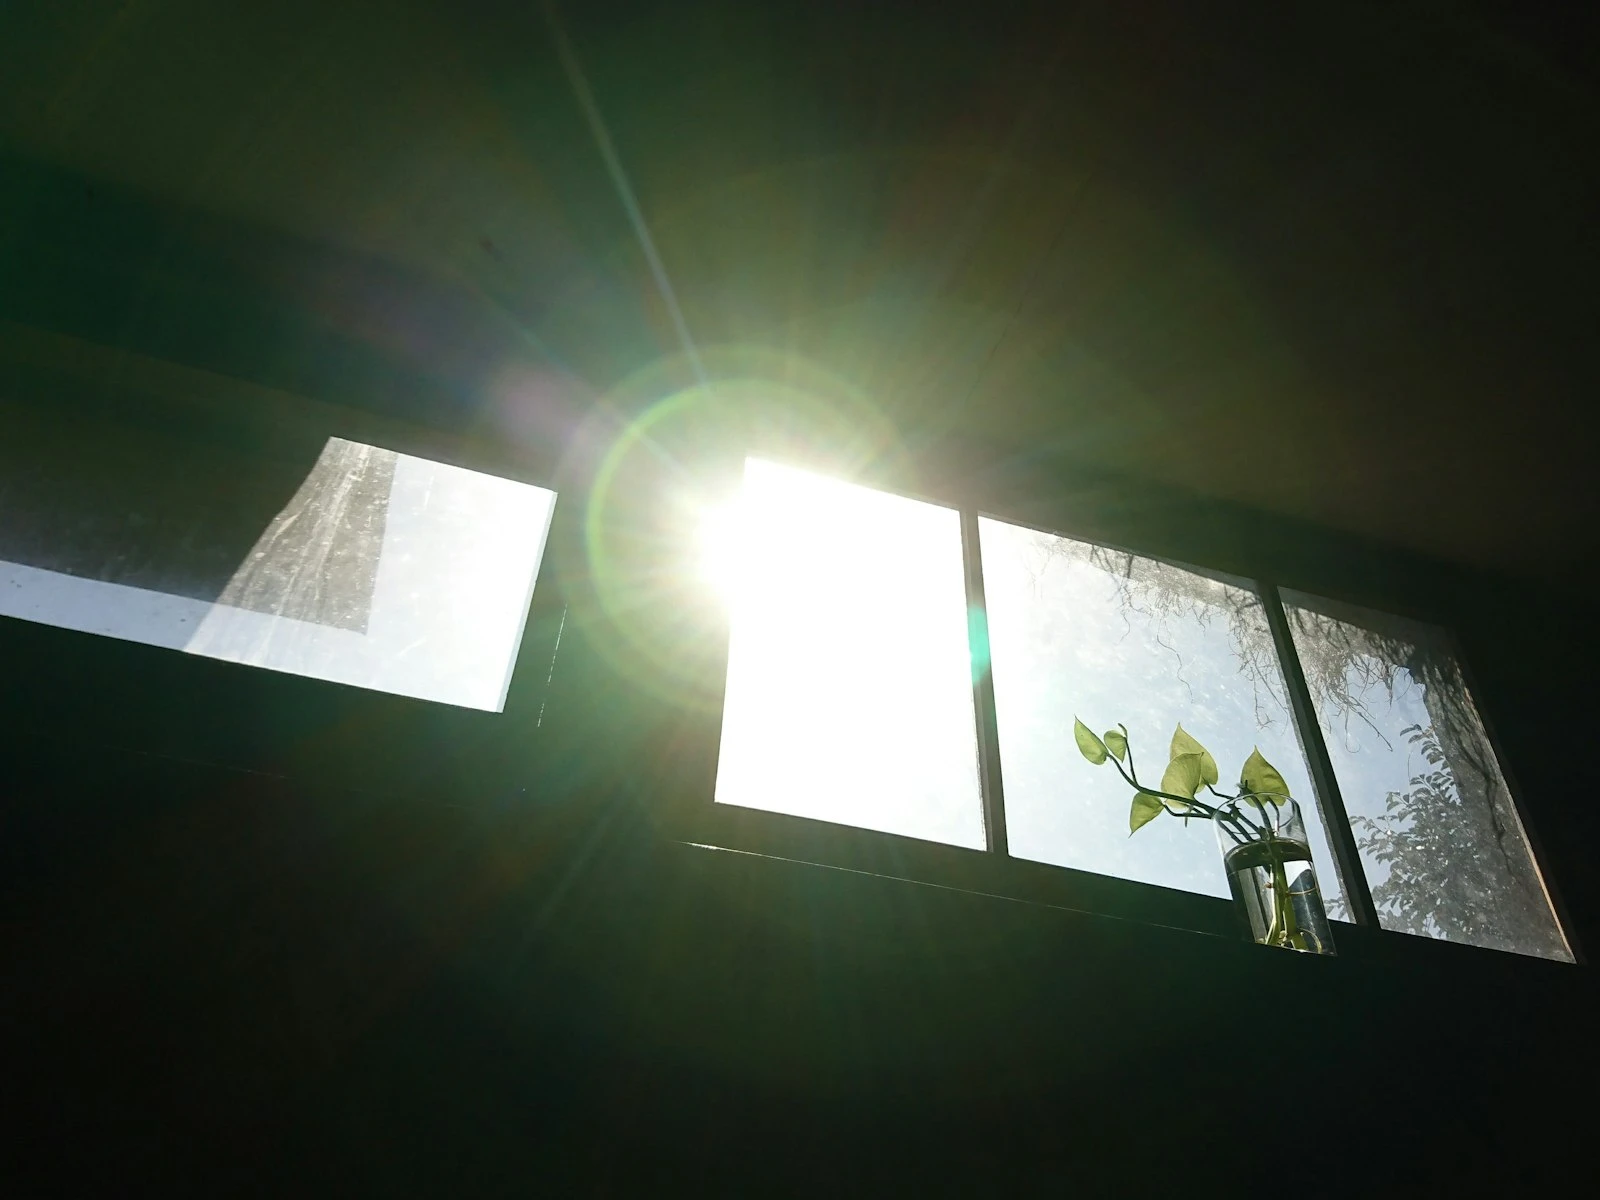
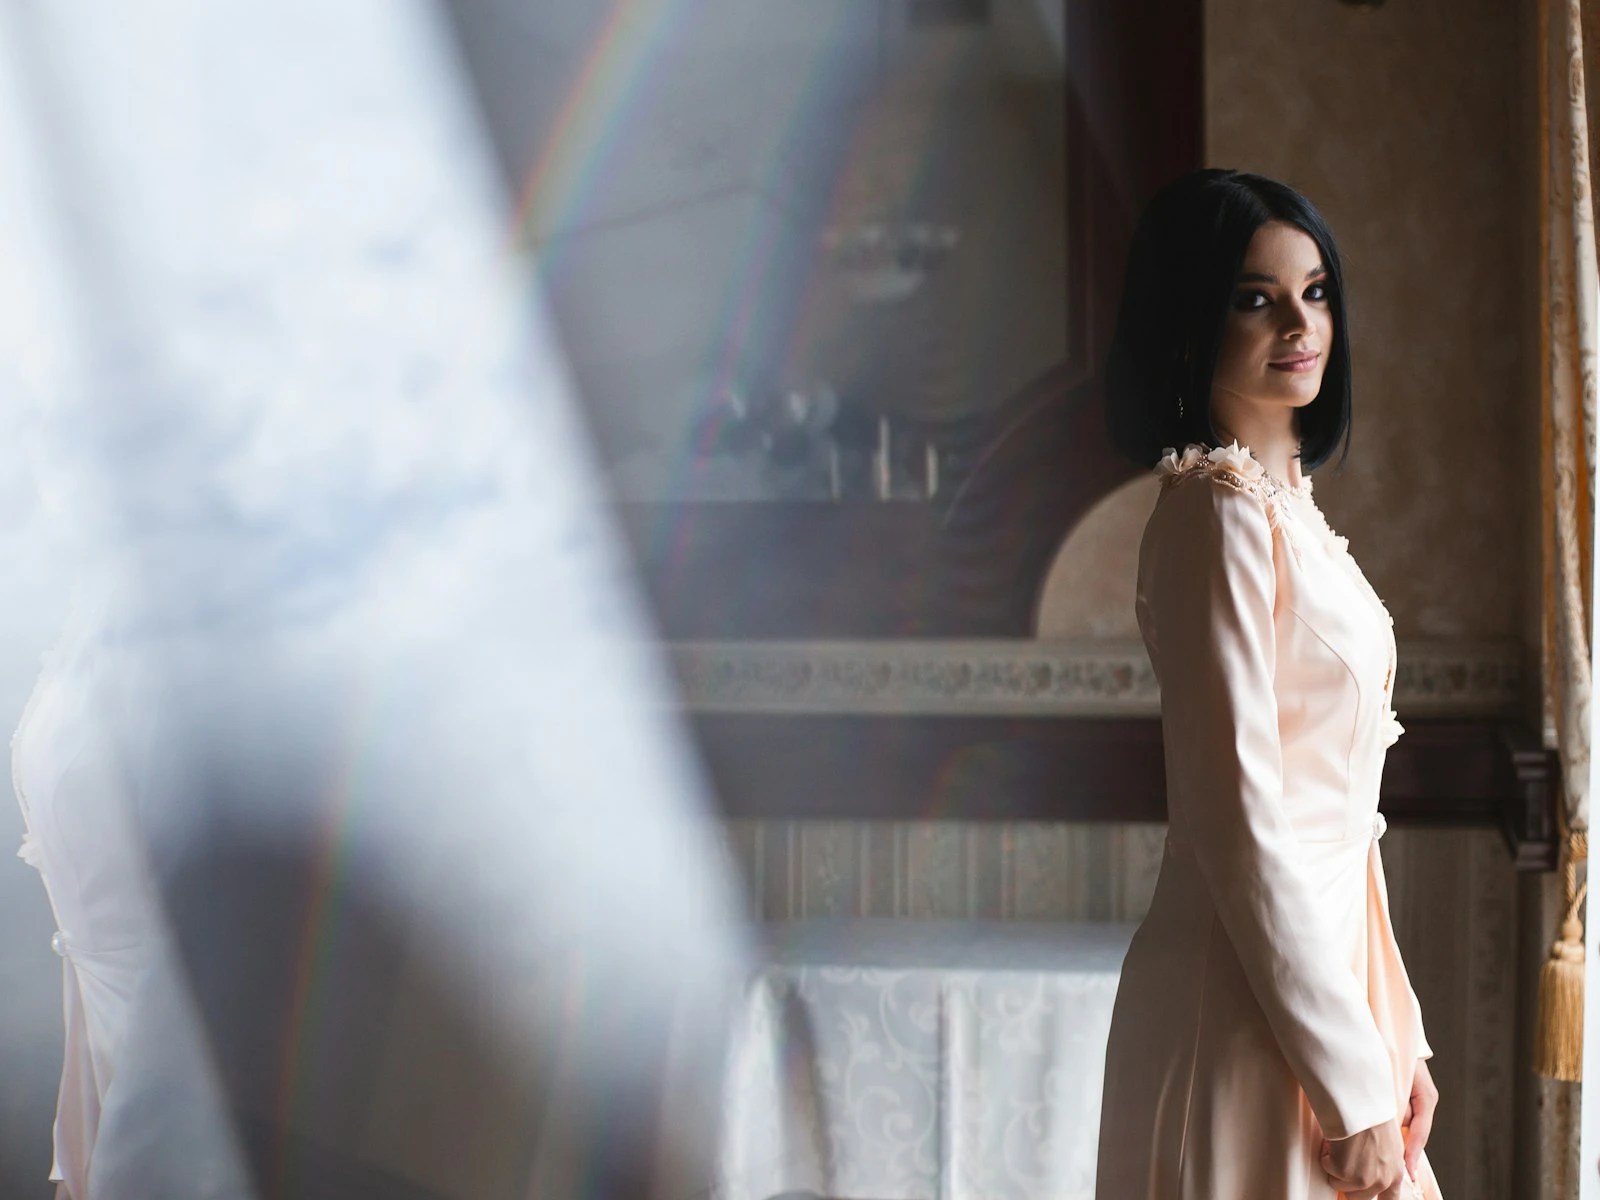
Backlight (Shooting Toward the Sun)
The sun is behind your subject, facing you. This creates rim lighting, silhouettes, or that glowing "golden glow" effect.
Best for: Rim lighting on hair, silhouettes against colorful skies, dreamy ethereal portraits, dramatic landscape silhouettes.
Watch for: Lens flare (sometimes good, often distracting), exposure challenges (meter for subject to overexpose background, or meter for sky to silhouette subject), subjects going dark if you don't account for the backlight.
Three-Quarter Light (Sun at 45 Degrees)
The sun hits your subject at an angle, part front light, part side light. This is the classic portrait position, combining illumination with dimension.
Best for: Portraits (it's flattering and dimensional), any subject where you want detail and shape without extreme shadows.
Watch for: Inconsistent lighting if your subject moves position.
Specific Techniques
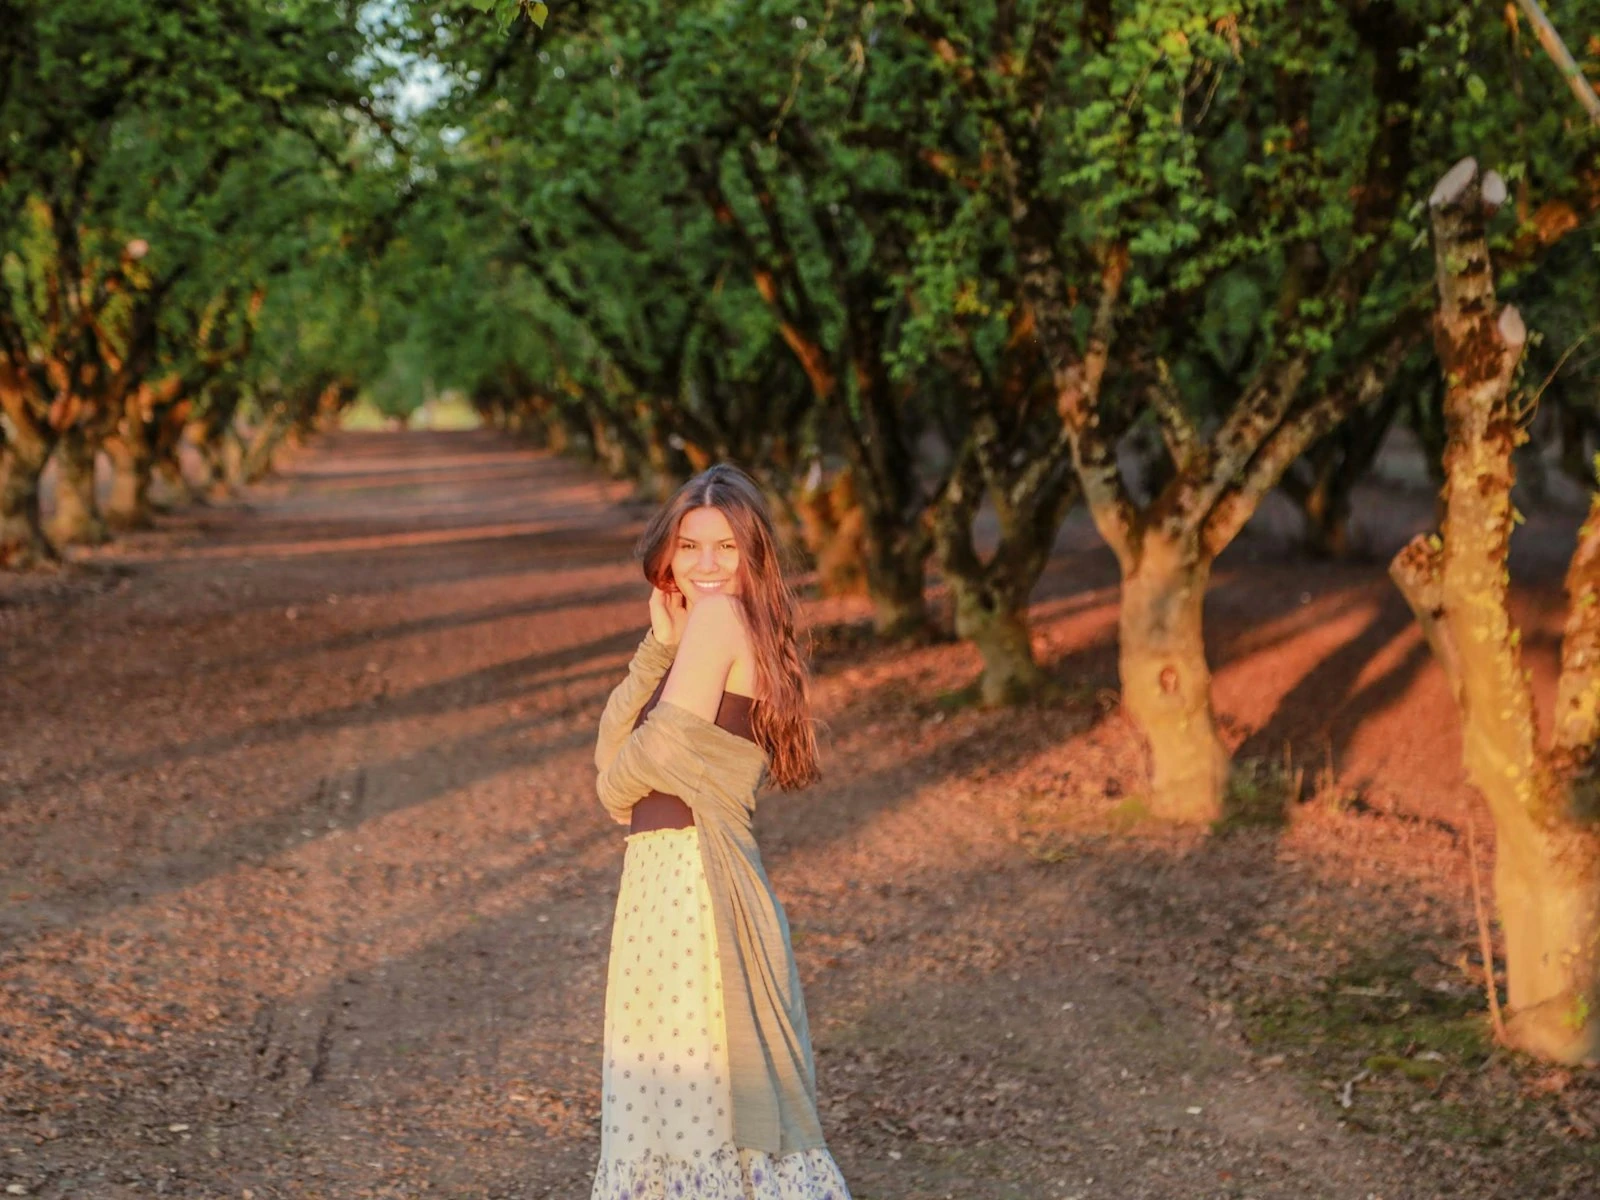
Portraits in Golden Hour
Position relative to sun: Three-quarter or side light typically. Subject facing slightly toward the sun (not directly into it, causing squinting) with one side gently shadowed.
Background matters: A background in sun while your subject is also in sun can compete. Try positioning your subject so the background falls into shadow. It darkens and they pop.
Backlighting for glow: Place the sun behind them for rim lighting. You'll need to overexpose for their face (background will blow out) or use fill light/reflector. The rim-lit hair glow is distinctive golden hour magic.
Watch for hot spots: Even in golden hour, direct sun on one part of a face while another is in shadow creates exposure challenges. Slight repositioning can even things out.
Landscapes in Golden Hour
Time your hero shot: The best light often comes at the very end. Plan your composition and be ready to shoot when the light peaks.
Long shadows as composition: Those elongated shadows can lead lines, create patterns, and add graphic interest. Include them intentionally.
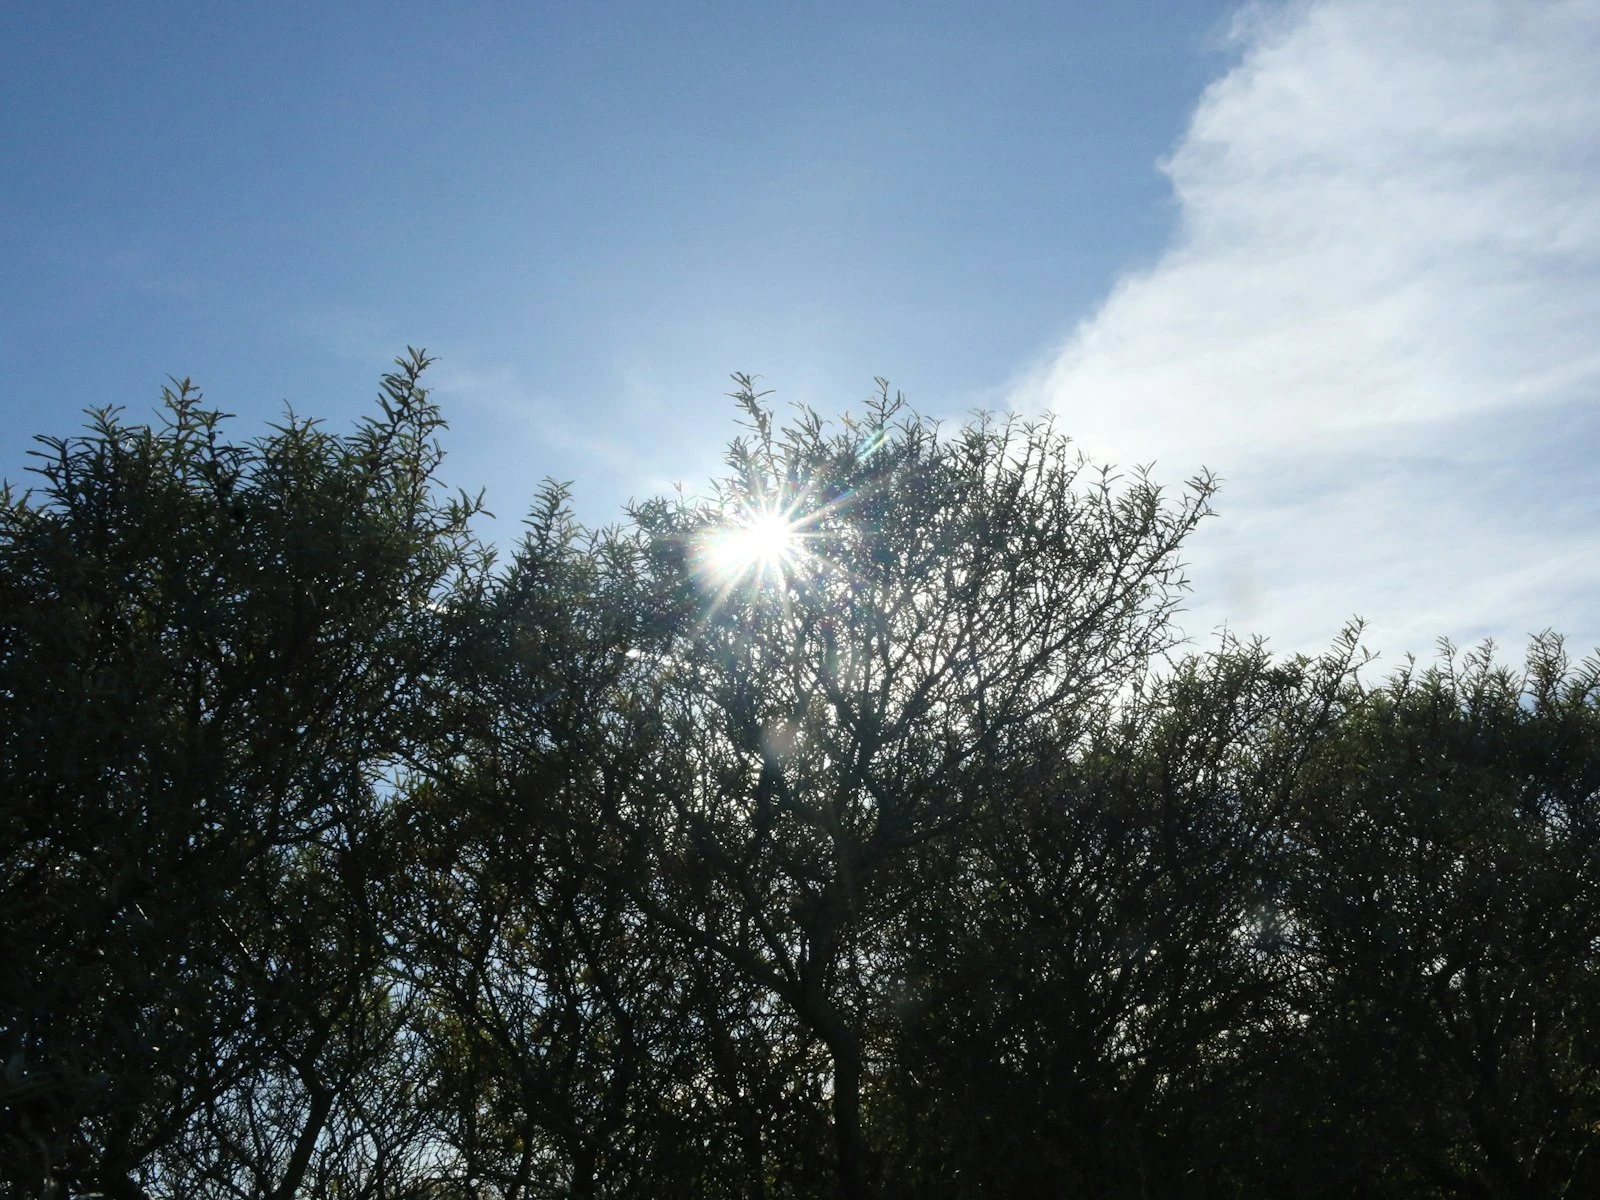
Shoot into the sun for drama: Lens flare and silhouettes can make landscapes more dynamic. Use your hand to block direct sun and reduce flare if needed.
Watch the clouds: Cloud conditions change rapidly at golden hour. A boring sky can explode with color in minutes. Stay patient and keep watching.
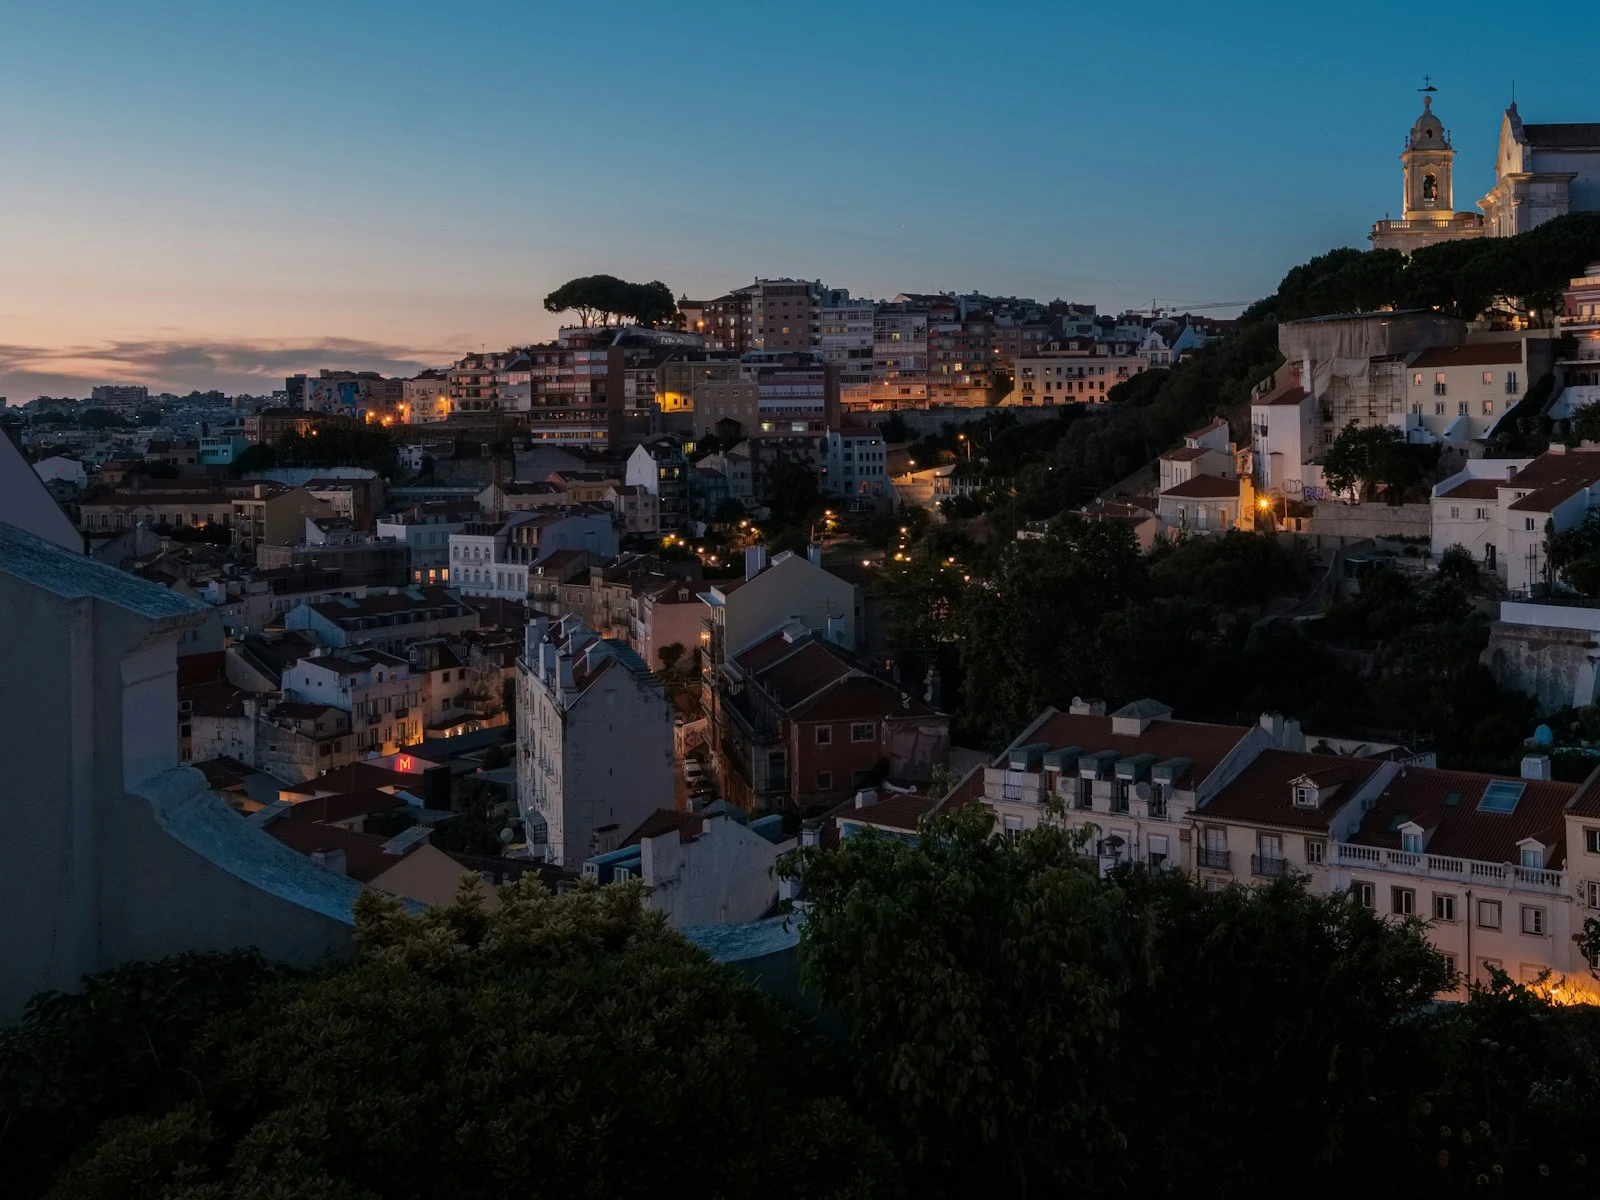
Cityscapes and Architecture
Side light reveals form: Buildings take on dramatic dimension when one side is in golden light and the other is in shadow.
Golden light on facades: Position yourself so the warm light hits building faces. East-facing buildings at morning golden hour, west-facing at evening.
Include sun in skyline shots: The sun itself can be a compositional element in city skyline images. Use a narrow aperture (f/11-f/16) for a sunburst effect.
Common Golden Hour Mistakes
Arriving too late. The light changes fast, and arriving "at golden hour" often means missing the best of it while you're still setting up, so arrive early.
Staying in one position. The light is always moving, and a position that works at the start of golden hour might not work 20 minutes later, so keep adjusting.
Only shooting landscapes. Golden hour light is stunning for any subject, including portraits, street photography, product shots outdoors, and architecture, so don't limit yourself.
Forgetting the sky. Even if your main subject is on the ground, golden hour skies can be spectacular. Include them or shoot them separately.
Ignoring blue hour. The 15-30 minutes after sunset (or before sunrise) brings different but equally beautiful light. Don't pack up when the sun drops.
When Golden Hour Isn't the Answer
Golden hour is wonderful, but it's not always right.
Some subjects need direct light. Documentation, some product photography, and images where even illumination matters more than mood. For these, midday or overcast light might serve better.
Warm isn't always appropriate. An image meant to feel cold, melancholy, or clinical might not want that golden warmth. Overcast, blue hour, or neutral light might fit the story better.
Time constraints are real. You can't always be there at golden hour. Learning to find good light at any hour is often more valuable than being limited to two short windows per day.
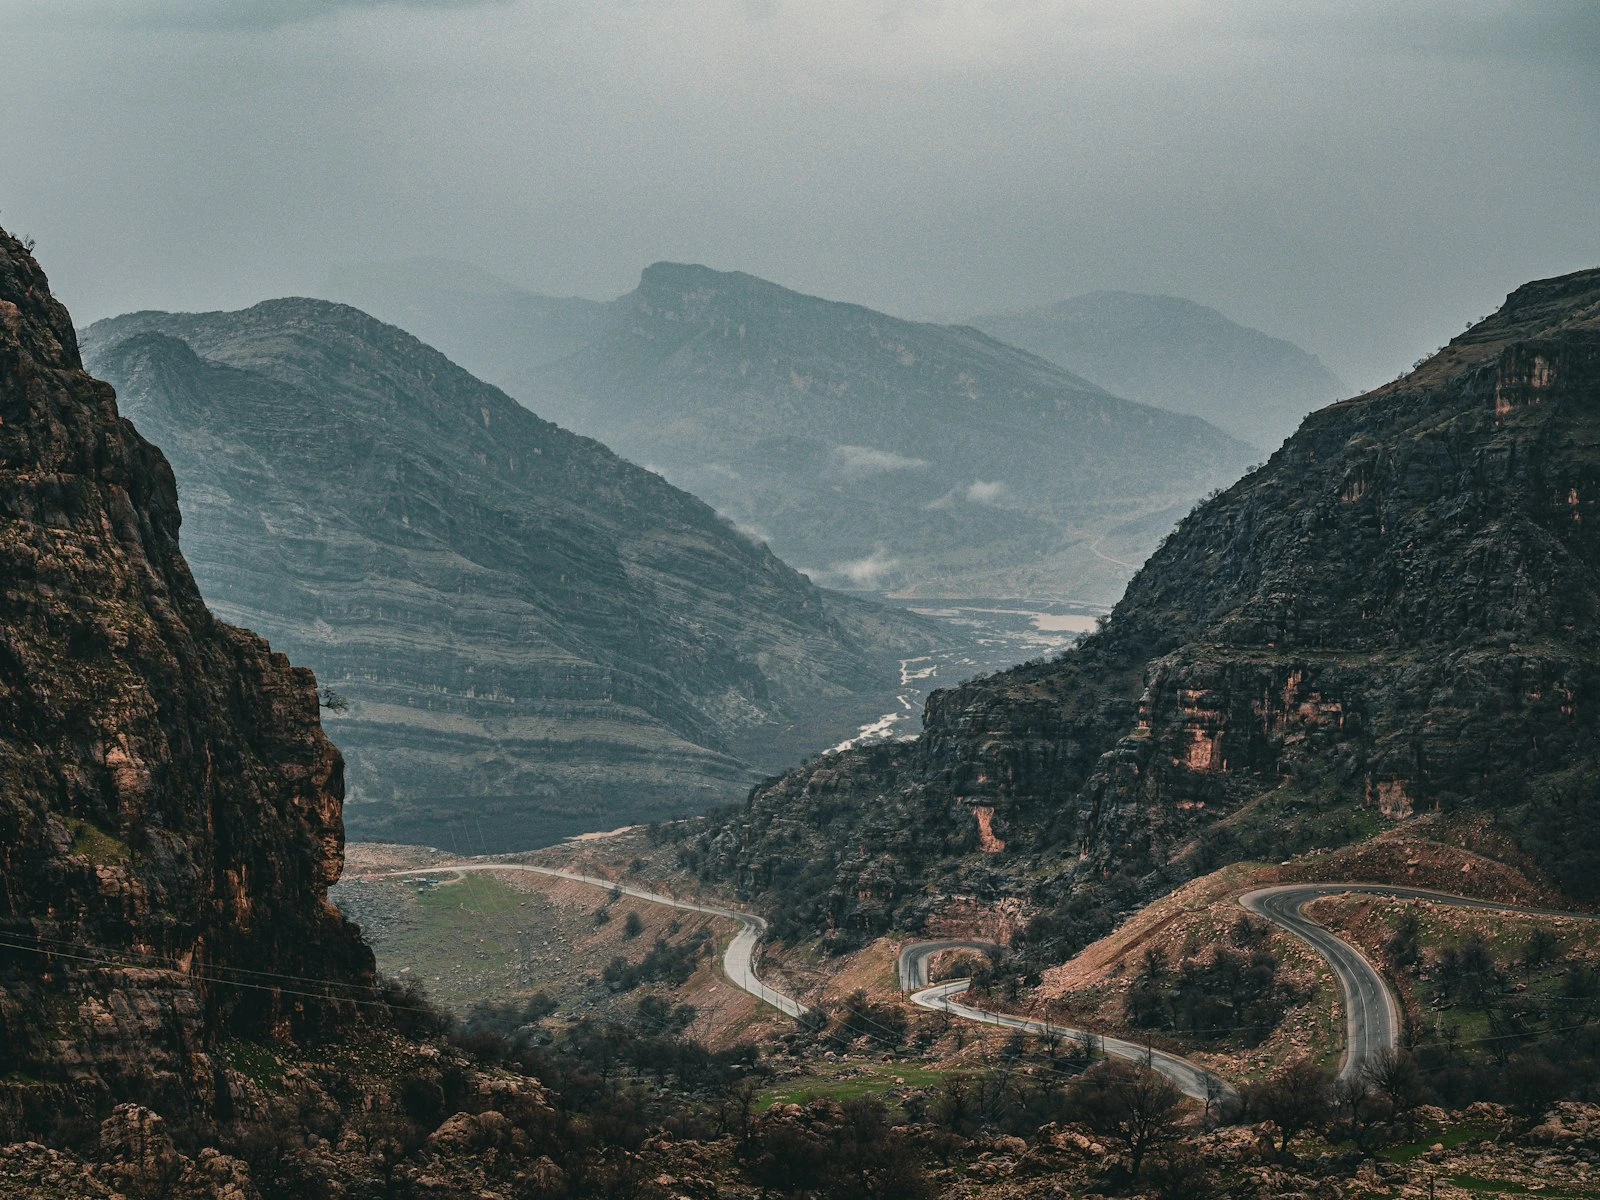
Not everywhere has clean horizons. In forests, canyons, or urban areas, you might never see the sun low enough for true golden hour. The light quality changes less dramatically, and other approaches might work better.
Practical Planning
Check timing apps. Apps like PhotoPills or The Photographer's Ephemeris show exactly when the sun will be at specific positions, where it'll rise and set, and what the light angle will be. This lets you plan shots precisely.
The exact timing shifts daily depending on your latitude and time of year, so checking before you head out saves wasted trips.
Scout in advance. Visit locations at different times if possible. Know where the sun will be relative to your planned compositions.
Arrive with margin. Plan to be in position 15-30 minutes before the best light. Use that time to refine composition and settings.
Have a shot list. With such a short window, knowing exactly what you want to shoot prevents wasted time and decision paralysis.
Stay until it's done. The best light is often in the last 10 minutes, or even the 10 minutes of afterglow. Don't leave early.
Golden hour light is a gift, but it's one you have to show up prepared to receive.
Key Takeaways
- Arrive at your location well before golden hour starts so you can scout compositions and be ready when the best light hits.
- Position subjects with the low sun at various angles: side-lit for texture and drama, backlit for rim lighting and glow, or front-lit for warm, even illumination.
- Golden hour light changes rapidly, so work fast and be willing to adjust settings every few minutes as the sun drops lower.
- The warm color temperature, soft quality, and low angle combine to make golden hour universally flattering for portraits, landscapes, and almost any subject.
More in This Guide
Continue exploring lighting techniques.