There are no perfect low light settings. Every photograph taken in dim conditions involves accepting tradeoffs, choosing which compromise fits your specific situation.
This might feel like bad news if you're hoping for a simple answer. But understanding these tradeoffs gives you something better than magic numbers, because you gain the ability to make intentional decisions that match your creative intent and practical constraints.
Low light settings are about understanding your options well enough to choose which answer works right now, and it's the core decision framework in our low light guide. This guide references terms like aperture, ISO, exposure triangle, and depth of field. If you need quick definitions, the photography glossary covers all of them.
The Three-Way Decision
Every exposure involves three variables: ISO, shutter speed, and aperture. In good light, you have flexibility. You can adjust any variable without severe consequences to the others.
In low light, that flexibility disappears. You need more light reaching your sensor, and every way to get more light costs you something.
ISO: Sensitivity vs. Noise
ISO is a gain setting, similar to turning up the volume on an amplifier. Higher ISO numbers amplify the image signal more, brightening your image.
The benefit: Higher ISO lets you use faster shutter speeds or smaller apertures in dim conditions.
The cost: Higher ISO adds digital noise, visible grain that reduces image quality, muddles colors, and obscures fine detail.
The range: Most cameras span ISO 100 to ISO 6400 or higher. Each doubling (100 → 200 → 400 → 800) represents one "stop" of light, the same as doubling your exposure time or opening your aperture one stop.
The practical reality: Modern cameras handle higher ISO far better than cameras from a decade ago. ISO 3200 on a current camera often looks better than ISO 800 on an older model.
Shutter Speed: Light vs. Motion
Shutter speed controls how long your sensor collects light. Slower speeds mean more light accumulates; faster speeds freeze shorter slices of time.
The benefit: Slower shutter speeds let you use lower ISO or smaller apertures.
The cost: Slow shutter speeds allow motion blur, either from your subject moving or from your hands shaking while holding the camera.
The numbers that matter:
- 1/250s or faster: Freezes most human movement
- 1/125s: Good for casual portraits, walking pace movement
- 1/60s: Minimum for handheld with moderate focal lengths
- 1/30s: Requires steady hands and still subjects
- Below 1/15s: Typically requires tripod or support
The practical reality: Image stabilization extends handheld limits by 2-4 stops. Your personal steadiness varies. Subject movement creates its own constraints regardless of stabilization.
Aperture: Light vs. Depth
Aperture controls how much light passes through your lens. Wider apertures (lower f-numbers like f/1.8) let more light through; narrower apertures (higher f-numbers like f/11) let less.
The benefit: Wider apertures gather more light, enabling faster shutter speeds or lower ISO.
The cost: Wider apertures create shallower depth of field, a thinner plane of focus with more blur before and behind your subject.
The numbers:
- f/1.4-f/2: Very shallow depth, lots of light
- f/2.8-f/4: Moderate depth, good light
- f/5.6-f/8: Deeper focus, less light
- f/11-f/16: Maximum depth, minimal light
The practical reality: Your lens limits your options. Kit lenses might only open to f/3.5; fast primes open to f/1.8 or wider. You can only use what your lens allows.
How to Think Through the Decision
Rather than memorizing settings, develop a decision-making process that adapts to each situation.
Step 1: Assess Your Subject
Ask yourself: What am I photographing, and what does it demand?
Moving subjects (people, kids, pets, sports):
- Shutter speed becomes non-negotiable because you need a minimum speed to freeze motion
- Everything else must accommodate this constraint
Still subjects (landscapes, products, architecture):
- Shutter speed becomes flexible if you use tripod
- You can prioritize ISO and aperture
Subjects requiring depth (group photos, scenes):
- Aperture becomes constrained, since you need f/4 or f/5.6 minimum
- ISO and shutter speed must accommodate
Step 2: Set Your Constraint First
Identify which variable is constrained by your subject and set it:
If motion is the concern: Set shutter speed first at whatever freezes your action (typically 1/125s or faster for people).
If depth is the concern: Set aperture first at whatever provides needed depth of field.
If neither is constrained: Set aperture wide open to maximize light, then adjust from there.
If you want to see how different combinations play out before you shoot, adjusting one variable in an exposure settings shows how the others need to change.
Step 3: Balance the Remaining Variables
Once you've set your constrained variable, balance the other two:
If shutter speed is fixed:
- Open aperture as wide as practical for your depth needs
- Set ISO to whatever produces correct exposure
If aperture is fixed:
- Set shutter speed as slow as you can handhold or your subject allows
- Set ISO to whatever produces correct exposure
If aperture is wide open:
- Set shutter speed at your handheld minimum
- Set ISO to whatever produces correct exposure
Step 4: Accept or Adjust
Check your exposure. If ISO is uncomfortably high:
- Can you slow shutter speed? (Only if you can handhold or support camera)
- Can you open aperture wider? (Only if your lens allows and depth permits)
- Can you add light? (Move subject to window, turn on lamps)
If none of these work, accept the ISO you need. A noisy image beats a blurry or underexposed one.
Practical Setting Combinations
These aren't rules. They're starting points based on common scenarios.
Indoor Portraits (Handheld)
Situation: Photographing people in typical indoor lighting without flash
Typical approach:
- Aperture: Wide open (f/1.8, f/2.8, whatever your lens allows)
- Shutter speed: 1/125s (allows for slight subject movement)
- ISO: Whatever achieves correct exposure (often 1600-6400)
Why this works: Shutter speed is fast enough to freeze casual movement. Aperture is wide for maximum light. ISO handles the remainder.
Group Photo Indoors
Situation: Multiple people who all need to be in focus
Typical approach:
- Aperture: f/4 to f/5.6 (enough depth for faces at different distances)
- Shutter speed: 1/60s to 1/125s
- ISO: Often 3200-6400 or higher
Why this works: Aperture is stopped down enough for depth, but not so much that ISO becomes extreme. Some noise is acceptable to ensure everyone is sharp.
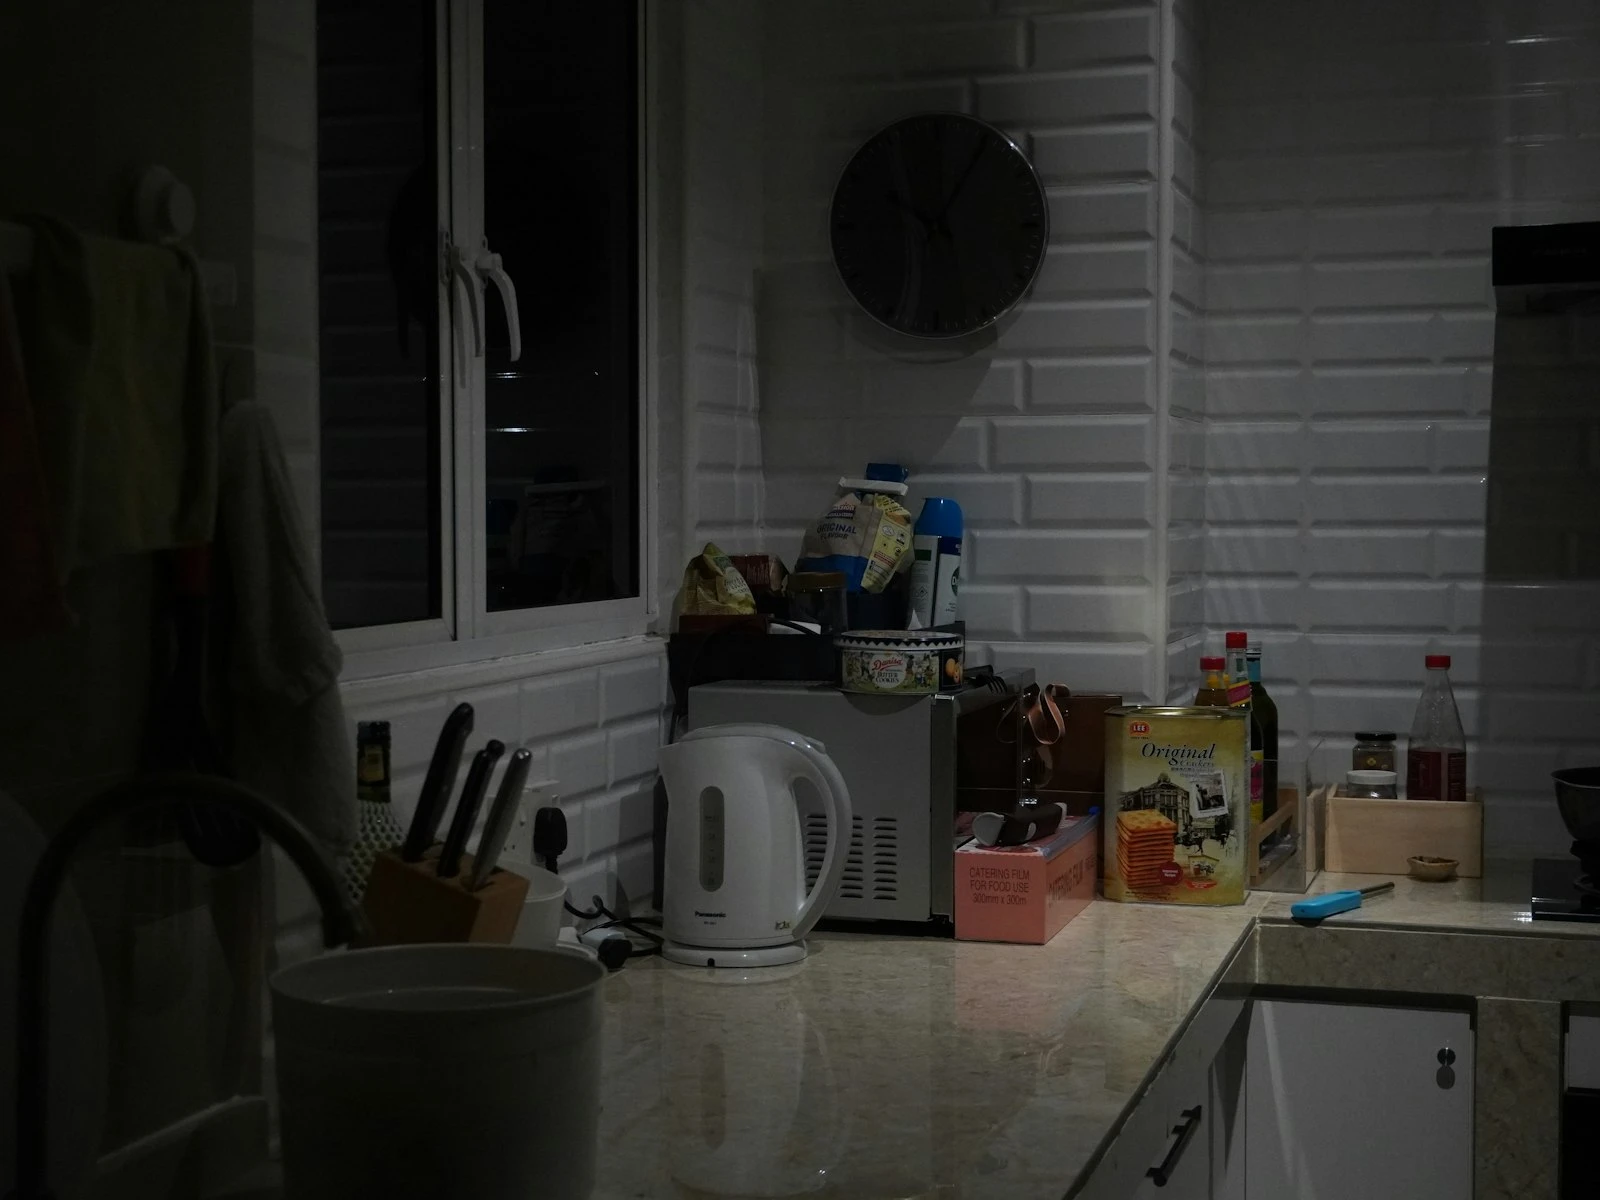
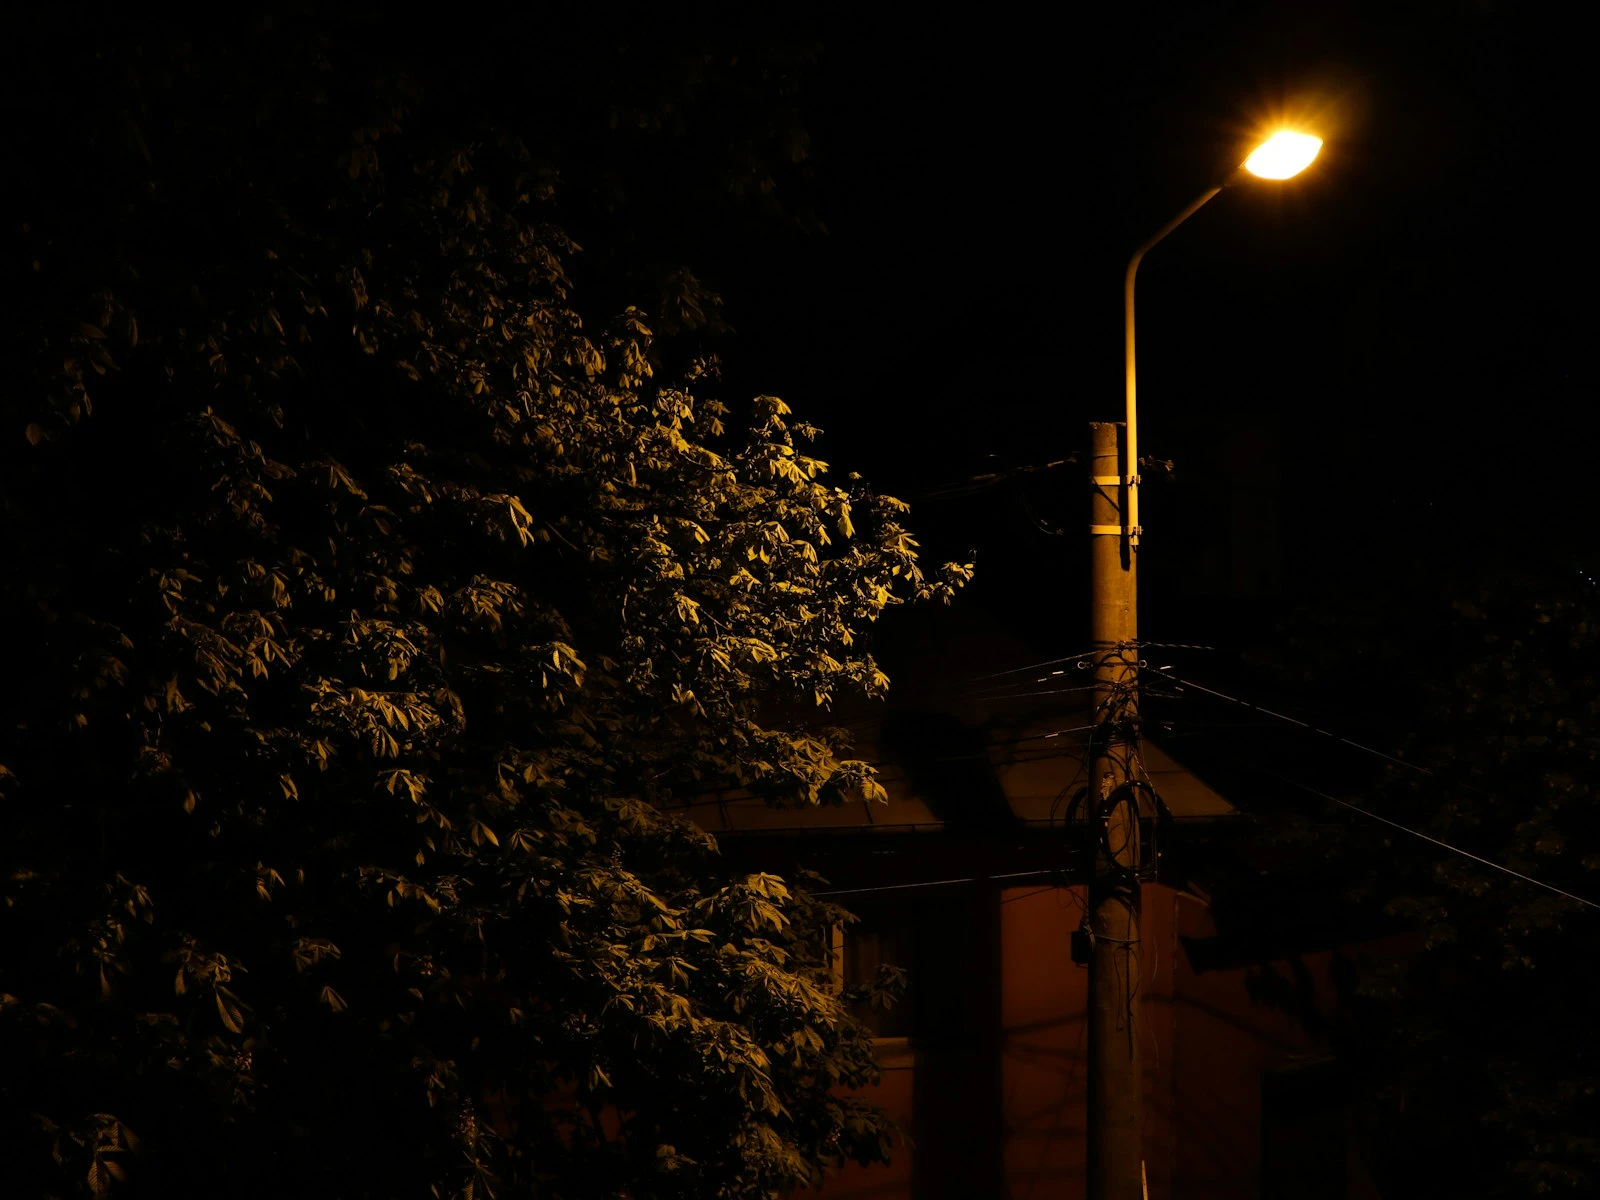
Street Photography at Night
Situation: Handheld shooting in urban low light, subjects may move
Typical approach:
- Aperture: Wide open
- Shutter speed: 1/60s minimum (faster if subjects move quickly)
- ISO: 3200-6400 typically
Why this works: You're accepting noise to maintain enough shutter speed for handheld shooting and moving subjects.
Tripod Night Photography
Situation: Camera on stable support, subjects are static (buildings, landscapes)
Typical approach:
- Aperture: f/8 to f/11 (optimal sharpness range)
- Shutter speed: Several seconds to minutes (whatever exposure needs)
- ISO: Base ISO (100 or 200)
Why this works: Tripod eliminates handholding constraint. Long exposures gather ample light, so ISO stays low and aperture can be set for quality.
Concert or Event Photography
Situation: Distant subjects, challenging lighting, movement
Typical approach:
- Aperture: Wide open on fastest lens available
- Shutter speed: 1/200s or faster (stage movement)
- ISO: As high as 6400-12800 often necessary
Why this works: This is a genuinely hard scenario. You're pushing all settings toward their limits and accepting significant noise.
Camera Modes for Low Light
Different shooting modes give you different levels of control over the tradeoff triangle.
Manual Mode (M)
You set all three variables. Maximum control, but you must adjust for changing light.
Best for: Consistent lighting situations, tripod work, when you need predictable results.
Challenge: Requires active management as light changes.
Aperture Priority (A/Av)
You set aperture and ISO; camera sets shutter speed.
Best for: Variable lighting when you need consistent depth of field. Watch that shutter speed doesn't drop too slow.
Enable Auto ISO: Camera adjusts ISO automatically to maintain exposure. Set Auto ISO minimum shutter speed to prevent too-slow speeds.
Shutter Priority (S/Tv)
You set shutter speed and ISO; camera sets aperture.
Best for: When freezing motion is the priority and depth of field is flexible.
Watch your aperture: If the camera can't open aperture wide enough, you'll get underexposure.
Program Auto with ISO Control
Camera sets shutter and aperture; you control ISO.
Best for: Rapidly changing situations when you want some automation but control over noise.
Less predictable: You can't guarantee the camera will choose the shutter speed or aperture you'd prefer.
Auto ISO: Help or Hindrance?
Auto ISO can be valuable in low light, but requires configuration to be useful.
The Benefit
Auto ISO adjusts sensitivity automatically to maintain exposure as light changes. You control shutter speed and aperture; ISO follows.
The Risk
Unconfigured Auto ISO might push higher than your camera handles well, or use high ISO when you'd prefer slower shutter speed.
Configuration Recommendations
Most cameras let you set:
- Maximum Auto ISO: The ceiling Auto ISO won't exceed (set based on your camera's actual performance, maybe ISO 6400)
- Minimum shutter speed: Auto ISO kicks in when shutter speed would drop below this threshold
Set minimum shutter speed based on your lens and subject. For 50mm and casual subjects: 1/60s minimum. For telephoto or action: 1/200s or faster.
What Your Camera Mode Cannot Do
No automatic mode understands your creative intent. The camera doesn't know:
- Whether you'd prefer noise or blur
- Whether your subject is moving or still
- Whether you're using a tripod
- Whether depth of field matters for this shot
Automation helps execute your decisions faster, but it doesn't make the decisions for you. Understanding the tradeoffs lets you guide automatic modes toward the results you want.
When Settings Aren't Enough
Sometimes no combination of settings produces acceptable results. The light is simply too dim for the photograph you want to make.
Your options:
- Add light (window, lamp, flash, reflector)
- Change your intent (embrace blur, embrace noise, change composition)
- Accept the limitation (some photographs aren't possible without better light or different equipment)
- Use different equipment (faster lens, camera with better high-ISO performance)
Understanding settings means knowing when you've reached their limits and making conscious choices about how to respond.
Key Takeaways
- Every low light setting involves a tradeoff: wider aperture gives more light but shallower focus, slower shutter gives more light but risks blur, and higher ISO gives more sensitivity but adds noise.
- Set shutter speed first (fast enough to freeze your subject), then aperture as wide as practical, and finally let ISO fill the remaining gap.
- A noisy sharp photo is always more usable than a clean blurry one, so never sacrifice shutter speed to keep ISO lower.
- Modern cameras handle high ISO far better than older models, so test yours and update your assumptions about where noise becomes unacceptable.
More in This Guide
Continue building your low-light photography skills.