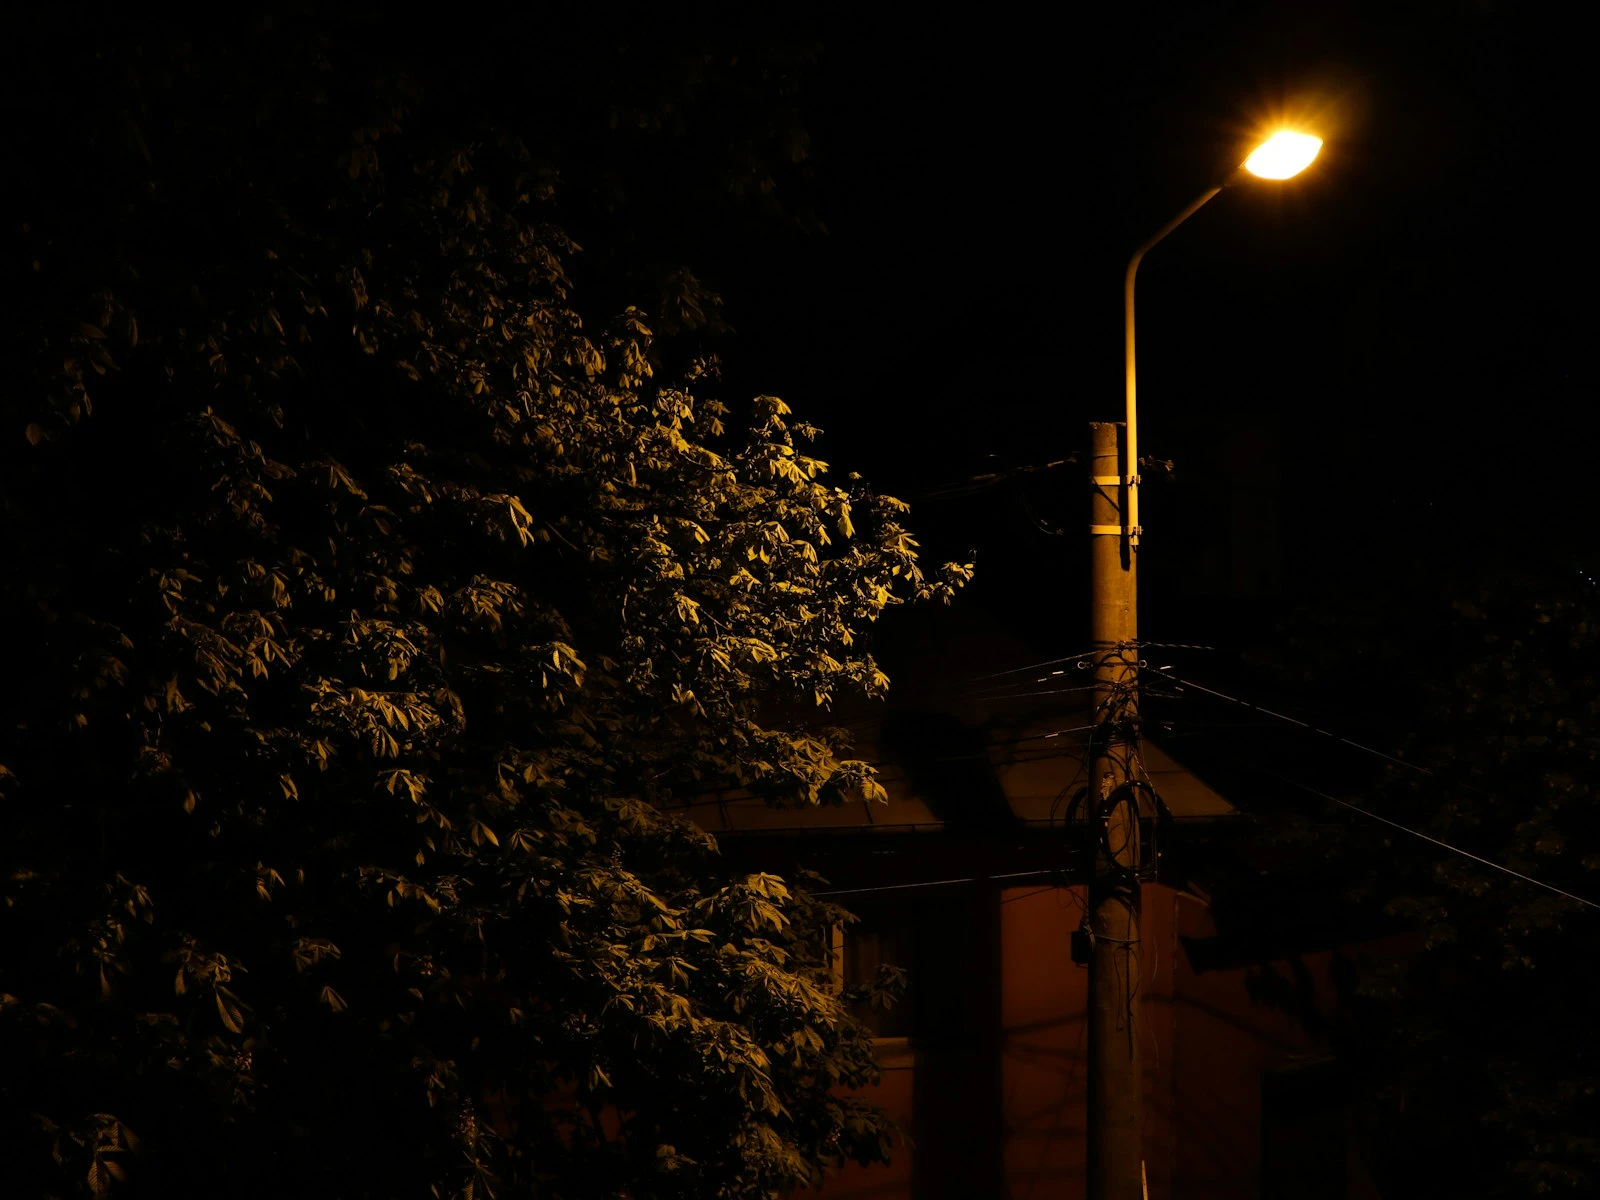
Night photography changes everything. The constraints that limit daytime and indoor shooting, like fighting for enough light, pushing ISO, and risking blur, transform into creative opportunities when you mount your camera on a tripod and let time become your ally.
With a tripod, shutter speed becomes almost infinitely flexible. You can expose for seconds or minutes, gathering light your eyes can't perceive and creating images that reveal the night differently than you experienced it.
Outdoor night photography is about working with the darkness rather than fighting it, and it's one of the most creative topics in our low light guide.
The Fundamental Shift: From Handheld to Tripod
Most low light photography involves compromises: high ISO, wide apertures, just-fast-enough shutter speeds. Night photography on a tripod eliminates most of these constraints.
What the Tripod Changes
Shutter speed becomes unlimited: Without camera shake to worry about, you can expose for 1 second, 30 seconds, or several minutes. Time becomes a creative tool rather than a constraint.
ISO can stay low: With unlimited exposure time, you can use your camera's base ISO (typically 100) for optimal image quality. No more noise compromises.
Aperture becomes flexible: You can stop down to f/8 or f/11 for optimal sharpness, or use f/16 for starburst effects on point lights. Depth of field is whatever you want it to be.
The Tradeoff
The tripod unlocks these freedoms but adds its own constraint, since your subject must be static or you must embrace motion blur as part of the image.
Buildings, landscapes, and stationary objects work perfectly. Moving subjects like people walking, cars driving, and clouds drifting will blur with long exposures. This blur can be a feature (light trails, smooth water, ghosted crowds) or a problem, depending on your intent.
Essential Gear for Night Photography
The Tripod
A tripod is the foundation of night photography.
What makes a tripod suitable:
- Stable enough to hold your camera motionless for extended periods
- Heavy enough or hookable to resist wind
- Adjustable to compose at various heights and angles
- Quick-release plate for efficient setup
Budget considerations: A $50 tripod might work in calm conditions but will fail in wind or on uneven ground. Invest in the most stable tripod you can afford. It's a long-term tool that affects every night image you make.
Remote Shutter Release
Camera shake from pressing the shutter button can blur long exposures. A remote release eliminates this contact.
Options:
- Wired remote (cheap, reliable, needs physical connection)
- Wireless remote (more flexible, battery dependent)
- Smartphone app (if your camera supports it)
- Camera's built-in timer (free, 2-second or 10-second delay)
The 2-second timer is a free, effective solution if you don't have a remote.
Optional but Useful
Headlamp or flashlight: Essential for seeing your camera controls and not tripping over your tripod in the dark. Red light mode preserves night vision.
Extra batteries: Cold temperatures and long exposures drain batteries faster. Carry spares.
Lens hood: Reduces flare from off-axis lights, which is common in night scenes with multiple light sources.
Camera Settings for Night Photography
Starting Point Settings
Mode: Manual (M). Night conditions confuse automatic metering.
ISO: Base ISO, typically 100 or 200. You have time to gather light; use it.
Aperture: f/8 to f/11 for general sharpness. f/16 for starburst effects on point lights.
Shutter speed: Start with 15-30 seconds and adjust based on histogram.
Focus: Manual focus, often set to infinity or focused on a distant lit object.
White balance: Auto works for RAW (adjust in post). Tungsten/incandescent preset for warmer results. Daylight for neutral or cooler rendering.
Long exposure noise reduction: Consider enabling for very long exposures (creates dark frame for noise subtraction, but doubles exposure time).
The Histogram Is Your Friend
At night, your eyes adapt poorly to what the camera is actually recording. The histogram shows you whether you're capturing enough light.
Reading night histograms:
- Night scenes naturally have lots of dark tones, so expect a left-leaning histogram
- Don't overexpose trying to make it look like daytime
- Ensure highlights (lights, bright windows) aren't completely blown
- Some shadow detail should extend above the left edge
Practical approach: Start with a test exposure and check the histogram. Adjust shutter speed until you see appropriate detail in the histogram without blown highlights.
Bulb Mode for Longer Exposures
Most cameras limit automatic shutter speeds to 30 seconds. For longer exposures, use Bulb (B) mode:
- Shutter stays open as long as you hold the release
- Use with a remote that has a lock feature
- Track exposure time manually (phone timer, counting, some cameras display it)
Exposures of 1-5 minutes are common in very dark conditions.
Finding the Right Exposure
Night scenes have extreme dynamic range, with bright lights and deep shadows in the same frame. Finding good exposure requires balancing these extremes.
The Exposure Problem
If you expose for the shadows, lights become blown-out white blobs. If you expose for the lights, shadows become pure black. The goal is usually preserving highlight detail while retaining some shadow information.
Practical Exposure Method
- Set a starting exposure: f/8, ISO 100, 15 seconds
- Take a test shot and check histogram
- Evaluate highlights: Are bright lights completely blown (histogram hitting right edge hard)?
- Adjust shutter speed: Shorten for blown highlights, lengthen for too-dark overall
- Repeat until histogram shows detail in key areas
Typical Night Exposures
These are starting points only. Actual conditions vary enormously.
Twilight (blue hour): 1-15 seconds at f/8, ISO 100 City streets with lighting: 15-30 seconds at f/8, ISO 100 Dimly lit areas: 30 seconds to 2 minutes at f/8, ISO 100 Rural darkness: 2-5 minutes at f/8, ISO 100 or higher Star trails: 15-30 minutes or longer (requires planning for movement)
Focusing in the Dark
Autofocus struggles in low light. Night photography usually requires manual focus.
Infinity Isn't Quite Infinity
The "infinity" mark on your lens isn't necessarily true infinity focus. Many lenses focus past infinity, and temperature changes can shift the true infinity point.
Finding true infinity:
- During daylight, focus on a distant object and note the exact position
- Use live view zoomed in on a bright star or distant light
- Manual focus until the point of light is smallest
- Mark or remember this position for future sessions
Using Live View for Night Focus
Steps:
- Switch to manual focus
- Enable live view on your screen
- Find a bright point light source (distant street light, bright star)
- Magnify the view (often 5x or 10x)
- Manually adjust focus until the point light is smallest and sharpest
- Lock focus (tape can help prevent accidental bumping)
Hyperfocal Distance for Depth
If you need both foreground and background sharp, calculate hyperfocal distance for your focal length and aperture. Focus there, and everything from half that distance to infinity will be acceptably sharp.
Smartphone apps can calculate hyperfocal distance for your specific lens and settings.
Working with Motion
Long exposures don't freeze time. They accumulate it. Moving elements create blur, which can be creative or problematic.
Light Trails from Traffic
Car headlights and taillights become flowing ribbons of light during long exposures.
Creating good light trails:
- Position to include a road with moving traffic
- Exposures of 15-30 seconds capture multiple cars
- Red and white streaks from tail and headlights
- Longer exposures = more trails accumulating
Smooth Water
Rivers, fountains, and ocean waves become silky smooth with long exposures.
Water smoothing guidelines:
- 1-5 seconds: Partial smoothing, some texture remains
- 10-30 seconds: Very smooth, flowing appearance
- Minutes: Completely glassy, almost fog-like
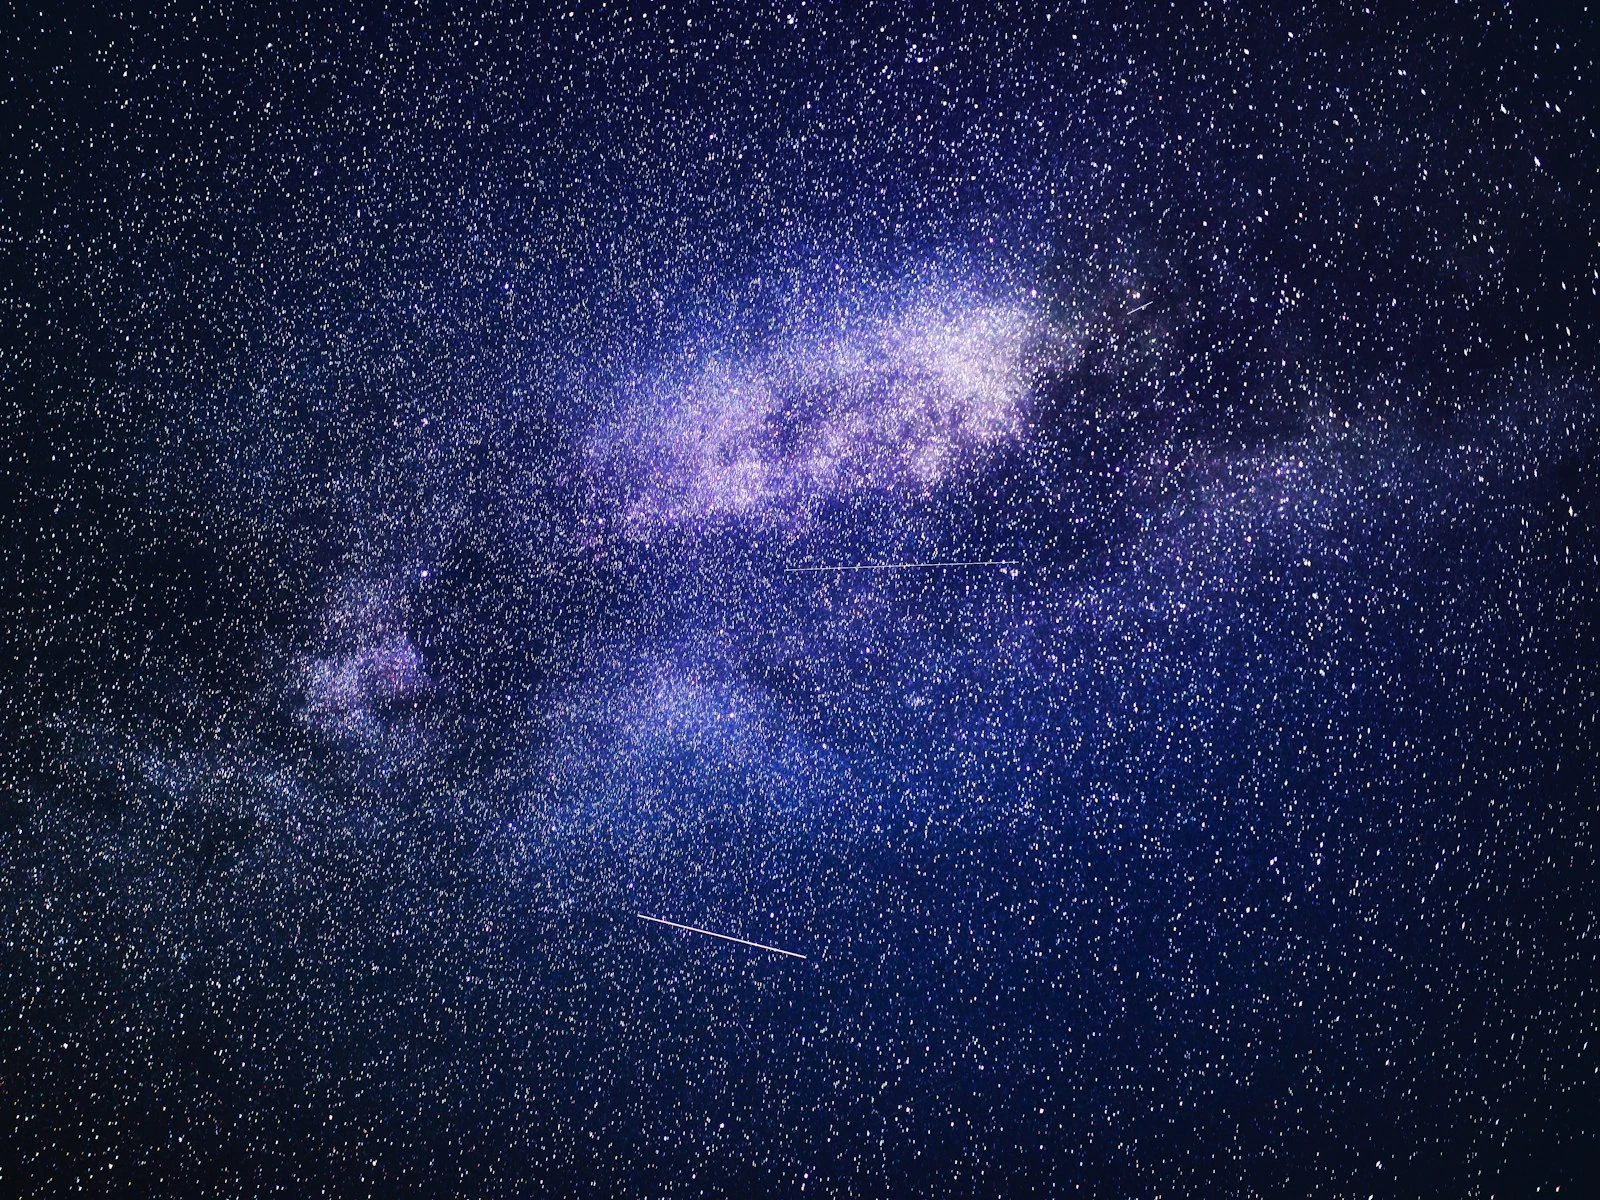
Star Movement
Earth's rotation causes stars to trail during very long exposures.
Star point vs. star trails:
- Under ~20-30 seconds: Stars appear as points (varies with focal length)
- Several minutes: Obvious trailing begins
- 30+ minutes: Dramatic circular trails around Polaris (Northern Hemisphere)
The 500 Rule: Divide 500 by your focal length for approximate maximum seconds before trailing (e.g., 500/24mm = ~20 seconds). The star trails math accounts for sensor size too, so you get a more accurate limit for your specific camera.
Clouds
Moving clouds become soft streaks with exposures of 30 seconds or longer. Can add drama or obscure detail depending on movement speed and your intent.
Composition Considerations for Night
Night changes how scenes look and how composition works.
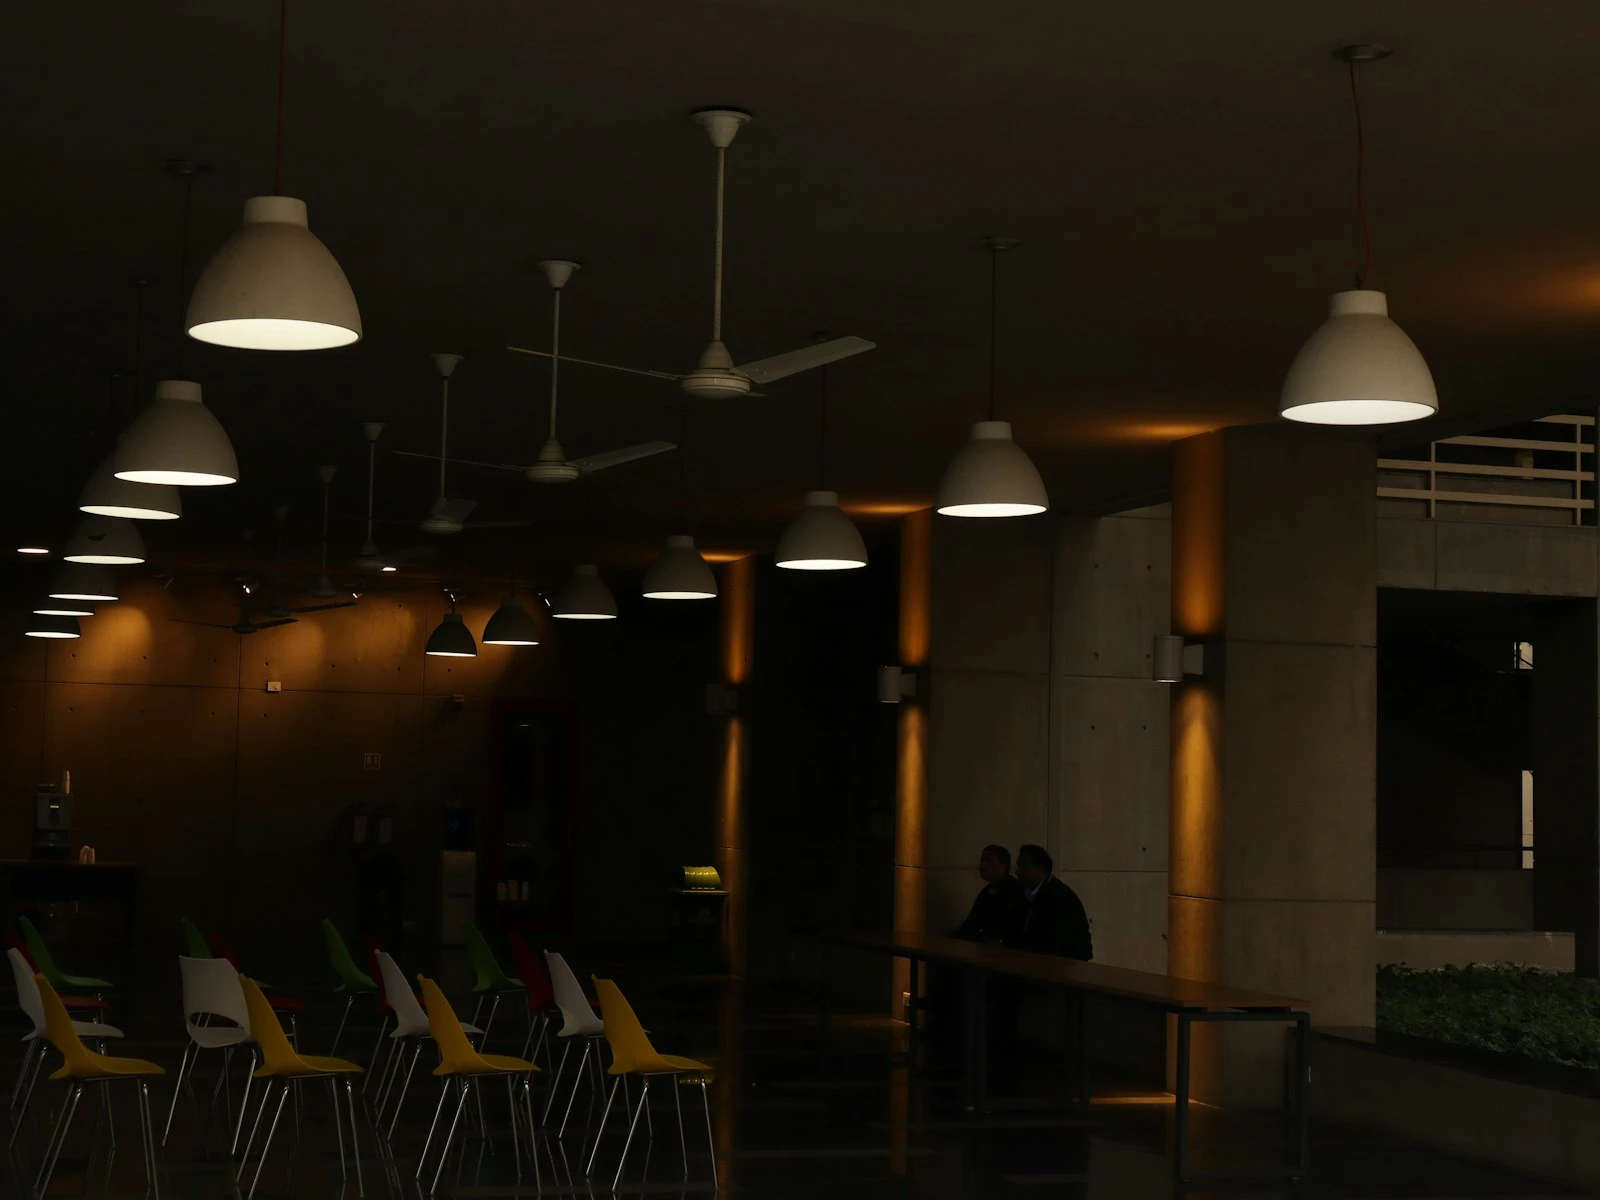
Light Becomes Subject
In daytime, light illuminates subjects. At night, light sources often become the subjects themselves: the glow of windows, strings of street lights, neon signs.
Consider:
- Leading lines of lights
- Patterns created by repeated light sources
- Contrast between lit and unlit areas
- Color variations between different light types
Simplification Through Darkness
Night naturally simplifies scenes. Distracting elements disappear into shadow; only lit portions demand attention.
Use darkness compositionally:
- Frame subjects with darkness
- Let shadows create negative space
- Silhouette foreground elements against lighter backgrounds
The Blue Hour Advantage
The period just after sunset (or before sunrise) provides the best balance of natural sky light and artificial lighting. Pure night is very dark; blue hour blends both.
Timing:
- Roughly 20-40 minutes after sunset (a golden hour timing gives you exact times)
- Sky retains blue color and some detail
- Artificial lights are on and visible
- More balanced dynamic range than pure night
Common Night Subjects
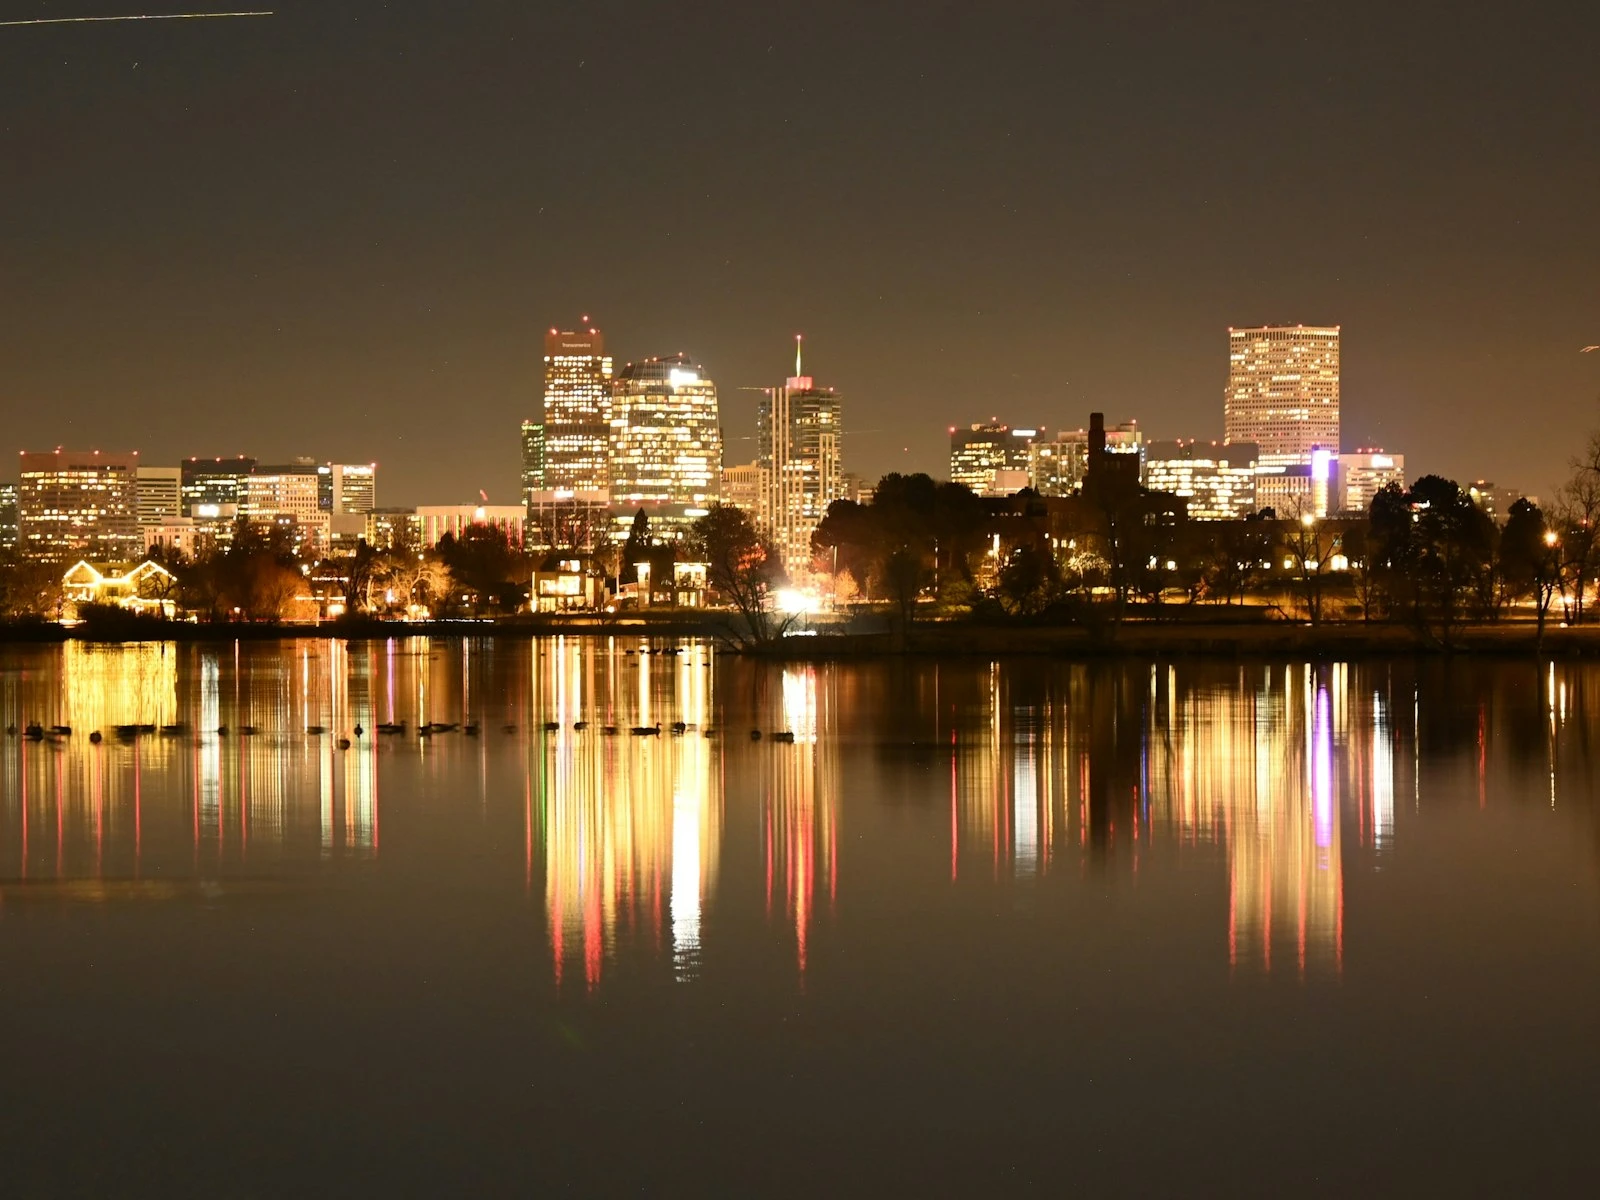
Cityscapes and Skylines
Approach:
- Scout location during daytime for composition
- Arrive before sunset to set up
- Shoot through blue hour into night
- Include foreground interest when possible
- Water reflections double your lights
Architecture with Artificial Lighting
Approach:
- Wait for designed lighting to activate (often at dusk)
- Avoid mixed lighting conditions if possible
- Use building geometry for strong composition
- Include human scale elements when appropriate
Landscapes Under Stars
Approach:
- Check moon phase (new moon = darker sky, more stars)
- Allow time for eyes to adapt to darkness
- Consider light painting foreground elements
- Use wider aperture and higher ISO for shorter star exposures
Bridges and Structures
Approach:
- Include traffic for light trails
- Shoot from multiple angles
- Look for reflections in water below
- Consider symmetrical compositions
Technical Challenges and Solutions
Lens Flare
Multiple bright lights create flare artifacts. Use a lens hood, position to hide direct light sources behind elements, or embrace flare as aesthetic.
Focus Shift
Some lenses focus slightly differently at different apertures. If you focus wide open and shoot stopped down, the focus point may shift slightly. Focus at your shooting aperture when possible.
Dew and Fog
Cold nights can cause condensation on your lens. Lens warmers (battery-powered) prevent this, or periodically check and wipe your front element.
Wind
Wind vibrates tripods, causing blur. Shield your setup, use shorter exposures when possible, or weight down your tripod center column.
Long Exposure Banding
Very long exposures on some cameras produce horizontal banding. Test your camera's limits and use in-camera long exposure noise reduction if needed.
Key Takeaways
- A tripod transforms night photography by allowing base ISO, optimal aperture, and unlimited shutter speed, eliminating the usual low light compromises.
- Use manual mode with base ISO (100), f/8-f/11 for sharpness, and adjust shutter speed to expose the scene correctly (often 10-30 seconds).
- Embrace long exposure motion blur as a creative tool: light trails from cars, smooth water, and ghosted people all add visual interest.
- Use a remote shutter release or 2-second timer to avoid camera shake during long exposures, and turn off image stabilization when on a tripod.
More in This Guide
Continue building your low-light photography skills.