You pushed ISO to get the shot. The image is sharp, the moment is captured, but now you're looking at grain covering your shadows and a texture you didn't intend. Modern noise reduction can recover significant quality from high-ISO images, and the skill is knowing how much to apply and where to stop.
Noise reduction is about finding the balance where your image looks clean enough for its purpose while retaining the detail that makes photographs feel real. It's one of the most common post-processing needs covered in our low light guide.
Understanding What Noise Is
Before removing noise, understand what you're looking at. Digital noise comes in two main forms, each requiring different treatment.
Luminance Noise
What it looks like: Random variations in brightness, a grainy texture similar to film grain. Appears as light and dark speckles throughout the image.
Where you see it: Most visible in solid-toned areas, smooth gradients, and mid-tones. Less obvious in highly detailed areas where texture masks it.
Character: Often considered more tolerable than color noise. Some photographers intentionally add film grain aesthetically similar to luminance noise.
Color (Chrominance) Noise
What it looks like: Random colored speckles, typically magenta, green, cyan, or yellow, appearing where they shouldn't exist.
Where you see it: Most visible in shadows and underexposed areas. Particularly obvious in areas that should be neutral gray or black.
Character: Generally more objectionable than luminance noise. The eye expects variation in brightness but finds unexpected color patches distracting.
Why Shadows Are Worse
Shadow areas contain less signal (light information) relative to the sensor's baseline noise. When you brighten shadows in post, you amplify both the image detail and the noise equally.
This is why properly exposed high-ISO images often have less apparent noise than underexposed lower-ISO images that were brightened in editing.
The Noise Reduction Tradeoff
Every noise reduction algorithm faces the same fundamental problem, which is that noise and detail can look similar. Both are variations in pixel values. The more aggressively you remove noise, the more you risk removing real detail too.
Over-processed images show:
- Waxy, plastic-looking skin
- Loss of fine texture (hair, fabric, foliage)
- Smeared or blotchy transitions
- Artificial smoothness that looks unreal
Under-processed images show:
- Distracting grain in smooth areas
- Color speckles that pull attention
- Shadows that feel dirty or unfinished
The goal is finding the point where noise becomes unobtrusive without sacrificing the detail that makes the image feel real.
Noise Reduction in Lightroom/Camera RAW
Adobe's noise reduction tools are accessible and effective for most purposes.
Accessing the Controls
In Lightroom: Develop module > Detail panel > Noise Reduction section In Camera RAW: Detail panel > Noise Reduction
Luminance Noise Reduction
Luminance slider: Primary control. Higher values = more noise reduction = more smoothing. Start around 20-40 for mild noise, higher for severe cases.
Detail slider: Protects fine detail from being smoothed away. Higher values preserve more texture but reduce effectiveness. Default (50) works for most images.
Contrast slider: Preserves larger-scale contrast variations that might otherwise be smoothed. Higher values maintain local contrast at the expense of some noise remaining.
Color Noise Reduction
Color slider: Primary control. Even modest settings (15-30) remove most color noise. Default values often work well.
Detail slider: Protects color transitions in fine detail. Higher values = more preserved color detail but potentially more color noise remaining in edges.
Smoothness slider: Removes larger color blotches. Increase if you see splotchy color areas after applying color noise reduction.
Practical Workflow
- View at 100% magnification. You can't evaluate noise at zoomed-out views
- Apply color noise reduction first. Often needs only small adjustment from default
- Evaluate luminance noise. Determine if reduction is needed and how much
- Apply luminance reduction gradually. Start conservatively, increase only as needed
- Check detail areas. Zoom to areas with fine texture (hair, fabric, foliage)
- Adjust detail/contrast sliders. Fine-tune the noise vs. detail balance
- Evaluate at output size. Noise visible at 100% may be invisible in final output
Noise Reduction in Other Software
Capture One
Approach: Uses different algorithm than Adobe; some find it more detail-preserving. Location: Details tool tab > Noise Reduction Key controls: Luminance, Color, and Single Pixel for hot pixel removal Notes: Generally more conservative defaults; may need less adjustment
DxO PhotoLab / PureRAW
Approach: Uses Deep Prime and Deep Prime XD, AI-powered algorithms that analyze camera and lens profiles. Strength: Often recovers remarkable quality from high-ISO images Workflow: PureRAW can preprocess files for use in other editors; PhotoLab provides complete editing Notes: Some of the most effective noise reduction currently available
Topaz DeNoise AI
Approach: Dedicated AI-powered denoise application Strength: Very effective at high ISO levels; multiple model options for different scenarios Workflow: Standalone or plugin for Lightroom/Photoshop Notes: Can recover images that seem too noisy for other tools
Adobe's AI Denoise
Approach: Machine learning-based denoise in Lightroom/Camera RAW (introduced 2023) Location: Enhance > Denoise in Lightroom Strength: Excellent detail preservation with significant noise reduction Workflow: Creates new DNG file; more processing-intensive than manual sliders Notes: Currently among the best integrated options in Adobe ecosystem
Advanced Noise Reduction Techniques
Selective Noise Reduction
Not all parts of an image need equal treatment. Selective approaches can maximize quality.
In Lightroom/Camera RAW:
- Use masking to apply noise reduction only where needed
- Create mask for shadows or sky (areas with worst noise)
- Apply stronger reduction to masked area
- Leave detailed areas untouched or with less reduction
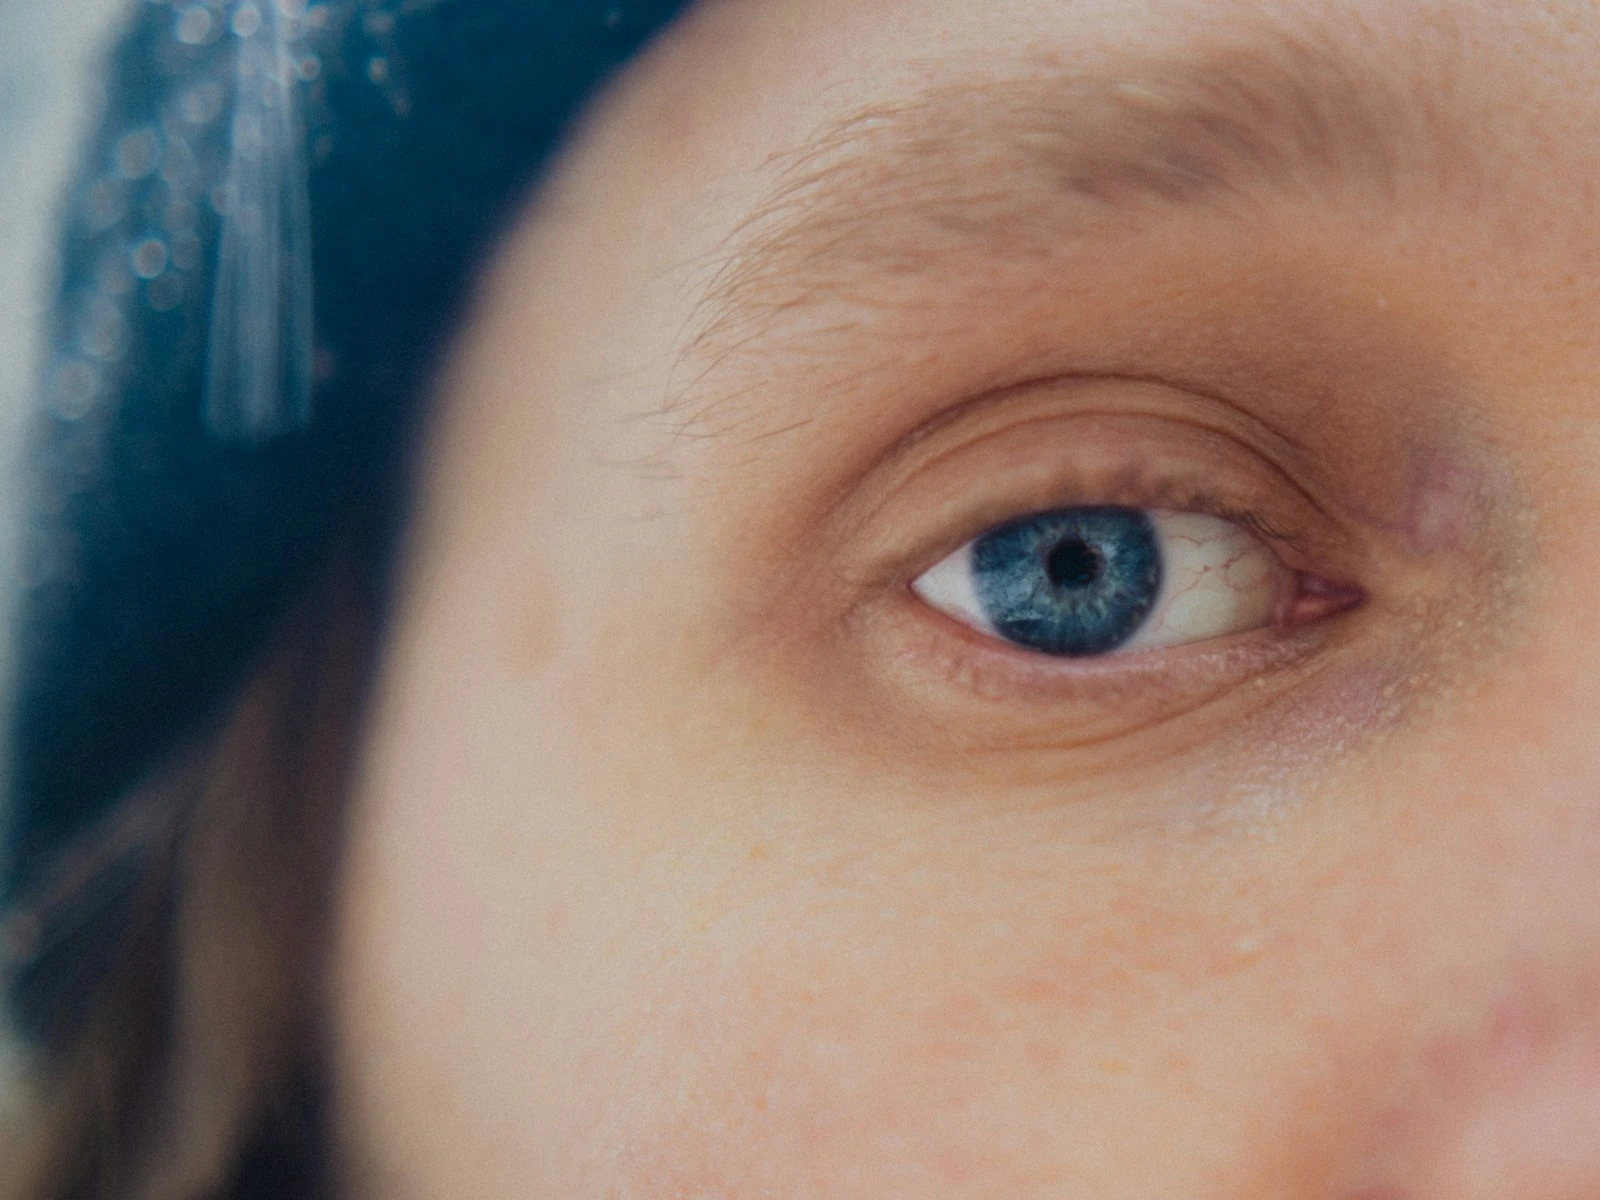
Approach for portraits:
- Heavy reduction on out-of-focus backgrounds
- Light reduction on skin
- Minimal or no reduction on eyes, hair, fabric texture
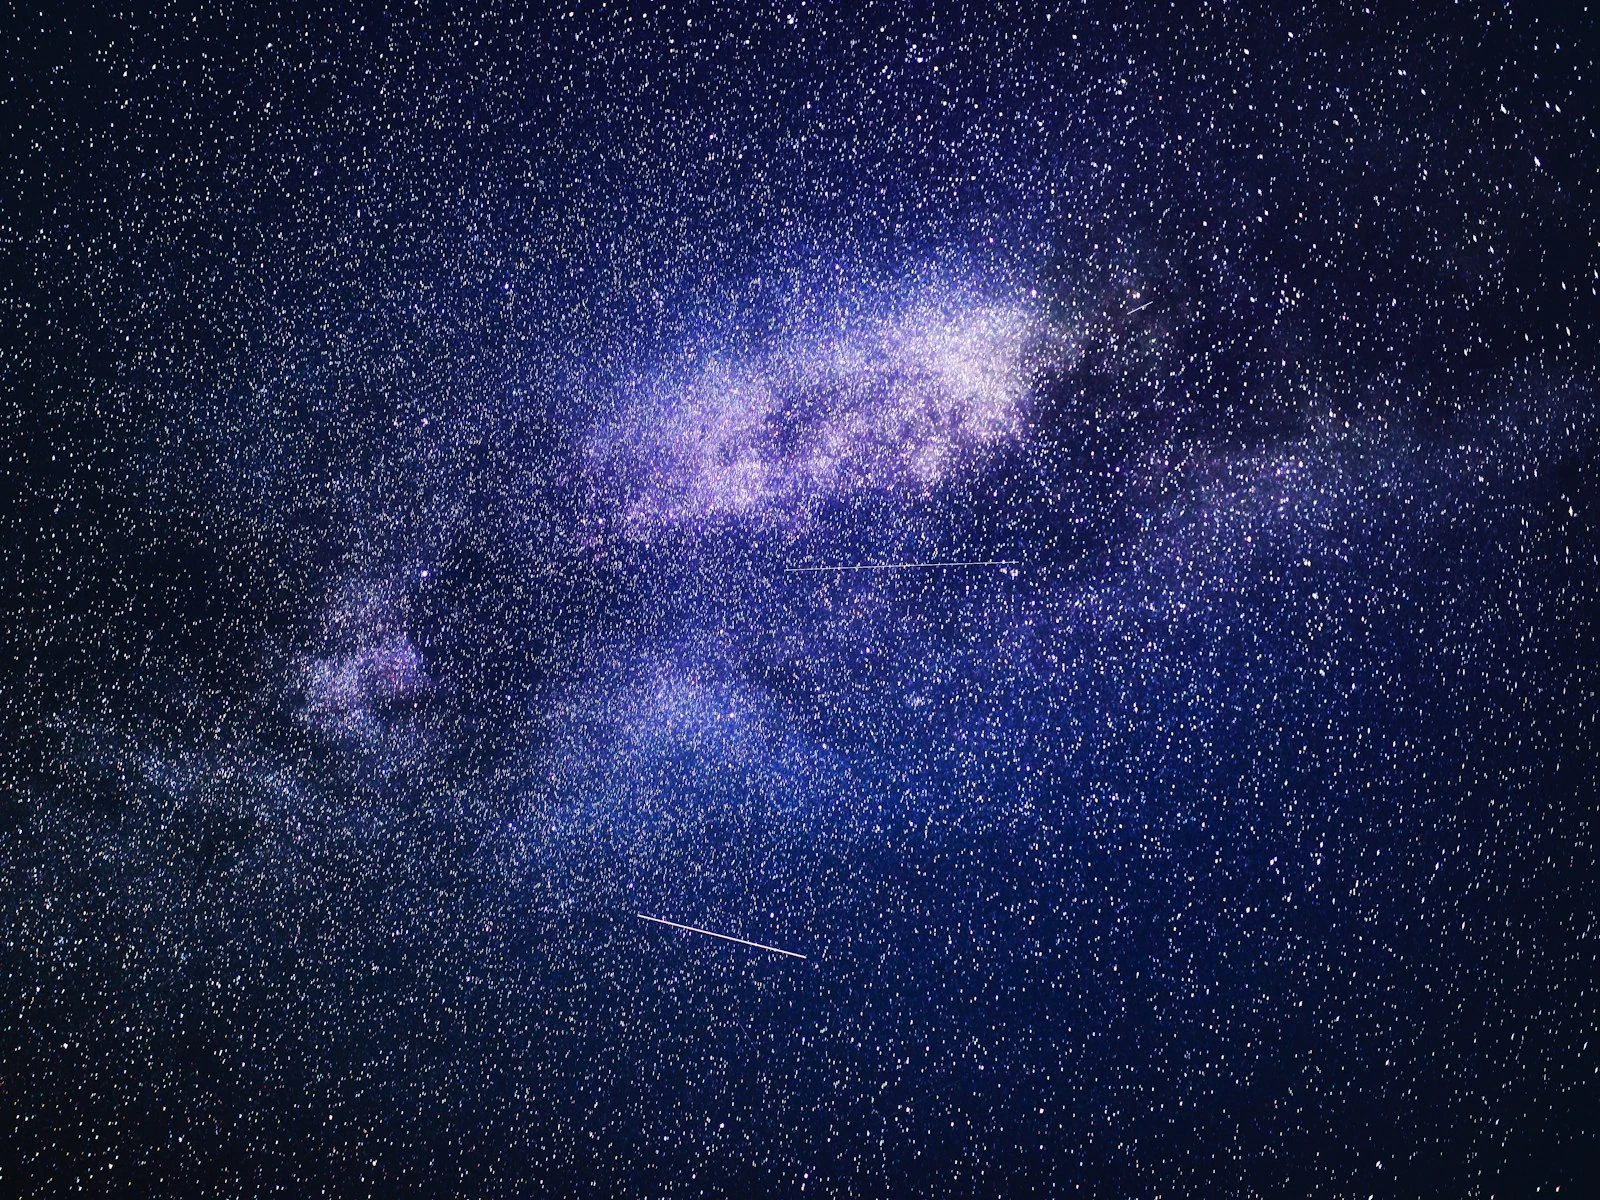
Exposure Blending for Noise
If you have multiple exposures of a static scene (or can create them), blending can reduce noise while preserving detail.
The principle: Noise is random; image detail is consistent. Averaging multiple frames reduces random noise while reinforcing consistent detail.
Methods:
- Stack and average in Photoshop
- Use dedicated stacking software (Starry Landscape Stacker, etc.)
- Some cameras offer in-camera multi-shot noise reduction
Luminosity Masking
Apply noise reduction selectively based on tonal range.
Why it works: Shadows contain more visible noise; highlights need less reduction. Applying reduction only to darker tones preserves highlight detail.
Implementation: Create luminosity masks in Photoshop targeting shadow tones, apply noise reduction through the mask.
How Much Reduction Is Too Much?
The right amount of noise reduction depends on several factors.
Consider Output Size
Noise visible at 100% magnification may be invisible in the final output.
Web and social media: Small display sizes hide significant noise. You may need less reduction than you think.
Large prints: More demanding. Noise that's invisible on screen may be visible in prints, but natural grain can also look good in prints.
Close viewing distance: Prints viewed closely (typical art display) show more noise than those viewed from distance.
Consider the Subject
Portraits: Viewers expect smooth skin and clean backgrounds. Noise is more objectionable.
Documentary/photojournalism: Some grain can feel authentic and appropriate. Over-processing can feel sanitized.
Landscapes: Fine texture (foliage, rock) matters. Heavy reduction can make natural scenes feel artificial.
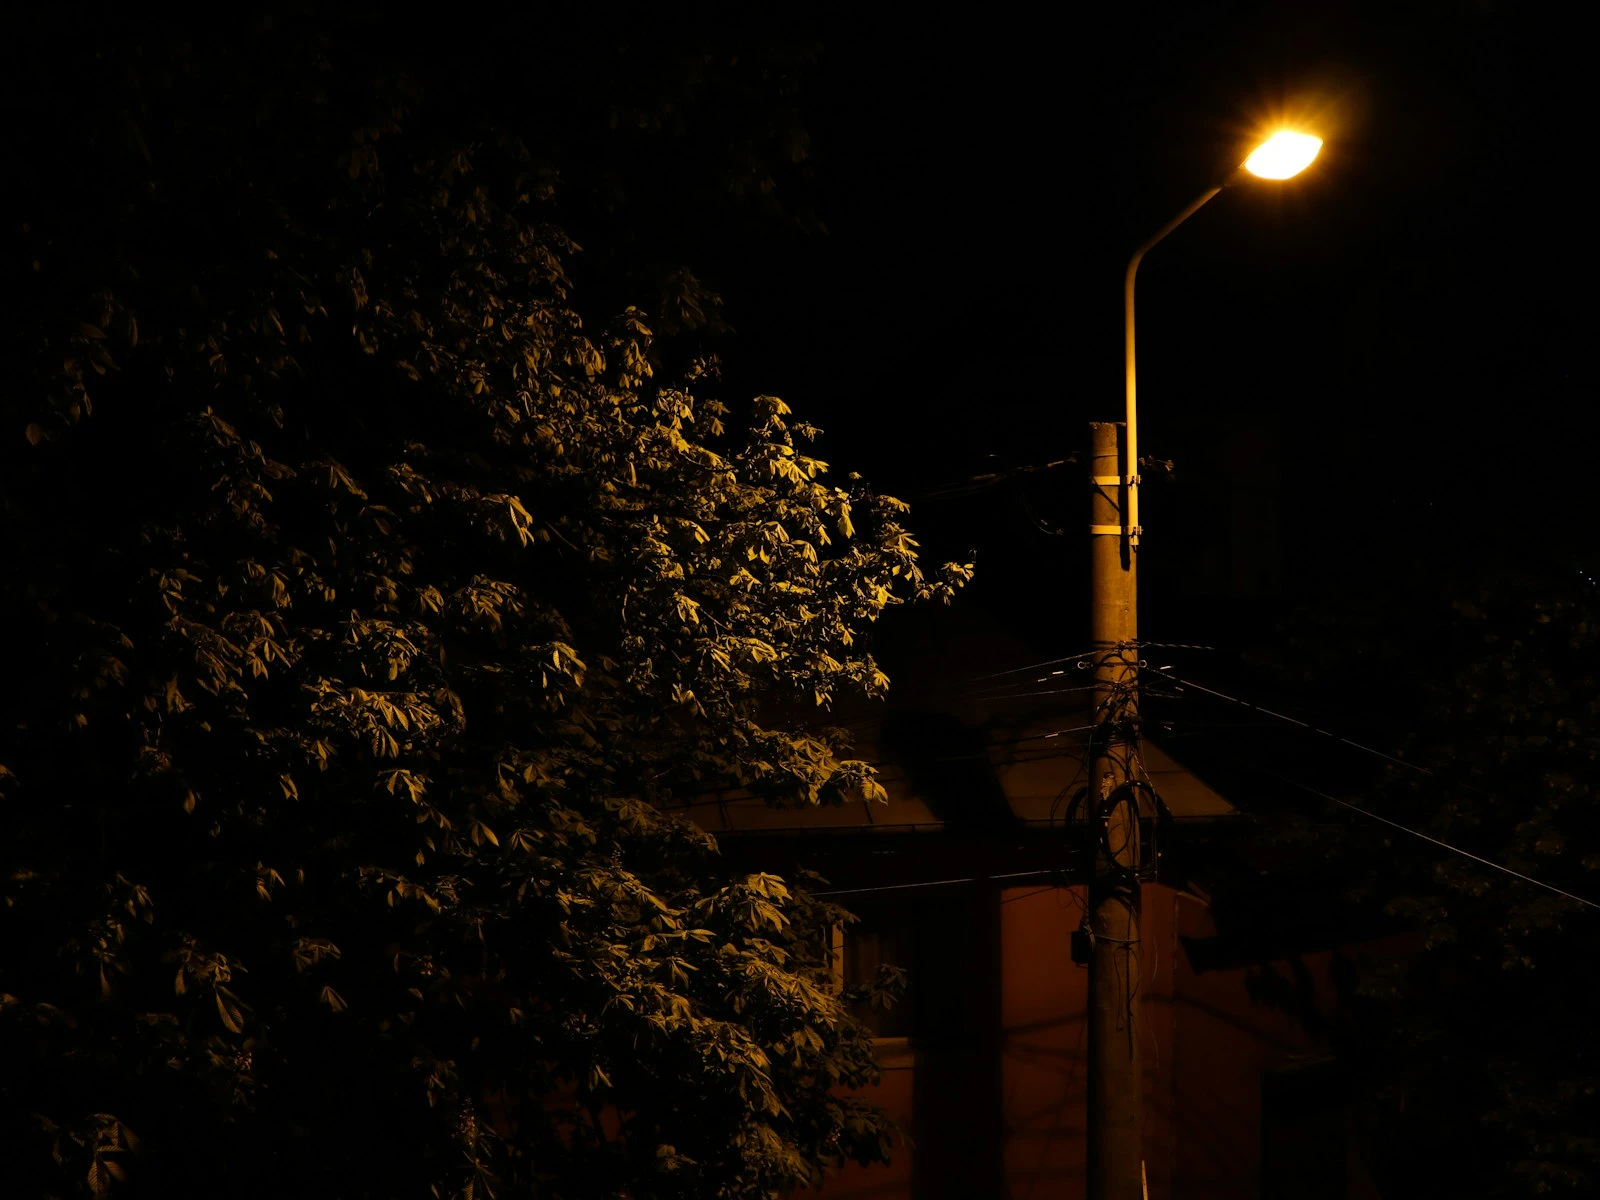
Night photography: Some noise is expected and accepted. The shot matters more than pristine smoothness.
Consider the Aesthetic
Noise isn't inherently bad. Film photographs had grain, and some photographers add it intentionally.
Questions to ask:
- Does the noise distract from the subject?
- Does the noise feel appropriate for the image's mood?
- Am I removing noise out of habit or because it genuinely improves this image?
Preventing Noise in Camera
The best noise reduction happens before capture.
Expose Properly (or Slightly Over)
Underexposure followed by brightening in post creates worse noise than proper exposure at higher ISO.
The practice: If you need ISO 6400 for proper exposure, that produces better results than ISO 3200 underexposed and brightened one stop.
Use Your Camera's Best ISO Range
Native ISO range (typically 100-6400 or 100-12800) generally outperforms extended/expanded ISO values.
Consider Image Stabilization
Stabilization lets you use slower shutter speeds, which lets you use lower ISO for the same exposure.
Add Light When Possible
Window light, reflectors, or additional light sources reduce ISO requirements.
Know Your Camera's Limits
Test your camera to understand its actual high-ISO performance. You may be avoiding ISO values that your camera handles well.
Practical Noise Reduction Workflow
For Standard High-ISO Images
- Import and apply lens corrections
- Set white balance and basic exposure
- Apply color noise reduction. Default often sufficient, or slight increase
- Evaluate luminance noise at 100%. In shadows and smooth mid-tones
- Apply luminance reduction conservatively. Start at 20-30
- Check detail preservation. Hair, fabric, foliage texture
- Adjust as needed. Balance smoothness and detail
- Consider AI denoise. If standard tools aren't sufficient
For Severely Noisy Images
- Export to dedicated denoise software (DxO PureRAW, Topaz)
- Apply AI-powered noise reduction
- Re-import processed file
- Complete remaining edits
- Apply selective additional reduction if needed
For Images Needing Aggressive Shadow Recovery
- Apply noise reduction BEFORE aggressive shadow lifting
- Or use AI denoise which handles this scenario better
- Accept that heavily lifted shadows will show noise
- Consider whether full shadow recovery is necessary
When Noise Reduction Isn't Enough
Sometimes the noise is too severe or the reduction required destroys too much detail.
Options:
- Accept more noise than ideal
- Convert to black and white (color noise eliminated, luminance grain can work as aesthetic)
- Add film grain overlay (can make noise pattern more pleasing)
- Resize smaller (reduces apparent noise in output)
- Accept the image's limitations
Not every high-ISO image can be rescued to perfection. Sometimes the shot was worth getting despite technical compromise.
Key Takeaways
- Apply color noise reduction first (it is usually more objectionable), then luminance noise reduction, checking results at 100% zoom.
- Find the balance point where noise becomes acceptable without over-smoothing detail, since plastic-looking images are worse than slightly grainy ones.
- Lightroom's AI denoise and dedicated tools like DxO PureRAW or Topaz DeNoise can recover remarkable quality from high-ISO images.
- Shoot RAW for maximum noise reduction flexibility, since RAW files contain more tonal data for the software to work with than compressed JPEGs.
More in This Guide
Continue building your low-light photography skills.