The best camera is the one you have with you. You've heard that phrase a thousand times, usually from someone defending phone photography against dismissive comments from "real" camera owners.
And it's actually true, but also incomplete.
The camera you have with you only becomes the best camera when you understand what it does well, where it struggles, and how to work with both. Phone cameras are fundamentally different tools that require different thinking.
This guide will help you understand those differences and make better decisions in the moment. If you're on iPhone specifically, a few practical techniques work across every model and make an immediate difference.
What Makes Phone Cameras Different
Phone cameras face a fundamental physics problem because the sensor is tiny and the lens is basically flat. These constraints can't be engineered away, only worked around.
What phone manufacturers have done is remarkable. Through computational photography (using software to process and combine multiple images), modern phones produce photos that would have seemed impossible a decade ago.
This processing makes decisions about your image, and it's far from neutral. Understanding what those decisions are and when they help versus hurt is the key to better phone photography.
The Strengths You Can Rely On
Deep depth of field. That tiny sensor means almost everything in your frame will be in focus. This sounds like a limitation compared to the beautiful blur of larger cameras, but it's actually an advantage for landscapes, street photography, architecture, and any scene where you want front-to-back sharpness.
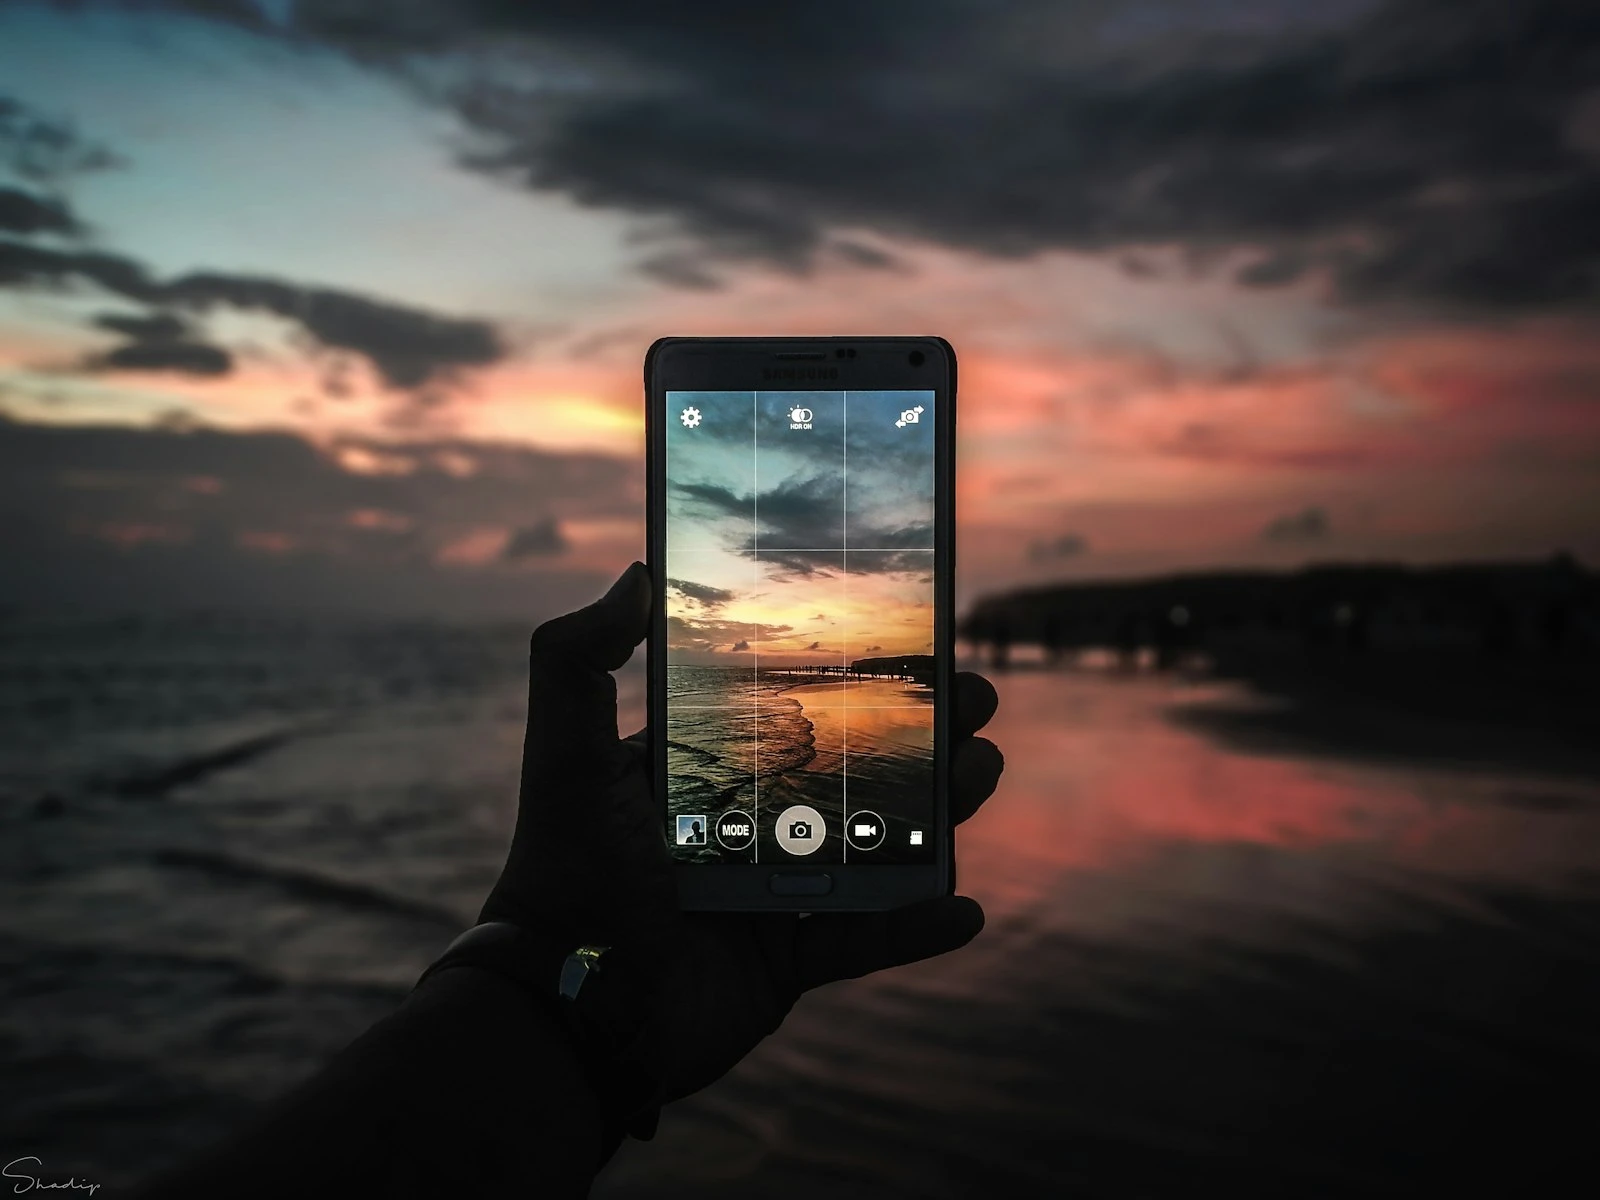
Computational HDR. Phones automatically capture and blend multiple exposures, often giving you better highlight and shadow detail than a single traditional camera shot. Sunrise and sunset scenes, backlit subjects, and high-contrast interiors are all situations where phones perform surprisingly well.
Always available. Beyond mere convenience, this changes what you can photograph. Candid moments, unexpected scenes, the light that only lasts thirty seconds. There are genuine situations where your phone beats a dedicated camera simply because it's there.
Instant sharing. The photo that gets shared, printed, or used is worth more than the technically perfect image that sits on a memory card.
The Limitations You Need to Understand
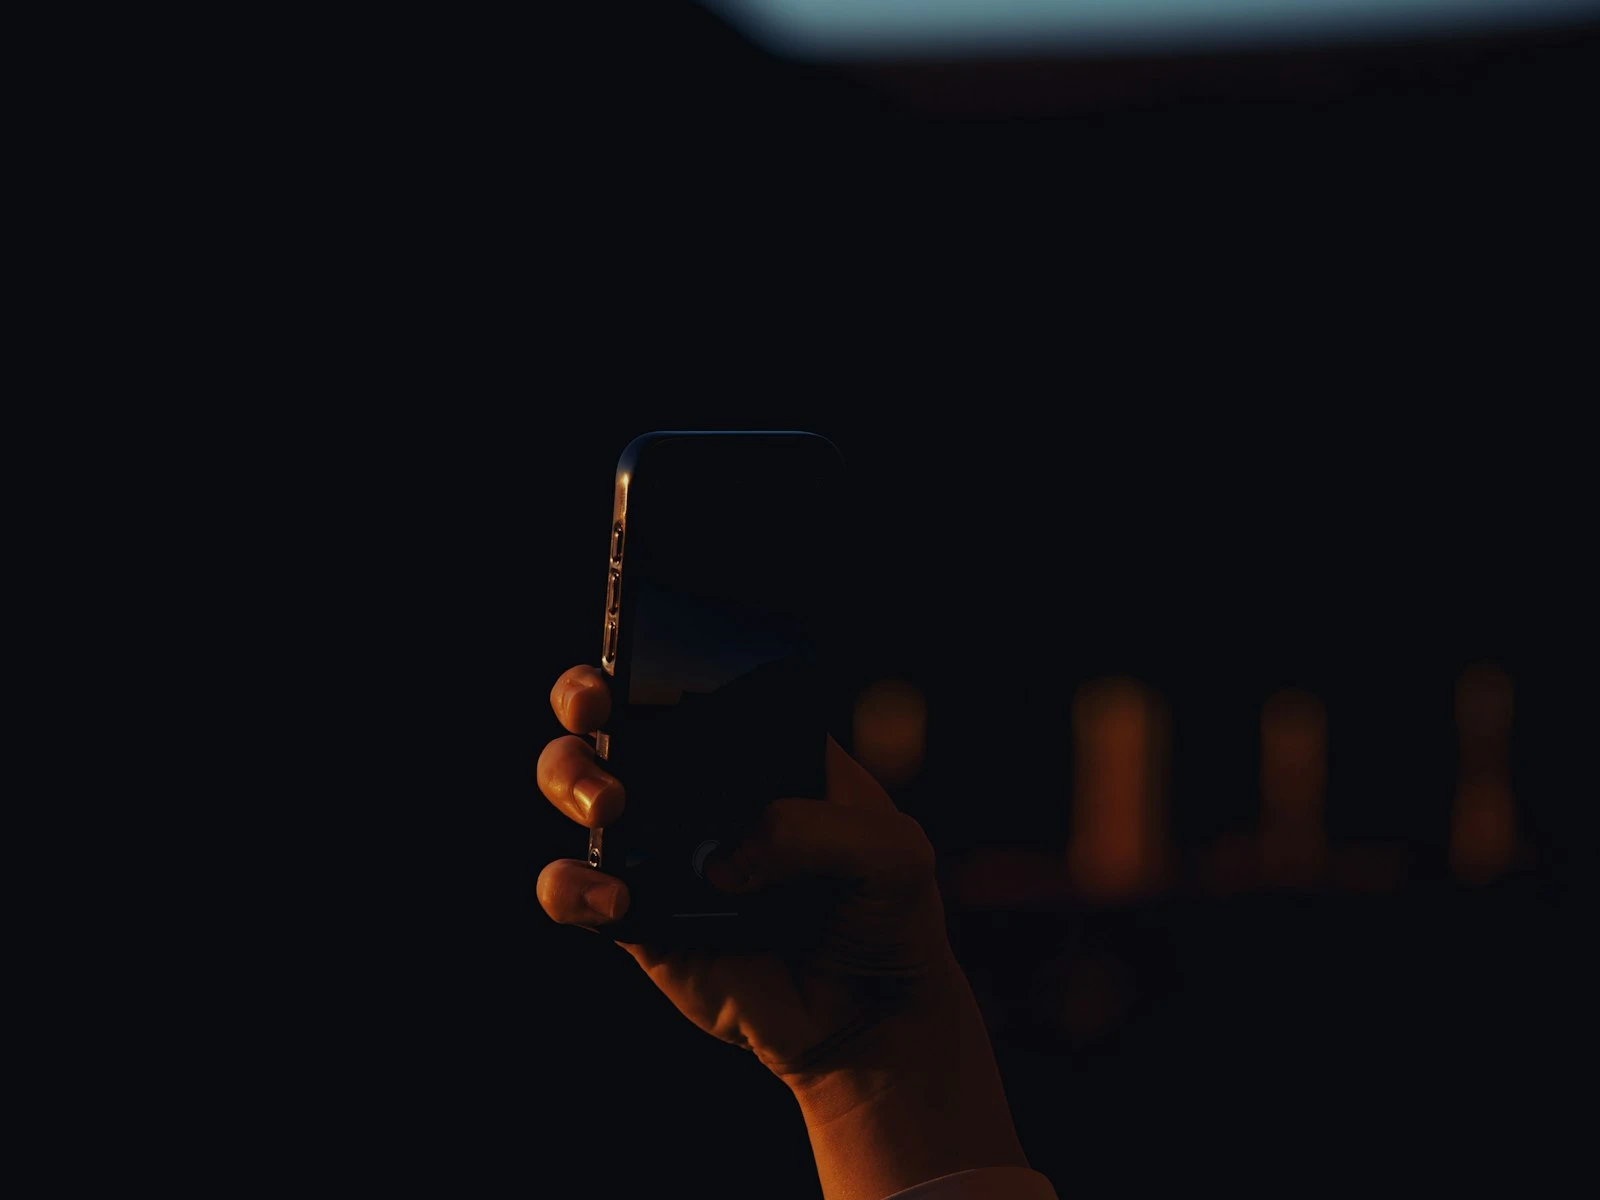
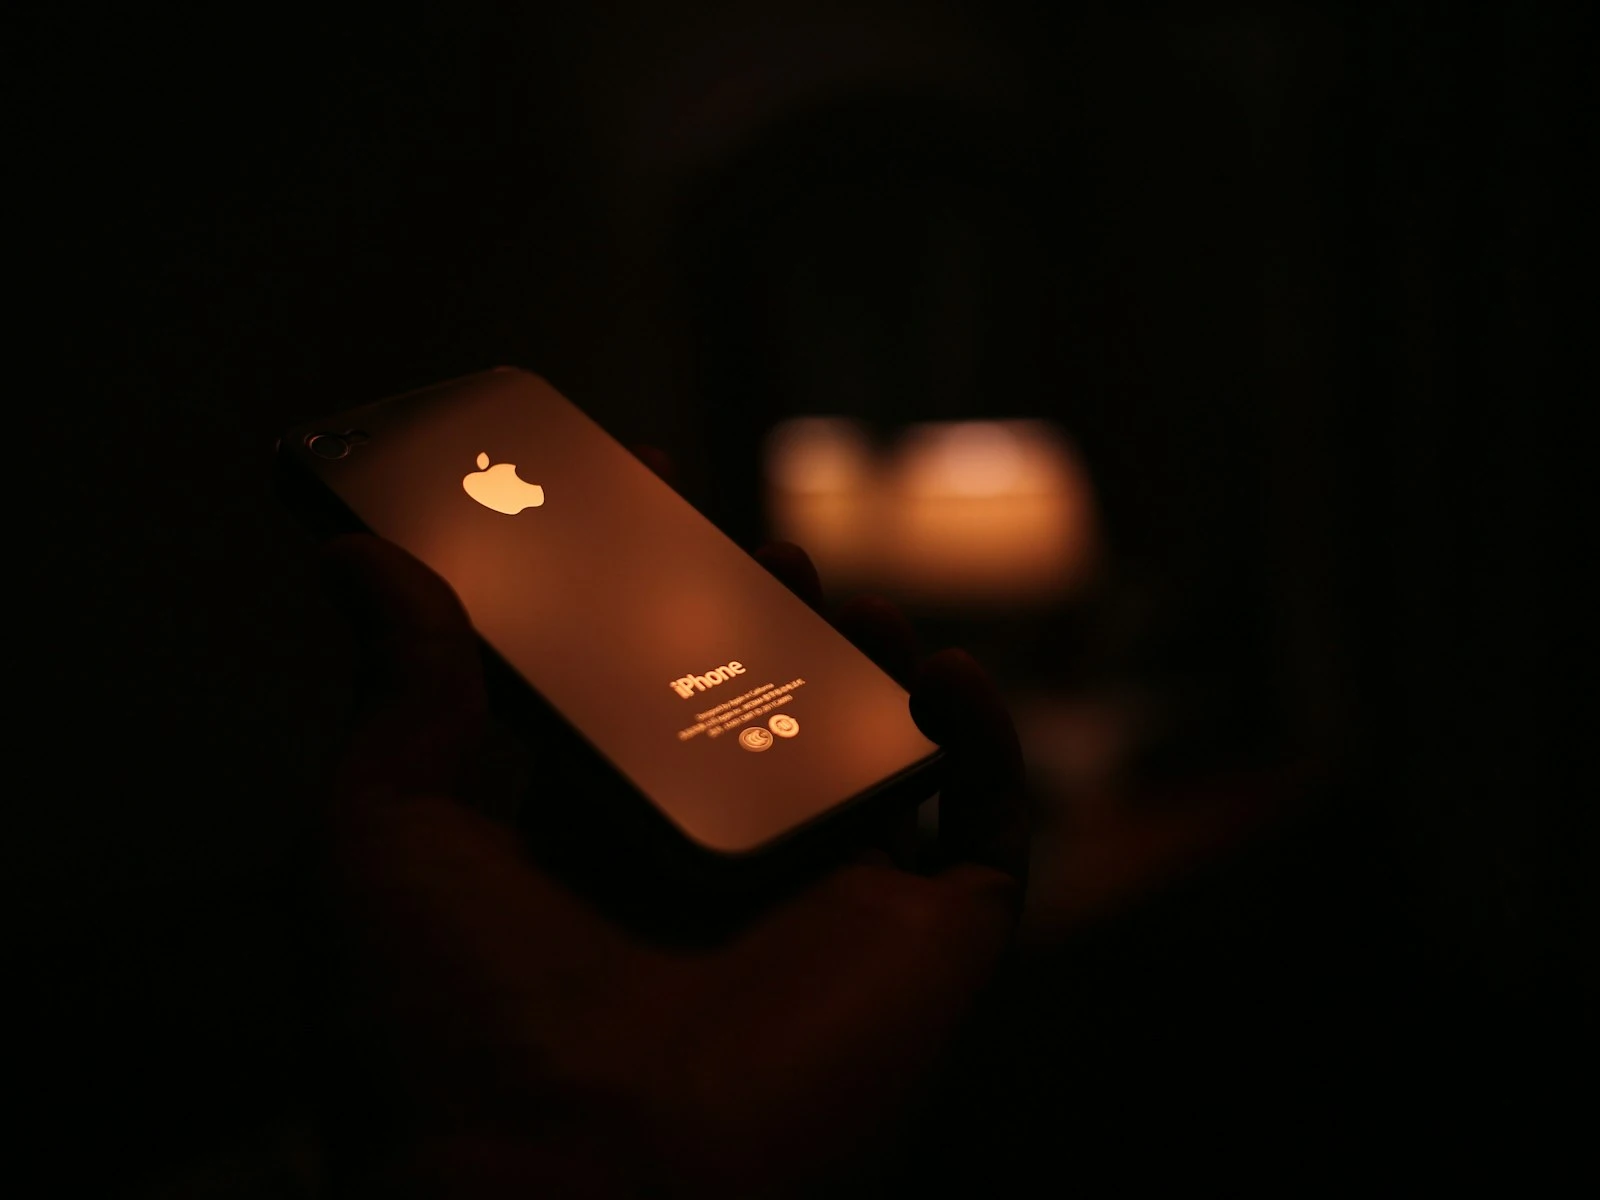
Low light struggles. Despite impressive Night Mode features, small sensors simply can't gather light like larger ones. You'll get usable images in dim conditions, but they won't match what bigger cameras can do.
Compression and processing artifacts. The heavy computational processing can create unnatural textures, especially in detailed areas like hair, foliage, or fabric. The more the phone has to work, the more artifacts appear.
Limited reach. Digital zoom degrades quality quickly. The telephoto lenses on multi-camera phones help, but you're still working with small sensors at the longer focal lengths.
Portrait mode limitations. The fake background blur can look impressive, but it often fails around hair, glasses, and complex edges. It works best in specific conditions.
The expectation gap. Your eyes see a scene very differently than your phone captures it. Understanding this gap helps you predict results and avoid disappointment.
The Computational Photography Tradeoff
Modern phones construct an image rather than simply capturing one. When you press the shutter, the phone might capture a dozen or more frames, analyze them, select the best parts, apply noise reduction, sharpen details, adjust colors, and produce a final result.
This processing is why phone photos often look "better" than raw captures from larger cameras, with more vivid colors, more punch, and a more immediately shareable quality. But it's also why some phone photos look flat in a way that's hard to fix.
You're not fully in control, because the phone is making aesthetic decisions for you. Learning to work with those decisions, and recognizing when to override them, is what separates good phone photography from just pointing and shooting.
The Right Mindset for Phone Photography
Good phone photography starts with accepting what you're working with rather than fighting against it.
Your phone is a different tool entirely from a dedicated camera. It excels at casual documentation, social sharing, always-available capture, and situations where carrying equipment isn't practical.
It struggles with low light, shallow depth of field, distant subjects, and scenes where you need precise control over how the image is rendered.
Neither set of characteristics makes it better or worse, just appropriate for different situations.
The photographers who get the best results from phones are the ones who:
-
Understand the light. Phone cameras perform best in good light. Seeking out or waiting for better light often matters more than any technique.
-
Get closer. Phones have wide-angle main cameras. Getting physically closer often produces better results than digital zoom. If you're on iPhone, understanding which features affect light and detail gives you more control over the result.
-
Work with the processing. Rather than fighting the computational photography, they learn to predict what it will do and set up shots accordingly.
-
Edit thoughtfully. A little adjustment goes a long way. The best phone photos often have subtle edits, not dramatic ones.
-
Know when to switch tools. They recognize situations where the phone isn't the right choice and aren't dogmatic about it.
Common Phone Photography Situations
Outdoor daylight
This is where phones shine. Good light means minimal processing artifacts, and the deep depth of field keeps everything sharp. Focus on composition, since phones give you no excuse for sloppy framing.
Backlit subjects
Phone HDR handles backlighting surprisingly well. Tap on your subject to set exposure, and let the computational processing handle the bright background.
Indoor available light
This is where phones start to struggle. Results depend heavily on how much light is available, and while phones do fine near windows, dim interiors will show visible noise and processing artifacts.
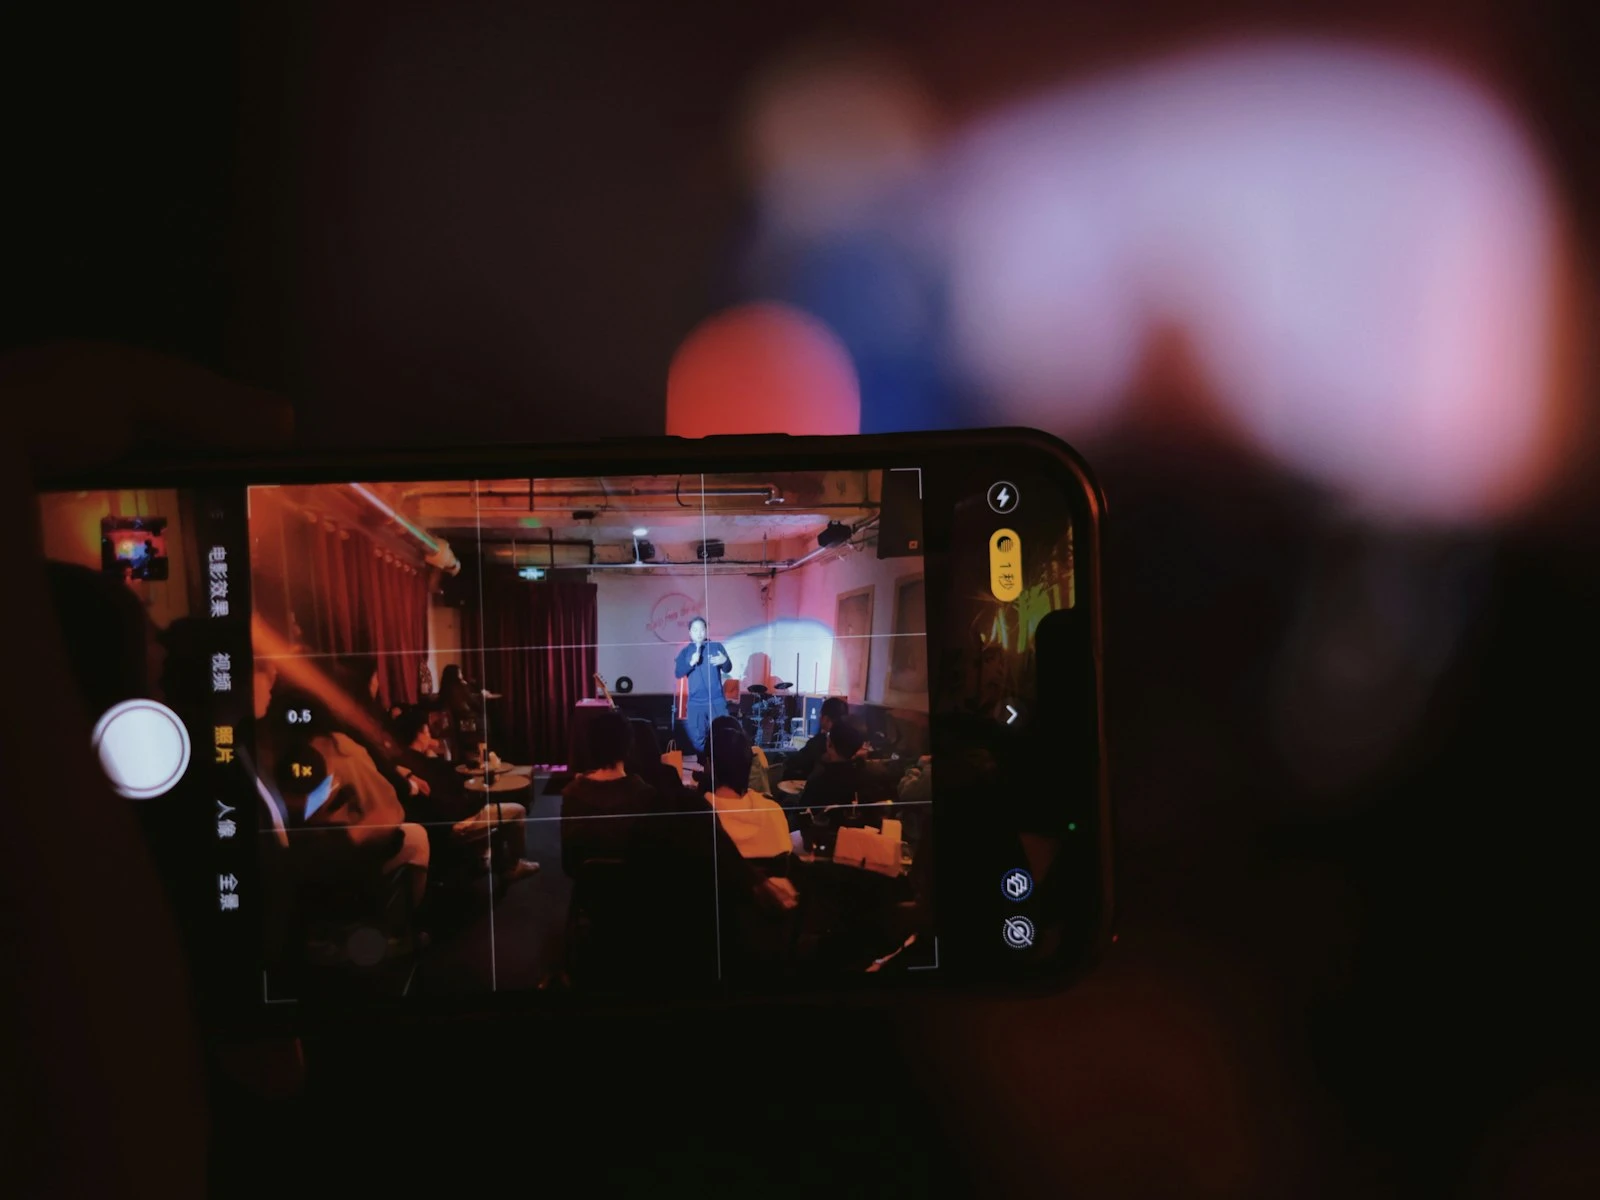
Low light and night
Night mode helps, but requires steady hands (or a surface to rest the phone on) and cooperative subjects, since moving subjects will blur while static scenes can look impressive.
Portraits
Portrait mode can produce beautiful results or obvious failures. Success depends on lighting, distance, background complexity, and edge detection around hair and accessories.
Action and movement
Phones have gotten better at capturing movement, but fast action in anything less than bright light remains challenging. Predictive timing matters more than reaction time.
Start Improving Today
If you want to immediately improve your phone photography, start here:
-
Clean your lens. That smudgy fingerprint is seriously softening every photo you take.
-
Tap to focus and expose. Tap on the most important part of your image rather than letting the phone decide.
-
Look for light. Before composing your shot, notice where the light is coming from and how it's affecting your subject.
-
Get closer. If you're thinking about zooming, try moving your feet instead.
-
Hold steady. Phones are light and easy to jostle. Brace your elbows against your body or lean against something solid.
These five basics will improve your results more than any feature or setting. And if you need a professional headshot, your phone can genuinely deliver with the right setup.