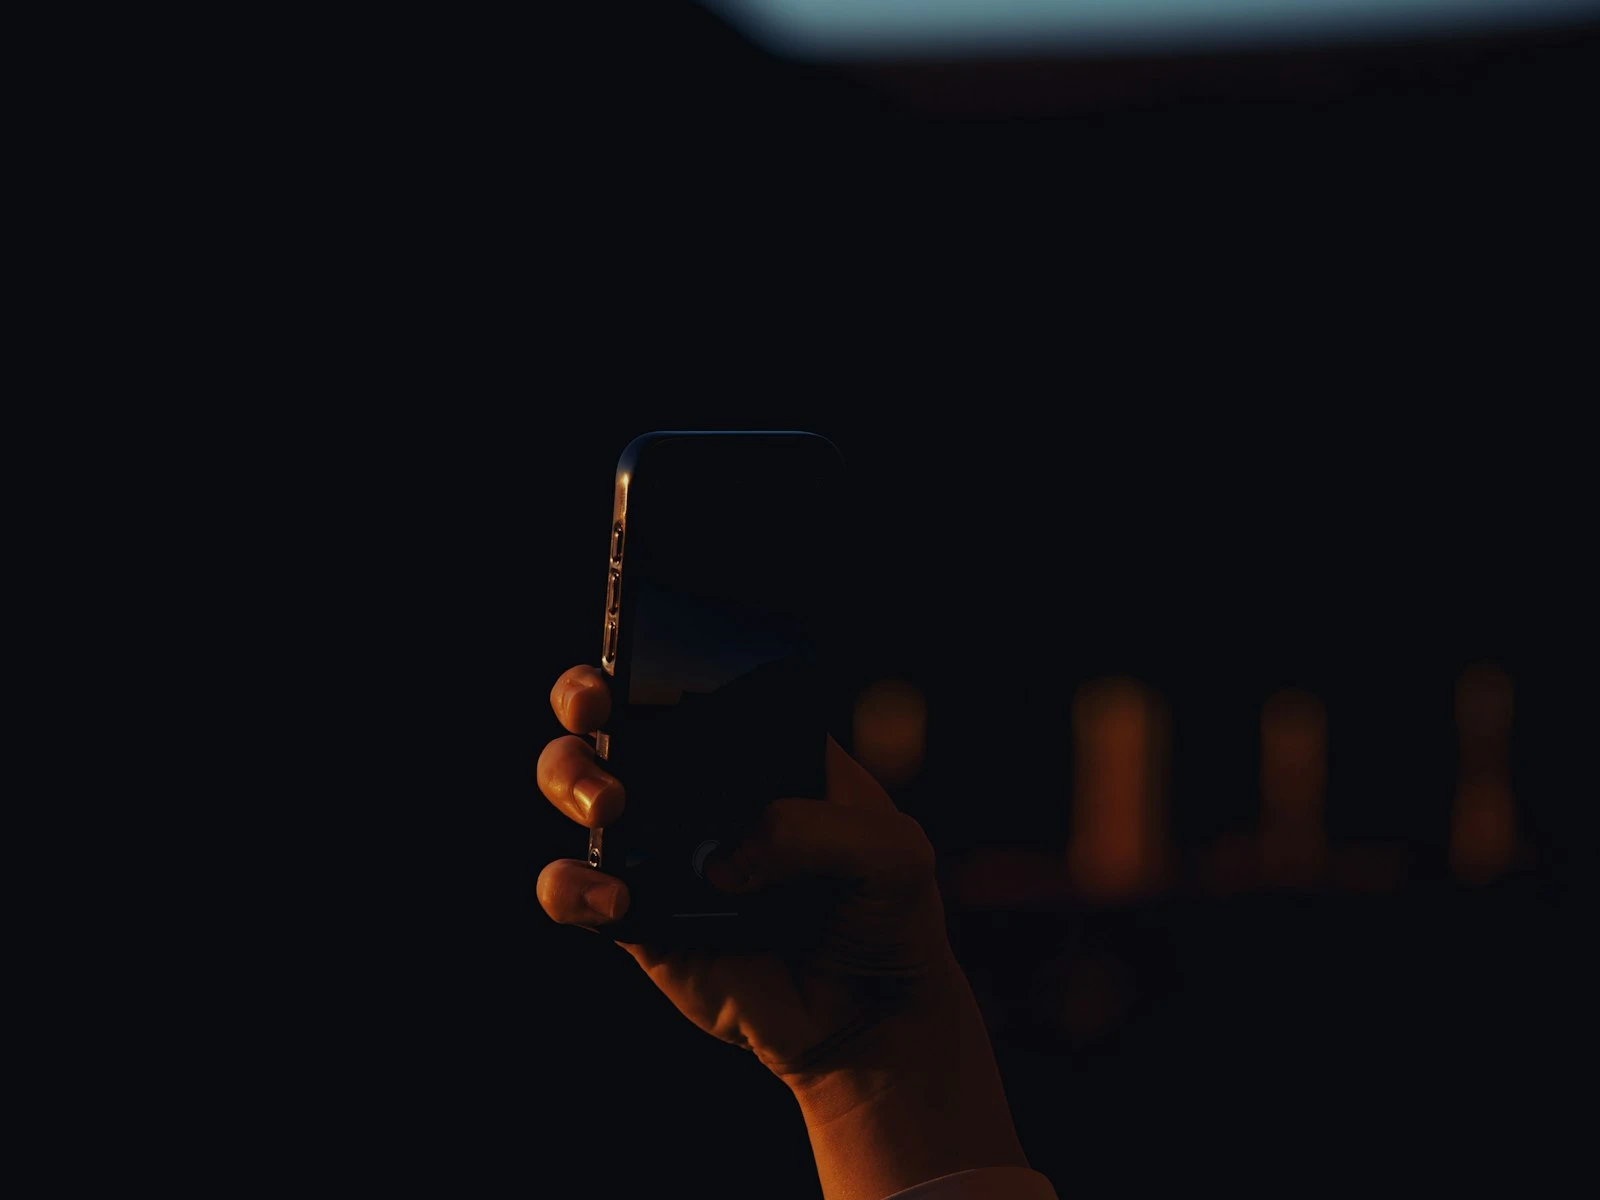
You take a photo of a beautiful scene. The light is gorgeous, the moment is perfect. You look at the result on your phone and something's... off.
The photo looks flat, maybe washed out, or oddly processed in a way you can't quite describe. The colors might be technically accurate, but the image lacks the depth and dimension you saw with your eyes.
This is one of the most common frustrations with phone photography, and it's built into how phone cameras work.
Understanding why this happens, and what you can do about it, is the key to getting phone photos that actually match what you experienced. It's one of the most important topics in our phone photography guide.
The Computational Photography Tradeoff
Modern phones construct an image rather than simply capturing one.
When you press the shutter button, your phone typically:
- Captures multiple frames (sometimes a dozen or more)
- Analyzes those frames for sharpness, noise, and detail
- Selects and combines the best parts of each frame
- Applies noise reduction to smooth grain
- Applies sharpening to enhance edges
- Adjusts dynamic range to preserve highlights and shadows
- Fine-tunes colors based on scene detection
- Produces a final processed image
This all happens in a fraction of a second. It's genuinely impressive technology, and in many situations it produces images that look better than what a single traditional camera capture would achieve. But there's a cost.
Why Processing Makes Photos Look Flat
The algorithms that process phone images are designed to be safe. They're trying to produce acceptable results across millions of different users, scenes, and conditions. This leads to conservative choices that flatten images in several ways.
Reduced Local Contrast
To preserve detail in both highlights and shadows, phones compress the dynamic range of images. Bright areas get darkened. Dark areas get brightened. The overall tonal range becomes narrower.
In the real world, the contrast between light and shadow creates a sense of depth. Bright highlights feel luminous. Deep shadows feel substantial. When that contrast gets compressed, the image loses dimension.
Everything becomes mid-tone. And mid-tone everything is the visual definition of flat.
Aggressive Noise Reduction
Small sensors generate more noise, especially as light levels drop. To combat this, phones apply aggressive noise reduction algorithms.
The problem: these algorithms can't perfectly distinguish between noise (random variation) and fine texture (meaningful detail). In the process of removing noise, they smooth over subtle textures that give images depth and realism.
Skin looks waxy, fabric loses texture, and foliage becomes a muddy blob of green rather than individual leaves. The resulting "cleanliness" reads as artificial.
Oversharpening Edges
To counteract the softening from noise reduction, phones then apply sharpening. But this sharpening happens along detected edges, not across the entire image.
Hard edges end up looking artificially crisp while everything else looks soft. This edge-to-surface contrast creates a processed, almost HDR-like quality that reads as unnatural.
You've probably seen photos where people's faces look smooth and filtered while their eyes and hair look strangely sharp. That's this effect in action.
Scene Detection Gone Wrong
Modern phones try to identify what you're photographing, such as sunset, food, portrait, or landscape, and apply scene-specific processing.
Sometimes this works well. But when the algorithm misidentifies your scene, it applies the wrong corrections. A portrait might get landscape processing. A sunset might get processed like indoor lighting.
The result looks wrong in a way that's hard to identify, because the processing doesn't match what you were actually photographing.
HDR Overreach
High Dynamic Range processing is one of the most powerful phone photography features. It lets phones capture detail in bright skies and dark shadows simultaneously.
But when HDR is too aggressive, it creates an uncanny quality. Shadows that should be dark get filled in. Highlights that should glow get tamed. The natural contrast between light and dark, which is central to how we perceive the world, gets neutralized.
This is perhaps the biggest contributor to the "flat" phone photo look, where everything is visible but nothing has impact.
How Light Quality Affects Processing
The flatness problem varies dramatically based on lighting conditions.
Good Light = Less Processing = Better Results
In bright, even lighting, phone cameras can use faster shutter speeds and lower ISO settings. The sensor captures cleaner data. Less noise reduction is needed. Less HDR compression is required.
The image that comes out of processing looks closer to what the sensor actually captured, which looks closer to what you saw.
This is why phone photos in good light often look great, while the same phone in challenging light produces that flat, processed look.
Challenging Light = Heavy Processing = Flatter Results
In dim light, backlit situations, or high-contrast scenes, the phone has to work harder:
- More noise to reduce
- More dynamic range to compress
- More computational heavy-lifting
Every processing step adds potential artifacts. By the time the image is finished, it may look nothing like what you experienced.
If you want to avoid flat phone photos, giving your camera better light to work with is the most effective thing you can do. Moving to a better-lit location often produces more dramatic improvements than any technique or setting.
[Lighting fundamentals](/start-here/) covers how to recognize and work with light quality across any camera.
Practical Fixes for Flat Phone Photos
Understanding the cause helps, but you want solutions. Here's what actually works.
Fix It Before Capture
Seek better light. This is the single most effective fix, so move toward windows, go outside, and wait for clouds to clear. Better light means less aggressive processing.
Underexpose slightly. Tap your screen to set focus/exposure, then drag down to darken the image a bit. Phones tend to overexpose, which triggers more processing. Slightly darker captures often retain more natural contrast.
Avoid extreme dynamic range. If your scene has very bright and very dark areas, the phone will compress that range aggressively. Sometimes repositioning to reduce the contrast range produces better results.
Turn off HDR in contrasty but manageable scenes. If the dynamic range isn't truly extreme, auto-HDR can be overkill. Some phones let you disable it.
Fix It Through Editing
Post-capture editing can restore much of the depth that processing removes.
Add contrast. The most direct fix for flat photos. Increase the contrast slider to restore some of the dynamic range that got compressed, but stop before highlights blow out. The phone editing guide walks through this step by step.
Use the blacks slider. Rather than overall contrast, deepening just the blacks can restore shadows to their natural depth while leaving midtones and highlights alone.
Reduce exposure slightly. Many phone photos are too bright. Pulling exposure down a bit often restores richness.
Add subtle clarity or structure. These sliders enhance local contrast, adding depth to textures. Use sparingly, because too much creates an artificial HDR look. The same principle applies across any editing workflow.
Adjust shadows and highlights independently. If the phone flattened contrast by lifting shadows and pulling down highlights, reverse that. Pull shadows down and let highlights brighten naturally.
Boost saturation or vibrance slightly. Flat photos often have muted colors. A small increase can restore the vibrancy you saw without becoming garish.
Apps That Help
While built-in editing tools work, dedicated apps offer more control:
Snapseed (free). Excellent for selective adjustments. The "Structure" and "Ambiance" tools are particularly good at restoring depth.
Lightroom Mobile (free with premium options). Professional-level controls in a phone-friendly interface. The ability to adjust individual tone ranges helps target flatness.
VSCO (free with premium options). Good presets that add depth without looking over-processed. Starting point for quick improvements.
The common thread is that you're essentially undoing some of the processing the phone applied, restoring contrast, depth, and texture.
The RAW Option
If your phone supports RAW capture (ProRAW on iPhones, RAW on many Android phones), you can bypass much of the computational processing.
RAW files capture the sensor data with minimal processing. The resulting image will look flat and dull initially, and that's normal. The point is that you control how it's developed, rather than the phone's algorithms making those decisions for you.
When RAW makes sense:
- Challenging lighting that you know will be heavily processed
- Important images worth extra editing time
- Situations where you want maximum control
When it doesn't:
- Quick snapshots
- Good lighting where phone processing works well
- Storage is limited (RAW files are large)
- You don't want to spend time editing
RAW won't magically produce better results. It shifts responsibility from the phone's algorithms to your editing decisions. If you don't edit thoughtfully, the processed JPEG might still look better.
Prevention vs. Cure
It's easier to capture a photo with natural depth than to fix a flat one in editing.
The most effective approach:
-
Choose your light. This is 80% of the solution. Good light requires less processing.
-
Underexpose slightly. Gives you richer starting material.
-
Review on your phone. If the capture looks flat immediately, try again with different positioning or exposure.
-
Edit thoughtfully. Make targeted adjustments rather than global filter applications.
-
Develop your eye. Over time, you'll learn to predict which scenes your phone will handle well and which will produce flat results.
When Flat Isn't the Problem
Sometimes what looks like flatness is actually something else:
Genuinely flat light. If the actual lighting has no direction or contrast (like a heavily overcast day), your photo will look flat because the scene was flat. Learning to read light quality helps you anticipate this before shooting.
Wrong focus point. If focus is on the wrong area, the subject may look soft and low-contrast even if the overall image isn't flat. Getting sharp photos starts with nailing focus.
Dirty lens. Smudges and oils reduce contrast across the entire image. Clean your lens and try again.
Subject too far away. Distant subjects have natural atmospheric haze that flattens contrast. Get closer if possible.
Challenging scene for phones. Some subjects, like very fine detail, certain textures, or specific lighting conditions, just don't render well on phones. Accepting this helps you focus on subjects that work.
A Realistic Perspective
Phone cameras are remarkable, but they're also small sensors doing computational tricks to compensate for physics limitations.
Some flatness is inherent to the technology. You can minimize it, work around it, and fix it in editing, but you can't completely eliminate it.
The photographers who get consistently good phone images accept this and work with it:
- They choose subjects and lighting that phones handle well
- They underexpose slightly to preserve depth
- They edit thoughtfully to restore natural contrast
- They understand why phone photos differ from what they saw
This is just practical, because understanding the tool helps you use it effectively.
Frequently Asked Questions
Will future phones fix this problem?
They're getting better. Each generation improves the algorithms. But the fundamental physics, small sensor and flat lens, remain constraints. Processing will always play a role, and processing will always make tradeoffs.
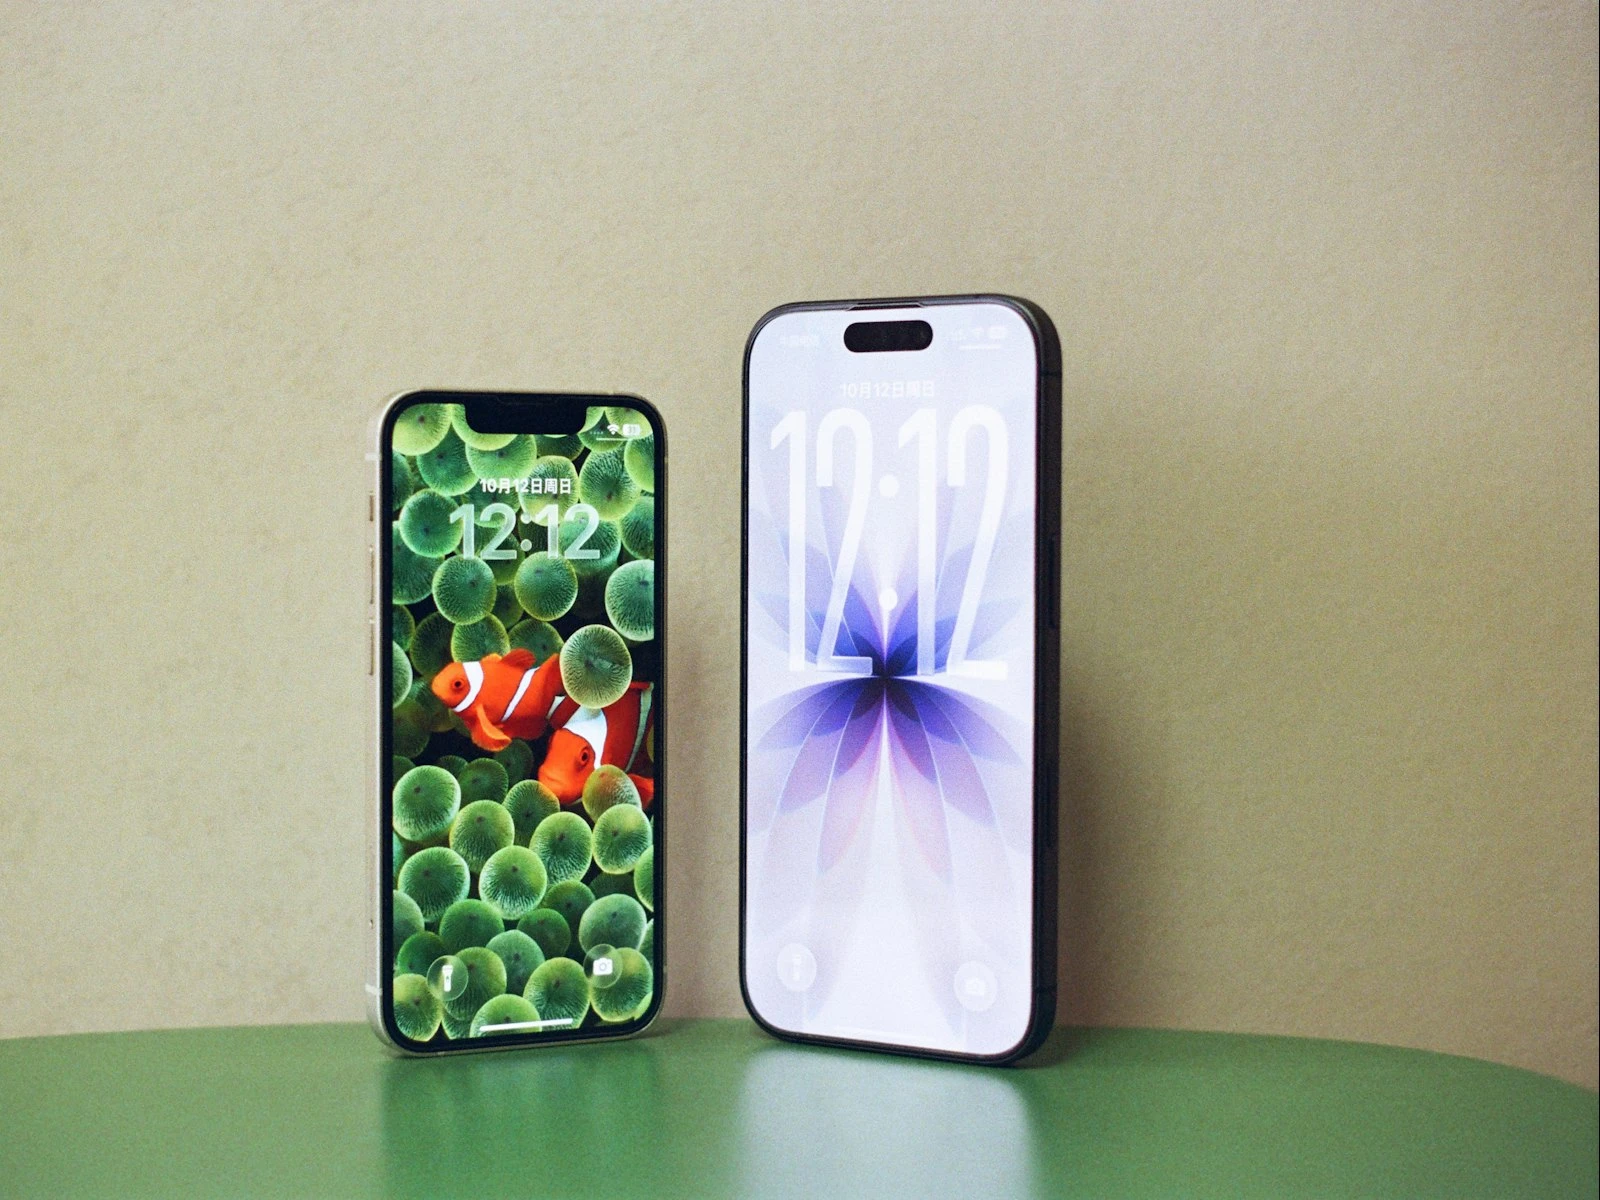
Is this why photos look better on the phone than on a computer?
Partially. Phone screens are small, which hides artifacts. They're also calibrated to make photos look good. On a larger screen, processing artifacts become more visible.
Do all phones have this problem?
To varying degrees, yes. Different manufacturers make different processing choices, some more aggressive and some more natural, but all phone cameras rely heavily on computational processing that can flatten images.
Key Takeaways
- Phone cameras construct images from multiple frames using computational processing, which can flatten depth and over-smooth textures compared to what you saw.
- Shoot in good directional light (side lighting, golden hour) to create natural depth and dimension that helps counter the phone's tendency to flatten scenes.
- Use light editing adjustments (slight contrast boost, moderate shadows and highlights correction) to restore the depth that phone processing removes.
- Tap to set focus and exposure on your subject rather than letting the phone choose, since the automatic choice often compromises for the wrong part of the scene.
More in This Guide
Continue improving your phone photography.