You don't need better gear. You don't need to study photography theory for six months before picking up your camera. A handful of foundational habits will improve every single photo you take starting today.
These ten tips are the ones I wish someone had handed me when I was starting out. They're ordered by how quickly you'll see results. Pick one or two, go shoot, then come back for more. And if any terms like aperture, ISO, or depth of field are unfamiliar, our photography glossary has plain-English definitions.
1. Learn to See the Light Before You See the Subject
The difference between a snapshot and a photograph almost always comes down to light. Before you even think about composition or settings, look at the light.
Where is it coming from? Is it soft and diffused, like on an overcast day, or hard and directional, like midday sun? Is it warm or cool? Is it hitting your subject from the front, the side, or behind?
Side light creates depth and dimension. Front light flattens. Backlight creates drama and silhouettes. Once you start noticing light quality, you'll instinctively position yourself and your subject for better results, without changing a single camera setting.
Quick exercise: Spend ten minutes in one room photographing the same object as the light changes throughout the day. The object doesn't matter. The light does.
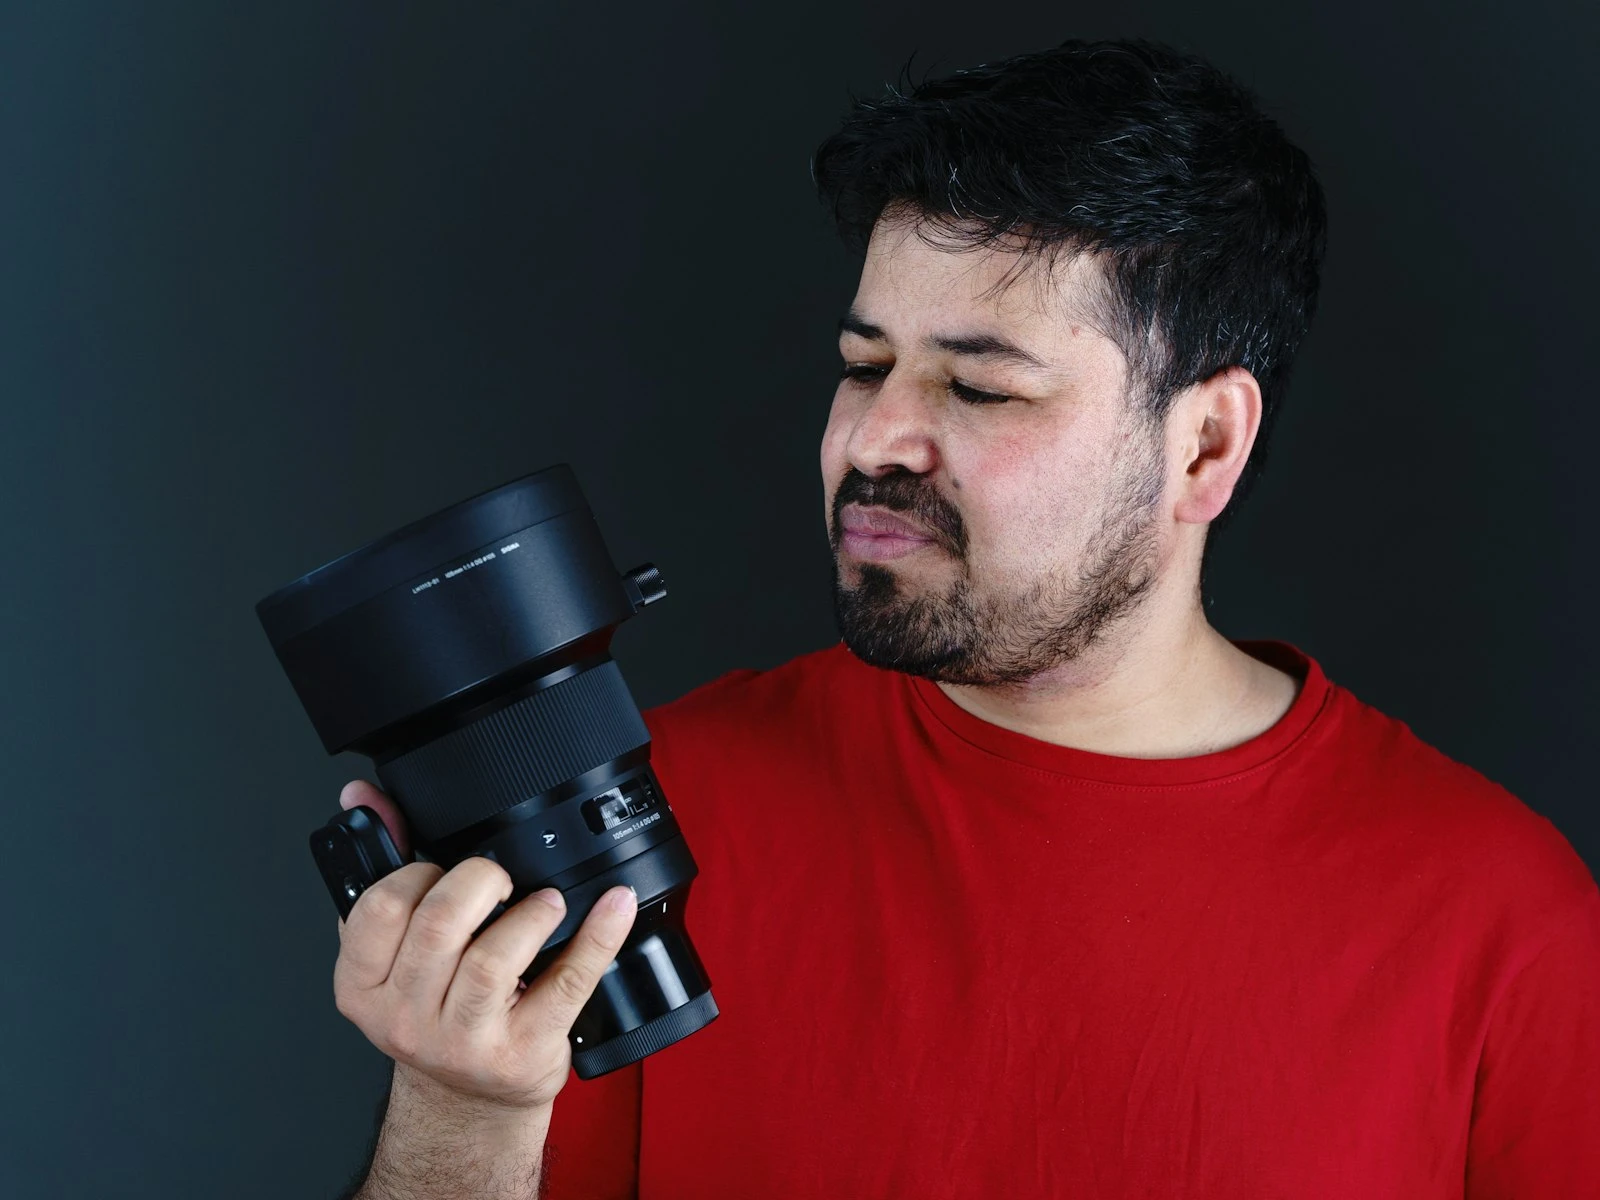
2. Get Closer Than You Think You Need To
Robert Capa said it best. "If your pictures aren't good enough, you're not close enough." He was talking about war photography, but the principle is universal.
Most beginners include too much in the frame. There's the subject, and then there's everything else competing for attention. A cluttered background, a distracting sign, a stranger walking through the edge of the shot.
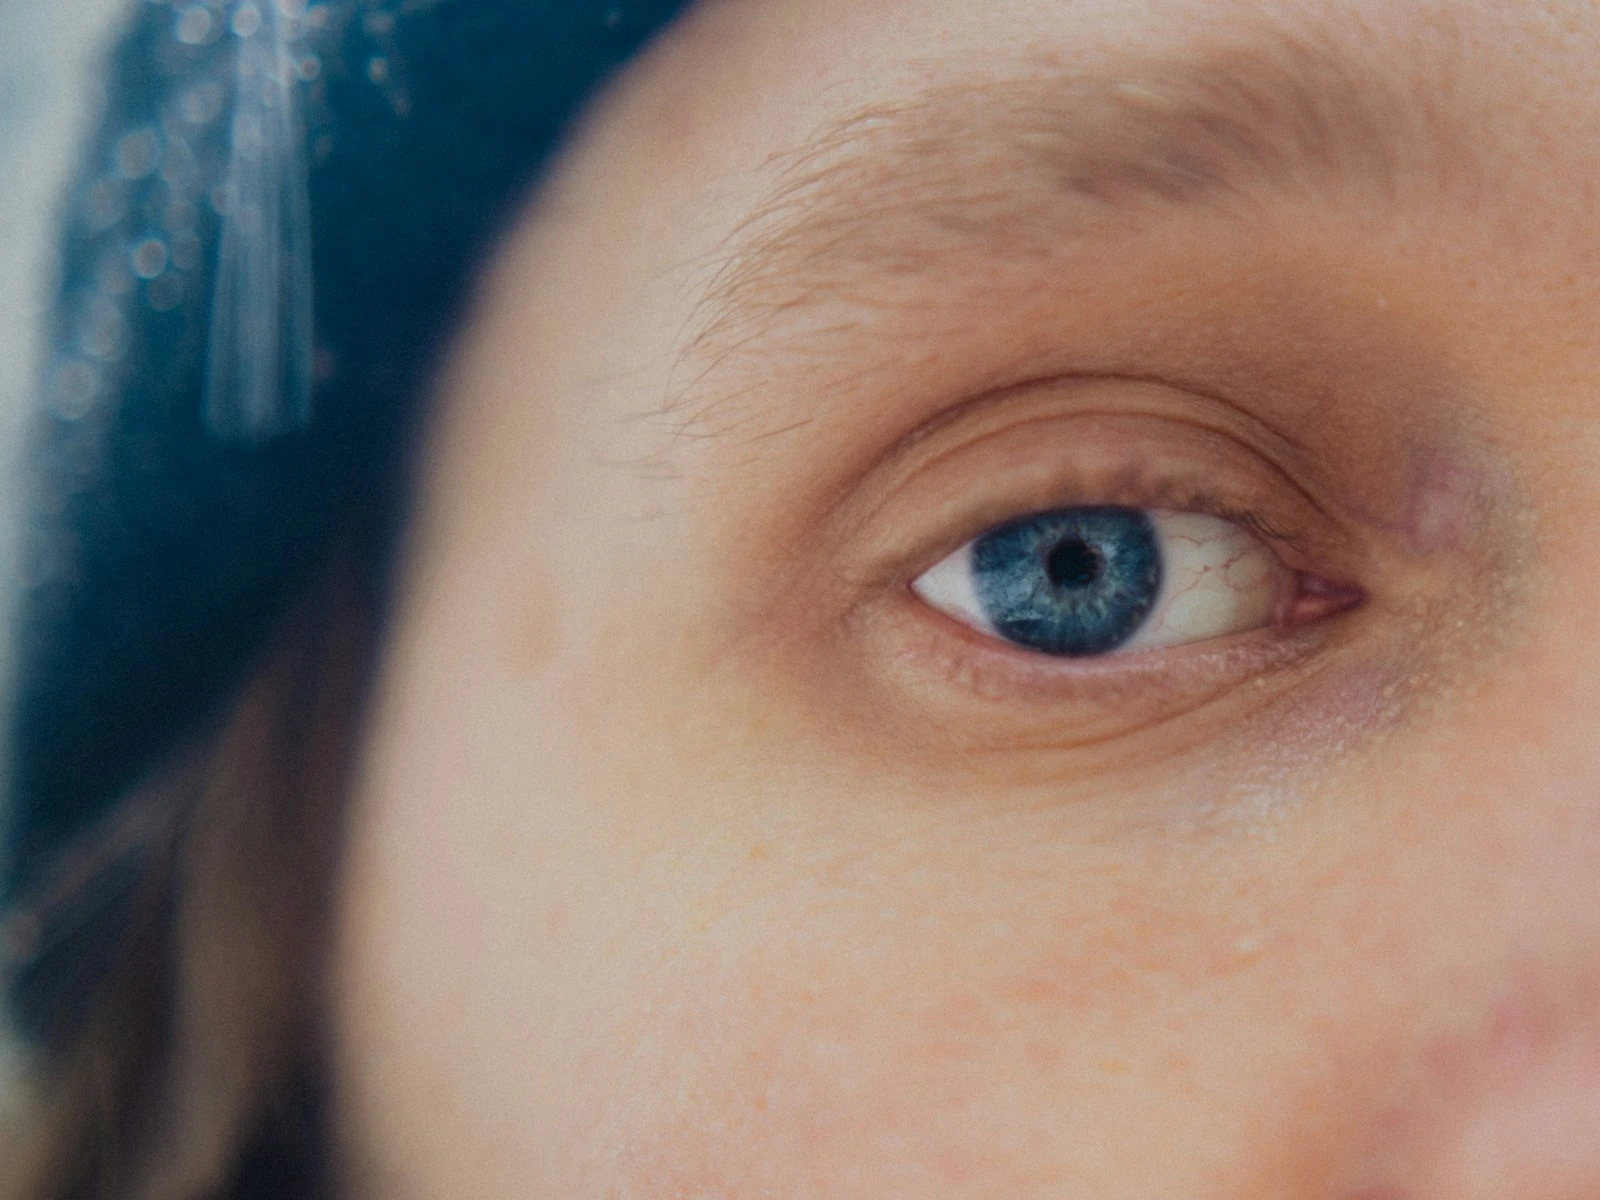
Move your feet. Step closer. Fill the frame with what actually matters. If your subject is a flower, don't photograph the entire garden bed. If it's a person, you don't always need their full body. Some of the most powerful portraits show only a face, or even just the eyes.
The test: After you take a photo, ask yourself whether you could crop it tighter and lose nothing important. If yes, you weren't close enough.
3. Simplify Your Background
A busy background is the fastest way to kill an otherwise good photo. Your viewer's eye doesn't know where to land, and the subject gets lost in visual clutter.
Here's what works.
- Move your feet. A few steps to the left or right can completely change what's behind your subject.
- Open your aperture. Shooting at f/2.8 or f/4 blurs the background, isolating your subject. This is one of the most effective tools you have.
- Increase distance between subject and background. The further your subject is from the background, the more blur you'll get at any given aperture.
- Look for clean walls, open sky, or uniform foliage. Simple backgrounds let your subject breathe.
Before you press the shutter, scan the edges of your frame. Is there anything that doesn't serve the photo? If so, recompose.
4. Use the Rule of Thirds, Then Learn When to Break It
The rule of thirds is a starting point, not a law. Imagine your frame divided into a 3x3 grid. Placing your subject along those lines or at the intersections tends to create more dynamic, visually interesting compositions than dead center.
But centering works too, especially for symmetrical subjects, powerful portraits, or when you want to convey stability and confrontation. The point is to make a deliberate choice about where your subject sits in the frame and why.
What I actually do: I default to thirds for environmental shots and off-center compositions. I center for impact, when the subject is strong enough to command the entire frame on its own.
5. Hold Your Camera Steady
This sounds basic, but camera shake ruins more beginner photos than any other technical issue. If your images are consistently soft, this might be the culprit.
The general rule is that your shutter speed should be at least 1/focal length. Shooting with a 50mm lens? Keep your shutter speed at 1/50 or faster. With a 200mm telephoto? You need 1/200 or above. You can read more about this in our guide to minimum shutter speeds for handheld shooting.
Beyond that, technique matters. Tuck your elbows into your body. Brace against a wall or lean on a railing. Exhale gently as you press the shutter, just like a marksman. Use your camera's image stabilization if it has it. And when shutter speeds drop below 1/60, seriously consider a tripod.
The reality check: If you're shooting handheld in low light without a tripod, raise your ISO. A noisy sharp photo is infinitely better than a clean blurry one.
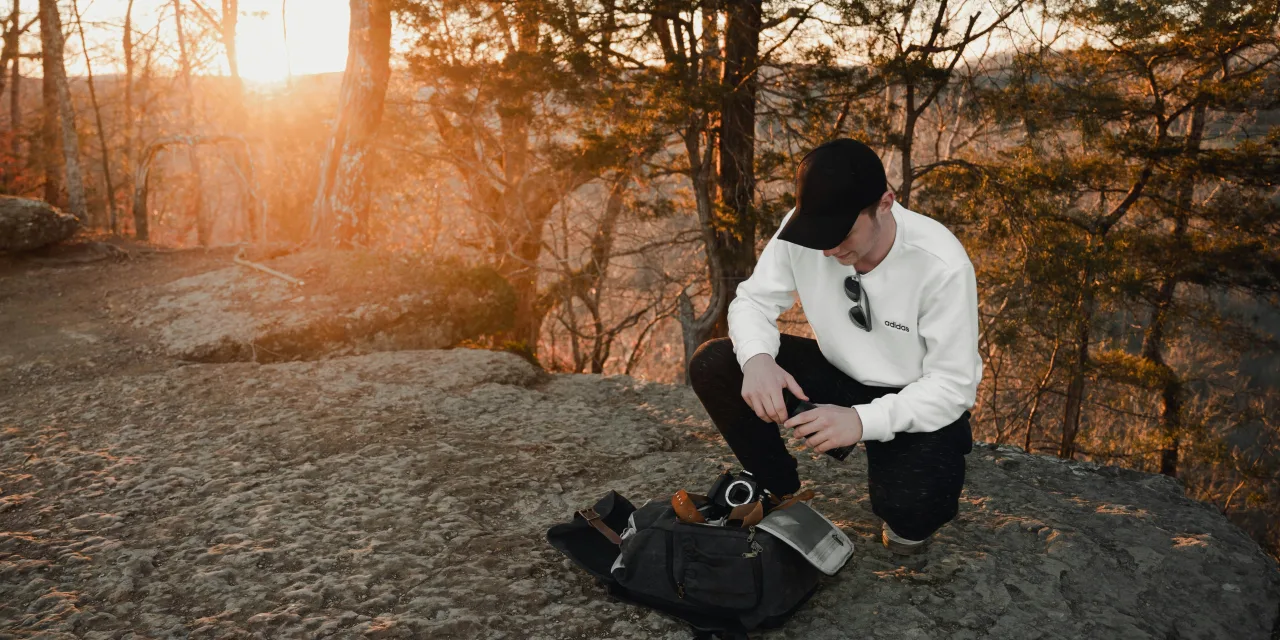
6. Shoot During Golden Hour
The hour after sunrise and the hour before sunset produce the most universally flattering light in photography. It's warm, directional, and soft. Shadows are long and interesting. Colors glow.
You don't need special equipment or advanced technique to benefit from golden hour. Just show up. The light does the heavy lifting.
If golden hour doesn't work for your schedule, overcast days are your next best friend. Cloud cover acts as a giant softbox, creating even, diffused light with no harsh shadows. The results are less dramatic, but incredibly forgiving, especially for portraits.
The mistake to avoid: Don't pack up the moment the sun dips below the horizon. Blue hour, the 20 to 30 minutes after sunset, produces some of the most stunning, moody light you'll ever photograph.
7. Switch to Aperture Priority Mode
Full auto mode is a crutch. Full manual can be overwhelming. Aperture Priority (A or Av on your mode dial) is the sweet spot for learning.
You choose the aperture, controlling your depth of field. The camera selects the shutter speed to get proper exposure. You set the ISO yourself, or let the camera handle it with Auto ISO and a minimum shutter speed limit.
This gives you creative control over the single most impactful setting, depth of field, while the camera handles the exposure math. It's how many professional photographers shoot every day. There's no shame in it.
When to upgrade to Manual: When you're in tricky lighting situations that fool the camera's meter, like backlit subjects, snow scenes, or concerts. Or when you want complete consistency across a series of shots. Our manual mode guide walks you through the whole process.
8. Pay Attention to Your Edges
Beginners focus on the subject. Experienced photographers check the edges of the frame before pressing the shutter.
A stray branch poking in from the corner. Half of someone's body at the edge. A bright spot that pulls the eye away from the subject. These are the details that separate "good enough" from "that's a great photo."
Train yourself to do a quick scan of the frame borders before you shoot. It takes two seconds and saves hours of frustration in post-processing, since some edge distractions can't be cropped without ruining the composition.
The habit to build: After framing your shot, let your eye travel clockwise around the edges. Top, right, bottom, left. Anything distracting? Fix it now, in camera.
9. Learn Basic Editing, But Don't Overdo It
Editing is where good photos become great, and where great photos become overprocessed disasters. The goal of editing is to enhance what's already there, to bring out the image you saw when you pressed the shutter.
Start with these fundamentals.
- Exposure and white balance. Get the brightness and color temperature right first.
- Contrast and clarity. A gentle push adds dimension. Too much creates crunchy, unnatural textures.
- Cropping and straightening. Fix horizon lines. Tighten the composition. Remove edge distractions.
- Saturation. If it looks like a postcard from another planet, you've gone too far. Pull it back.
The two-day rule: Edit your photo, then don't look at it for two days. When you come back, your fresh eyes will immediately spot if you pushed things too far. Almost everyone over-edits when they're starting out. The correction comes with time.
10. Shoot More, Delete More, Show Less
The single most powerful thing you can do to improve is simply shoot more. Volume builds instinct. Instinct builds style. Style is what makes your photos look like yours.
But shooting more doesn't mean keeping more. Be ruthless with your culling. If you come home from a shoot with 200 photos and 10 are worth keeping, that's a great ratio. If 3 of those 10 are worth showing anyone, even better.
The photographers you admire online aren't showing you everything. They're showing you their best 1 to 2 percent. That discipline, the willingness to kill your darlings, is what makes a portfolio strong.
The challenge: Next time you go out shooting, take at least 100 photos. Then pick your best five. Just five. That selection process will teach you more about your own eye than any tutorial.
A Note on Gear
You'll notice gear isn't anywhere in these ten tips. That's intentional.
A photographer who understands light, composition, and timing will outshoot a beginner with a camera that costs ten times as much. Your phone can produce stunning images if you apply these principles. Gear matters eventually, but fundamentals matter first and always.
Invest in learning before you invest in equipment. The returns are dramatically better. If you want a structured path through the fundamentals, our Start Here page maps out everything in order. You can also grab our free exposure triangle cheat sheets for a quick reference to keep in your camera bag.
Key Takeaways
- Light is the foundation of every photograph. Learn to see it before you worry about anything else.
- Get closer, simplify your background, and check your frame edges before pressing the shutter.
- Aperture Priority mode gives you creative control without the complexity of full Manual.
- Golden hour and overcast light are your most reliable allies as a beginner.
- Edit to enhance, and give your edits time to breathe before sharing.
- Shoot more than you keep, and show less than you think. Quality over quantity builds a strong photographic eye.
Related Guides