The best portraits are the ones where the person looks like themselves. Comfortable, present, and somehow more like who they really are than a mirror shows.
Portrait photography is people photography. That sounds obvious, but it's easy to forget when you're worried about f-stops and catchlights. The technical stuff matters, but the person in front of your camera feeling at ease matters more.
This guide approaches portraits differently than most, focusing on making people look and feel good, which, it turns out, creates better portraits than any lighting diagram ever could.
Why Portrait Photography Is Different
Every other type of photography involves subjects that don't care how they look. Landscapes don't feel self-conscious. Street scenes don't worry about their angles. Products don't get nervous.
People do, and the moment you point a camera at someone, something changes. They become aware of being observed. They wonder how they look. They hold their breath, stiffen their shoulders, produce that frozen smile they think photographs well.
Your job is to help them past that self-consciousness so you can capture who they actually are. Posing people who hate being photographed is less about posing technique and more about creating comfort.
This is why portrait photography requires a different skill set than other genres. You need technical competence, yes, but you also need people skills like the ability to direct without dominating, to make someone comfortable when they're doing something inherently uncomfortable.
The photographers who take the best portraits understand that a relaxed subject with decent light beats a tense subject with perfect light every time.
The Foundation: Connection Before Camera
The best portraits happen when the camera becomes almost incidental.
Not literally incidental. You're still making technical decisions, still watching the light, still composing. But the subject should feel like they're having a conversation, or sharing a moment, or simply being seen by someone who's interested in them.
This happens before you ever press the shutter, starting with how you connect.
Talk first. Before you raise the camera, have a real conversation. Ask questions you're genuinely curious about. Let them talk. Watch their face change when they discuss something they care about.
Explain what you're doing. People feel more comfortable when they understand the process. "I'm going to have you turn toward the window because the light's beautiful there" is less intimidating than silently repositioning them.
Give genuine feedback. Real observations work better than empty flattery. "That looks great when you lean forward a bit" tells them something useful. "Perfect!" repeated fifty times tells them nothing.
Take the pressure off. "We're just going to try some things and see what works" is more relaxing than "Okay, let's get THE shot."
The connection you build in the first five minutes determines the quality of every image that follows.
Light: The Flattering Foundation
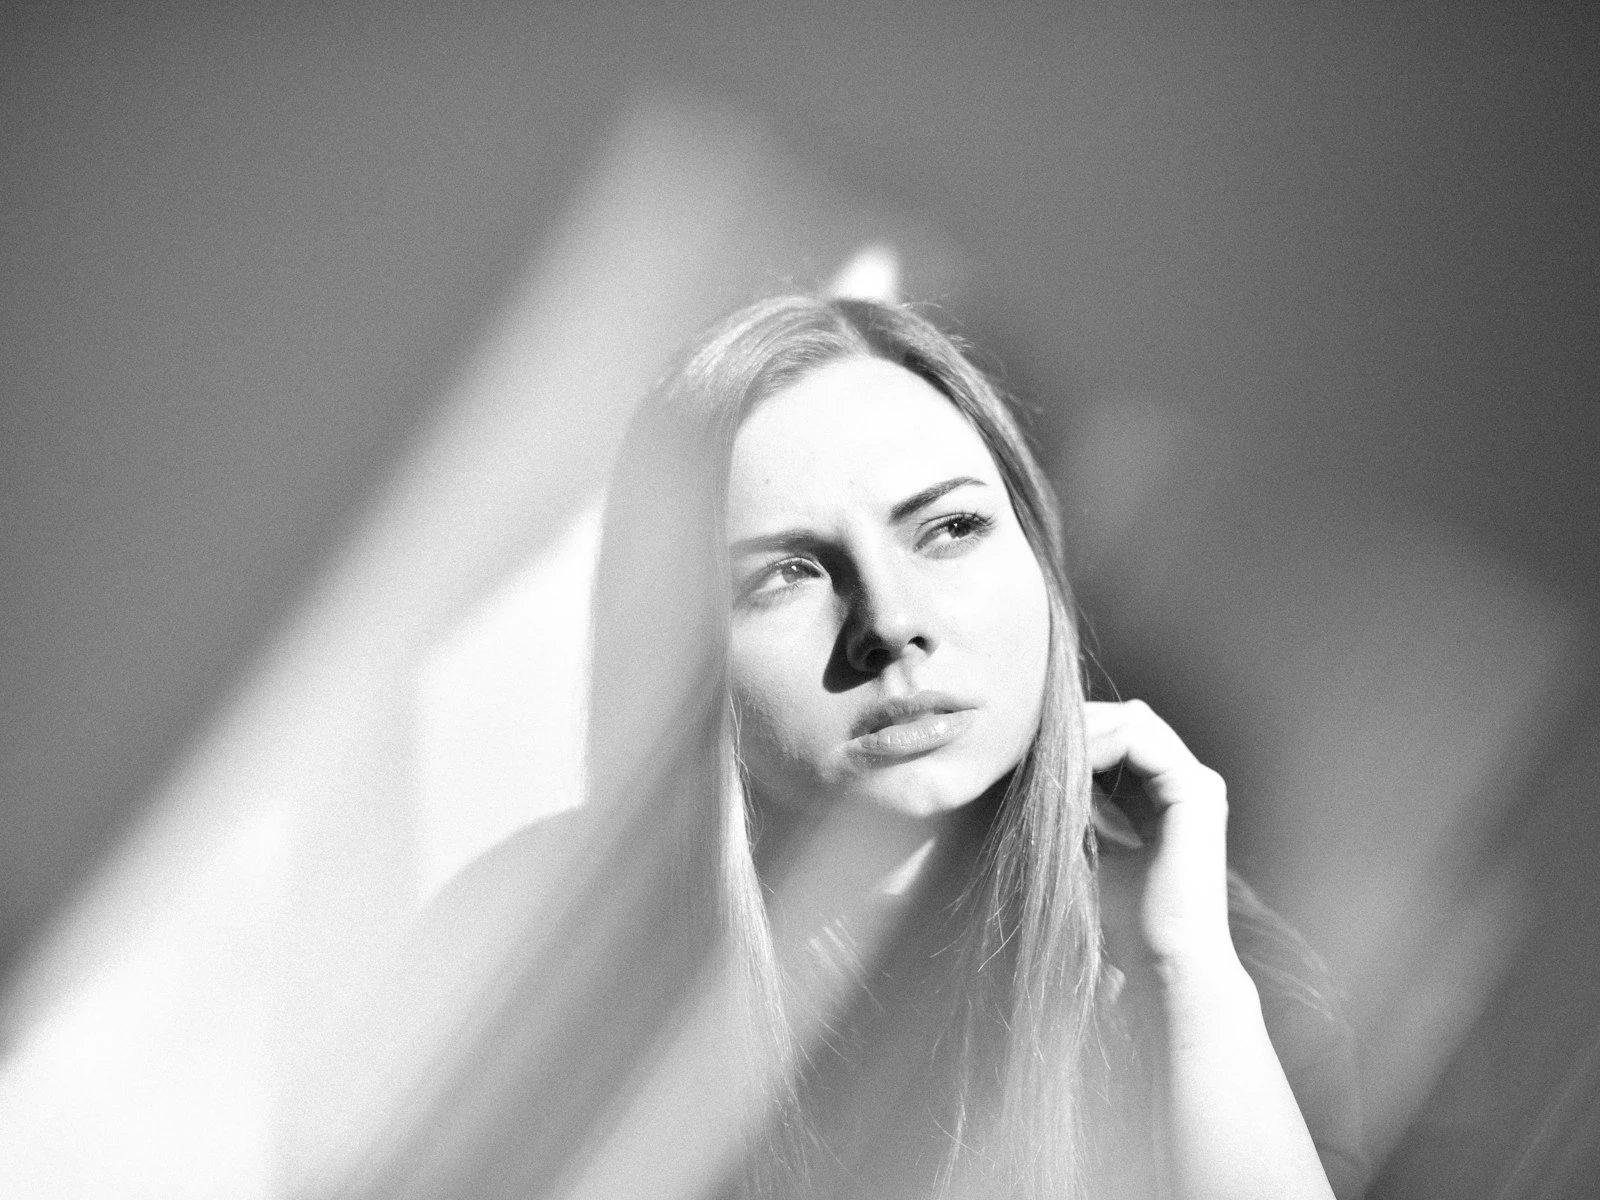
You don't need studio equipment to light portraits beautifully. You need to understand one thing: soft light from slightly above and to one side of your subject's face is almost universally flattering.
That foundational portrait lighting setup works on virtually everyone.
Why does it work? Soft light minimizes skin texture and wrinkles. The slight angle creates dimension without harsh shadows. The overhead component prevents unflattering under-lighting that emphasizes eye bags and double chins.
Where to find this light:
- A large window with indirect light
- Open shade near a building on a sunny day
- An overcast sky (the world's largest softbox)
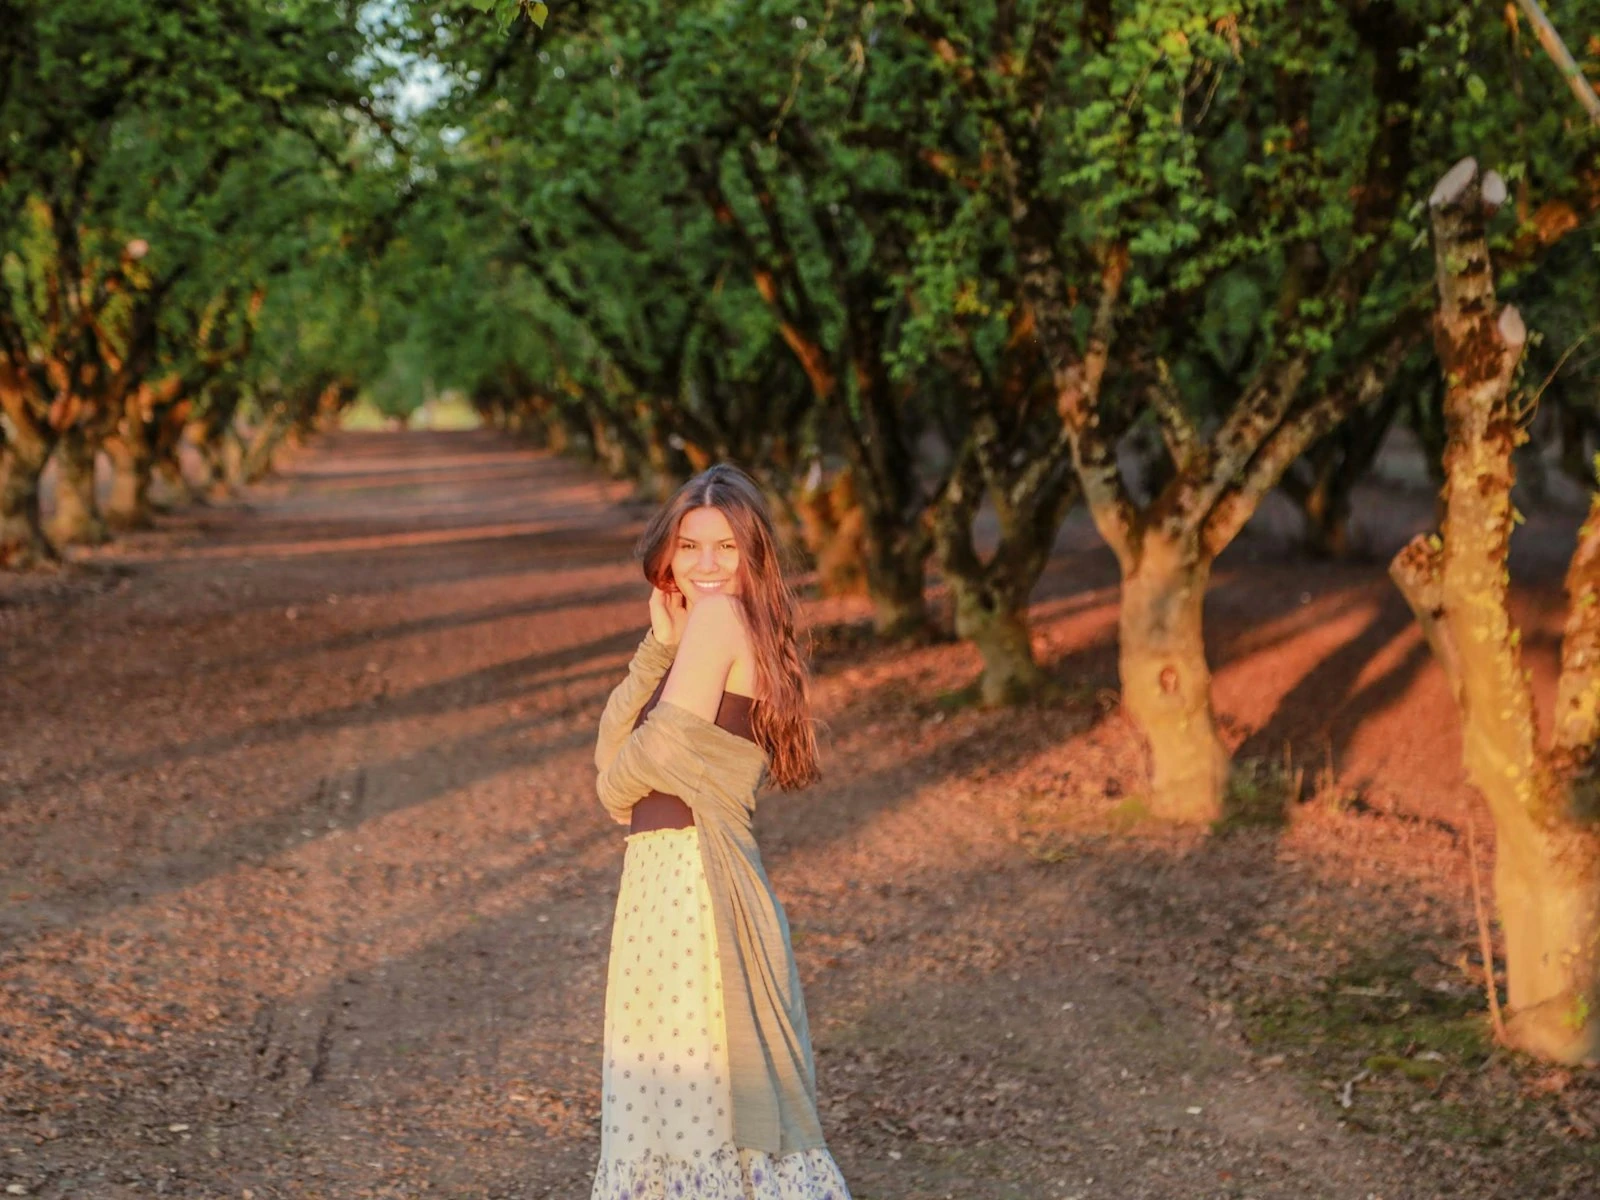
- The shaded side of a tree line with open sky in front
What to avoid:
- Direct midday sun (too hard, creates squinting)
- Light from below (unflattering on everyone)
- Mixed light sources (creates color confusion)
- Dappled light through leaves (creates distracting patterns)
Once you can recognize and position someone in good light, you've solved half of portrait photography's technical challenges. Avoiding harsh shadows on faces comes down to understanding where the light is and how to use it.
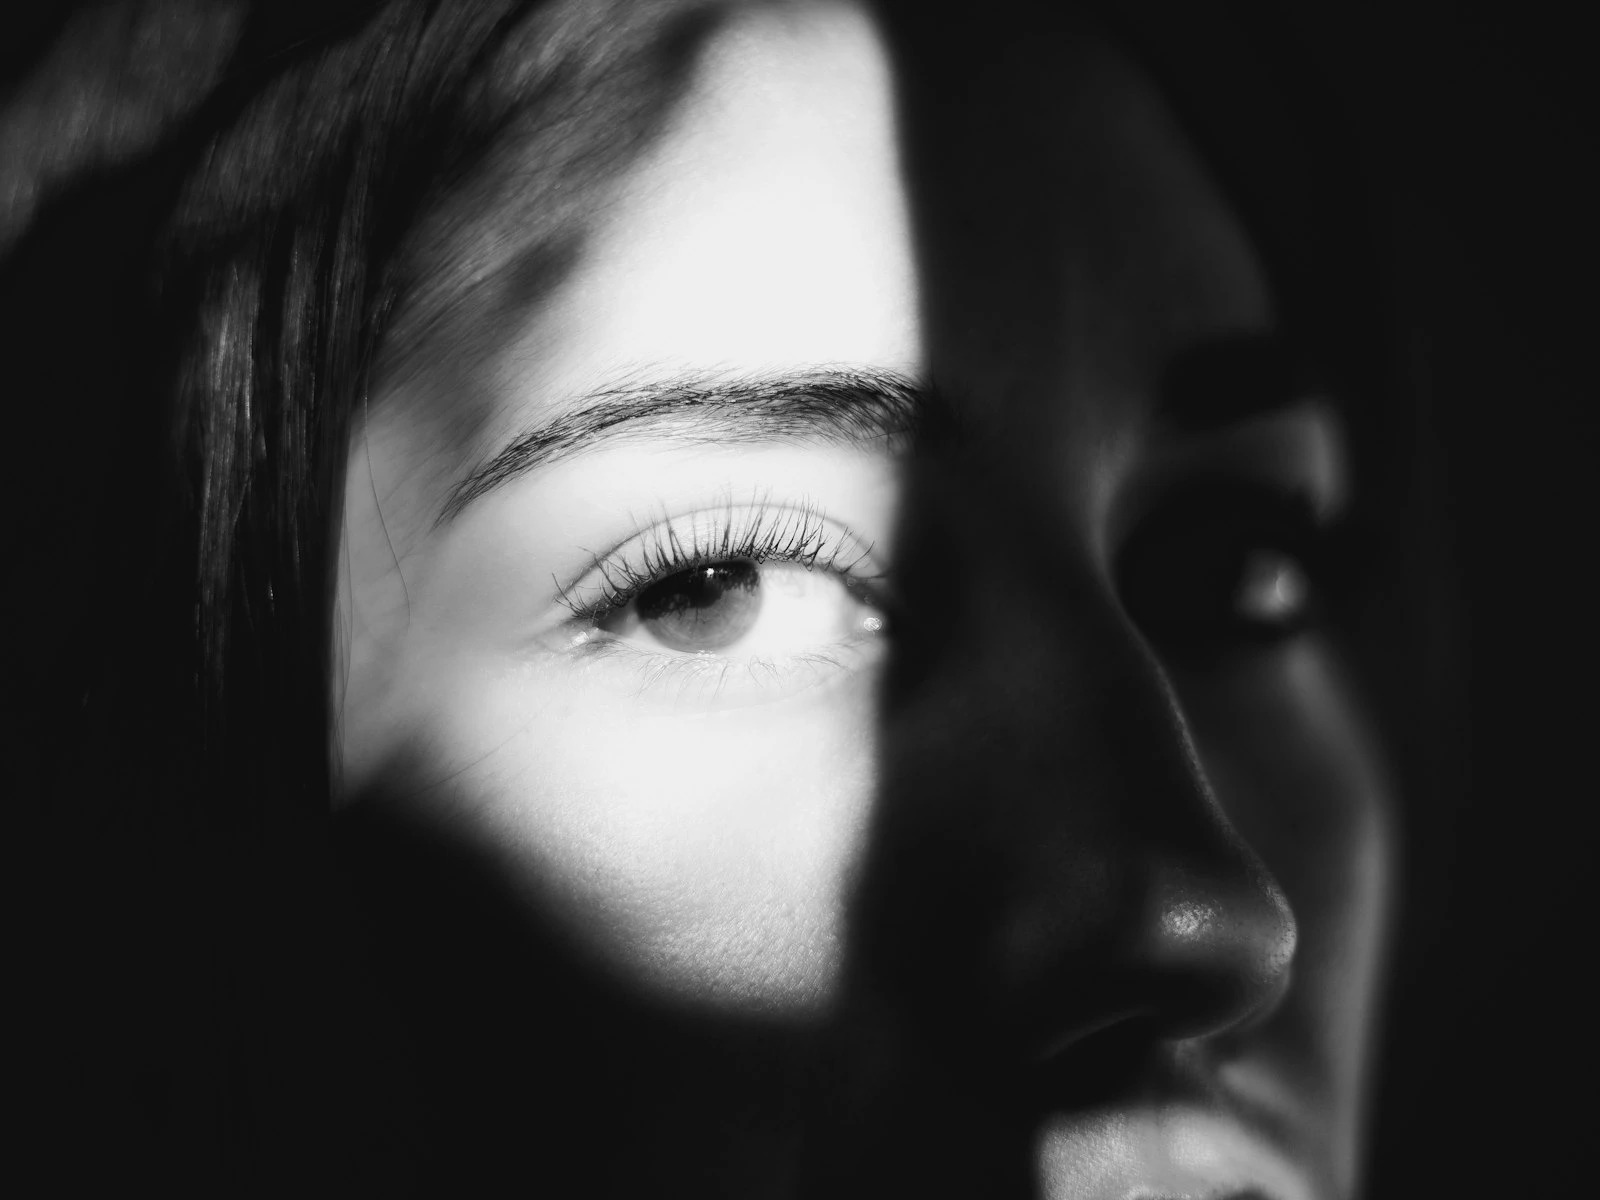
Angles: The Reality of Faces
Everyone has a better side. Most people have angles that photograph well and angles that don't, and it comes down to how three-dimensional faces translate to two-dimensional images.
The chin-forward trick: When someone juts their chin forward slightly and tips it down just a bit, it defines the jawline and reduces any appearance of a double chin. This single adjustment flatters almost everyone.
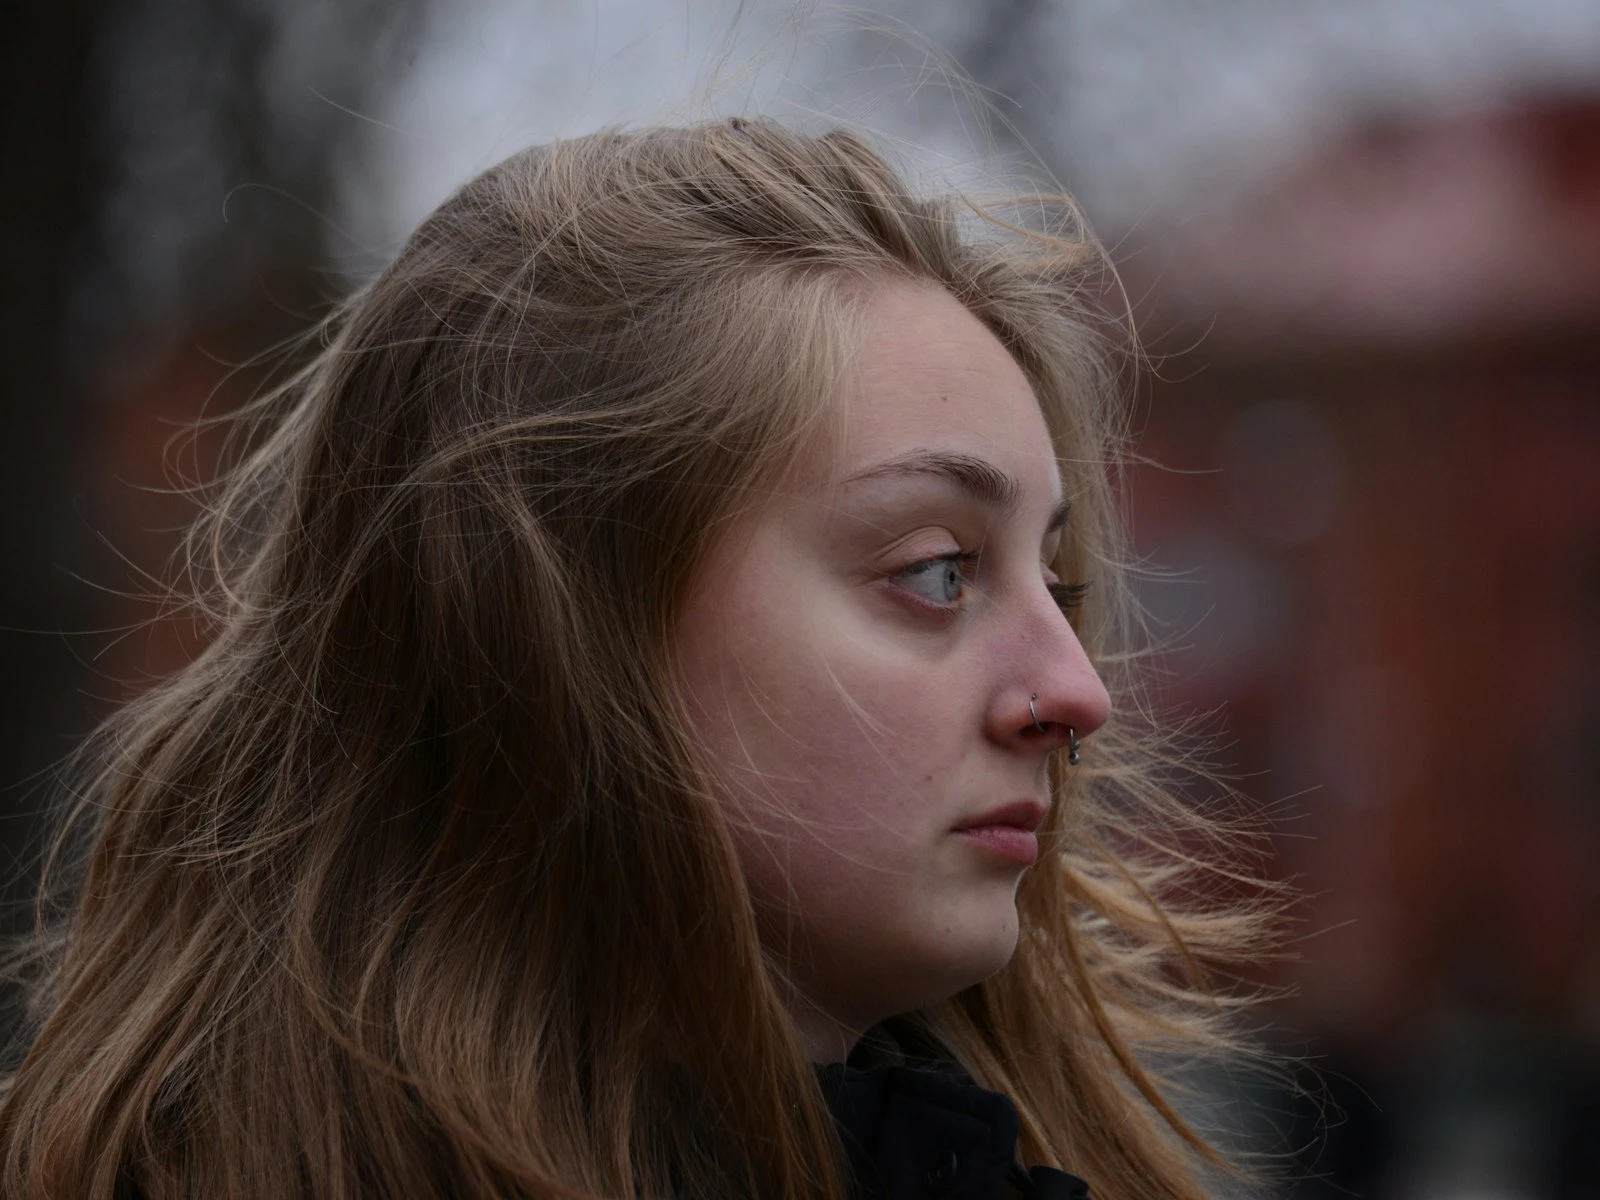
Height matters: Shooting from slightly above eye level is generally more flattering than shooting from below. From above, eyes appear larger, faces narrower. From below, nostrils and chins dominate.
Turn the body: Photographing someone squared straight to the camera adds visual width. Having them angle their body, even slightly, creates a more flattering, dynamic pose.
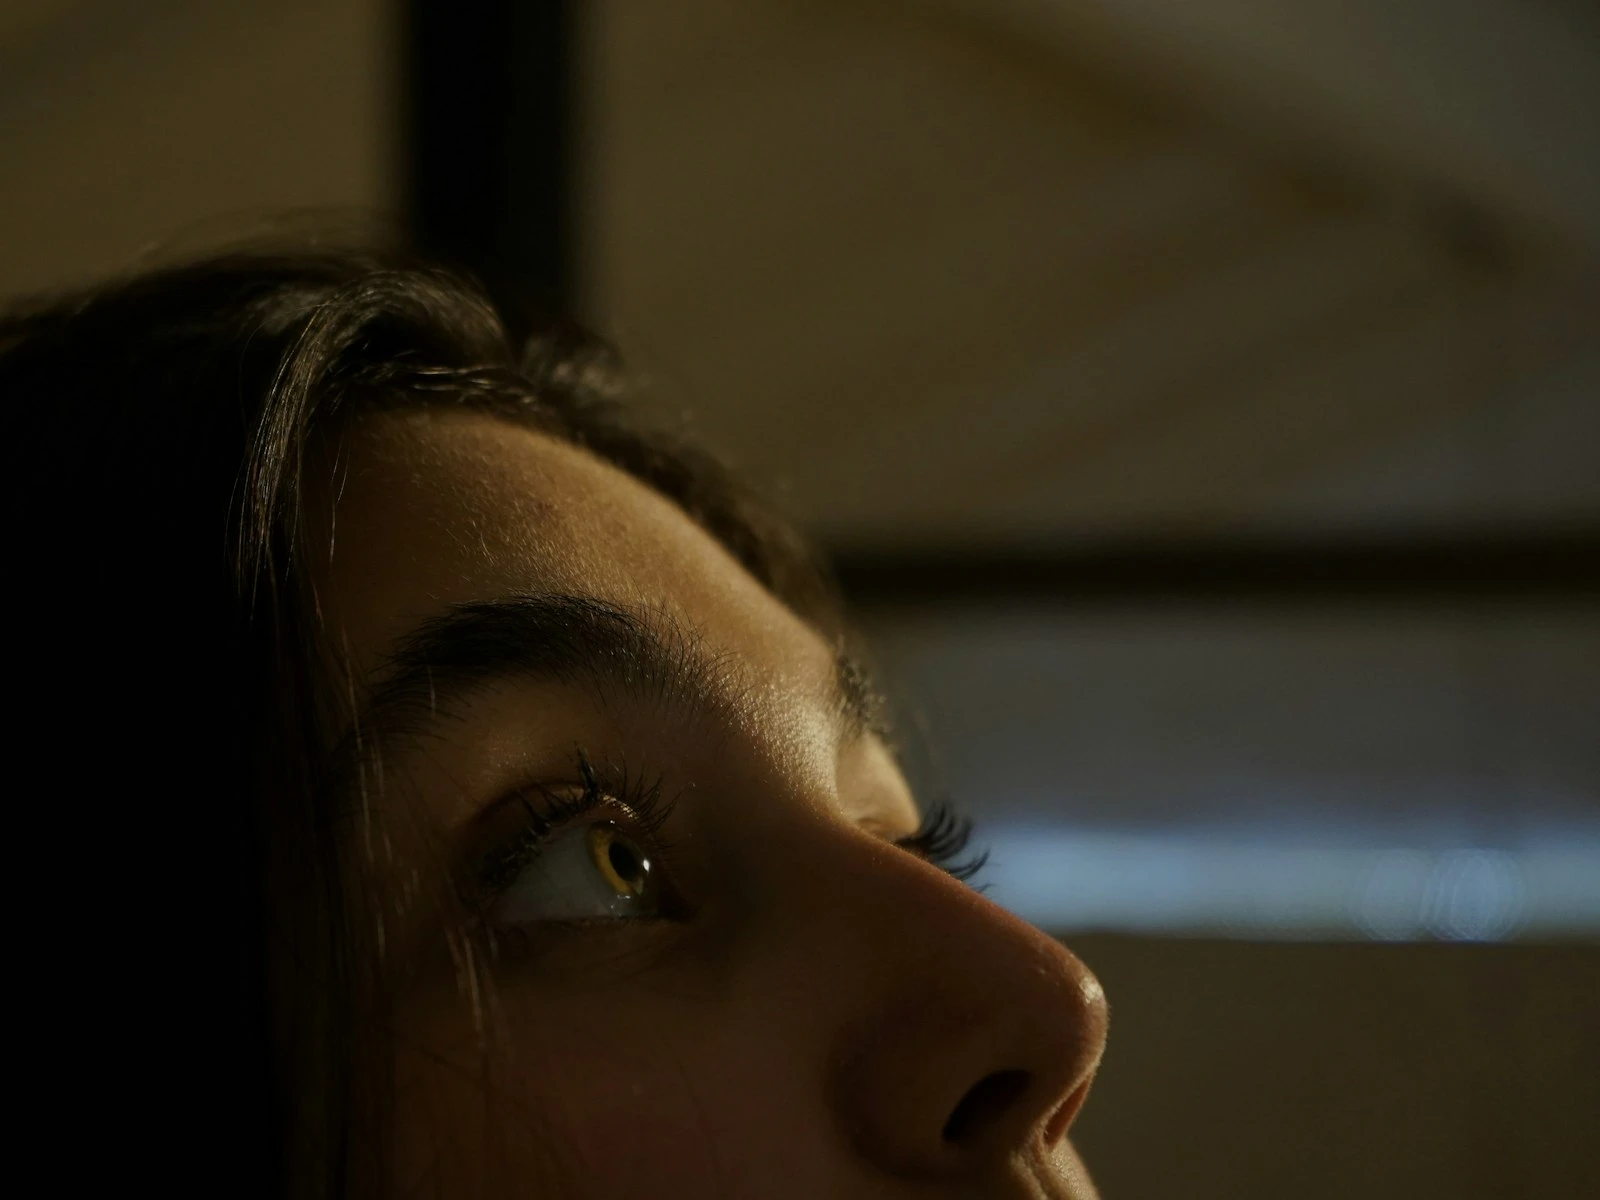
Watch the eyes: The eyes should engage the camera (or look intentionally away). Eyes partially obscured by eyelids or looking unfocused make portraits feel wrong.
These aren't rules that apply to every situation. But they're defaults that work when you're not sure what else to do.
The Posing Reality
Most people don't know how to pose. They default to stiff, symmetrical, arms-at-sides positioning because they don't know what else to do with their bodies.
Your job is to give them something else to do.
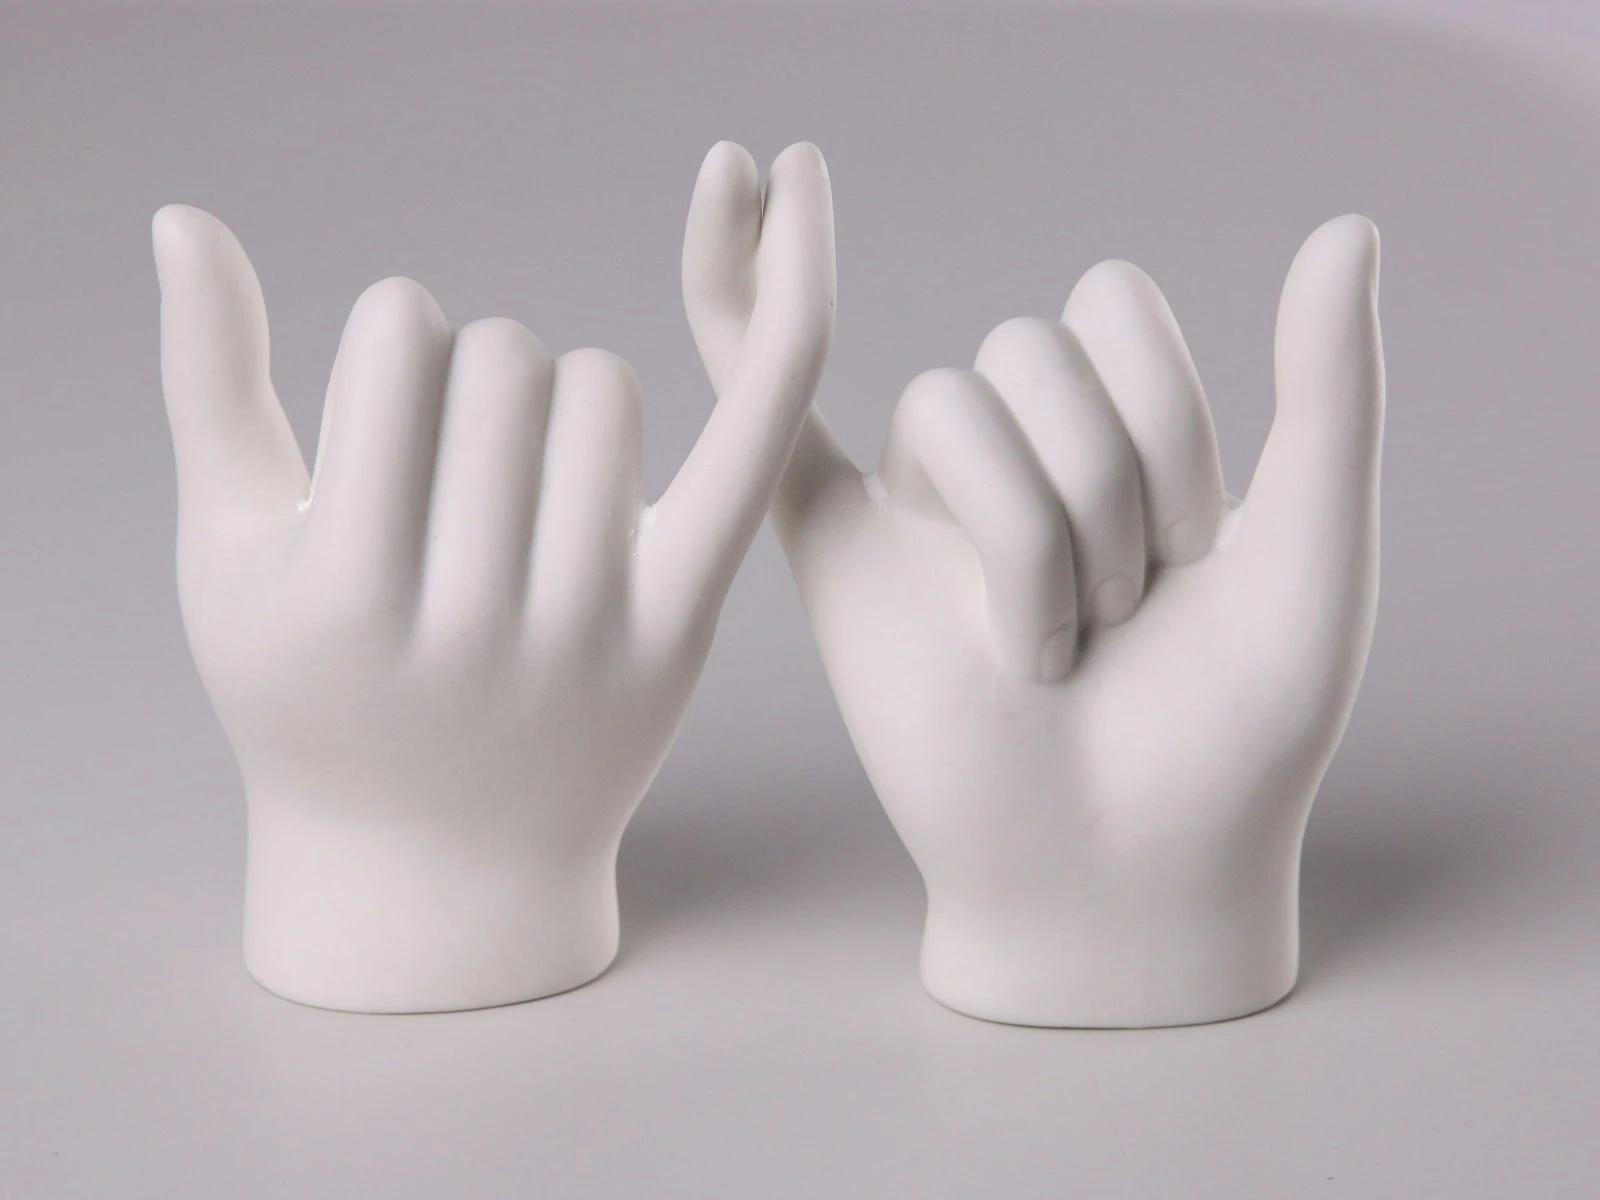
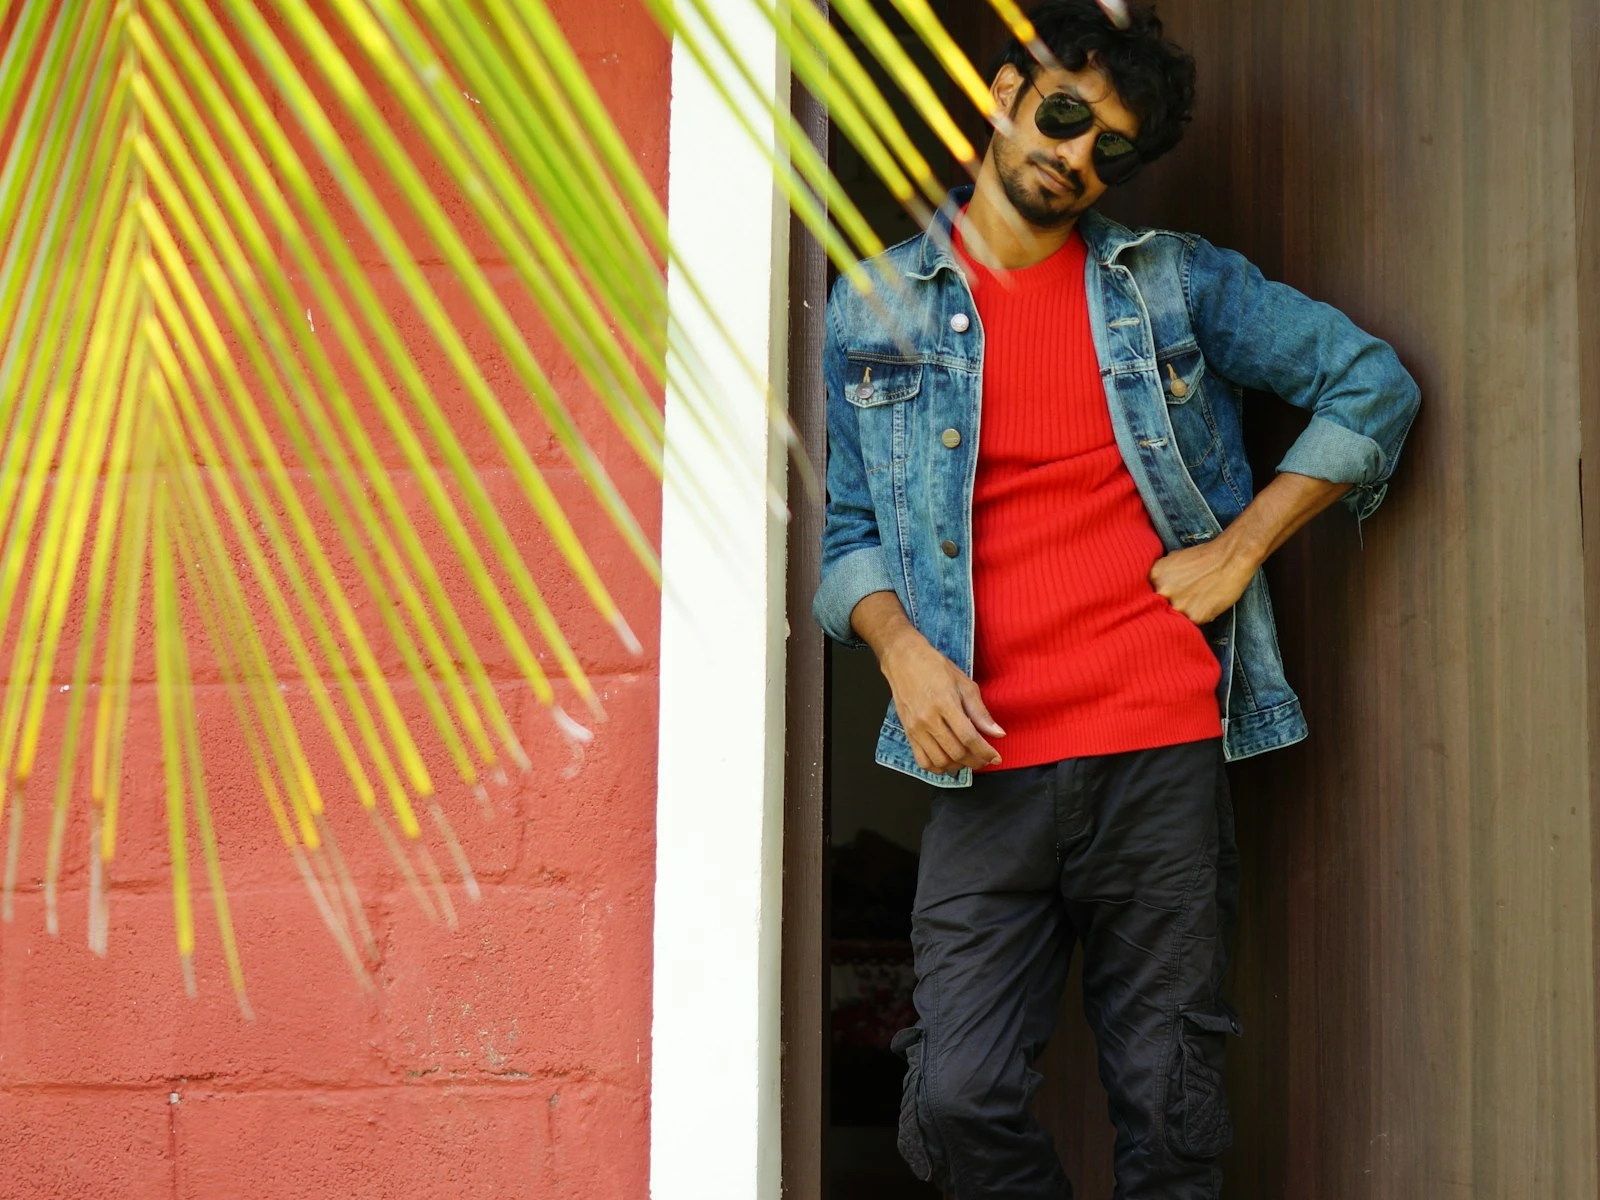
Give hands a purpose. Hands are awkward in portraits because they have nothing to do. Give them a pocket to rest in, something to hold, a surface to lean on. Occupied hands look natural.
Create asymmetry. Shift weight to one leg. Angle one shoulder forward. Tilt the head slightly. Symmetrical poses feel rigid, while asymmetry feels alive.
Use movement. "Walk toward me slowly" creates more natural body positioning than "stand there." Movement gives you multiple natural moments to capture.
Direct, then let it breathe. Position someone, then let them settle. The image right after they settle is often more natural than when they're holding the pose you set.
The goal is giving them enough structure that they're not frozen by infinite options, but enough freedom that they're not robotic.
Making Anyone Comfortable
Some people love being photographed, but most people don't, and the ones who don't often need portraits the most for headshots, family photos, and documentation of moments that matter.
Normalize the awkwardness. "Everyone feels weird in front of a camera at first, so just let me know when you need a break" gives them permission to be uncomfortable.
Don't ask them to smile. Nothing creates a more fake expression than "Smile!" Tell a joke. Ask about something that delights them. Let the genuine reaction happen.
Show them the screen. When you get a good one, show them. Seeing a photo where they look good reduces anxiety about future shots.
Keep shooting during "breaks." Some of the best expressions happen when people think they're not being photographed. Knowing when to direct and when to wait is a skill that separates good portrait photographers from great ones.
Watch for signs of fatigue. Portrait subjects tire faster than photographers expect. Short sessions with breaks beat marathon shoots where everyone's exhausted.
The photographer who makes people feel comfortable doesn't need to chase perfect lighting or trendy techniques. Comfortable subjects look good in most conditions.
The Technical Essentials
You don't need to master every portrait technique. But these fundamentals create consistently good results:
Aperture: Wider apertures (f/1.8–f/2.8) blur backgrounds and isolate faces. But don't go so wide that ears are blurry when eyes are sharp. For groups, stop down to f/5.6–f/8 to keep everyone focused.
Focal length: 50-85mm on full-frame (or equivalent) minimizes facial distortion. Wide lenses stretch faces. Longer lenses compress features. Understanding how focal length changes the way faces look explains why the classic portrait range exists.
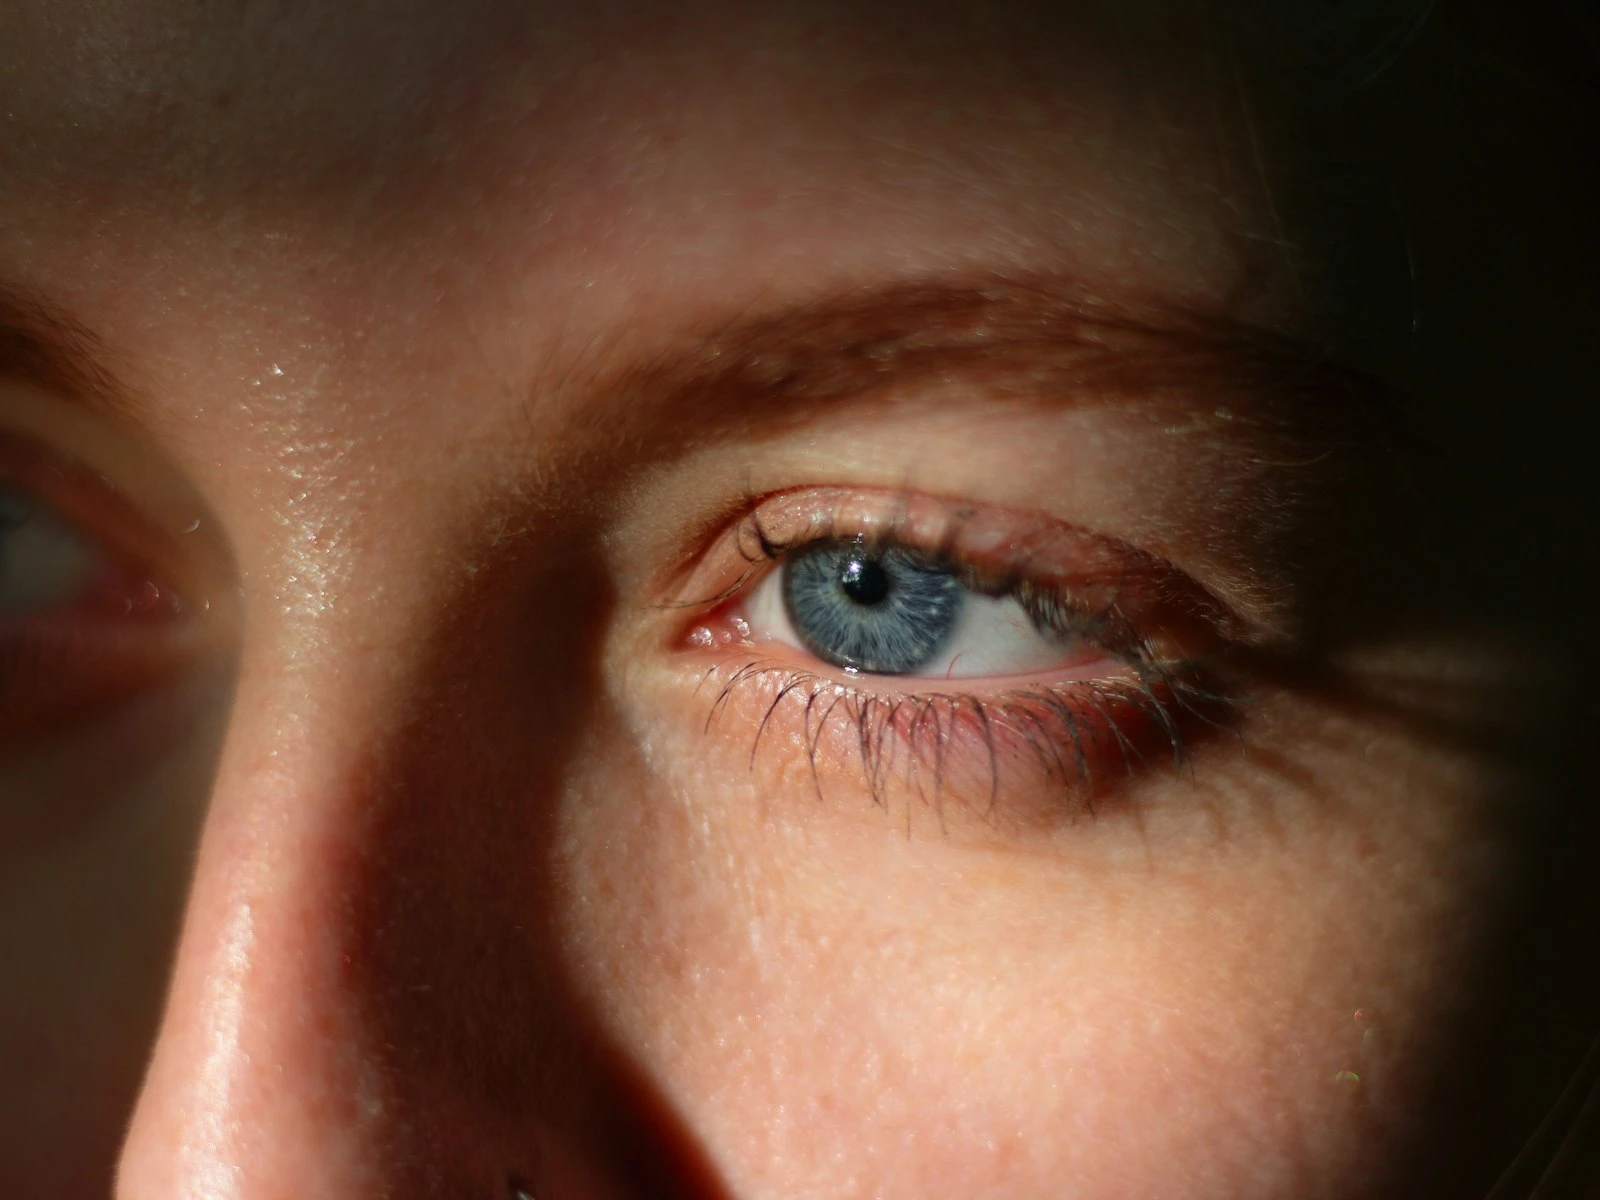
Focus on the eyes: The nearest eye to the camera should be sharp, because out-of-focus eyes make portraits feel wrong even if everything else is right. Getting catchlights in the eyes adds life and connection to every portrait.
Shutter speed: Fast enough to freeze movement and handshake, at least 1/125s for still subjects and faster if they're moving or you're not stabilized.
Watch the background: A cluttered background competes with your subject. Simple, unobtrusive backgrounds keep attention on the face.
These aren't creative choices so much as baseline competence. Get these right, and you're free to focus on connection and direction, whether you're shooting outdoor portraits or working with groups.