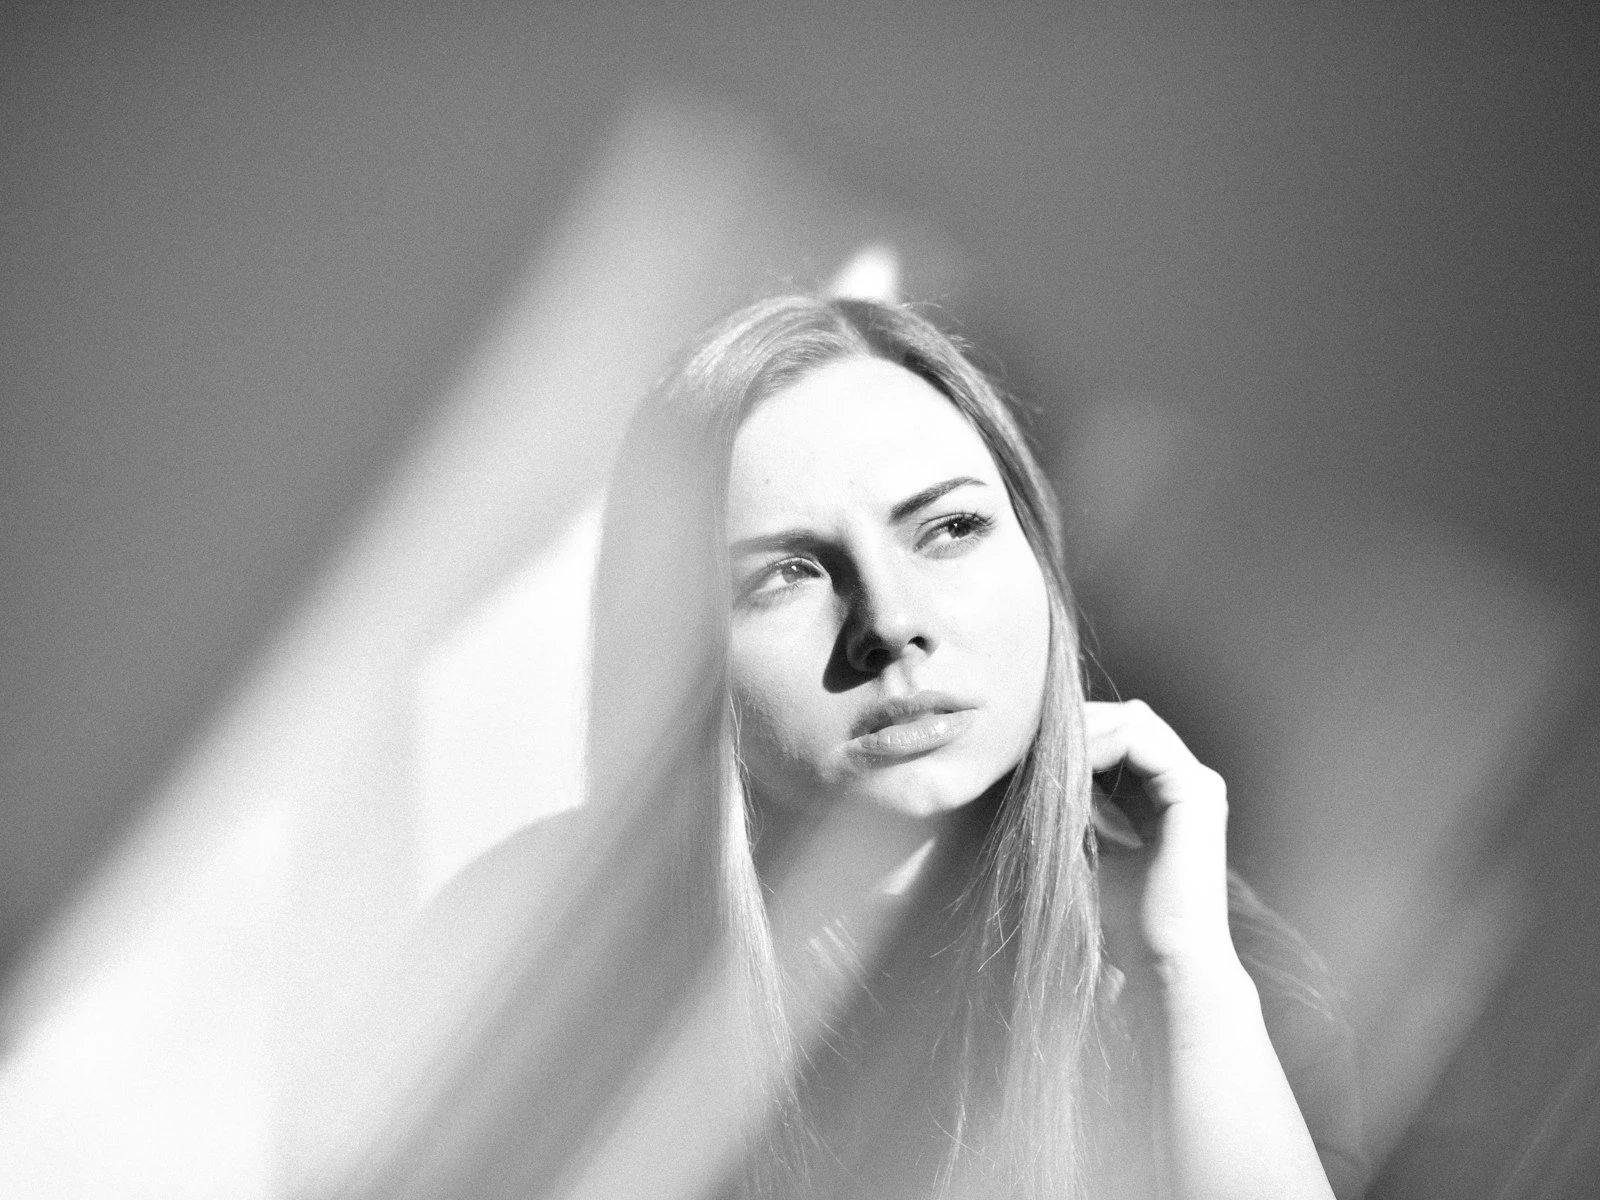
Look at any portrait that draws you in, and there's almost certainly a sparkle in the subject's eyes, a bright point of light, reflected and alive. Without it, the same portrait would feel dull, the eyes lifeless.
These reflections are called catchlights, and they're one of the simplest yet most powerful elements in portrait photography. They make eyes appear bright and engaged rather than flat and dead. They create the impression that someone is present and alive rather than just photographed.
Catchlights aren't technical magic. They're just reflections of your light source, and once you understand how to position people relative to light, catchlights happen naturally. It's one of the subtle details that makes a big difference in our portraits guide.
What Catchlights Are
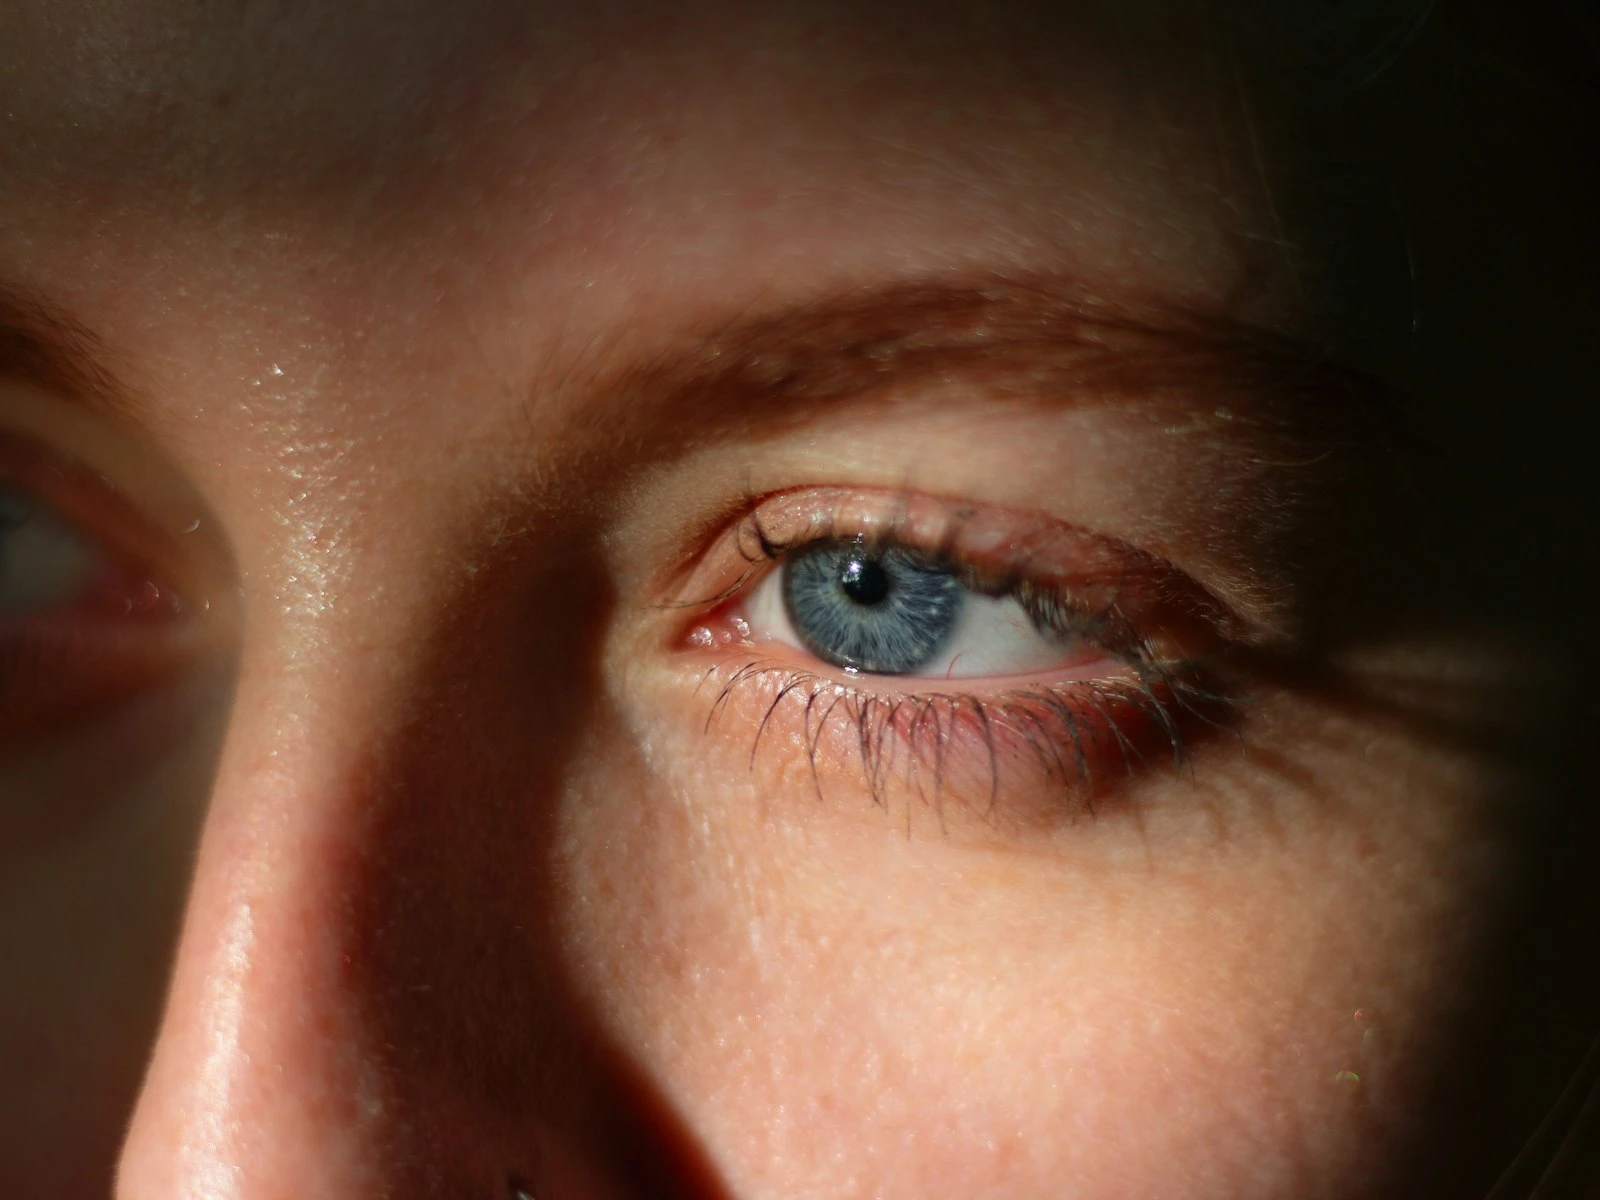
A catchlight is simply the reflection of a light source in someone's eyes. Whatever is illuminating their face appears as a bright point or shape in the iris, whether from a window, sky, lamp, or flash.
Eyes are slightly convex and reflective, like curved mirrors. They reflect whatever is in front of them. If there's a bright light source in front of the subject, it shows up in their eyes. If all the light is behind them, there's nothing to reflect.
The shape of the catchlight mirrors the shape of the light source.
- A round light creates round catchlights
- A rectangular window creates rectangular catchlights
- An overcast sky creates large, soft catchlights
- Multiple lights create multiple catchlights
There's no "correct" catchlight shape. Different shapes create different moods. What matters is that catchlights exist and are positioned in a way that looks natural.
Why Catchlights Matter
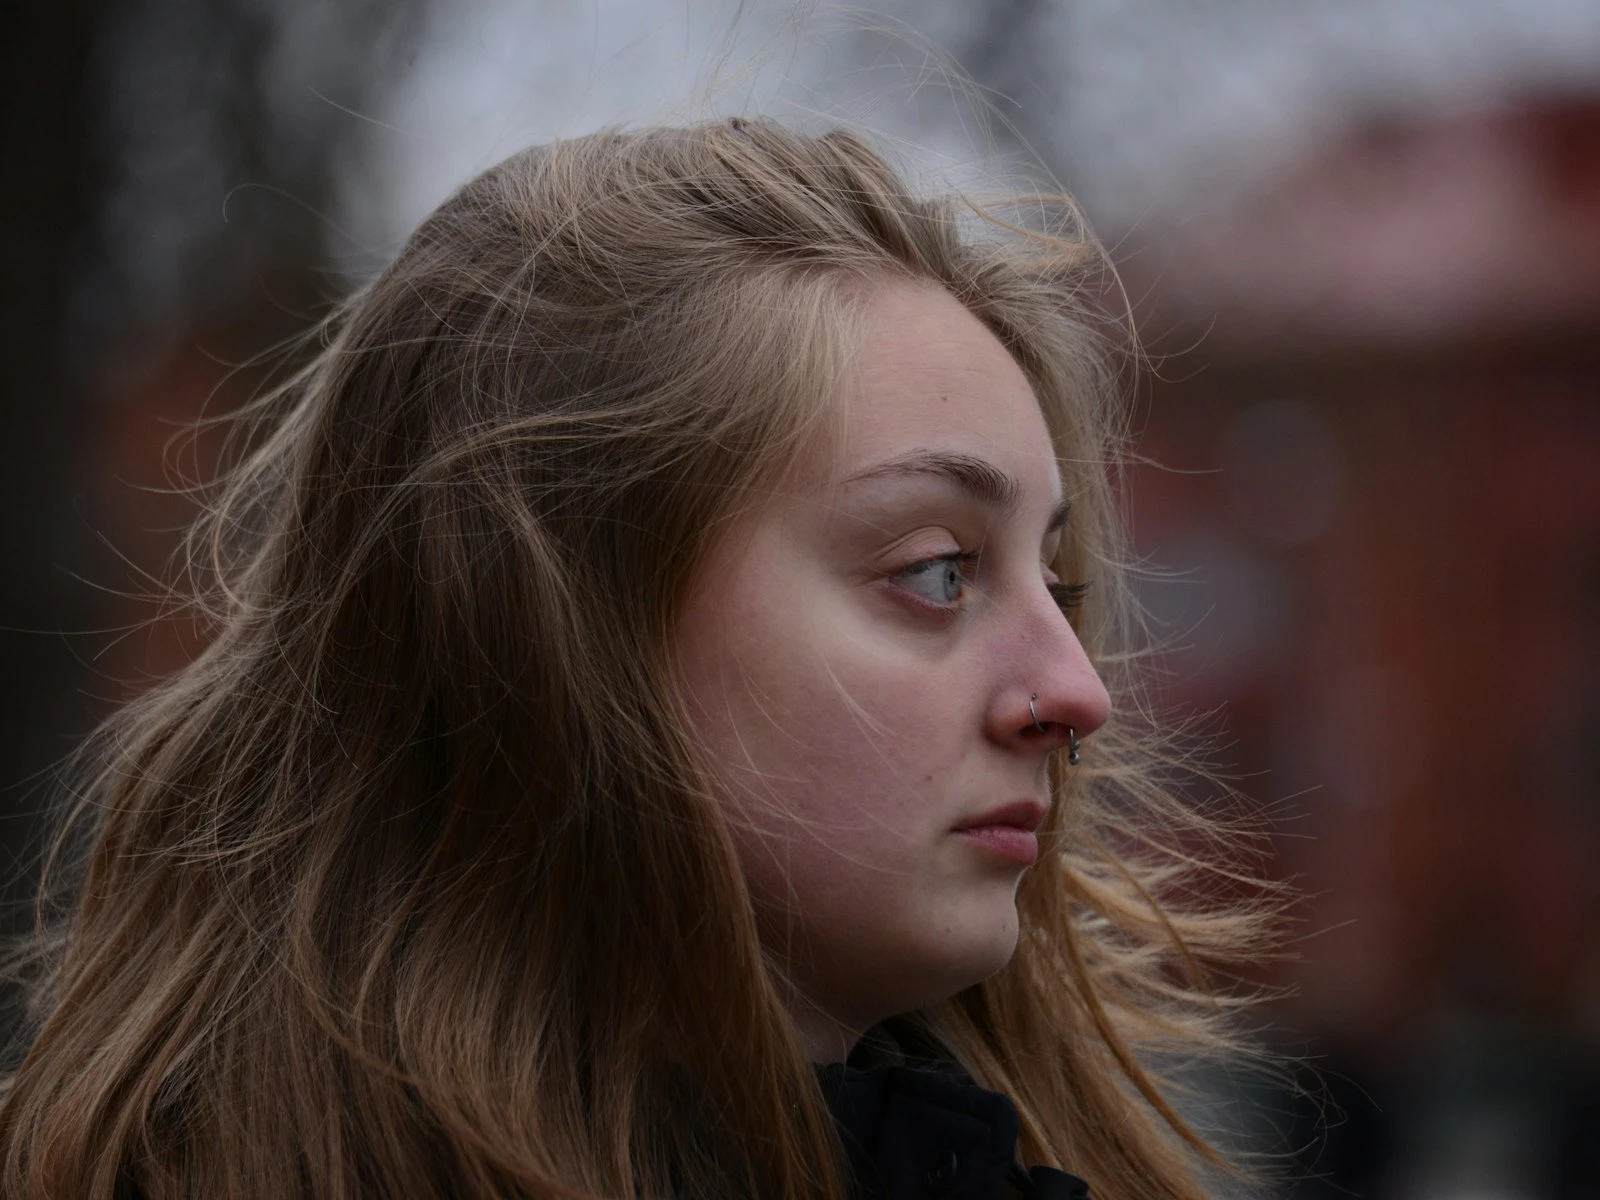
Eyes without catchlights look dull, empty, or lifeless. Even technically perfect portraits fall flat when eyes lack that sparkle.
The effect is psychological as much as technical. In daily life, we unconsciously register the light reflected in people's eyes. We associate bright, reflective eyes with alertness, engagement, and life. Dark, flat eyes register differently: tired, disconnected, or simply not present.
In photographs, this effect intensifies. A still image can't convey the micro-movements and expression changes that signal life in person. Catchlights do some of that work. They're a static element that suggests dynamism.
Portrait photographers through history have prioritized catchlights. Rembrandt's paintings show them. Classical portrait photography developed lighting specifically to create them. Modern headshot photographers check for them obsessively.
They're small but they matter enormously.
Positioning for Catchlights
Catchlights require a visible light source in front of the subject. The source doesn't need to be directly in front and can be at an angle, but it needs to be somewhere the eyes can reflect it.
The basic principle is that if you can see the light source from where the subject's eyes are, there will be catchlights. If the light source is behind or beside them with nothing to reflect in front, there won't be.
Window light: Position the subject facing the window, or at an angle that still allows the window to reflect in their eyes. If they're turned too far away, no catchlight. The farther they turn from the window, the smaller or more edge-located the catchlight becomes.
Open shade: In shade, the open sky is the light source. Make sure the subject faces toward the open sky, not toward the shaded area behind them. The sky reflection creates soft, often large catchlights. This is also one of the best ways to avoid harsh facial shadows.
Overcast days: The entire sky is the light source. Catchlights are easy to achieve because there's light coming from a huge area in front of the subject. They'll be large and soft.
Direct sun: The sun creates small, intense catchlights, but direct sun often causes squinting, which is worse than missing catchlights. If using direct sun, have them close their eyes until just before the shot.
The Position Check
Before shooting, do a quick catchlight check.
- Look at your subject's eyes as they're positioned
- Can you see bright reflections in both eyes?
- Where are the catchlights positioned in the iris?
- Are they roughly symmetrical?
If you don't see catchlights, either move the subject toward the light source or change their head angle until reflections appear.
The check takes two seconds once you're used to it and becomes automatic, to the point where you simply won't shoot without seeing catchlights.
Catchlight Position in the Eye
Where the catchlight appears in the iris affects how the portrait feels.
Upper third of the iris (10-2 o'clock position): This is the classic, natural position. It mimics overhead natural light and looks most familiar. Most portrait photographers aim for this position.
Center of the iris: Can work but sometimes looks too direct or confrontational. Usually the result of light that's too low or directly in front.
Lower third of the iris: Indicates light from below. Looks unnatural because we rarely see light from that direction. Generally considered unflattering or creepy.
At the edge of the iris: The subject is turned too far from the light. Not necessarily wrong, but the effect is reduced.
For consistently flattering portraits, aim for catchlights in the upper third of the iris, around the 10 o'clock or 2 o'clock position, or centered at 12 o'clock.
One or Two Catchlights?
In natural light, you'll usually have one catchlight per eye (one light source). Studio photographers sometimes use multiple lights, creating multiple catchlights.
One catchlight: Natural, familiar. This is what happens with the sun, a window, or a single light source.
Two catchlights: Can look interesting if deliberately positioned. Randomly placed multiple catchlights can look unnatural.
No catchlights: Lifeless eyes. Avoid unless you want a deliberately flat or mysterious mood.
If you're using natural light, one catchlight per eye is normal and expected. Don't worry about creating more.
Using Reflectors for Catchlights
Sometimes your subject is well-lit but the light source isn't positioned to create catchlights. A reflector can add them.
Hold a reflector below and in front of the face. It bounces light up and creates a catchlight from that direction. This is a common portrait technique, with main light from above/side and a reflector adding fill and catchlight from below.
Position the reflector where you want the catchlight. The reflector becomes a second light source that reflects in the eyes. Angle it until you see the reflection you want.
White foam board works. You don't need expensive reflectors. Any white surface that reflects light can create catchlights, from white poster board to a white napkin to a white t-shirt held just below frame.
Reflectors are most useful when you want catchlights but can't reposition the subject to face the primary light source.
Problem Situations
Backlit subjects. When someone is backlit, the light source is behind them, so there's no catchlight. Either turn them toward a secondary light source, use a reflector to bounce light into their face, or accept that catchlights won't be present.
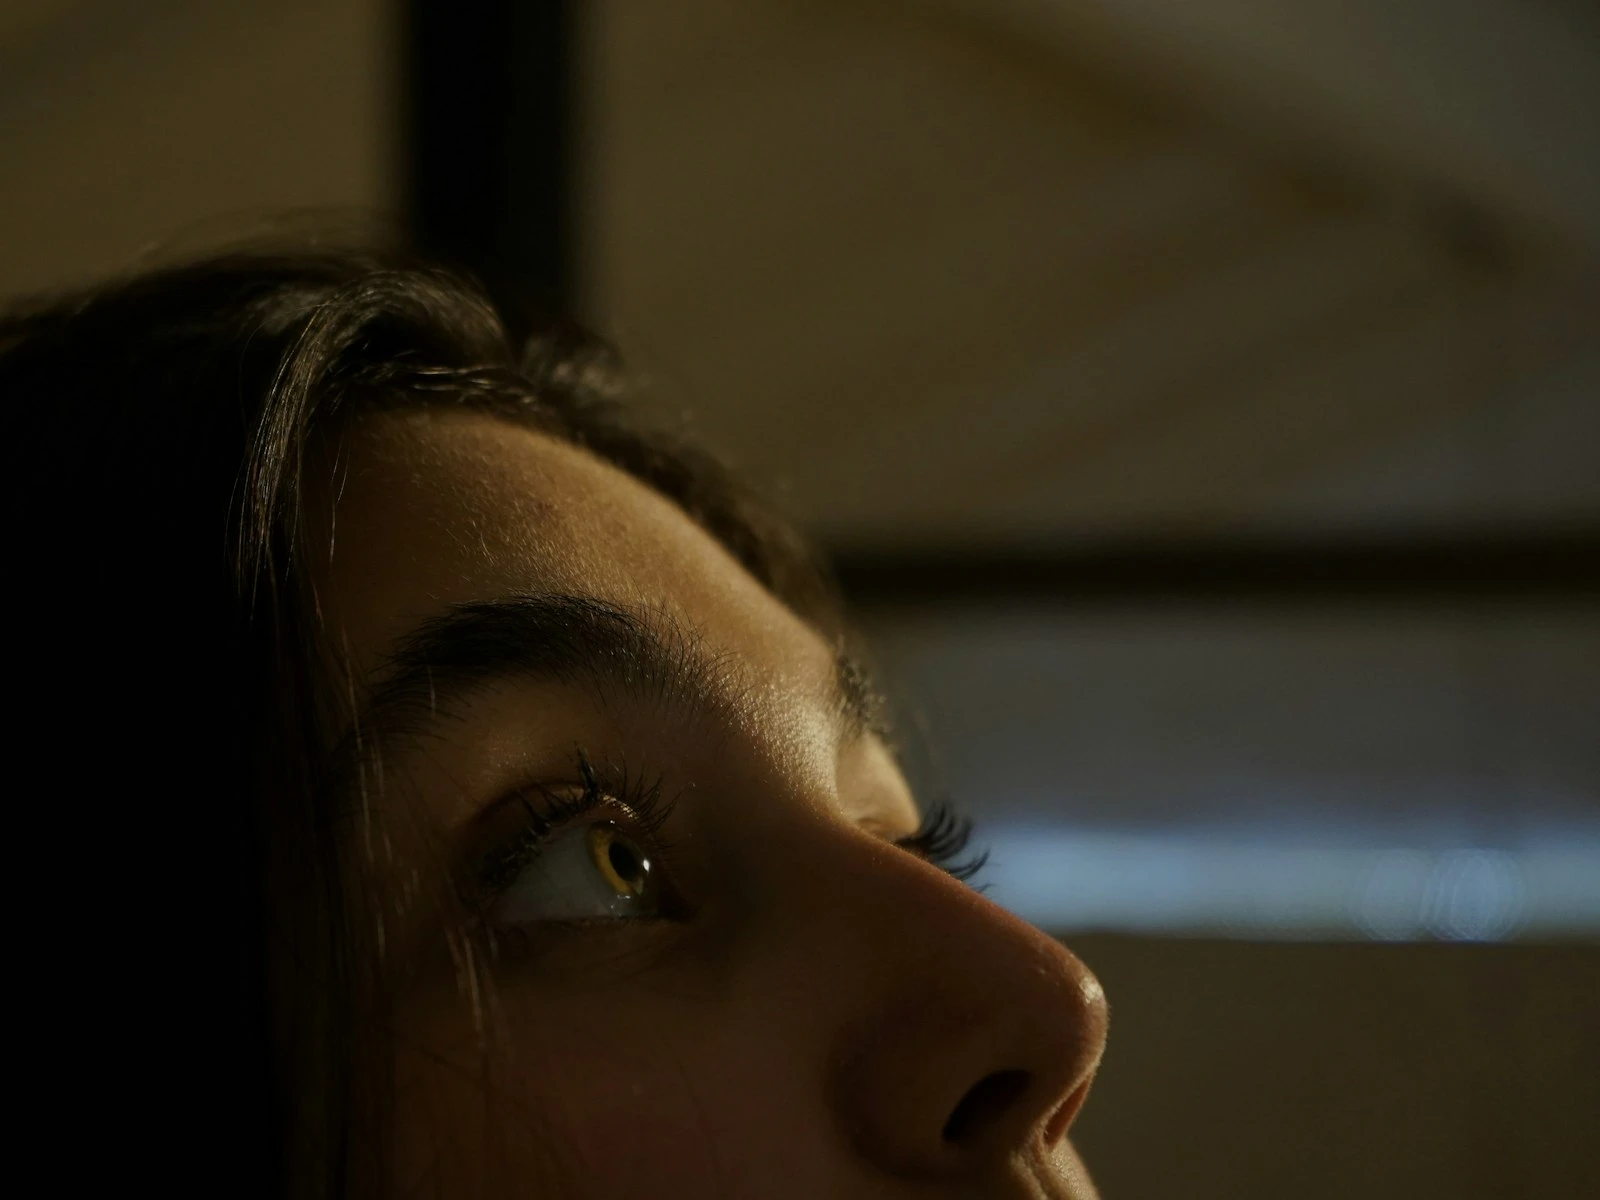
Indoor overhead lighting. Ceiling lights often don't create visible catchlights because the subject would need to look up. If using indoor overhead light, have them tilt their face slightly upward, or add a front/side light source.
Dark environments. Low light levels mean less reflection, and catchlights may be dim or absent. You might need to add a light source specifically to create them.
Glasses. Reflective lenses can show catchlights (or other reflections) in ways that distract. This is a separate challenge from catchlights specifically.
Small or deep-set eyes. Catchlights are harder to see in smaller eyes or when brow shadows are deep. More frontal light angles help.
Catchlights in Post-Processing
If you missed catchlights in camera, you can add them in editing, but it's harder and less natural-looking than capturing them originally.
Enhancing existing catchlights. If catchlights are present but dim, you can brighten them using local adjustment tools. Increase exposure and whites on just the catchlight areas.
Adding catchlights. Painting in catchlights that weren't there is possible but tricky. They need to be positioned identically in both eyes, sized appropriately, and placed at a natural position in the iris.
The better approach is getting them in camera. It takes seconds to check and adjust positioning. Fixing them in post takes much longer and rarely looks as natural.
Quick Reference
To create catchlights:
- Position subject facing toward the light source
- Ensure the light source is reflected in their eyes
- Check before shooting. Can you see the reflection?
Ideal catchlight position:
- Upper third of the iris (10-2 o'clock)
- Present in both eyes
- Roughly symmetrical
Common problems:
- Subject turned too far from light (rotate them toward it)
- Light source behind subject (reposition or use reflector)
- Overhead light only (add frontal light source or tilt face up)
Quick fixes:
- Turn subject toward window/sky
- Use a white surface as reflector below frame
- Move to location with frontal light
Catchlights are simple but powerful, and once you start noticing them or their absence, you'll never take a portrait without checking for that essential sparkle.
Key Takeaways
- Position subjects so a light source (window, sky, reflector) appears in front of them to create natural reflections in their eyes that bring the portrait to life.
- Check for catchlights before shooting by looking at the subject's eyes from camera position; if you do not see a bright reflection, reposition them.
- The shape and position of the catchlight reflects the light source, so windows create rectangular catchlights and open sky creates round or diffused ones.
- Without catchlights, eyes appear flat and lifeless regardless of how well the rest of the portrait is executed.
More in This Guide
Continue exploring portrait techniques.


Related Guides


