Individual portraits have one moving variable with one person to position, direct, and connect with. Group photos multiply that complexity, because now you're managing multiple faces, multiple expressions, multiple relationships, and multiple body positions all at once.
Everyone needs to look good, not just most people. A great group photo where one person is blinking, poorly lit, or awkwardly positioned is still a failed group photo.
Group photography follows patterns, and it's one of the most challenging situations covered in our portraits guide. Once you understand the principles of arrangement, lighting multiple faces, and directing efficiently, you can handle any group size, from couples to class photos.
The Core Challenge
Group photos fail in predictable ways.
Someone is hidden. Faces get blocked by other faces, and people in back become invisible behind people in front.
Someone is poorly lit. One person ends up in shadow while others are well-lit, with mixed lighting creating uneven exposure across faces.
Someone looks bad. A bad angle, awkward expression, blinking, or weird posture from one person ruins the shot for everyone.
The composition is boring. Everyone lined up at the same height like a police lineup produces no visual interest and no connection between people.
No one looks connected. Physical and emotional distance between people who are supposed to seem together reads as separate individuals who happen to be in the same frame.
Your job is solving all of these simultaneously.
Building Groups: The Staggered Principle
The worst group composition is everyone standing in a straight line at the same height. This is what people naturally do when you say "get together for a photo," and it's also the least interesting and often least flattering arrangement.
Stagger heights instead. Create variety in head heights throughout the frame by
- Having some people sitting, some standing
- Placing some people in front, some slightly behind
- Mixing some people leaning, some upright
- Elevating some people (on steps, furniture)
Create triangles. Three heads at different heights form a triangle, which is visually interesting. Multiple overlapping triangles in larger groups create dynamic, pleasing compositions.
Stack heads, not shoulders. When arranging front and back rows, have back row heads visible in the gaps between front row heads. If shoulders line up with shoulders, heads line up with heads, and back row faces disappear.
Bring them together. Physical closeness signals relationship, while groups with space between people look disconnected. Shoulders touching, heads leaning in, and bodies angled toward each other all create cohesion.
Small Groups (2-4 People)
Couples. Create height difference if there isn't one naturally, like one sitting with one standing behind, or one elevated slightly. Have bodies angled toward each other, faces toward camera. Physical contact like an arm around, holding hands, or leaning in signals connection.
Three people. The triangle arrangement is natural, with one slightly forward or back and heads at different heights. The middle person can be central (balanced) or off-center (dynamic), and bodies angled toward the center create cohesion.
Four people. Pairs work well, like two sitting with two standing behind, or a diamond shape with heights staggered. Avoid a straight line of four, which is boring and often leaves someone at an awkward edge.
In small groups, relationship and connection are primary. Every person should appear to belong with the others, and bodies should angle toward the center of the group.
Medium Groups (5-12 People)
Multiple rows. Usually the front row is sitting or kneeling with the back row standing. On stairs, use the natural elevation, and with chairs, have some sitting and some standing behind.
Height variation within rows: Even in rows, stagger slightly. Heads at varying heights create visual interest.
Key people placement: If there's a reason someone should be central (bride and groom, guest of honor, boss), position them there. Build the group around them.
Fill from center out: Start with your central figure(s), add people beside them, then add the row in front or behind. Building from the center creates balanced, intentional-looking arrangements.
Check head gaps: After positioning, view from camera position. Can you see every face? Are back row faces showing between front row heads? Adjust until everyone is visible.
Large Groups (12+ People)
More rows, more levels. Three or more rows become necessary, and stairs, risers, or varied seating heights help create the depth needed for visibility.
Key people in key positions: Important figures go center-front where they're most visible and prominent.
Edge awareness: People at the very edges often get awkward placement or poor light. Fill edges last and check that edge people look as good as center people.
Even out the shape. Groups should form pleasing shapes like pyramids, gentle curves, or organized rectangles. Avoid lopsided arrangements where one side has more people.
Accept some chaos. With very large groups, perfection is impossible. Aim for everyone visible and reasonably well-lit, because perfect posing for thirty people isn't realistic.
Lighting Multiple Faces
Light that works for one face doesn't automatically work for many faces.
Broad, even light works best. Open shade, overcast days, or large light sources that illuminate everyone similarly are ideal. Avoid dappled light or situations where half the group is in sun and half in shade.
Face the light source. Position the group facing toward the light. If that's not possible, position them at an angle where no one is backlit while others are front-lit.
Check shadows across the group. Light that creates flattering shadows on one person might create unflattering ones on another in a different position, so do a quick scan across all faces before shooting.
Watch for reflected shadows. In tight groups, people can cast shadows on each other, with the front row blocking light from the back row or tall people shading shorter people.
Be wary of flash. On-camera flash creates flat light and often red-eye in groups. If using flash, bounce it or use off-camera flash to create more natural-looking light.
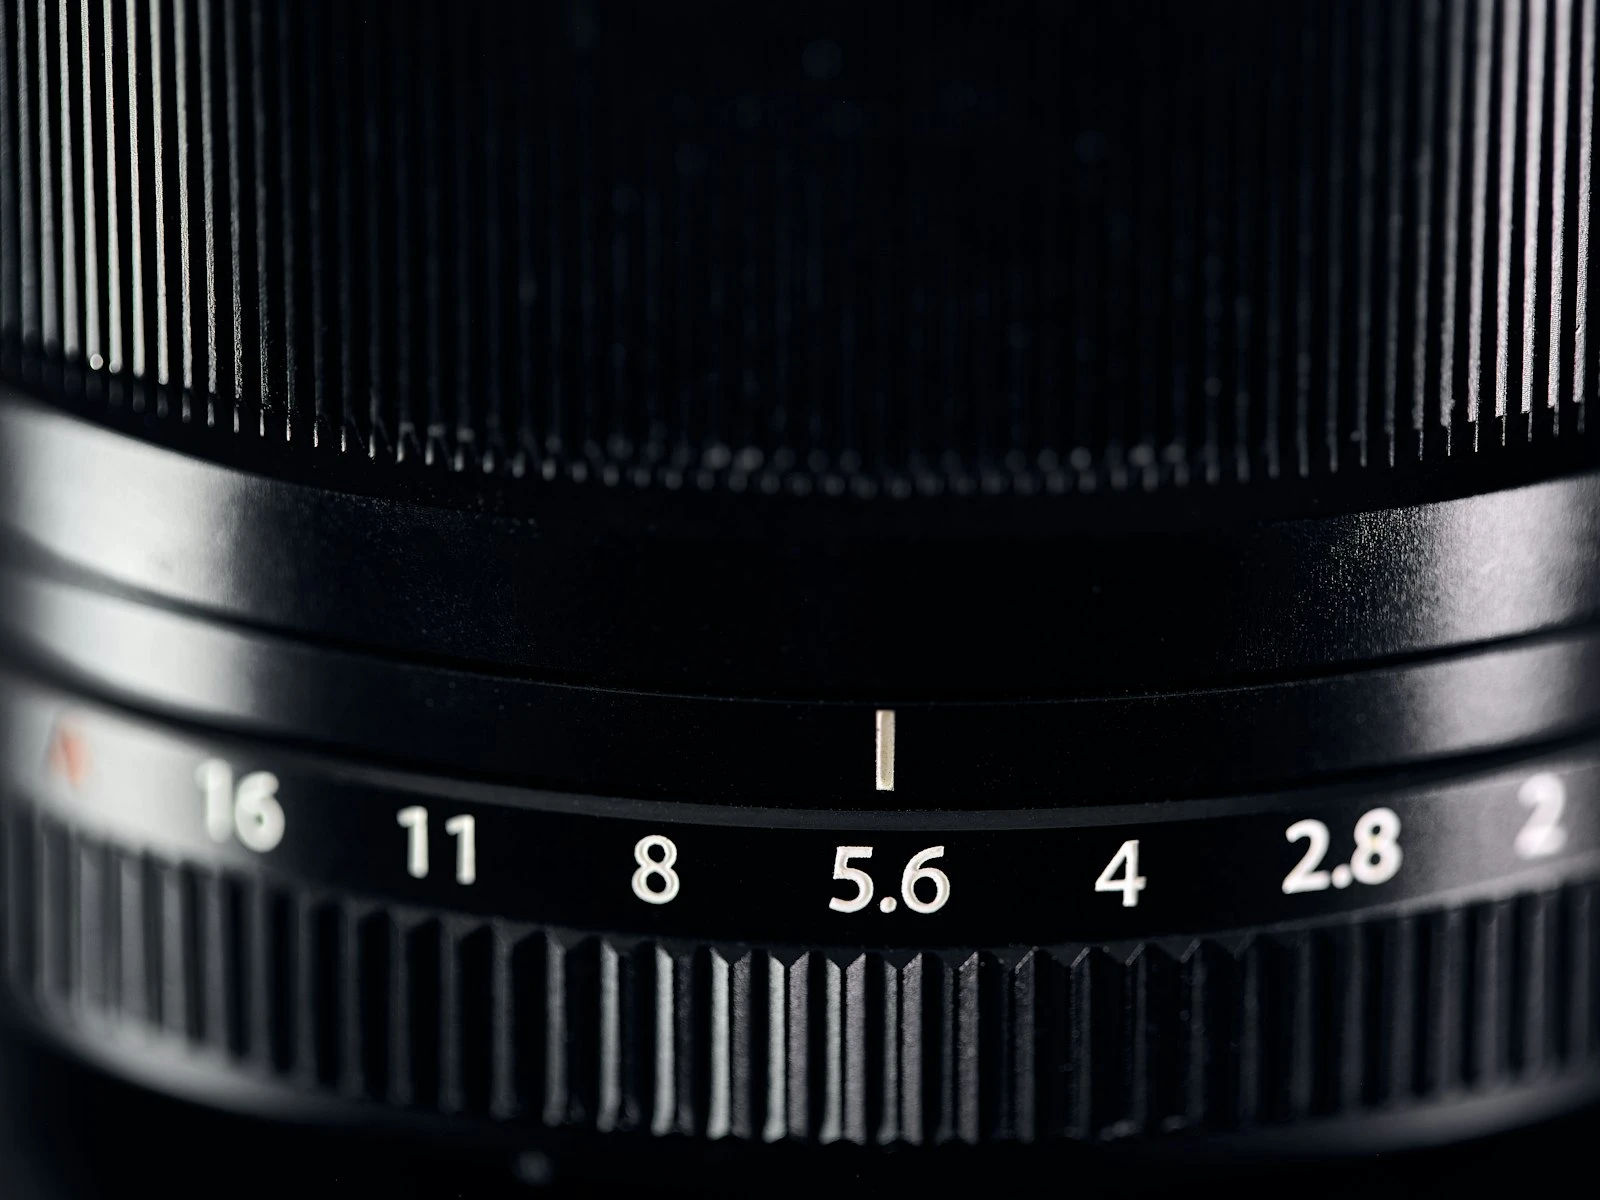
Technical Settings for Groups
Aperture: Stop down more than for individuals, because at f/2.8, only one row is in focus. For groups, f/5.6 to f/8 keeps multiple depths reasonably sharp, and large groups might need f/8 to f/11. Checking your depth of field for the group's arrangement helps you pick the right f-stop.
Focus point: Focus on the faces in the front-middle area since they're the closest to camera and need to be sharp. Depth of field extends both forward and behind the focus point.
Shutter speed: Keep fast enough to freeze movement at 1/125s minimum, and go faster if children or pets are involved since groups never hold perfectly still.
ISO: Raise as needed to achieve proper exposure with the aperture and shutter you need, since modern cameras handle moderate ISO well.
Burst mode: Shoot multiple frames because with more people, the chances of someone blinking or making a face increase. Three quick frames triple your chances of one where everyone looks good.
Directing Groups Efficiently
The larger the group, the less time you have for individual direction.
Position first, then refine. Get everyone roughly in place before worrying about individual poses, because the structure matters more than individual perfection.
Direct by position, not name: "Back row, shift to your left" is faster than "John, Sarah, Mike, can you move left?"
Use reference points: "Front row, everyone lean toward the person in the center" is clearer than "everyone lean in."
Give everyone the same base instruction: "Everyone turn your body slightly to the right" is easier to follow than individual direction for each person.
Fix one thing at a time: First get everyone in position. Then adjust the one person who's leaning away. Then fix the hands that look awkward. Don't try to fix everything simultaneously.
Make it fast. Groups lose energy quickly and long setup times create tired expressions, so be efficient and shoot within minutes of assembly.
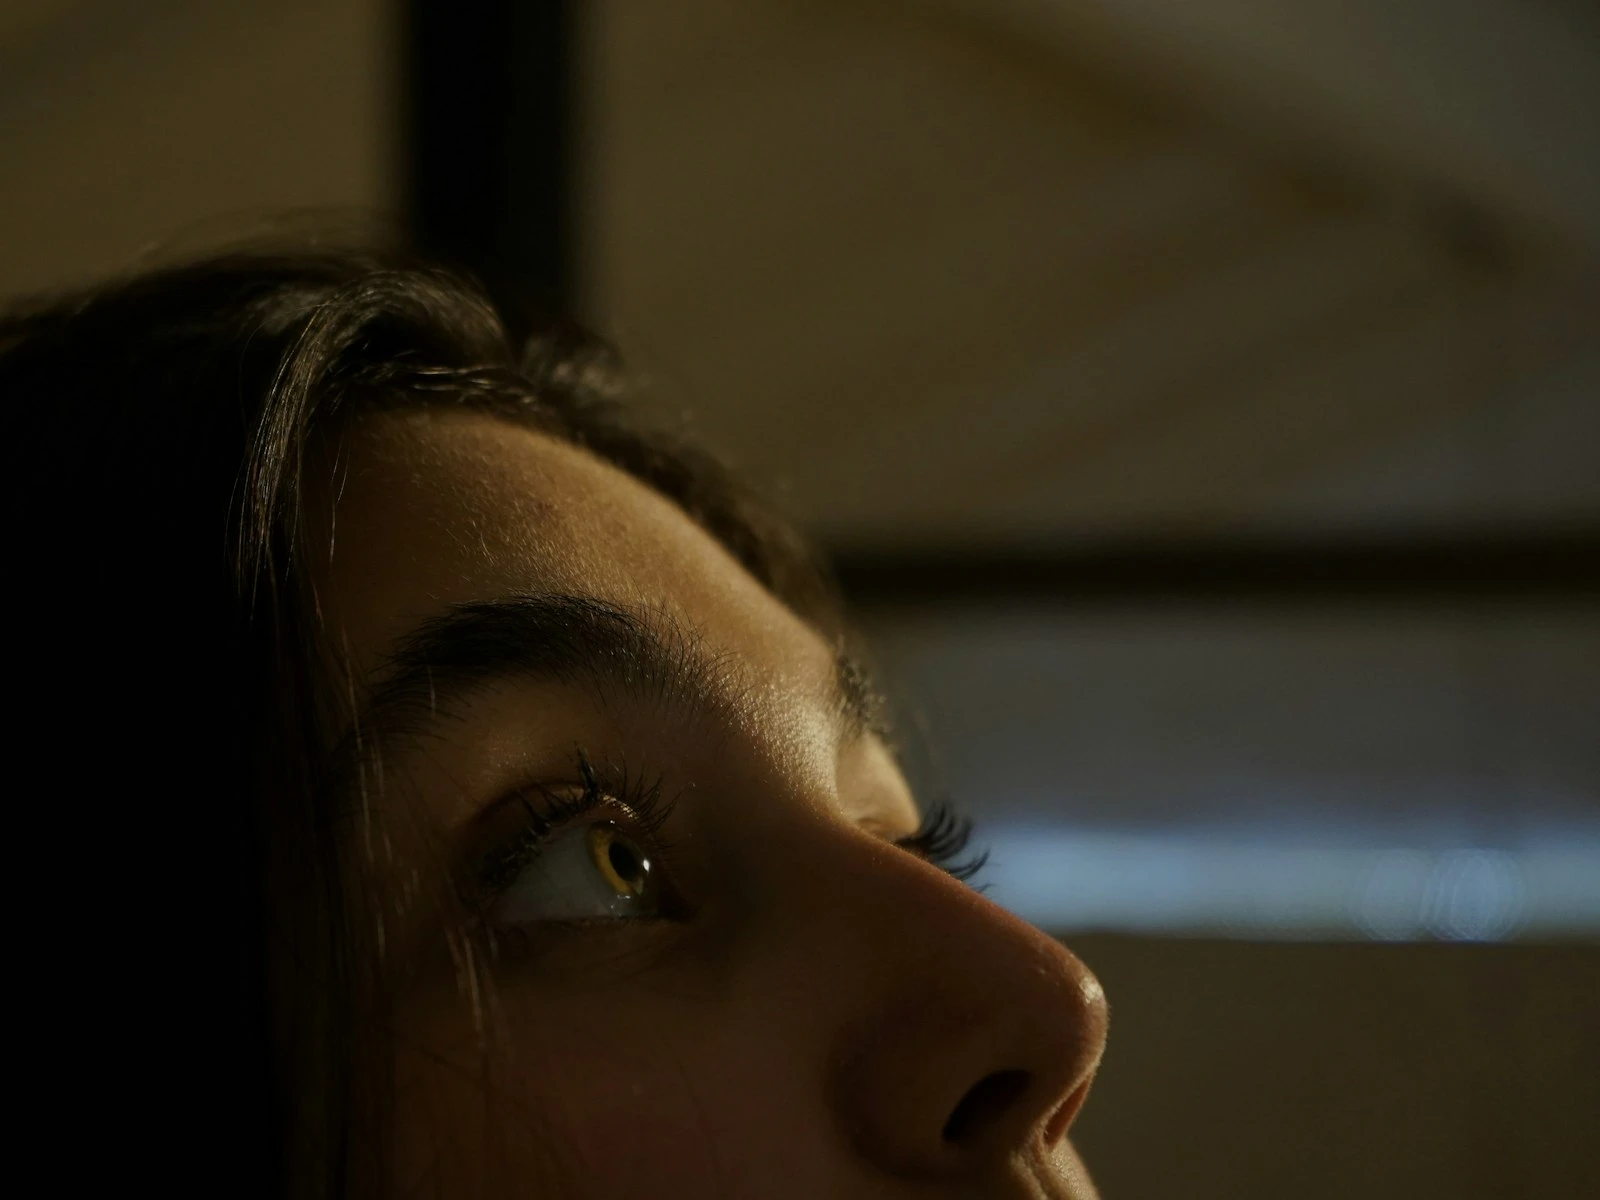
Getting Good Expressions
Don't say "cheese." It produces fake, tense smiles across the group.
Give them a count. "On three, everyone say 'whiskey'" gives a coordinated moment and often genuinely amusing expressions.
Warn about blinks. "I'm going to take a few shots quickly, so try not to blink" at least alerts people.
Shoot immediately after the silly shot. If you do something for laughs, the moment right after often has genuine, relaxed expressions.
Call out individuals. "Greg, can you relax your shoulders? Perfect." Specific direction helps specific problems without stopping everything.
Make contact. "Everyone look at me" and actually make eye contact around the group before shooting. This creates engagement rather than people looking at the general vicinity of the camera.
Common Scenarios
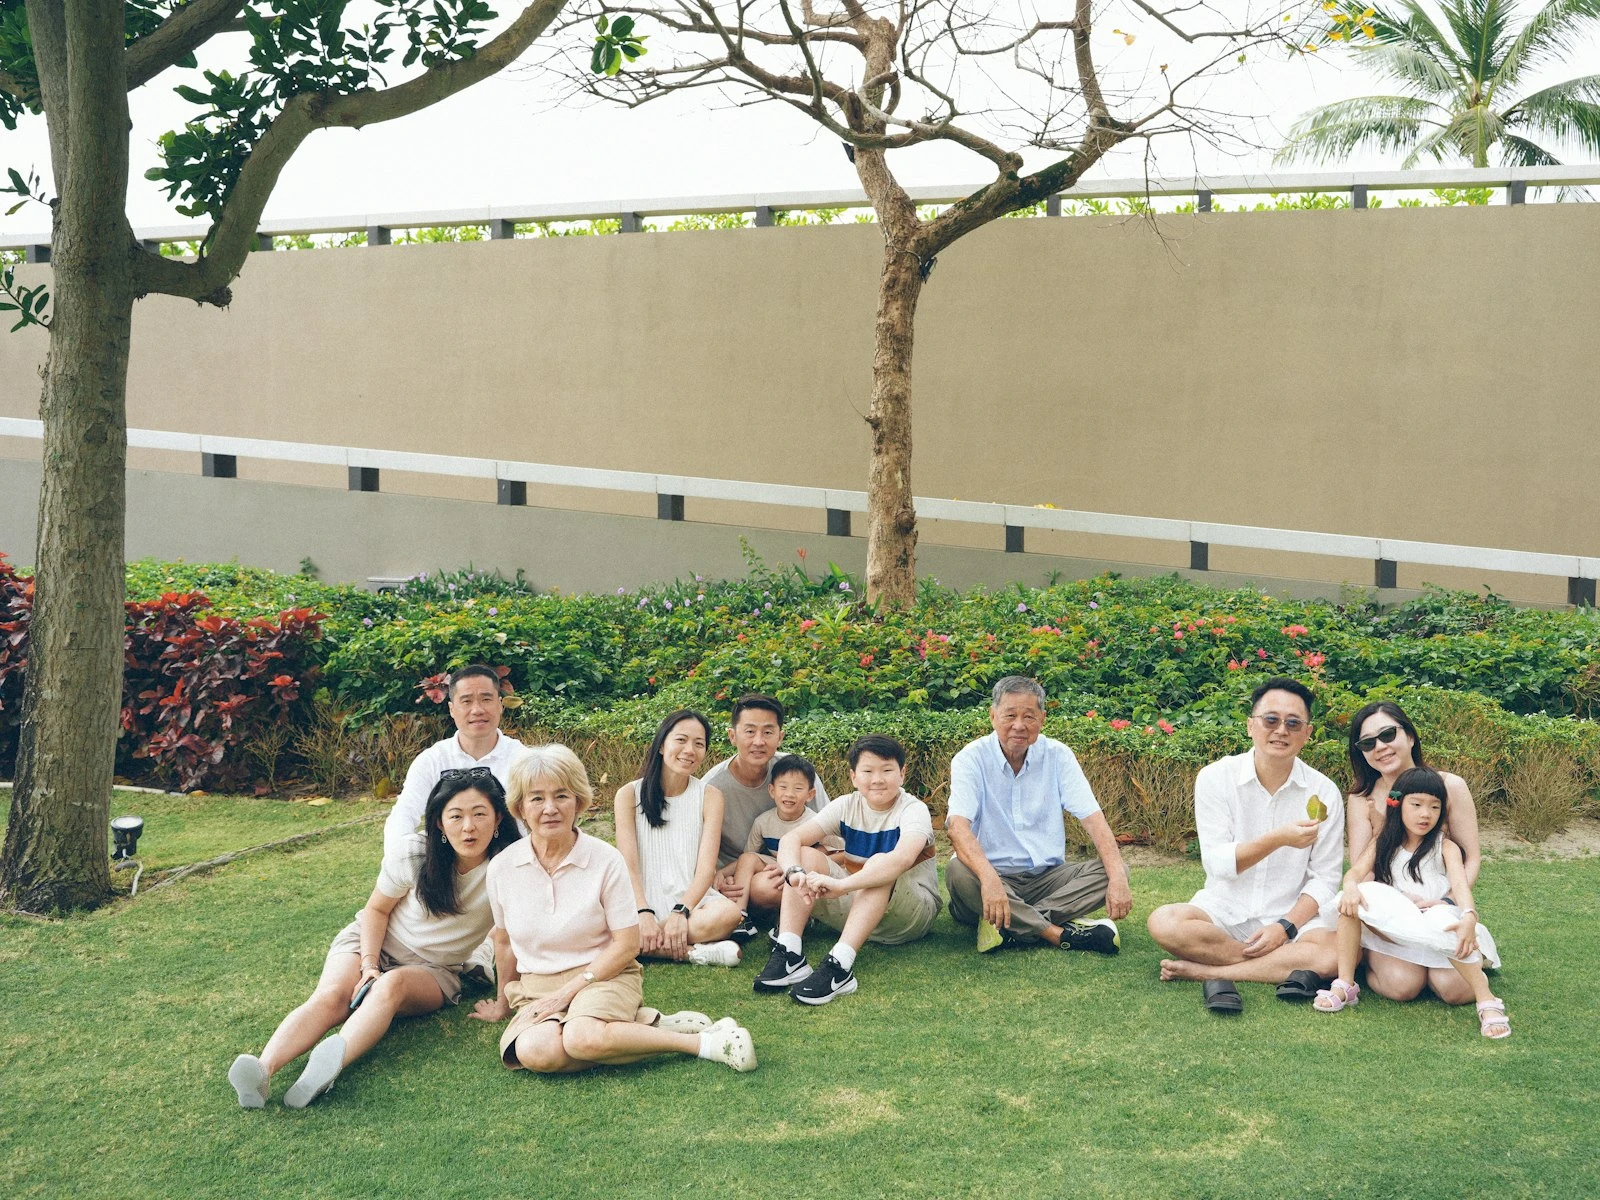
Family portraits: Create physical connection with arms around each other, kids on laps, and bodies leaning in. Height variation happens naturally with age differences. Center parents or grandparents as anchors.
Wedding parties: Traditionally arranged by height with the couple in center, but consider breaking tradition with more dynamic arrangements like triangles, levels, and asymmetric groupings.
Corporate groups: These often need to look more formal, so rows work better than casual arrangements. Ensure even light across everyone, and no one should look dramatically different.
Friend groups: Aim for casual, connected, and energetic with more physical contact, more varied poses, and more personality than formal arrangements.
Large gatherings: Accept that "good enough" is the standard, with everyone visible, everyone lit, and no one making a weird face.
The Multi-Shot Method
For important group photos, take multiple shots with slight variations.
- The safe shot: Everyone looking at camera, traditional poses
- The relaxed shot: Same positions, but "now take a breath and relax"
- The candid shot: "Turn and say something to the person next to you"
- The fun shot: A silly direction that gets genuine reactions
This gives you options and often captures the best expressions when people aren't trying so hard.
Practice Progression
Start with two people and master couple posing, then move to three and learn triangle arrangements, then five for multi-row basics.
Each group size teaches something that applies to larger groups. Building skill progressively is more effective than jumping straight to photographing twenty people.
Group photos are logistically complex, but the principles are consistent. Stagger heights, light everyone evenly, create connection, direct efficiently, and shoot multiples. Master these principles and you can handle any group.
Key Takeaways
- Stagger heads at different heights using chairs, steps, or varied stances to ensure every face is visible and the arrangement looks intentional.
- Use f/5.6 or narrower to keep all faces sharp, since wider apertures risk people at different distances being out of focus.
- Give clear, specific directions quickly ("everyone look at the camera on three") to capture the narrow window when all expressions are good simultaneously.
- Take multiple frames in quick succession because someone will blink or look away in every single shot.
More in This Guide
Continue exploring portrait techniques.

Related Guides


