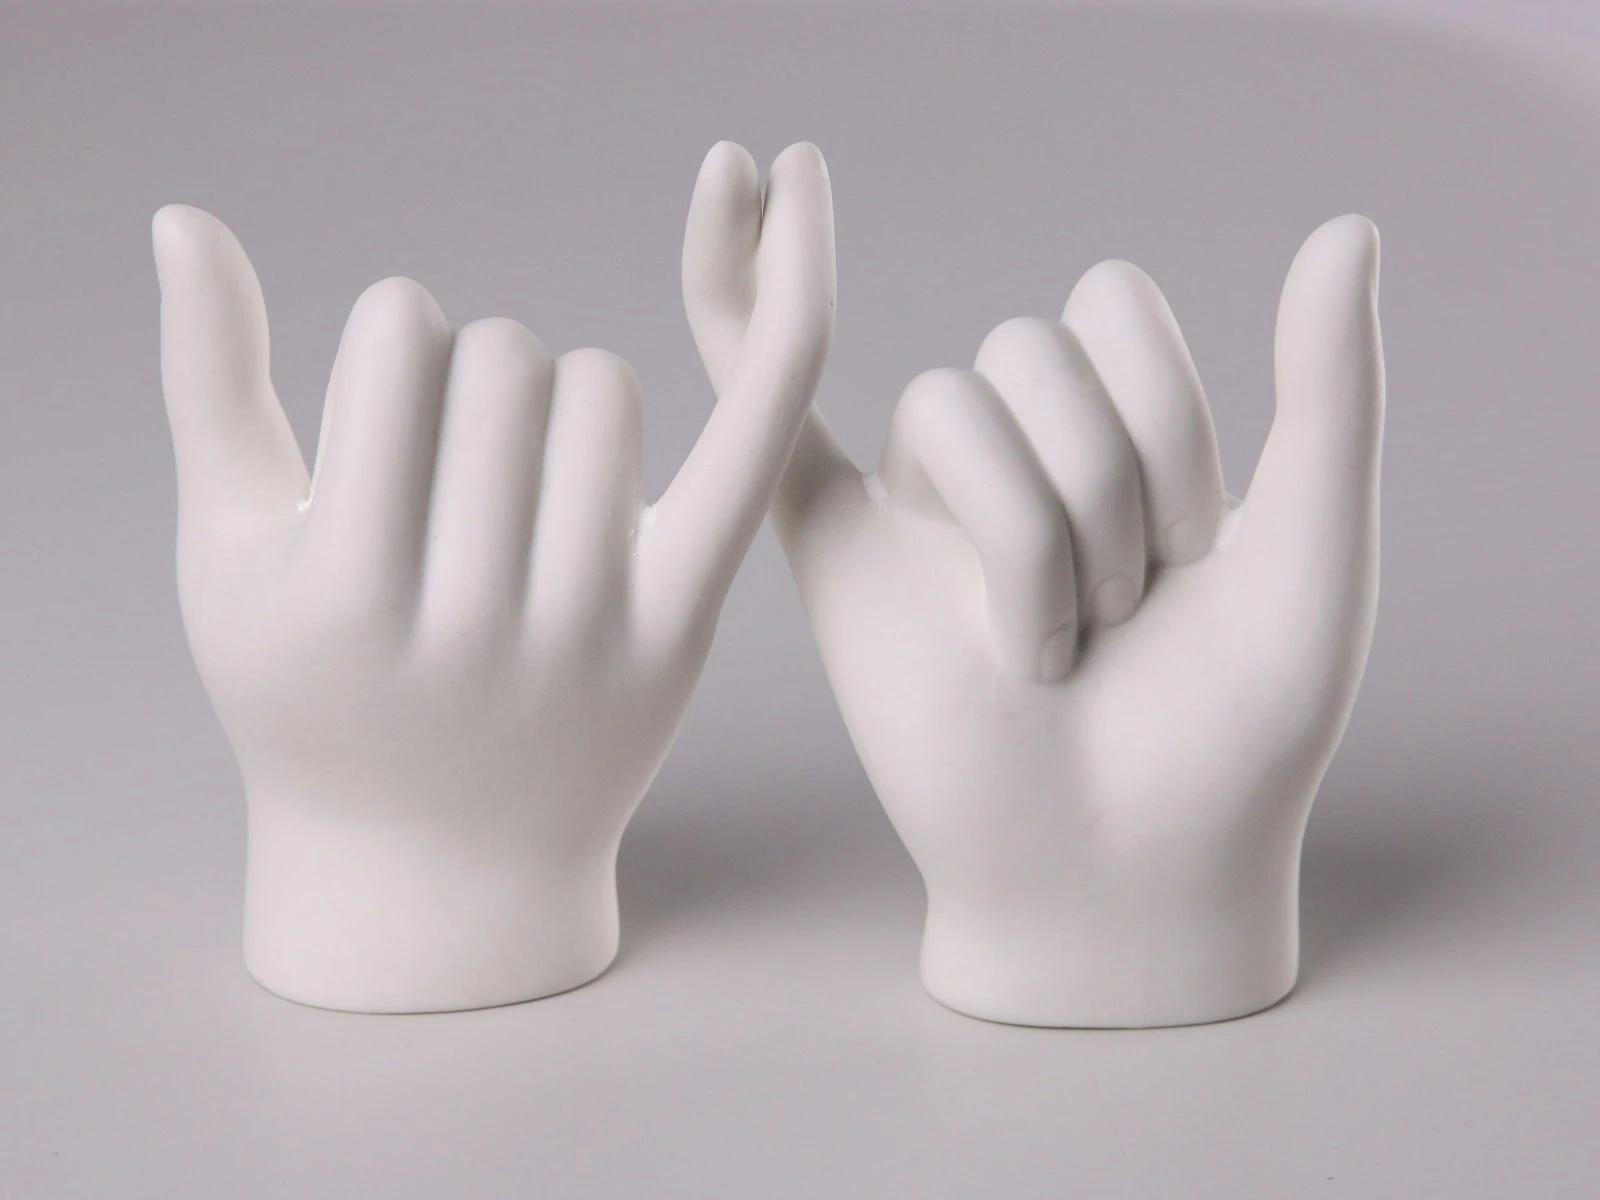
Hands are the problem everyone notices but nobody knows how to solve.
You've seen it in a portrait where everything else works with good light, flattering angle, and genuine expression, but the hands are just hanging there, stiff at the sides, awkwardly half-curled, drawing attention for all the wrong reasons.
Hands become awkward in portraits because they have nothing to do. In daily life, hands are almost always occupied: holding things, gesturing, touching surfaces. Stand someone in front of a camera and suddenly their hands are purposeless. They become aware of them in a way they never normally are.
Hands can add expression, personality, and natural energy to portraits, and solving this is one of the most underrated skills in our portraits guide. You just need to give them something to do.
Why Hands Go Wrong
Understanding the problem helps you solve it.
Empty hands feel exposed. When hands have nothing to do, people become hyperaware of them. This awareness creates tension, and tense hands look stiff.
People don't know what to do. "Just stand there and look natural" leaves hands without instructions. They default to hanging at sides, the least natural-looking position. This is especially true for subjects who already feel uncomfortable in front of a camera.
Hands reflect overall tension. If your subject is uncomfortable, their hands will show it first. Clenched fingers, rigid positioning, white knuckles on whatever they're holding.
The camera amplifies awkwardness. In person, we barely notice hand positioning. In a still image, hands frozen in awkward positions become glaringly obvious.
The goal is giving hands enough purpose that they stop being a problem.
The Occupation Principle
The simplest solution to awkward hands is to occupy them with something.
Pockets work. One hand in a pocket (thumb out or in) creates instant casual positioning. Two hands in pockets works for very casual shots but can look too relaxed for formal situations.
Props give purpose. A coffee cup, a book, sunglasses, or a jacket thrown over the shoulder all give hands a reason to exist. The prop doesn't need to be significant; it just needs to be there.
Surfaces provide rest. Hands on a railing, a table, the back of a chair. Any surface gives hands somewhere to belong. Resting hands look natural in ways that floating hands don't.
Crossing arms works. Despite advice against crossed arms (it "looks defensive"), crossing arms is actually a natural, comfortable position for many people. It gives hands something to do and creates a shape that's interesting in frame.
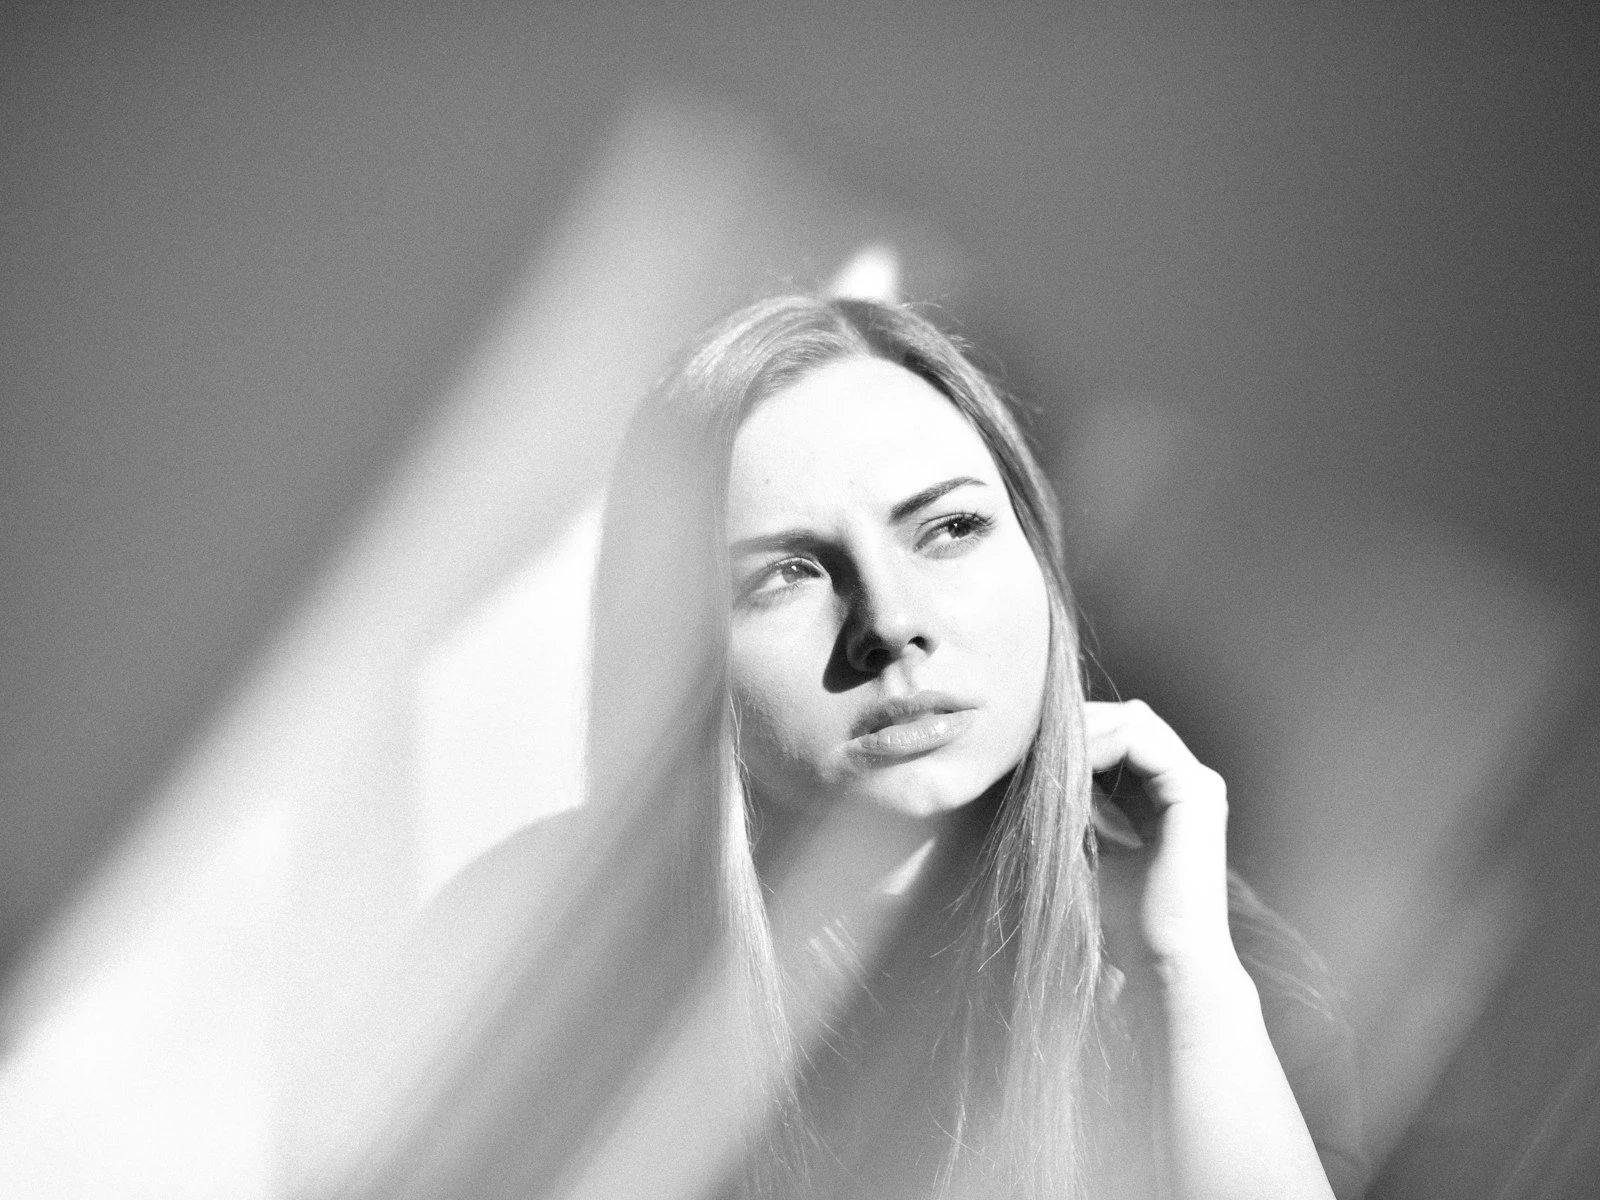
Self-touch is natural. Hand touching chin, adjusting sleeve, fingers interlaced. These self-comforting gestures look natural because they are natural. People do these things unconsciously when relaxed.
The key is that hands need a job, and when they have one, they stop being a problem.
Positioning Guidelines
Not all hand positions work equally well, but some general principles apply.
Avoid flat hands. Hands pressed flat against surfaces or thighs look tense. A slight natural curl is more relaxed.
Show the edge, not the flat. Hands photographed flat-on (palm or back of hand to camera) appear larger than hands shown at an angle. Angle the hand so you see the edge.
Relaxed fingers, not rigid. Tension shows in fingers first. Slightly curved, softly separated fingers look natural. Straight, pressed-together fingers look stiff.
Mind the wrist angle. Extreme wrist bends look uncomfortable. Maintain natural, relaxed wrist positioning.
Avoid half-fists. Loosely clenched hands with all fingers curled but not forming a real fist look awkward. Either full fist (which reads as intentional) or open, relaxed fingers.
Watch for "T. Rex arms." Arms bent with hands dangling from the wrist look odd. Either extend arms toward a surface/purpose or keep elbows more naturally positioned.
Specific Solutions
Different portrait situations call for different approaches.
Headshots and Close-Ups
For tight headshots, hands often aren't in frame at all, which solves the problem. But if hands need to be visible, consider these options.
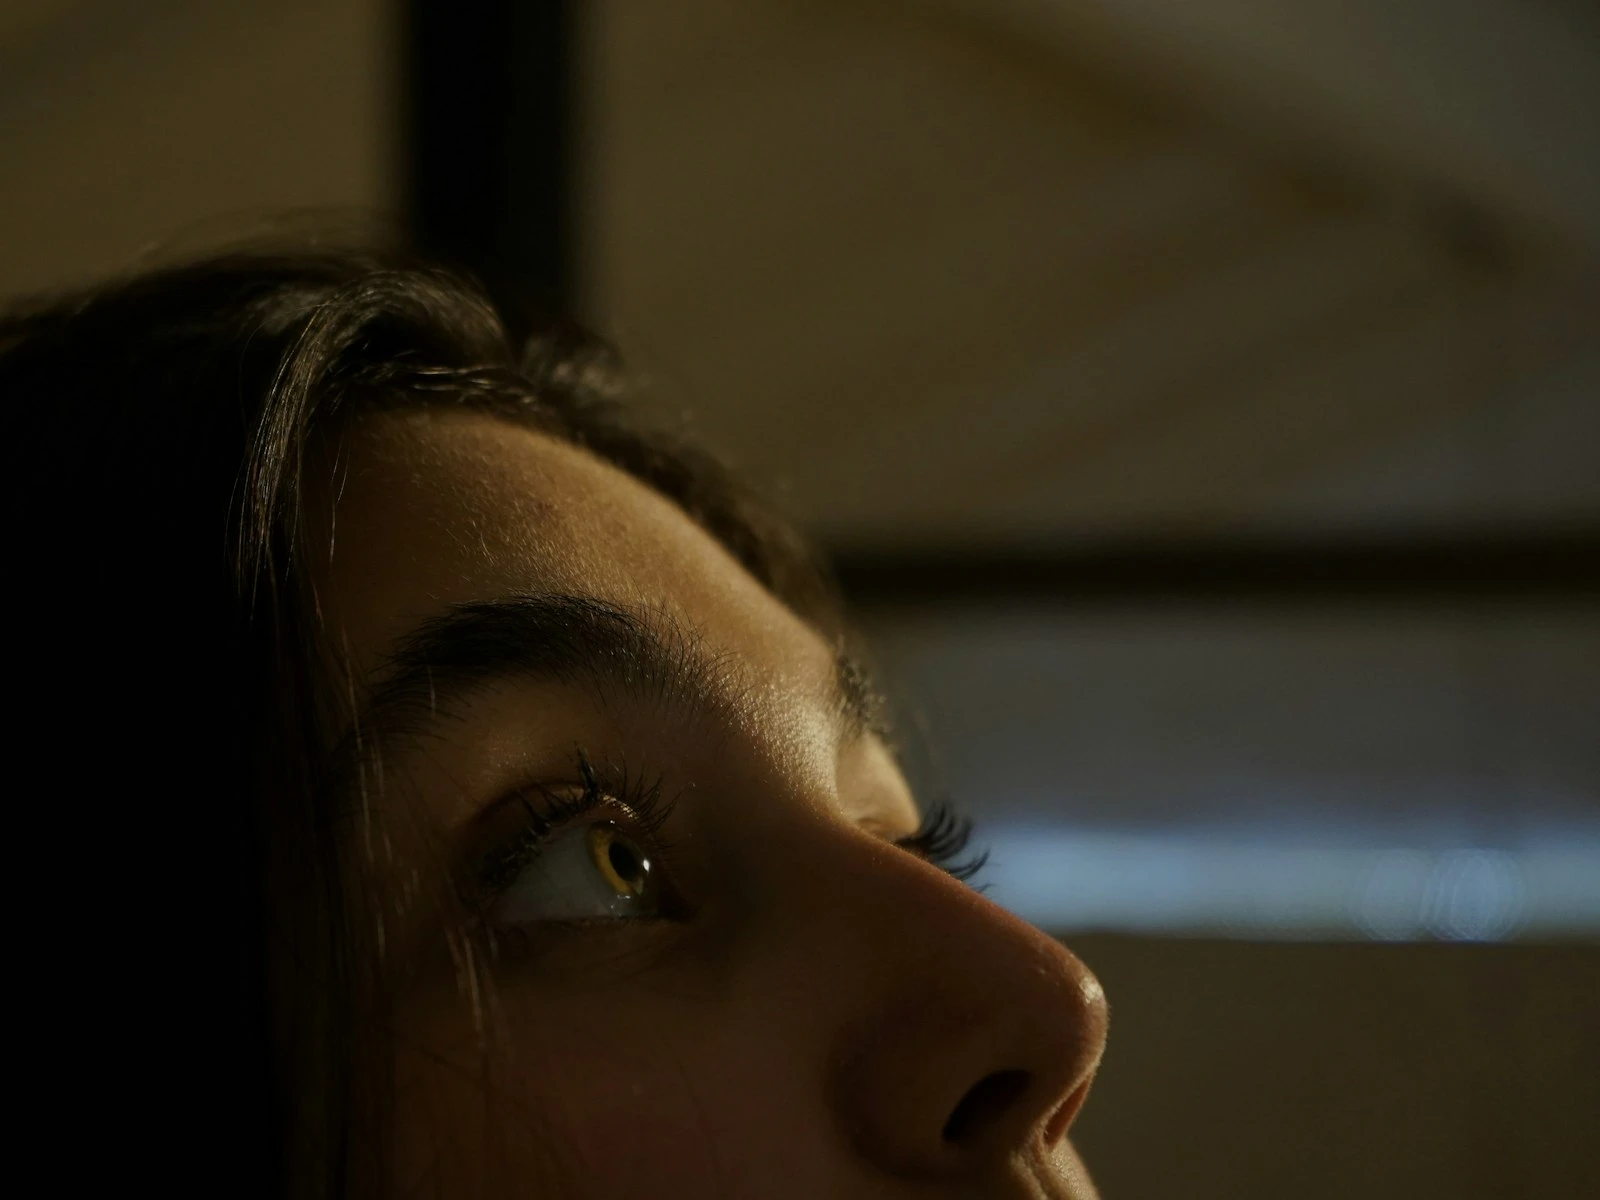
- Hand touching face/chin works for thoughtful, contemplative looks
- Hand adjusting collar or neckline for a moment of natural action
- Hands near face create visual interest when you want variety
The danger zone is hands too close to the face, which draw attention away from the eyes. Use sparingly and ensure the face remains primary.
Half-Body Portraits
The most common hand challenge, with several reliable options.
- One or both hands in pockets
- Arms crossed, hands visible
- Hands hooked in belt loops
- Leaning on something with hands supporting
- Holding a relevant prop (professional tool, personal item)
- One hand resting on opposite arm
Full-Body Portraits
Full-body shots need more body awareness, which actually helps with hands.
- Weight on one leg naturally shifts arm positions
- Walking creates organic arm movement
- Sitting positions naturally place hands (on knees, armrest, in lap)
- Interaction with environment (doorframe, wall, furniture)
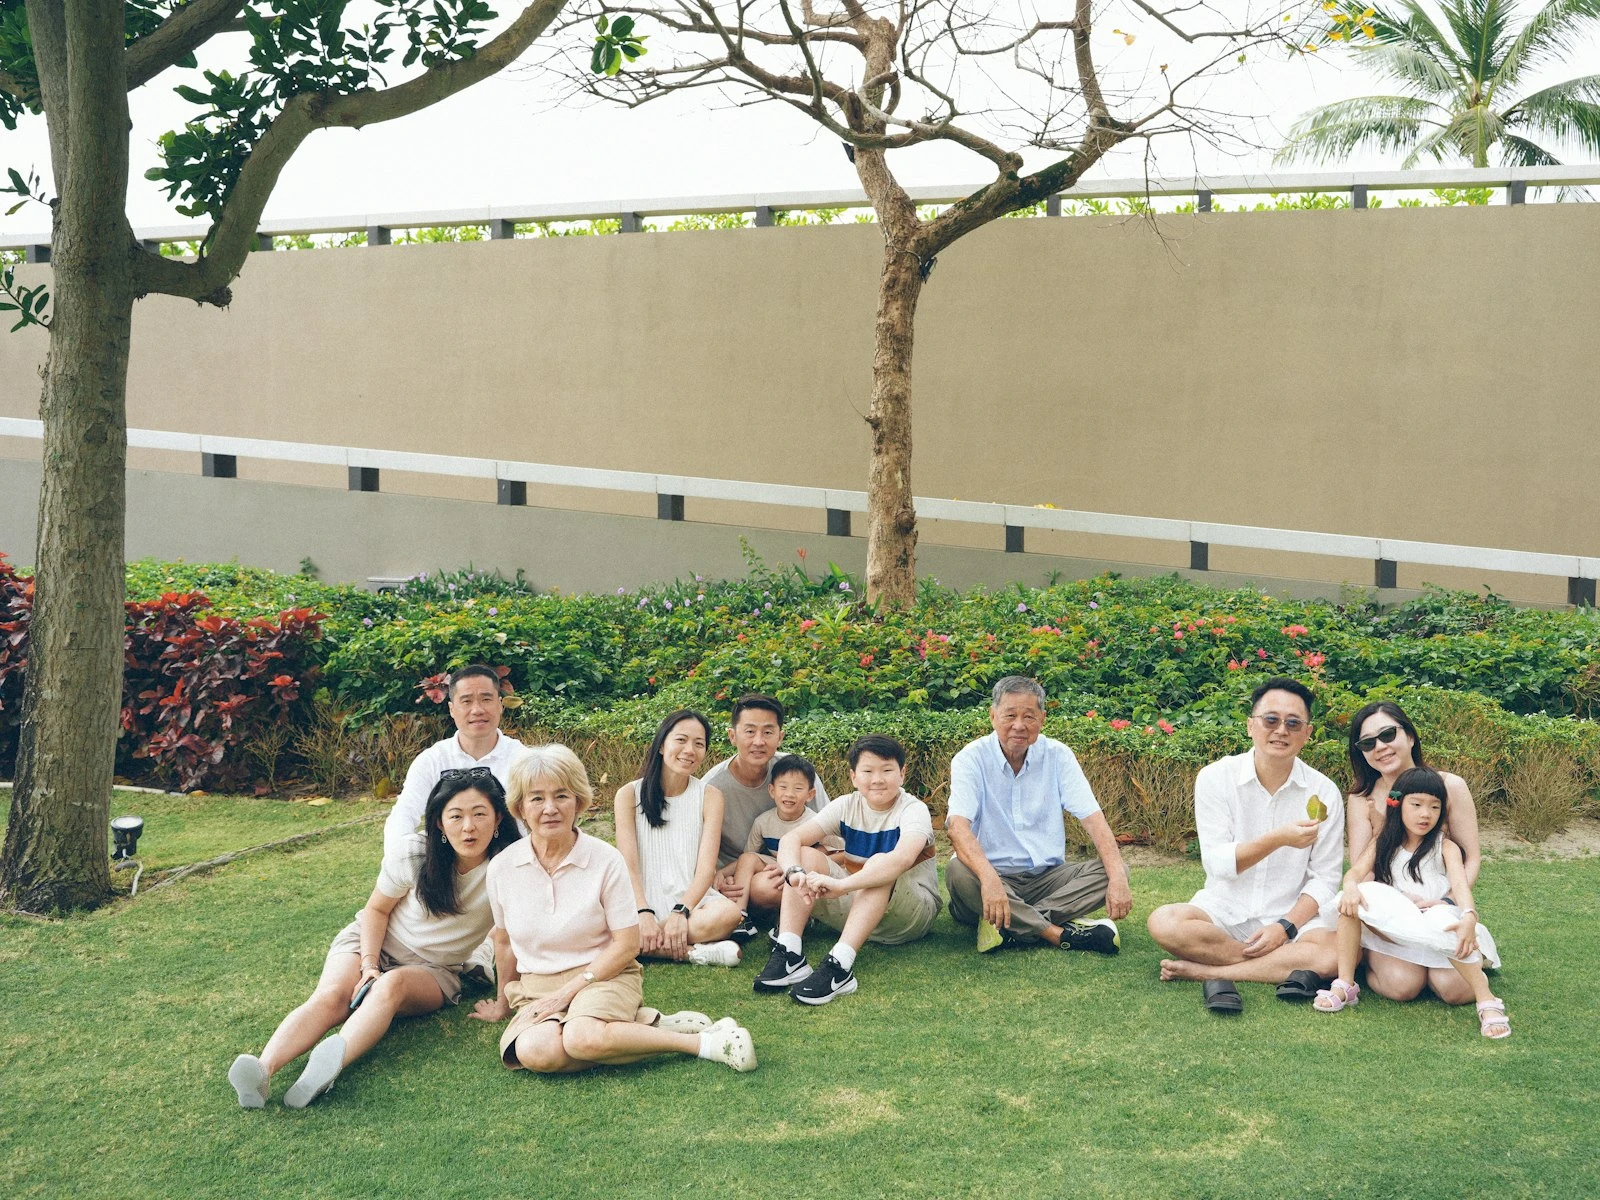
Couples and Groups
Hands become connection points in couples and groups.
- Holding hands (in various ways, such as interlaced or loosely clasped)
- Arm around shoulder or waist
- Hands resting on partner's arm or back
- For groups: hands on shoulders of people in front row
The connection creates purpose automatically.
Directing Hand Position
How you communicate hand direction matters.
Show, don't just tell. "Put your hand like this" while demonstrating is clearer than verbal description alone.
Use reference points. "Rest your hand on the railing" is clearer than "move your hand to the right."
Give intention, not just position. "Pretend you're about to adjust your sleeve" produces more natural positioning than "bend your arm and touch your sleeve."
Check and adjust. After placing hands, look at the actual result. Small tweaks often make big differences. "Can you relax your fingers a bit?" "Turn your hand so I can see the edge?"
Let them settle. After directing, give people a moment to find a comfortable version of the position. The settled version usually looks more natural than the just-posed version.
When to Hide Hands
Sometimes the best solution is minimal hand visibility.
Behind the back. Hands clasped behind can work for formal standing portraits. Feels confident and keeps hands out of the way.
In sleeves. Long sleeves can partially conceal hands, leaving just fingers visible. This works well for cozy, casual portraits.
Cropping. If hands are causing problems and nothing's working, a tighter crop that excludes them is legitimate. Better no hands than awkward hands.
Strategic angles. Shooting from the side can naturally hide the far hand. Positioning subjects so hands are against backgrounds rather than visible also helps.
Common Hand Mistakes
The death grip. When someone holds a prop so tightly their knuckles go white. This signals tension. Remind them to relax their grip.
The awkward hover. Hands near but not touching anything, not quite resting, not quite floating. Either commit to contact or move hands away.
The forgotten hand. You position one hand, but the other is just dangling forgotten. Both hands need purpose, even if one is simply out of frame.
Too much hands. Elaborate hand positioning that draws attention to the hands themselves. Unless hands are the subject (artist, musician, etc.), they should support, not dominate.
Cut-off at joints. Cropping that ends exactly at wrist, knuckle, or finger joint looks uncomfortable. Either show the full hand or crop above/below joints.
Hands as Expression
Once you solve the awkwardness problem, hands can actually add to portraits.
Personality tells. How someone naturally holds their hands reveals character, from the precise clasp to the casual drape to the active gesture.
Energy and movement. Hands in action create dynamic images. Someone gesturing while talking, reaching for something, in the middle of an activity.
Intimacy. Hand positions can increase emotional connection: hand to heart, touch on face, reaching toward camera.
Occupation clues. Hands engaged with tools or instruments of work add narrative and context.
The goal is to move hands from problem to asset.
Practice Exercise
Before your next portrait session, try this with a friend or family member.
- Take a portrait with them standing normally, hands at sides
- Add one hand in a pocket
- Give them something to hold
- Have them lean on a surface
- Arms crossed
- Hands touching face/hair
Compare the six images. Notice which hand positions look most natural on this particular person. Different solutions work better for different individuals, and this exercise helps you build intuition for what works when.
Hands stop being a problem when you have reliable solutions ready. Build a mental library of options, and you'll always have somewhere comfortable for hands to go.
Key Takeaways
- Give hands something to do (hold an object, touch their face, rest on a surface) so they appear natural and purposeful rather than stiff and awkward.
- Show the edge of the hand rather than the flat palm facing the camera, which looks disproportionately large and draws unwanted attention.
- Keep fingers relaxed and slightly curved rather than rigid or spread wide, since tension in hands is immediately visible to viewers.
- If hands cannot look natural, crop them out or hide them rather than leaving awkward, distracting hands in the frame.
More in This Guide
Continue exploring portrait techniques.
Related Guides


