
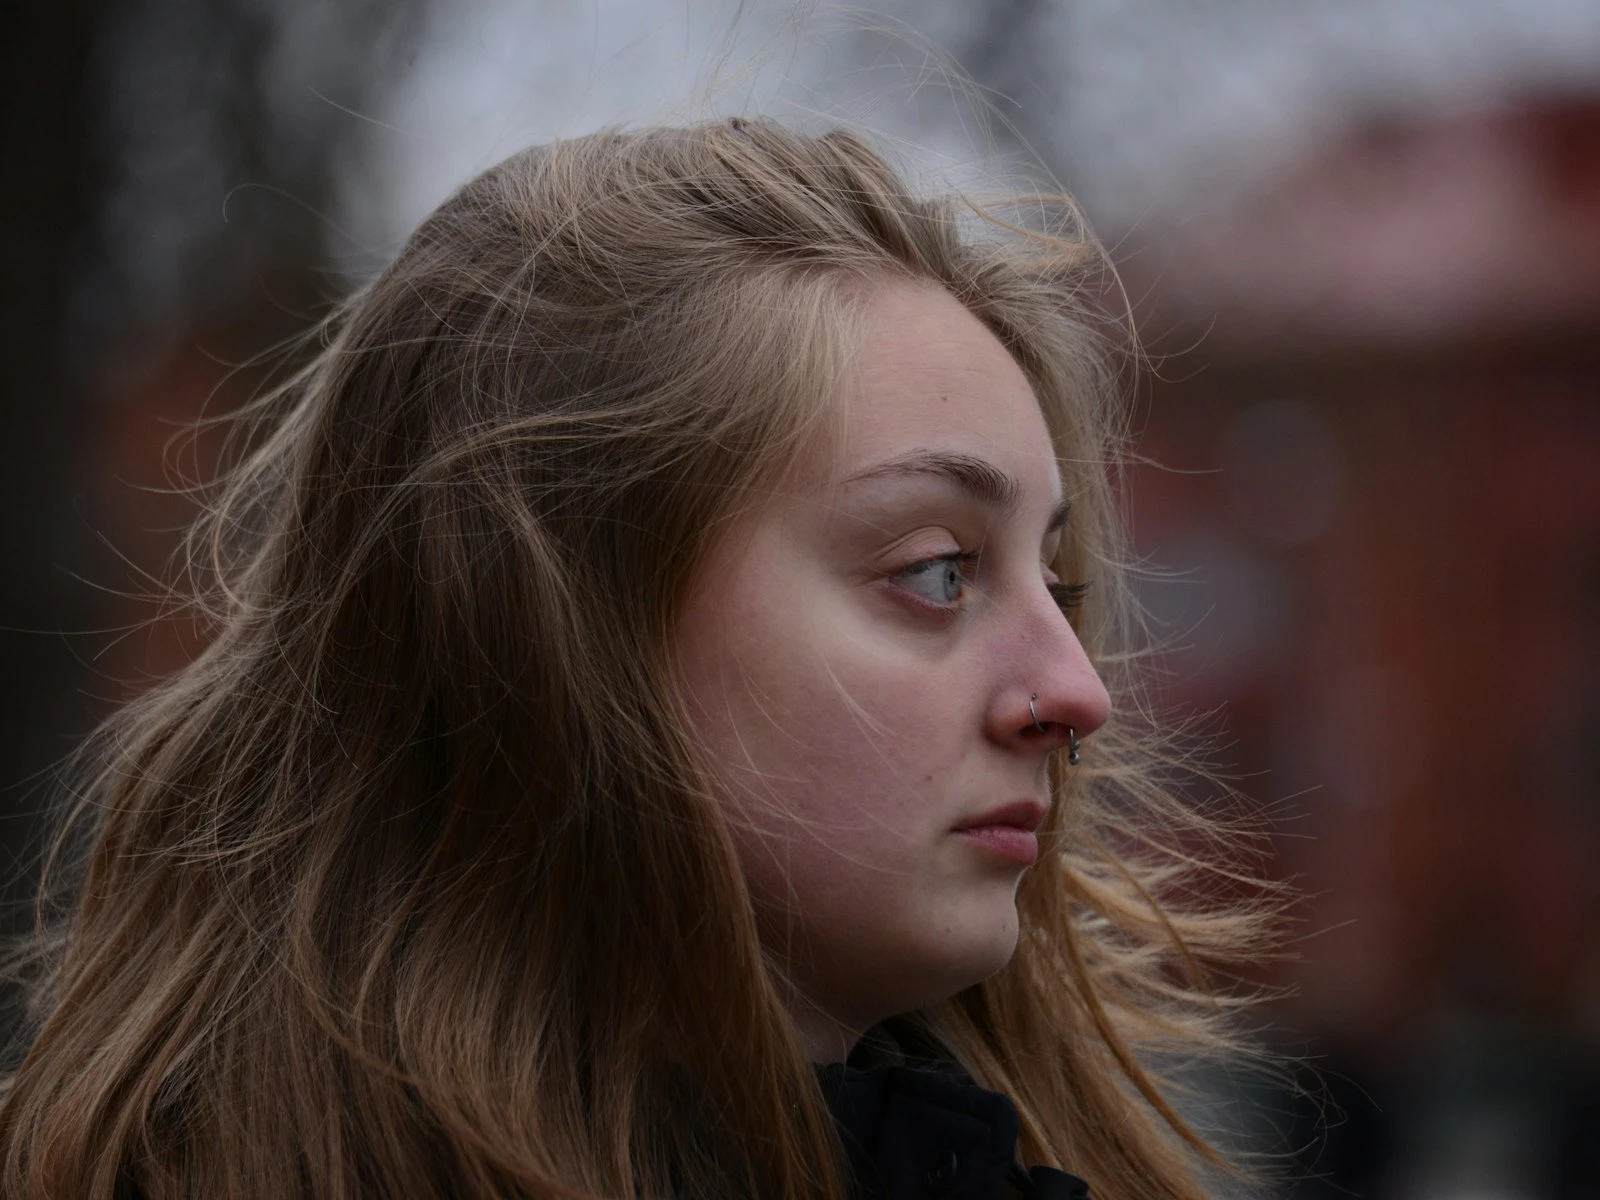
Outdoor portraits offer natural variety, organic backgrounds, and light that feels alive. They also present uncontrollable conditions, harsh sun, wind, and lighting that changes by the minute.
Working outdoors means working with what nature gives you. Some days that's beautiful soft light. Other days it's blinding midday sun. Your skill is learning to find good light in any condition and position your subjects to make it work.
Understanding how to get flattering portraits whenever you're outside, whatever the sky decides to do, matters far more than waiting for perfect conditions. It's one of the most practical topics in our portraits guide.
The Light Priority
In outdoor portraits, light comes first. Before background, before posing, before anything else, find your light.
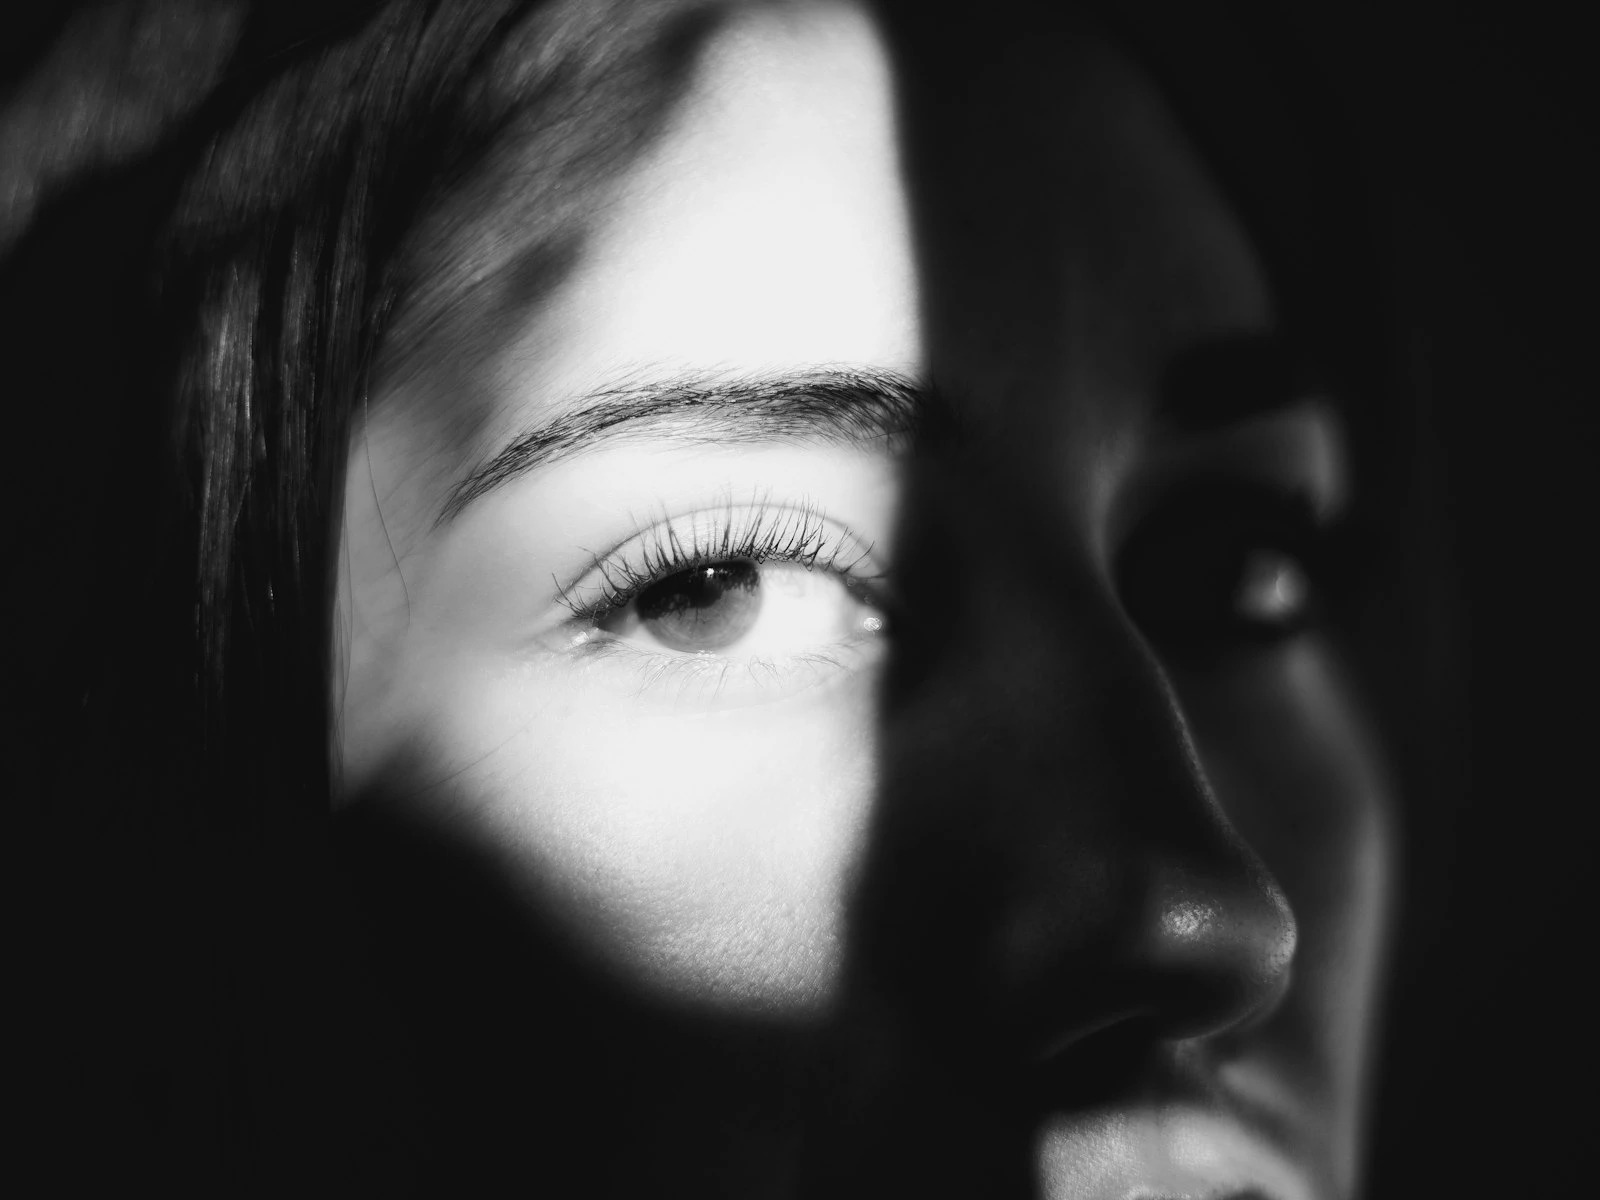
The best outdoor portrait light is soft and directional. Soft means no harsh shadows cutting across faces. Directional means the light comes from one direction, creating dimension without harshness.
Where to find it:
Open shade offers this combination naturally. Step just inside the shadow of a building, tree, or structure. Your subject is shaded from direct sun but illuminated by the bright sky. The light is soft (from a large source) and directional (coming from the open side).
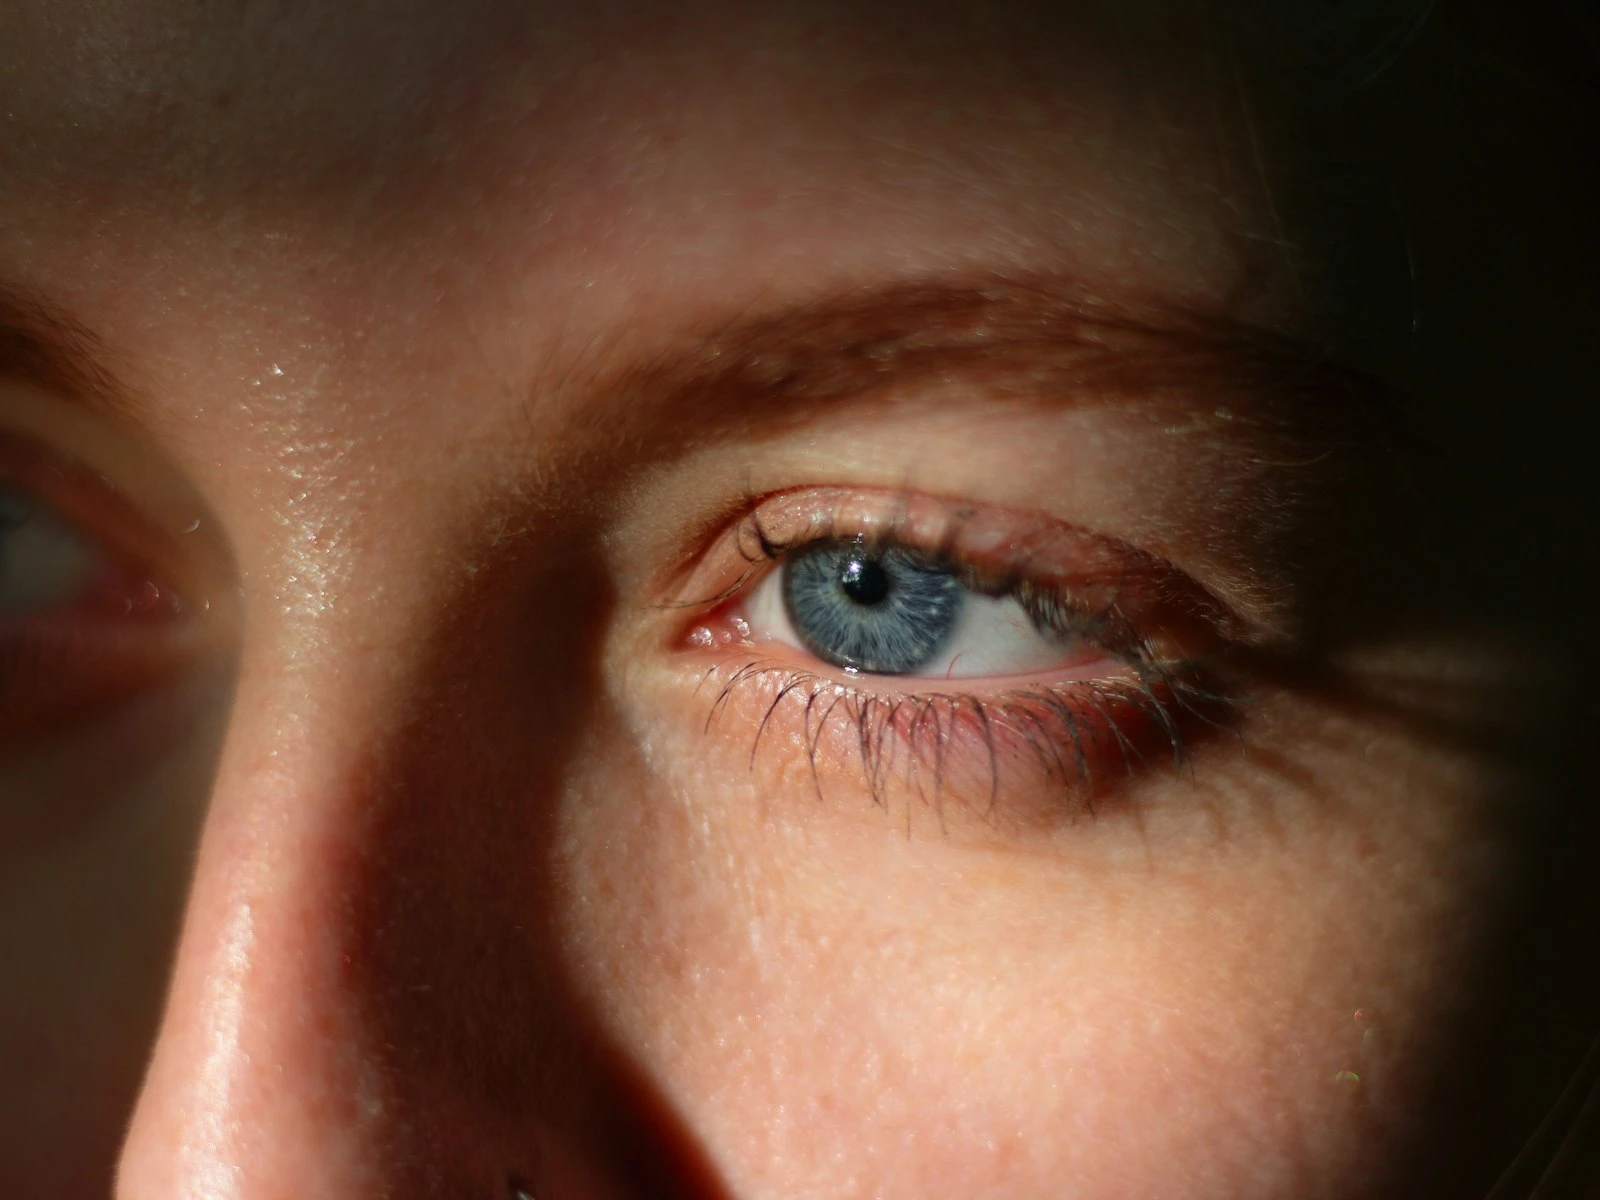
The golden hour, roughly the hour after sunrise and before sunset, provides direct sun that's soft enough for portraits. The low angle also creates flattering side light rather than unflattering overhead light.
Overcast days turn the entire sky into a massive diffuser. Light comes from everywhere but remains soft. Some photographers find it flat while others find it ideal.
What to avoid:
Direct midday sun creates hard shadows, squinting, and emphasizes every skin texture. It's portrait photography's most common enemy.
Dappled light (sun filtering through leaves) creates patchy, distracting patterns on faces. It looks charming in person but photographs terribly.
Mixed conditions where subjects are half in sun and half in shade create impossible exposure challenges and unflattering results.
Finding Open Shade
Open shade is the outdoor portrait photographer's most reliable friend. It's everywhere on sunny days, and it's consistently flattering.
What qualifies as open shade
- The shaded side of a building
- Under an awning, porch, or overhang
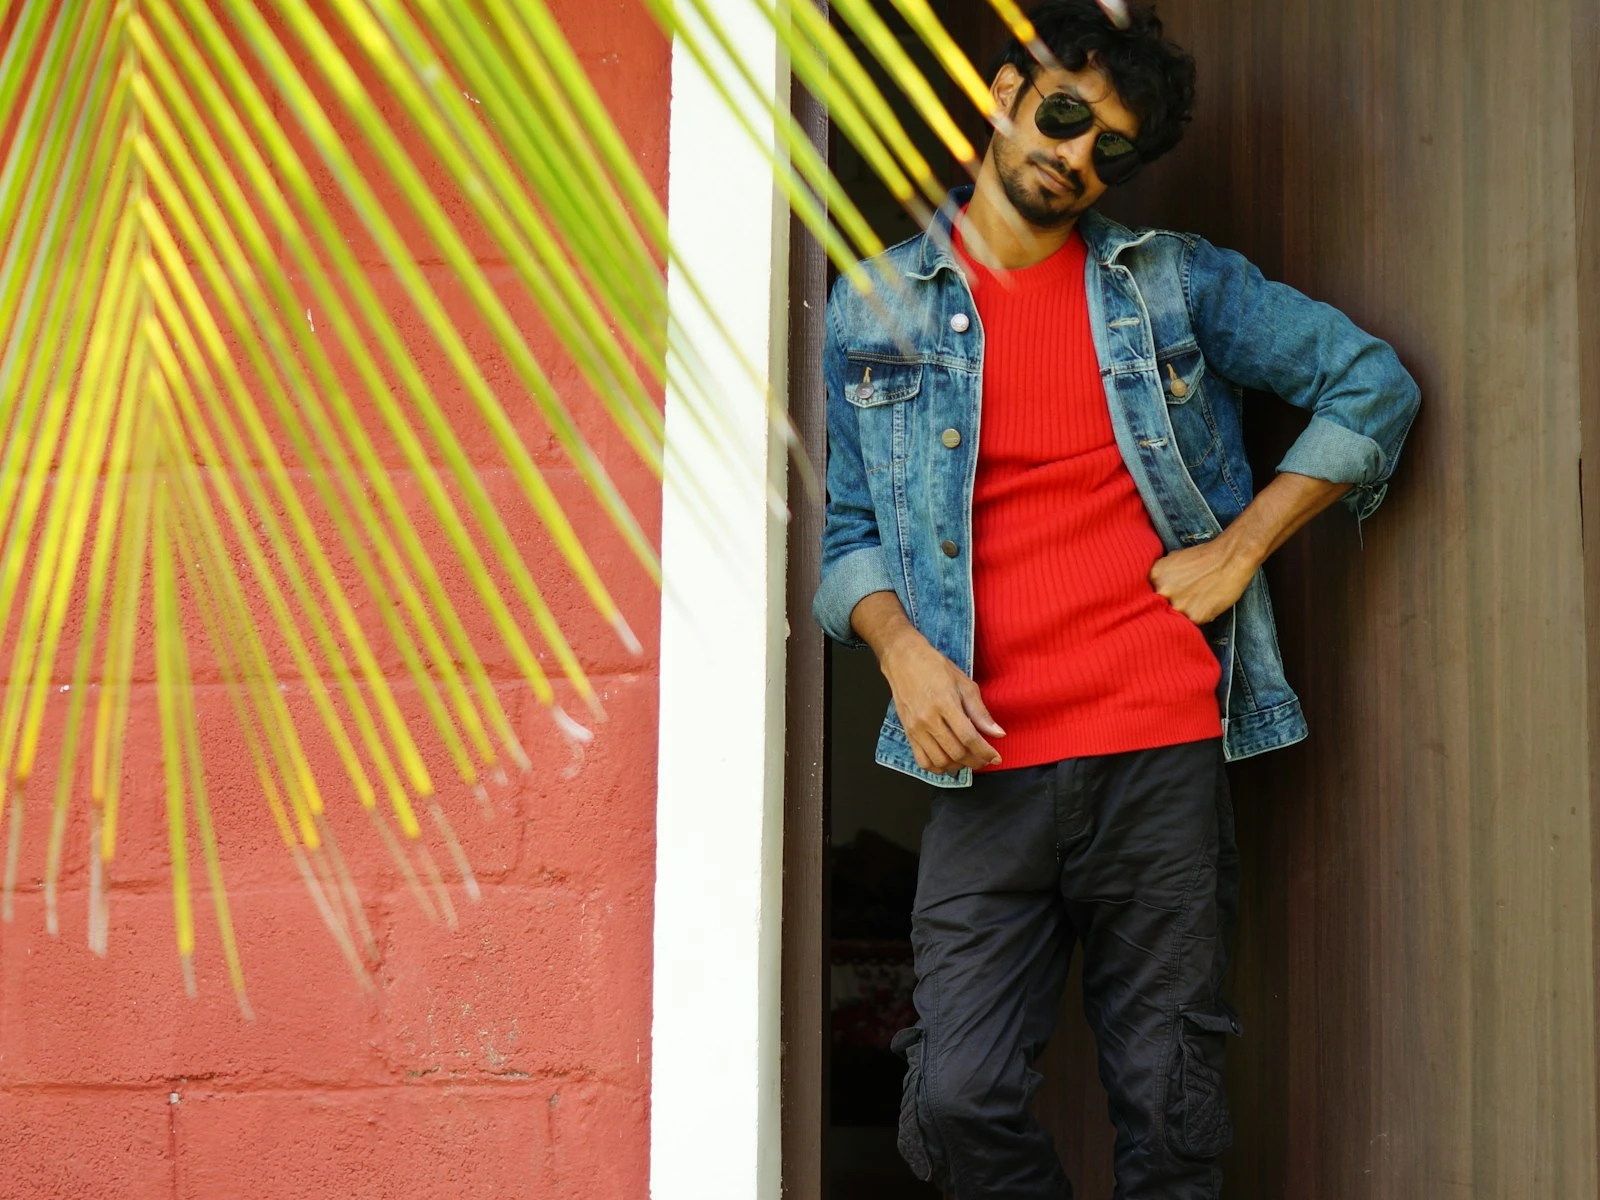
- Just inside a doorway
- Under a tree canopy where light doesn't filter through
- Any spot where overhead sun is blocked but open sky is visible
How to position in open shade
- Subject faces toward the open sky (the light source)
- Background is deeper shade behind them
- You position yourself with the light to your back
The catch is that not all shade is equal. Shade under a red umbrella gives red light, and shade near colored walls picks up that color. Look for neutral shade under structures or greenery that won't cast color onto skin.
Golden Hour Strategy
Golden hour light is famously beautiful but requires strategy to use well.
Timing matters. The exact quality varies by location, season, and weather, but in general, light becomes portrait-friendly when the sun is roughly 15-20 degrees above the horizon, about an hour before sunset or after sunrise. You can plan ahead with the sun position planner to know exactly when conditions will be right at your location.
Position relative to sun
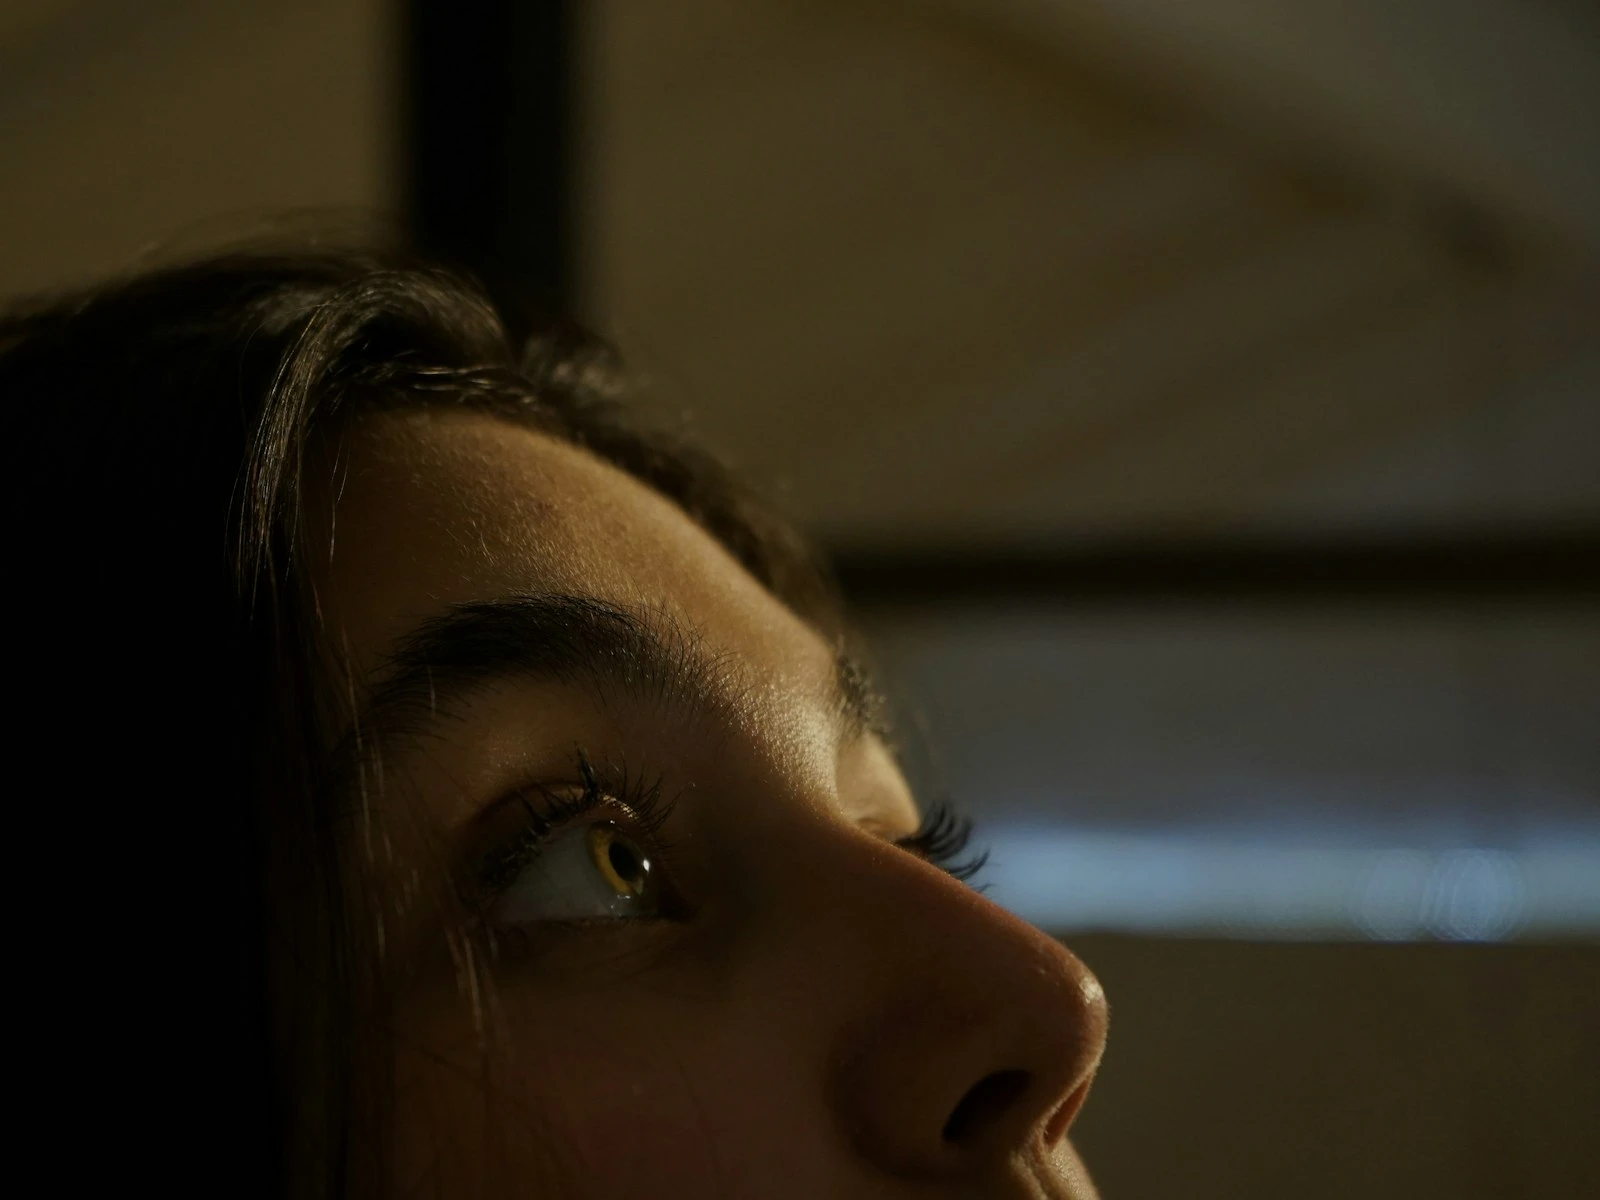
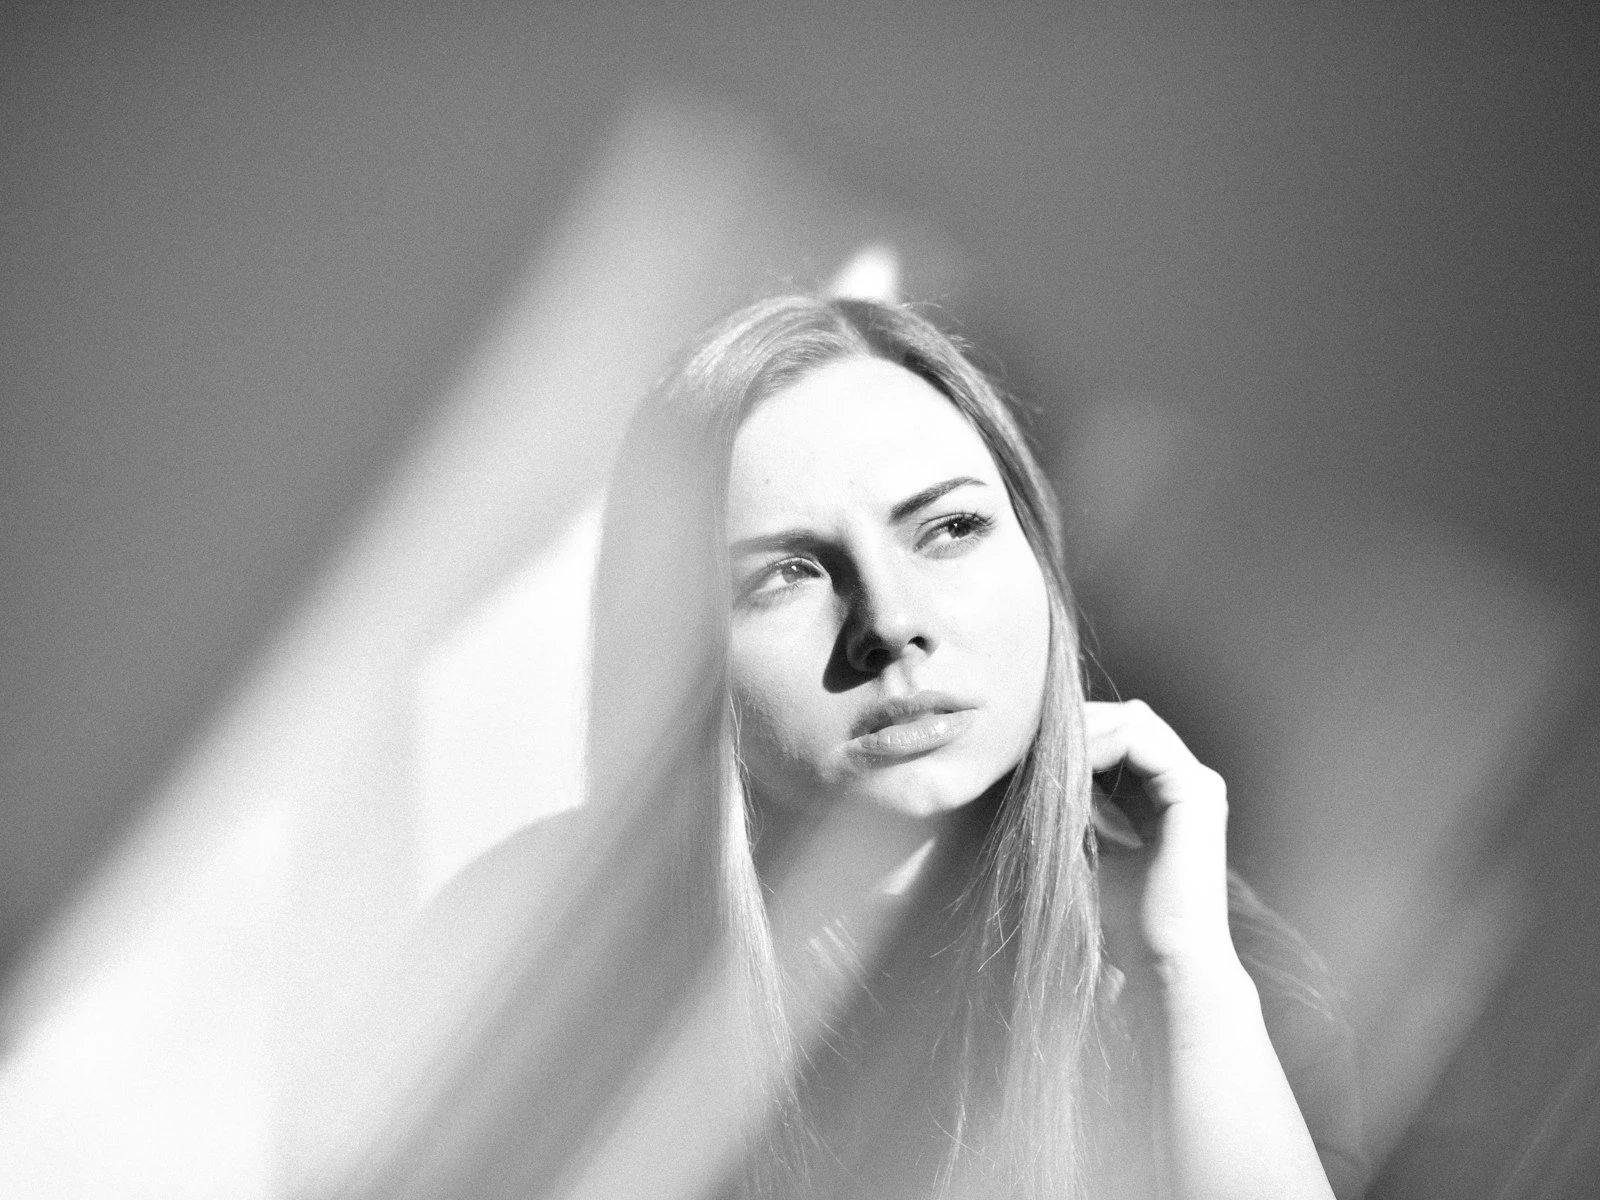
Backlight (sun behind subject): Creates beautiful rim lighting, glowing hair, and dreamy atmosphere. Exposes for the face, not the bright background. Be prepared for lens flare and washed-out backgrounds.
Side light (sun at 90 degrees): Creates dimension with light on one side, shadow on the other. The most classic portrait lighting angle. Can be too contrasty if not softened by fill.
Front light (sun behind you): The sun illuminates faces directly. Warm, even, and relatively easy to expose. Can cause squinting if the sun is too bright.
The working window is short. Golden hour conditions change rapidly, so scout your location beforehand to avoid wasting precious light time figuring out where to shoot.
Midday Problem-Solving
Midday sun is challenging, but you can still get good portraits.
Find shade. This is always the first choice. If shade exists within reasonable distance, use it.
Create shade. A reflector held overhead can shade a face, as can a building wall, a car, or a large umbrella. Anything that blocks direct sun from hitting the face works.
Use backlight. Turn your subject away from the sun. Their face is in shade, lit by reflected light from surroundings, and the sun becomes rim light on hair and shoulders.
Embrace it. Some portraits work with harsh light that's dramatic, contrasty, and graphic. If you can't beat the conditions, consider whether they serve a particular vision.
Wait or return. Sometimes the best midday solution is accepting that this isn't the moment and scheduling for better light.
Location Scouting
Great outdoor locations combine good light availability with interesting backgrounds and practical shooting conditions.
What to look for
Light options. Does the location have shade? When does direct sun hit it? What direction does it face? A location with western exposure has good late-afternoon light; eastern exposure is better for morning.
Background variety. Can you get different backgrounds by changing your position? A location with multiple background options lets you vary shots without moving far.
Depth available. Can you separate subject from background? Distance between subject and background enables background blur. Locations where everything is at one depth limit your options.
Practical factors. Is it accessible? Private or public? Busy with people? How's the sound if you're directing? Can you get there at golden hour?
Scout beforehand if possible. Visit at the same time of day you'll shoot. See where the light falls. Identify your best spots so you can move efficiently during the session.
Working With Wind
Wind is the invisible enemy of outdoor portraits. It disrupts hair, clothing, and expressions.
Hair management:
- Position subject so wind blows hair back or to the side, not across the face
- Have them bring hair ties, clips, or bobby pins
- Accept some movement because fighting wind completely is futile
- Shoot between gusts (they come in pulses)
Clothing considerations:
- Fitted clothing holds position better than flowing fabric
- Heavy fabrics move less than light ones
- Plan wardrobe with wind in mind
Expression impact:
- Strong wind makes faces tense and eyes squint
- Find wind blocks (walls, structures) or position subjects facing away from gusts
- Keep sessions short in difficult wind
Weather Variability
Outdoor conditions change as cloud cover shifts, sun moves, and weather systems pass through.
Embrace variability. Changing light means changing moods. An overcast start that breaks to sun gives you two different looks.
Be ready to adapt. If clouds suddenly cover the sun, your lighting setup changes. Move to a new position, or take advantage of the softer light.
Watch for transitions. The moments when sun breaks through clouds, or when clouds first obscure sun, often create dramatic light worth capturing.
Have contingencies. Know where to move if it starts raining, gets too dark, or conditions become impossible.
Background Selection Outdoors
Natural environments offer endless backgrounds, but not all work.
Simple works best. A stand of trees at distance, a plain wall, open field, or uniform foliage all give clean results. Complexity in backgrounds competes with subjects.
Watch for distractions. Trash cans, signs, other people, and cars often appear in natural environments as human-made elements that distract.
Use depth. Get subjects away from backgrounds, since outdoor spaces allow for significant subject-background separation, enabling beautiful background blur.
Consider color. Green foliage is neutral, while autumn colors can complement or clash depending on the subject's clothing. Blue sky adds brightness and color.
Check the whole frame. Trees "growing" from heads, bright spots, and horizon lines through necks are all common issues. Scan the entire frame for background problems before shooting.
Common Outdoor Scenarios
Park or garden: Look for open shade under trees. Watch for dappled light. Greenery provides neutral backgrounds. Can be crowded, so arrive early or scout for quiet corners.
Urban environment: Buildings provide shade and backgrounds. Walls, doorways, alleys offer varied settings. Reflections from windows can provide fill light. Watch for traffic and pedestrians.
Beach or open area: Little shade available, so golden hour or overcast days are best. Bright sand reflects light up (natural fill). Wind is often a factor. Horizon placement matters.
Forest or woods: Dappled light is the main challenge, so look for complete shade or find clearings. Backgrounds can be too busy, and these locations work best on overcast days when canopy filtering isn't an issue.
Mountains or overlooks: Backgrounds are often at infinity, easily blurred. Light can be spectacular. Wind and weather are factors. Bright sky may require careful exposure.
Quick Outdoor Portrait Checklist
Before shooting, run through these checks.
-
Light assessment: Where is it coming from? Hard or soft? Can I use it, or do I need to reposition?
-
Subject position: Are they facing toward the light? Is overhead sun blocked? Any unflattering shadows on the face?
-
Background check: Simple enough? Any distractions? Any mergers?
-
Practical factors: Wind direction? Anyone walking into frame? Time until light changes?
-
Technical settings: Aperture for desired blur? Shutter speed fast enough for conditions? Exposure correct for faces?
This mental checklist becomes automatic, and in time you'll assess all of it in seconds.
Building Outdoor Skills
Practice in varied conditions. Don't wait for perfect weather. Shooting in midday sun teaches you to find shade. Shooting on overcast days teaches you to create contrast. Each condition builds your toolkit.
Return to locations. Visit the same spot at different times of day and seasons. See how light transforms it. Build knowledge of how locations behave.
Study light constantly. Even without a camera, notice how outdoor light falls on faces, creates shadows, changes mood. This observation builds instinct for when you have the camera.
Outdoor portrait photography is about responsiveness in reading conditions, adapting quickly, and finding the good light that exists in any situation. The photographers who excel outdoors have learned to find flattering light wherever they are, regardless of conditions.
Key Takeaways
- Find soft, directional light first (open shade, overcast sky, golden hour), then choose your background and position your subject within that light.
- Open shade under awnings, trees, or building overhangs provides consistently flattering portrait light in any weather condition.
- Position your subject so the light comes from the side or slightly in front for dimension on the face, avoiding flat frontal light or harsh top-down sun.
- Scout locations for both good light and clean backgrounds, since outdoor portraits need both to work well.
More in This Guide
Continue exploring portrait techniques.


Related Guides


