Your photo is blurry. You know that much. But here's the question that will determine whether you can fix it: Why is it blurry?
This is a diagnostic question, because camera shake and motion blur look similar at first glance, but they have completely different causes and completely different solutions. Applying the fix for one when you're dealing with the other won't help. It might even make things worse.
Once you learn to tell them apart, identifying the problem takes about two seconds, and once you know the problem, the fix becomes obvious. This diagnostic skill is one of the most valuable things covered in our sharp photos guide.
Let's develop that diagnostic eye.
Why This Distinction Actually Matters
A scenario I see constantly is when a photographer notices blur in their images and decides they need a faster shutter speed. They bump it from 1/60 to 1/250. The blur persists. So they go faster, 1/500, 1/1000. Still blurry, and now they're frustrated, their ISO is through the roof, and the problem hasn't improved.
What went wrong? They diagnosed motion blur when they had a focus problem, or they assumed camera shake when the issue was actually their subject moving.
Camera shake means you moved during the exposure. The camera shifted in your hands while the shutter was open, dragging the entire image in whatever direction your hands drifted.
Motion blur means your subject moved during the exposure. The camera was stable, but something in the frame wasn't stationary long enough to be recorded sharply.
Both result in blur. But the evidence they leave behind is different, and more importantly, the solutions are different. Fix camera shake with stabilization and bracing techniques. Fix motion blur with faster shutter speeds (or by embracing it as a creative effect).
Misdiagnose the problem, and you'll chase the wrong solution.
How to Identify Camera Shake
Camera shake has a distinctive signature once you know what to look for. Everything in the frame is equally blurry, and the blur goes in the same direction.
The Telltale Signs
Uniform blur across the entire image. Your subject is soft. The background is soft. That sharp rock in the foreground? Also soft. Nothing escaped the blur, because the entire camera moved during the exposure.
Directional streaking. If you look closely at high-contrast edges (like text on a sign or the outline of a building), you'll often see slight doubling or smearing in a consistent direction. This is your camera's path recorded in the image, usually a slight diagonal drift or horizontal shake.
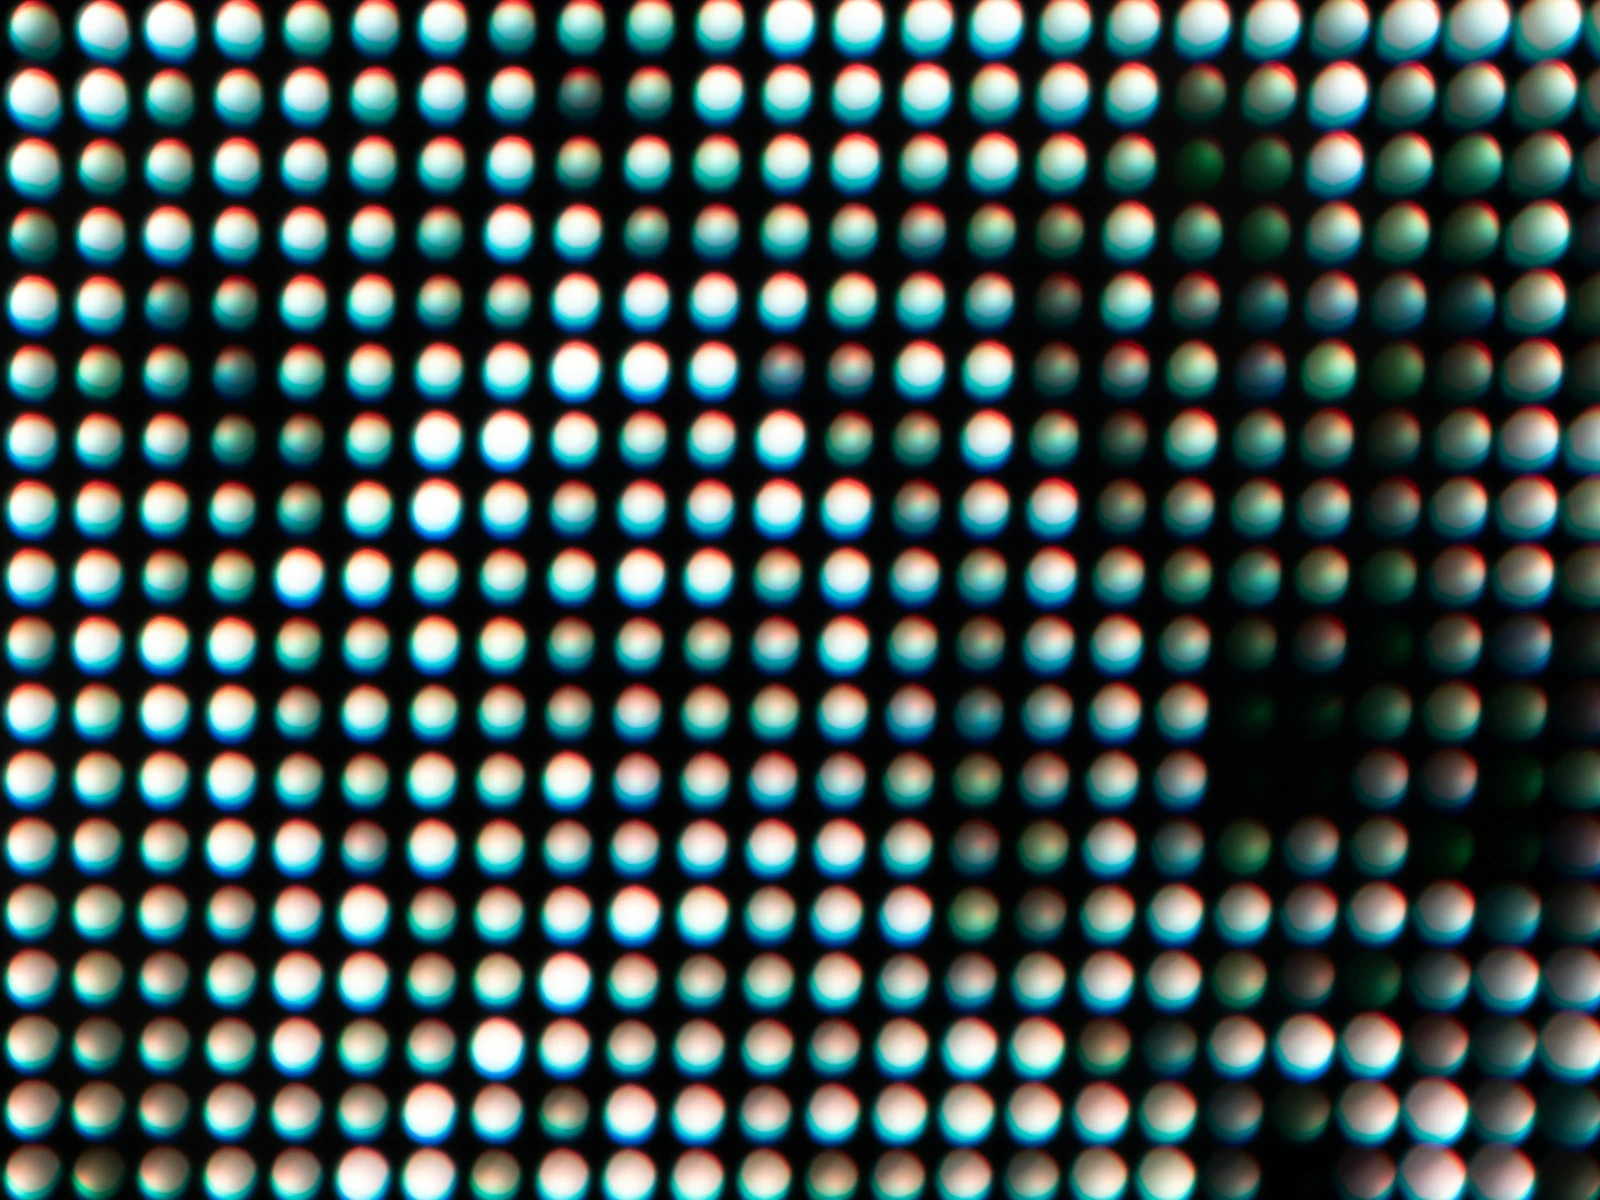
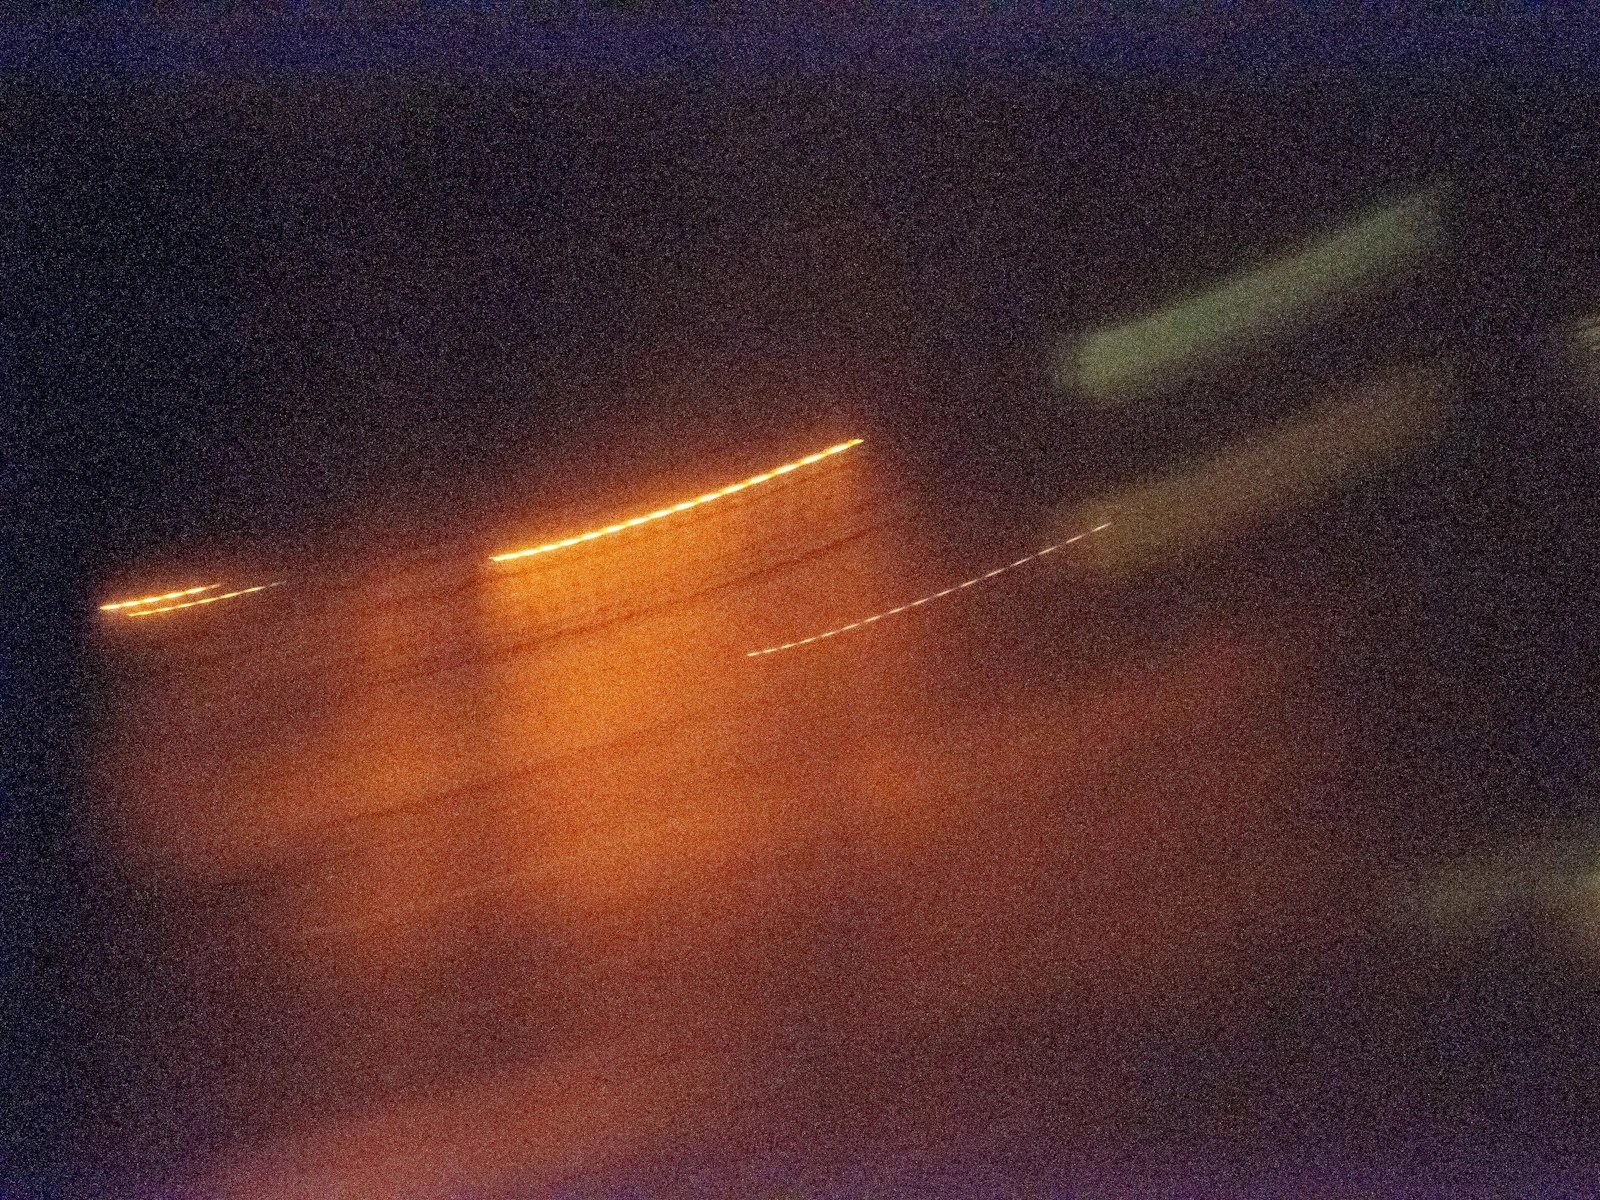
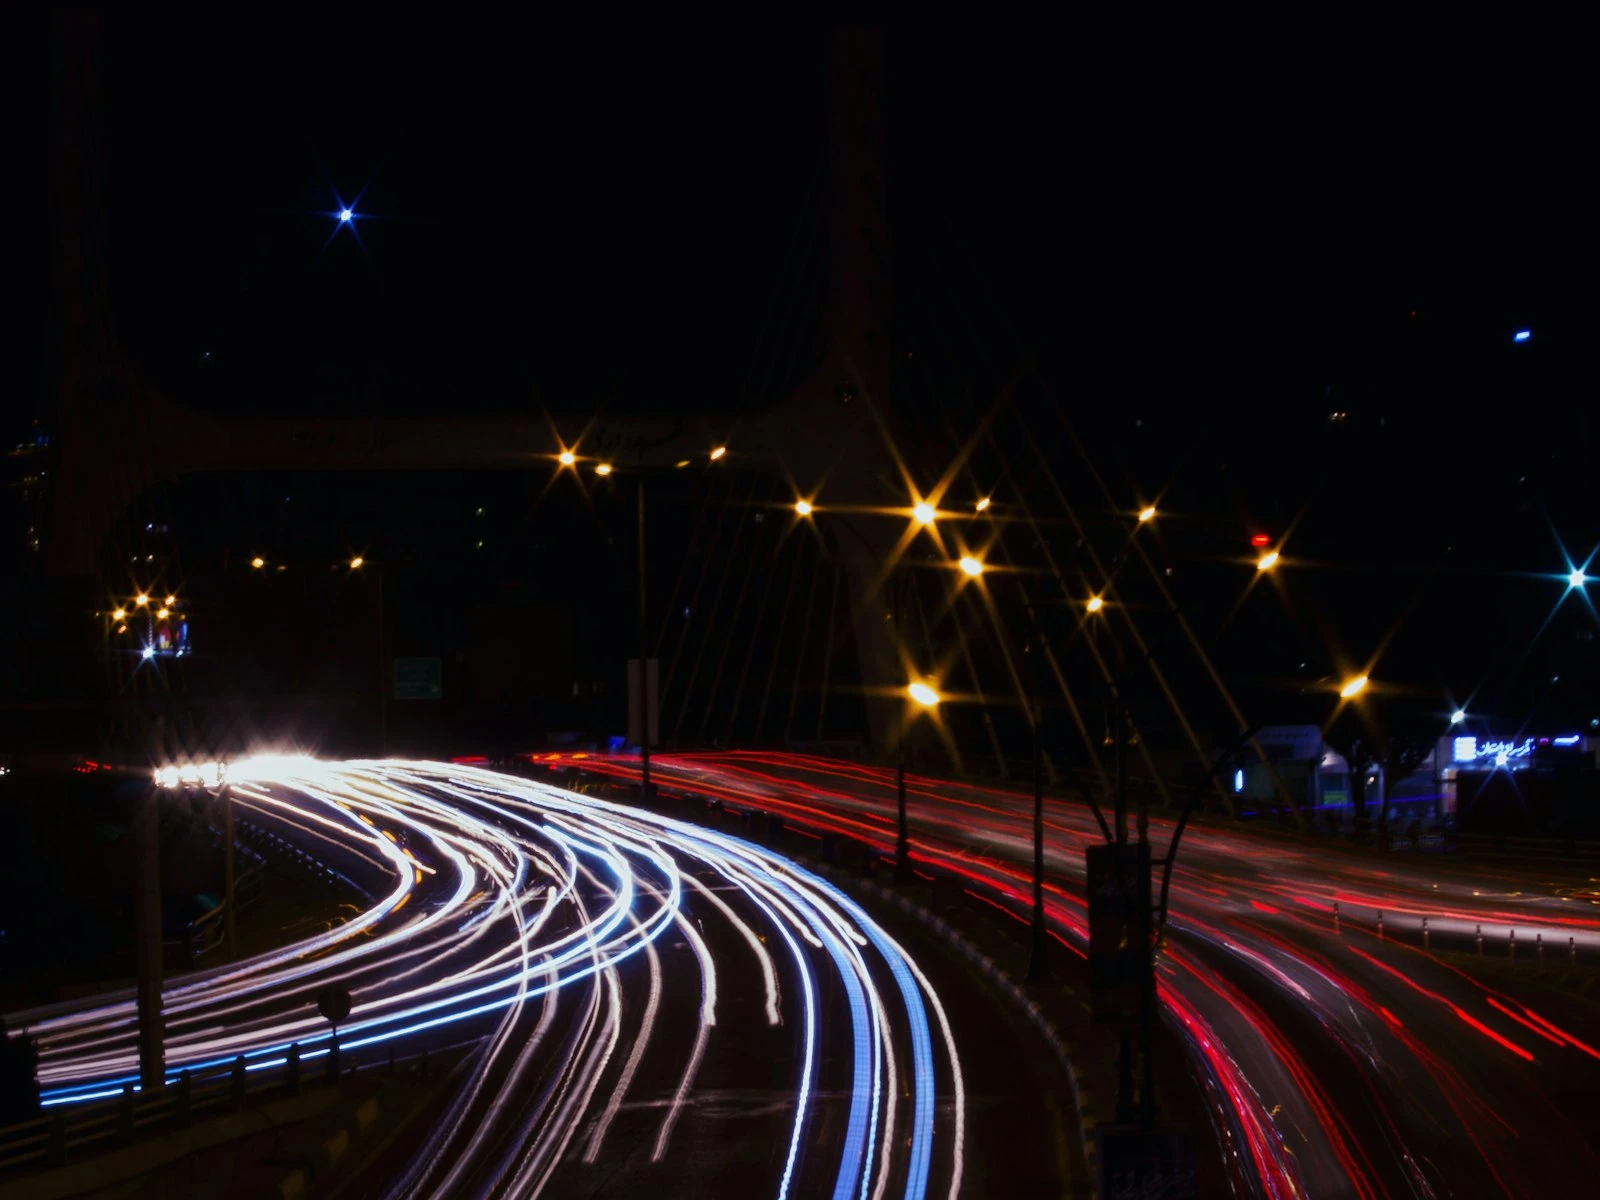
Point lights become short lines. Street lights or other bright points in your frame stretch into tiny streaks rather than appearing as crisp dots. The direction of those streaks tells you which way your camera moved.
No part of the image is truly sharp. This is the clincher. With motion blur, something in the frame is usually sharp, whether that's the background, stationary objects, or the ground your subject was standing on. With camera shake, you won't find a single crisp element anywhere.
What Camera Shake Looks Like
Imagine photographing a cityscape at dusk. You're holding your camera, shooting at 1/30 second. When you review the image, the buildings look soft. The windows have a subtle smear. The parked cars below have the same blur as the buildings above. Even the horizon, which wasn't moving at all, lacks definition.
That's camera shake. The entire world in your frame shifted because the recording device, your camera, wasn't stationary.
How to Identify Motion Blur
Motion blur tells a different story. The moving subject is blurry, but stationary elements are sharp.
The Telltale Signs
Sharp background, blurry subject. This is the clearest indicator. The tree behind your dog is tack sharp. The fence is crisp. But your dog, who was running, is a smeared mess. The camera was stable; Fido wasn't.
Blur follows the subject's direction of movement. If your child was running left to right, the blur on their body will streak horizontally in that direction. A jumping person creates vertical blur. The smear matches the motion vector.
Stationary parts of the subject may be sharp. Sometimes you'll see a partially sharp image. The person's torso is okay, but their swinging arms are blurred. Or the car's body is recognizable, but the wheels are circular smears. Motion blur affects the moving parts.
Point lights stay as points (if they weren't moving). Unlike camera shake, stationary light sources in your scene will appear as crisp dots, not streaks. Only the moving lights (headlights of a passing car, for instance) will trail.
What Motion Blur Looks Like
You're photographing a street performer. Your camera is braced against a pole, rock solid. You fire at 1/60 second. The brick wall behind the performer is sharp. The pavement is detailed. But the performer's hands, which were juggling, are streaked arcs. Their body has some softness because they were swaying.
That's motion blur. Your camera was still. Your subject wasn't.
When You Have Both (And What to Do)
Sometimes, particularly in challenging light, you're dealing with both problems simultaneously. Your shutter speed was slow enough that your hands caused camera shake AND your subject's motion created additional blur.
How to tell: The background is soft from camera shake, but the subject is even softer because of motion blur layered on top of the shake. You'll see the directional smearing of camera shake on stationary objects, plus additional blur on anything that was moving.
The fix order matters. You should always address camera shake first. Stabilize your camera (tripod, monopod, bracing technique), then assess whether your shutter speed is fast enough for your subject. You can't properly diagnose motion blur until you've eliminated camera shake as a variable.
If you try to outrun both problems purely with shutter speed, you'll end up at ISO values that introduce enough noise to create a different kind of image quality problem.
Fixing Camera Shake
Camera shake is fundamentally about your camera moving when it shouldn't, and the solutions all address that core issue.
Faster Shutter Speed (The Obvious Fix)
Yes, a faster shutter speed reduces the visible effect of camera shake. If your hands only drift a tiny amount in 1/500 second versus 1/60 second, the blur will be proportionally smaller, potentially invisible.
The classic guideline is that your minimum handheld shutter speed should be 1/focal length. At 50mm, no slower than 1/50 second. At 200mm, no slower than 1/200 second. Not sure what's safe for your setup? Try the shutter speed limits to find your minimum based on focal length and stabilization.
But this rule has limits. Faster shutters require more light, which means wider apertures (shallower depth of field) or higher ISO (more noise). It's a solution with costs.
Shutter speed for handheld shooting covers how to find your personal safe threshold.
Image Stabilization (Let Technology Help)
Modern cameras and lenses often include stabilization systems, either in-body (sensor-shift) or in-lens (optical). These can give you 2-5 extra stops of handheld shooting capability. That 1/50 minimum at 50mm might become 1/15 or slower with good stabilization.
Know your system. Some stabilization works better for certain types of movement. Some has modes for panning. Some lenses have stabilization even if your body doesn't (or vice versa). Understand what you're working with.
Don't over-rely on it. Stabilization helps with camera shake, but it does nothing for motion blur. A stabilized 1/30 second shot will have a sharp background but still show blur from a moving subject.
Bracing Technique (Free and Always Available)
Before you buy new gear or crank up your ISO, try better technique:
- Tuck your elbows against your body. Arms extended away from your torso act as unstable levers.
- Press the viewfinder against your face. This creates a third point of contact, stabilizing the camera.
- Control your breathing. Shoot at the natural pause between breaths, when your body is most still.
- Lean against something. A wall, a tree, a doorframe. Any solid object can dampen your micro-movements.
- Brace the lens. If you're shooting with a longer lens, support it from below with your left hand rather than gripping the camera body with both hands.
These techniques are free, require no gear, and can give you 1-2 stops of improvement.
Use a Support (When Sharpness Is Critical)
When camera shake simply can't be tolerated, such as during long exposures, critical sharpness needs, or telephoto work, use proper support.
A tripod is the gold standard. A monopod is more portable and faster to deploy. Even setting your camera on a stable surface (a table, a rock, a bean bag) beats handheld.
Fixing Motion Blur
Motion blur is about your subject moving too much during the exposure time, and the solutions address that movement directly.
Faster Shutter Speed (The Direct Fix)
This is straightforward. Reduce the exposure time, and you reduce how far your subject travels during that time, which reduces the blur.
Rough guidelines by subject:
- People standing still: 1/125 second is usually safe
- People walking: 1/250 second
- Kids running, pets playing: 1/500 second minimum
- Sports, fast action: 1/1000 second or faster
- Birds in flight, motorsports: 1/2000 second or faster
These aren't rules but rather starting points. A speed walker moves differently than a casual stroller. Adjust based on your results.
The Tradeoff Conversation
Faster shutter speeds require more light. In bright conditions, no problem. In lower light, you'll pay for speed with:
- Wider aperture (which reduces depth of field)
- Higher ISO (which increases noise)
- Or both
Sometimes that tradeoff is worth it. A noisy but sharp photo beats a clean but blurry one. But understand you're making a choice, not a free upgrade.
In low light, this becomes the core dilemma: grainy or blurry, and why you sometimes have to choose.
Embrace the Blur (When It Serves the Image)
Motion blur isn't always a problem, though. Sometimes it's exactly what makes an image compelling.
Panning with a moving subject creates a sharp subject against a streaked background, conveying speed and energy in ways that frozen action can't.
Long exposure crowds turn busy places into ghostly flows of humanity, emphasizing the bustle while keeping architecture sharp.
Water blur transforms harsh cascades into silky ribbons, suggesting time and flow.
What matters is whether the blur serves your creative intent. If the answer is yes, the "fix" is to lean into it further, not eliminate it.
When Blur Is Intentional
Let's flip the entire conversation. Everything above assumes you want sharpness. But some of the most compelling photographs deliberately include blur.
Camera Movement as a Tool
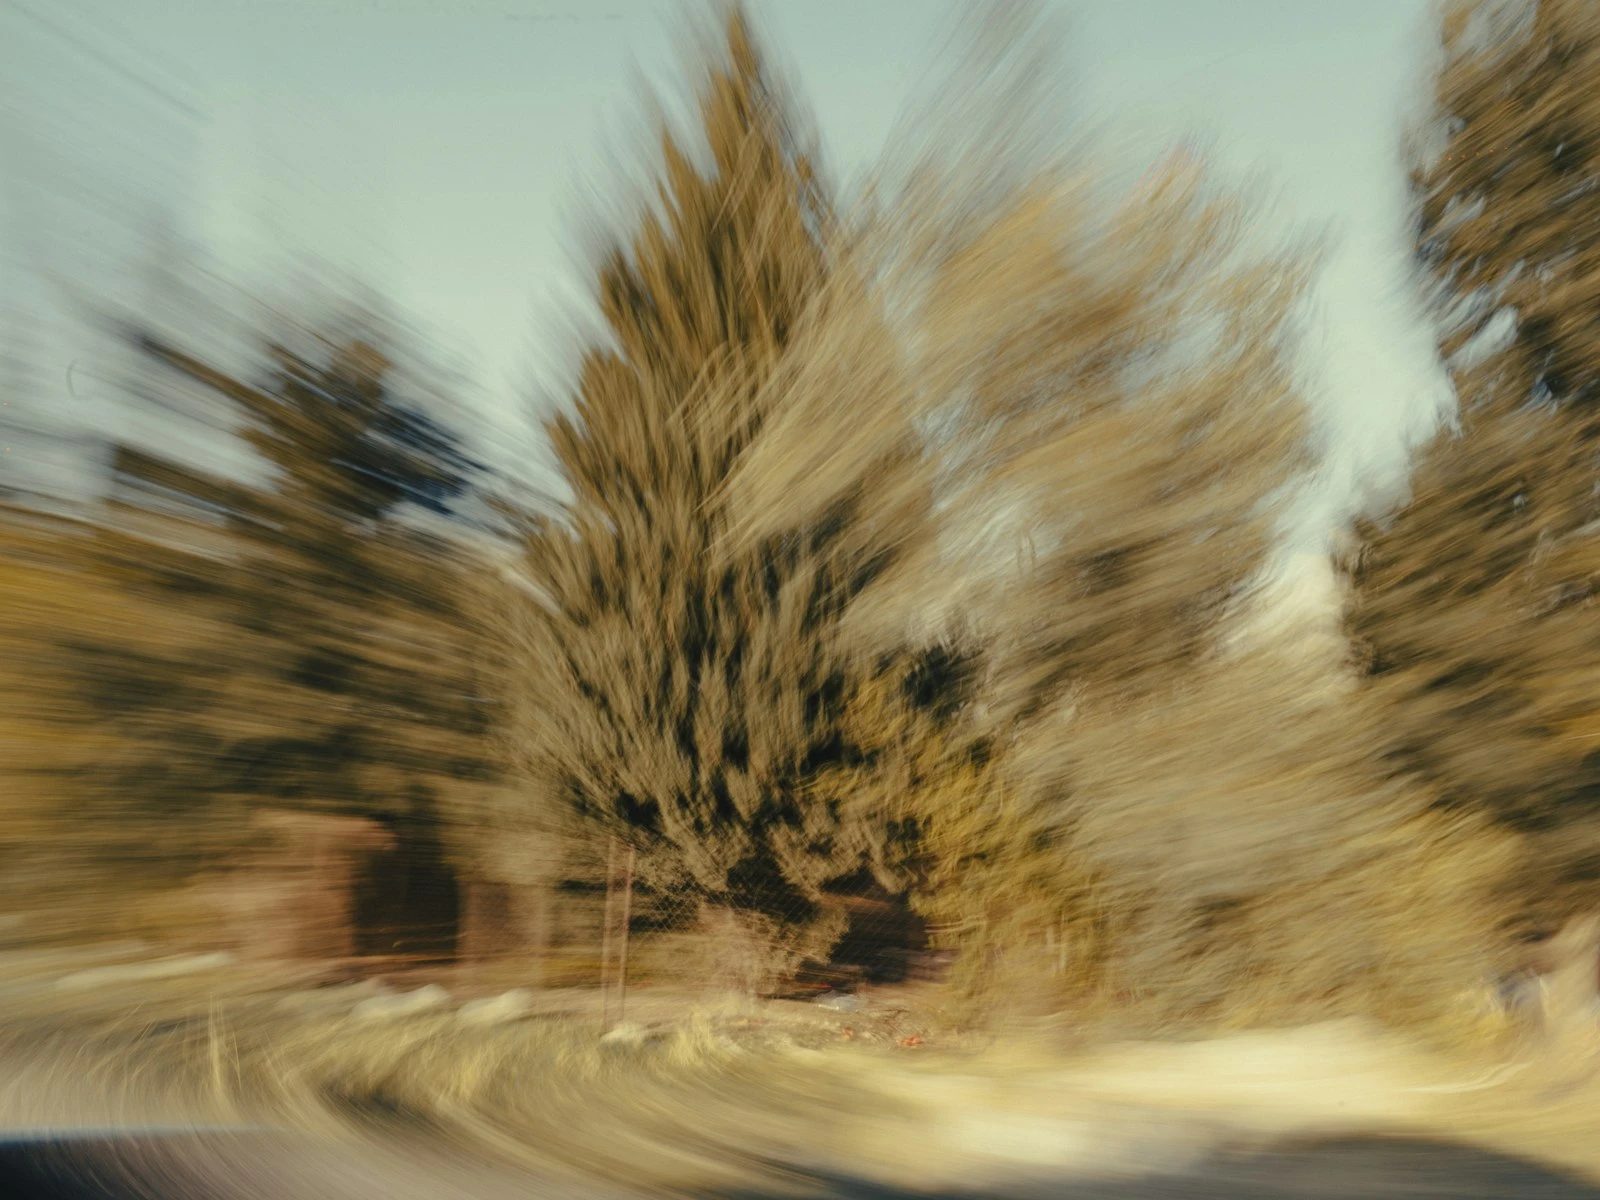
Intentional camera movement (ICM) involves moving your camera during a long exposure to create abstract, painterly images. Vertical movements through trees create forest impressions. Horizontal pans across water create dreamlike seascapes.
This is camera shake, employed deliberately. It requires intention, practice, and an acceptance that most attempts will fail.
Subject Movement as a Story
A sharp photo of a dancer mid-leap tells one story. A blurred image of that same dancer, motion traced across the frame, tells another, perhaps more evocative of the actual experience of watching the performance.
Motion blur can convey:
- Speed and energy that frozen moments can't
- The passage of time in a single frame
- Atmosphere and mood through abstraction
- The feeling of a place rather than its literal appearance
The Diagnostic Question
When you see blur in your image, ask two questions.
- What caused it? (Camera shake or motion blur, diagnose correctly)
- Does it help or hurt the image? (Creative intent matters)
If the blur hurts the image, fix it using the techniques above. If the blur helps the image, or could help a similar image in the future, file that away as a creative option.
Quick Diagnostic Checklist
When you encounter blur, run through this mental checklist.
Is the background sharp?
- Yes → Motion blur (subject moved)
- No → Camera shake (camera moved) or focus error
Does the blur go in a consistent direction across the frame?
- Yes → Camera shake (entire frame shifted together)
- No → Motion blur (movement was local to specific subjects)
Are stationary objects in the frame sharp?
- Yes → Motion blur (only moving things are soft)
- No → Camera shake (or focus missed entirely)
Does increasing shutter speed solve it?
- Solves background blur → It was camera shake
- Solves subject blur but not background → It was motion blur (and you still have shake)
- Doesn't solve anything → Probably a focus problem, not blur at all
If none of these tests give a clear answer, the issue might be something else entirely. There are several other reasons photos come out soft beyond shake and motion.
The Bottom Line
Camera shake and motion blur might look similar at first glance, but they're fundamentally different problems:
Camera shake: You moved. Everything is equally soft. Fix it with stabilization, bracing, support, or faster shutter speeds.
Motion blur: Your subject moved. Background is sharp, subject is soft. Fix it with faster shutter speeds or embrace it creatively.
Knowing which problem you have determines which solution will work. Misdiagnose, and you'll waste time chasing fixes that don't address your actual issue.
Take two seconds to read the evidence your image provides. That small diagnostic effort saves enormous frustration.
Key Takeaways
- Camera shake makes everything uniformly blurry in one direction, while motion blur makes only the moving subject blurry against a sharp background.
- Fix camera shake with a faster shutter speed, better bracing technique, or a tripod; fix motion blur with a faster shutter speed matched to your subject's speed.
- Look at whether static objects (walls, ground, furniture) are sharp; if they are also blurry, you have camera shake, not motion blur.
- Correctly diagnosing which type of blur you have is essential, since applying the wrong fix wastes effort and may make the problem worse.
More in This Guide
Continue building your sharpness and focus skills.