You've heard the rule that your shutter speed should be at least 1 over your focal length. At 50mm, use 1/50 second. At 200mm, use 1/200 second.
Simple enough, except it doesn't always work.
Sometimes you follow the rule exactly and your photos come out soft. Other times you shoot way below the rule and get perfectly sharp images. What's going on?
The reciprocal rule is a starting point, not a guarantee. It's a useful baseline developed decades ago for 35mm film cameras. But modern photography has introduced variables that can push your safe threshold faster or slower than that simple formula suggests.
This guide helps you move beyond the rule to find your actual threshold, the shutter speed where you personally can get consistently sharp handheld shots with your specific gear in your specific situations. It's one of the most practical topics in our sharp photos guide.
The Reciprocal Rule: Why It Exists
The reciprocal rule is based on the physics of how camera shake affects images at different focal lengths.
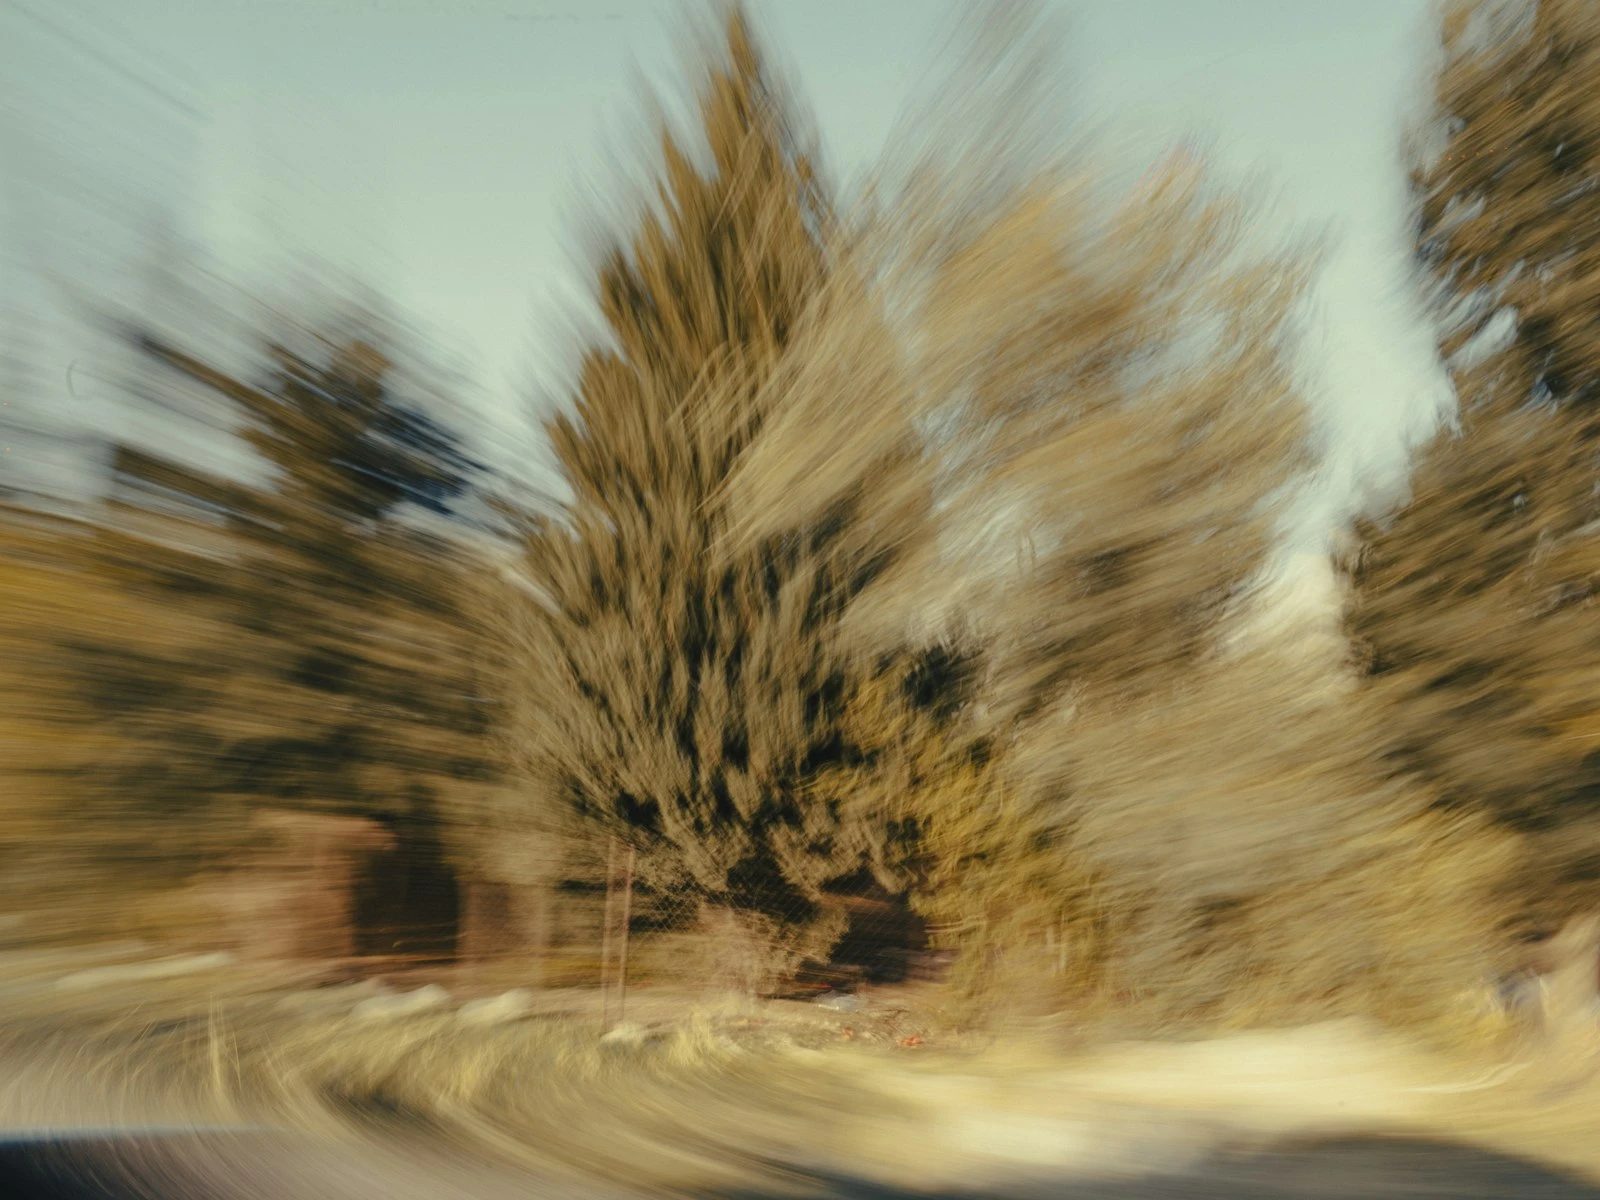
Longer lenses magnify everything, including your hand movements. A tiny wobble that's invisible at 24mm becomes obvious at 200mm because that telephoto lens amplifies the angular movement. The image shifts more across the sensor during the exposure.
The rule gives you a minimum shutter speed that limits how far the image can shift before the blur becomes noticeable. At 1/200 second with a 200mm lens, even if your hands move during the exposure, the movement happens over such a short time that it doesn't register as visible blur.
The basic formula:
Minimum shutter speed = 1 / focal length
- 24mm lens: 1/24 second (round to 1/25 or 1/30)
- 50mm lens: 1/50 second
- 85mm lens: 1/85 second (round to 1/100)
- 200mm lens: 1/200 second
- 400mm lens: 1/400 second
On crop-sensor cameras, use the equivalent focal length. A 50mm lens on an APS-C camera has roughly a 75mm equivalent field of view, so your minimum becomes 1/75 second (round to 1/80).
If you want a quick answer for your specific lens, the handheld shutter speed tool factors in focal length, stabilization, and sensor size to give you a starting point.
This formula has served photographers well for decades. But treating it as an absolute rule ignores several factors that can shift your actual threshold significantly in either direction.
Why the Rule Is Just a Starting Point
The reciprocal rule was developed for a specific context: 35mm film, printed at moderate sizes, viewed at typical distances. Change any of those variables and the rule needs adjustment.
More importantly, the rule assumes an average photographer with average steadiness shooting average subjects in average conditions. You're not average. Your gear isn't average. Your situations aren't average.
The rule doesn't account for several key factors.
- Your personal steadiness varies from the next photographer
- Your camera's resolution affects how visible small movements become
- Image stabilization can give you several extra stops
- How you'll use the image determines how much blur matters
- Subject movement adds constraints the rule ignores entirely
Treating the reciprocal rule as gospel leads to two problems. Sometimes you'll use a faster shutter speed than necessary and sacrifice other settings (higher ISO, wider aperture) when you didn't need to. Other times you'll trust the rule when your specific situation demands more speed, and you'll get soft images.
Let's examine each factor that shifts your personal threshold.
Factors That Change Your Threshold
Image Stabilization
Modern stabilization, whether in-body (IBIS), in-lens (OIS), or both, can extend your handheld range dramatically. Manufacturers claim anywhere from 3 to 8 stops of compensation, though real-world results vary.
What this means practically:
If your unstabilized minimum at 100mm is 1/100 second, good stabilization might let you shoot as slow as 1/12 second (3 stops) or even 1/6 second (4 stops) with high keeper rates.
But stabilization has limits:
- It compensates for camera shake, not subject movement
- Effectiveness decreases at very slow speeds
- Different stabilization systems work better for certain types of movement
- Some systems perform worse when you're walking or shooting from unstable positions
Testing your stabilization:
Take the same static shot at progressively slower shutter speeds: 1/focal length, then half that, then half again. Review at 100% magnification. Where does blur start appearing? That's your stabilized threshold.
Don't trust manufacturer claims. Test your specific body and lens combination in conditions similar to how you actually shoot.
Personal Steadiness
Some people have naturally steady hands. Others have slight tremors they might not even notice in daily life but that show up in photographs.
Your steadiness also varies with:
- Fatigue: Steady at the start of a shoot, shakier after hours of holding a camera
- Caffeine and stimulants: That third coffee might cost you a stop
- Body position: Standing is less stable than kneeling, which is less stable than prone
- Breathing: Exhale and pause, don't hold a lungful of air
- Bracing: Elbows tucked, viewfinder against face, support from walls or rails
Your baseline steadiness is something you need to discover through testing. It might be better or worse than the reciprocal rule assumes.
Sensor Resolution
Higher resolution sensors reveal smaller movements. This is one of the most overlooked factors affecting handheld thresholds.
A 12-megapixel camera from 2010 is more forgiving than a 60-megapixel camera from 2024. The physics are simple. Pack more pixels onto the same sensor area, and each pixel records a smaller portion of the scene. Tiny movements that shifted the image by less than a pixel on the old sensor now shift it by several pixels on the new one.
Rule of thumb adjustment:
For sensors above 30 megapixels, consider using a faster minimum than the reciprocal rule suggests. Some photographers shooting 45+ megapixel cameras routinely double the rule (1/100 instead of 1/50 at 50mm) when they need pixel-level sharpness.
However, if you're downsizing images for web use or making small prints, the extra resolution provides margin for error. A slightly soft 60MP image downsized to 2MP for Instagram may look perfectly sharp.
How You'll Use the Image
This is the factor most photographers forget to consider, because not all uses demand the same sharpness.
Less demanding uses (more forgiveness):
- Social media posts
- Small prints
- Images viewed on phones
- Documentary or journalistic contexts where content matters more than technical perfection
More demanding uses (less forgiveness):
- Large prints
- Cropping significantly
- Commercial work with client review at 100%
- Portfolio pieces you'll scrutinize carefully
A photo that looks sharp at Instagram resolution might reveal camera shake when printed at 20x30 inches. Know your end use before deciding your threshold.
Subject Movement Adds Another Constraint
Everything above addresses camera shake, your movement affecting the image. But handheld photography often involves another variable, because your subject might be moving too.
The reciprocal rule tells you nothing about subject movement. A 1/50 second shutter might be rock solid for your hands at 50mm, but if your subject is a walking person, they'll be blurred.
Subject movement demands its own calculation:
When you have a moving subject, your minimum shutter speed becomes whichever is faster between your handheld threshold and the speed needed to freeze the subject.
| Subject | Approximate Minimum |
|---|---|
| Person standing, small gestures | 1/125 second |
| Person walking | 1/250 second |
| Person jogging | 1/500 second |
| Children running, pets playing | 1/500-1/1000 second |
| Sports action | 1/1000+ second |
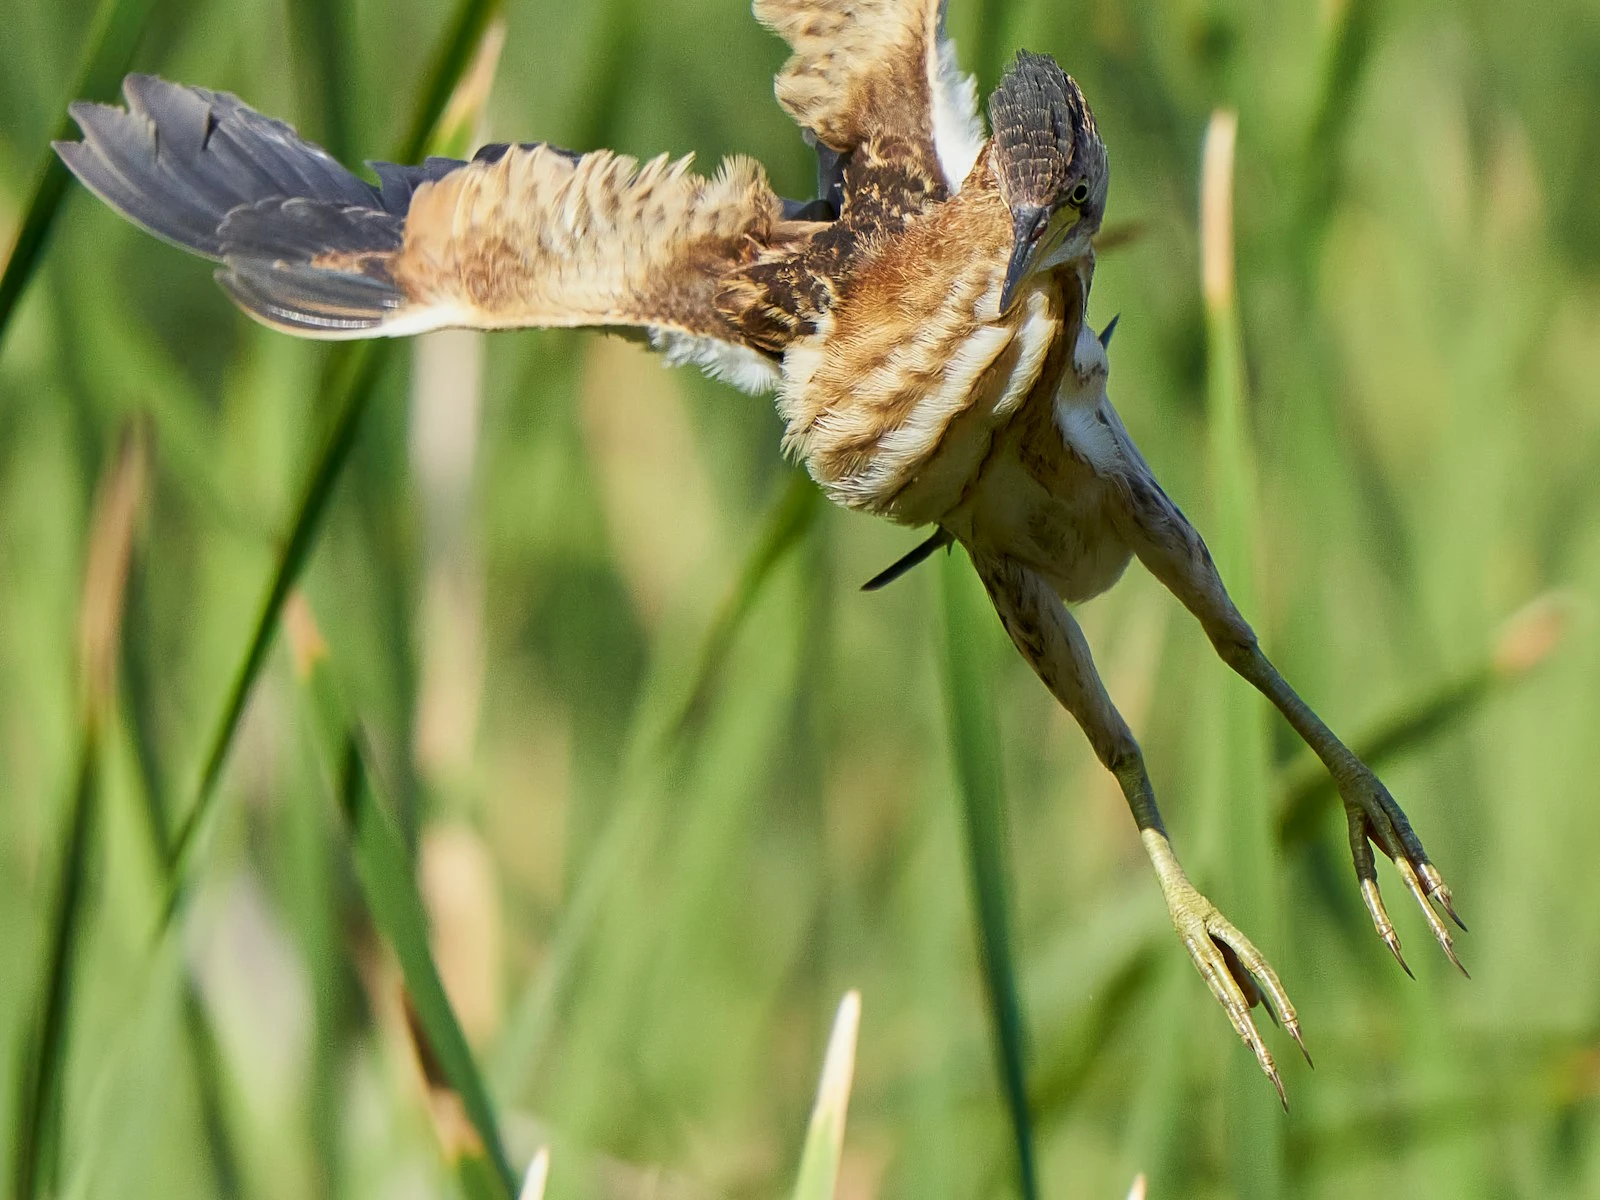
| Fast sports, birds in flight | 1/2000+ second |
If you're shooting a walking person at 50mm, your minimum isn't 1/50 second. It's 1/250 second. The subject movement requirement overrides the camera shake calculation.
Understanding the difference between camera shake and motion blur helps you apply the right fix.
Finding Your Personal Threshold
Theory only takes you so far. The most useful thing you can do is test your own limits with your own gear.
The Simple Test
Pick a static, high-contrast subject. Text on a sign works well. Use a moderate focal length (50mm or your standard lens). Set your camera to aperture priority at a middle aperture like f/5.6.
Take a series of shots at progressively slower shutter speeds:
- 1/250
- 1/125
- 1/60
- 1/30
- 1/15
- 1/8
Take 5-10 shots at each speed, using your normal handheld technique. Don't brace against anything. Shoot as you normally would.
Review the images at 100% magnification. At which shutter speed do you start seeing blur? Not in all shots, but in more than occasional frames?
That's your personal threshold for that focal length. Test other focal lengths and you'll build a mental map of your limits.
Testing with Stabilization
Repeat the test with stabilization on and off. The difference shows you exactly how many stops your stabilization system provides in real-world shooting.
You might discover your stabilization gives you 3 stops of improvement at moderate focal lengths but only 2 stops at telephoto. Or that it works great when you're stationary but provides less benefit when you're walking.
Factors to Test Separately
- Fresh vs. fatigued (beginning vs. end of a shoot)
- Standing vs. braced vs. sitting
- Viewfinder vs. live view (holding camera away from face is less stable)
- With vs. without caffeine (if you're a coffee drinker)
The goal isn't obsessive data collection. It's building intuition about your capabilities so you can make better decisions in the field.
When You Can't Get Fast Enough
Sometimes the light is too dim and you've already maxed out your aperture and pushed ISO as high as you're willing to go. Your shutter speed is still below your threshold. What then?
Improve Your Technique
Before accepting a slow shutter, optimize your stability:
- Tuck elbows against your ribs. Extended arms act as levers that amplify shake.
- Use the viewfinder, not the screen. The camera pressed against your face creates a third point of contact.
- Brace against something. A wall, a tree, a doorframe. Any solid object helps.
- Control your breathing. Shoot at the natural pause after exhaling.
- Squeeze, don't stab. Press the shutter smoothly to avoid jolting the camera.
These techniques can buy you 1-2 extra stops of stability.
Use Available Support
A table, a railing, a bean bag, a folded jacket. Improvised support beats pure handheld at slow speeds. Even pressing the camera against a doorframe while shooting can make the difference.
For critical work at slow speeds, use a tripod. There's no shame in admitting that a 2-second exposure requires proper support.
Accept the Compromise
Sometimes you have to choose between grainy or blurry, underexposed or soft.
In these moments, remember that noise is fixable (to a degree) while blur isn't. An image at ISO 12800 with grain can still convey your subject. A blurry image conveys nothing but disappointment.
Push ISO higher than feels comfortable. Modern noise reduction, both in-camera and in post, handles high ISO better than you might expect. Test your camera's high ISO performance in advance so you know where your personal limit lies.
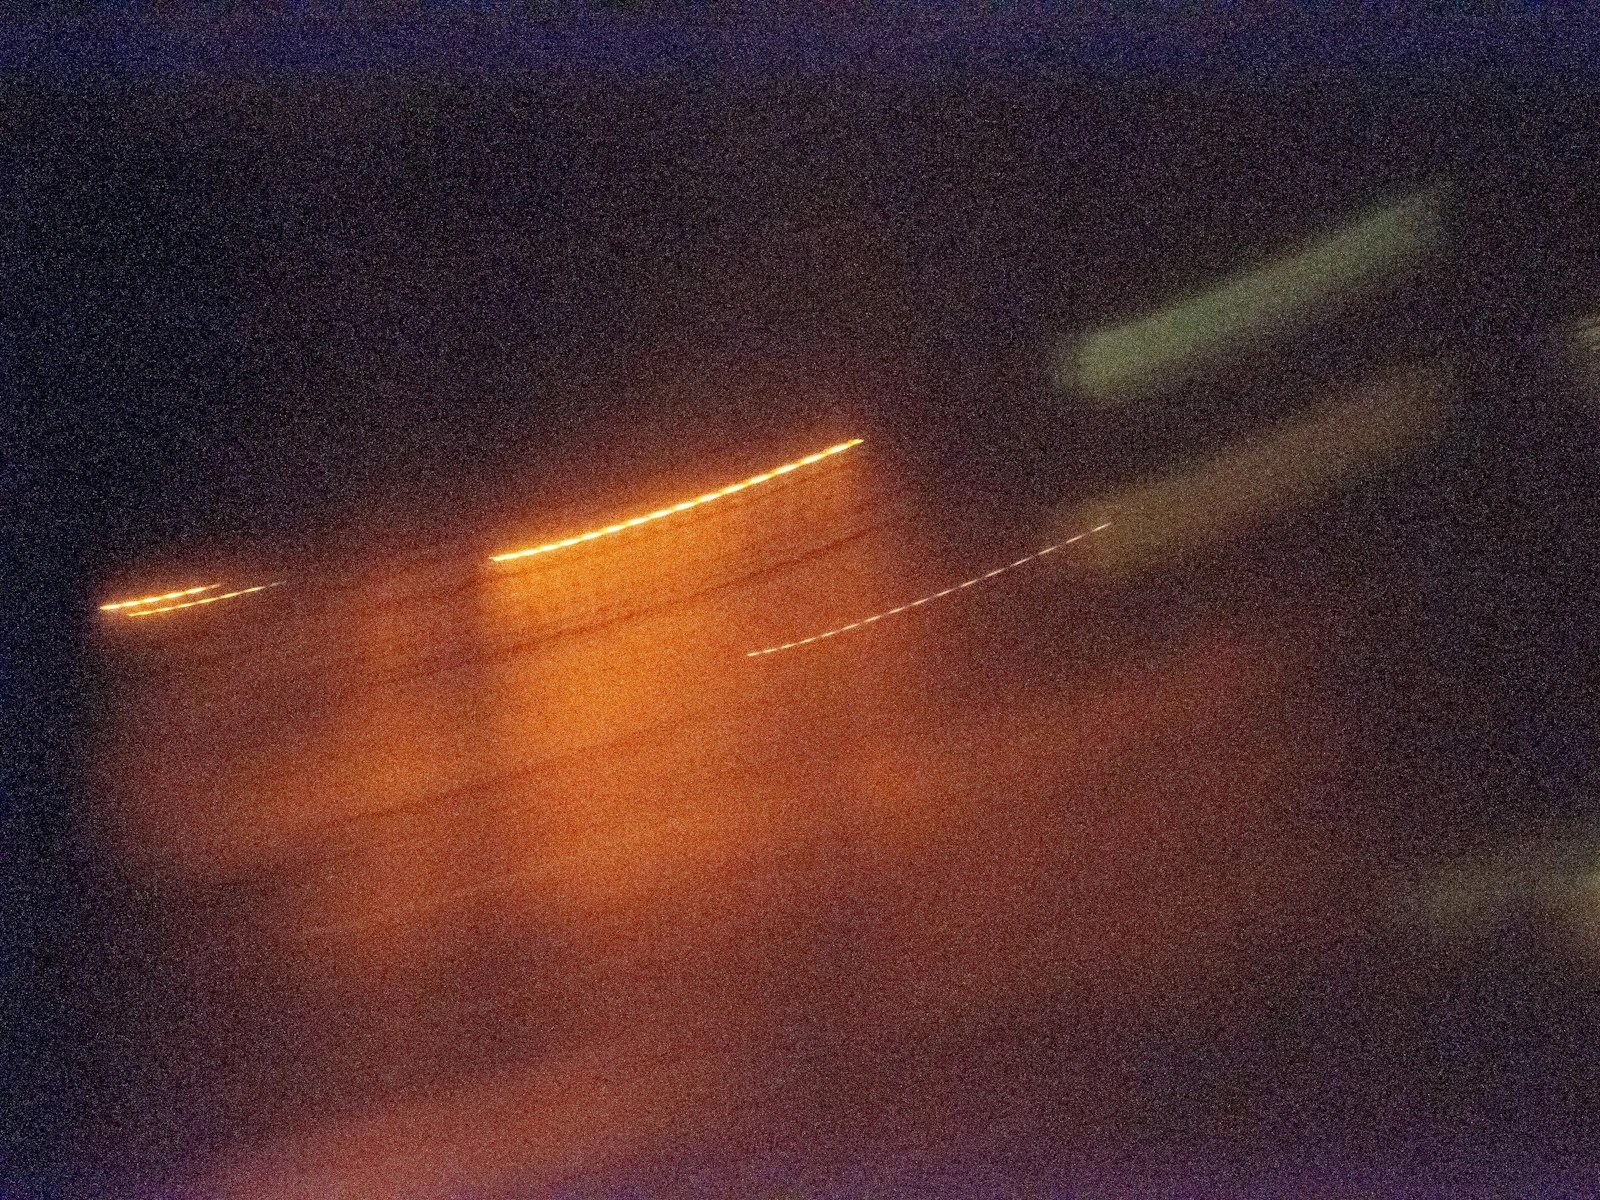
Embrace Motion
If all else fails and some blur is inevitable, consider whether that blur could become a creative choice rather than a technical failure.
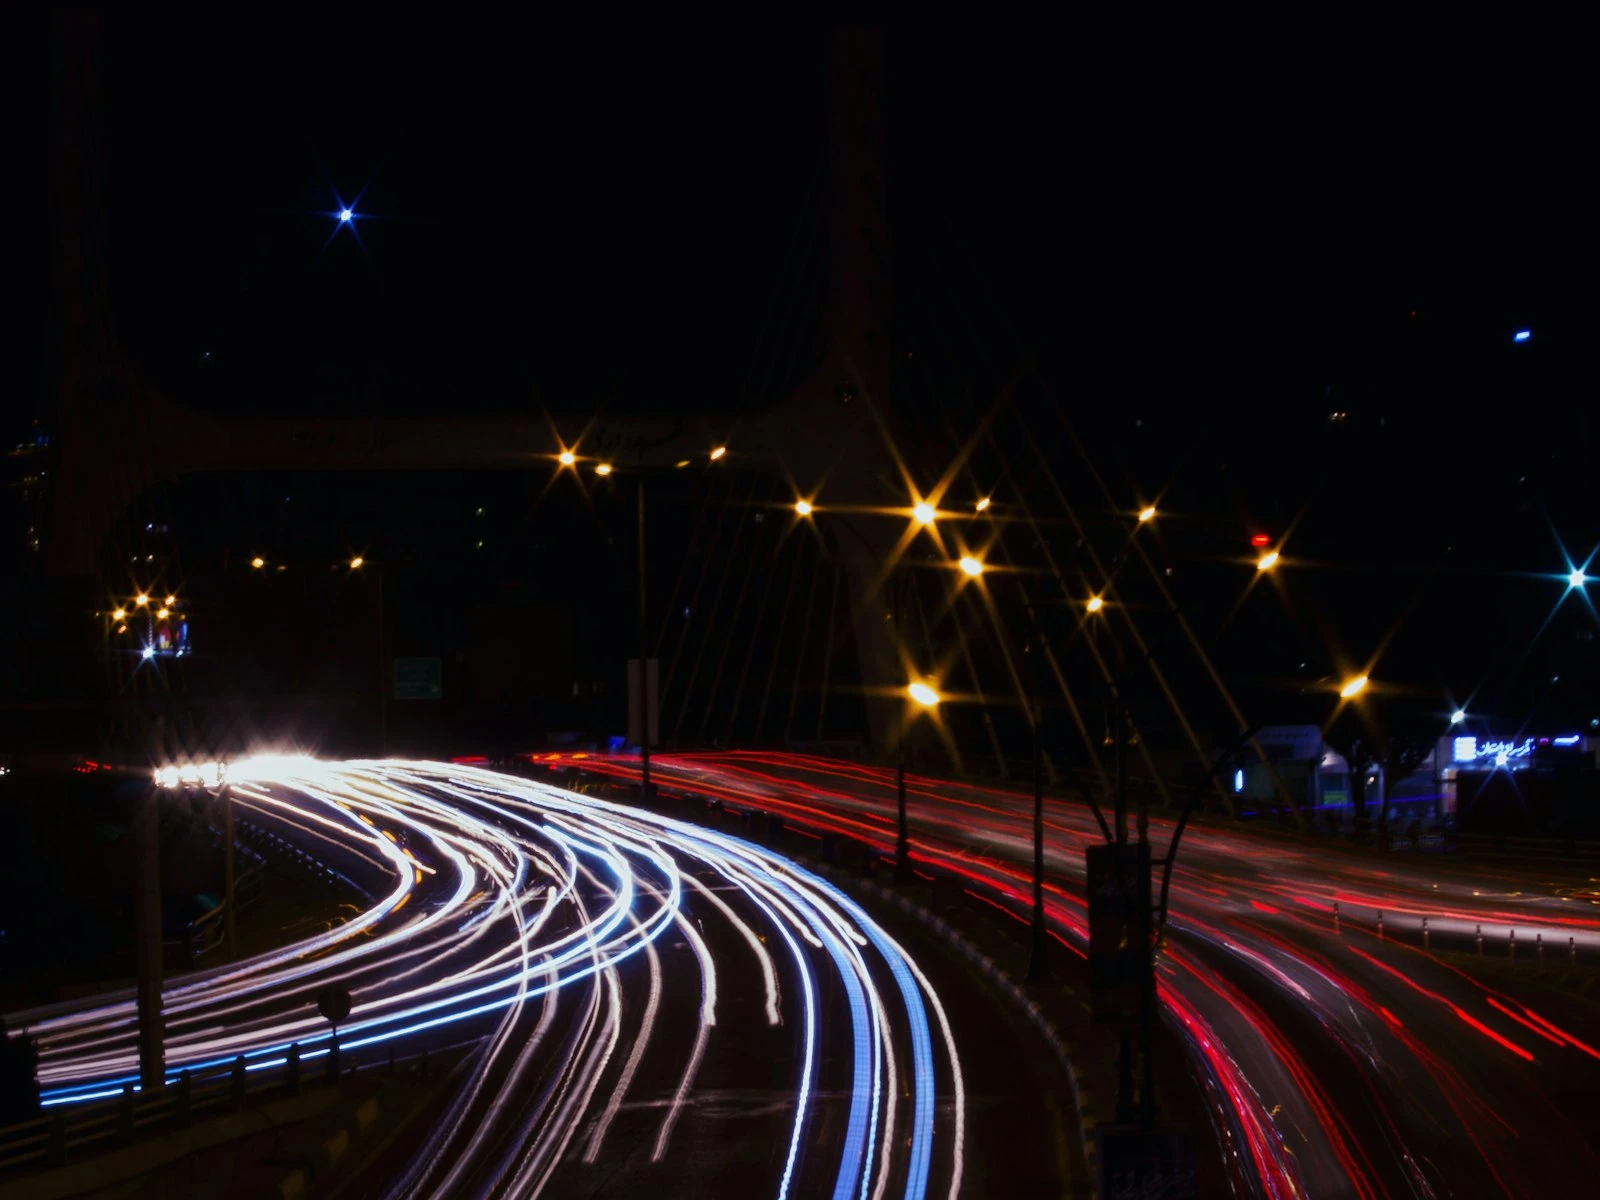
Intentional motion blur, like panning with a moving subject or letting backgrounds streak, can convey energy and movement in ways frozen action cannot. This doesn't help when you need a sharp portrait in dim light, but it's worth considering for action subjects.
Key Takeaways
- The 1/focal-length rule is a starting point; double it for a safety margin and adjust based on your personal steadiness, stabilization, and output size.
- Image stabilization can extend your safe threshold by 2-4 stops, but it only compensates for camera shake, not subject motion.
- Higher-resolution sensors show camera shake more readily, so if you upgraded your camera body, your old safe shutter speeds may no longer be fast enough.
- Test your personal threshold by shooting the same static subject at progressively slower speeds and checking results at 100% zoom on a computer.
More in This Guide
Continue building your sharpness and focus skills.