The frustrating thing about sharpness is that you can do nine things right and one thing wrong, and that one mistake ruins the image.
Maybe you nailed focus, held steady, and chose the perfect aperture, but your shutter speed was just a hair too slow. Or everything was technically correct, but you focused on the eyebrow instead of the eye. Or the settings were perfect, but you bumped the camera during the shot.
Sharpness is about building a system that catches all the small failures before they happen. That's the core philosophy behind our entire sharp photos guide.
This guide gives you that system. Not a rigid formula you memorize, but a mental checklist that becomes automatic; a sequence of quick checks that ensures every factor contributing to sharpness is working in your favor. We'll reference shutter speed, aperture, depth of field, image stabilization, and autofocus modes. If you need a refresher on any of those, the photography glossary has them all covered.
Think of it like a pilot's pre-flight checklist. Pilots don't rely on memory alone, even after thousands of flights. They run through the same items every time because consistency prevents catastrophe. Your sharpness checklist works the same way.
The Sharpness Checklist Mindset
Most photographers troubleshoot sharpness backwards. They take a blurry photo, then try to figure out what went wrong. By that point, the moment is gone.
The checklist approach flips this. Before you press the shutter, you run through a quick mental sequence:
- Settings check: Shutter speed, aperture sweet spot, ISO balance
- Focus check: Right spot, right mode for the subject
- Stability check: Proper hold or support
- Hazard check: Avoiding common sharpness killers
Run through this before each shot and sharpness becomes predictable rather than random.
Camera Settings for Sharpness
Shutter speed, aperture, and ISO directly impact sharpness. Each involves a specific decision that affects whether your image comes out crisp or soft.
Shutter Speed: The First Defense
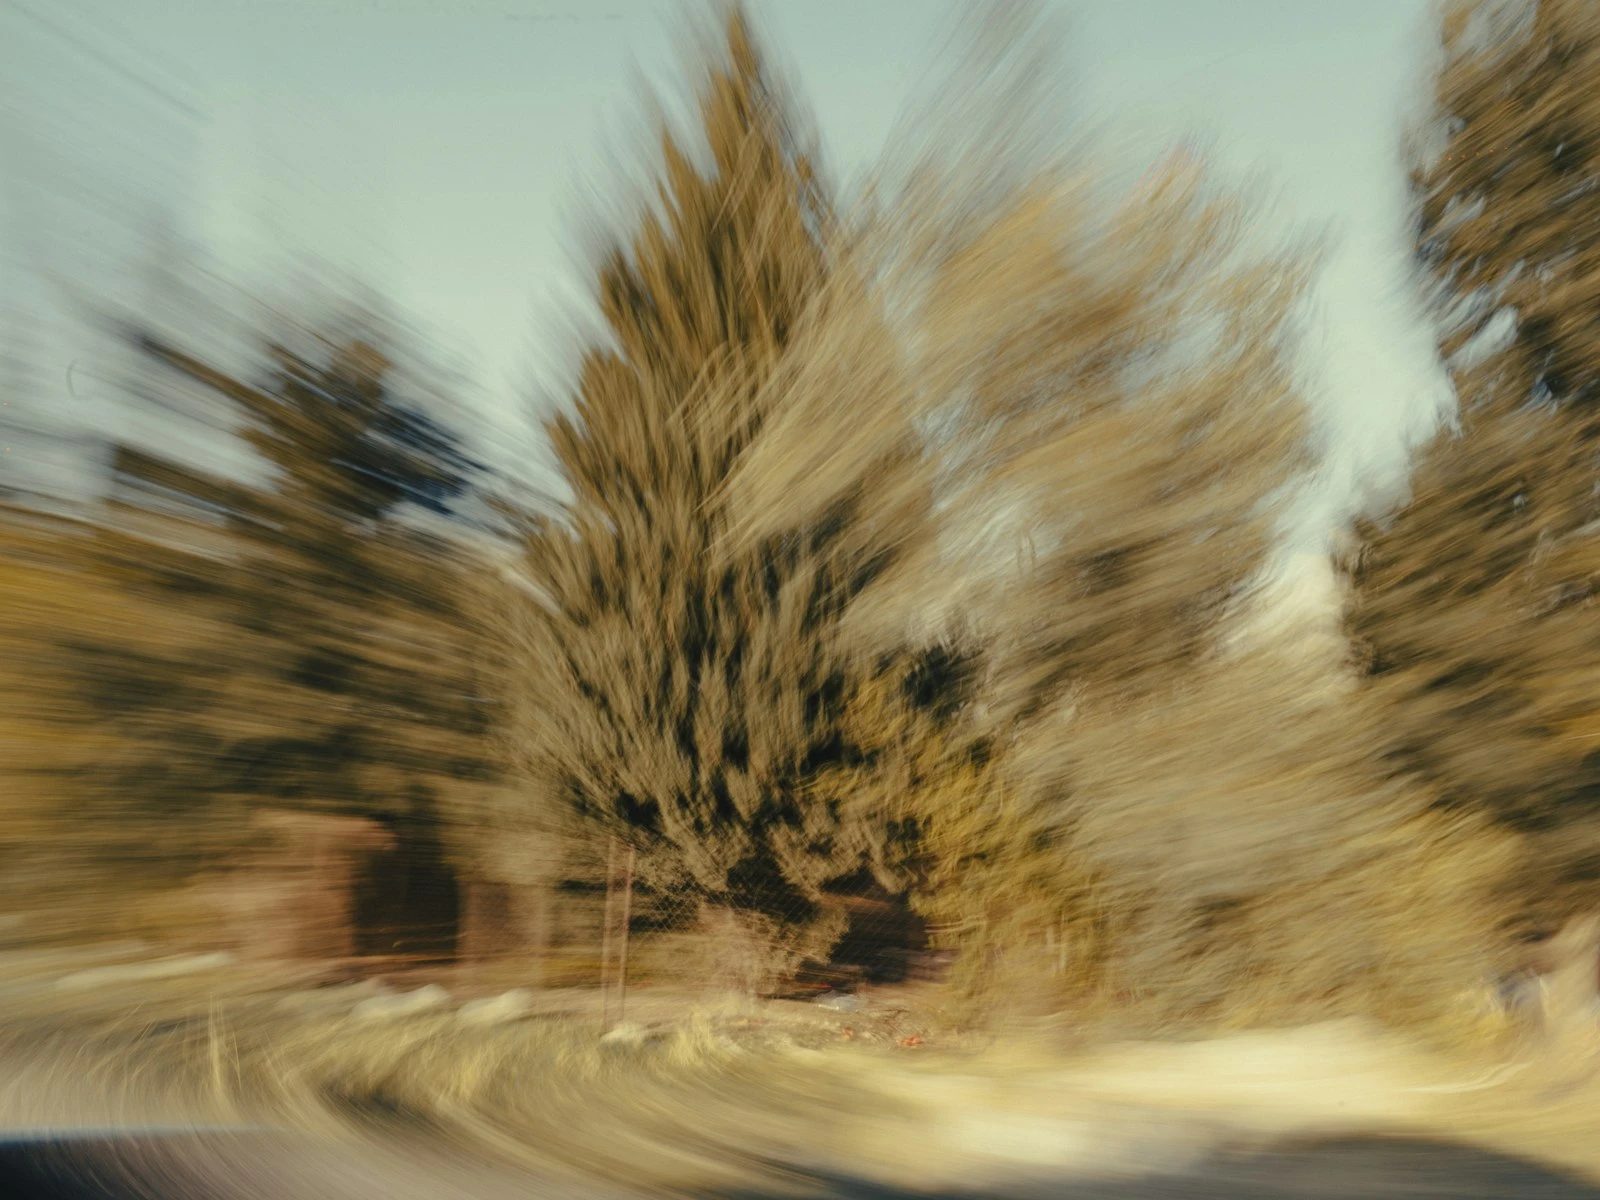
Shutter speed is the most common cause of unsharp photos. Too slow, and any movement, yours or your subject's, creates blur.
The reciprocal rule provides a useful starting point. Your shutter speed should be at least 1 over your focal length. Shooting at 50mm? Use at least 1/50 second. At 200mm? At least 1/200 second.
But this is a minimum, not a guarantee. I typically add a safety margin:
- For static subjects I'm handholding: 1.5x to 2x the focal length
- For moving subjects: Fast enough to freeze the motion (often 1/500 or faster)
- For any situation where sharpness is critical: Faster than I think I need
The risk of a shutter speed that's too fast is noise from higher ISO. The risk of a shutter speed that's too slow is blur you can't fix. I'll take minor noise over blur every time. If you are shooting handheld, knowing your minimum shutter speed threshold makes this decision automatic.
Aperture: Finding the Sweet Spot
Every lens has an aperture range where it produces its sharpest results. This is called the sweet spot, and it's usually 2-3 stops narrower than the lens's maximum aperture.
For most lenses, f/5.6 to f/8 delivers peak sharpness. A lens that opens to f/1.8 will typically be sharper at f/4 or f/5.6 than wide open. A lens that opens to f/2.8 often peaks around f/5.6 to f/8.
Why does wide open reduce sharpness? Optical imperfections are more pronounced at the edges of the lens elements. Stopping down uses only the center portion, where the glass is most precisely shaped.
Why doesn't smaller always mean sharper? Stop down too far (past f/11 or f/16 on most cameras), and diffraction kicks in. Light bending around the aperture blades actually reduces sharpness.
Your decision framework:
- When depth of field isn't critical, shoot in the sweet spot
- When you need shallow depth of field, know you're trading some sharpness
- When you need deep depth of field, stop down only as far as necessary
ISO: The Quality Balance
ISO doesn't directly cause blur, but it affects image quality in ways that can mask sharpness.
High ISO introduces noise, which can make fine details look muddy. Aggressive noise reduction (in-camera or in editing) can smooth out detail, making images look soft even when focus was perfect.
Keep ISO as low as your other settings allow, but never sacrifice adequate shutter speed just to keep ISO lower. A clean, blurry image is still useless.
Modern cameras handle high ISO remarkably well. Don't be afraid of ISO 1600, 3200, or even 6400 when the situation demands it. Noise is fixable; blur isn't.
Focus Technique Essentials
Sharp photos require sharp focus, which sounds obvious, but focus errors cause more "why isn't this sharp?" moments than most photographers realize.
Put Focus Where It Matters
The sharpest point in your image should be the most important point. For portraits, that's typically the eye closest to the camera. For products, it's usually the part that defines the object. For landscapes, it depends on what you want to emphasize.
Before you shoot, ask: Where do I want the viewer to look first? That's where focus goes.
Choose the Right Focus Mode
Different subjects need different focus approaches:
Single-shot autofocus (AF-S, One-Shot) locks focus when you half-press the shutter. Ideal for still subjects where you have time to compose carefully.
Continuous autofocus (AF-C, AI Servo) tracks movement and adjusts focus continuously. Essential for moving subjects like sports, wildlife, children, anything that won't hold still.
Manual focus gives you complete control but requires practice and often magnification to nail precisely. Best for tripod work, macro photography, or situations where autofocus struggles (low contrast, through glass, etc.).
Matching focus mode to your subject prevents the frustration of hunting autofocus or focus locked on the wrong plane.
Control Your Focus Point
Your camera has many focus points. Don't let it choose for you.
Most cameras, when left in automatic point selection, focus on whatever is closest to the camera. That might be a hand reaching toward you instead of a face. Or a branch in front of your subject instead of the subject itself.
Take control:
- Single point selection lets you place focus precisely where you want it
- Zone or group selection covers a small area, useful for moving subjects
- Eye detection (on cameras that have it) automatically finds and tracks eyes
The time you spend learning to quickly move your focus point pays off in dramatically more keepers. Understanding the tradeoffs between single point and zone AF helps you pick the right approach for each situation.
Consider Back Button Focus
By default, pressing the shutter button halfway activates autofocus. Back button focus separates these functions. Focus activates with a button on the back of the camera, and the shutter only fires the shot.
This separation offers several advantages:
- You can focus once, then recompose without the camera refocusing
- Switching between static and moving subjects doesn't require changing modes
- Accidental refocus when pressing the shutter becomes impossible
Back button focus takes a week or two to feel natural, but many photographers (myself included) never go back. The setup process is straightforward on most cameras.
Stability Techniques
Camera movement during exposure creates motion blur. Even small movements that feel insignificant can soften your images, especially at longer focal lengths or slower shutter speeds.
Handheld Technique
When shooting without support, your body becomes the stabilization system.
The basics: Tuck elbows against your body. Feet shoulder-width apart, weight evenly distributed. Press the shutter at the natural pause after exhaling. Squeeze smoothly, don't jab.
Extra stability: Lean against a wall or doorframe. Brace elbows on a table or railing. Use a camera strap pulled taut as tension support.
These adjustments can buy you 1-2 stops of stability, the difference between a sharp shot at 1/60 and one that needs 1/125.
Tripod Technique
A tripod removes your body from the stability equation, but only if you use it correctly.
Common mistakes: Extending the center column (introduces wobble), not weighting the tripod in wind, touching the camera during exposure. Use a remote release or timer, and enable mirror lockup (DSLR) or electronic first-curtain shutter for critical sharpness.
Handhold when mobility matters or shutter speed is comfortably fast. Use a tripod when working at slow shutter speeds or maximum sharpness is the priority.
The Role of Lenses
Your lens determines your sharpness ceiling, because camera settings and technique can only optimize what the glass delivers. You do not need expensive lenses, but you do need to understand what your lenses can and can't do.
Wide open softness: Most lenses are noticeably softer at maximum aperture. Understanding how much softer helps you decide when shooting wide open is worth the tradeoff.
Corner sharpness: Many lenses are sharp in the center but softer at the edges. For subjects in the middle of the frame, this doesn't matter. For landscapes where corners are visible, it might.
Keep your glass clean: A smudged front element degrades sharpness and contrast. Keep a microfiber cloth with your gear and use a lens hood to prevent fingers from touching the glass.
Choose the right tool: A 50mm prime at f/8 will outperform an 18-200mm superzoom at f/8. When you have options, use the more specialized lens for critical sharpness.
Common Sharpness Killers to Avoid
Some sharpness problems aren't about settings or technique. They're environmental factors that sabotage otherwise good photos.
Subject Movement
Your shutter speed needs to freeze not just your camera shake, but your subject's movement too. A 1/125 shutter speed might be rock solid for your handholding technique, but if your subject turns their head during the exposure, you'll still get blur.
Watch your subject. Faster movements need faster shutters. When in doubt, go faster.
If you are not sure whether the blur is from your movement or your subject's, distinguishing camera shake from motion blur will point you to the right fix.
Heat Shimmer
On hot days, rising heat creates visible distortion in the air. Long focal lengths make this worse. Shoot earlier or later when surfaces are cooler, or get closer to reduce the amount of hot air between you and your subject.
Shooting Through Glass
Windows and protective barriers introduce optical imperfections. Press your lens hood against the glass to eliminate reflections and angle perpendicular to the surface.
Poor Autofocus Conditions
Autofocus relies on contrast. Low contrast subjects (blank walls, fog) and low light scenes cause hunting or misfocus. When autofocus struggles, use manual focus with magnification.
Diffraction at Tiny Apertures
Stopping down past f/11 or f/16 causes diffraction that softens the image. If you need extensive depth of field, consider focus stacking instead of f/22.
Post-Processing Sharpening Basics
Sharpening in editing doesn't create sharpness that wasn't there. It enhances edge contrast to make existing detail look crisper. It's a final polish, not a rescue tool.
Capture sharpening compensates for slight softness from the sensor and demosaicing process. If you shoot raw, your raw processor applies default sharpening. Learn where this setting is and adjust it.
Output sharpening varies by destination. Web images need less sharpening than large prints. Use your software's output-specific sharpening rather than one-size-fits-all.
Common traps: Over-sharpening creates ugly halos. Sharpening amplifies noise. If you compress to JPEG, sharpen after resizing and before the final save.
Putting It All Together
Consistent sharpness is about removing randomness from your process.
Quick pre-shot checklist:
- Shutter speed adequate for focal length and subject?
- Aperture in sweet spot (or intentionally elsewhere)?
- Focus point on the right spot with the right mode?
- Stable stance or proper tripod setup?
Run this enough times and it becomes automatic.
Find your weak link. For most photographers, it's either shutter speed too slow (especially indoors), focus point not precisely placed, or handholding technique that introduces movement. Fix the weakest link first, then move to the next. Each improvement compounds, and before long you'll wonder why your photos ever weren't sharp.
Key Takeaways
- Build a mental pre-shot checklist: check shutter speed is fast enough, verify focus point is on your subject, confirm aperture and ISO are appropriate for the situation.
- Sharpness depends on getting every factor right simultaneously; one weak link (slow shutter, missed focus, camera shake) ruins the image regardless of the other settings.
- Use the sharpest aperture range of your lens (typically f/5.6-f/8 for maximum sharpness, f/8-f/11 for sharpness plus depth) rather than defaulting to extremes.
- Check sharpness at 100% zoom on a computer, not on the camera LCD, and reshoot immediately if something looks soft.
More in This Guide
Continue building your sharpness and focus skills.