You took the shot. It looked great on your camera's tiny screen. Then you got home, opened it on your computer, and... soft. Blurry. Not quite right.
This is one of the most frustrating experiences in photography. Especially because "blurry" could mean half a dozen different things, each with a completely different fix.
Most advice on this topic treats blur like it's one thing, but camera shake looks different from motion blur, and missed focus looks different from shallow depth of field. The fix for one has absolutely nothing to do with the fix for another.
This guide will help you diagnose exactly what's causing your blur, and it's one of the best starting points in our sharp photos guide. We'll talk about camera shake, motion blur, depth of field, and autofocus modes. If any of these terms are new to you, the photography glossary has quick definitions for all of them. Once you know what you're dealing with, the solution becomes obvious.
The Four Types of Blur (And They're All Different)
Before you can fix blurry photos, you need to identify which kind of blur you're seeing. There are four main culprits.
- Camera shake happens when your camera moves during the exposure
- Motion blur happens when your subject moves during the exposure
- Missed focus means your camera focused on the wrong thing
- Shallow depth of field means your camera focused correctly, but not enough of the scene is sharp
Each one leaves a different signature in your image. Learn to read those signatures and you'll never wonder "why is this blurry?" again.
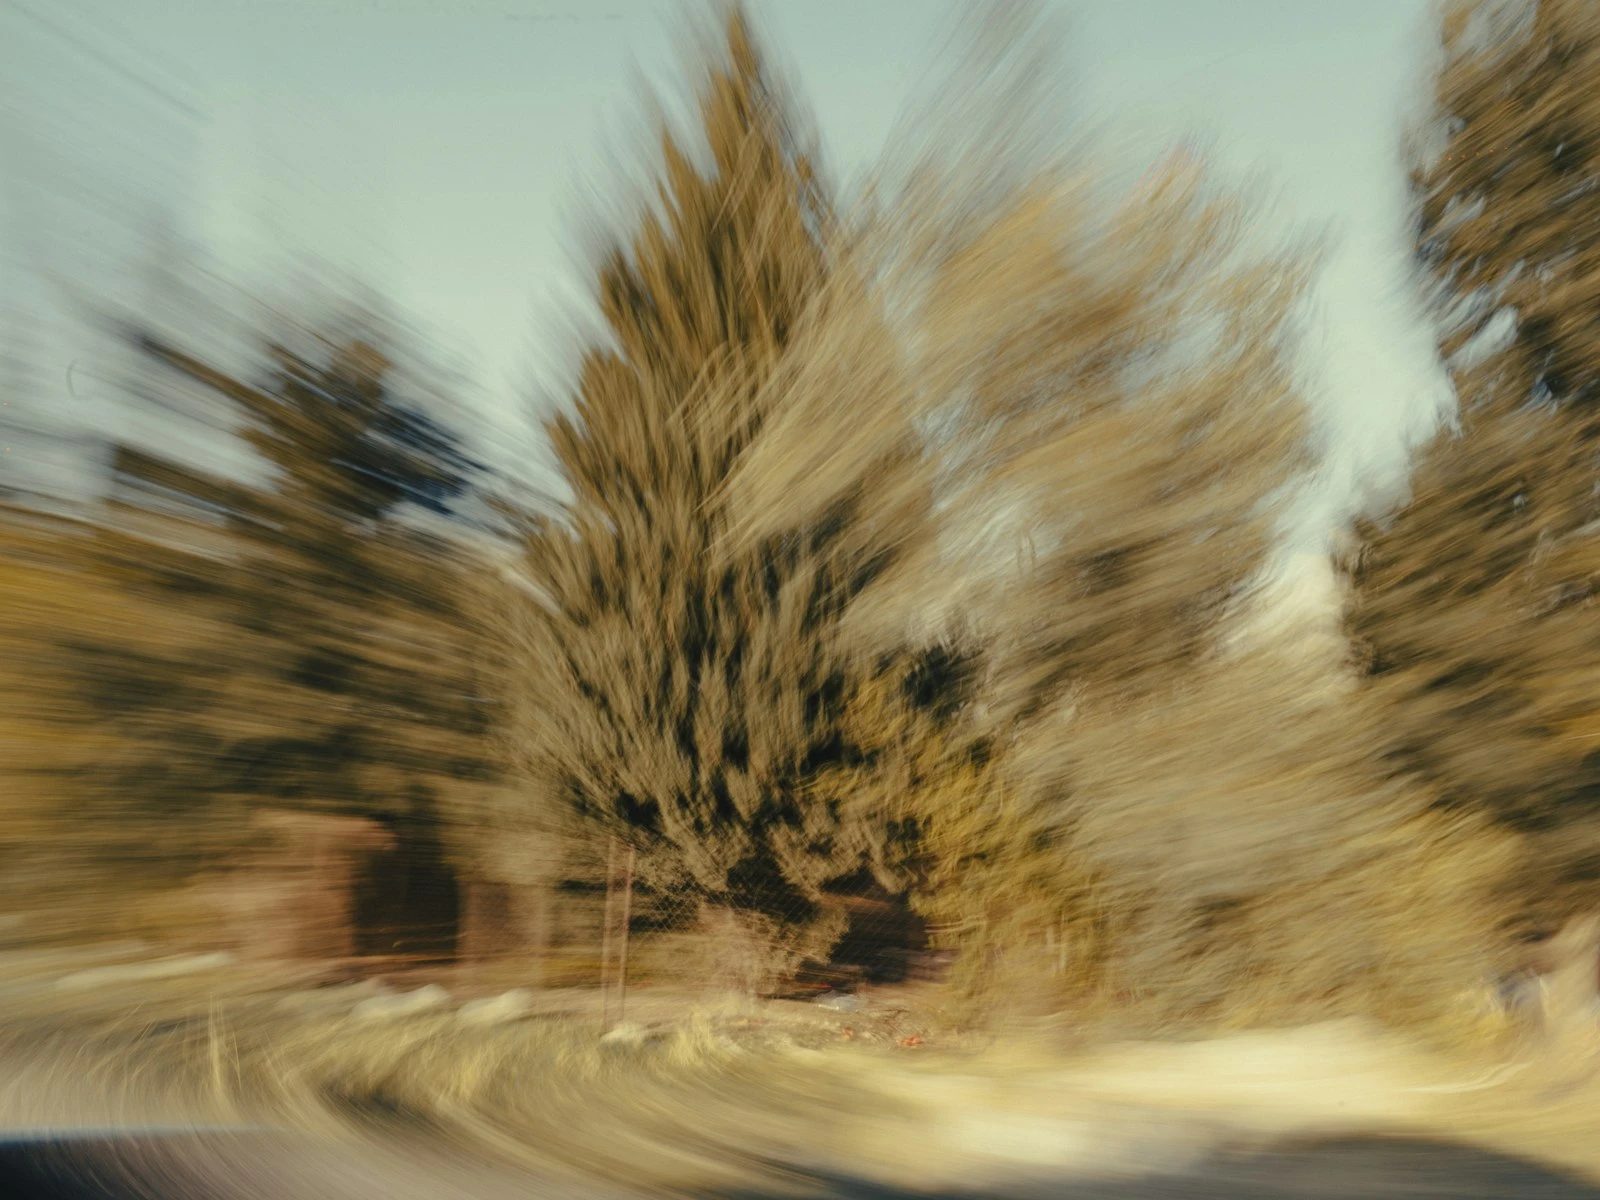
Type 1: Camera Shake
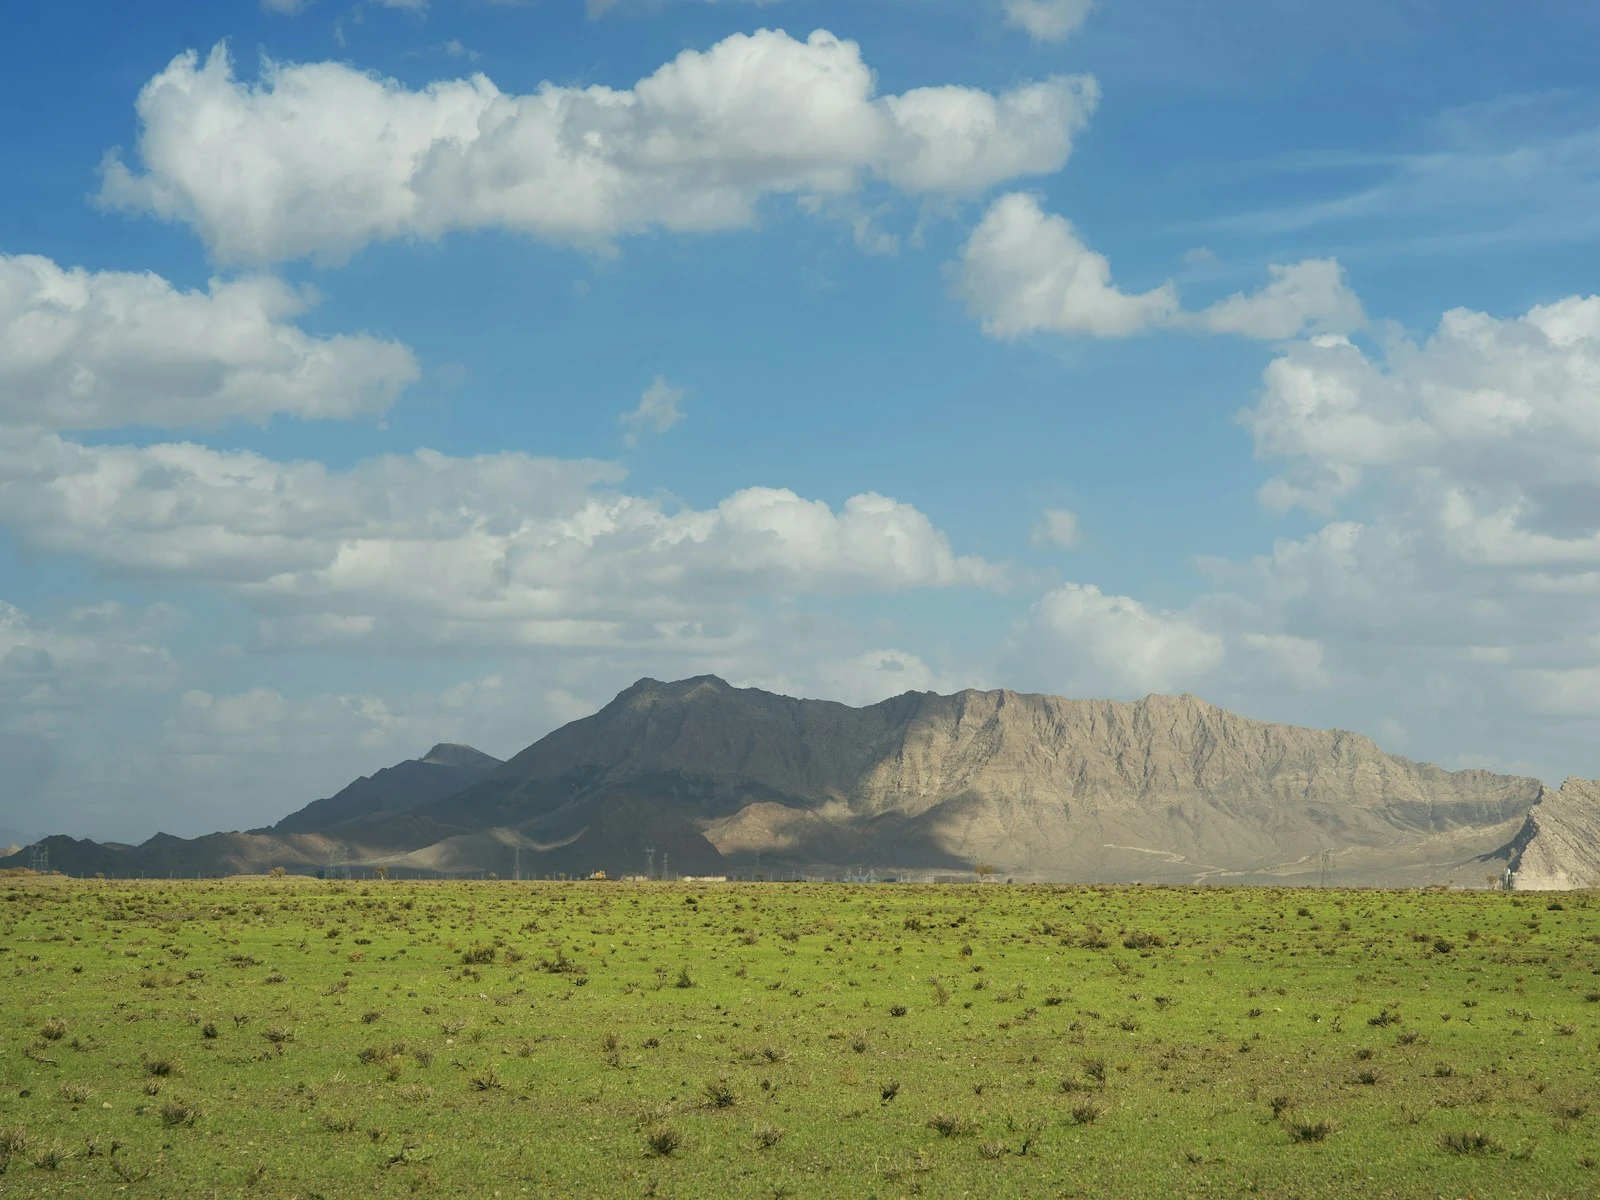
Camera shake happens when your hands move while the shutter is open, producing blur that affects everything in the frame equally. Your subject, the background, every element in the image has the same softness.
How to Identify Camera Shake
Look at your photo and ask these questions:
- Is everything equally blurry? Not just your subject, but the entire frame?
- Does the blur have a slight directional streak to it?
- Were you shooting handheld at a slow shutter speed?
If you answered yes to these, camera shake is likely your problem.
The telltale sign is uniformity, because when camera shake is the culprit, nothing in the frame escapes the blur. A tree in the foreground and a mountain in the background will be equally soft. If your subject is blurrier than the background, that's not camera shake, so keep reading.
Why It Happens
Your shutter speed was too slow for handheld shooting. The camera moved, even just a tiny bit, during the time the shutter was open.
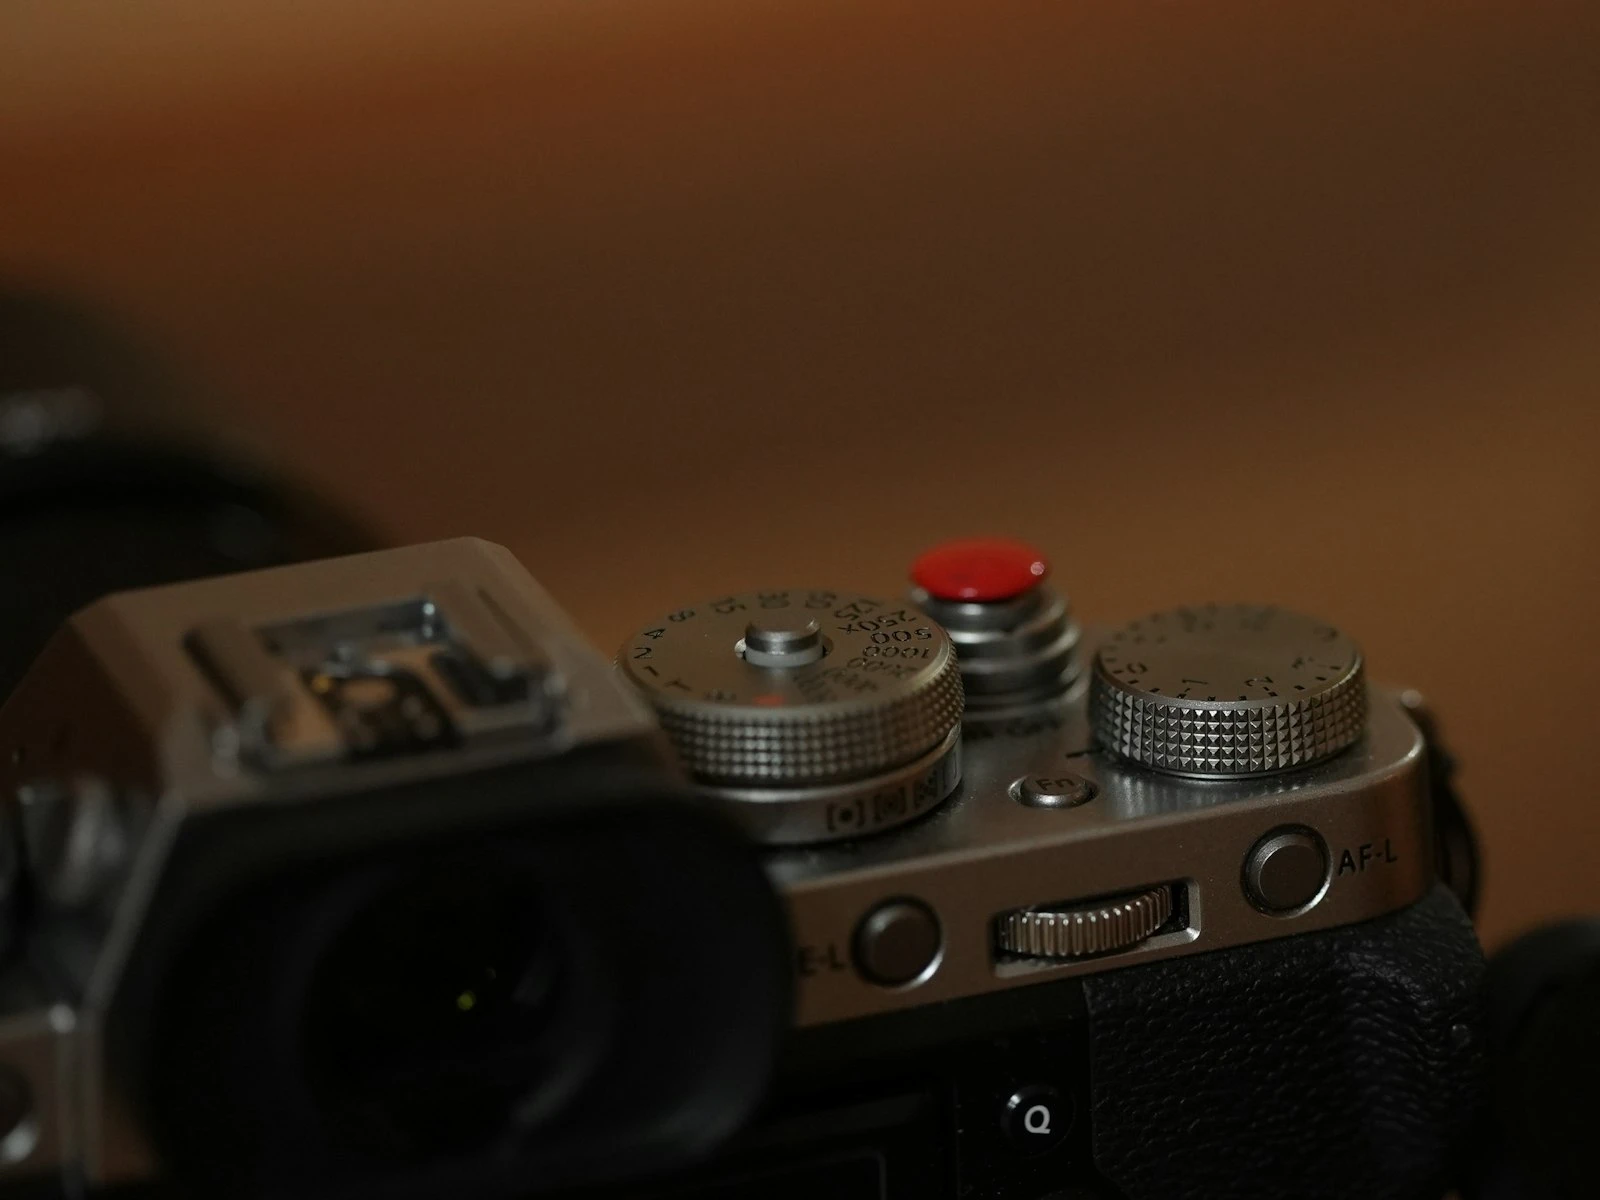
The classic rule of thumb is that your minimum handheld shutter speed should be 1/focal length. Shooting at 50mm? Don't go slower than 1/50 second. At 200mm? 1/200 second minimum.
But this rule has exceptions. Higher resolution sensors demand faster speeds (they show every tiny shake). Image stabilization lets you go slower. Your personal steadiness matters too.
The Fix
In the moment:
- Use a faster shutter speed. Yes, you might need to raise ISO or open your aperture to compensate. That's the tradeoff.
- Brace yourself. Elbows tucked against your body, controlled breathing, gentle shutter press.
- Use a tripod or rest your camera on something stable.
- Turn on image stabilization if your camera or lens has it.
For future shoots:
- Learn your personal handheld threshold. It might be faster or slower than the rule suggests.
- Practice your stance and breathing technique.
- Consider investing in a lens with optical stabilization, or a camera with in-body stabilization.
Finding your personal handheld threshold takes the guesswork out of this entirely.
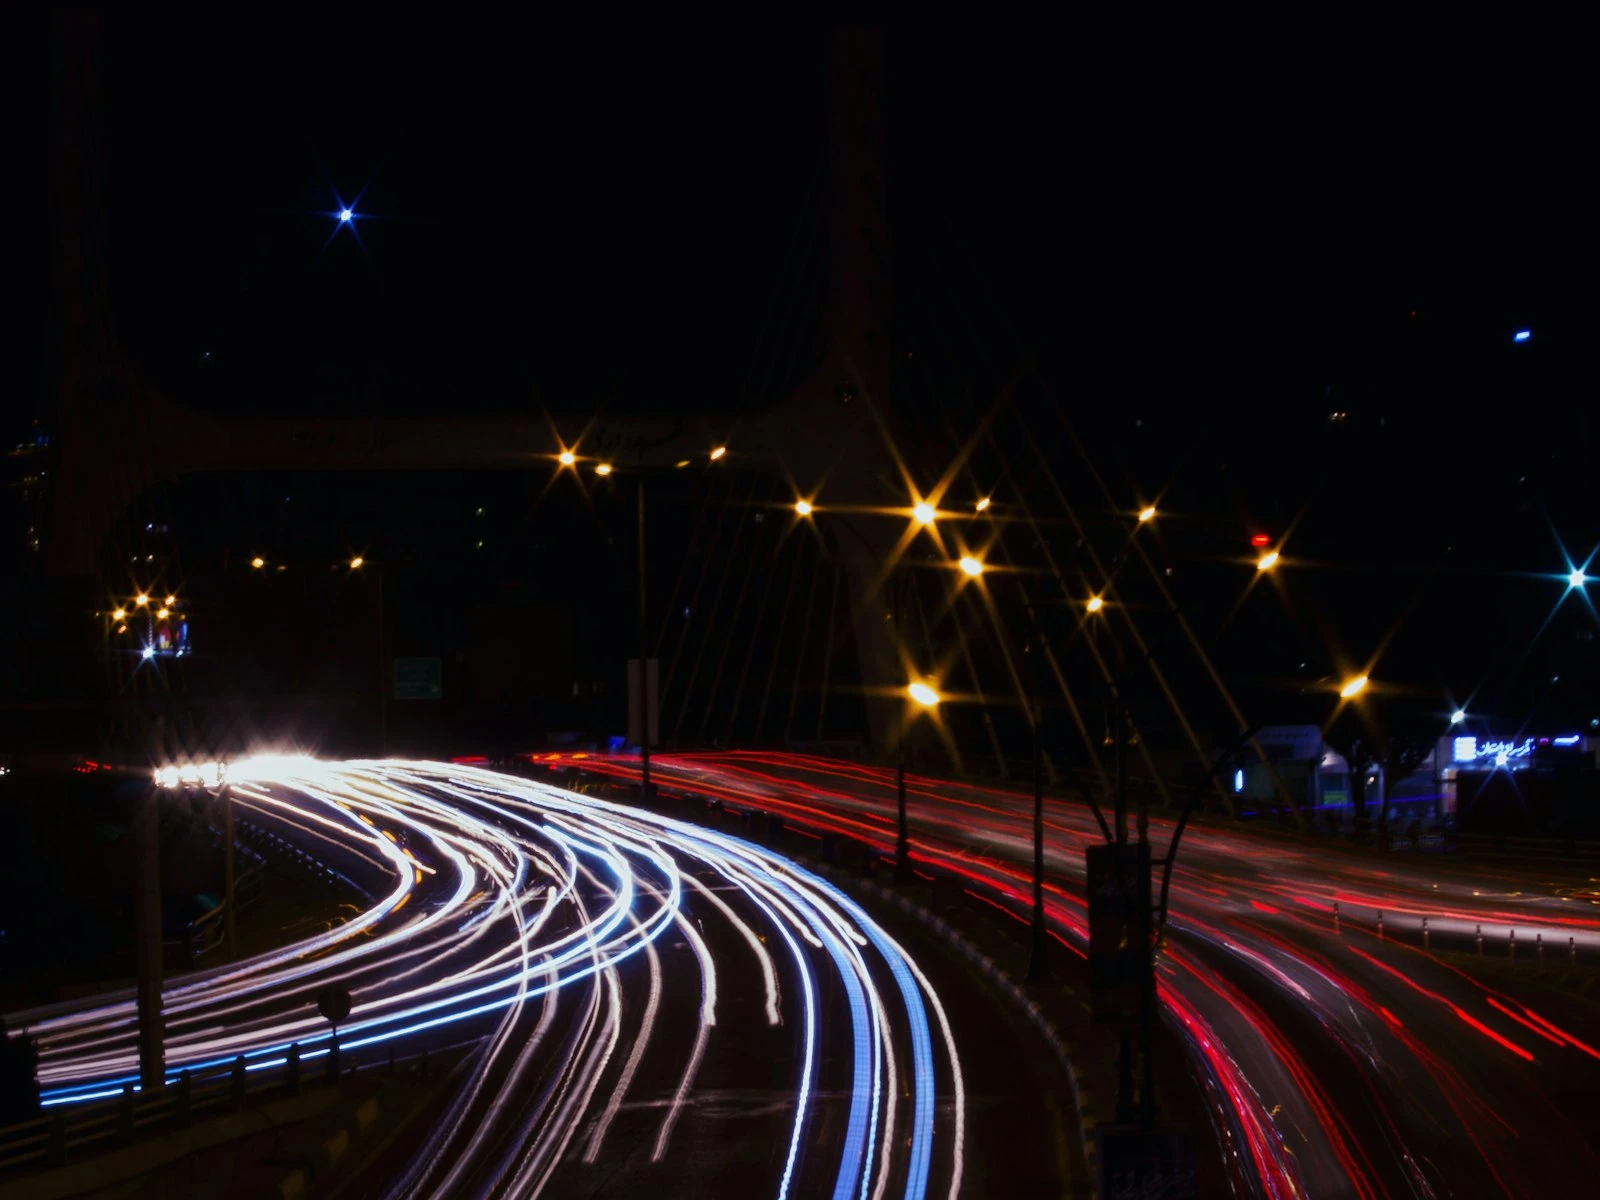
Type 2: Motion Blur
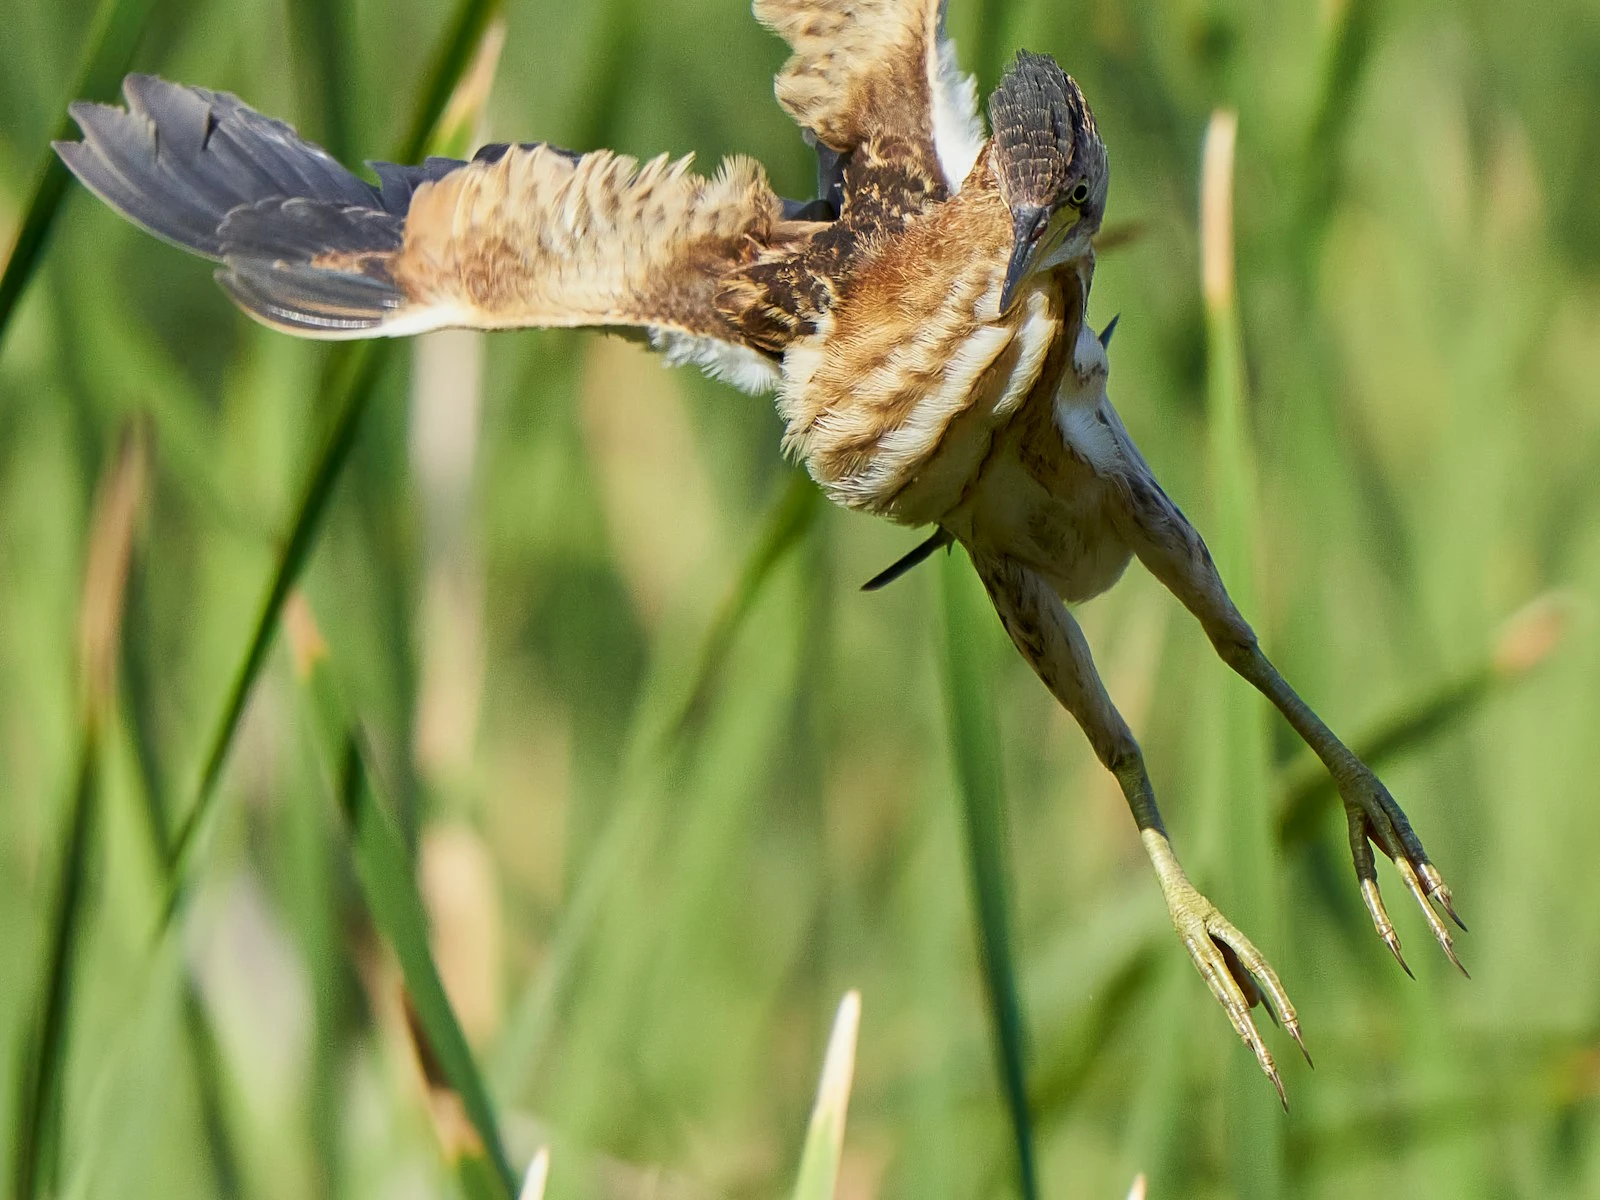
Motion blur happens when your subject moves during the exposure. Unlike camera shake, motion blur affects only the moving elements. Stationary objects in the frame stay sharp.
How to Identify Motion Blur
Ask yourself:
- Is the blur only on your subject (or moving elements)?
- Is the background relatively sharp?
- Was your subject moving when you took the shot?
The key difference from camera shake is that with motion blur, static elements in your scene are sharp. The tree isn't blurry. Your kid running past the tree is blurry.
Motion blur often has a directional quality that follows the movement. A running dog might have horizontal streaking. Someone jumping might have vertical blur. This directionality tells you the subject moved, not the camera.
Why It Happens
Your shutter speed was fast enough to keep the camera steady, but not fast enough to freeze your subject's movement.
This is incredibly common when photographing kids, pets, sports, or anything that moves unpredictably. You set up the shot for a stationary scene, your subject suddenly moves, and you get blur.
The Fix
In the moment:
- Use a faster shutter speed. The faster your subject moves, the faster you need to go.
- Anticipate motion. If you're photographing something that might move, set a faster shutter speed preventatively.
Rough shutter speed guidelines for moving subjects:
- Person walking: 1/250 second
- Person jogging: 1/500 second
- Running kids or pets: 1/500-1/1000 second
- Sports action: 1/1000 second or faster
- Fast vehicles, birds in flight: 1/2000 second or faster
For future shoots:
- When in doubt, go faster than you think you need.
- Learn to read body language that precedes movement. Kids about to run, dogs about to shake, athletes about to swing.
Telling these apart can be tricky at first. The visual differences between camera shake and motion blur become obvious once you know what to look for.
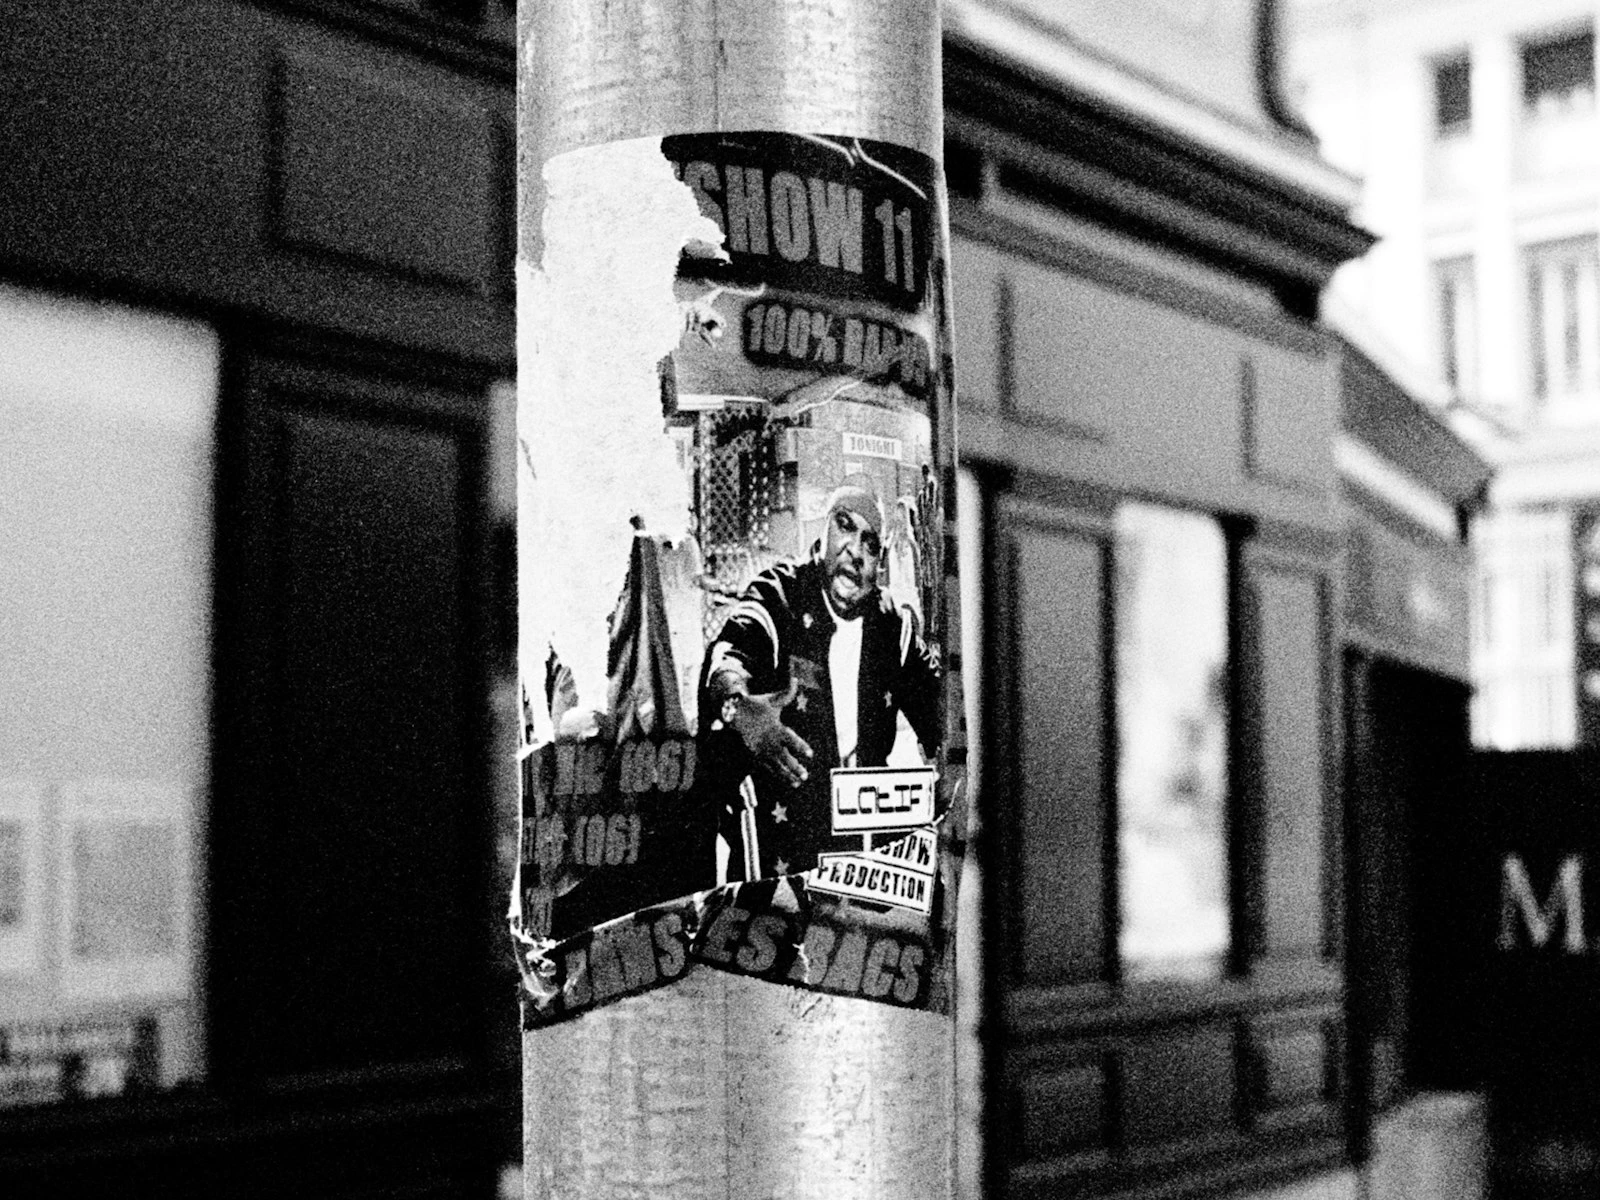
Type 3: Missed Focus
Missed focus means your camera focused accurately, just not on what you wanted it to focus on. The image has sharp areas and soft areas, but the sharp area is in the wrong place.
How to Identify Missed Focus
Look for these signs:
- Is something in your image tack sharp, just not your intended subject?
- Is the background sharp but your subject soft? Or vice versa?
- Did you use autofocus?
The giveaway is that somewhere in your image, something is perfectly sharp. If it's behind your subject, your camera focused too far. If it's in front, your camera focused too close.
This is different from motion blur (where the subject is blurry but the background is sharp everywhere) and different from shallow depth of field (which we'll cover next). With missed focus, there's a clear focal plane. It's just in the wrong place.
Why It Happens
Several possibilities exist.
Your autofocus point was in the wrong place. Many cameras default to a wide-area autofocus that chooses what to focus on. Sometimes it chooses wrong.
Your subject moved after focus locked. You focused on someone's eye, they leaned forward slightly, and now the focus plane is where their eye used to be.
You're using single-shot AF on a moving subject. Single-shot autofocus locks once and stays locked. If your subject moves after that lock, you're out of luck.
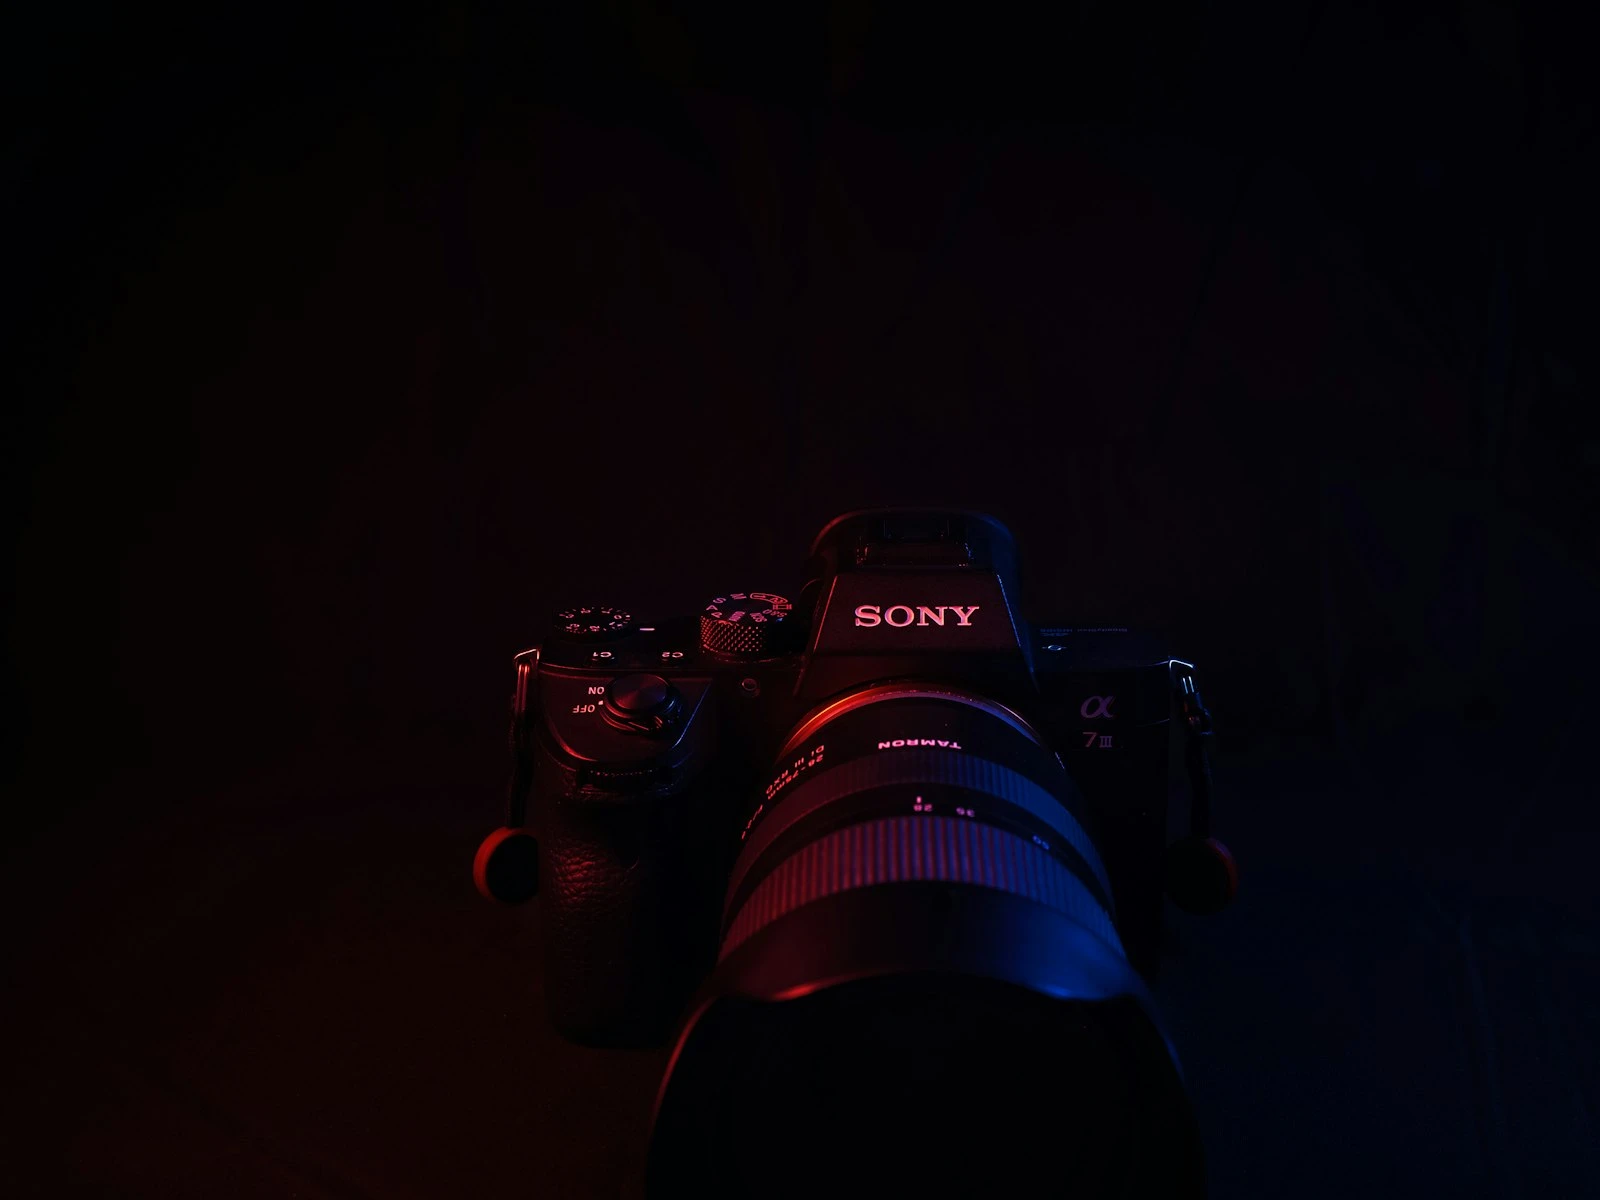
Low light confused the autofocus system. Autofocus needs contrast to work. In dim conditions, it can hunt, miss, or grab onto something brighter than your intended subject.
The Fix
In the moment:
- Use a single, center autofocus point instead of area AF. Point it directly at your subject's eye, lock focus, then recompose if needed.
- For moving subjects, use continuous autofocus (AI Servo on Canon, AF-C on Nikon/Sony).
- Check your focus point after critical shots. Most cameras can display where the focus point was in playback.
For future shoots:
- Learn your camera's autofocus modes and when to use each.
- Practice back-button focus if your camera supports it. It separates focusing from the shutter button and gives you more control.
- In low light, consider manual focus with focus peaking or magnification.
If this keeps happening, persistent missed focus usually comes down to a few fixable habits or calibration issues.
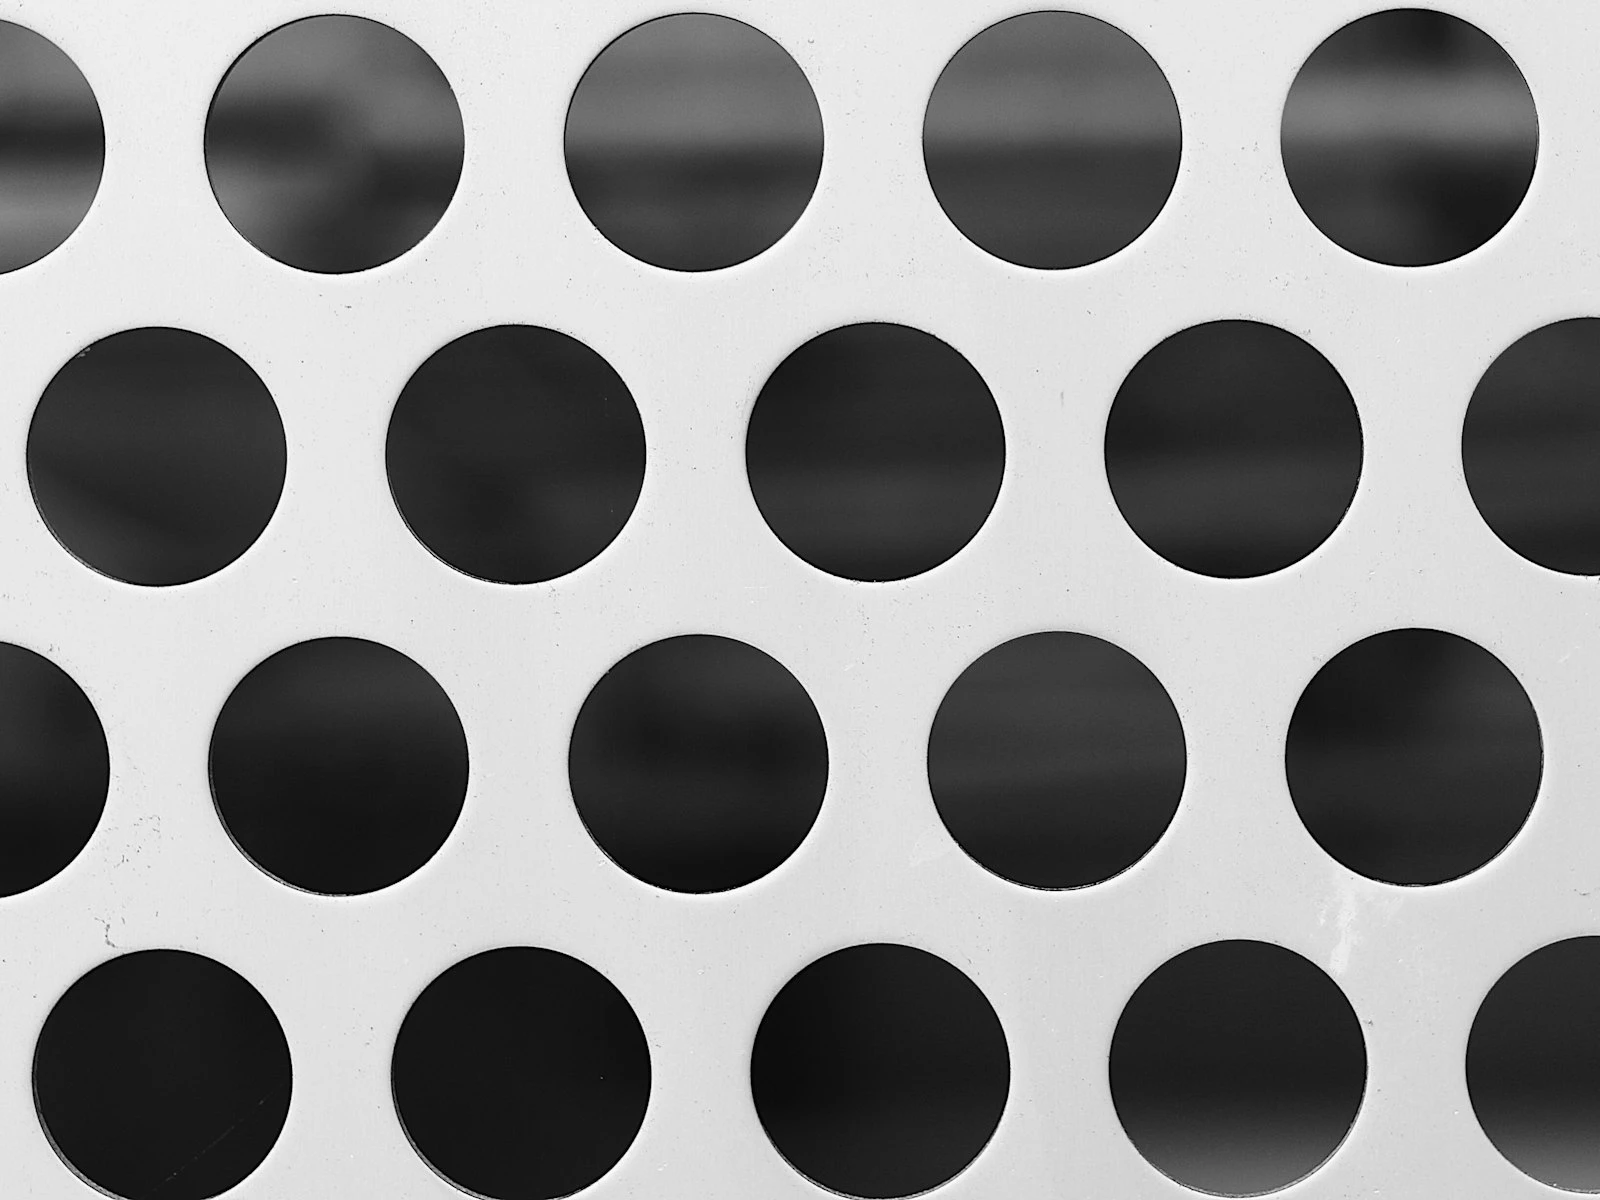
Type 4: Shallow Depth of Field
This one's tricky because technically, your camera did everything right. It focused exactly where you told it to. The problem is that the zone of acceptable sharpness, the depth of field, is too narrow for your scene.
How to Identify Shallow Depth of Field
Ask yourself:
- Is your subject's eye sharp but their ear or nose soft?
- Were you shooting at a wide aperture (low f-number like f/1.8 or f/2.8)?
- Is the sharp-to-soft transition gradual and smooth?
With shallow depth of field, the in-focus area is where you intended it to be, but the area simply is not large enough. With missed focus, by contrast, the sharp area is in the wrong place entirely.
Shallow depth of field often looks intentional in portraits, like a sharp eye with a creamy blurred background. It becomes a problem when that creaminess extends to parts of your subject you wanted sharp, like both eyes in a three-quarter view, or the entire face of a group portrait.
Why It Happens
Depth of field gets narrower when:
- You use a wider aperture (f/1.8 has very shallow depth of field; f/11 has much more)
- You get closer to your subject
- You use a longer focal length
Portrait photographers often chase that dreamy background blur by shooting wide open with fast lenses. The tradeoff is a razor-thin plane of focus. At f/1.8 from a few feet away, you might have only an inch or two of depth.
The Fix
In the moment:
- Use a smaller aperture (higher f-number). Going from f/1.8 to f/4 dramatically increases your depth of field.
- Step back from your subject (though this changes your framing).
- Use a shorter focal length (again, changes your look).
For portraits specifically:.
- If you want blurred backgrounds but need more of your subject sharp, try f/4 instead of f/1.8. You'll still get separation from the background, but with more forgiveness.
- For groups, use f/5.6 or smaller to ensure everyone's on the same focal plane.
- Pay attention to the angle of your subject's face. Straight-on needs less depth of field than a three-quarter turn.
If you are not sure how much depth of field a given aperture will give you, plugging in your lens, aperture, and subject distance lets you see exactly what will be sharp.
The real skill is balancing the look you want against the depth of field you need. A pre-shot sharpness checklist helps you catch these tradeoffs before pressing the shutter.
Quick Diagnostic: Which Blur Do You Have?
Still not sure? Run through these questions:
Question 1: Is everything in the image equally soft?
- Yes → Camera shake. Use faster shutter speed or stabilization.
- No → Continue to Question 2.
Question 2: Is the background sharp but your subject soft?
- Yes → Motion blur. Your subject moved. Use faster shutter speed.
- No → Continue to Question 3.
Question 3: Is something sharp, just not what you wanted sharp?
- Yes → Missed focus. Review autofocus settings and technique.
- No → Continue to Question 4.
Question 4: Is your subject partially sharp with gradual blur in other areas?
- Yes → Shallow depth of field. Use smaller aperture or increase distance.
- Still no → You might have a combination of issues, or less common problems like lens softness or diffraction.
Prevention Strategies: Avoiding Blur Before It Happens
Diagnosis is useful, but prevention is better. Here's how to avoid blur in the first place.
Know Your Minimum Shutter Speed
Before any shoot, think about what shutter speed you'll need. Consider both camera shake (your handheld limit) and subject motion (how fast things might move). Set your minimum shutter speed to whichever is faster.
Set ISO to Get the Shutter Speed You Need
Don't protect ISO at the cost of sharpness. A sharp photo at ISO 3200 beats a blurry photo at ISO 400. Modern cameras handle high ISO remarkably well, so use it.
Choose the Right Autofocus Mode
Single-shot AF for stationary subjects. Continuous AF for anything that moves. This simple choice prevents countless missed-focus shots.
Check Focus Before You Walk Away
Zoom in on your camera's LCD after important shots. Look at your subject's eyes or the critical area. Is it sharp? If not, you still have a chance to reshoot. This habit alone will save you more shots than any technique.
Use Stabilization Correctly
Image stabilization helps with camera shake but does nothing for motion blur. Turn it on for handheld shooting with stationary subjects. For fast-moving subjects, fast shutter speed is what matters, and stabilization is secondary.
Know When to Stop Down
If you're shooting wide open (f/1.4, f/1.8, f/2) and getting too many shots with critical areas soft, stop down. The background blur you lose at f/4 is often worth the focus reliability you gain.
Key Takeaways
- Diagnose which of the four types of blur you have (camera shake, motion blur, missed focus, or shallow depth of field) before applying a fix, since each has a different solution.
- Camera shake makes the entire image uniformly soft; motion blur affects only moving subjects; missed focus sharpens the wrong thing; shallow depth of field sharpens too little.
- If everything is blurry in the same direction, increase shutter speed or stabilize the camera; if only your subject is blurry, match shutter speed to their movement speed.
- If the wrong thing is sharp, take control of your focus point rather than letting the camera choose; if too little is sharp, use a narrower aperture for more depth of field.
More in This Guide
Continue building your sharpness and focus skills.