You check the back of your camera and something is wrong.
The photo is too dark and your subject looks like a silhouette, or it is too bright with a washed-out sky and highlights that have turned into white nothing.
This happens to every photographer. The frustrating part is not knowing why. Your camera has a light meter. It should know better. And yet here you are, looking at an exposure that missed the mark.
The good news is that exposure problems are almost always diagnosable. Once you understand why your camera gets fooled, you can predict these situations before they happen and fix them before you press the shutter.
Let me walk you through the most common causes of underexposure and overexposure, how to identify which one is affecting your shots, and what to do about it. This is one of the trickiest topics in our camera settings guide, but once you get it, you'll rarely be surprised by a bad exposure again.
The Quick Diagnosis: Too Dark vs Too Bright
Before diving into causes, let us establish what we are actually looking at.
Underexposure (too dark) means your camera let in too little light. Shadows become pure black with no detail. Midtones look muddy. Your subject may be hidden in darkness while something else in the frame looks properly lit.
Overexposure (too bright) means your camera let in too much light. Highlights become pure white with no detail, often called "blown" highlights. Skin tones look pale and washed out. Bright areas lose all texture and definition.
The key distinction matters for fixing things later. Dark shadows can often be recovered in editing, but blown highlights are usually gone forever. More on that shortly.
Now let us figure out what went wrong.
Common Causes of Underexposure (Too Dark Photos)
Your camera is not actually measuring light the way you might think. It is measuring reflected light and making assumptions about what that reflection should average out to. Those assumptions fail in predictable ways.
Bright Backgrounds Fooling Your Meter
This is the number one cause of underexposed photos.
Your camera sees a scene and tries to make it average out to a middle gray. When your subject is standing in front of a bright window, white wall, snow, or bright sky, all that brightness tells the camera "this scene is very bright, reduce exposure."
The camera does exactly that, reducing exposure so that your subject, who was the whole point of the photo, is a dark silhouette.
This happens constantly with backlit portraits, photos taken facing windows, beach shots, snow photography, and any situation where the background is significantly brighter than your subject.
How to identify it: Look at your photo. Is the background properly exposed while your subject is too dark? That is your meter being fooled by the bright background.
The fix: Add positive exposure compensation. Start with +1 stop and adjust from there. Or switch to spot metering and meter off your subject rather than the whole scene.
Wrong Metering Mode
Your camera probably offers several metering modes: matrix or evaluative, center-weighted, and spot. Each one measures different parts of the frame.
Matrix metering looks at the whole scene and makes educated guesses. Center-weighted prioritizes the middle of the frame. Spot metering measures only a tiny area, usually wherever your focus point is.
If you are in spot metering and your focus point happens to be on something bright, your camera will underexpose the rest of the frame to compensate. If you are in matrix metering with an unusual composition, the camera's averaging can produce unexpected results.
How to identify it: Check your metering mode. Did you change it recently for a specific shot and forget to change it back? Is your focus point on something much brighter than your actual subject?
The fix: Match your metering mode to your situation. Matrix works for most general shooting. Switch to spot when you need precise control over what the camera measures.
Understanding how your camera's light meter works makes these situations predictable instead of surprising.
Exposure Compensation Accidentally Set
This one is embarrassingly common and happens to everyone.
You adjusted exposure compensation for a previous shot. Maybe you were photographing something bright and dialed in -1 or -2 stops. Then you moved to a different scene, forgot about the compensation, and now everything is underexposed.
How to identify it: Check your display or viewfinder. Is there a +/- indicator showing compensation? Look at your camera's top LCD or rear screen. Most cameras show exposure compensation prominently once you know where to look.
The fix: Get in the habit of resetting exposure compensation to zero when you finish a challenging lighting situation. Some photographers check it as part of their "new scene" routine.
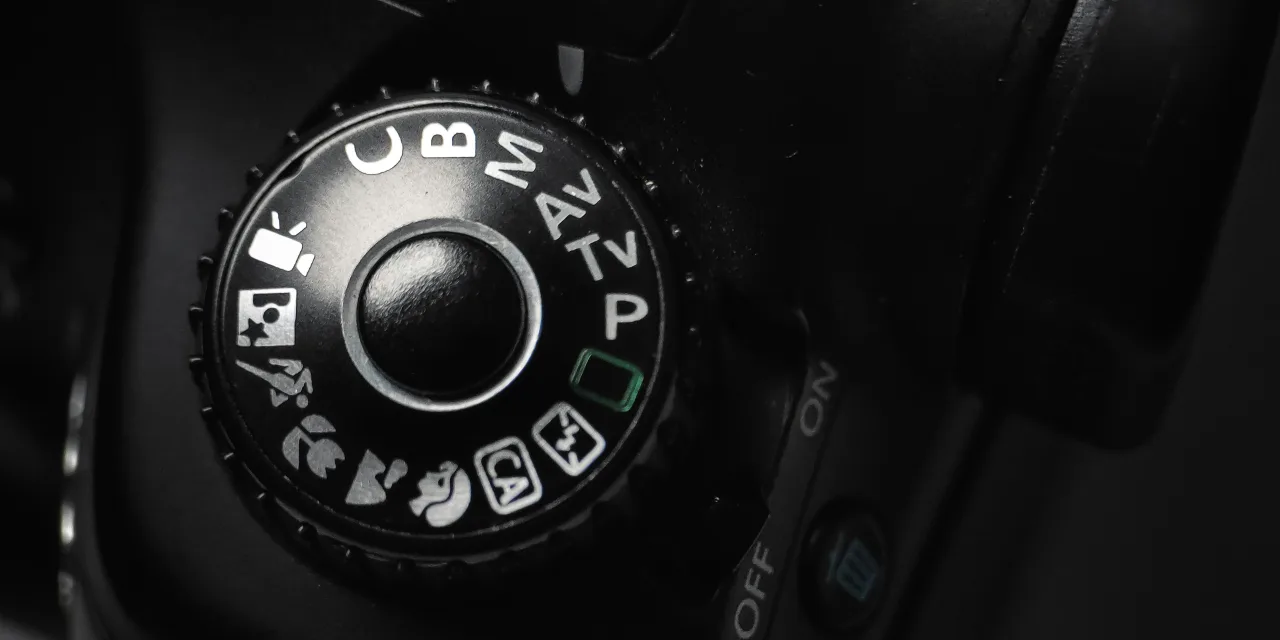
Auto Mode Limitations
Auto mode makes conservative choices, prioritizing avoiding motion blur and noise, which means it tends to use faster shutter speeds and lower ISOs even when more light would help.
In challenging light, auto mode often produces underexposed images because it will not push ISO high enough or slow the shutter speed sufficiently to get proper exposure.
How to identify it: Check your settings. Did auto mode choose ISO 800 when ISO 3200 was available? Did it pick a shutter speed faster than necessary for a static subject?
The fix: Take control by using aperture priority or manual mode in dim conditions, which lets you make deliberate choices about which trade-offs you accept.
Shooting in manual mode eliminates most auto-mode exposure problems because you're making every decision deliberately.
Not Enough Light, Period
Sometimes the scene is just genuinely dark and your camera settings cannot gather enough light without unacceptable compromises.
With indoor events without flash, evening shooting, dim restaurants, and concerts, at some point you hit the limits: aperture wide open, shutter as slow as you can handhold, ISO maxed out. And it is still too dark.
How to identify it: Check all three settings. Are you already at your lens's widest aperture? Is your shutter speed at the minimum for avoiding camera shake? Is ISO at or near maximum?
The fix: Add light if possible by using flash, or stabilize the camera with a tripod to allow slower shutter speeds. Accept that some situations genuinely require more light than available.
When you're hitting all three limits at once, you're in low light territory where every setting is a compromise.
Common Causes of Overexposure (Too Bright Photos)
Overexposure problems tend to be the mirror image of underexposure, but with a few unique causes worth understanding separately.
Dark Scenes Fooling Your Meter
The same averaging that causes underexposure with bright backgrounds causes overexposure with dark ones.
Photograph someone wearing black clothing, shoot against a dark background, or capture a dimly lit room, and your camera thinks "this is too dark, add more exposure." It brightens the image, and now your highlights are blown and everything looks washed out.
Concert photography, theatrical performances, and any situation with dramatic lighting and dark backgrounds trigger this constantly.
How to identify it: Is the dark background looking gray instead of black? Are the bright elements, like stage lights or your subject's face, completely blown out?
The fix: Dial in negative exposure compensation. For dark scenes with bright subjects, protecting the highlights is usually more important than lifting the shadows.
Flash Overpowering Ambient Light
On-camera flash in auto mode often fires at full power, completely overwhelming the ambient light. The result is a properly lit subject against a pitch black background, or worse, a subject blasted with so much light they look flat and washed out.
This is especially common at events, parties, and indoor gatherings where the camera decides flash is needed but does not balance it with the existing light.
How to identify it: Does your subject look unnaturally bright while the background is dark? Are there harsh shadows behind your subject? Is the lighting flat and unflattering?
The fix: Reduce flash power manually. Use flash exposure compensation to dial it down. Learn to bounce flash off ceilings or walls for softer light. Or balance flash with ambient by choosing settings that properly expose the background first, then adding just enough flash to light your subject.
Shutter Speed Too Slow for Bright Conditions
This happens less often with modern cameras that handle high shutter speeds easily, but it still catches people.
You are shooting in bright sunlight with a wide aperture for background blur. You need a very fast shutter speed to compensate. But some cameras max out at 1/4000 or 1/8000 second. If that is not fast enough, you get overexposure.
This also happens when using studio strobes in bright ambient light, or when your flash sync speed limits you to slower shutters than the scene requires.
How to identify it: Are you shooting wide open in bright sun? Check if your shutter speed has maxed out while the exposure indicator still shows overexposure.
The fix: Close down your aperture, add a neutral density filter to cut incoming light, or move your subject into shade.
Understanding how aperture interacts with shutter speed in bright conditions prevents this from catching you off guard.
ISO Set Too High for Conditions
If you pushed ISO for a low-light situation and then walked outside without adjusting, you will overexpose badly.
This is another "forgot to reset" problem. ISO 3200 indoors makes sense. ISO 3200 in afternoon sun does not.
How to identify it: Check your ISO. Is it dramatically higher than the conditions warrant?
The fix: Build a habit of checking ISO when conditions change. Some photographers use auto ISO with a maximum limit to avoid this entirely.
Knowing when to raise ISO and when to keep it low prevents both this problem and the opposite one of underexposing because you were afraid to push it higher.
How to Fix Exposure In-Camera Before Shooting
Prevention beats correction, so here is a systematic approach.
Check your meter before shooting. Your camera shows a light meter reading in the viewfinder or on the rear screen. Get in the habit of glancing at it. If it shows significant over or underexposure before you shoot, you already know there is a problem.
Use exposure compensation proactively. Bright background? Dial in +1 compensation before you start shooting, not after reviewing bad images. Dark scene with bright subjects? Start with -1. Adjust from there.
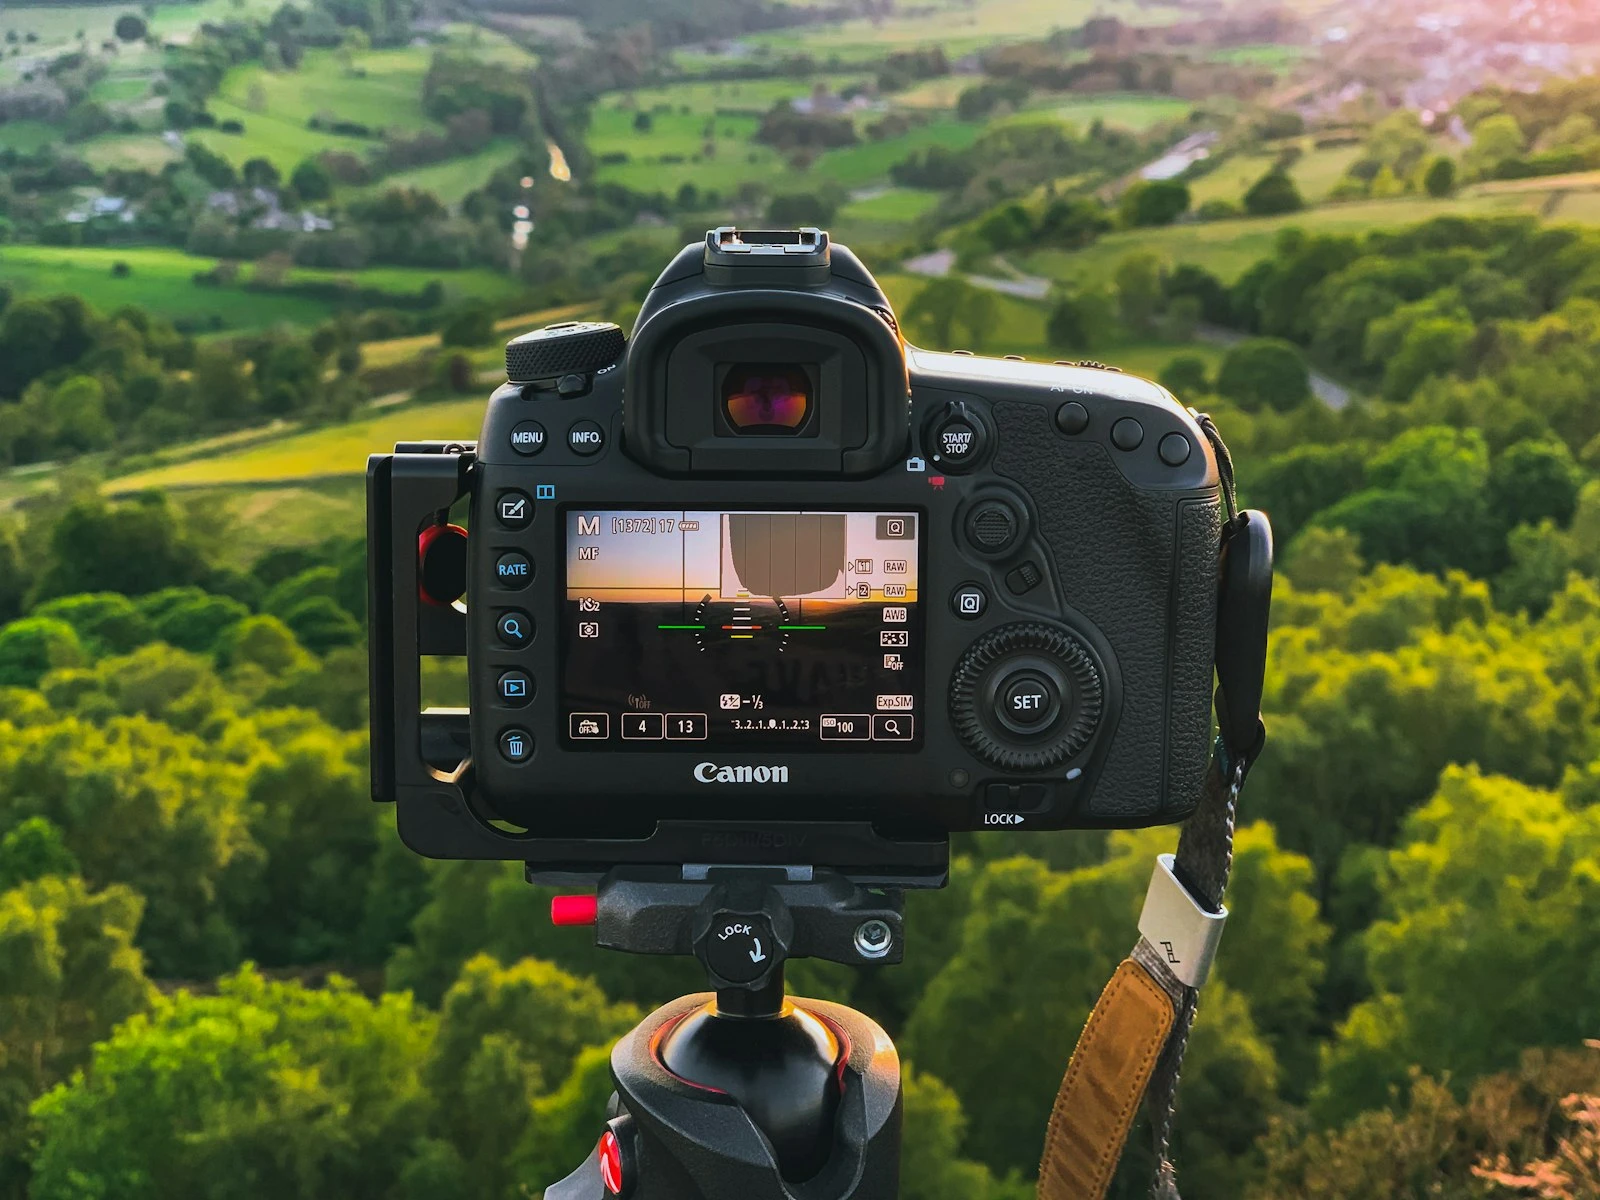
Preview exposure with your LCD. Many cameras can show a "live" exposure preview. What you see on the screen approximates what you will get. If it looks wrong, adjust before shooting.
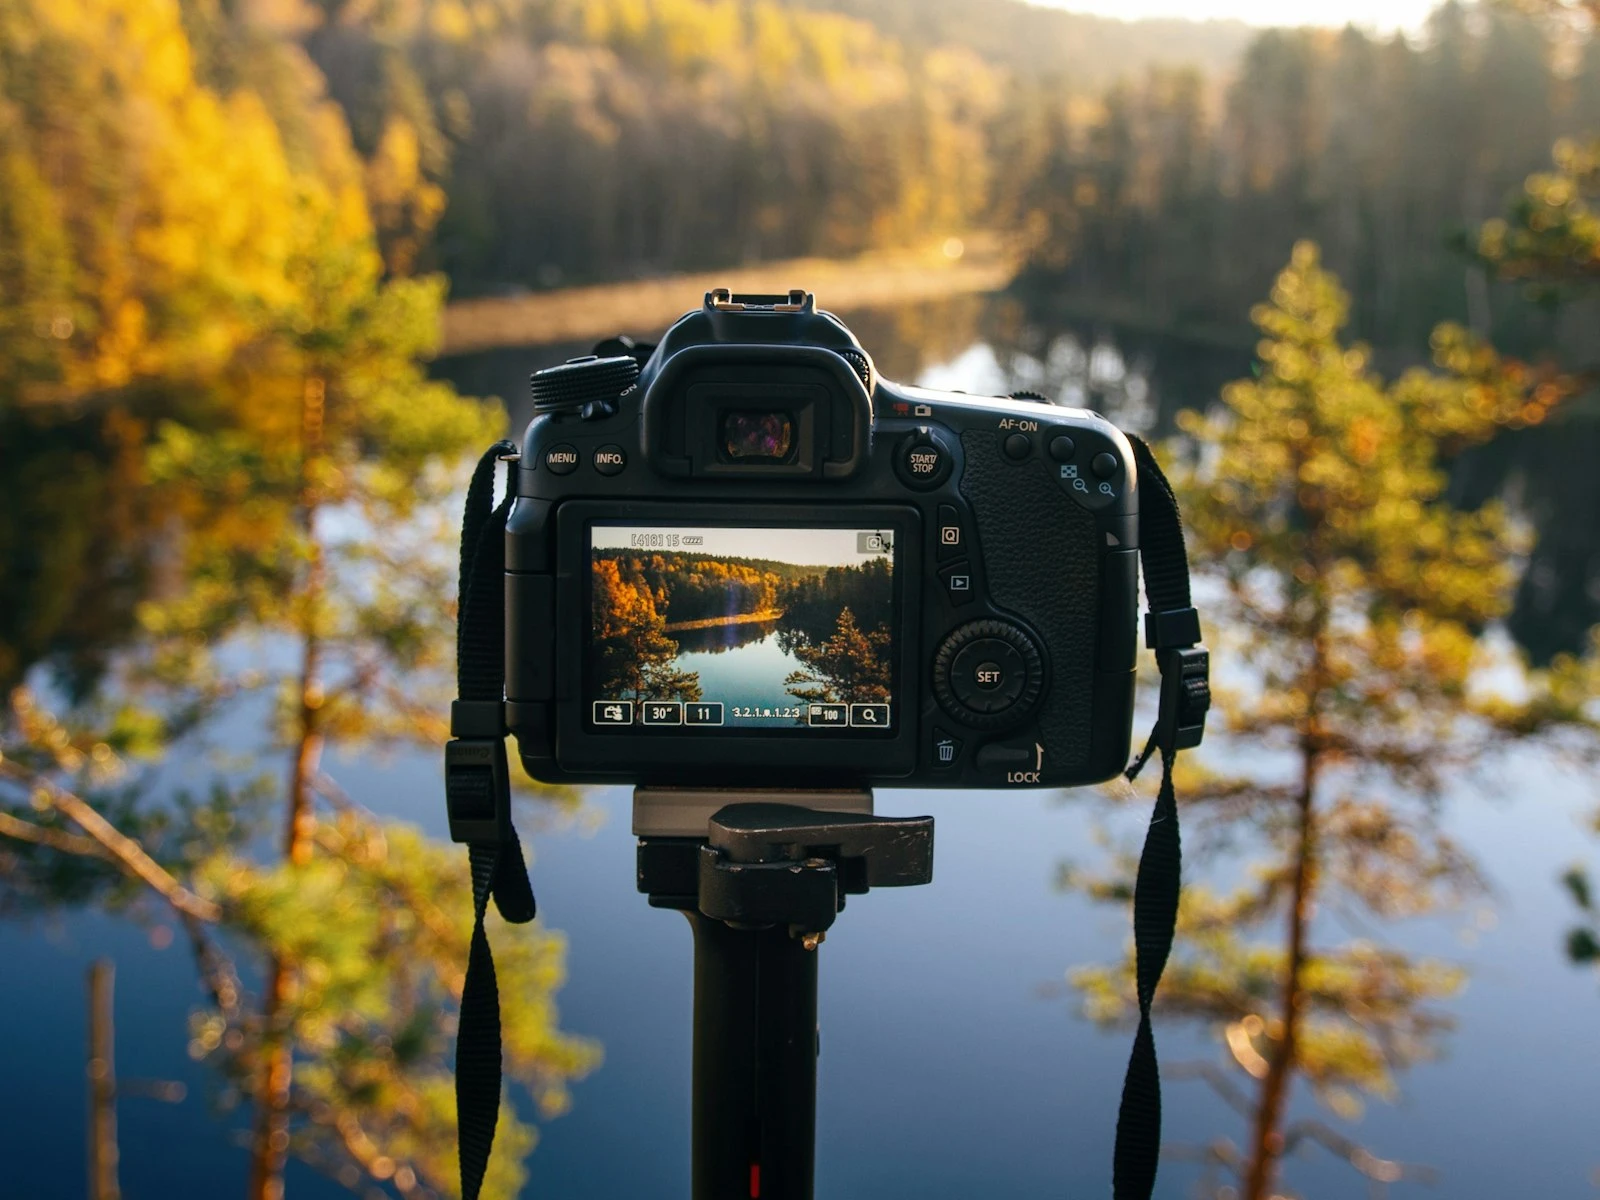
Check your histogram. The histogram shows the distribution of tones in your image. Data crammed against the left edge means underexposure. Data crammed against the right edge means overexposure. Learn to read it at a glance.
Bracket important shots. When lighting is tricky and the moment matters, shoot multiple frames at different exposures. One proper exposure, one brighter, one darker. You can choose the best later.
Shoot raw. Raw files preserve more highlight and shadow information than JPEGs, giving you more room to correct exposure in editing.
Can You Fix Exposure Problems in Editing?
Sometimes yes and sometimes no, so understanding the limits saves frustration.
When Recovery Works Well
Moderate underexposure is often fixable. Raw files typically have 2-3 stops of shadow recovery before things fall apart. A photo that is somewhat too dark can usually be brightened convincingly in Lightroom or similar software.
Slight overexposure can work. If highlights are not completely blown, pulling them back often looks fine. This is maybe half a stop to one stop of recovery.
High-quality cameras have more latitude. Modern full-frame sensors preserve more shadow and highlight detail than older or smaller sensors. A slightly missed exposure from a recent camera often cleans up well.
When Recovery Fails
Severely underexposed images get noisy. When you push dark shadows up significantly, you amplify the noise hiding in those dark areas. The result can be muddy, grainy, and color-shifted. More than 2-3 stops of correction usually shows obvious degradation.
Blown highlights are gone forever. When sensor data clips to pure white, there is no information to recover. That white sky stays white. Those bright spots in the background stay featureless. No amount of editing brings back detail that was never captured.
JPEGs have less recovery range. The compression in JPEG files bakes in exposure decisions. Recovery is far more limited than with raw files.
Extreme corrections look unnatural. Even when technically possible, heavy exposure correction often looks processed. Shadow areas raised dramatically look different from areas that were properly exposed, with colors shifting and contrast becoming odd.
The practical takeaway is to fix exposure in camera whenever possible. Trust editing to handle minor corrections, not major rescues.
Fixing dark photos in editing works well for minor corrections, but heavy lifting always shows.
Prevention Checklist
Use this quick review before challenging lighting situations:
- Reset exposure compensation from your last shoot
- Check ISO and adjust for current conditions
- Verify metering mode matches the situation
- Evaluate the scene for bright backgrounds or dark surroundings that will fool your meter
- Take a test shot and check the histogram
- Dial in compensation if needed before the moment matters
- Shoot raw for maximum editing flexibility
- Bracket critical shots when lighting is tricky
Building these habits eliminates most exposure problems before they happen.
Key Takeaways
- Bright backgrounds cause underexposure and dark backgrounds cause overexposure because your meter tries to average everything to middle gray.
- Use positive exposure compensation (+1 to +2 stops) for backlit subjects, snow, and bright backgrounds to prevent silhouettes.
- Always check and reset exposure compensation, ISO, and metering mode when moving to a new scene.
- Shoot raw files for maximum editing flexibility, since underexposed shadows are often recoverable but blown highlights are gone forever.
- Take a test shot and check the histogram before critical moments in tricky lighting.
More in This Guide
Continue building your understanding of camera settings and exposure control.