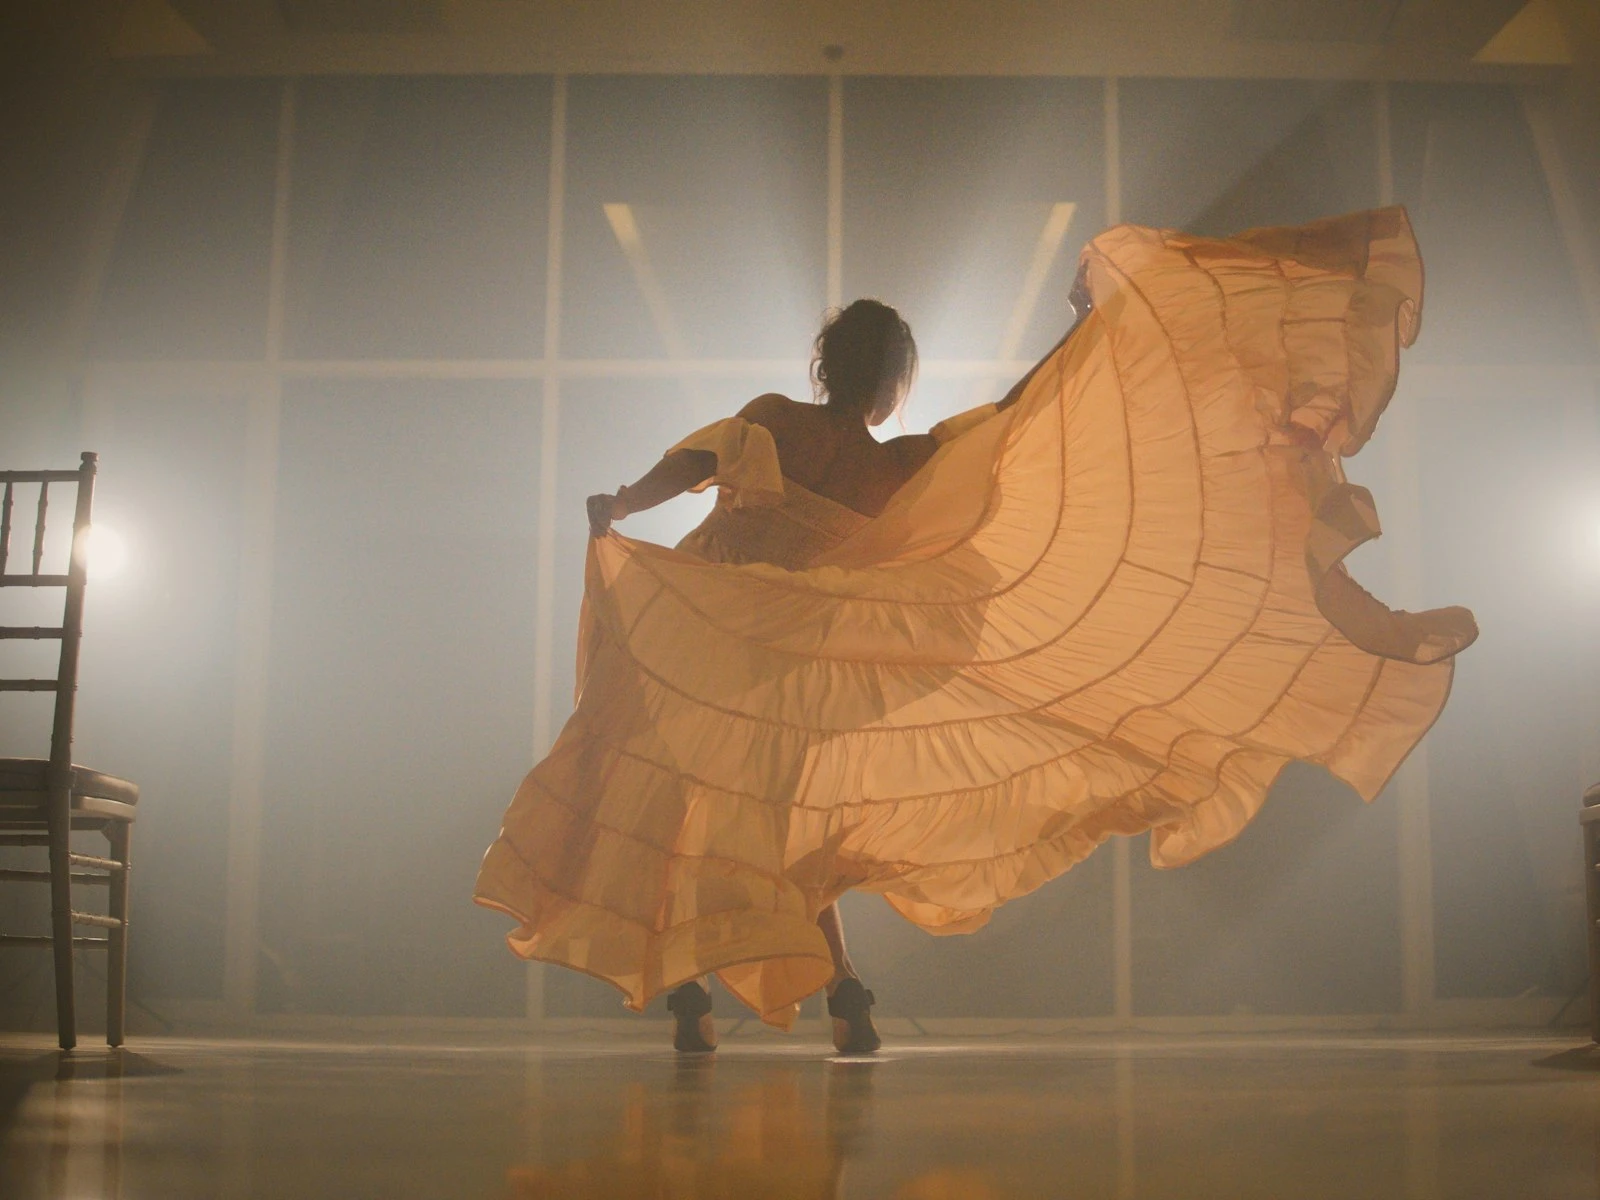
The photo looked fine on your camera's screen. Maybe it even looked good. But now on your computer, it's clearly too dark. The subject's face is lost in shadow. Details you remember seeing have disappeared into murky tones.
Don't delete it yet, though.
Modern cameras capture far more information than what you see in a dark image. Lightroom can recover astonishing amounts of detail from apparently ruined photos, if you use the right approach.
Here's how to brighten underexposed photos without destroying image quality. It's one of the most practical skills covered in our photo editing guide.
What You're Actually Recovering
When a photo is underexposed, information still exists in the file, just hiding in the dark tones. This is especially true for RAW files, which capture more tonal range than JPEGs.
A dark photo compresses data into a small tonal range rather than missing data entirely. Your job is to expand that range back to something visible and pleasing.
The challenge is that this expansion reveals problems that were hidden in the darkness, including noise, color shifts, and banding. The techniques below help you recover brightness while minimizing these issues.
The Recovery Workflow
Step 1: Assess How Dark It Is
Before adjusting anything, figure out what you're working with.
Check the histogram. If the graph is smashed against the left side with space on the right, your photo is underexposed but recoverable. If there's data across the whole histogram but everything looks dark, you might have a display issue rather than an exposure problem.
Look for absolute black. Areas that show as pure black (RGB values of 0,0,0) have no information to recover. Anything even slightly above pure black can be brightened.
Most underexposed photos fall into the "two stops under" range: dark, but with plenty of information hiding in the shadows. These recover beautifully. Photos that are three or more stops under are harder but often still usable.
Step 2: Start with Exposure
The Exposure slider is your primary tool. It uniformly shifts the entire image brighter or darker, mimicking what would have happened if you'd used different camera settings.
Push Exposure until your subject is properly lit. Don't worry about the whole image yet, and instead focus on what matters most. For portraits, that's the face, and for landscapes, it's usually the main point of interest.
You might need to push Exposure significantly. +1.5 to +2.5 is common for underexposed images. This feels aggressive, but it's the right approach.
Step 3: Manage the Consequences
Brightening reveals what darkness was hiding, and now you need to address it.
Highlights: If pushing Exposure made bright areas too bright, pull Highlights down to recover detail. This is common when you have a bright background or light source in frame.
Shadows: The Shadows slider specifically targets darker tones without affecting the whole image. For severely underexposed photos, you might push both Exposure and Shadows.
Contrast: Underexposed photos often look flat after brightening because the limited tonal range gets expanded. Add contrast back with the Contrast slider, or use the Blacks slider to restore depth.
Blacks: Pushing Shadows too far creates a washed-out look. Pull Blacks down slightly to anchor your dark tones and give the image depth.
Step 4: Deal with Noise
Underexposed photos have noise that was always there, just hiding in the shadows. Brightening makes it visible.
Higher ISO photos have more noise to begin with, and that noise becomes more apparent when you recover shadows. A photo shot at ISO 6400 and underexposed by a stop will look significantly noisier than one shot at ISO 6400 and properly exposed.
In the Detail panel:
Luminance: This smooths brightness variations (grain). Start around 20-30 for moderately noisy photos. Higher values smooth more but reduce detail.
Color: This removes colored speckles. Usually needs less adjustment than Luminance.
Reducing noise to acceptable levels matters more than eliminating all of it, since that destroys detail and makes images look artificial. Some grain is fine, and plastic-smooth images look worse than slightly noisy ones.
Step 5: Restore Color
Heavily underexposed photos often have muted, shifted colors even after brightening. Shadows tend to pick up color casts from reflected light, and these become visible when you recover them.
Check white balance first. What looked neutral in a dark image might look warm or cool when brightened. Adjust Temperature and Tint if needed.
Then look at Vibrance. A gentle boost (+10 to +20) often restores life to colors that look flat after recovery. Saturation is less discriminating and can make noise more colorful (and visible), so stick with Vibrance instead.
If specific colors look wrong, use the HSL panel to adjust them individually rather than globally affecting everything.
Different Approaches for Different Situations
Backlit Subjects
When your subject is dark but the background is properly exposed, don't push Exposure (which affects everything). Instead:
- Use Shadows heavily (+70 to +100)
- Use a local adjustment brush on the subject with +Exposure
- Leave Highlights alone or even pull them down
This targets the dark areas while preserving the background.
Overall Darkness
When the entire image is uniformly too dark:
- Push Exposure as your primary tool
- Add Contrast to restore depth
- Fine-tune with Shadows and Blacks
This is the simplest scenario and recovers best.
Partial Darkness
When some areas are fine but others are too dark (like a face in partial shade):
- Make overall adjustments to get the bright areas right
- Use the Adjustment Brush to paint over dark areas
- Boost Exposure and Shadows in just those areas
Local adjustments prevent you from destroying the parts of the image that already look good.
How Far Can You Push It?
This depends on your file type and camera, but here are some general guidelines.
RAW files can typically recover 2-3 stops of underexposure with good results. Modern full-frame cameras can sometimes push 4-5 stops, though quality suffers.
JPEG files have much less latitude. Expect maybe 1-1.5 stops before quality degrades significantly. This is because JPEGs have already discarded tonal information.
Newer cameras generally have better shadow recovery than older ones. If you're not sure what your camera can handle, test it: shoot deliberately underexposed at different levels and see how far you can recover them.
Signs you're pushing too far include:
- Excessive noise that can't be reasonably reduced
- Color banding (visible stripes instead of smooth gradients)
- Flat, gray shadows that won't get any brighter
- Green or magenta color shifts in dark areas
When you see these, you've hit the limits of what the file contains.
Prevention: The Best Fix
While Lightroom can recover remarkable amounts, it's always easier to get exposure right in-camera.
If you're regularly underexposing, consider a few adjustments to your approach.
Checking your LCD brightness. A bright LCD screen makes photos look brighter than they are. View images with the histogram instead of trusting the preview.
Slight overexposure when shooting RAW. If you have to be wrong, being slightly overexposed is better than underexposed. Highlights are easier to recover than deep shadows, and there's less noise in bright areas.
Using exposure compensation. If your camera consistently underexposes in certain situations (like backlit scenes), dial in +1 or +2 exposure compensation.
That said, sometimes underexposure is unavoidable or intentional. These recovery techniques ensure those photos aren't lost.
Example: Recovering a Two-Stop Underexposed Portrait
Starting point is an indoor portrait, face lost in shadow, window visible in background.
- Exposure +1.8. Face now visible but flat, window blown out
- Highlights -60. Recover window detail
- Shadows +40. Lift remaining shadows in face and hair
- Contrast +15. Restore depth lost in recovery
- Blacks -10. Anchor the dark tones
- Luminance noise reduction +25. Manage grain revealed by recovery
- Vibrance +12. Restore color vitality
Total time is about 90 seconds.
The result isn't identical to a properly exposed photo since there's more noise and slightly less tonal smoothness. But it's a usable, even good image instead of a dark, unusable one.
Key Takeaways
- Push the Exposure slider first to get overall brightness right, then use Highlights, Shadows, and Blacks to manage the consequences.
- RAW files can typically recover 2-3 stops of underexposure cleanly, while JPEGs have much less latitude before quality degrades.
- Apply noise reduction (Luminance 20-30) after brightening to manage grain revealed by shadow recovery, but accept some noise rather than over-smoothing.
- For backlit subjects, use Shadows and local adjustment brushes instead of Exposure to brighten the subject without blowing out the background.
- Slightly overexpose when shooting RAW rather than underexposing, since highlights are easier to recover than deep shadows.
More in This Guide
Continue exploring editing techniques.