You've imported your photos into Lightroom, and now you're wondering where to start.
The blank slate of an unedited image can feel paralyzing. So many sliders, so many options, no clear indication of where to start. Most people either panic-click random adjustments or follow a tutorial that doesn't quite match their photo.
Editing doesn't require understanding every tool. It requires a consistent order of operations, a workflow you follow every time. Once you have that, editing becomes almost automatic. New to editing jargon like histogram, white balance, or luminance? The photography glossary has clear definitions for every term you'll encounter here.
This workflow gets results consistently, even if it's not the most complicated or the most "professional." It's the foundation of our entire photo editing guide.
Why Order Matters
Editing a photo is like building a house. You don't paint walls before the foundation is poured.
In Lightroom, certain adjustments affect others. Change white balance after you've fine-tuned colors, and you might undo an hour of work. Sharpen before you've dealt with noise, and you'll sharpen the noise too.
The workflow below is designed so each step builds on the previous one. Skip around and you'll constantly be undoing and redoing adjustments.
The Seven-Step Workflow
Step 1: Assess the Image (10 seconds)
Before touching anything, actually look at your photo. Ask yourself:
- What's the main problem? (Too dark? Wrong colors? Crooked?)
- What's the feeling I want? (Bright and airy? Moody and dramatic?)
- Is this photo worth editing?
That last question matters because not every photo deserves your time. If it's fundamentally broken (severely out of focus, badly composed, wrong moment), move on. Editing can't save everything.
Step 2: Lens Corrections and Transform (15 seconds)
Start in the Lens Corrections panel. Enable profile corrections to fix the distortion your specific lens creates. This is especially important for wide-angle lenses, which bend straight lines.
Then check Transform. If verticals are leaning (common when pointing your camera up at buildings), use the guided tool or auto correction to straighten them.
These adjustments shift pixels around, which is why you do them first. Make them after you've cropped and you might lose parts of your image.
Step 3: Crop and Straighten (20 seconds)
Now use the Crop tool to refine your framing.
Straighten the horizon first. Click the angle tool and drag along any line that should be horizontal (or vertical). A crooked horizon makes everything feel wrong, no matter how good your other edits are.
Then crop deliberately. Composition was decided when you shot, so at this point you're removing distractions at the edges and potentially improving the framing.
Standard aspect ratios (4:3, 3:2, 16:9, 1:1) tend to feel more pleasing than arbitrary crops. But if the image demands something different, trust your eye.
Step 4: White Balance (30 seconds)
White balance is your color foundation. Everything else builds on this, so get it right before adjusting other colors.
Start with the eyedropper. Click it, then click on something in your photo that should be neutral gray or white. Lightroom adjusts temperature and tint automatically.
Often this gets you close. If not, fine-tune manually:
- Temperature: Cool (blue) to warm (yellow). Indoor photos often need warming; shade often needs cooling.
- Tint: Green to magenta. Usually needs less adjustment than temperature.
The "correct" white balance is the one that looks right to you. Technical accuracy matters less than the feeling you want.
Step 5: Basic Exposure Adjustments (60 seconds)
This is where most of your editing happens. Work through these sliders in order:
Exposure: Get overall brightness in the right range. Other sliders will refine things, so don't worry about perfection here.
Contrast: Adds punch by making darks darker and lights lighter. Start at +10 to +20 for most images. Too much and your photo looks harsh.
Highlights: Pull down to recover detail in bright areas. If you shot in RAW, there's usually more information there than you'd expect.
Shadows: Push up to reveal detail in dark areas, but be careful because too much looks unnatural and flat.
Whites: Sets the brightest point in your image. Push until you just start losing detail (hold Alt/Option while dragging to see clipping).
Blacks: Sets the darkest point. Pull down until shadows have depth but you're not losing important detail.
The interplay between these six sliders determines how your photo "feels." Most images need modest adjustments. Big moves usually mean something went wrong in-camera.
Step 6: Presence and Color (45 seconds, if needed)
Many photos are done after Step 5, but if colors need work:
Texture: Adds mid-tone contrast. Good for bringing out detail in landscapes, fabrics, or anything with fine structure. Use sparingly.
Clarity: Stronger mid-tone contrast. Creates a "punchy" look. A little goes a long way, and too much looks gritty and overdone.
Dehaze: Cuts through atmospheric haze. Useful for distant landscapes or fog. Also adds contrast and saturation, so adjust other sliders accordingly.
Vibrance: Boosts muted colors while protecting already-saturated tones and skin. This is almost always better than Saturation.
Saturation: Increases all colors equally. Use sparingly, if at all. It's easy to go too far.
Step 7: Sharpening and Noise Reduction (30 seconds)
In the Detail panel:
Sharpening: Lightroom applies default sharpening, which is fine for most images. Only increase Amount if your photo looks soft. Always check at 100% zoom. Oversharpening creates ugly halos around edges.
Noise Reduction: For photos shot at high ISO, increase Luminance to smooth grain. This softens the image slightly, so balance noise reduction against sharpness. And with that, you're done.
The Complete Workflow in Practice
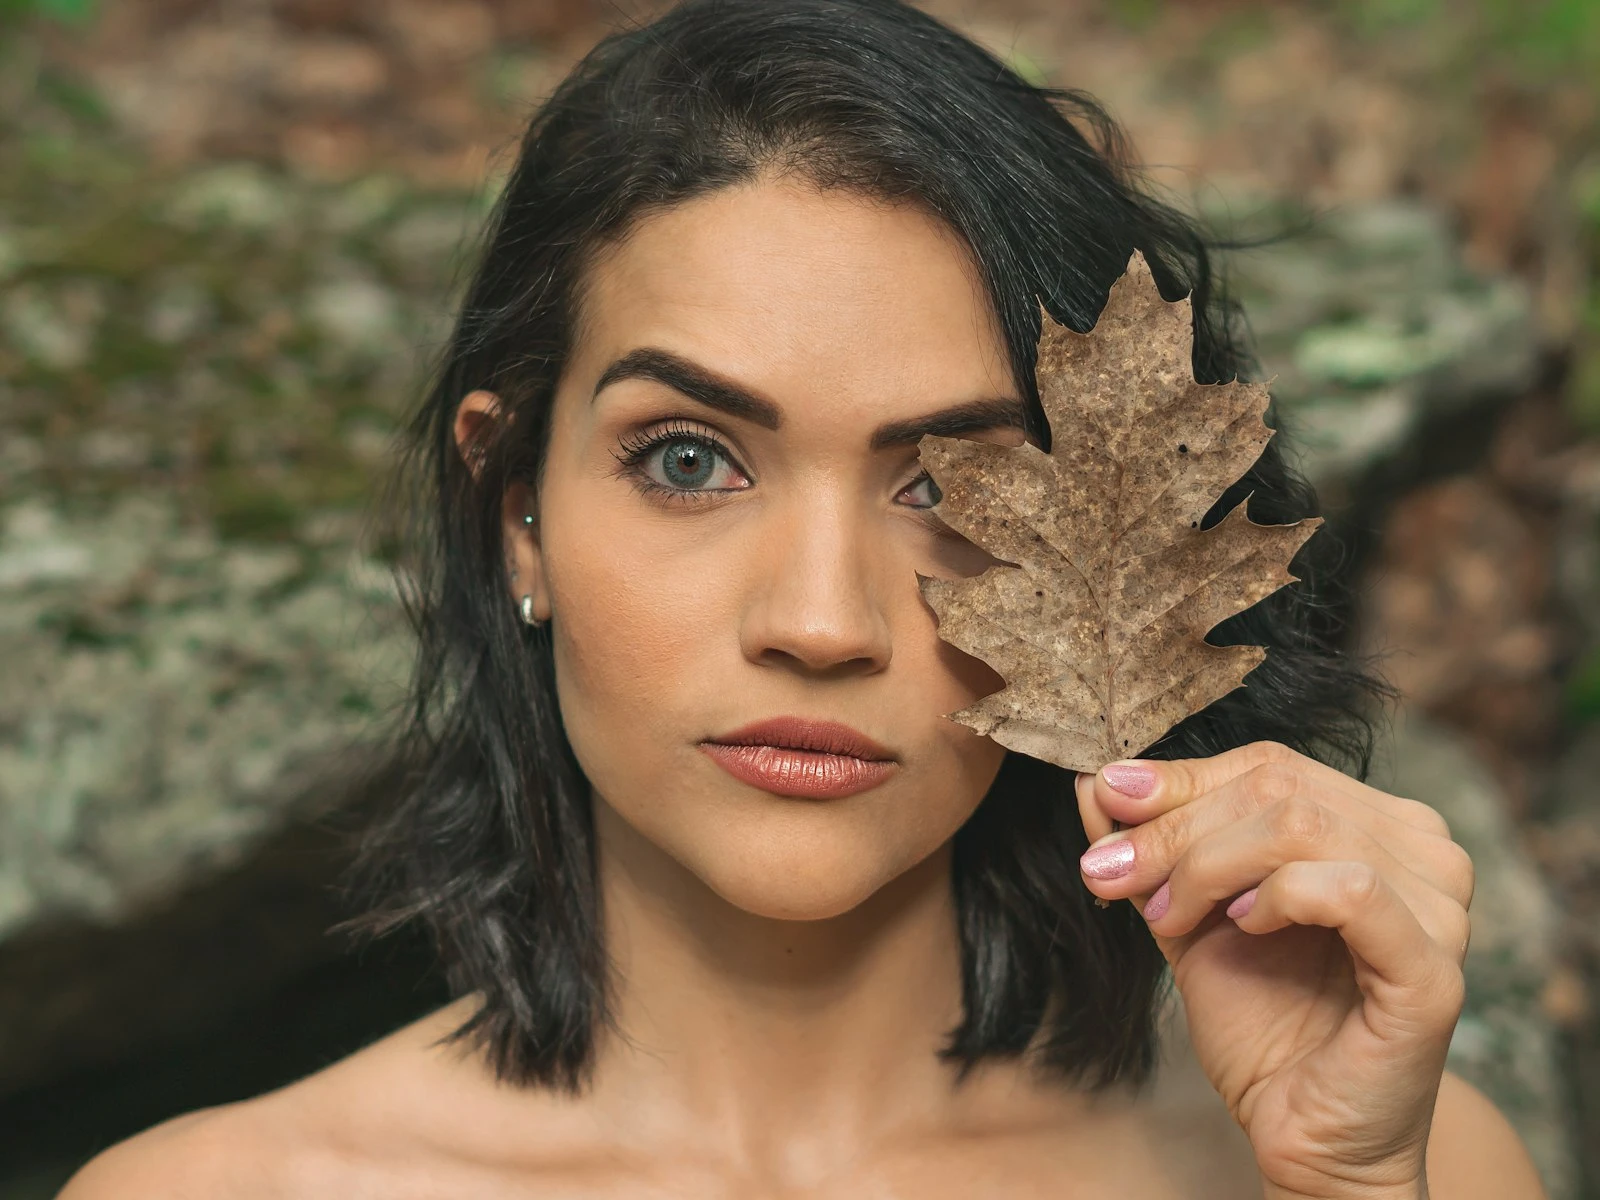
Let's say you have a portrait shot indoors that came out too warm and slightly dark.
- Assess: Main problem is warmth and exposure. Aiming for natural look.
- Lens corrections: Enable profile, check for distortion.
- Crop: Horizon is fine, but there's distracting clutter on the left edge, so crop it out.
- White balance: Eyedropper on the white of their eye (or a white shirt). Temperature drops, colors look more natural.
- Basic adjustments: Exposure +0.3, Highlights -20 (recover window detail), Shadows +15 (open up face), Whites +5, Blacks -5.
- Presence: Skip Clarity (it's unflattering on faces). Vibrance +10 to bring back some color.
- Detail: Default sharpening is fine. No noise issues.
Total time: about two minutes.
What About All the Other Tools?
Lightroom has dozens of features we haven't touched, including tone curves, HSL sliders, split toning, local adjustments, healing brush, and gradients.
These are refinement tools. They're for when the basic workflow gets you 90% there and you want to push to 100%. For most photos, you'll never need them.
When you do, learn them one at a time as specific needs arise. Trying to master everything at once is how people spend more time watching tutorials than actually editing.
Workflow Variations
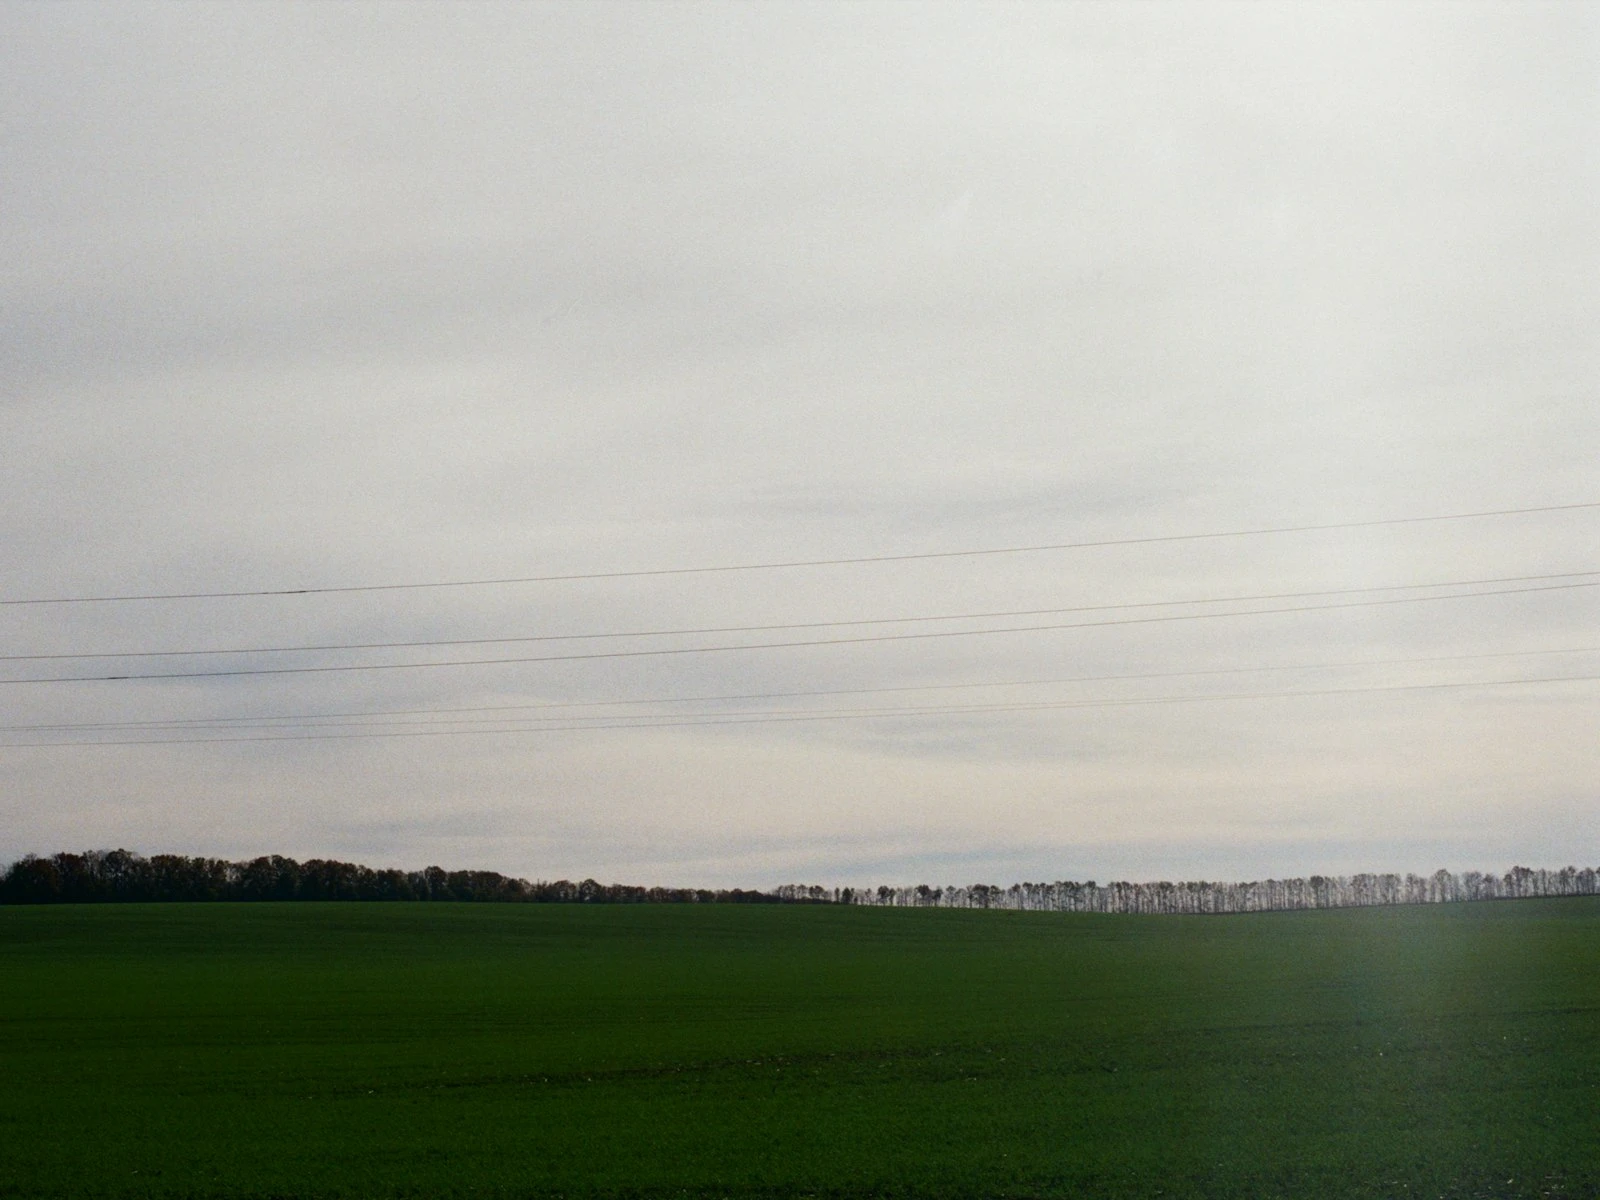
For Landscapes
Spend more time on the Presence sliders. Landscapes often benefit from moderate Clarity and Dehaze to bring out texture and cut through atmospheric haze. Colors can usually be pushed further than portraits.
For Portraits
Be gentle with everything. Clarity and Texture are unflattering on skin. Saturation easily makes skin tones look unnatural. Shadows often need lifting to show detail in faces, but too much looks flat.
For Events and Weddings
Speed matters when you have hundreds of images. Aim for consistency more than perfection. Develop a style, create a preset, and apply it as a starting point to similar images. A set of quality presets like the ones at The Daily Preset can cut your event editing time dramatically.
For Low Light Photos
Noise reduction becomes more important. You may need to accept some softness in exchange for reasonable noise levels. Shadow recovery often reveals more noise, so balance shadow adjustment against noise tolerance.
Common Workflow Mistakes
Editing at the wrong zoom level. Do overall adjustments zoomed out to see the whole image. Check sharpening and noise at 100% zoom. Switching between these prevents over-processing.
Chasing "perfect" histogram. The histogram is a tool, not a target. Some photos should be dark. Some should be bright. Edit for the feeling you want, not textbook distribution.
Comparing to the original too often. Pressing the backslash key to toggle "before" is useful, but doing it constantly makes you second-guess every adjustment. Trust your workflow.
Editing when tired. Your perception of color and contrast shifts with fatigue. If you're editing late at night, everything will look different tomorrow. Do basic edits when you're fresh.
Building Speed
When you first follow this workflow, it might take five minutes per photo. That's fine. With practice:
- Step 1-3 (assess, lens corrections, crop): 30 seconds
- Step 4 (white balance): 15 seconds
- Step 5 (exposure): 45 seconds
- Step 6-7 (presence, detail): 30 seconds
That's about two minutes for basic edits. Some photos need more, but this becomes your baseline.
The goal is eliminating decision paralysis, not rushing. When you know exactly what to do in what order, editing flows.
Key Takeaways
- Follow a consistent seven-step order: assess, lens corrections, crop/straighten, white balance, exposure, presence/color, sharpening/noise reduction.
- Fix white balance before adjusting exposure or color, because color shifts affect how brightness and saturation read in your image.
- Most photos need only modest adjustments to the basic exposure sliders; big moves usually mean something went wrong in camera.
- Skip Clarity on portraits, use Vibrance instead of Saturation, and check sharpening at 100% zoom to avoid overprocessing.
More in This Guide
Continue exploring editing techniques.