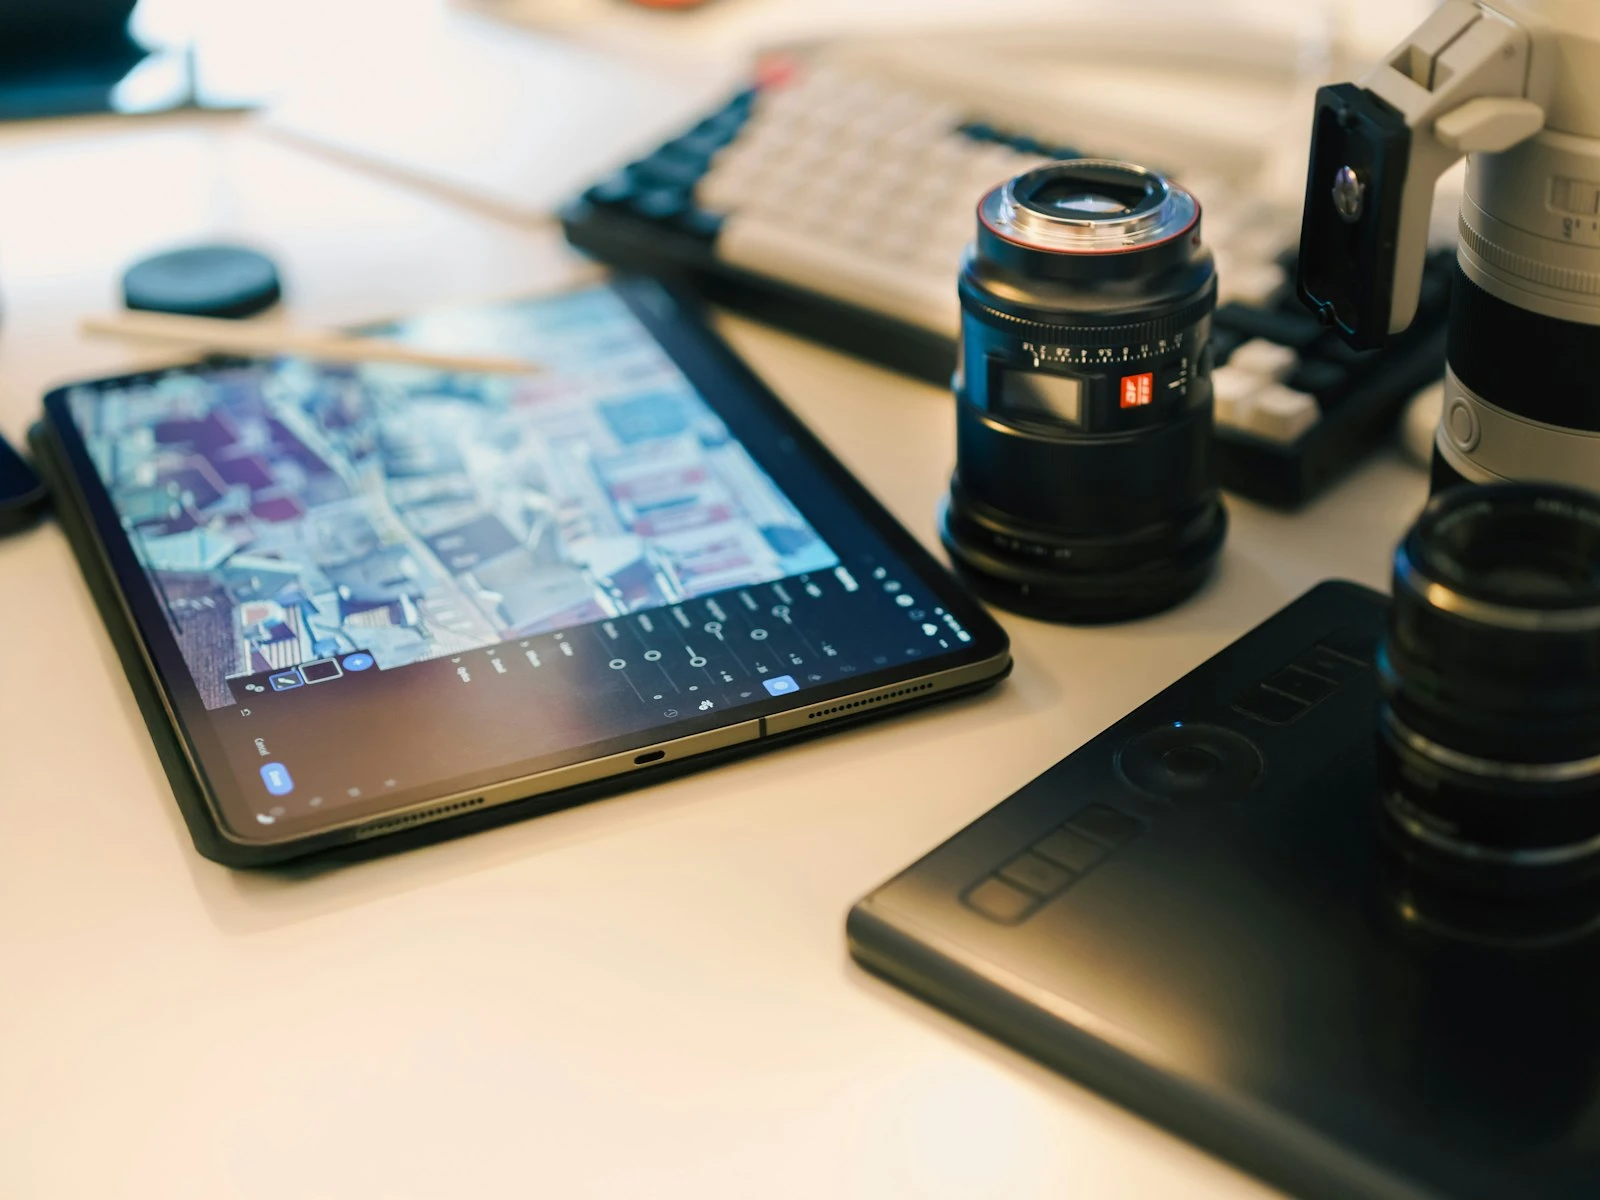
You've probably heard you should shoot RAW. But when you try it, the files are huge, they need processing, and honestly, your JPEGs looked fine, so why bother?
The answer comes down to editing flexibility. RAW gives you more room to fix mistakes, recover details, and adjust colors without destroying image quality.
Whether that matters depends entirely on how you shoot and edit, and it's one of the first decisions we cover in our photo editing guide. (New to terms like RAW, dynamic range, or bit depth? The photography glossary covers all of them.)
The Core Difference: Flexibility
Here's what actually matters.
JPEG: Your camera makes editing decisions for you (contrast, color, sharpening, white balance) then discards the rest of the captured information. The file is smaller, finished, and ready to use. But the decisions are baked in.
RAW: Your camera keeps all the information it captured. Nothing is baked in. You have full flexibility to make those editing decisions yourself later, or change your mind and redo them.
JPEG is like a finished print from the photo lab. You can work with it, but you're working with a processed result. RAW is the original negative. You can print it however you want, as many times as you want, with different interpretations each time.
What RAW Actually Gives You
More Exposure Recovery
This is RAW's most practical advantage. When you push Shadows up or pull Highlights down in Lightroom, RAW files respond beautifully. JPEG files fall apart much sooner.
Underexposed photo? RAW can often recover 2-3 stops of shadow detail cleanly. JPEG might give you one stop before noise and banding become unacceptable.
Blown highlights? RAW frequently recovers detail that looks completely white in the preview. JPEG has much less to work with.
If you shoot in challenging light like backlit subjects, high contrast scenes, or low light situations where exposure is difficult, RAW provides a meaningful safety net.
True White Balance Control
Something many photographers don't realize is that white balance in RAW is essentially free to change.
When you shoot JPEG, the camera applies white balance to the file. To change it later, you're fighting against processing that already happened. Colors shift, and quality degrades.
When you shoot RAW, white balance is metadata. You can change it in Lightroom with zero quality loss. Shot under tungsten and forgot to change settings? Switch to tungsten white balance in post with one click, as if you'd set it correctly in-camera.
This matters enormously for situations like:
- Mixed lighting situations
- Changing conditions (moving between indoors and outdoors)
- Getting color-critical work right (products, skin tones)
Better Color Depth
RAW files capture more color information than JPEG files can store. This means:
Smoother gradients: Fewer visible steps in areas that transition smoothly (skies, skin tones, fog).
More editing headroom: Push colors further before you see banding or posterization.
Better highlight/shadow transitions: Recovered areas blend more naturally into midtones.
You may not notice this looking at a single image, but when you make aggressive adjustments or when you print large, the difference matters.
Non-Destructive Editing
RAW files never change. Every edit you make in Lightroom (or any RAW processor) is just metadata, instructions for how to interpret the file. The original data sits untouched.
This means:
- You can reset to the original at any time
- You can create multiple different versions without duplicating the file
- You can re-edit years later with better software or different artistic vision
JPEG editing is also non-destructive in Lightroom, but the original JPEG has already had information discarded. You're starting from a degraded position.
When JPEG Makes Sense
RAW isn't always the best choice. JPEG is genuinely better for:
High Volume, Minimal Editing
If you shoot hundreds of photos that you'll share directly or with minimal adjustment (casual events, snapshots, documentation), JPEG streamlines your workflow. Modern cameras produce excellent JPEGs.
Storage and Workflow Constraints
RAW files are 2-6 times larger than JPEGs. If storage is limited or your computer struggles with large files, JPEG removes friction.
Satisfied with In-Camera Processing
If your camera's color rendering and processing consistently match what you want, and you rarely need to recover exposure mistakes, JPEG delivers a finished product efficiently.
Rapid Delivery
Event photographers, journalists, and sports shooters sometimes need to deliver immediately. JPEG requires no processing before use.
The Real Question: How Much Do You Edit?
The RAW vs JPEG choice should follow from your editing habits.
Choose RAW if:
- You frequently need to recover exposure (fix dark or bright areas)
- You're particular about color and white balance
- You make significant adjustments to most photos
- You're learning and expect to make exposure mistakes
- You want maximum flexibility for important images
Choose JPEG if:
- Your photos usually look good straight from camera
- You make minimal adjustments (quick crop, slight exposure)
- You prioritize workflow speed and storage efficiency
- You're shooting high volume for immediate delivery
Choose RAW+JPEG if:
- You want both options (immediate JPEG plus RAW backup)
- Storage isn't a concern
- You're unsure which you'll need
There's no wrong answer. Plenty of excellent photographers shoot JPEG because it fits their work.
RAW Workflow Considerations
If you decide to shoot RAW, a few things change in your workflow.
You Must Process Every Photo
RAW files look flat and dull by default because there's no processing applied. You need to add contrast, adjust colors, and export to a viewable format before the image is finished.
For some people, this is empowering. For others, it's burdensome.
Your Software Matters
You need capable RAW processing software. Lightroom (Classic or CC), Capture One, and free options like darktable all work. Your camera's bundled software usually works too.
Different software interprets RAW files differently, so colors may vary between programs.
File Management Gets Bigger
Plan for larger files. A 24-megapixel camera produces roughly:
- 6-10 MB JPEG files
- 24-35 MB RAW files
Over a year of regular shooting, this adds up to significant storage requirements.
Previews and Organization
Since RAW files don't display directly in most places (browsers, phones, social media), you'll likely need to generate previews or export JPEGs for sharing and browsing.
A Middle Ground: The RAW Safety Net
Many photographers use RAW as insurance.
- Shoot RAW+JPEG
- Use JPEG for 90% of images (the ones that came out well)
- Use RAW for the ones that need more editing (exposure mistakes, color problems)
This gives you speed for everyday images and flexibility for problem images, at the cost of doubling your storage requirements.
The Honest Answer
If you're asking "should I shoot RAW?" then you probably should at least try it.
The flexibility RAW provides catches exposure mistakes, enables creative changes, and gives you room to learn. You can even recover landscape shots where the sky was overexposed or shadows went too dark. If you later decide you prefer JPEG workflow, you've lost nothing except storage space during the experiment.
But if you're shooting JPEG and happy with your results, switching to RAW won't magically improve your photos. It just gives you more options. Whether you need those options depends on you.
Key Takeaways
- Shoot RAW when you frequently need to recover exposure mistakes, adjust white balance, or make significant edits, because RAW files preserve far more tonal information.
- RAW files can recover 2-3 stops of underexposure cleanly, while JPEGs degrade after about one stop of correction.
- White balance changes in RAW files are essentially free with zero quality loss, while JPEG white balance shifts fight against baked-in processing.
- Choose JPEG when your photos look good straight from camera, you need rapid delivery, or storage and workflow speed are priorities.
More in This Guide
Continue exploring editing techniques.