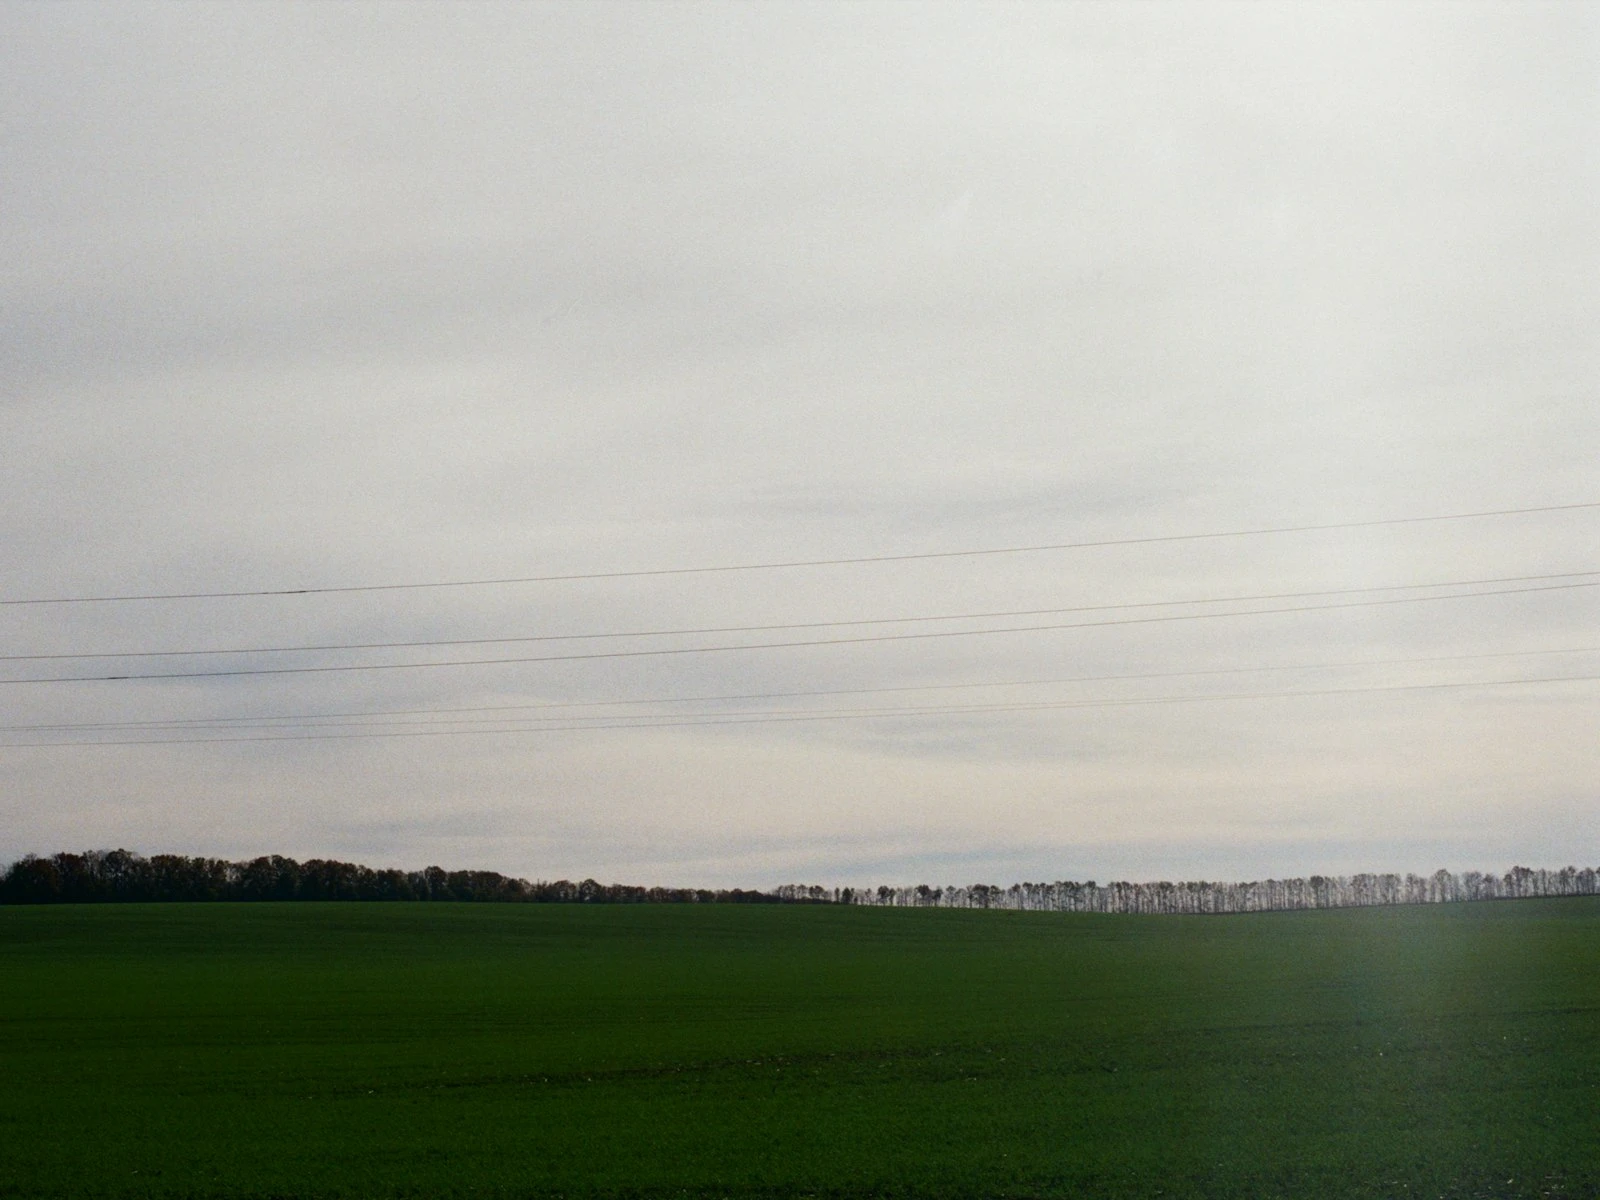
A slightly crooked horizon can ruin an otherwise good photo. Your eye might not consciously notice, but something feels wrong. The image creates a subtle sense of unease.
The fix takes five seconds, though.
Straightening and cropping are the simplest edits you can make, yet they're among the most impactful. They're often the first step in our photo editing guide for good reason. A level horizon and thoughtful crop can transform a mediocre snapshot into a photo that feels intentional.
Why Straightening Matters So Much
Humans are remarkably sensitive to horizontal lines. Thousands of years of evolution trained us to notice when something's tilted. A leaning tree might fall, and uneven ground might mean danger.
That same sensitivity means a horizon off by even one or two degrees registers as "wrong" in photographs, and even when it's not always conscious, it undermines the image.
Fortunately, straightening is easy, fast, and the payoff is immediate.
How to Straighten in Lightroom
The Quick Method: Auto
Press R to open the Crop tool, then look for the Auto button in the toolbar. Click it, and Lightroom attempts to detect the horizon and straighten automatically.
This works surprisingly well for photos with clear horizontal or vertical lines like horizons, buildings, and fences. It fails when the scene lacks obvious reference lines or when multiple competing lines confuse the algorithm.
The Precise Method: Guided
For more control:
- Press R to open Crop
- Select the Angle tool (looks like a ruler) in the toolbar
- Click and drag along any line that should be horizontal (or vertical)
- Lightroom rotates to make that line level
This is the most accurate method. You're explicitly telling Lightroom what should be straight, rather than hoping it guesses correctly.
This works best with horizons, water lines, floor edges, windowsills, tabletops, and any distinct line you know should be level.
The Manual Method: Slider
If you prefer, simply drag the Angle slider left or right until things look straight. Or hover outside the crop boundary until you see a curved arrow, then drag to rotate.
This is fine for small adjustments but less precise than the guided method.
Checking Your Work
Once straightened, zoom out and evaluate. Sometimes what looked crooked was actually correct. Unusual angles, hillsides, or sloped terrain can trick both you and the algorithm.
If the photo has no true horizontal reference (a forest, a portrait, an abstract), trust your eye over tools. Straighten until it feels right.
Beyond Horizontal: Fixing Verticals
Sometimes horizons are fine but vertical lines lean. This is common when pointing your camera up at buildings. Parallel lines converge toward the top, making structures look like they're falling backward.
Transform Panel
Open the Transform panel for advanced geometry correction:
Auto: Tries to fix both horizontals and verticals automatically. Worth trying first.
Level: Focuses only on making horizontals level (similar to straightening).
Vertical: Corrects converging verticals without affecting the horizon.
Full: Aggressive correction of both horizontal and vertical distortion.
Guided: Like the guided straighten, but you can draw multiple lines, both horizontal and vertical references, for precise control.
When to Correct Verticals
Not all converging verticals need fixing. Dramatic perspective can be intentional and powerful. A building looming overhead with converging lines conveys scale and drama.
Fix converging verticals when:
- The tilt looks accidental rather than intentional
- You want an architectural, straight-line look
- Slight convergence creates unease without dramatic effect
Keep converging verticals when:
- Looking up is part of the story
- The drama of height matters
- Extreme correction would look unnatural
How to Crop Effectively
Cropping removes the edges of your image to improve framing, eliminate distractions, or change the aspect ratio.
Important distinction: cropping can't fix composition. If your subject is poorly placed or the scene is cluttered, cropping might help marginally but won't solve fundamental problems. It's better suited for refinement than rescue.
Open the Crop Tool
Press R, or click the crop icon in the tool strip.
Choose Your Aspect Ratio
The lock icon controls aspect ratio. Click it to toggle between constrained and free-form cropping.
Constrained options:
- Original: Keeps your camera's native ratio (usually 3:2 or 4:3)
- 1x1: Square, popular for social media
- 16x9: Widescreen/cinematic
- 4x5: Vertical format often used for Instagram
- Custom: Enter any ratio you want
Free-form cropping lets you drag to any shape, but arbitrary ratios often look less polished than standard ones.
Crop for Purpose
For prints: Match the aspect ratio to standard print sizes (4x6, 5x7, 8x10) to avoid awkward cropping during printing.
For screens: 16:9 maximizes display on most monitors and TVs.
For Instagram: 4:5 vertical maximizes screen real estate in feeds. 1:1 square is still effective.
For storytelling: Widescreen (16:9 or wider) emphasizes landscape and environment. Taller ratios (4:5, 2:3) work well for portraits and emphasize height. Your composition largely determines which ratio works best.
What to Remove
Look at your edges. Do any of these exist?
- Distracting elements: A bright spot, a person's elbow, a sign
- Empty space that adds nothing: Sky that's just gray, foreground that's just grass
- Things that pull attention from the subject: Anything your eye goes to before going to what matters
Crop these elements away to strengthen the image. Thoughtful cropping is one of the fastest ways to improve a photo.
What to Keep
Don't crop so tight that you lose context. Environmental details often matter. Give your subject room to breathe, especially in the direction they're looking or moving.
The "rule of thirds" grid (visible when cropping) helps place subjects effectively, but don't be rigid about it. Some photos work best with centered subjects. Trust your eye.
Common Mistakes
Over-cropping
The temptation is to crop tighter and tighter, eliminating everything but the subject. But extreme crops:
- Reduce resolution (less pixels = less detail)
- Remove helpful context
- Can feel claustrophobic
If you find yourself cropping dramatically, ask whether you were standing in the right place when you shot. Better composition in-camera means less cropping later.
Unintentional Aspect Ratios
Cropping by eye often creates strange ratios like 1.34:1 or 2.78:1. These feel subtly wrong because we're used to standard proportions. Lock your aspect ratio when possible.
Cropping Compositional Problems
If the subject is in the wrong place, cropping can't fully fix it. You might improve things marginally, but the image will still feel unbalanced. Accept that some compositions just don't work.
Forgetting Crop Is Destructive
In Lightroom, crops are non-destructive (the original pixels are preserved). But once exported, those pixels are gone. If you might want a different crop later, keep your original file.
Straighten and Crop First
In your editing workflow, straighten and crop should happen early, right after lens corrections and before exposure and color work.
The crop changes what you're looking at. The exposure that works for a full image might not work for a cropped version. Get your framing set, then do the rest of your editing.
When Not to Straighten
Some photos should be crooked.
Intentional Dutch angle: Diagonal framing creates energy and tension. If you tilted on purpose, don't "fix" it.
Action and movement: A sprinter or skateboarder might look more dynamic with a tilted horizon suggesting motion.
No horizontal reference: Abstract close-ups, looking straight up, chaotic scenes. There's no horizon to straighten, so don't force one.
Creative effect: Sometimes unease is the point. A crooked horror movie shot is crooked deliberately.
The key is intention. Accidental crookedness undermines photos. Deliberate crookedness can enhance them.
Key Takeaways
- Use the guided straighten method (draw along a line that should be level) for the most accurate horizon correction.
- Straighten and crop early in your editing workflow, before exposure and color work, since the crop changes what you are evaluating.
- Lock your aspect ratio to a standard proportion (3:2, 4:3, 1:1, 16:9) rather than cropping freeform, which often produces subtly awkward results.
- Fix converging verticals in architecture when the tilt looks accidental, but keep dramatic perspective when looking up is part of the story.
More in This Guide
Continue exploring editing techniques.