Great landscape photography requires both artistic vision and technical execution. You can find the perfect location at the perfect time with the perfect composition, and still end up with disappointing results if your camera settings are wrong.
This guide covers the technical settings that landscape photographers rely on for consistently sharp, well-exposed images, and it's one of the most referenced articles in our landscape guide. Master these choices, and you'll never blame your camera for a failed shot again. We'll reference terms like aperture, ISO, dynamic range, and hyperfocal distance throughout, and the photography glossary has definitions for all of them if you need a refresher.
The Foundation: Shooting Mode
Before discussing specific settings, let's address shooting mode. For landscape photography, you have two solid options.
Aperture Priority Mode (A or Av)
This is the default choice for most landscape photographers. You set the aperture (which controls depth of field), and the camera calculates appropriate shutter speed.
Why it works: In landscape photography, depth of field is usually your primary technical concern. You want enough of the scene sharp to match your creative vision. Aperture Priority lets you control this directly while the camera handles exposure.
When to use: Most daytime landscape situations when shutter speed isn't critical.
Manual Mode (M)
Manual mode gives you complete control over all settings, which is essential in certain situations.
When to use:
- Long exposures for creative effects (smooth water, light trails)
- Tricky lighting situations where the camera's meter might be fooled
- Consistency across multiple frames for panoramas or exposure bracketing
- Shooting at dawn/dusk when light changes rapidly and you want to control how quickly your exposure adjusts
What to Avoid
Auto mode makes too many decisions for you, often choosing settings that compromise landscape image quality (like raising ISO unnecessarily or selecting inappropriate apertures).
Program mode has similar issues because it prioritizes convenience over the specific settings that landscape photography demands.
Aperture: Your Depth of Field Control
Aperture is the most important setting for landscape photography. It determines how much of your scene appears sharp, also known as the depth of field.
The Sweet Spot: f/8 to f/11
For most landscape images where you want sharpness from foreground to background, apertures between f/8 and f/11 deliver optimal results.
Why this range works:
- Most lenses are sharpest at these middle apertures
- Sufficient depth of field for most compositions
- Avoids diffraction issues that affect very small apertures
When to Use f/8
Use f/8 when:
- Your scene lacks extreme near-to-far depth (no very close foreground elements)
- You want maximum sharpness and your depth of field needs are moderate
- You need faster shutter speeds and can't use a tripod
At f/8, a 24mm lens focused at about 5 feet will render everything from approximately 2.5 feet to infinity acceptably sharp. You can verify this for your own lens using the depth of field. That's sufficient for many compositions.
When to Use f/11 or f/13
Step down to f/11 when:
- You have important foreground elements quite close to the camera
- Maximum depth of field is essential to your composition
- You're using longer focal lengths that inherently have shallower depth of field
When to Use Smaller Apertures (f/16, f/22)
Use f/16 or smaller only when absolutely necessary:
- Extremely close foreground elements demanding maximum depth of field
- Intentionally slower shutter speeds for motion blur effects
- Sunstar effects (the starburst pattern around a sun peeking through)
The diffraction trade-off: At very small apertures, diffraction softens the overall image. An image shot at f/22 will be less sharp overall than one shot at f/11, even though the depth of field is greater. This is simply physics at work, so only use f/16+ when the depth of field benefit outweighs the sharpness cost.
When to Use Wider Apertures (f/4, f/5.6)
Wider apertures have their place in landscape photography:
- Isolating a subject from background (a single flower against distant hills)
- Astrophotography and night landscapes
- Handheld shooting in low light when depth of field isn't critical
- Creative shallow focus effects
ISO: Keep It as Low as Possible
ISO is a gain setting that amplifies the image signal to brighten your exposure. Higher ISO allows shooting in darker conditions but introduces noise (grain) and can reduce dynamic range.
The Landscape Rule: Base ISO Whenever Possible
For landscape photography, use your camera's base ISO (typically 100 or 200) whenever conditions allow. You're not photographing moving subjects that require fast shutter speeds, so you can use a tripod and longer exposures instead of boosting ISO.
Base ISO delivers:
- Maximum image quality and detail
- Best dynamic range (important for high-contrast scenes)
- Cleanest shadow areas when recovered in editing
When Higher ISO Is Acceptable
Sometimes you must raise ISO:
- Handheld shooting in low light: When you can't use a tripod and need faster shutter speeds
- Moving elements: Grass or flowers blowing in wind, water you want to freeze
- Northern lights/astrophotography: Dark subjects requiring fast exposures
Even then, raise ISO only as much as necessary. Modern cameras produce acceptable results at ISO 400-800, and sometimes even higher. But ISO 100 always beats ISO 800 for image quality.
The Auto ISO Option
Some photographers use Auto ISO with a maximum limit (like ISO 800 or 1600) when conditions are variable. This can work when you can't predict exactly what shutter speeds you'll need, but for considered tripod work, manual ISO at base sensitivity is preferable.
Shutter Speed: Stability and Motion
In landscape photography, shutter speed is often your dependent variable, determined by your aperture and ISO choices rather than set directly.
The Stability Threshold
When hand-holding, you need shutter speeds fast enough to prevent camera shake, with the old rule of thumb being at least 1/focal length of your lens.
- 24mm lens: minimum 1/24s (round to 1/30s)
- 50mm lens: minimum 1/50s
- 100mm lens: minimum 1/100s
Image stabilization (in-lens or in-body) can extend these thresholds by 2-4 stops, letting you hand-hold at slower speeds. But for critical landscape work, a tripod eliminates the concern entirely.
When Shutter Speed Doesn't Matter
With a sturdy tripod and no moving elements in your scene, shutter speed becomes purely functional. Whether your exposure takes 1/100s or 10 seconds, the result looks identical (assuming correct exposure). This freedom lets you use optimal aperture and ISO without compromise.
When Shutter Speed Becomes Creative
For scenes with moving elements like water, clouds, and vegetation, shutter speed becomes an artistic choice.
Fast shutter speeds (1/250s and above):
- Freeze water droplets in waterfalls
- Capture sharp grass blades despite wind
- Stop wave motion for crisp detail
Slow shutter speeds (1/4s to several seconds):
- Silky, smooth water in streams and waterfalls
- Softened wave motion creating mist-like effects
- Cloud streaks showing wind movement
Very long exposures (30 seconds to minutes):
- Completely smoothed water resembling glass
- Dramatic cloud streaks across the sky
- Car light trails through landscapes
Photographing water covers specific shutter speed techniques for rivers, waterfalls, and oceans.
Focus: Getting It Right
All the perfect exposure settings mean nothing if your image isn't focused correctly. Landscape focusing requires understanding where to place your focus point for maximum depth of field.
The Simple Approach: Focus One-Third In
For most landscape compositions, focusing approximately one-third into your scene (measuring from camera to farthest subject) maximizes your depth of field. This works because depth of field extends farther behind the focus point than in front of it.
In practice: If your scene extends from 5 feet (foreground rock) to infinity (distant mountains), focus at roughly 10-15 feet, about one-third of the way from the nearest element.
The Hyperfocal Distance Method
For more precision, hyperfocal distance is the focus point that maximizes depth of field for any given aperture. When focused at hyperfocal distance, everything from half that distance to infinity appears sharp.
Getting everything in focus explains hyperfocal distance in detail, including practical techniques for finding it in the field.
Focus Mode Settings
Single-shot autofocus (AF-S/One-Shot): Use this for landscapes, as it focuses once when you half-press the shutter and then locks. Continuous autofocus modes are designed for moving subjects and can cause focus to shift unexpectedly.
Manual focus: Many landscape photographers prefer manual focus for critical work, using live view magnification to verify precise focus placement.
Focus peaking: If your camera offers it, focus peaking highlights in-focus areas on your screen, which is helpful for manual focus confirmation.
Focus Point Selection
Use a single autofocus point rather than auto-area modes, because you should decide where critical focus falls rather than letting the camera guess.
For scenes with important foreground elements, place your focus point on the foreground (or use the one-third rule) rather than the obvious distant subject. A sharp background with a soft foreground is worse than the reverse.
Metering and Exposure
Your camera's meter generally handles landscape exposure well, but understanding its behavior helps you recognize when to intervene.
Matrix/Evaluative Metering
This mode analyzes the entire frame and works well for most landscape scenes. Use it as your default.
When to Adjust
Bright scenes (snow, white sand, backlit): The meter may underexpose. Add +1 to +2 stops exposure compensation.
Dark scenes (forests, shadows): The meter may overexpose. Reduce by -1 or more stops.
High contrast scenes: The meter compromises between bright and dark, potentially clipping both. Consider exposure bracketing or using graduated filters.
The Histogram Is Your Friend
After each shot, check your histogram rather than just the preview image. The preview can fool you; the histogram shows exactly where your exposure data falls.
Avoid clipping the highlights: A histogram bunched against the right edge means lost detail in bright areas (sky, clouds). These blown highlights can't be recovered.
Protect important shadows: Data bunched against the left edge means lost shadow detail. If shadows contain important subject matter, you may need to brighten the exposure or bracket.
White Balance: Getting Color Right
White balance tells your camera how to interpret colors based on lighting conditions.
For RAW Shooters
If you're shooting RAW (and you should be for landscapes), white balance is adjustable in post-processing with no quality loss. You can leave it on Auto and refine later.
However, setting appropriate white balance in-camera helps you evaluate color on location and reduces editing work later.
For JPEG Shooters
Correct white balance is more important since JPEG adjustments are limited. Use these as starting points:
- Daylight/Sunny: For clear sunny conditions
- Cloudy: Overcast skies (adds warmth)
- Shade: Deep shade (adds more warmth)
- Tungsten/Incandescent: Very rarely used for landscapes
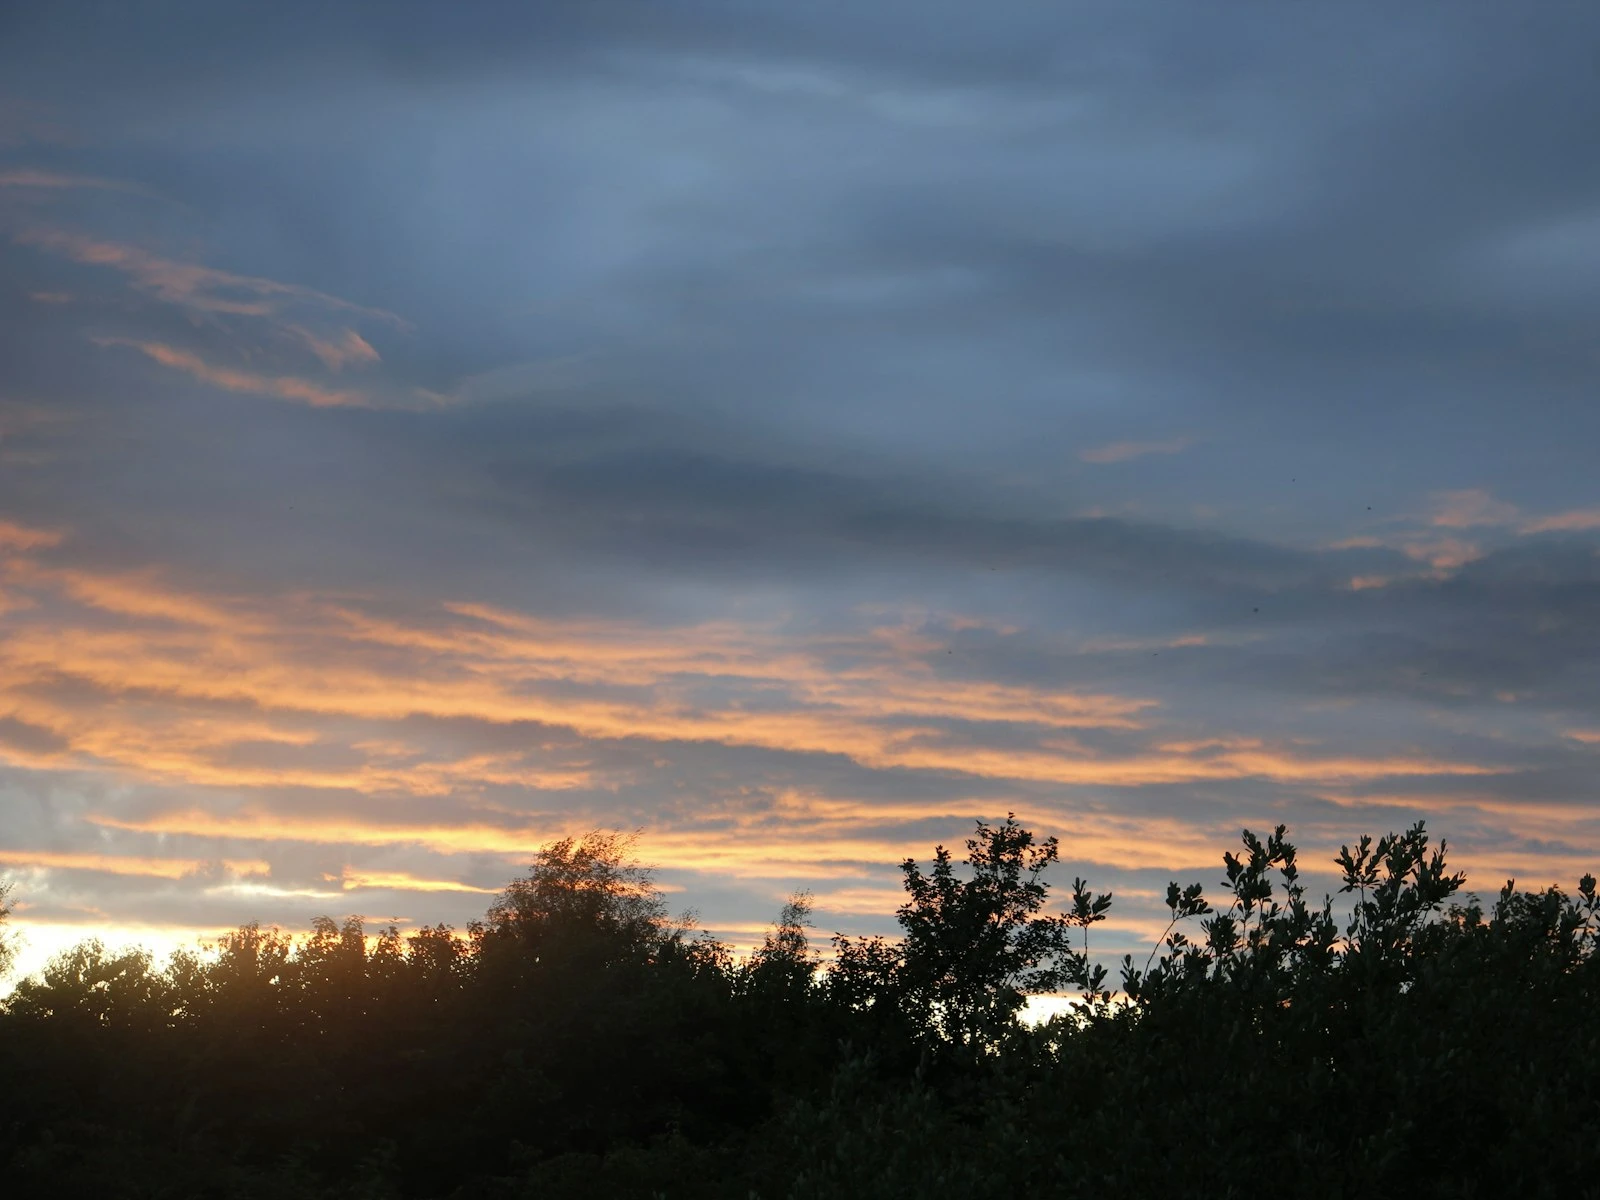
Golden Hour Consideration
During golden hour, Auto white balance may neutralize the warm tones you're trying to capture. Use Daylight or Cloudy presets to preserve the golden light, or adjust in post.
File Format: Always RAW
For landscape photography, shooting RAW is essentially mandatory.
RAW advantages:
- Maximum dynamic range for recovering highlights and shadows
- Full white balance adjustment in post
- More latitude for exposure correction
- Better quality when making large adjustments
When JPEG might be acceptable:
- You need to share images immediately with no editing
- You're running low on storage and can't get more (you can estimate how many shots your card will hold in each format)
- Even then, RAW+JPEG gives you both options
Settings Summary by Situation
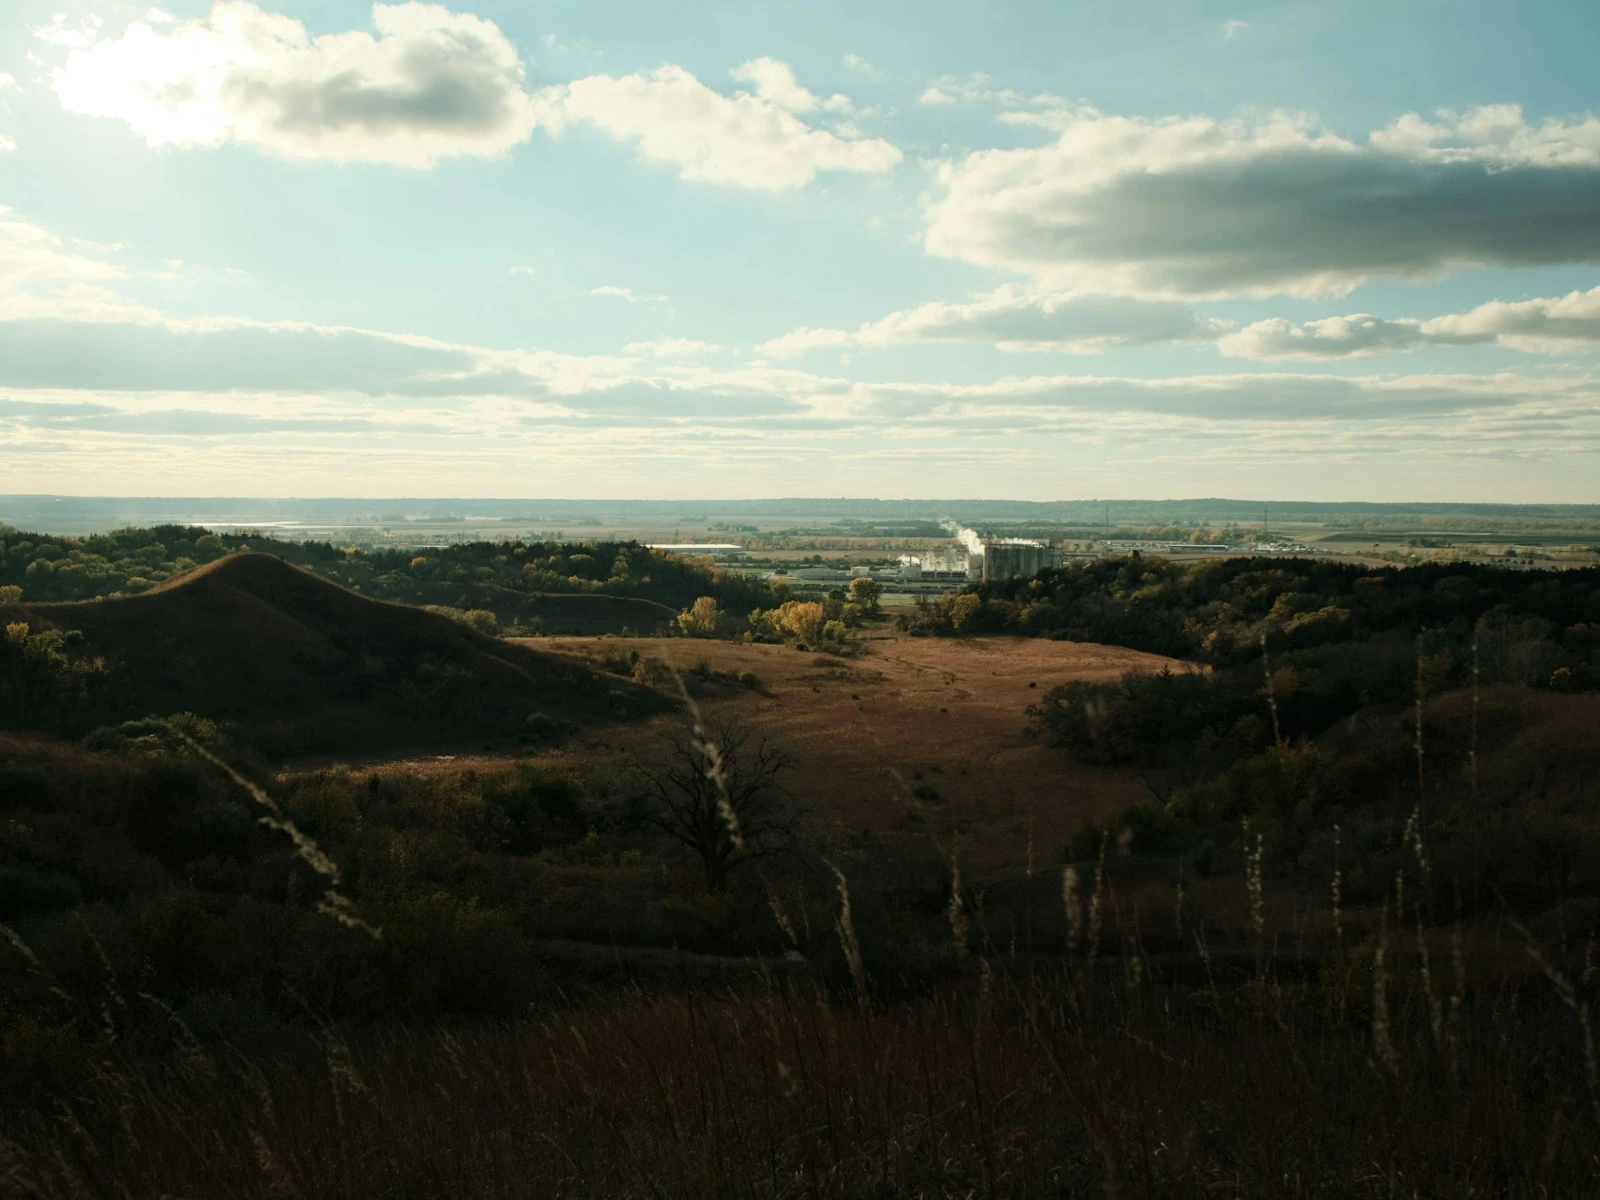
Standard Daytime Landscape
- Mode: Aperture Priority
- Aperture: f/8 to f/11
- ISO: 100
- Focus: One-third into scene
- Metering: Matrix/Evaluative
Golden Hour with Strong Foreground
- Mode: Aperture Priority or Manual
- Aperture: f/11 to f/13
- ISO: 100
- Focus: Hyperfocal distance or one-third in
- Metering: Check histogram, protect highlights
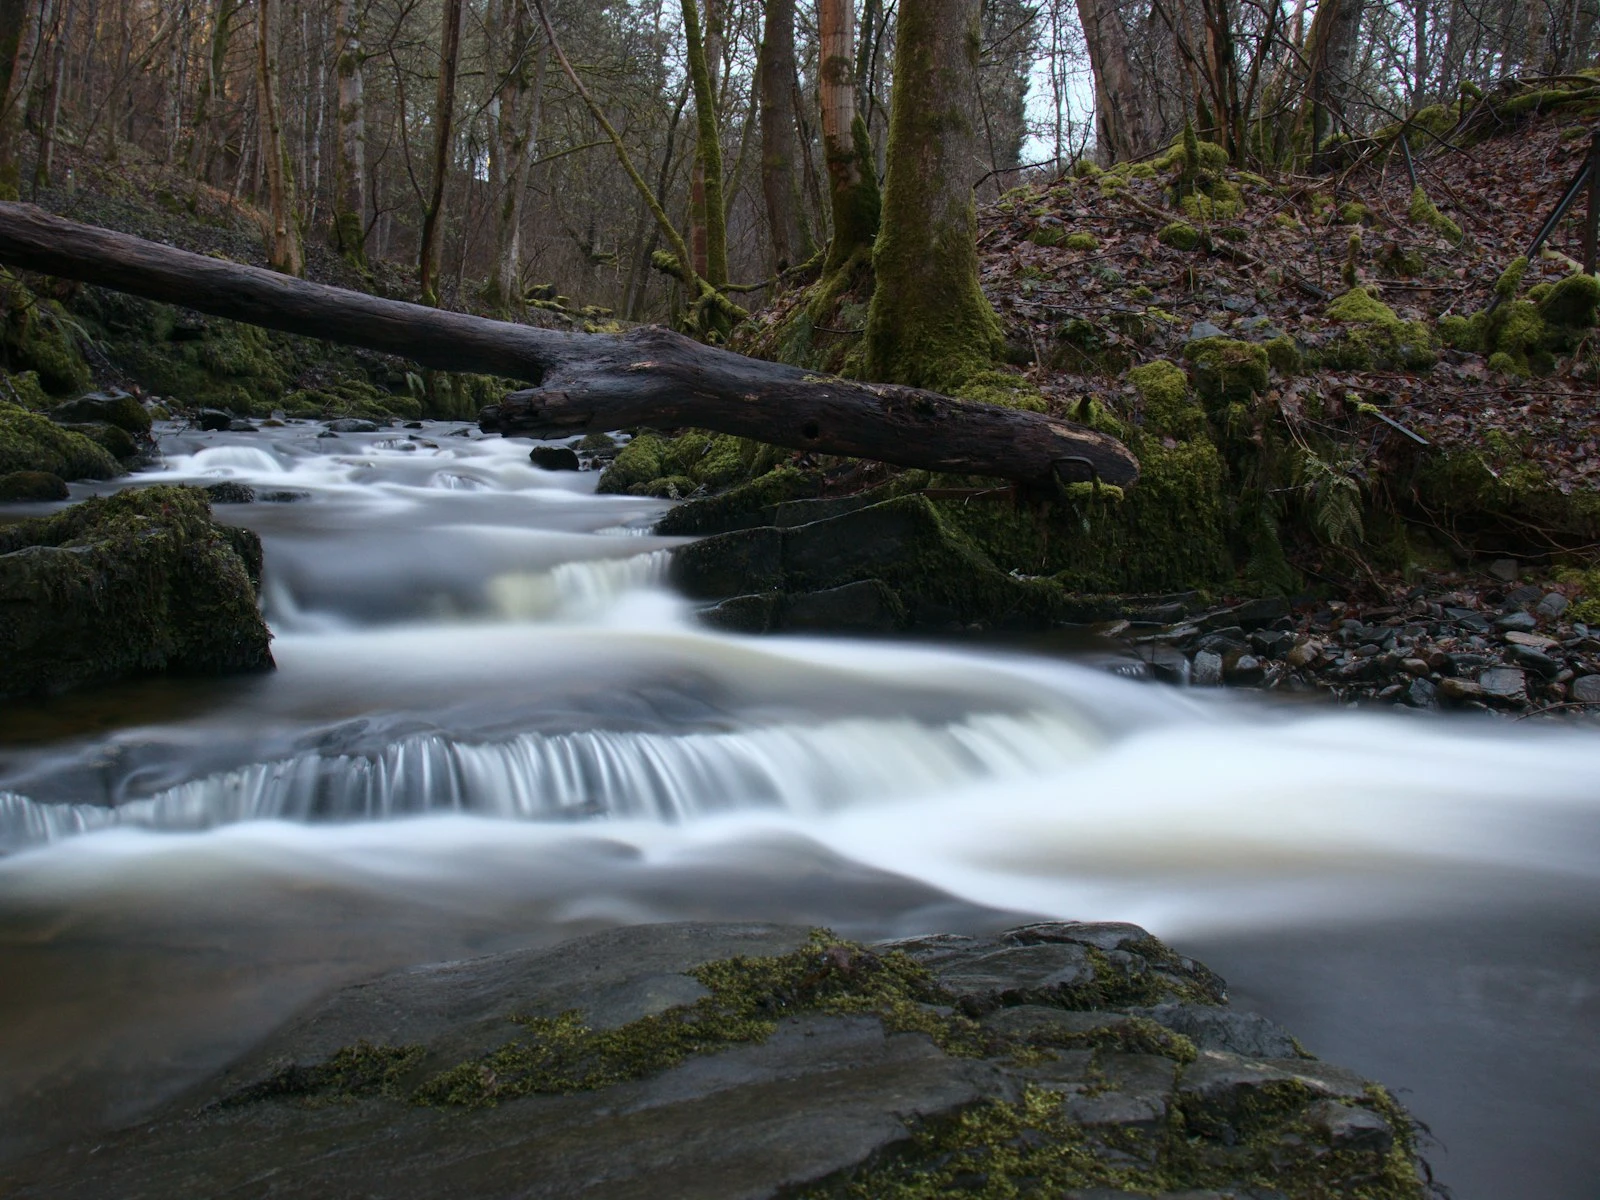
Waterfalls (Silky Water)
- Mode: Manual or Shutter Priority
- Aperture: f/11 or smaller
- ISO: 100
- Shutter: 1/4s to 2s (ND filter may be needed)
- Focus: On waterfall with sufficient depth of field
Low Light/Blue Hour
- Mode: Manual (or Aperture Priority)
- Aperture: f/8 to f/11
- ISO: 100 (tripod essential)
- Shutter: Several seconds (calculated by camera or determined by desired effect)
- Focus: Manual with live view magnification
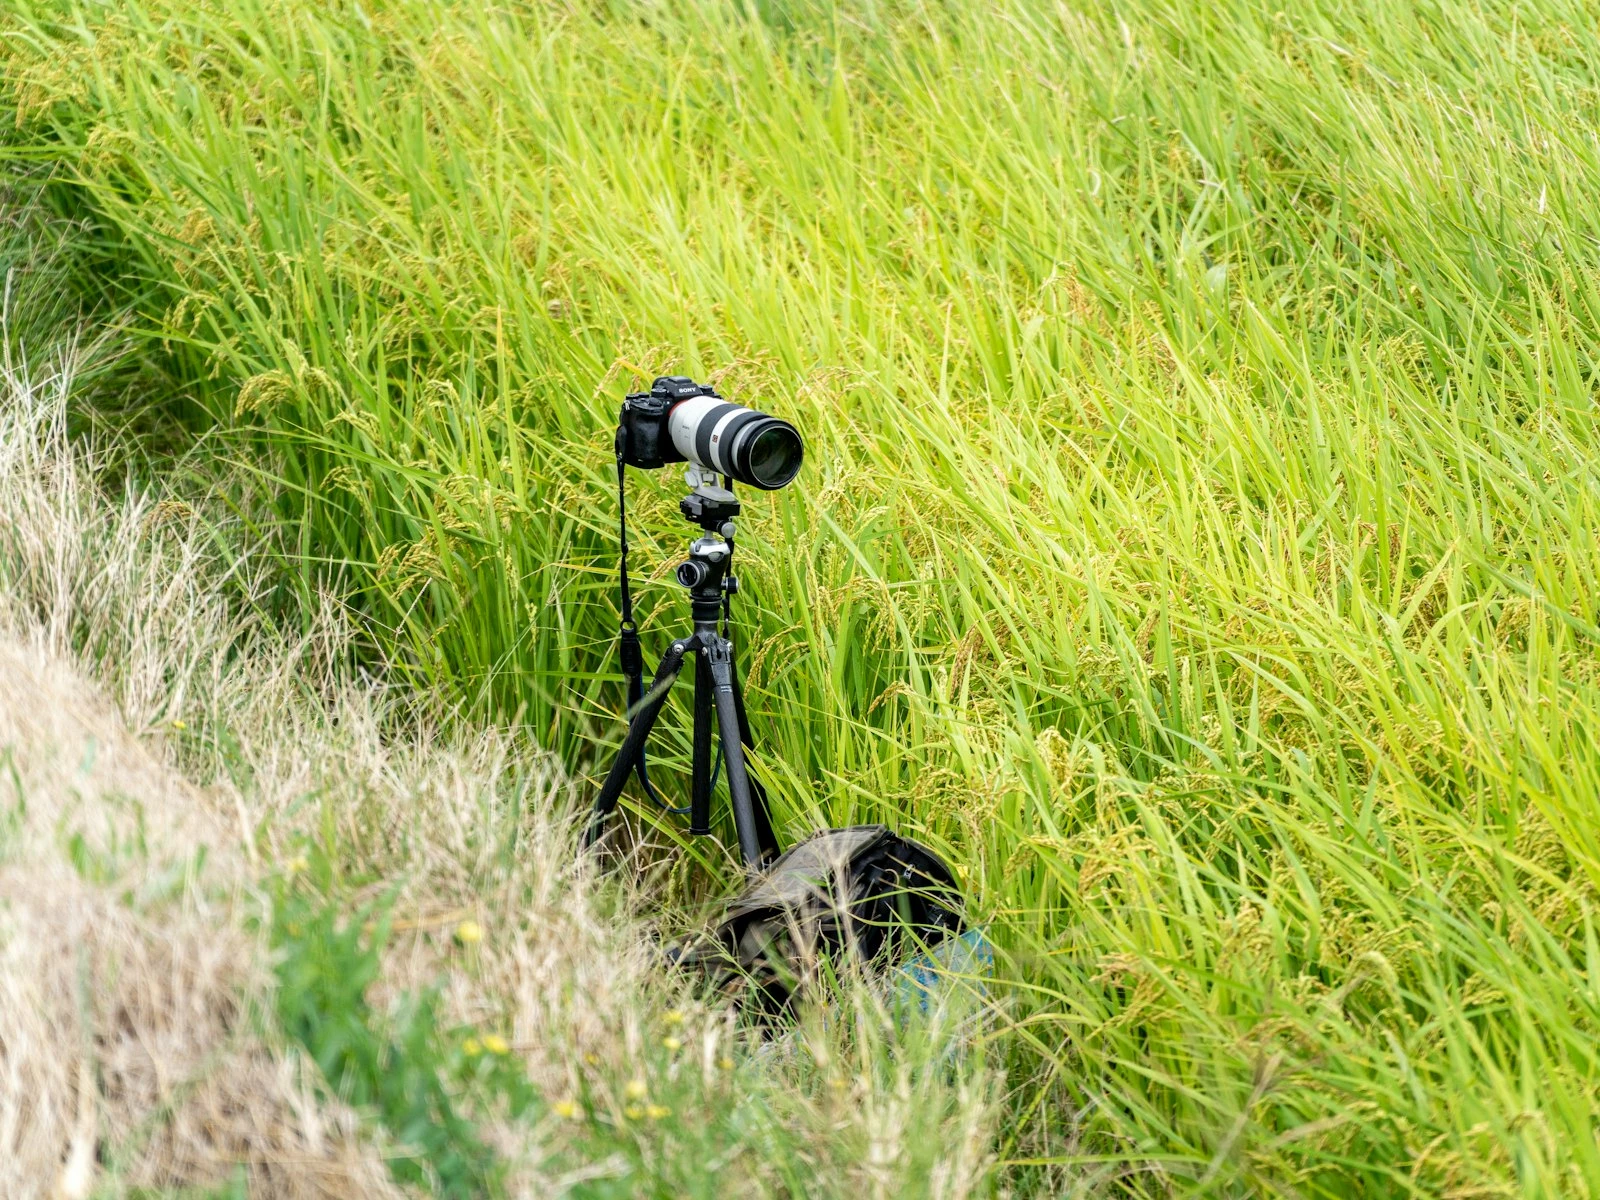
Handheld in Variable Conditions
- Mode: Aperture Priority
- Aperture: f/8
- ISO: Auto with 800 or 1600 limit
- Focus: AF-S on single point
- Image stabilization: On
Key Takeaways
- Use aperture priority or manual mode at f/8-f/11 for optimal sharpness and depth of field, keeping ISO at base (100-200) on a tripod.
- Focus manually one-third into the scene using live view to ensure front-to-back sharpness rather than relying on autofocus.
- Expose to protect highlights (slightly underexpose if needed), then recover shadows in RAW processing where quality loss is minimal.
- Use a remote shutter release or self-timer to avoid camera shake during long exposures, and extend the thickest tripod leg sections first for maximum stability.
More in This Guide
Continue exploring landscape photography.