Light is something you work with, actively and intentionally.
Every photograph is a recording of light. The subject matters, composition matters, but light is what makes the image exist at all. And most photographers take years to realize that you have far more control over light than you think, even when you're not carrying any gear.
This guide is about learning to see light before you see subjects, understanding why the same person looks completely different depending on where they're standing, and making decisions instead of accepting conditions.
Controlling light starts with understanding what it's doing and positioning yourself (or your subject) accordingly.
Why Light Quality Matters More Than Quantity
Beginning photographers often think about light in terms of "enough" or "not enough." Experienced photographers think about light quality.
Quality refers to two things: how hard or soft the light is, and what direction it's coming from. These two factors shape everything about how your subject looks, including the mood of the image, the texture you can see, and the story you're telling.
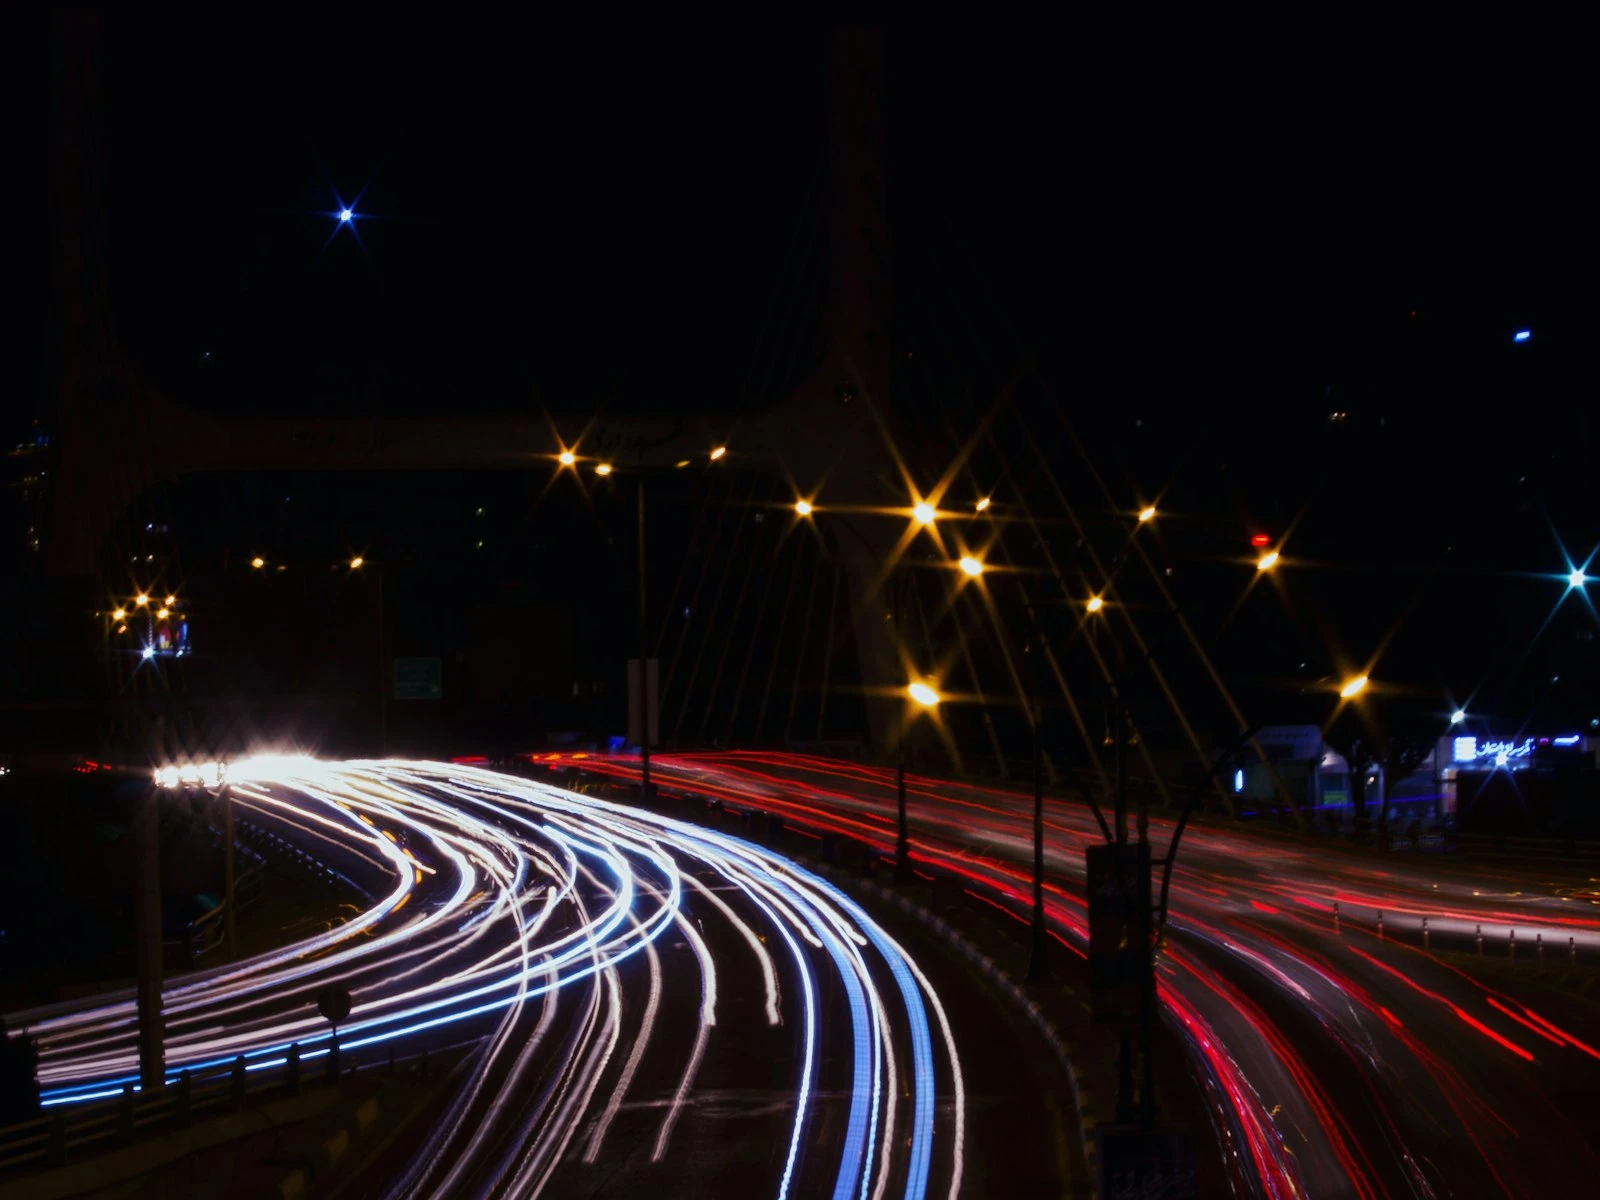
Hard light comes from small, concentrated sources. The sun at midday. A bare light bulb. A flashlight. It creates sharp shadows with defined edges. It's dramatic, contrasty, and unforgiving of imperfections.
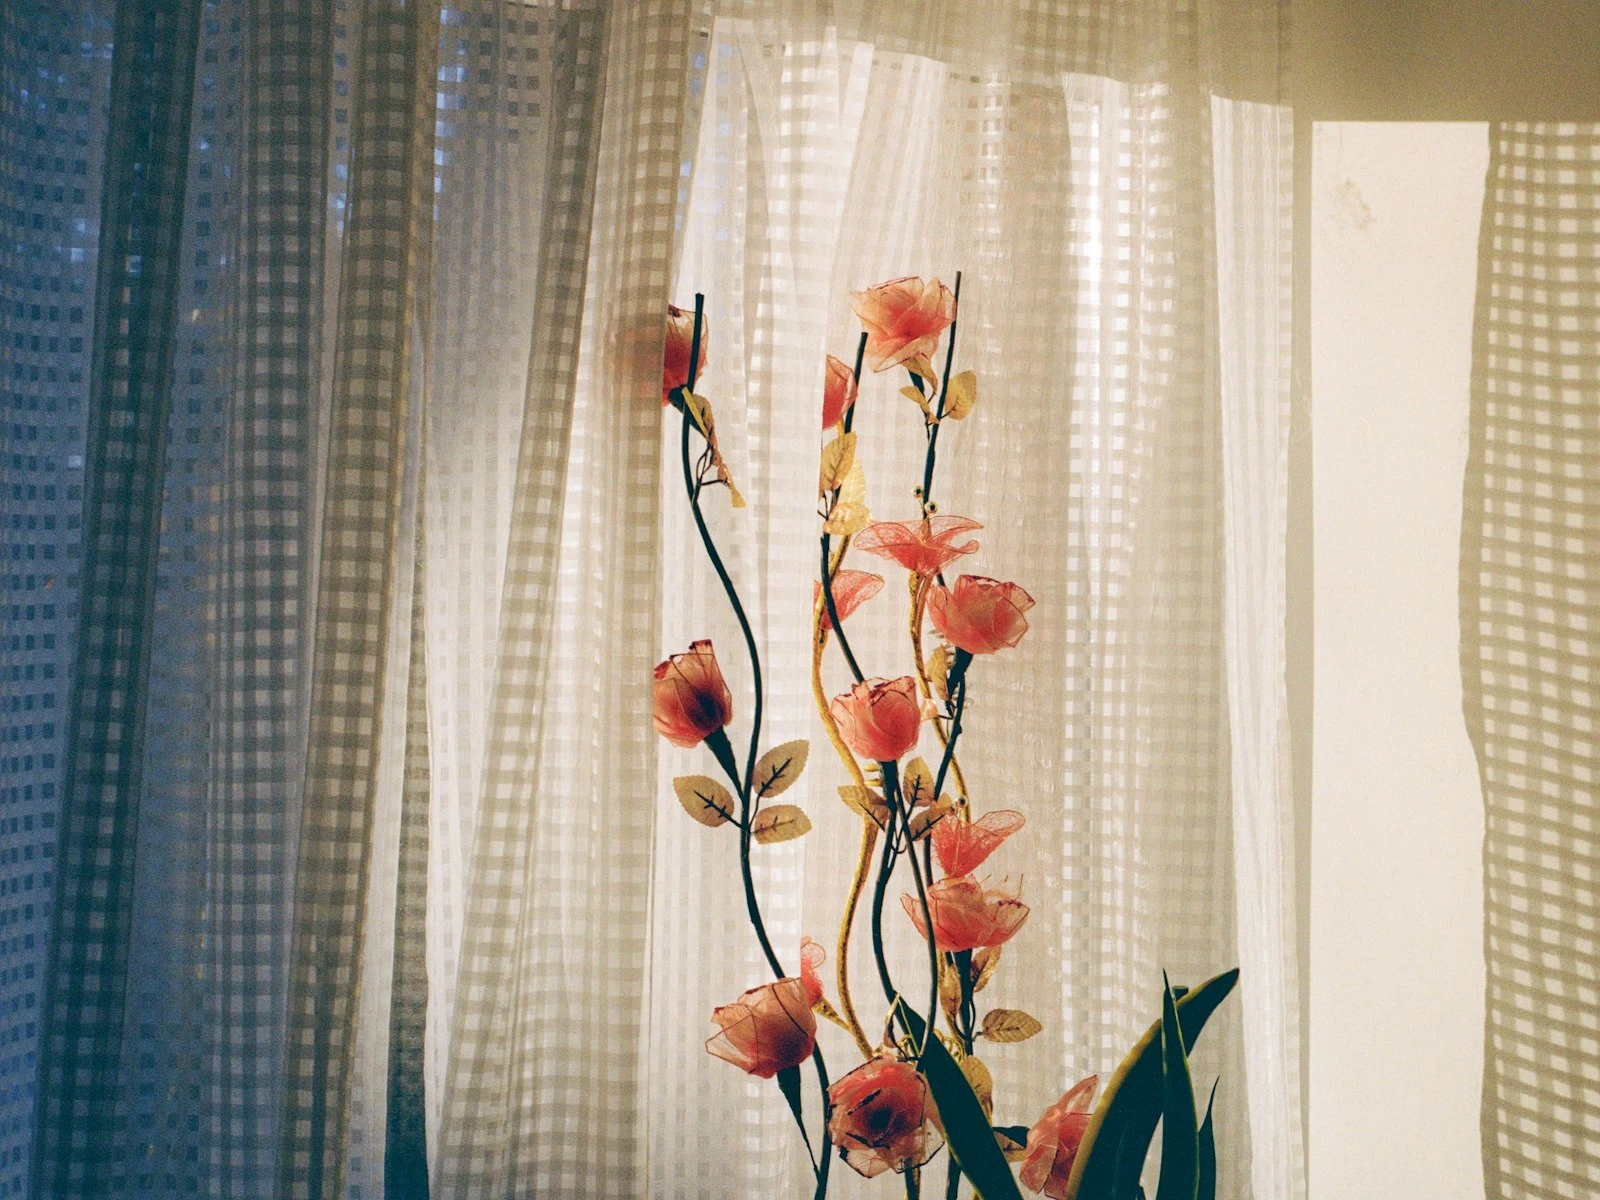
Soft light comes from large, diffused sources. An overcast sky. Light bouncing off a white wall. A window with sheer curtains. It wraps around subjects, creating gentle shadows that transition gradually. It's flattering, even, and forgiving.
Both are tools, and understanding the difference between hard and soft light is the single most useful thing you can learn about lighting.
A portrait in harsh midday sun isn't bad because there's "too much light." It's challenging because hard overhead light creates harsh shadows under the eyes, emphasizes every skin texture, and makes people squint. Move to open shade five feet away, and suddenly the sky becomes your light source. It's massive, diffused, wrapping around their face. Same amount of light entering your camera. Completely different quality.
Direction: Where Light Comes From Changes Everything
Stand facing a window. Your face is evenly lit, maybe a little flat. Now turn 45 degrees. Suddenly one side of your face has dimension, shadow, shape. Turn completely sideways. One half is lit, one half falls into shadow. Dramatic, moody.
The light didn't change, but your relationship to it did.
This is the most practical lighting skill you can develop: understanding that moving yourself, your subject, or your camera relative to the light source transforms the image. Different positioning transforms the image more than different light would.
Front light (light source behind you, facing your subject) is the safest choice. It illuminates evenly, minimizes shadows, and is hard to mess up. It's also relatively flat, good for documentation but less interesting for drama.
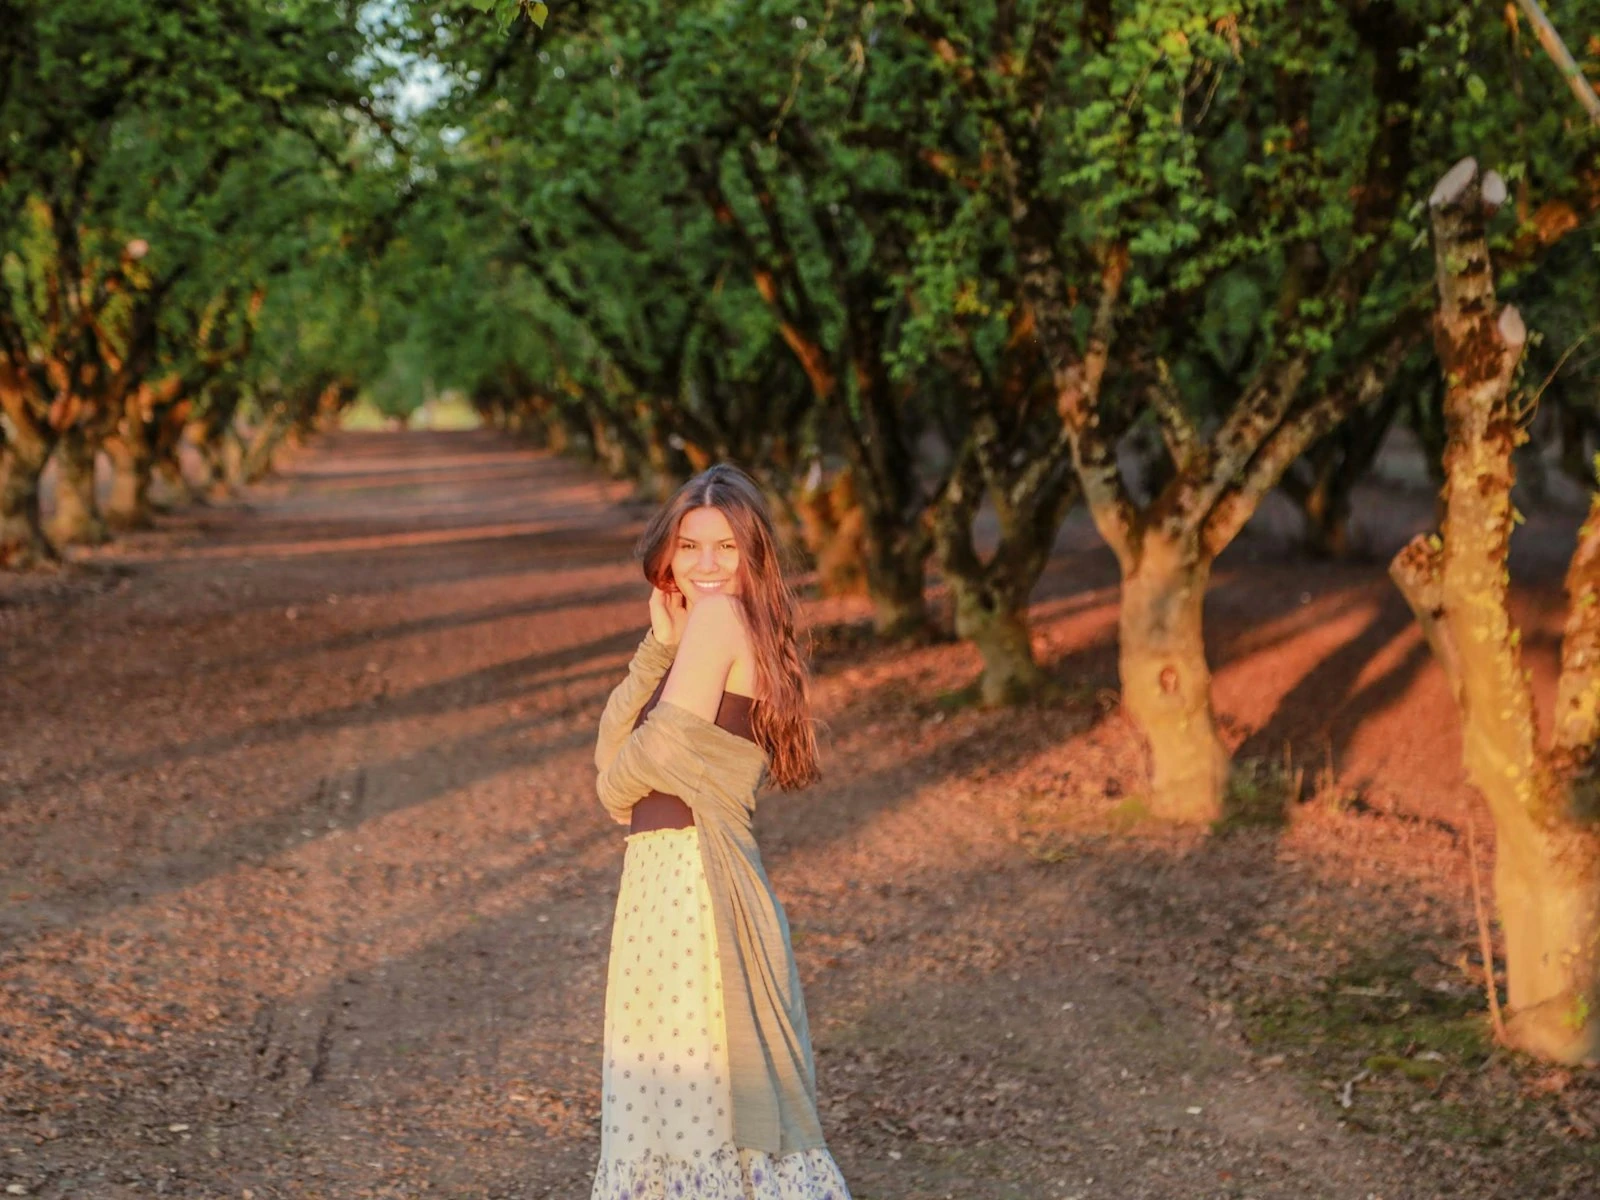
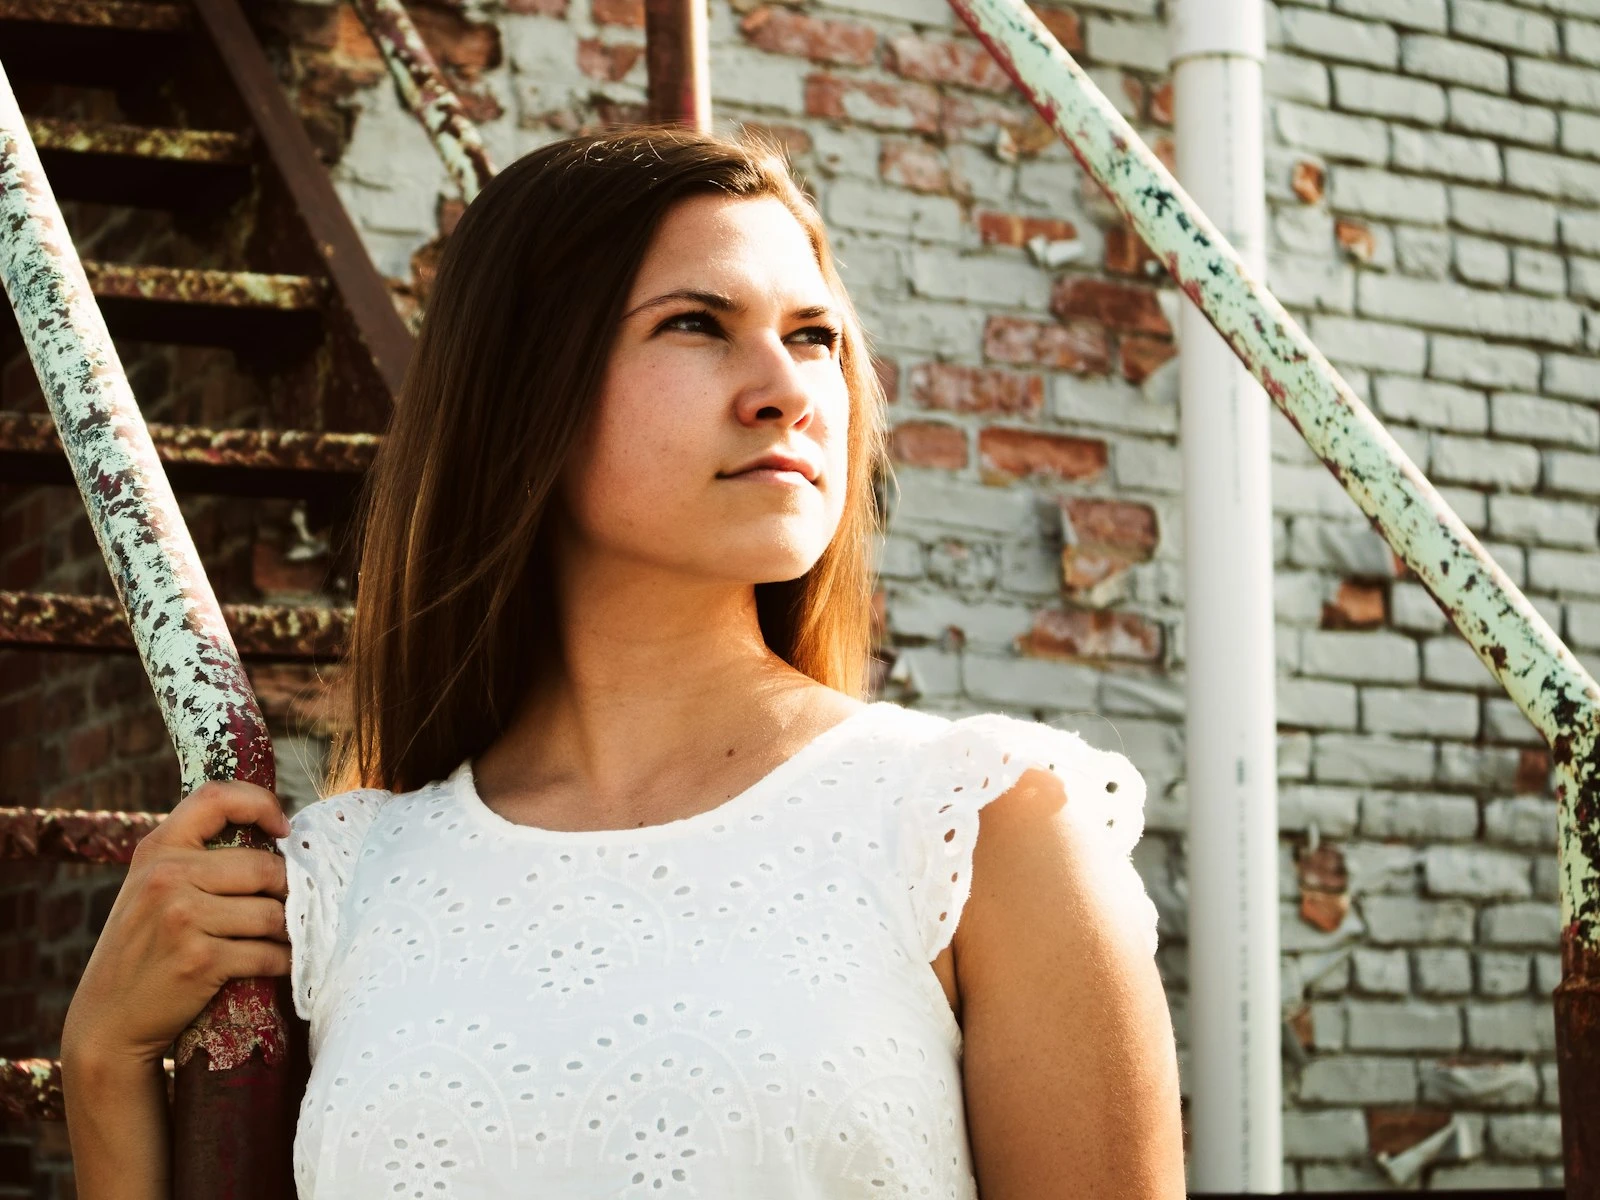
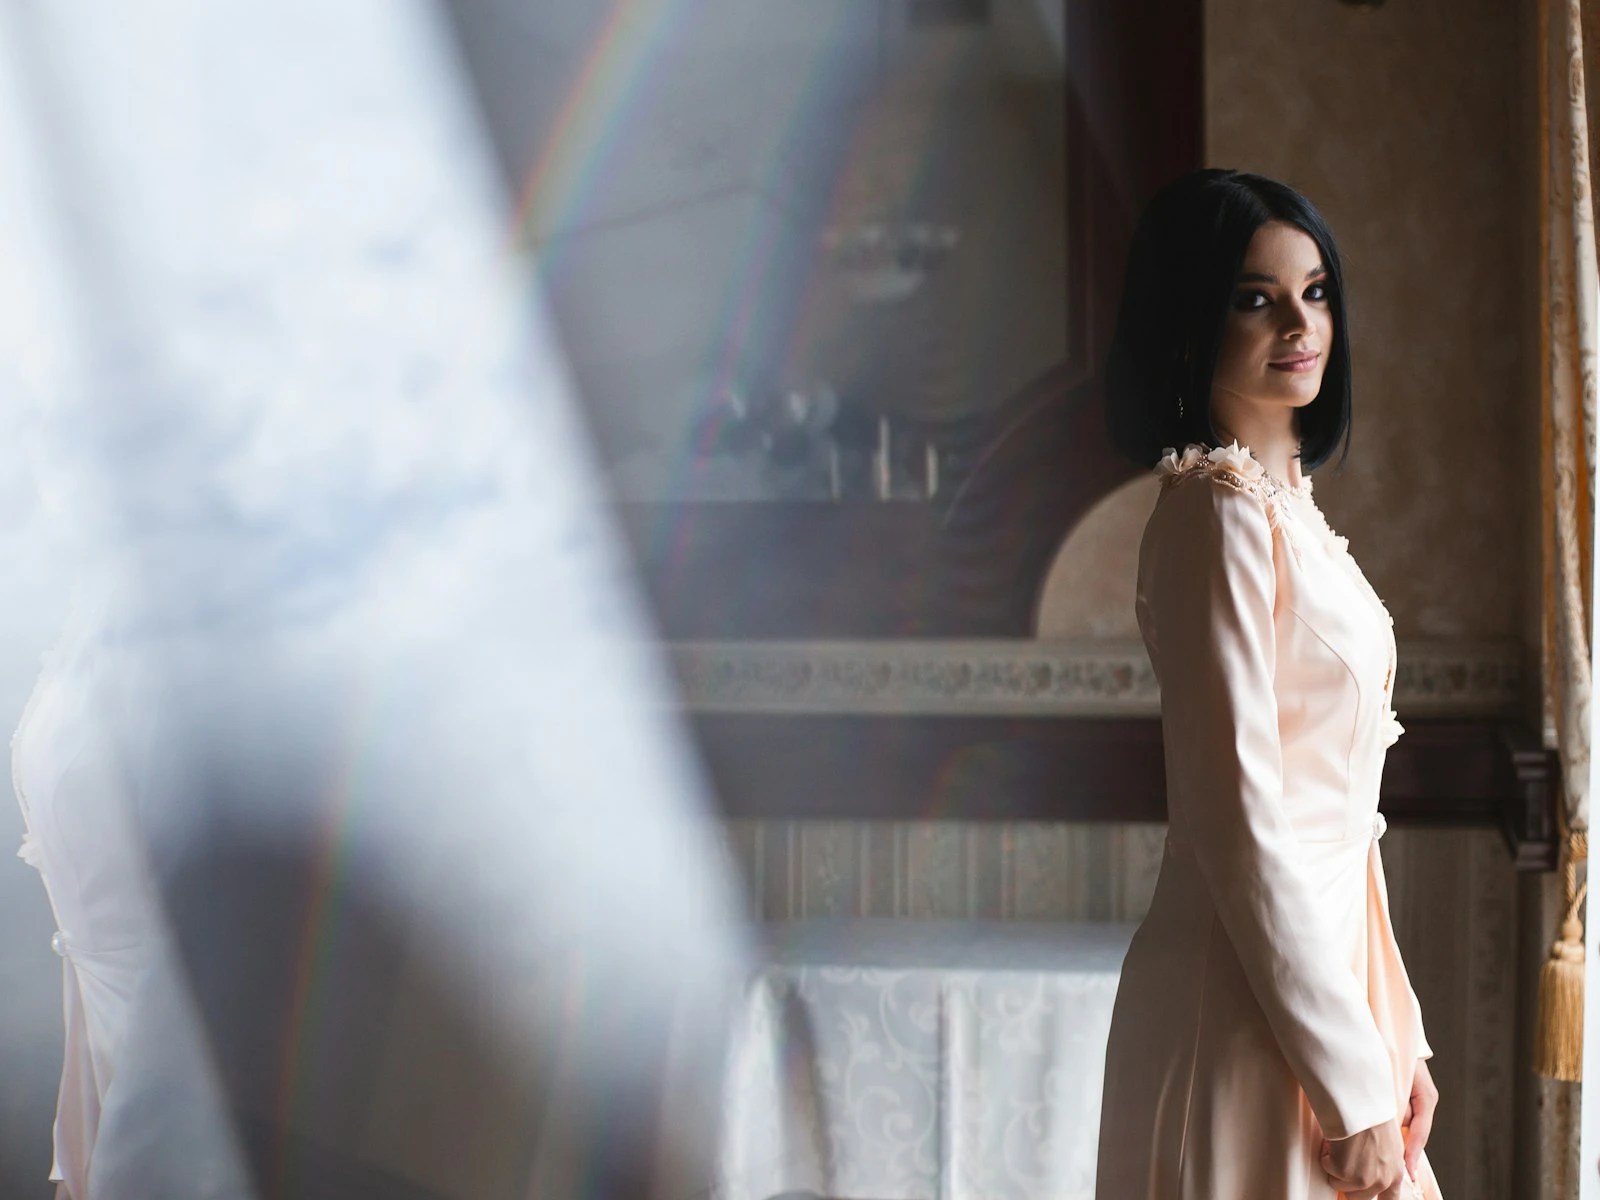
Side light (light source at 90 degrees) creates the most dimension. One side lit, one side shadowed, revealing texture and form. This is why photographers often place portrait subjects with a window to their side.
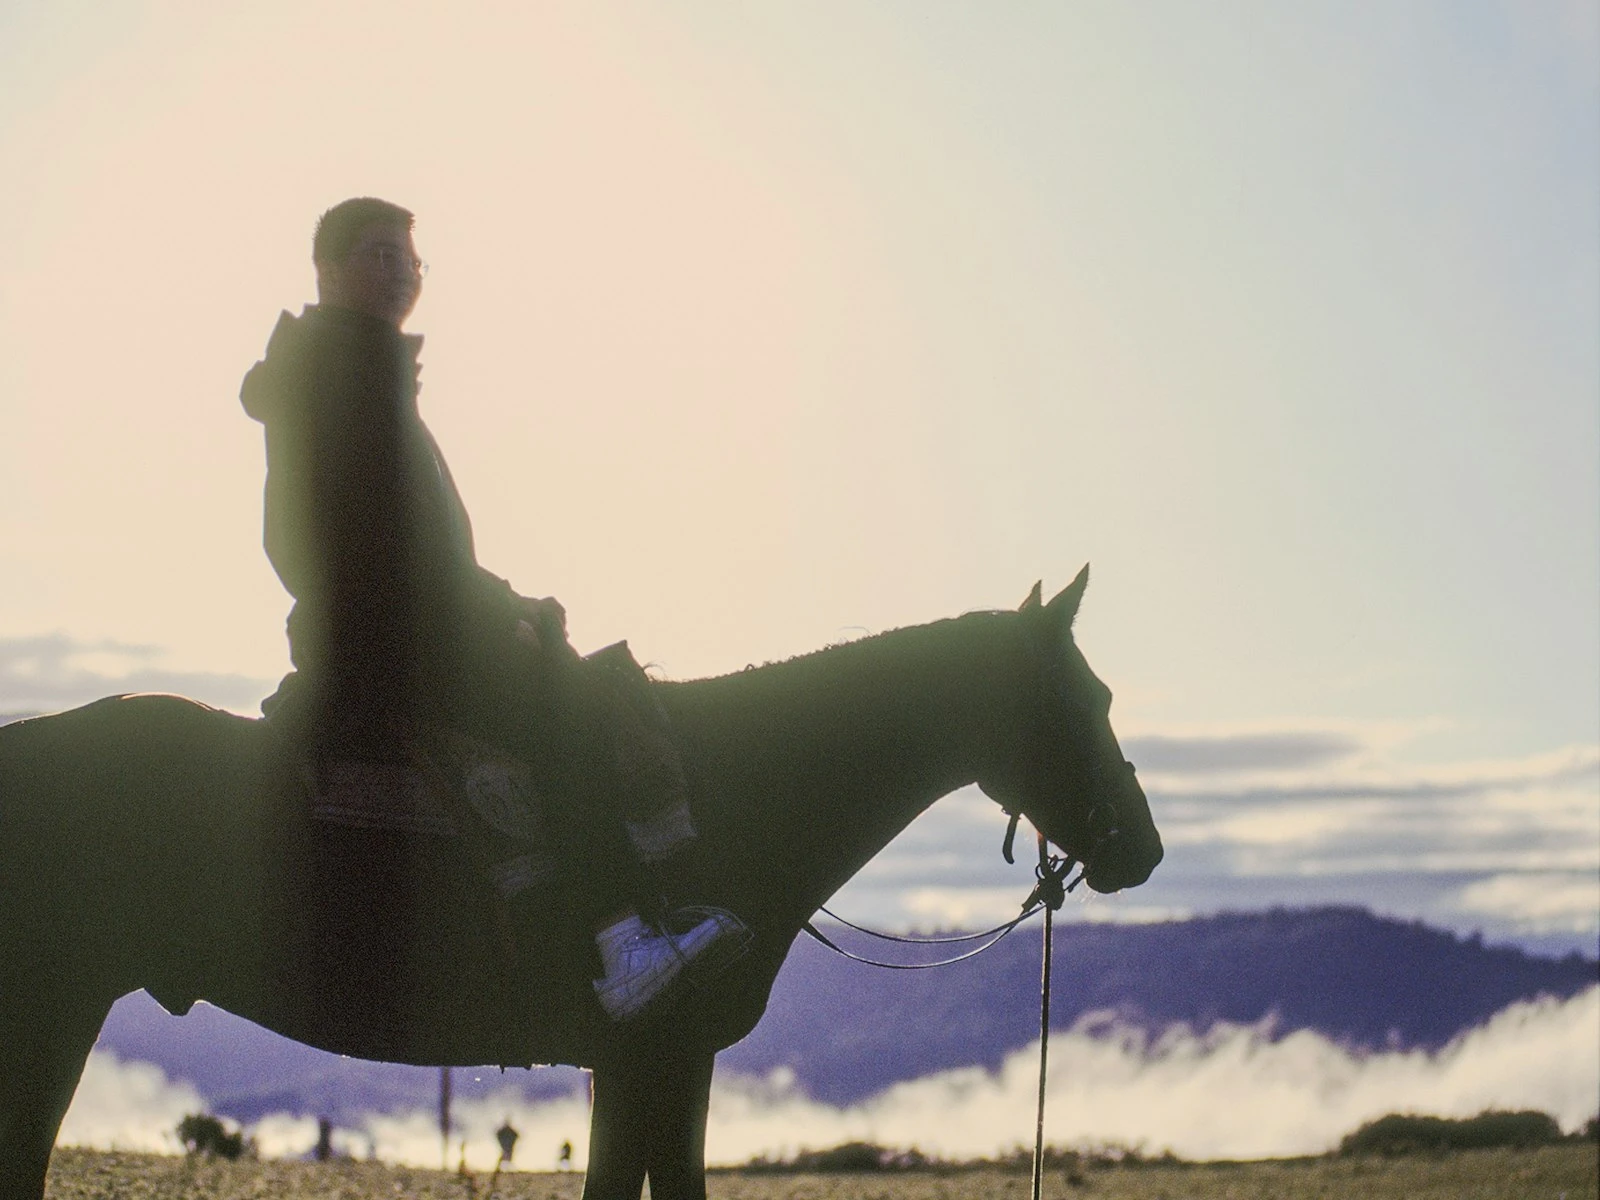
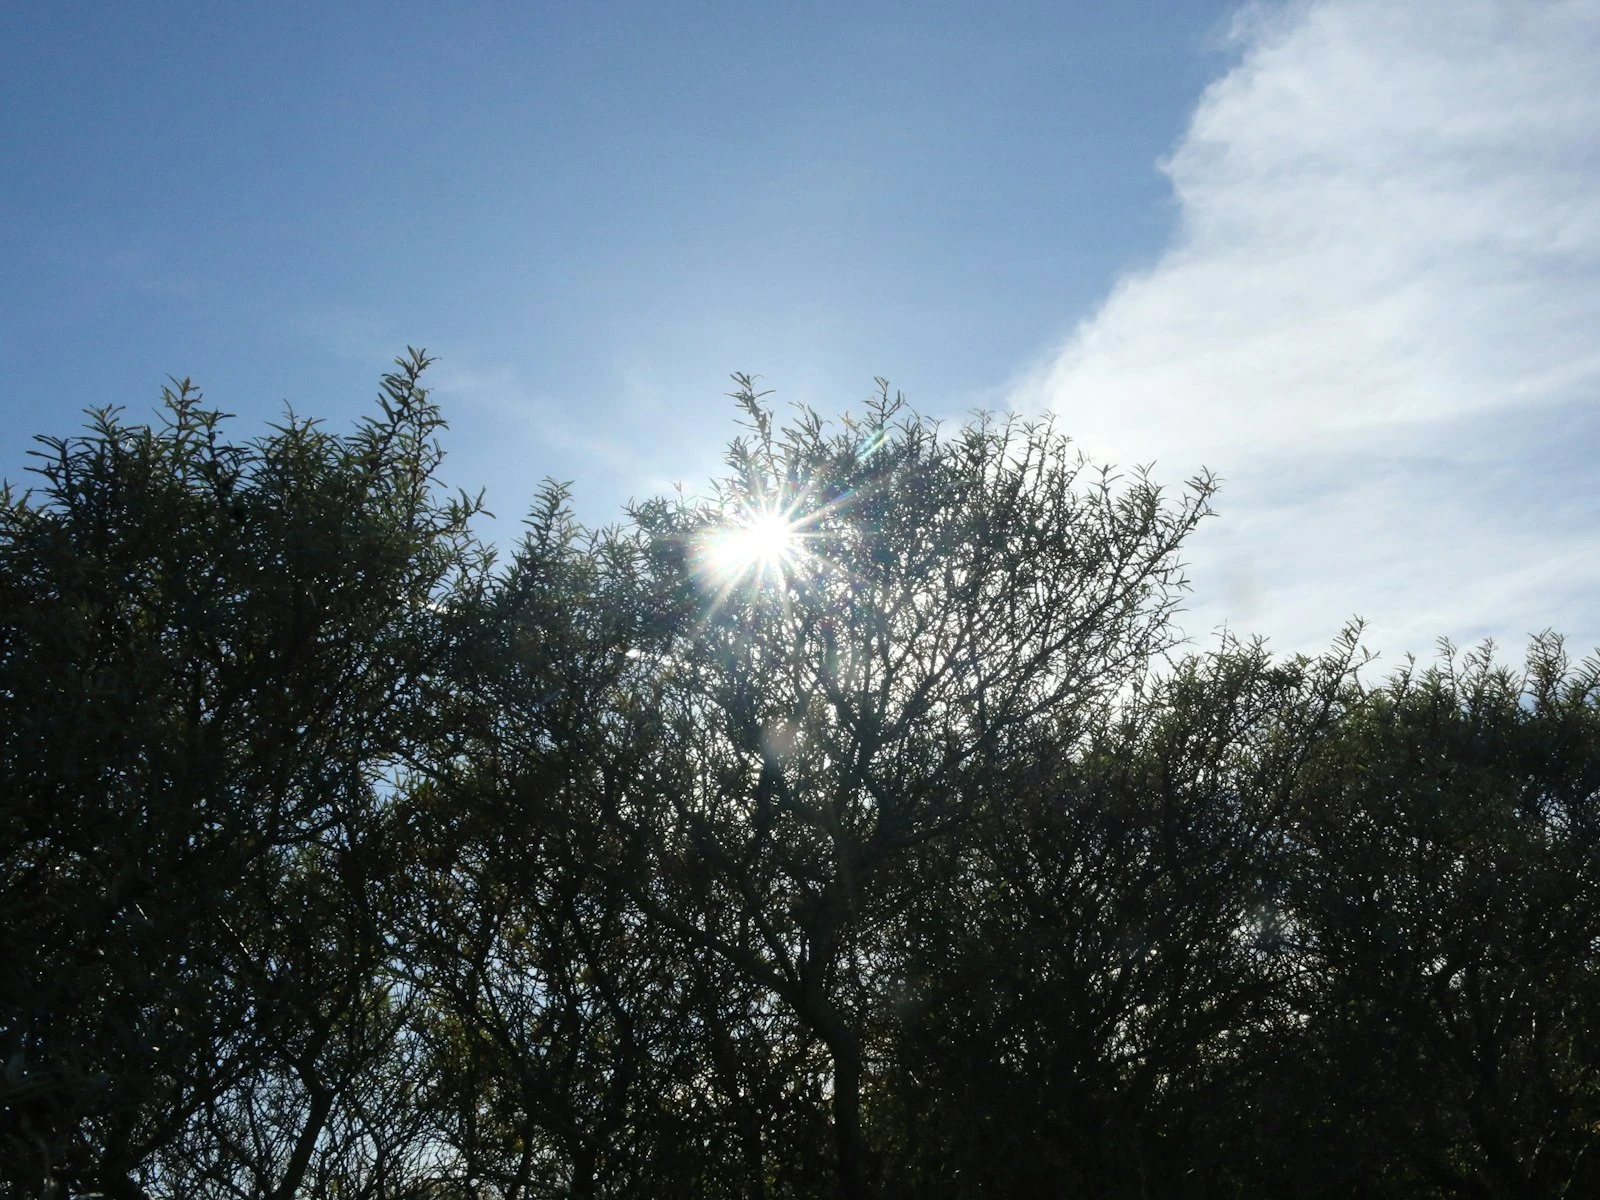
Backlight (light source behind your subject, facing you) is the trickiest and often the most beautiful. Silhouettes, rim lighting, that glowing edge around hair. It breaks the "keep the sun behind you" rule your parents taught you, and often creates the most striking images.
Overhead light (light directly above) is what you get at midday, and it's generally the least flattering for people. Shadows fall in eye sockets and under noses and chins. This is why portrait photographers avoid midday or seek shade.
Learning to see direction means walking into any space and immediately noticing where the light is coming from. Then making decisions based on that knowledge.
The Quality-Direction Matrix
Light has both quality (hard/soft) and direction, and the combination creates very different moods:
Soft front light (overcast day, large window facing subject): Flattering, even, forgiving. Great for portraits, product photography. Can feel flat if you want drama.
Hard front light (direct sun behind you): Harsh, squint-inducing, emphasizes texture. Rarely flattering for people. Can work for architecture or landscapes where you want punch.
Soft side light (window to the side, shade with an opening): Dimensional but gentle. Classic portrait lighting. Creates depth without harshness.
Hard side light (direct sun from the side): Dramatic, high contrast, very textured. Great for emphasizing form in landscapes or architecture. Challenging for skin.
Soft backlight (cloudy sky behind subject): Glowing, airy, ethereal. Rim lights hair without burning out. Lovely for portraits.
Hard backlight (direct sun behind subject): Silhouettes, lens flare, rim lighting. Dramatic but hard to expose. Either embrace the silhouette or fill the front somehow.
When you can identify which quadrant you're in, you can predict what your image will look like before you shoot. And you can make intentional choices about whether to embrace it or reposition.
Finding Light vs. Chasing Light
There's a romantic notion in photography about chasing light, waking before dawn, racing the sunset, waiting for that perfect moment. And yes, golden hour and blue hour create beautiful conditions.
But there's a practical problem: you can't always chase. You photograph when you're there, which is often 2 PM on a Tuesday when the light is "bad."
The skill that matters more than chasing perfect light is finding good light wherever you are. Because good light exists in harsh conditions too. You just have to know where to look.
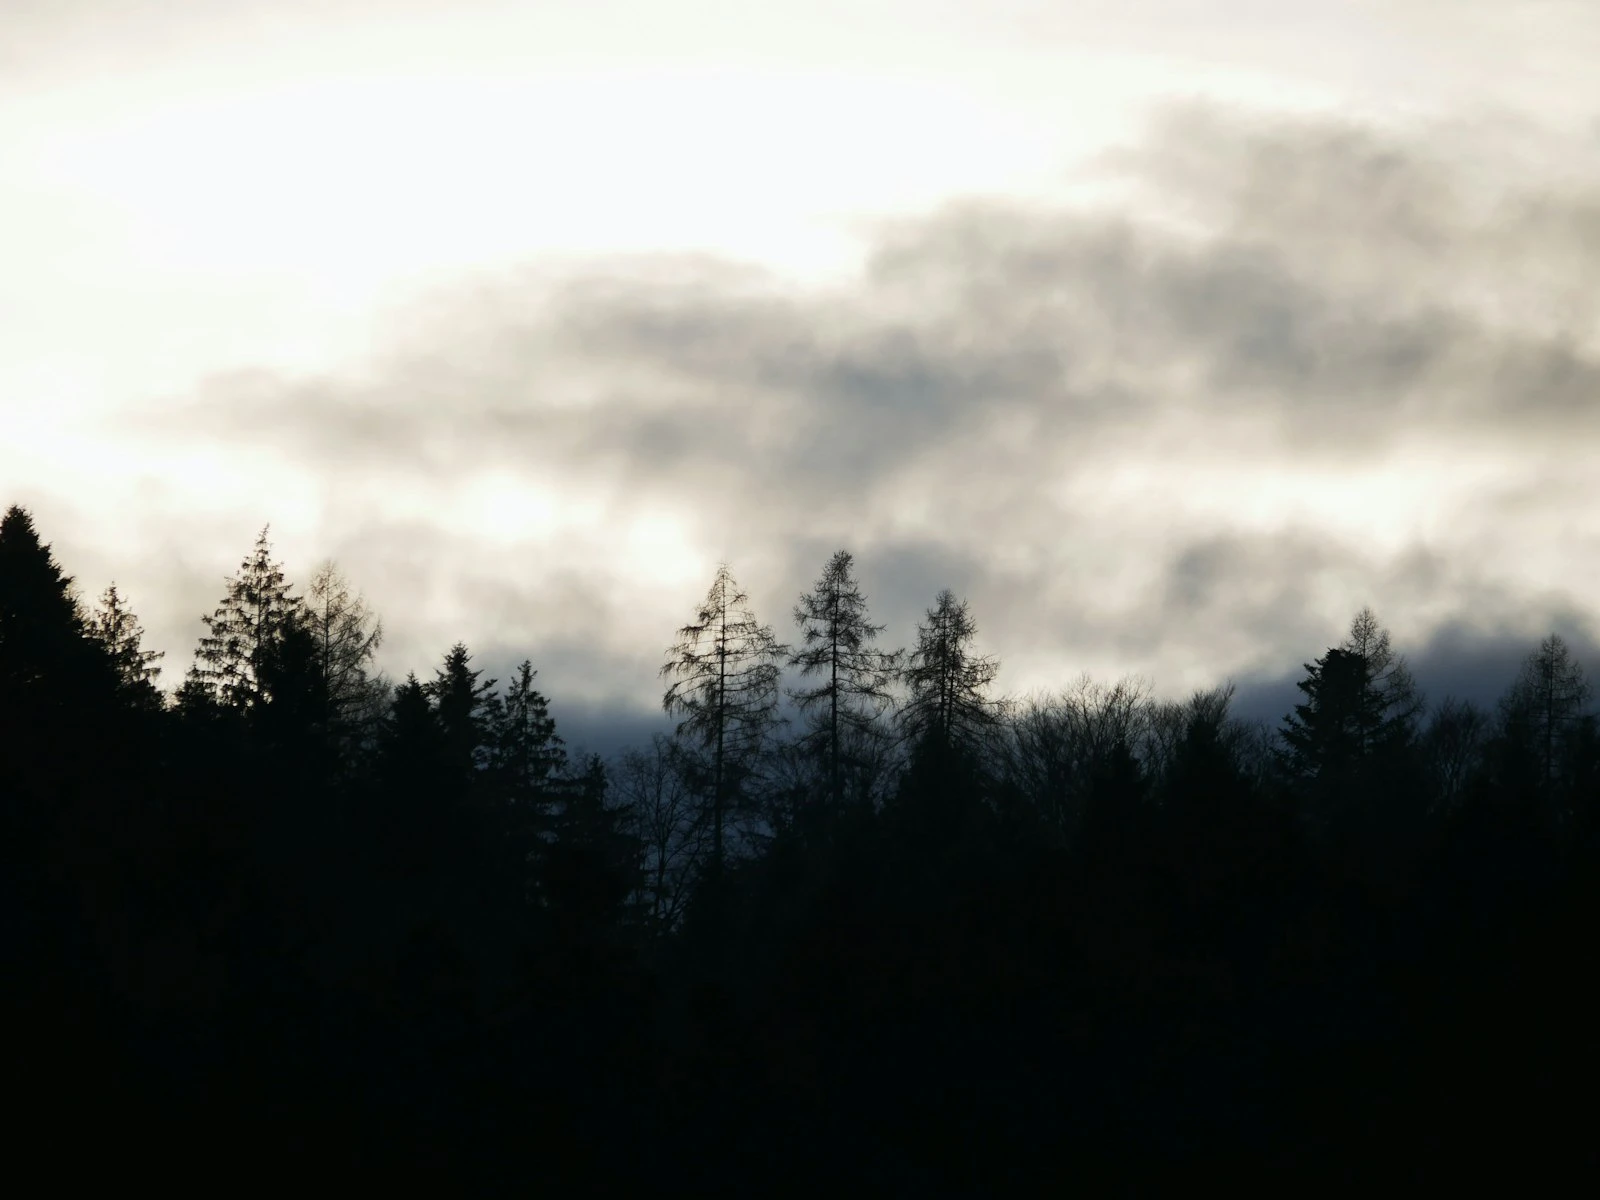
Open shade is everywhere on sunny days. Step under an awning, a tree, the north side of a building. Hard sun becomes soft light instantly.
Reflected light bounces off every surface. A white wall turns into a giant softbox. A sidewalk throws light up under chins. Light-colored buildings become fill light for shaded areas.
Subtractive lighting uses dark surfaces to deepen shadows intentionally. That dramatic portrait with one side in shadow? Position them near a dark wall that absorbs light instead of reflecting it.
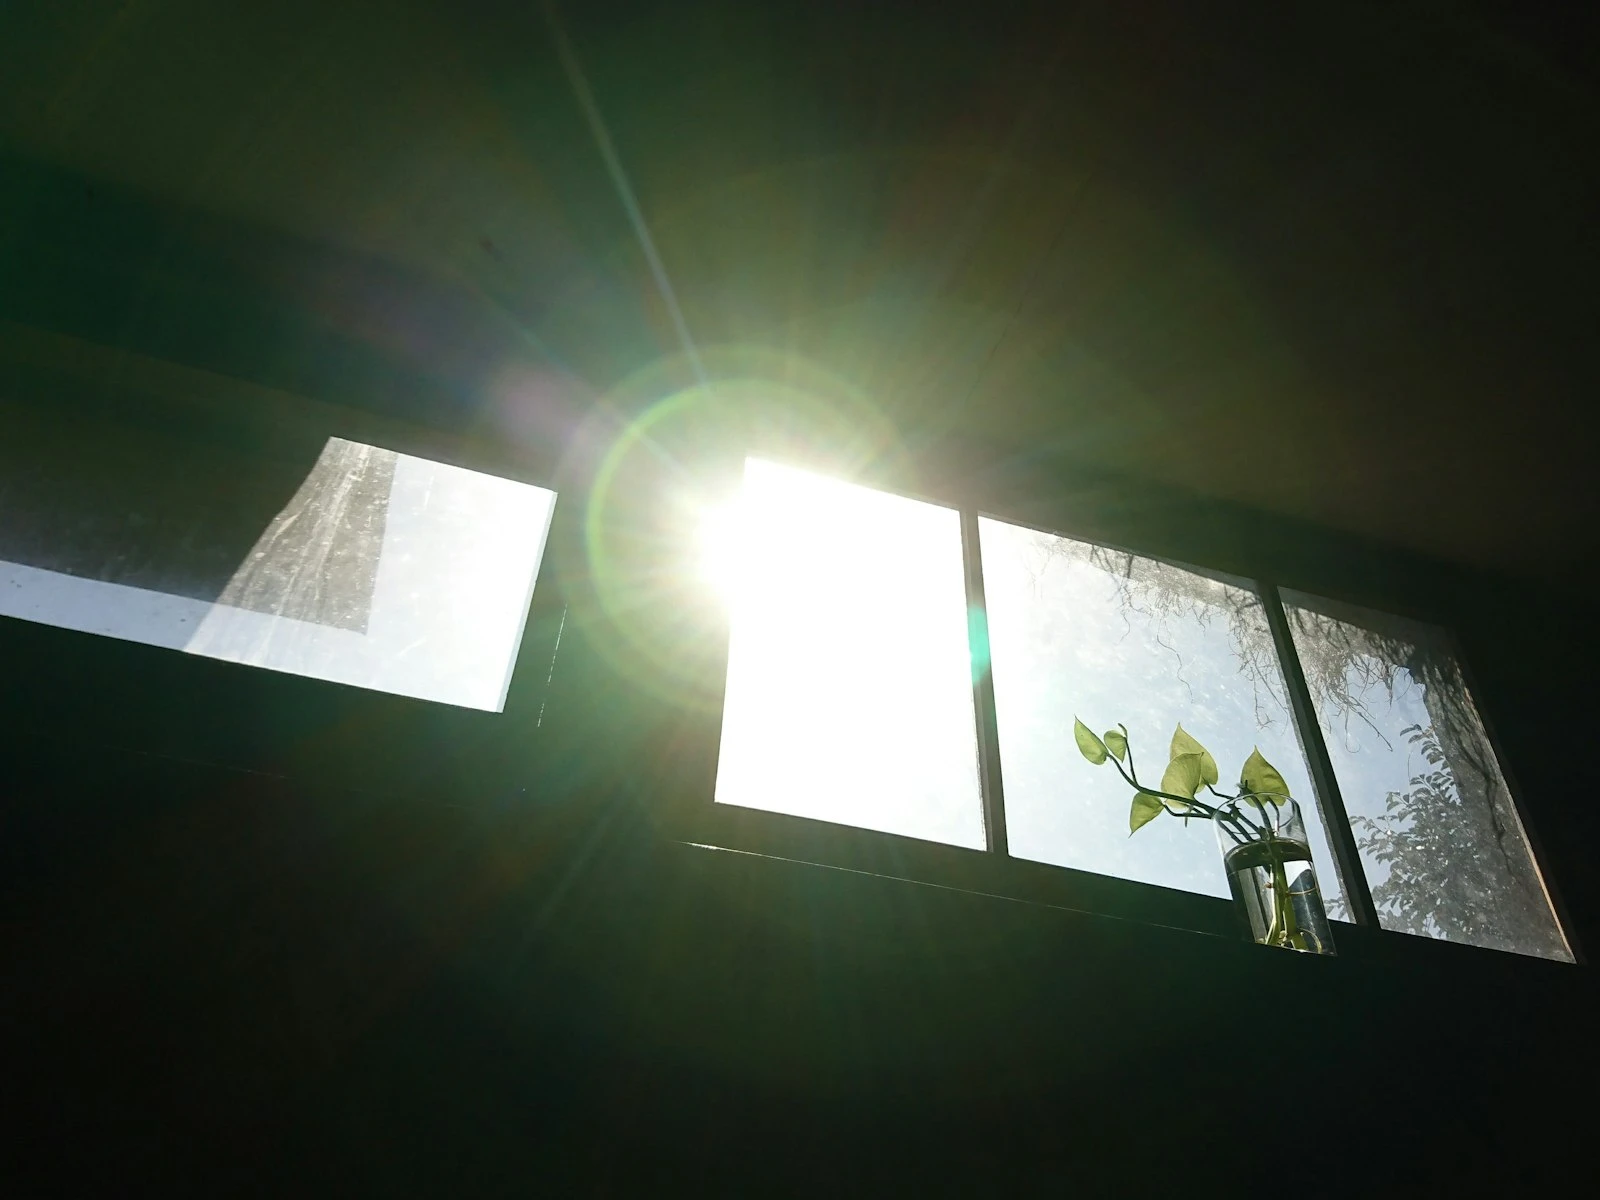
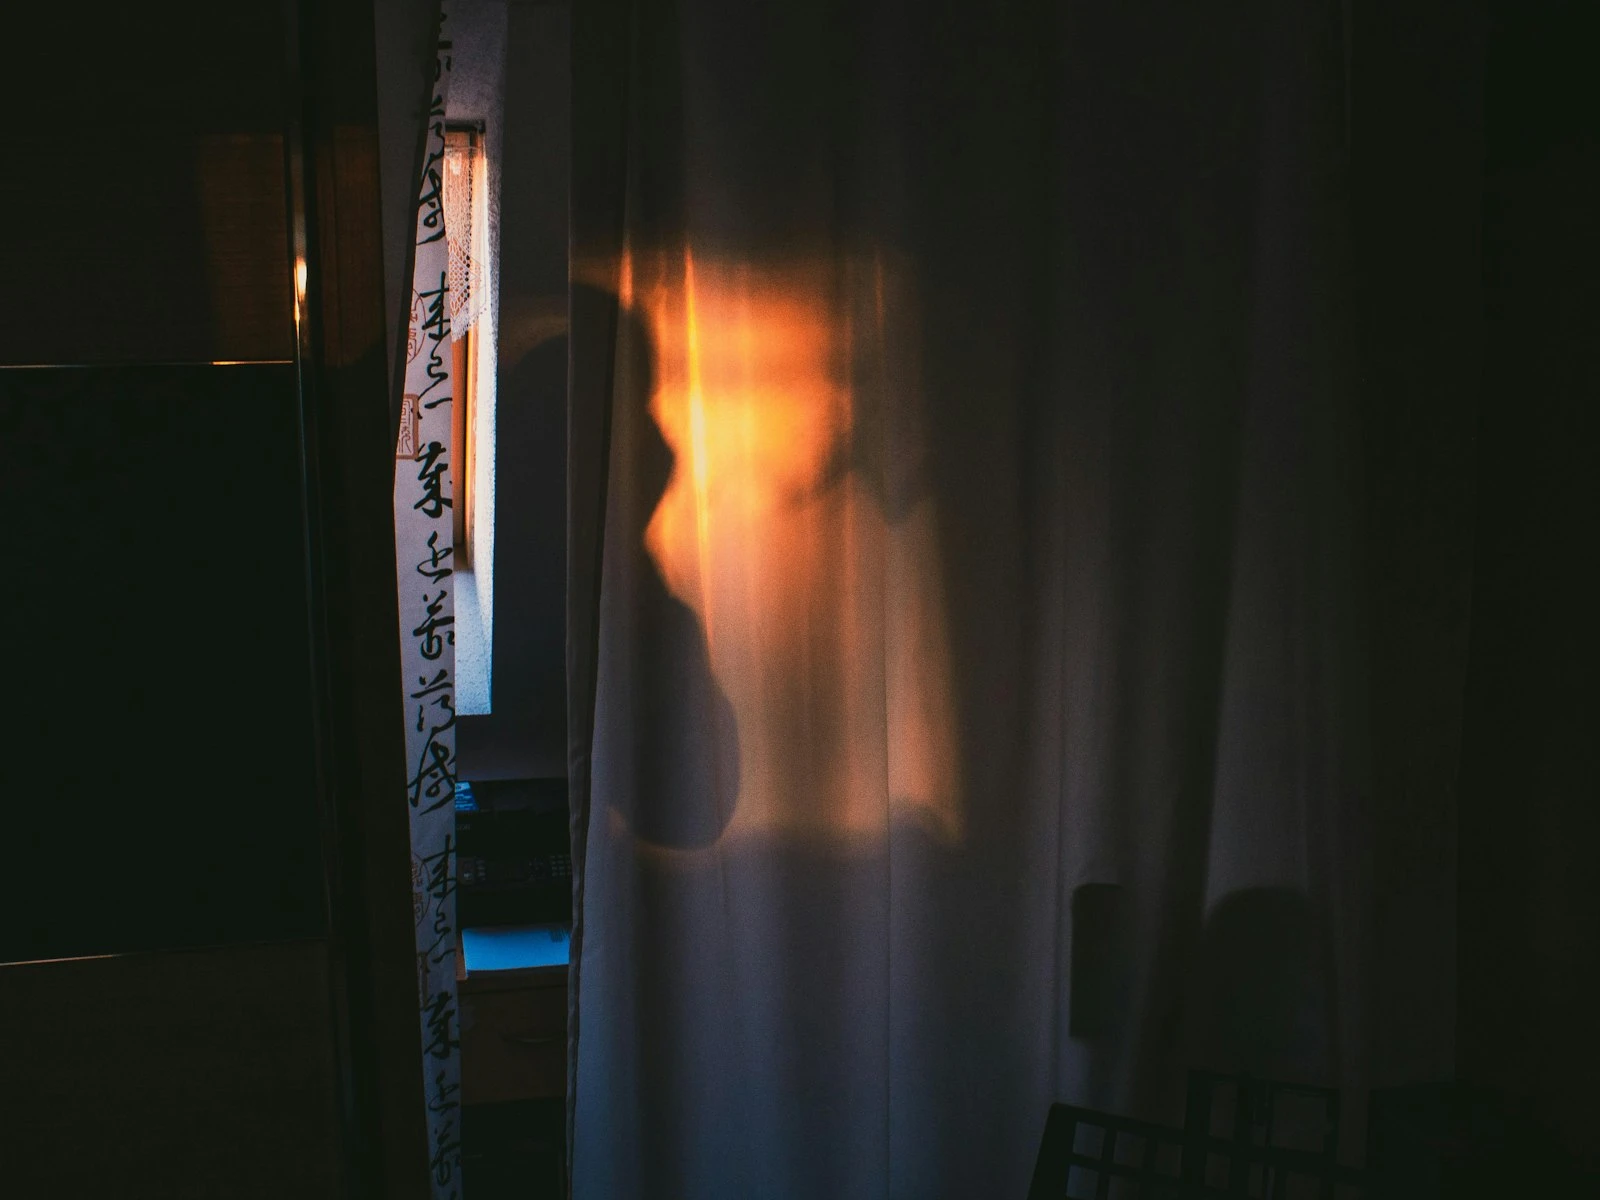
Window light exists in every building. It varies by window size, what's outside, what time of day, and whether there are treatments, but it's always there, and it's almost always softer than outdoor direct sun.
You should absolutely use golden hour and blue hour, but also develop the eye to find workable light at any hour. Even overcast days give you a giant softbox that's perfect for portraits and details.
Reading a Space for Light
Walk into any room or location with this question: where is the light coming from, and what quality is it?
Start with the obvious sources like windows, lamps, and overhead fixtures. Then think about reflections and what surfaces are bouncing that light around, since white walls spread it, dark surfaces absorb it, and mirrors redirect it.
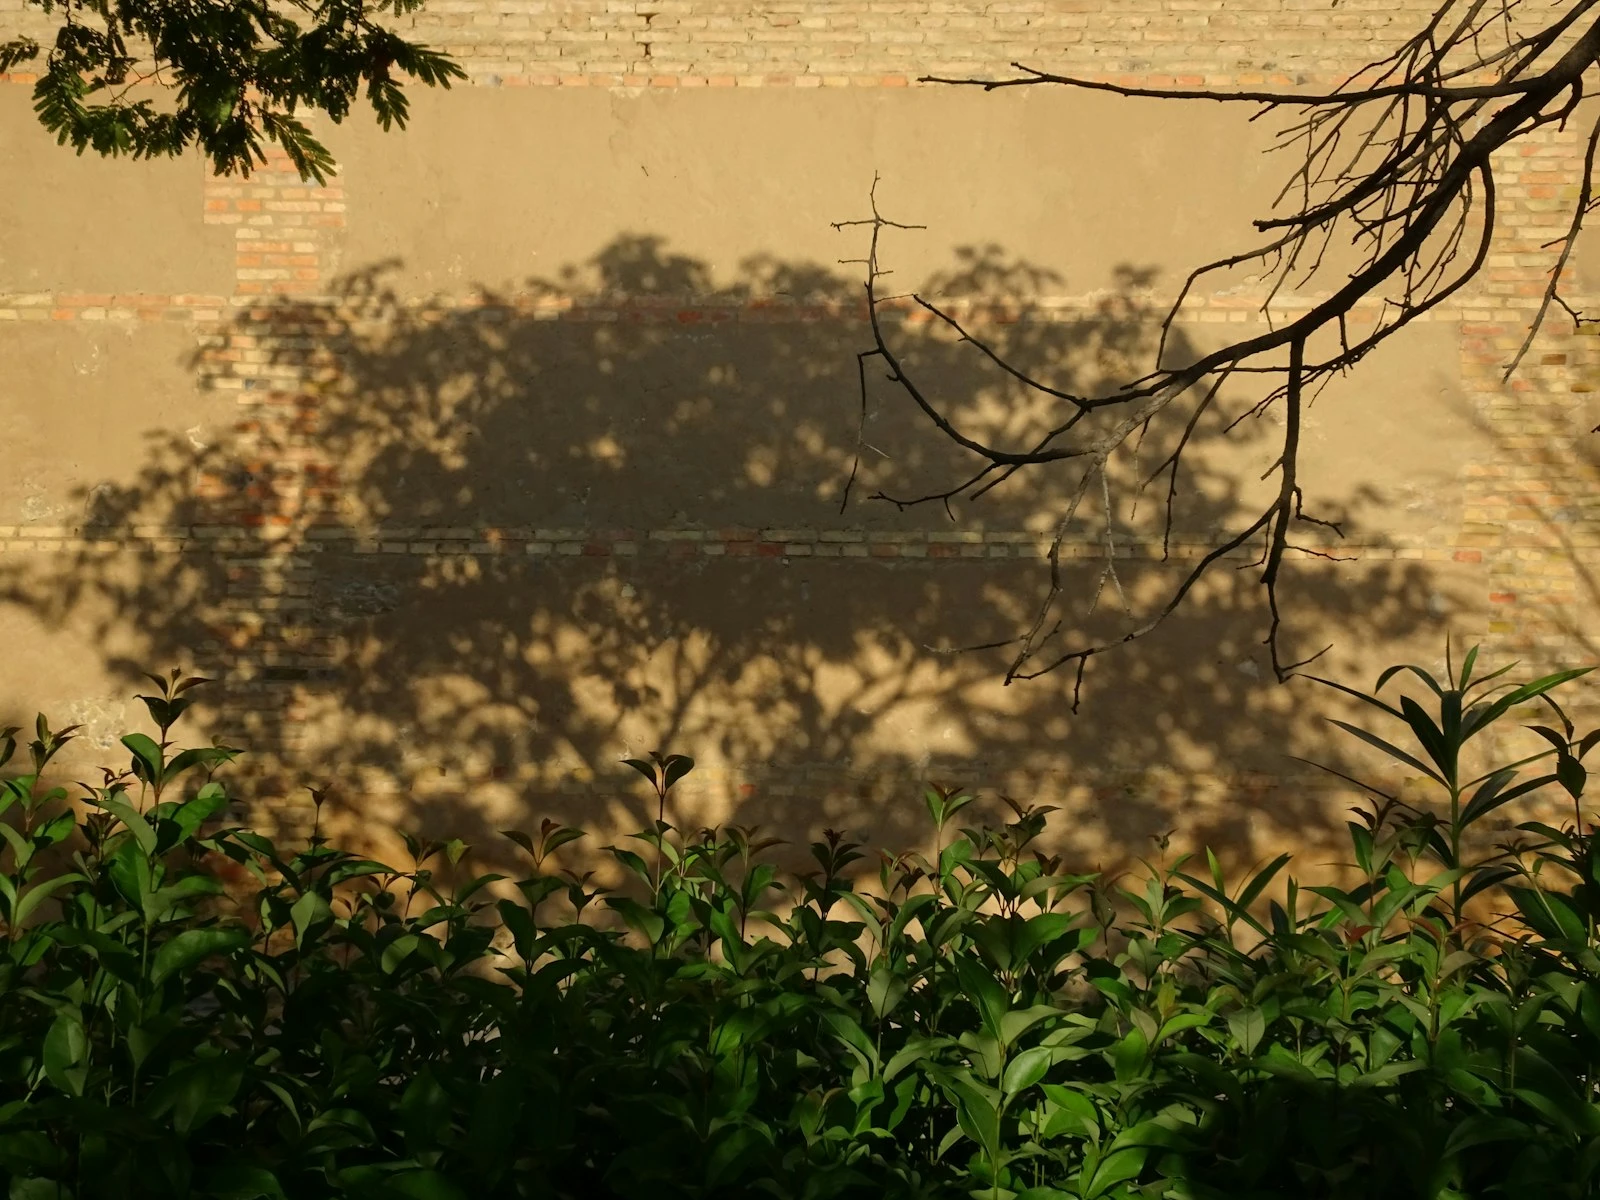
Notice the shadows. Sharp edges mean hard light. Soft gradients mean diffused light. Multiple shadows at different angles mean multiple light sources, usually artificial lights creating color casts you'll want to watch for.
Think about your subject's position. If you're photographing a person, where could they stand to have the most flattering light on their face? Usually that's facing a large, diffused source at a slight angle.
This becomes automatic with practice. You'll walk into a restaurant and immediately notice that the table by the window has beautiful light and the booth in the corner doesn't. You'll step outside and scan for shade options before deciding where to photograph. You'll position yourself at events based on where the light falls.
You're simply seeing.
Natural vs. Artificial: It's All Just Light
This guide focuses on natural light because that's what you're working with most often without planning. But the principles are identical for artificial light.
A small flash creates hard light, like the sun. Put it through a diffuser, and it becomes soft, like an overcast sky. Bounce it off a ceiling, and it becomes enormous and soft, like shade.
The quality and direction principles don't change based on the source. Only the tools change.
What natural light teaches you transfers directly to studio work. And often, the best artificial lighting mimics what natural light already does. We're just trying to create or enhance what we've learned to see.
The Daily Practice
Developing your eye for light is like developing your ear for music. It takes exposure (literally) and attention.
Start noticing light when you're not photographing. At breakfast, look at how light falls across the table. In the car, watch how shadows move across your hands on the steering wheel. Walking through a city, notice which faces of buildings are lit and how the light changes throughout the day.
Pay attention to light in movies. Cinematographers are masters at this. Notice when scenes feel intimate or harsh or ethereal, and look at what the light is doing.
When you have your camera, experiment with repositioning. Same subject, different relationships to the light. See how the images change. Build the connection between what you see and what the camera records.
The goal is unconscious competence, where you walk into any situation and immediately know your lighting options without having to think about it. That takes time. But it's the skill that separates snapshots from photographs.