"Keep the sun behind you." That's the first lighting advice most photographers hear. And it's reasonable starter guidance, since front-lit subjects are easy to expose and free from harsh shadows.
But following it forever means missing some of photography's most beautiful possibilities.
Shooting into the light, or backlighting your subject, creates rim lighting, silhouettes, lens flare, and that glowing, ethereal quality you see in professional work. It's more challenging than front lighting, but as we explore throughout our lighting guide, the results can be stunning.
Why Backlight Works
Backlighting separates your subject from the background in ways front lighting can't.
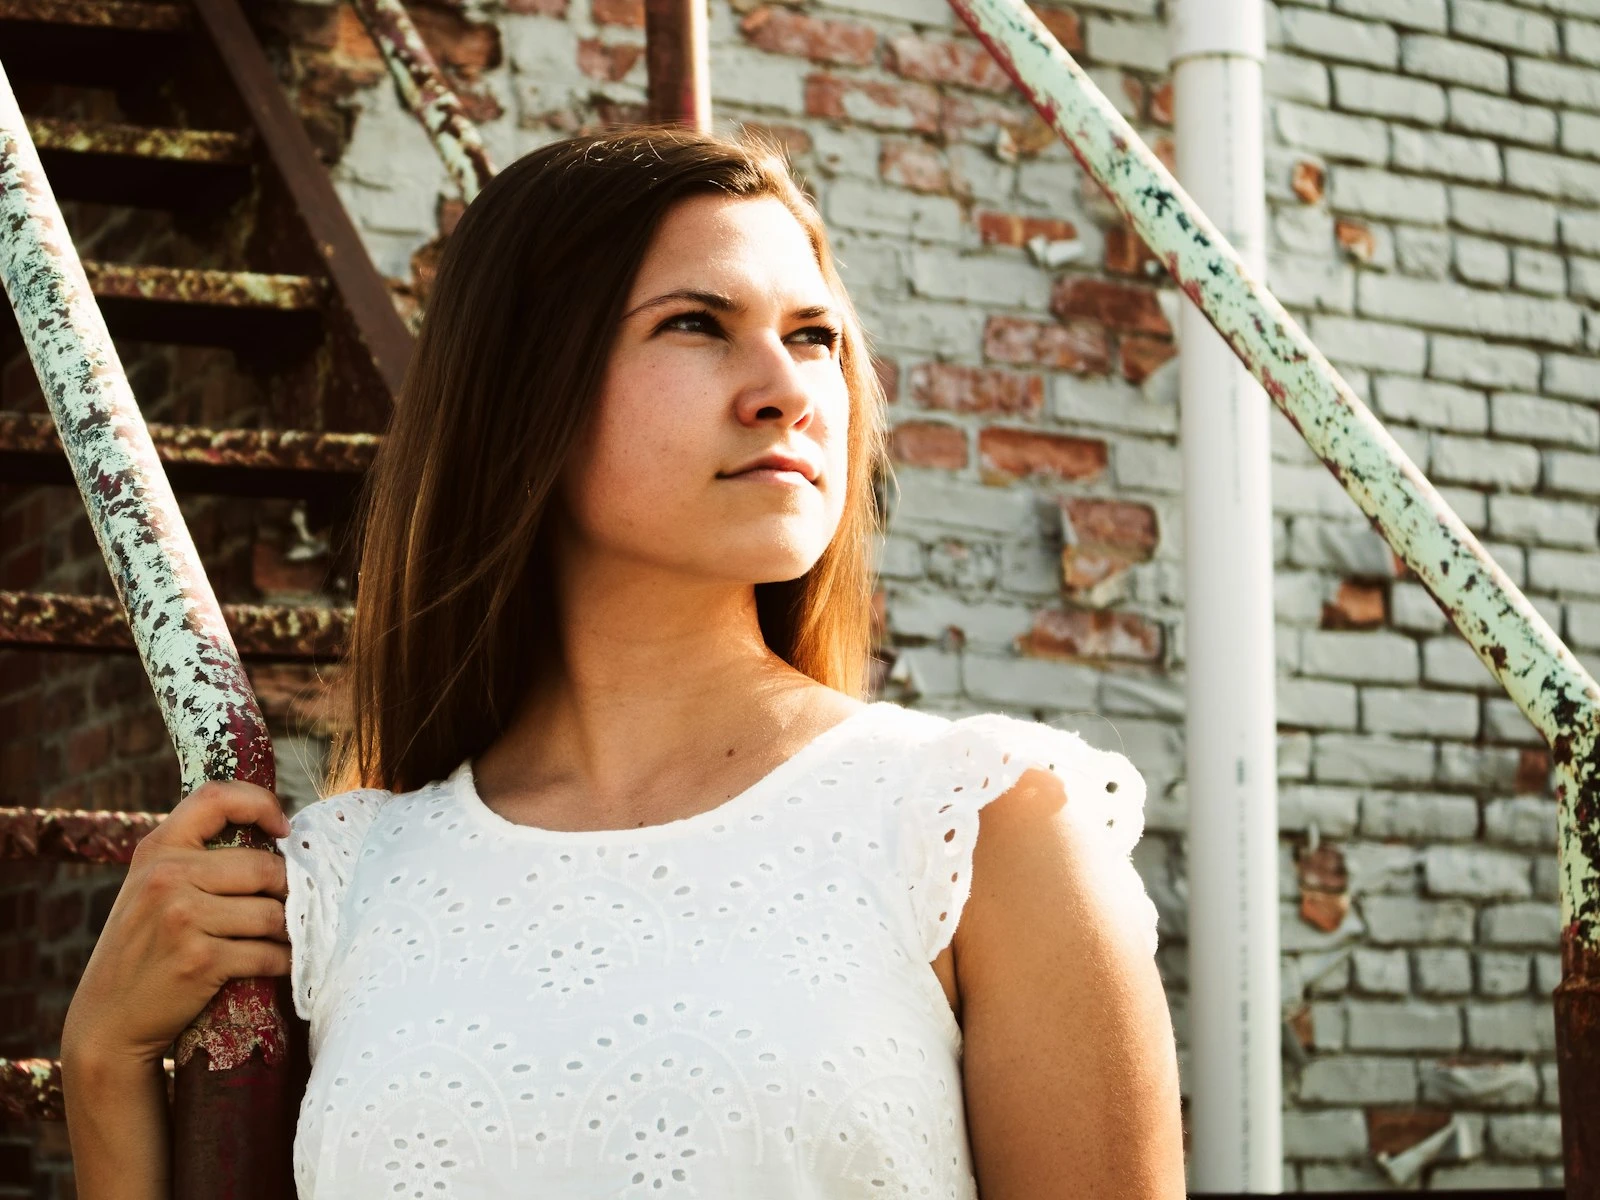
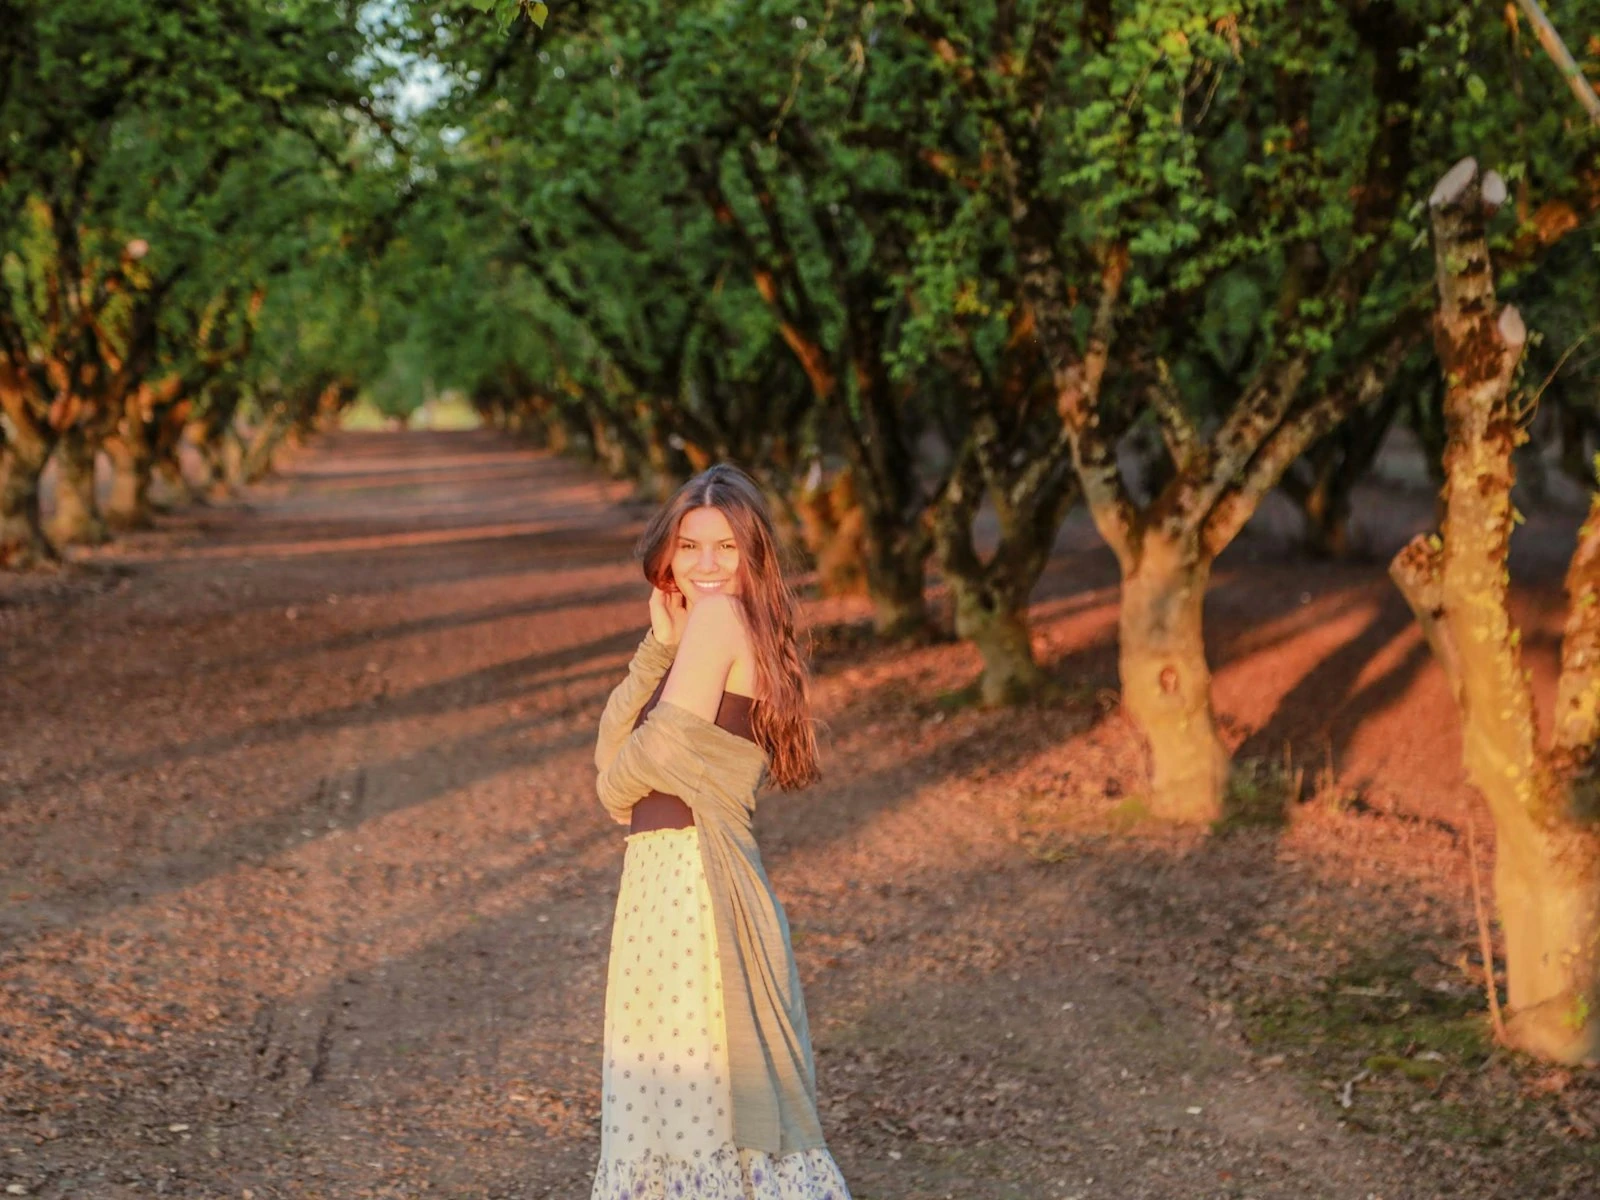
Rim lighting. When light comes from behind a subject, it wraps around the edges, creating a glowing outline. Hair becomes luminous, figures gain a three-dimensional pop, and the subject literally glows.
Depth and separation. Front-lit subjects can blend into backgrounds. Backlit subjects stand out because they're defined by that rim of light against whatever's behind them.
Mood and atmosphere. Backlit scenes feel dreamier, more romantic, more cinematic. The light creates a sense of atmosphere. You're not just seeing the subject, you're seeing the light itself.
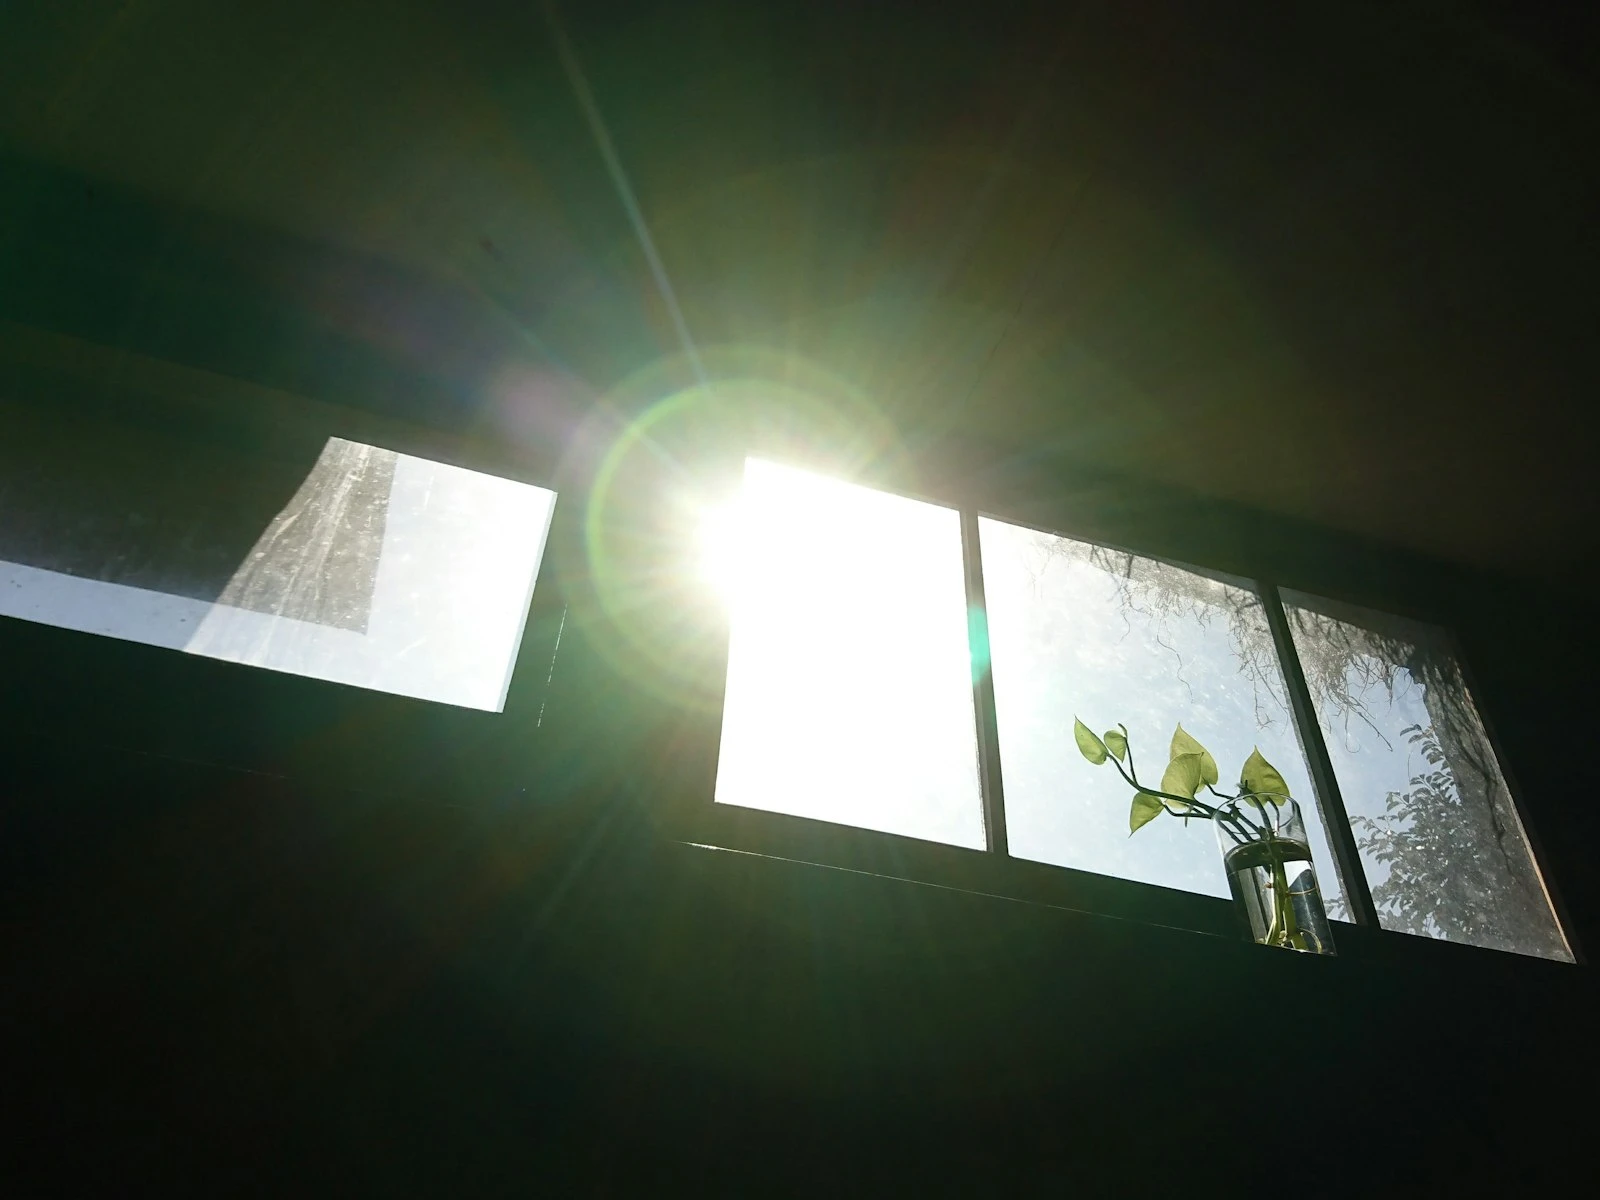
Lens flare. When light enters your lens directly, it creates flare, those streaks, circles, and haze effects. Used intentionally, flare adds energy and atmosphere. It signals "real light" in a way that feels authentic.
Natural highlights. In backlit portraits, hair becomes a halo, translucent objects glow, and even ordinary scenes gain a magical quality.
The Exposure Challenge
Backlighting is trickier because your camera sees a bright light source behind a darker subject and gets confused.
The problem: Your camera's meter wants to average the scene to middle grey. With a bright background and darker subject, it compromises, often badly. The background is still too bright, and the subject is too dark.
You have three choices:
-
Expose for the subject. Override the camera's meter and expose for your subject's face or front surface. The background will blow out, often to pure white. This is the common portrait approach.
-
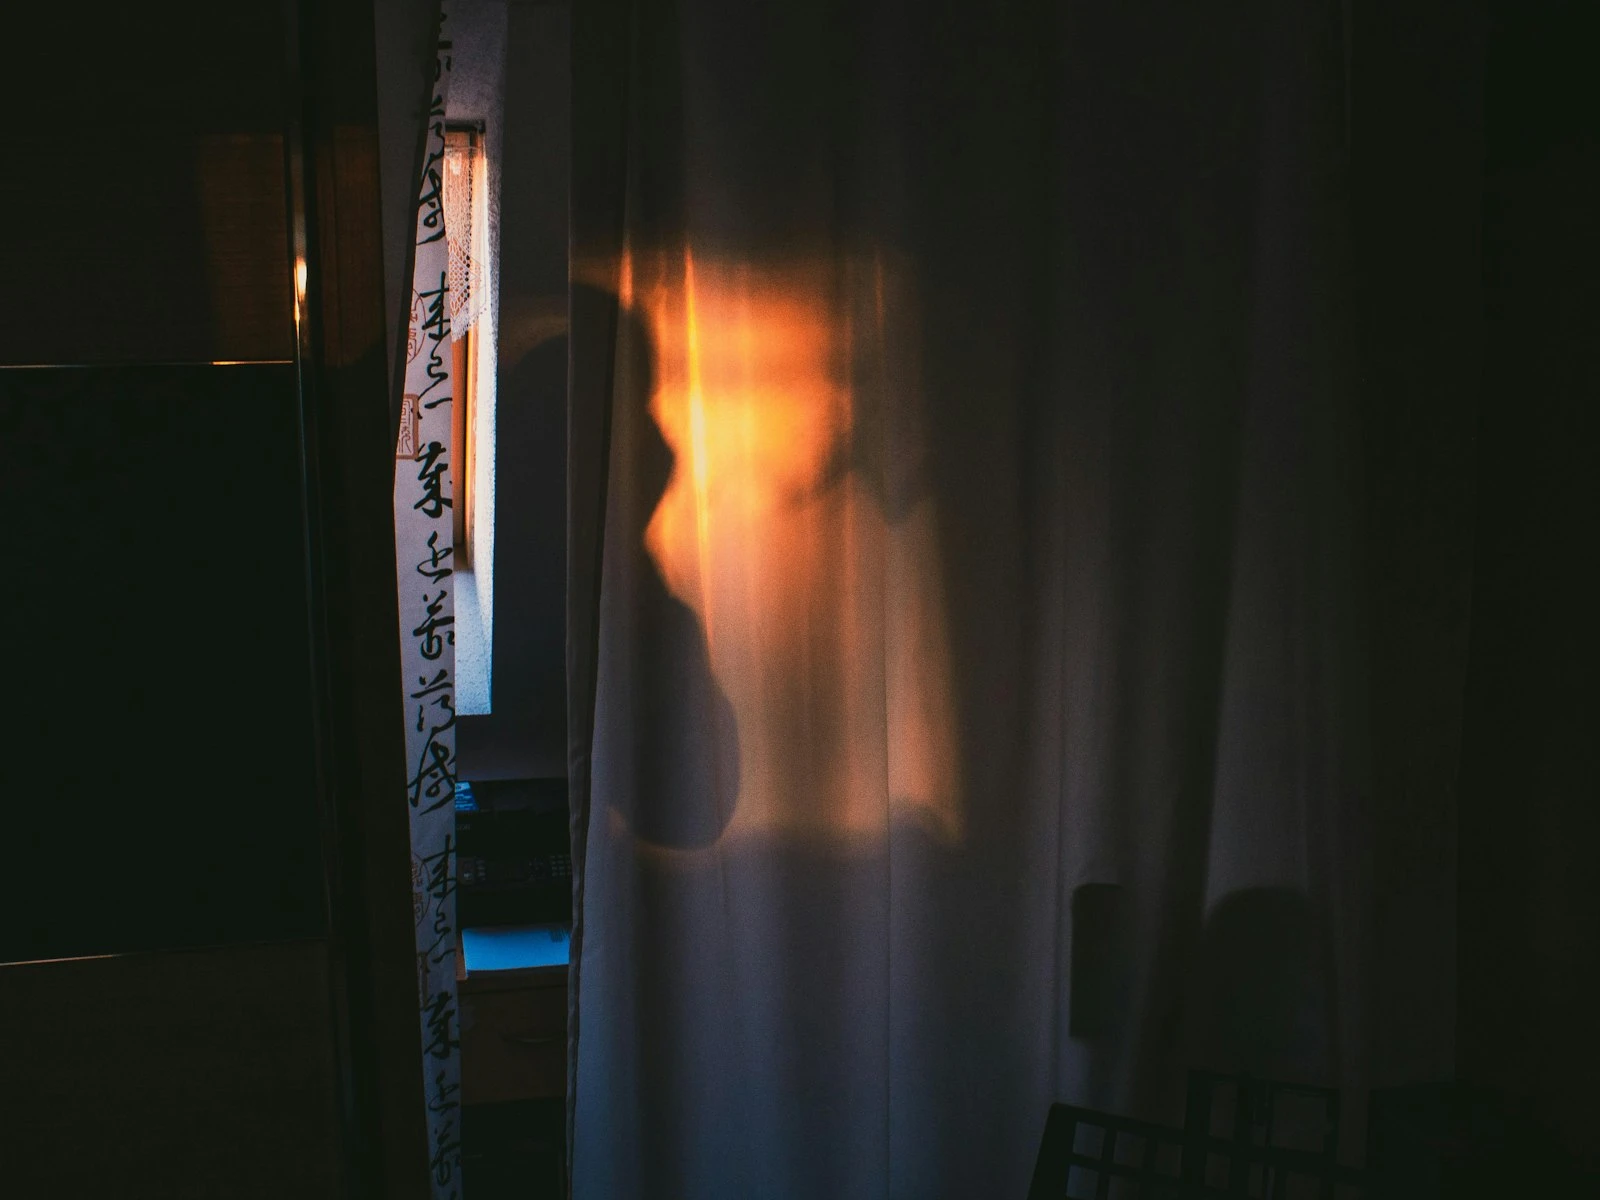
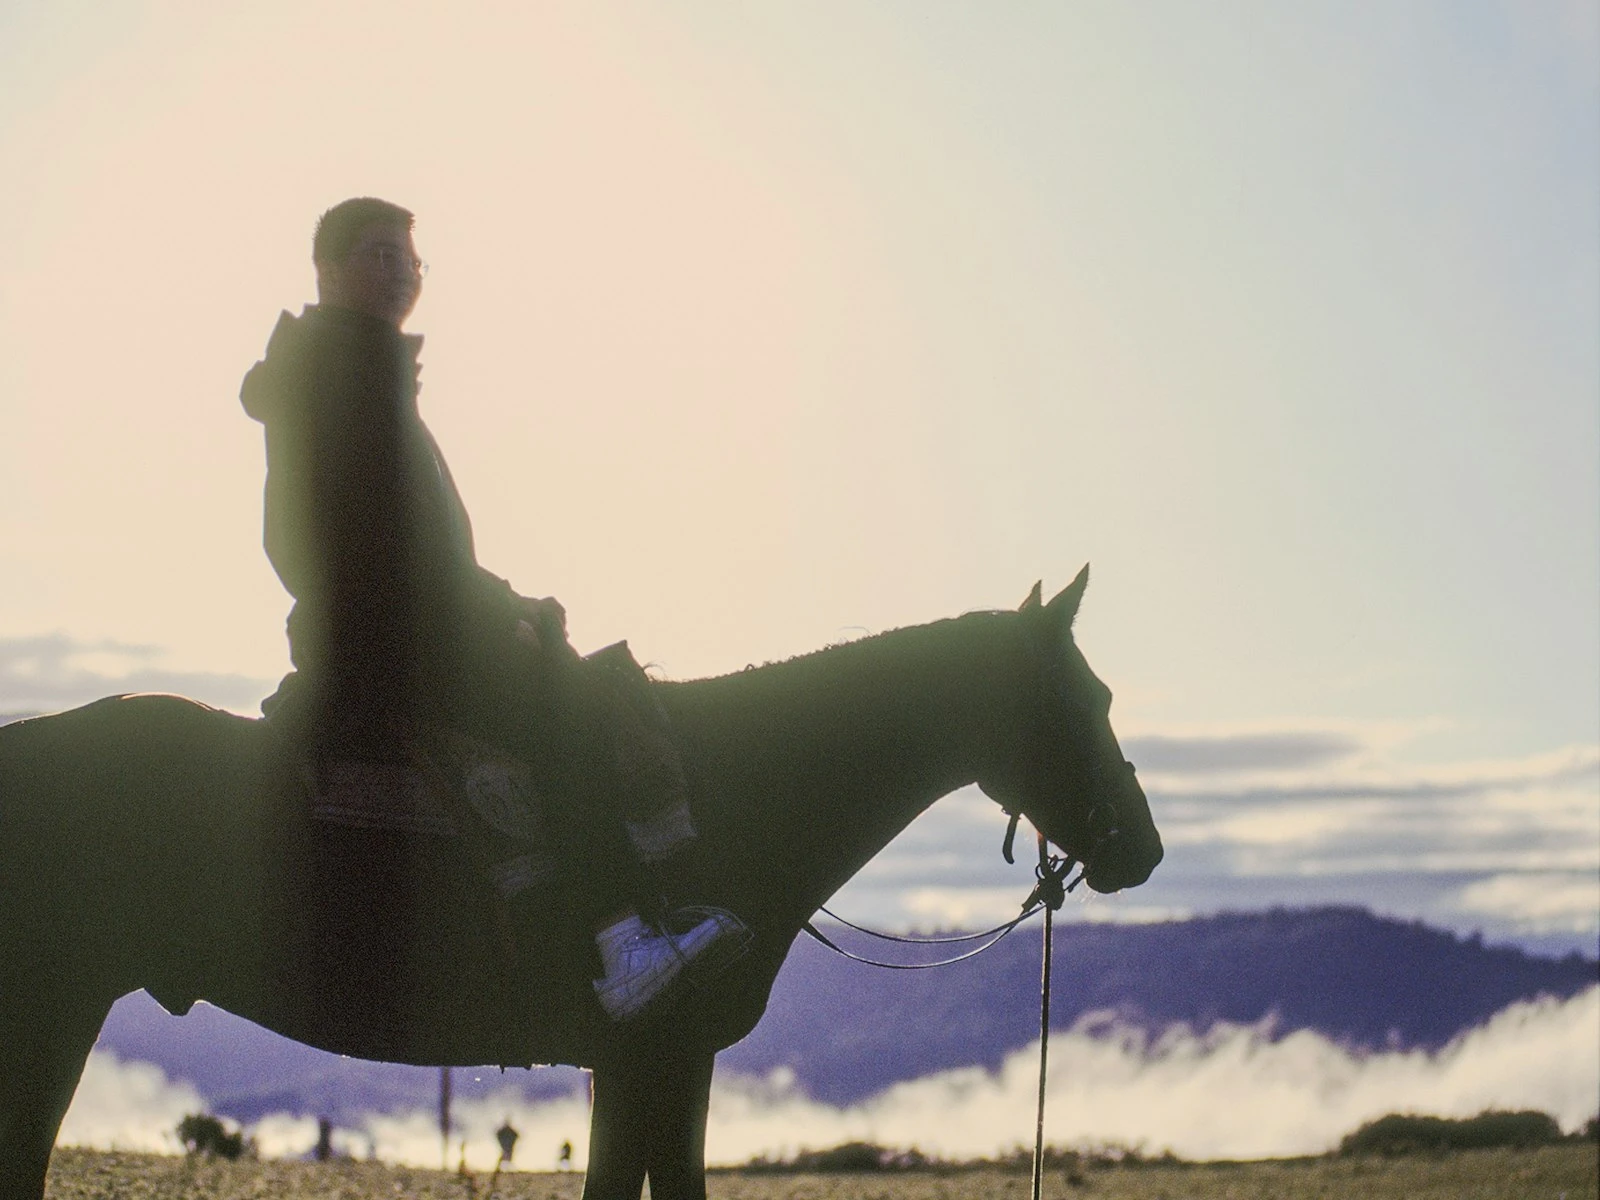
Expose for the background. The subject becomes a silhouette, a dark shape against the bright background. This is a valid creative choice, not a mistake.
-
Fill the subject. Use reflectors, flash, or natural fill to add light to the front of your subject, reducing the contrast between them and the background.
Each choice creates a different image. Know which one you want before shooting.
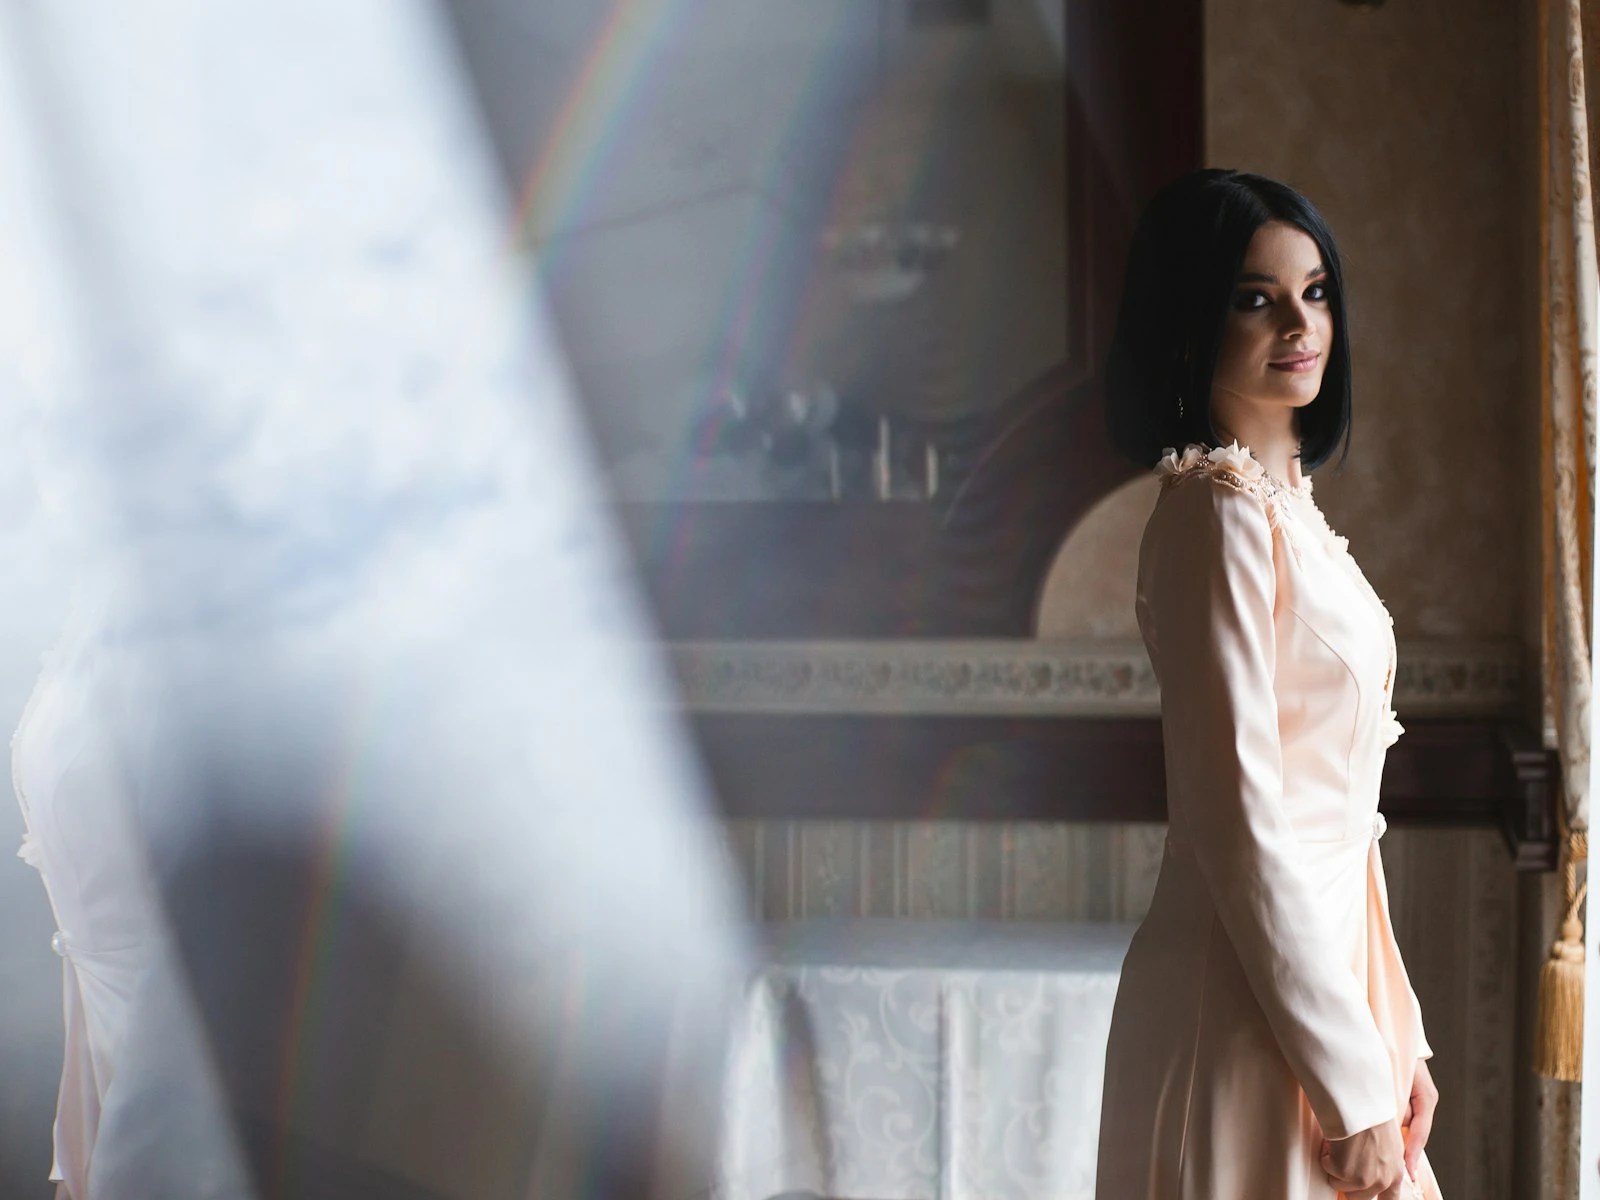
Technique 1: Blow the Background
The most common backlit portrait approach: expose for the subject, let the background go.
How to do it:
- Point your camera at the subject
- Use spot metering on their face, or set exposure manually to properly expose skin
- The background (the light source) will overexpose, often to white or cream, and that's fine since the subject is what matters
The look: Bright, airy, ethereal. The glowing background creates a halo effect with the subject standing out against luminous atmosphere.
When it works: Backlit portraits where the background isn't the point. Editorial, lifestyle, romantic shoots. Any time that dreamy glow serves the image.
Watch for: Complete loss of background detail can feel unmotivated if overdone. Some texture or hint of background often looks better than pure white.
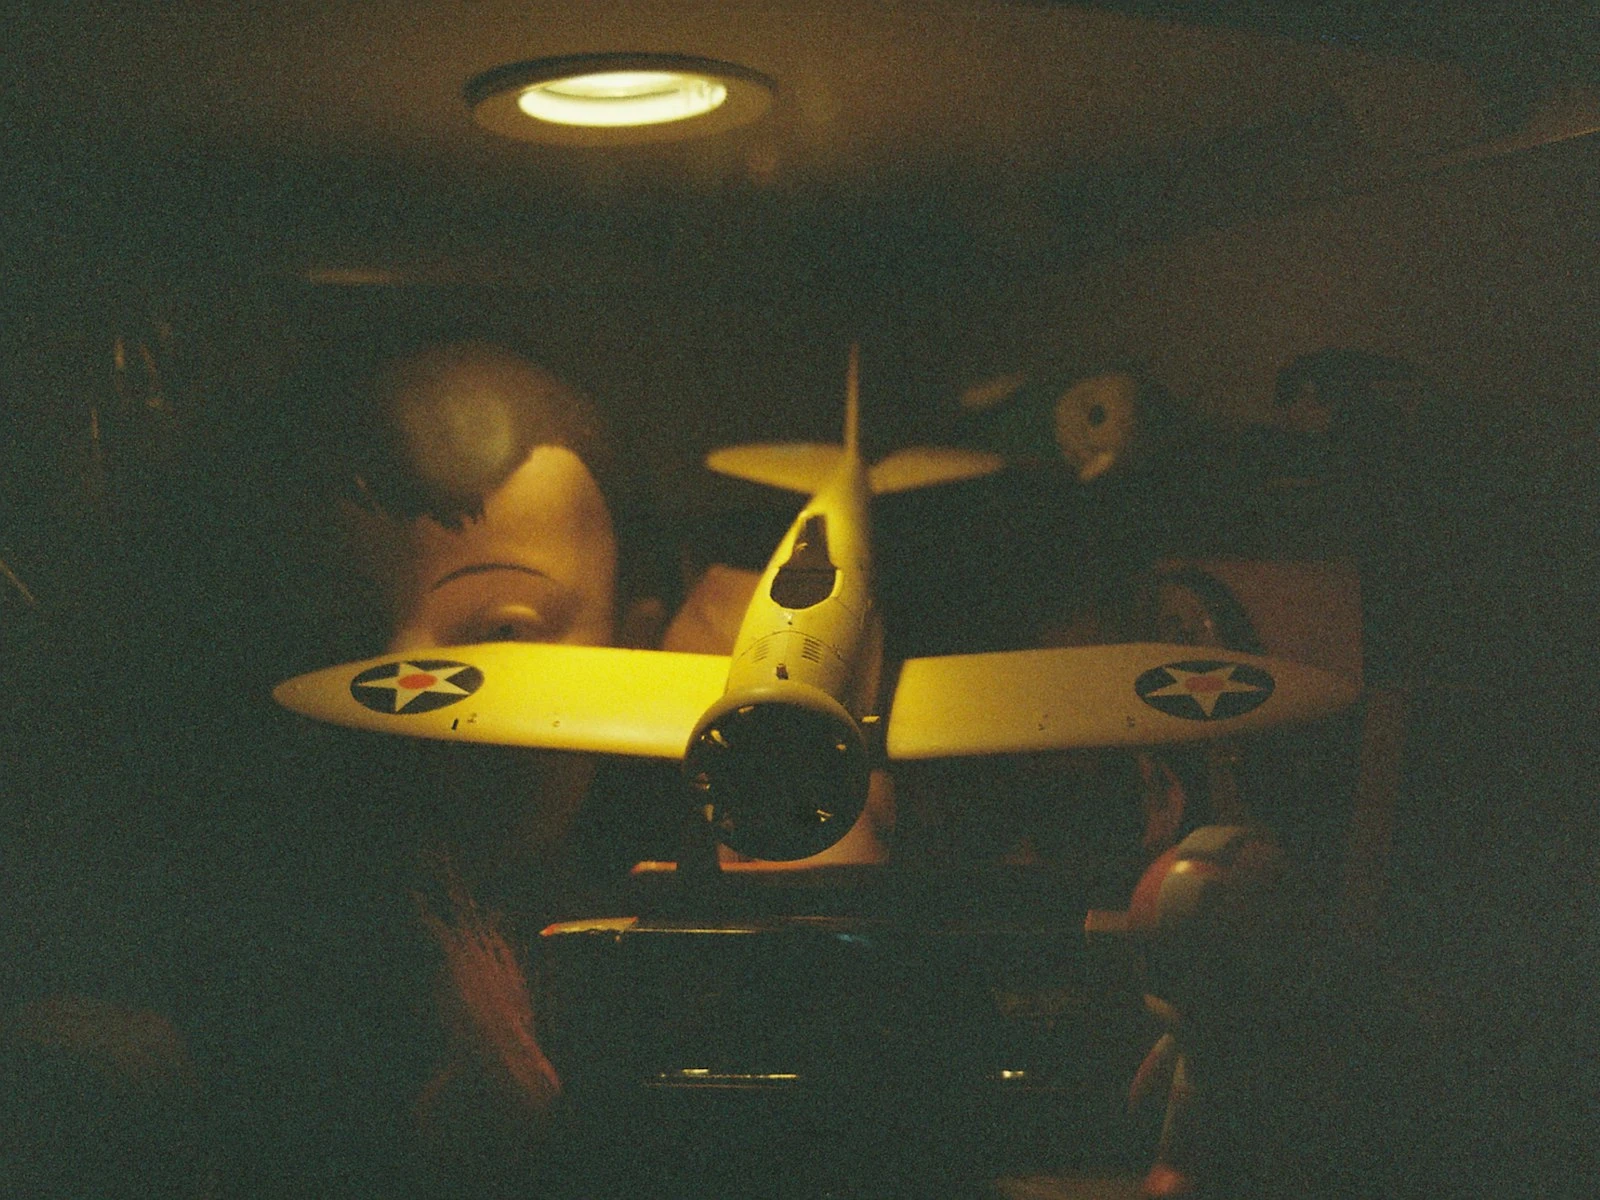
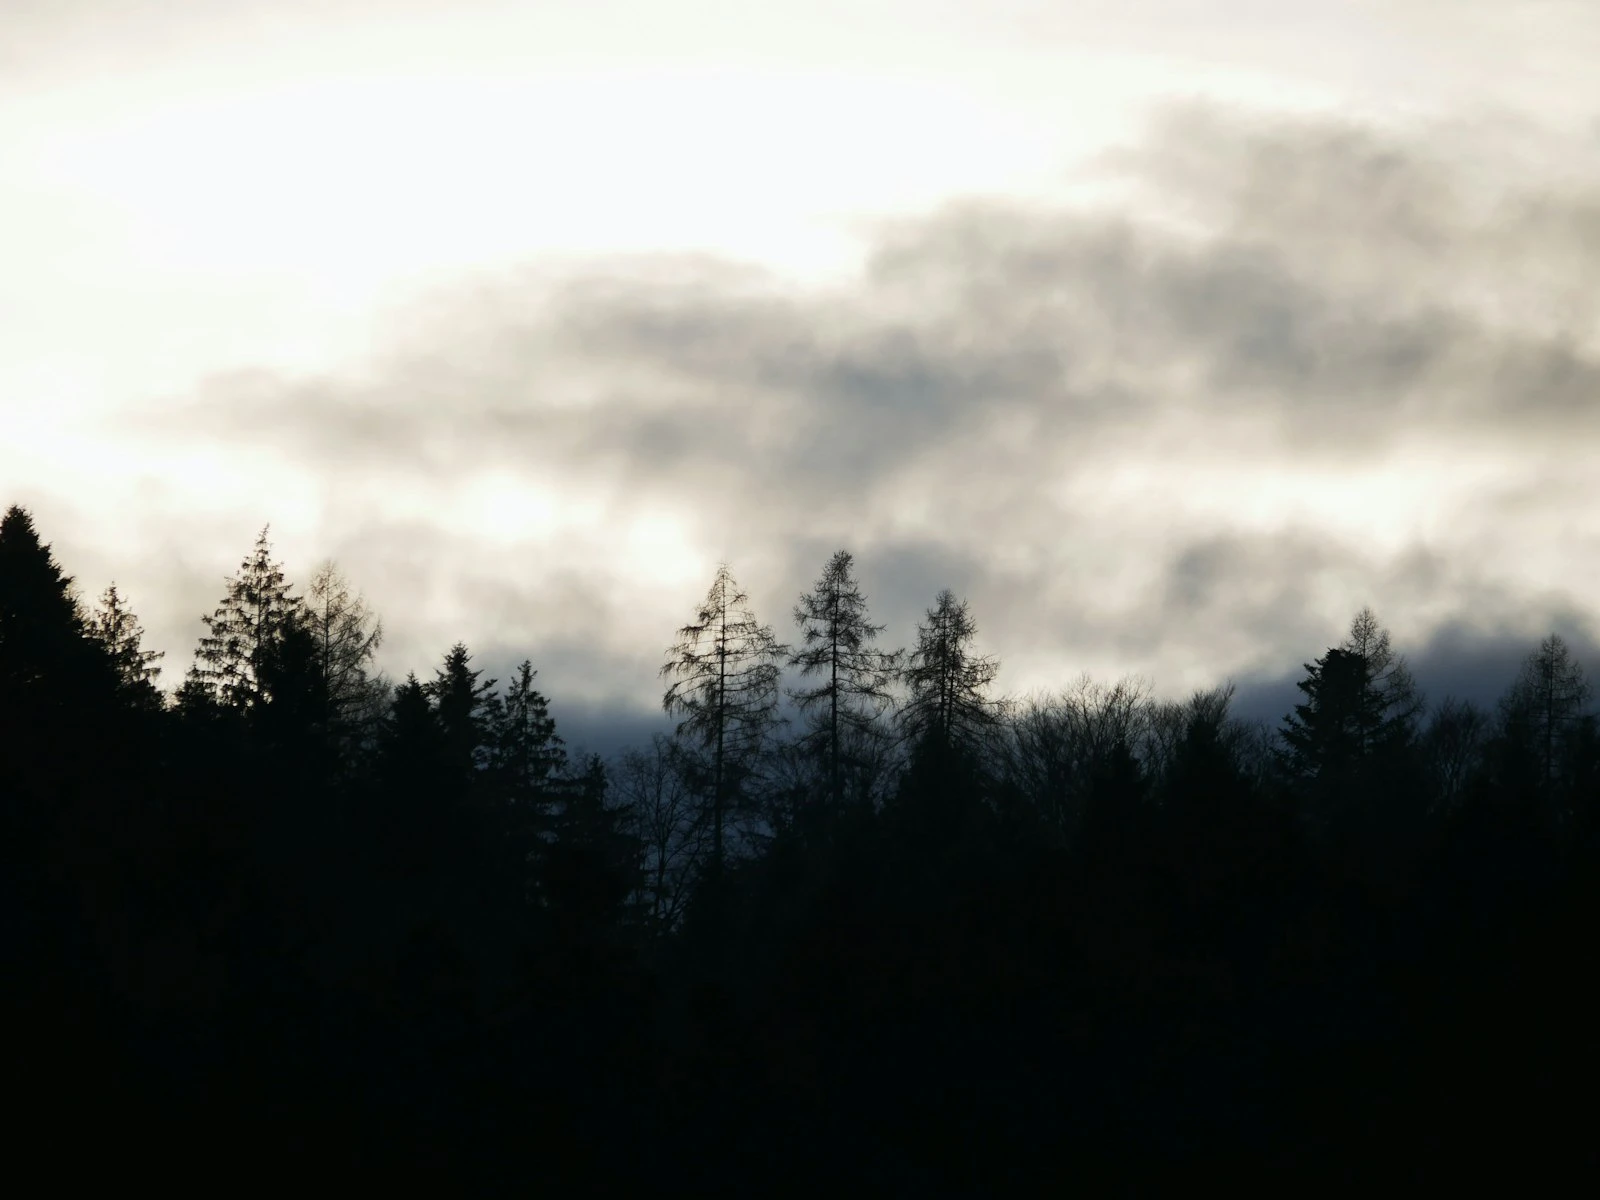
Technique 2: Embrace the Silhouette
Lean into the darkness and use it.
How to do it:
- Expose for the bright background
- Let the subject go completely dark or nearly so
- Focus on the shape, the outline, the graphic quality
The look: Dramatic, graphic, bold. The subject becomes shape rather than detail. Story is told through form and context.
When it works: Strong shapes (people in profile, recognizable forms), dramatic skies, storytelling through body language, graphics-forward images.
Watch for: The shape has to be clear and readable, since messy silhouettes with confusing outlines don't work, so simplify.
Technique 3: Fill the Front
Reduce the contrast between subject and background by adding light to the subject's front.
Reflector fill: Hold a reflector (white, silver, or gold) in front of the subject to bounce backlight onto their face. This is the classic portrait solution: backlit glow with a properly exposed face.
Flash fill: Use a flash or speedlight to add light to the subject's front. Balance it against the backlight so neither dominates. This is more controlled than reflector fill.
Natural fill: Position the subject near a reflective surface (light wall, sidewalk, another person in light clothing). The surface bounces light back naturally.
The look: Subject is well-exposed with rim lighting from behind and fill from the front. Background may blow slightly but has more control than technique 1.
When it works: Portraits where you want both the subject details and the backlit glow. Professional headshots with edge, editorial work, wedding photography.
Shooting Position and Angle
Where you and the sun are relative to each other matters.
Sun directly behind subject: Maximum rim lighting and maximum exposure challenge, with flare likely. Can be stunning or problematic depending on your goal.
Sun slightly to the side: Subject is still backlit but the sun isn't directly in your lens. Reduces flare, makes exposure easier, still provides rim lighting on the lit side.
Sun blocked by subject: Larger subjects (person's head, building) can block the sun itself while edge lighting remains. This eliminates direct flare while keeping the backlit effect. Often the easiest approach.
Low sun vs. high sun: Low sun (golden hour) makes backlit portraits easier because the light comes from the side/behind rather than overhead. High sun backlighting requires more careful positioning.
Managing Lens Flare
Lens flare happens when light enters the lens directly, and it can be a feature or a bug.
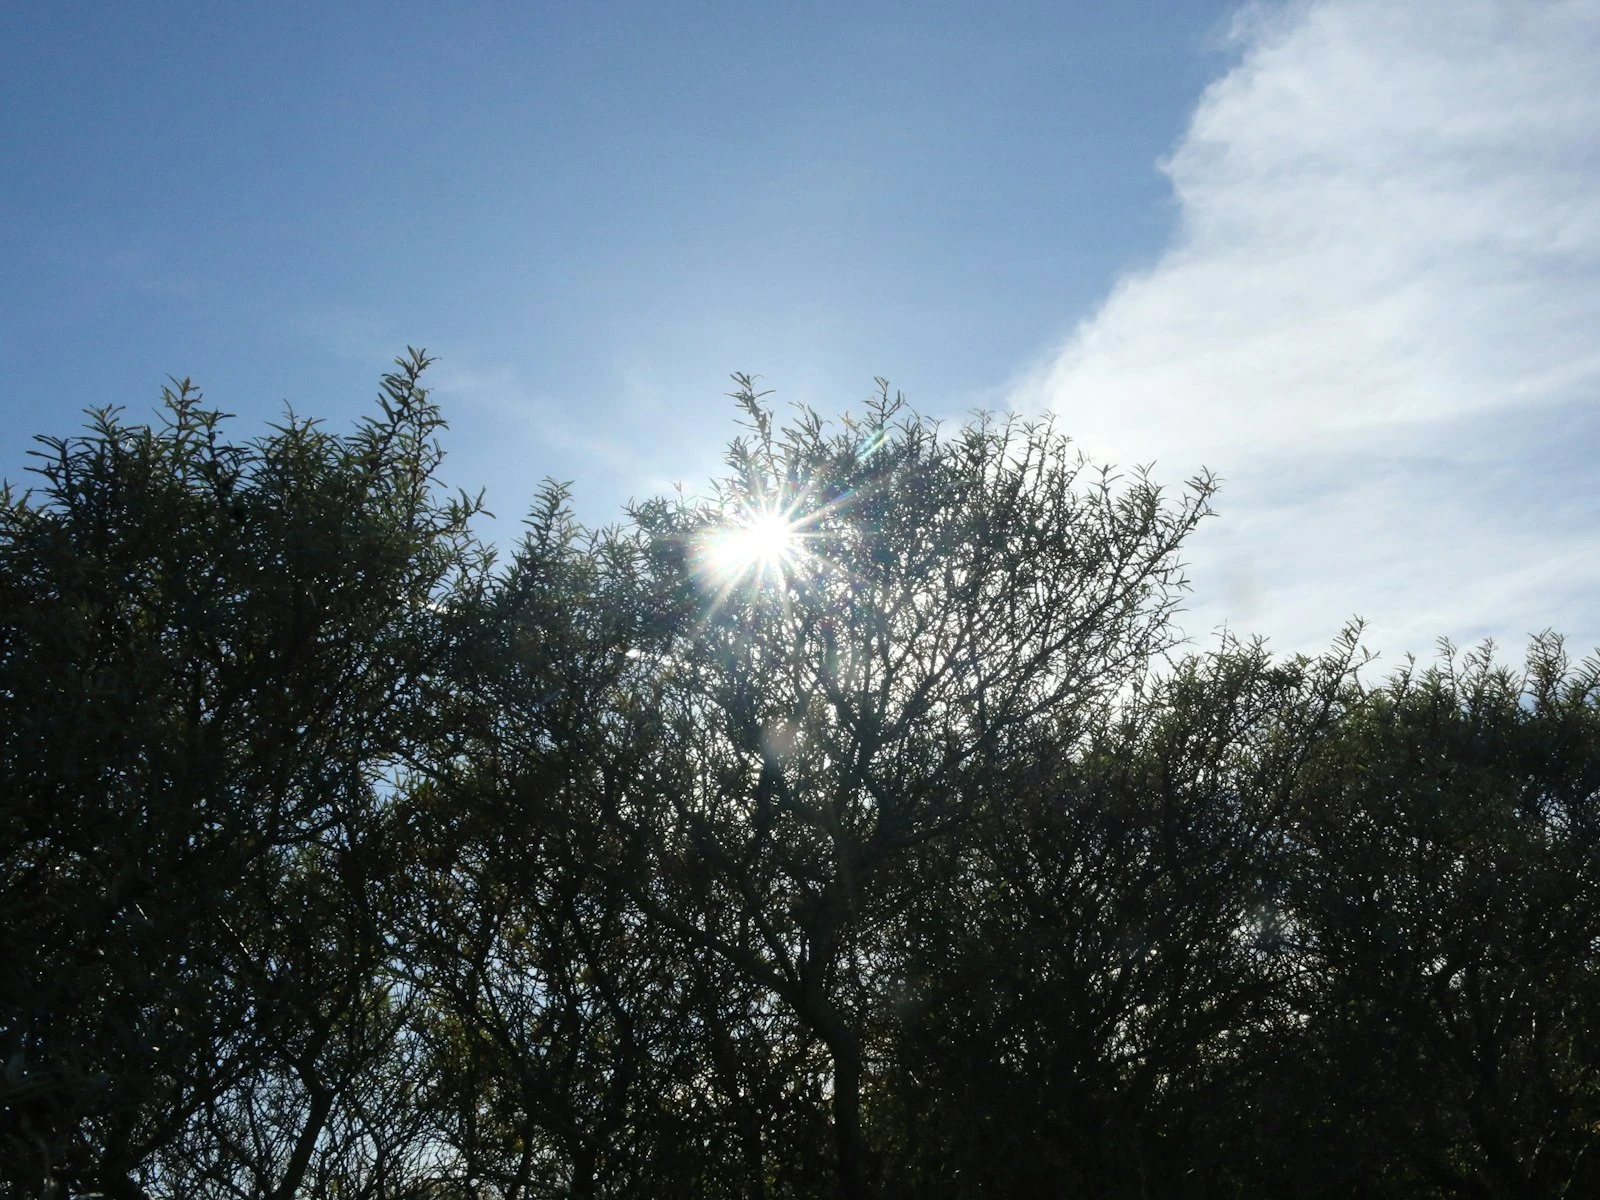
Embracing flare:
- Let the sun peek past the edge of your subject for intentional flare
- Small apertures create starburst effects on point light sources (a diffraction effect from the aperture blades, separate from flare)
- Flare adds energy, warmth, and atmosphere when used well
- Position flare intentionally in the composition as a deliberate element
Reducing unwanted flare:
- Use a lens hood to block light from the side
- Block the sun with your hand at the edge of the frame (check it's not visible)
- Move slightly so the subject blocks direct sun
- Choose cleaner lenses (some flare more than others)
- Adjust your angle so the sun isn't directly in frame
Editing flare: Unwanted flare can sometimes be reduced in post, but it's usually easier to control in-camera. Intentional flare that doesn't quite work is harder to fix than getting it right originally.
Metering for Backlight
Your camera's automatic metering struggles with backlight, so you need to take control.
Spot metering: Meter on your subject (usually the face in portraits). This tells the camera to expose for that specific area, ignoring the bright background.
Exposure compensation: In aperture or shutter priority, dial in positive compensation (+1 to +2 stops is common) to override the camera's urge to underexpose the subject.
Manual exposure: Set your exposure manually for the subject. Take a test shot, check the result, adjust. The background doesn't matter, only the subject exposure does.
Check the histogram: The histogram will be pushed right (toward highlights) in backlit situations. That's expected. Make sure important subject detail isn't clipped.
Shoot RAW: RAW files contain more information than JPEGs, giving you more flexibility to adjust exposure in post. Especially valuable for the challenging exposures of backlighting.
Backlit Portraits: Step by Step
-
Find your backlight. Position the sun behind your subject. Lower sun angles (morning/evening) are easier than midday.
-
Decide your approach. Silhouette? Blown background? Filled? Make the choice before shooting.
-
Position the subject. Consider whether you want sun visible (flare), blocked by subject (cleaner), or just off-frame.
-
Set up fill if needed. Reflector, flash, or find natural bounce.
-
Set your exposure. Spot meter on face, add compensation, or go manual. Test and adjust.
-
Watch the rim light. Adjust position until you see that glow on hair/edges that makes backlighting special.
-
Mind the flare. Add it intentionally or eliminate it, but don't let it happen accidentally.
-
Work quickly. Low sun moves fast. Golden hour waits for no one.
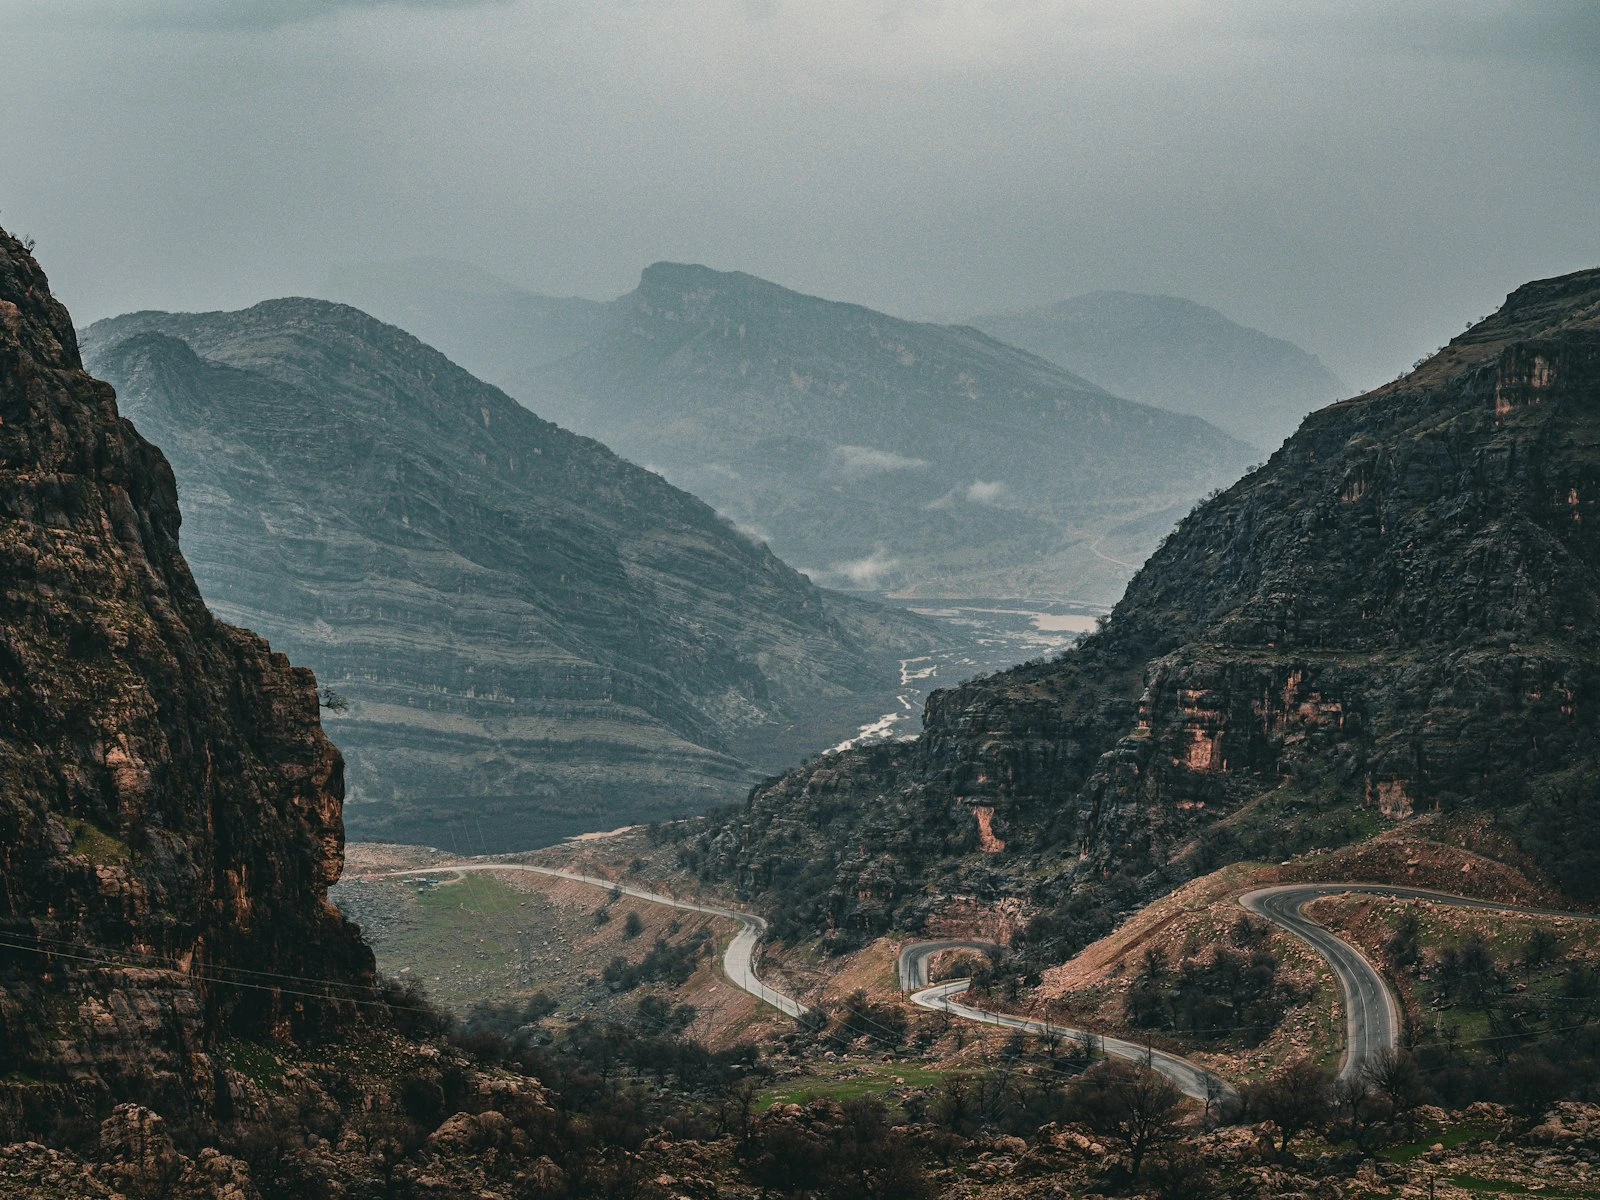
Beyond Portraits: Other Backlit Subjects
Landscapes: Sun behind mountains or trees creates dramatic silhouettes and rim-lit edges. Sunrise and sunset are classic backlit landscape moments.
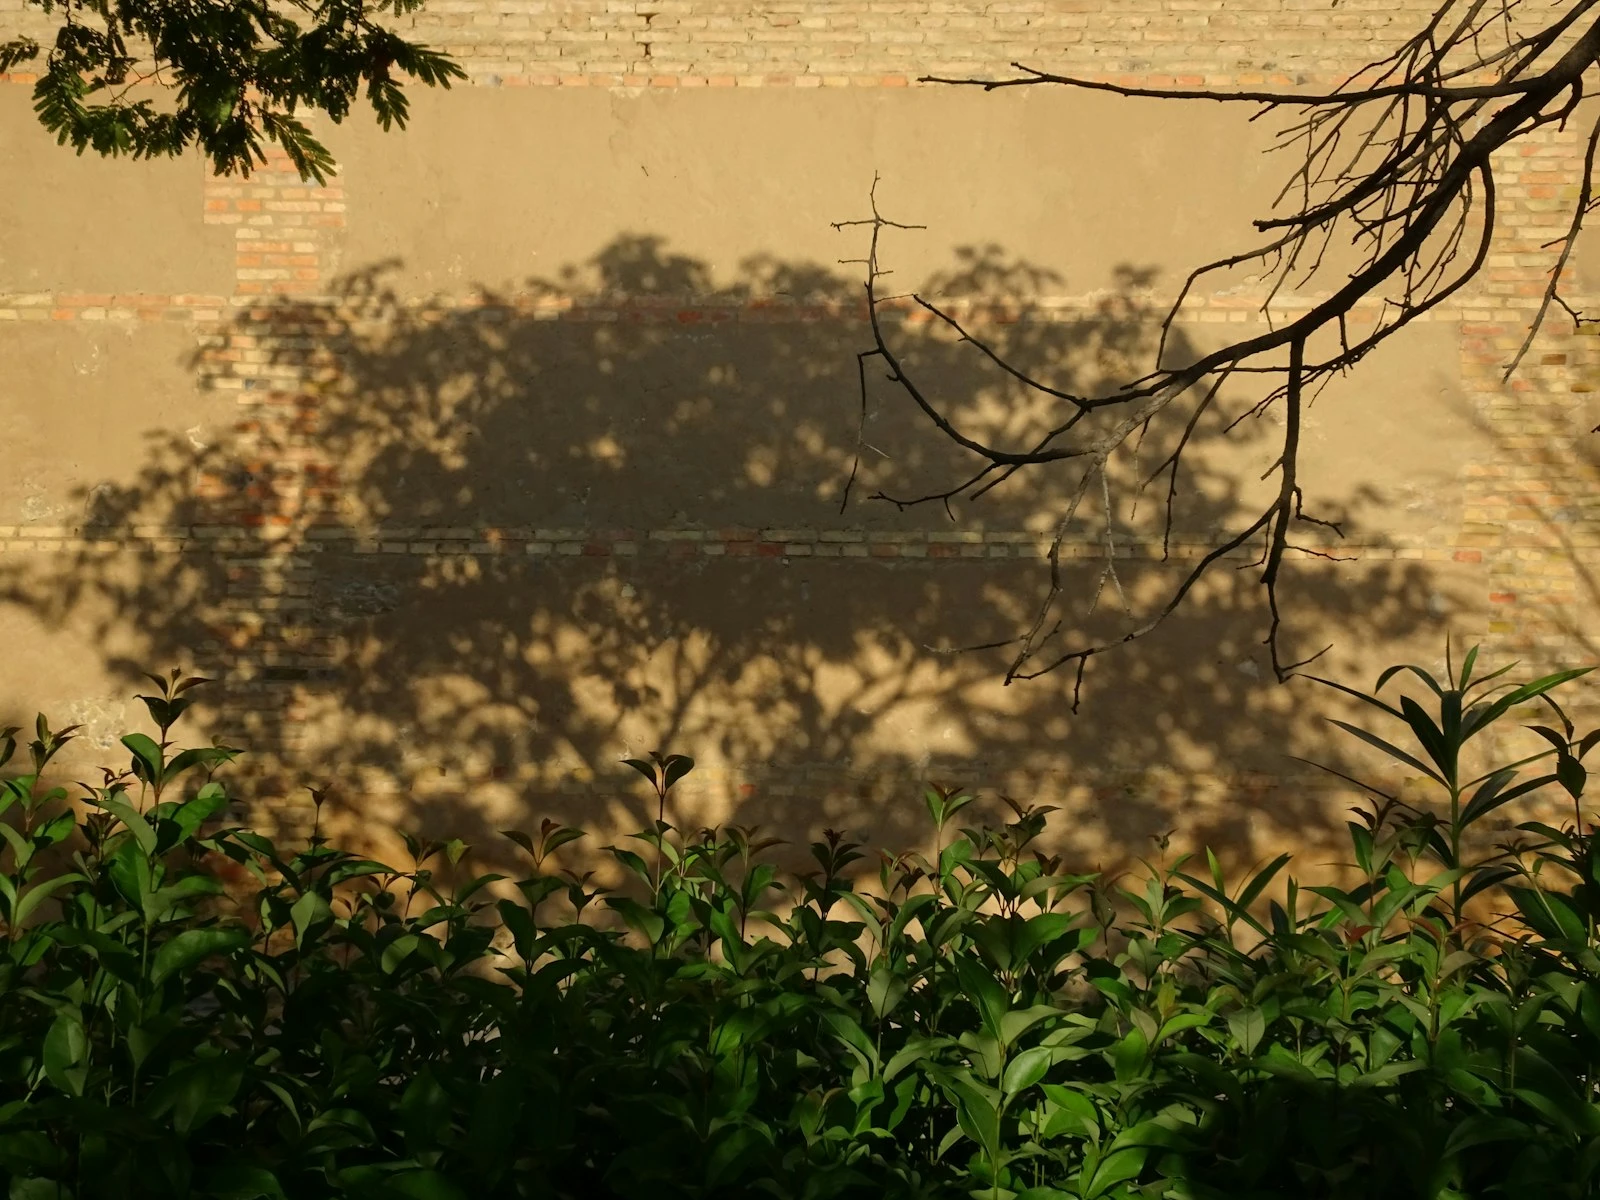
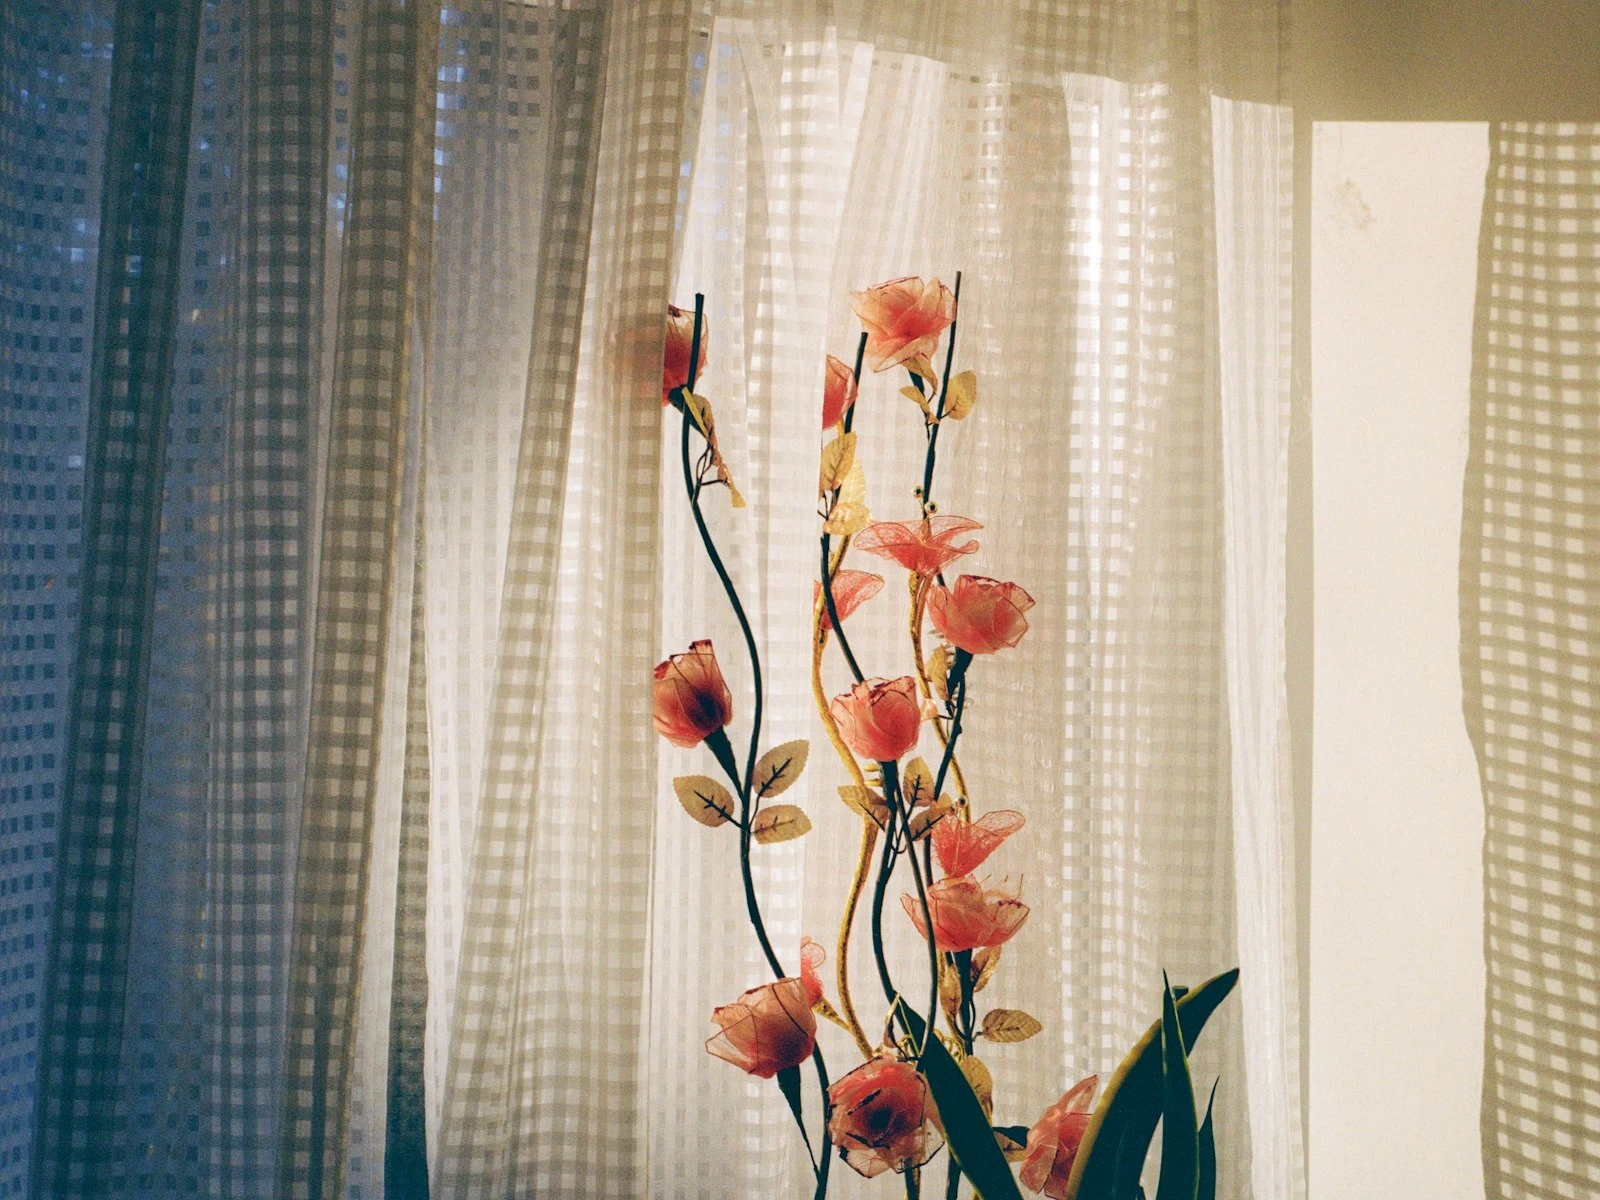
Plants and foliage: Backlight through leaves makes them glow. Translucent petals become luminous. Great for nature detail shots.
Food and drink: Backlit beverages glow, steam becomes visible, and the effect feels warm and inviting. Common in food photography.
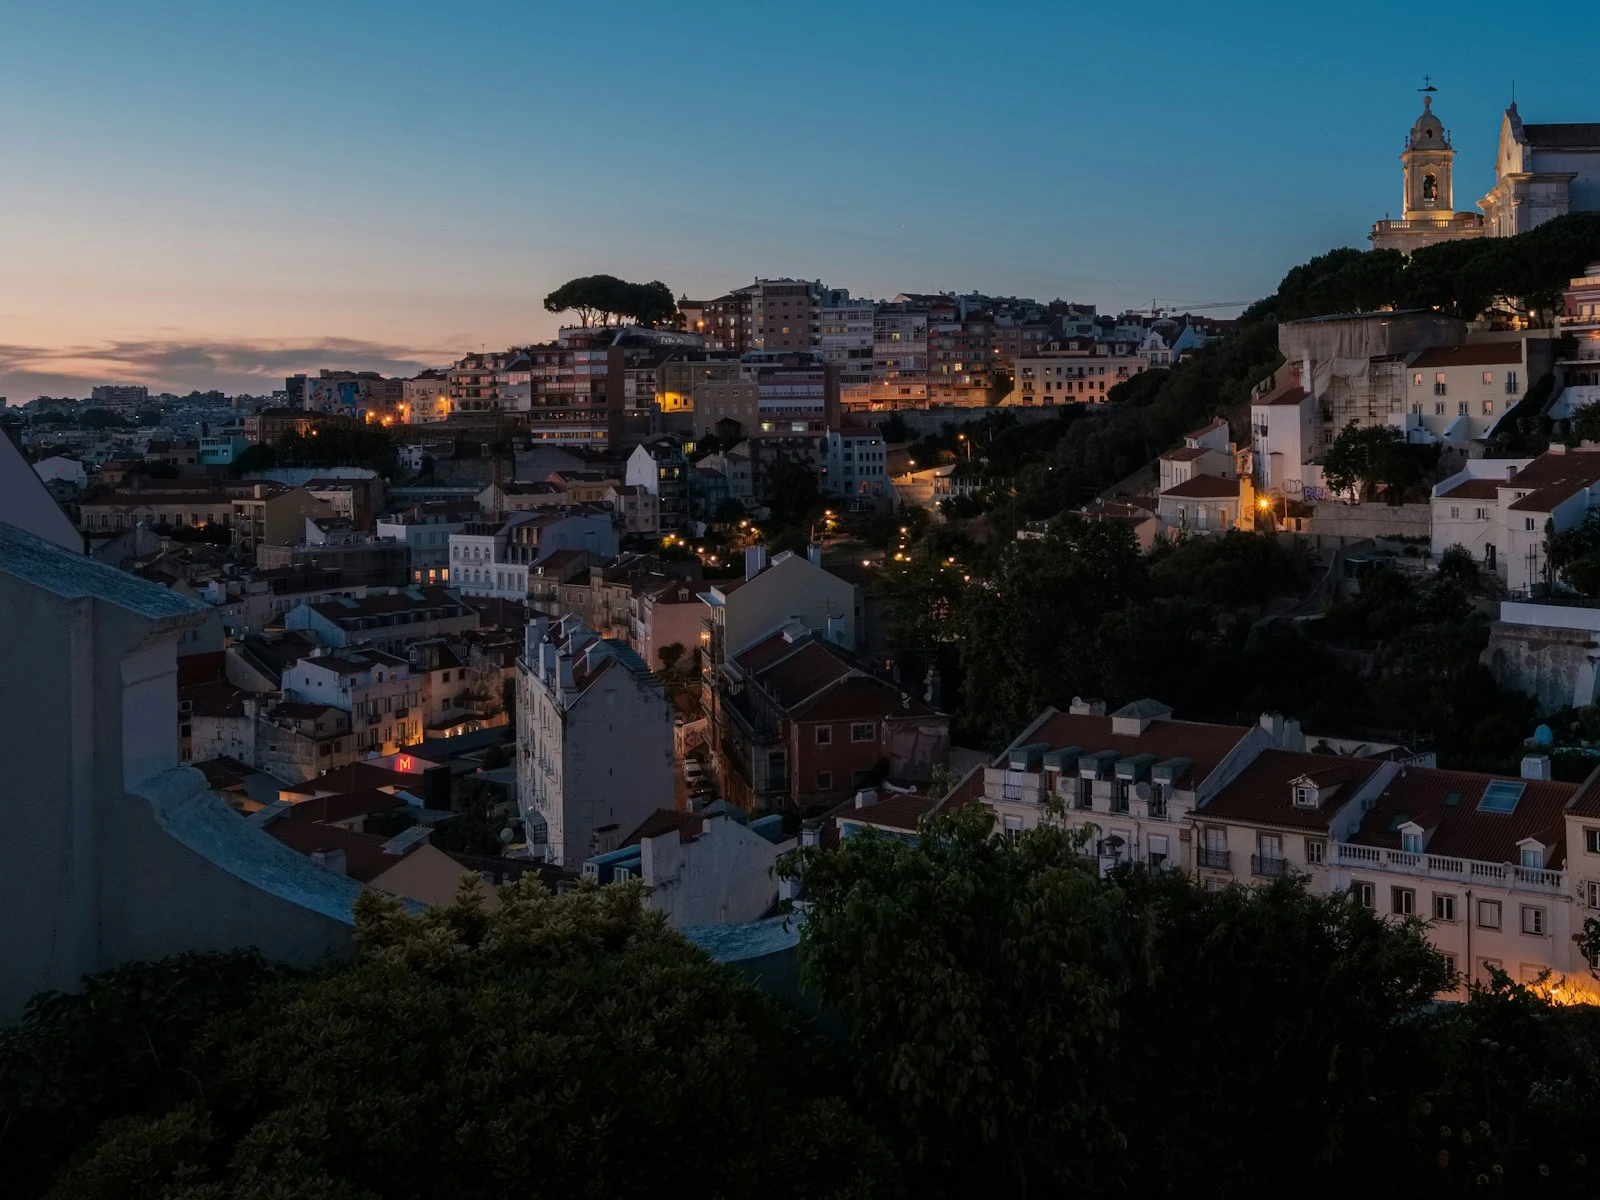
Architecture: Buildings silhouetted against bright sky, or interior shots looking toward windows. The contrast creates drama.
Street photography: Figures walking toward camera with sun behind create instant drama. Steam, smoke, and dust become visible in backlight.
Common Mistakes
Not committing. Half-backlit looks like an accident. Fully backlit looks intentional. Commit to the effect.
Forgetting the rim. If you're backlighting and there's no rim light on your subject, something's wrong. Adjust position until you see it.
Muddy middle exposure. The compromise exposure where background is too bright AND subject is too dark helps no one. Pick a direction.
Ignoring flare position. Flare across someone's eye or in a distracting spot hurts the image. Move it intentionally or eliminate it.
Wrong time of day. Harsh midday sun behind a subject creates extreme contrast. Lower sun angles give you more workable ratios.
Key Takeaways
- Overexpose by +1.5 to +2 stops from the meter reading to properly expose a backlit subject, or use spot metering on their face.
- Use backlighting intentionally for rim lighting, silhouettes, and that glowing ethereal quality that front lighting cannot create.
- Position subjects so the light wraps around their edges, creating a luminous outline that separates them from the background.
- Embrace lens flare when it adds atmosphere, but use your hand or a lens hood to block it when it reduces contrast or obscures your subject.
More in This Guide
Continue exploring lighting techniques.