Most photographers pack up when the sun goes down. They're missing some of the best light of the day.
Blue hour, the period after sunset (or before sunrise) when the sky glows deep blue, creates an atmosphere that no other time can match. It's cooler, quieter, and more mysterious than golden hour. The light balances perfectly with artificial lights. And the colors are unlike anything you'll see at midday.
This is the other magic hour, and it's one of the most rewarding topics in our lighting guide. Knowing how to use it opens up an entirely different mood.
What Blue Hour Actually Is
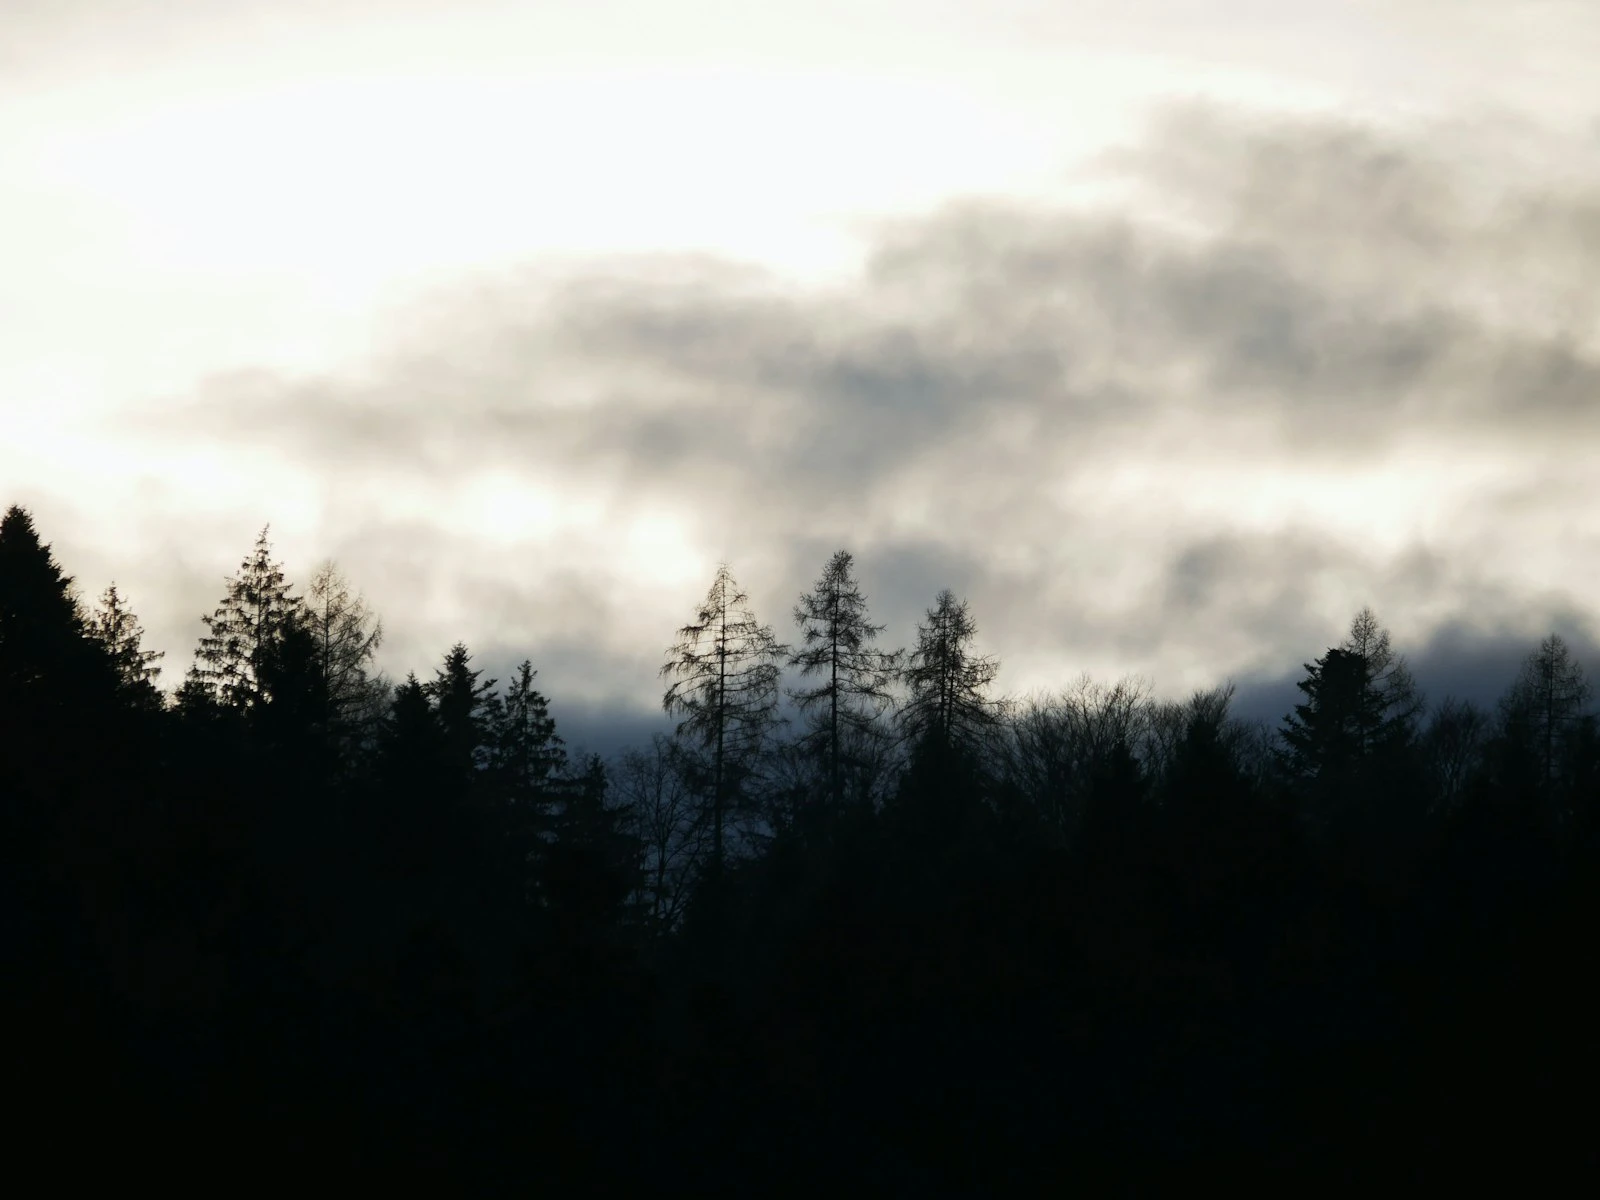
Blue hour is the twilight period when the sun is below the horizon but the sky is still illuminated. The light that reaches us has scattered through the atmosphere, losing its warm wavelengths and arriving predominantly blue.
Evening blue hour: Begins at sunset and lasts until about 20-40 minutes after, depending on your latitude and season.
Morning blue hour: Begins about 20-40 minutes before sunrise and ends when the sun breaks the horizon.
Why blue? With the sun below the horizon, only scattered light reaches us. Blue wavelengths scatter most, so the sky appears deep blue. The higher layers of atmosphere are still catching sunlight, creating that characteristic glow.
The transition: Blue hour bridges the warm light of golden hour and the darkness of night. In evening, the sky moves from orange to pink to purple to deep blue to dark. You're shooting in that blue window before it goes fully dark.
What Makes Blue Hour Special
Blue hour offers qualities you can't get at any other time.
The sky as light source. The entire sky glows, providing soft, even, directionless illumination. Shadows are minimal. Light wraps around everything.
Cool color palette. That blue cast creates mood: calm, contemplative, mysterious, slightly melancholic. It's the visual equivalent of that quiet feeling at dusk.
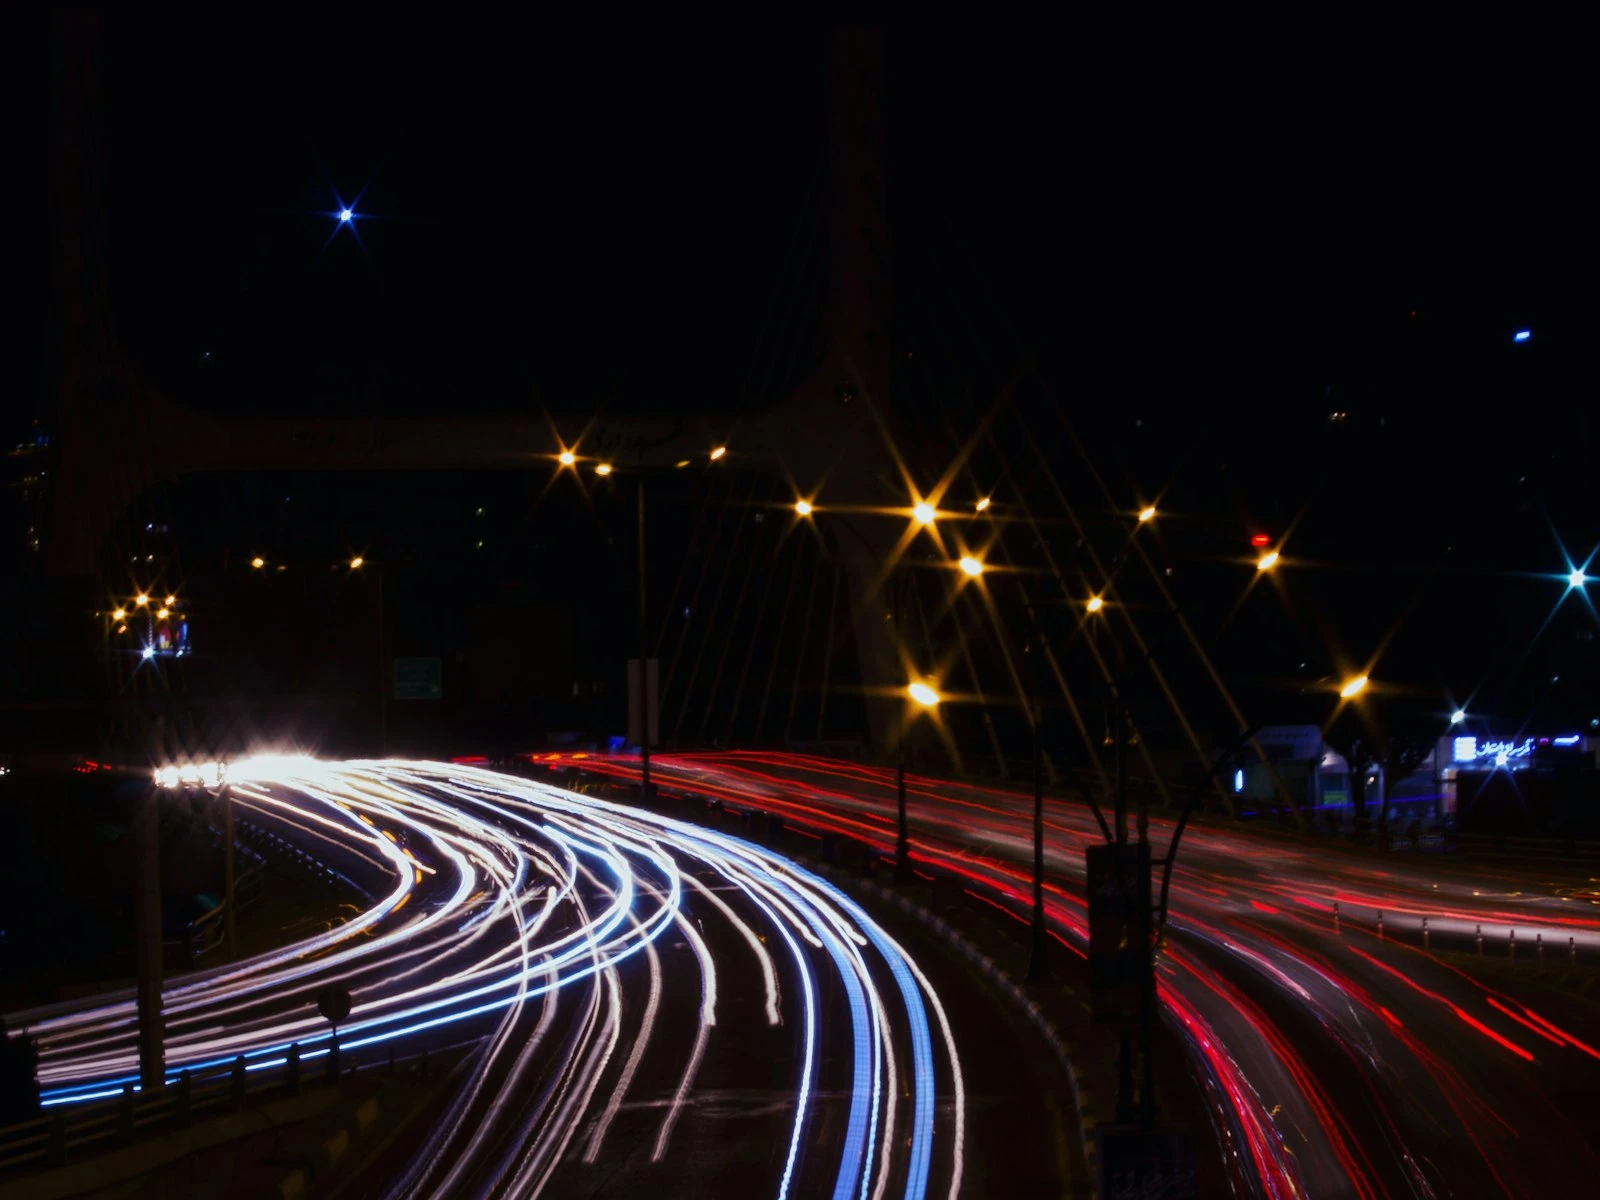
Balance with artificial light. During blue hour, the ambient light often matches the intensity of street lights, building lights, and neon. You can capture both without blown highlights or black shadows. This makes blue hour ideal for cityscapes.
Extended "magic hour." Golden hour light changes rapidly. Blue hour is more stable, and the light quality remains consistent longer, giving you more working time.
Low contrast. Without direct sun, contrast is minimal, and your camera can capture the full tonal range with forgiving exposure.
Ideal Subjects for Blue Hour
Some subjects are made for this light.
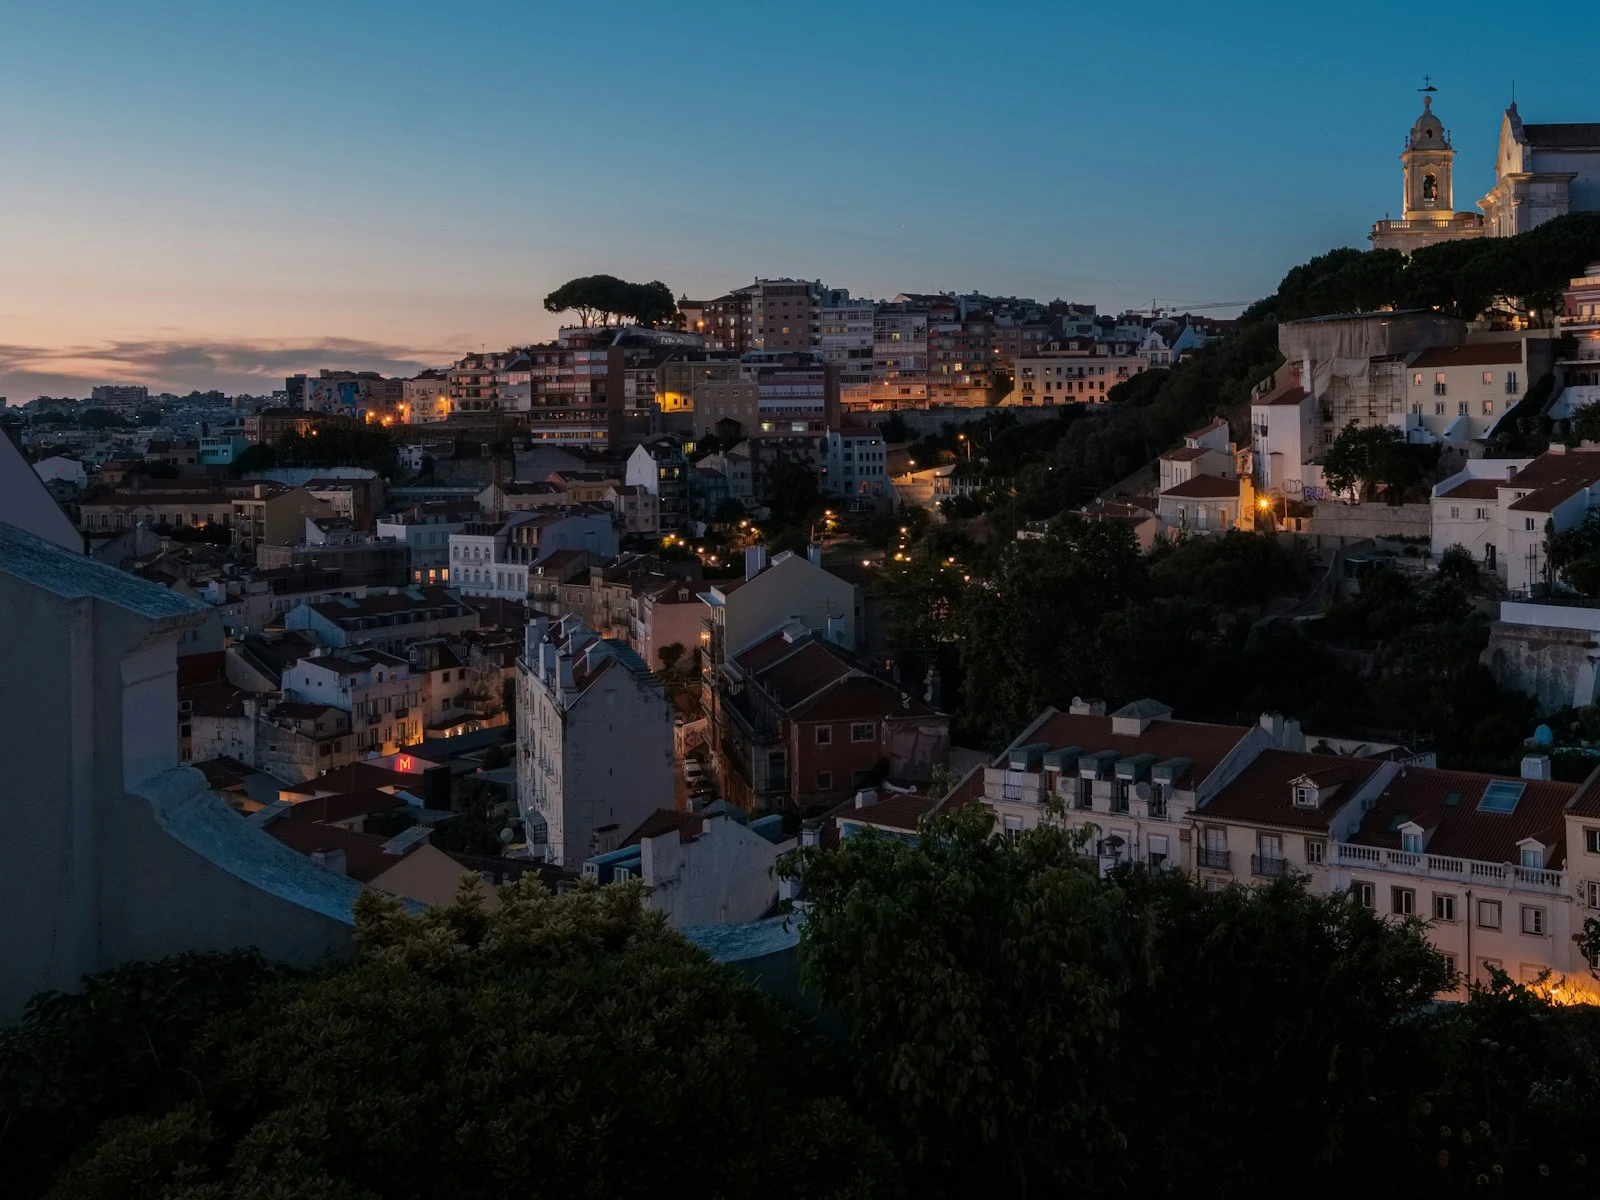
Cityscapes and Urban Scenes
Blue hour is cityscape prime time. The ambient sky light balances with building lights, creating images where you can see both the lit windows and the surrounding architecture. Neon signs glow without overwhelming the frame. The blue sky provides color contrast against warm artificial lights.
The timing sweet spot: When sky brightness and artificial light intensity are roughly equal. Too early and lights aren't on or are too dim. Too late and the sky is black.
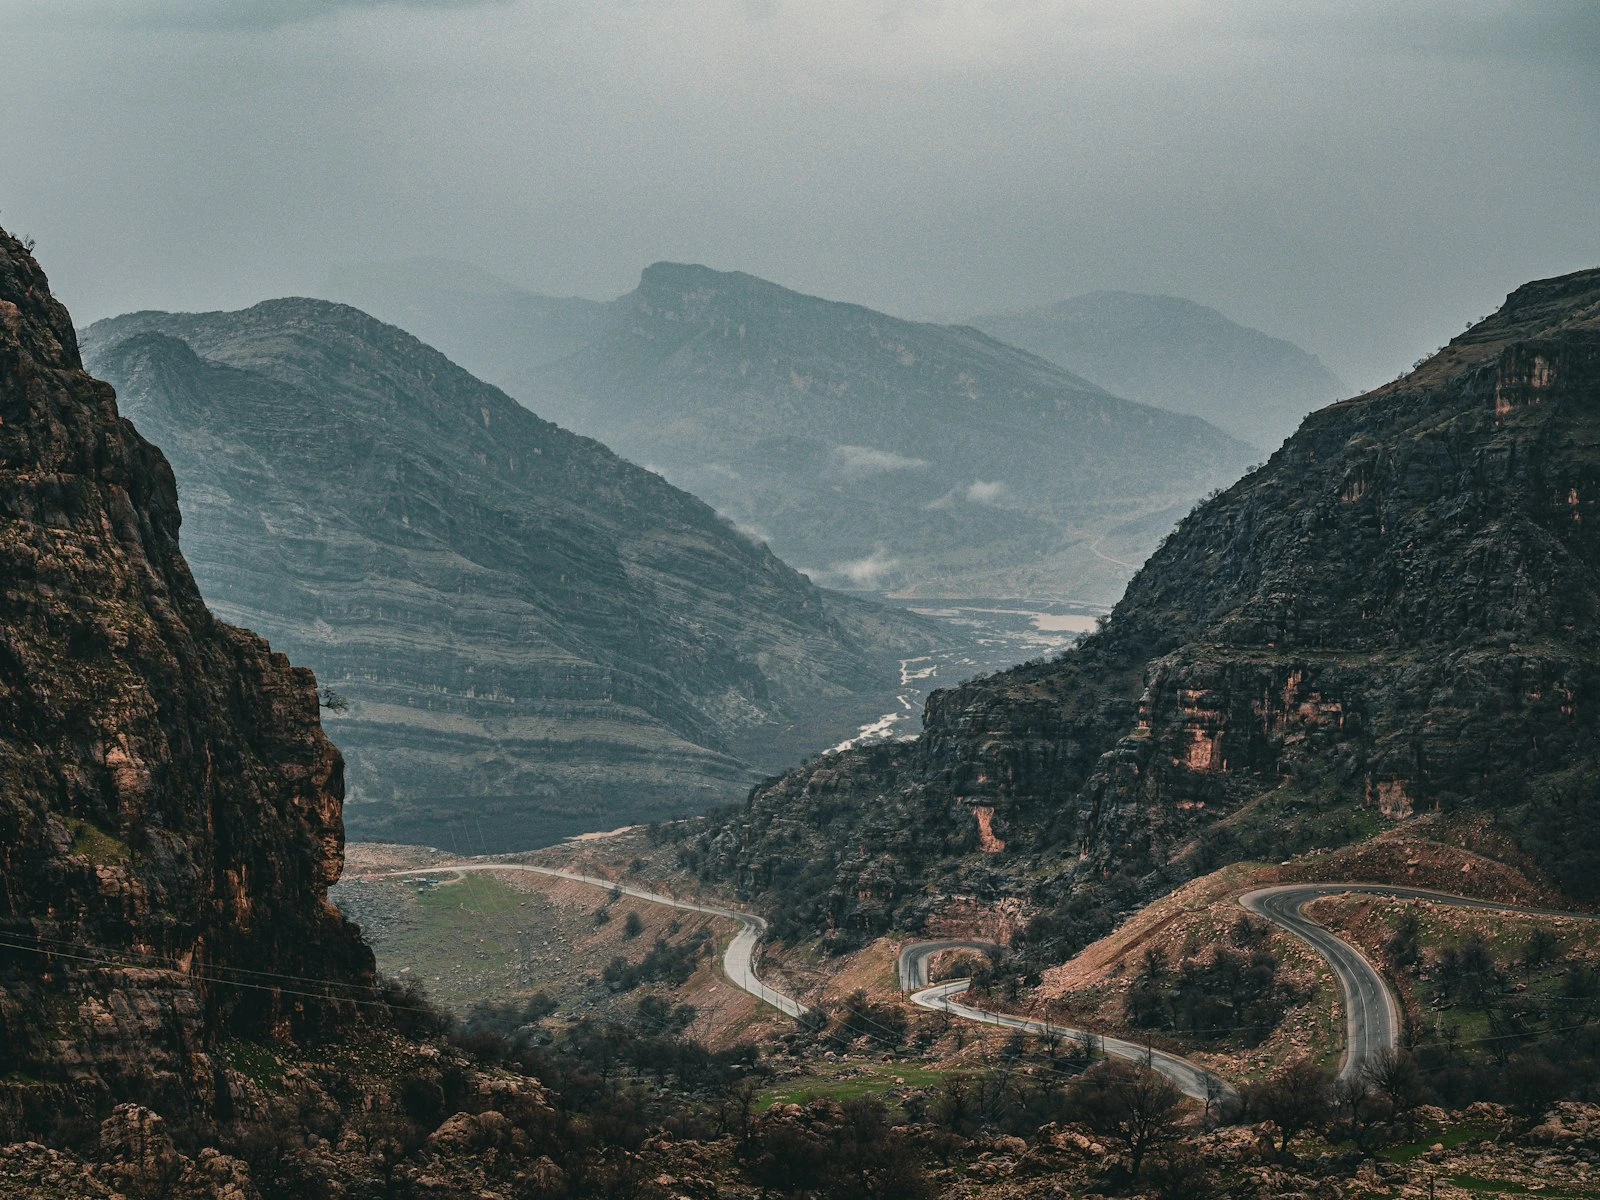
Landscapes with Water
Water reflects the blue sky, doubling the effect. Lakes, rivers, and oceans become mirrors of that blue glow. Long exposures turn water glassy, enhancing the ethereal quality.
Tip: Reflections are often more saturated than the sky itself. Position for reflections and get both the moody sky and the intense blue mirror below.
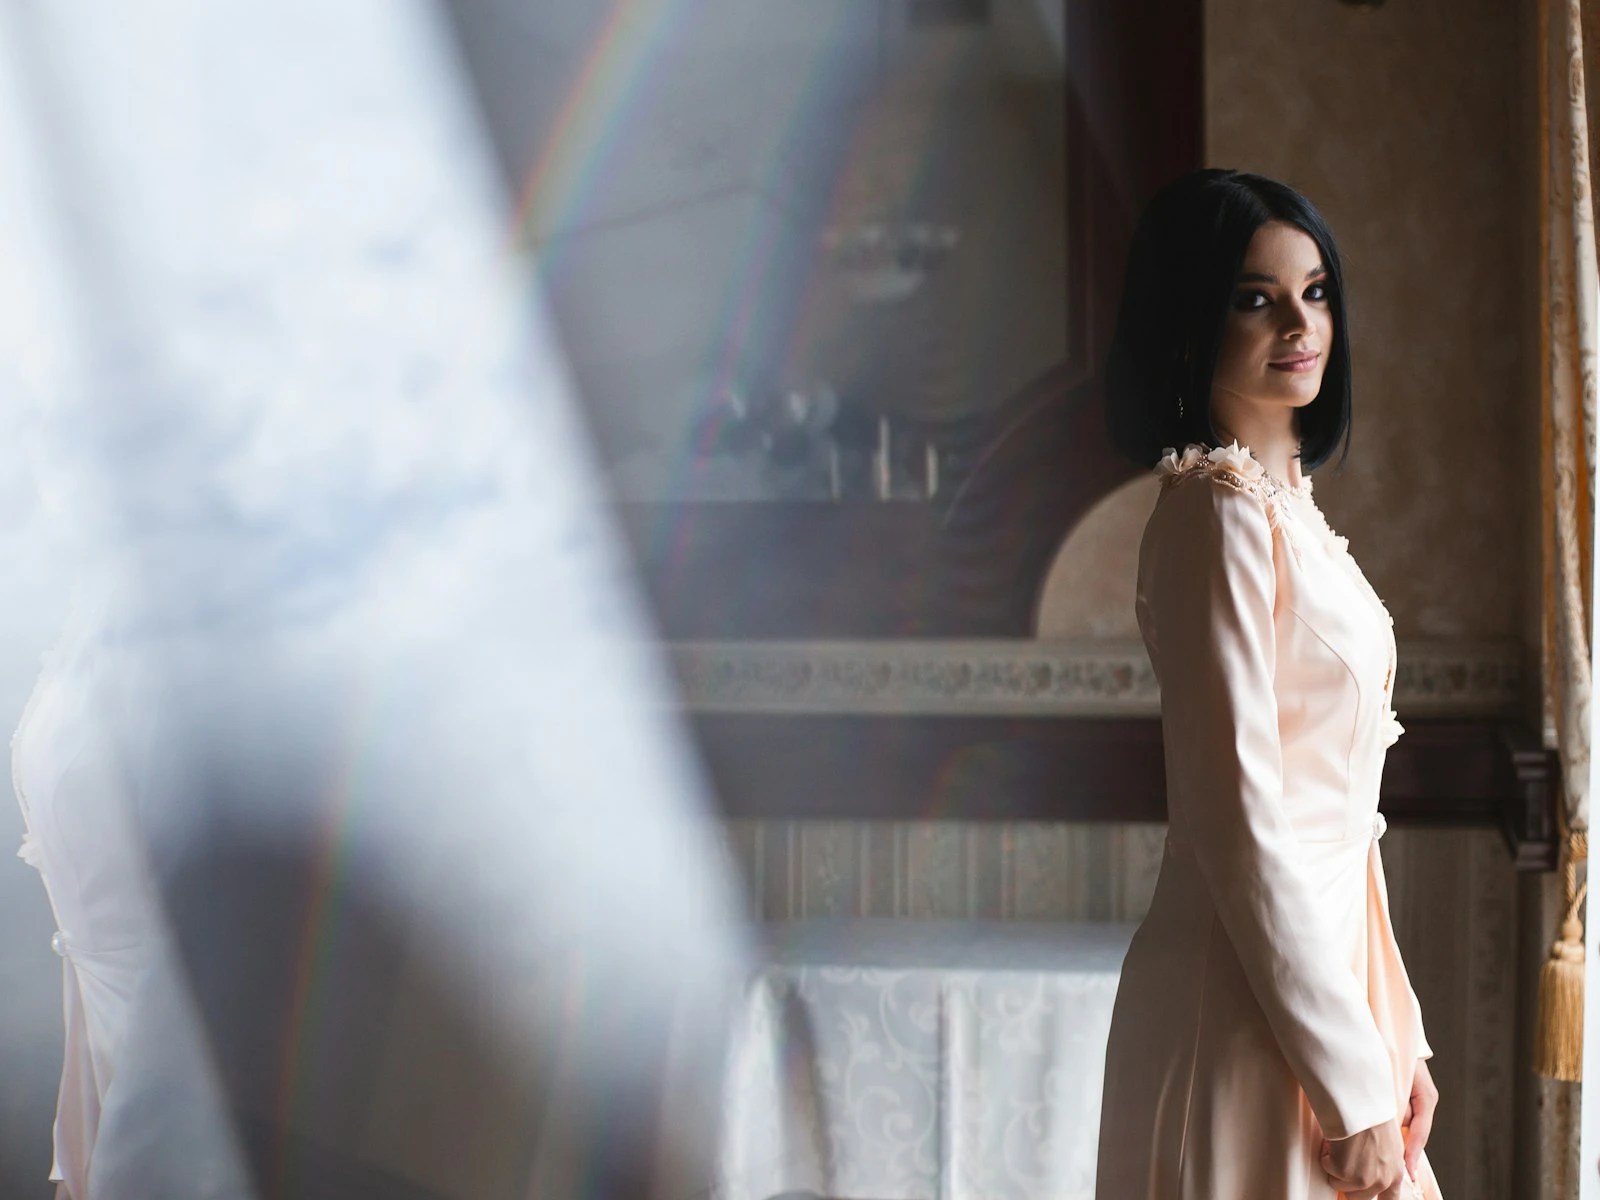
Portraits with Atmosphere
Blue hour creates a distinctive portrait mood: cool, contemplative, slightly otherworldly. The soft, even light is flattering without being as bright as overcast daylight. Eyes don't squint.
Challenge: Lower light levels mean slower shutter speeds or higher ISOs. You may need to stabilize or accept some motion blur as artistic.
Architecture
Buildings photograph well at blue hour because you can see both their exterior forms and interior lighting. Museums, office buildings, and homes all look great because the windows glow warmly against the cool exterior.
Tip: Wait until interior lights are clearly visible but sky still has color. This is often just a few-minute window.
Long Exposures
The lower light levels of blue hour naturally encourage longer exposures, smoothing out moving water, streaking car trails through city scenes, and creating drama from moving clouds. The extended exposure times that would require ND filters at midday happen naturally at blue hour.
Technical Considerations
Blue hour light is beautiful but challenging to work with.
Exposure
Use a tripod. Light levels are low. Handheld becomes difficult quickly. A tripod lets you shoot at base ISO with whatever shutter speed you need.
Watch the histogram. The low-contrast scene can look flat on the LCD. The histogram shows whether you're capturing the full range.
Bracket exposures. Light changes throughout blue hour. Bracketing gives you options and safety against blown or crushed tones.
Don't fight the blue. Auto white balance may try to neutralize the blue cast. For authentic blue hour images, you often want that blue. Use daylight white balance or adjust in post to preserve the color.
Timing
Scout beforehand. Know your composition before blue hour arrives. You don't have time to explore once the light is right.
Arrive at sunset. The transition from golden hour through twilight to blue hour is continuous. Arriving early lets you capture the full progression.
Know your window. Blue hour lasts roughly 20-40 minutes depending on location and season. Near the equator, it's brief. At high latitudes in summer, it can last for hours.
Apps help. PhotoPills, The Photographer's Ephemeris, and similar apps show exactly when blue hour occurs at your location, including how long it lasts and when the sky will be darkest.
Both windows shift daily with your latitude, so checking the exact times for your location helps you plan the full sunset-to-darkness progression.
Focus
Focus before it's too dark. Autofocus struggles in low light. Focus while you still have enough light, then switch to manual to lock it.
Use live view and magnify. For critical focus in fading light, magnify your live view to check sharpness manually.
ISO and Noise
Higher ISO is often necessary. To maintain handholding or freeze any motion, you may need ISOs above your camera's ideal range.
Use noise reduction wisely. Modern cameras handle high ISO well. Light noise reduction in post usually handles what remains.
Tripod is the answer. If you can stabilize the camera, you can shoot at base ISO regardless of light level, and long exposures often become an advantage rather than a limitation.
The Transition: Golden Hour to Blue Hour
Evening blue hour doesn't begin abruptly but arrives as a gradual transition.
Sunset: The sun drops below the horizon. Colors can be spectacular: pinks, oranges, and purples in the sky.
Twilight begins: The warm colors fade. The sky shifts from orange-pink to purple to deeper blue.
Peak blue: The sky is its deepest, most saturated blue while still clearly illuminated. This is often the ideal moment for cityscapes.
Fading blue: The blue darkens toward black. Stars may appear. Artificial lights now dominate the scene.
Night: Blue hour is over and the sky has gone black, putting you in night photography territory.
Each stage has its own possibilities, so work through the entire transition rather than only shooting peak blue.
Blue Hour vs. Golden Hour
Both are magic hours, but they're different magic.
| Aspect | Golden Hour | Blue Hour |
|---|---|---|
| Color palette | Warm (orange, gold, red) | Cool (blue, purple) |
| Mood | Romantic, nostalgic, vibrant | Calm, mysterious, contemplative |
| Shadow quality | Present, long, soft | Minimal to none |
| Light direction | Directional (low sun) | Directionless (whole sky) |
| Duration | ~1 hour | ~20-40 minutes |
| Technical ease | Bright enough for handheld | Usually needs tripod |
| Artificial lights | Often overpower or aren't visible | Balance with ambient |
They're different tools for different moods and subjects.
Common Mistakes
Leaving too early. Many photographers pack up at sunset and miss the best light entirely. Stay through the entire transition.
Overcorrecting white balance. If you remove all the blue, you remove the blue hour. Preserve the characteristic color.
Forgetting artificial lights. Blue hour cityscapes need lit buildings. If you shoot too early, interior lights might not be on yet.
Not using a tripod. Handheld blue hour is possible with modern cameras, but you're fighting the conditions instead of using them.
Missing the brief window. Peak blue hour might last 15 minutes. Be set up, focused, and ready before it arrives.
Morning Blue Hour
Everything above applies to morning blue hour as well, with some differences.
It comes first. You need to be in position in darkness, waiting for the light to arrive with no warm-up time.
Different mood. Morning blue hour can feel fresh rather than melancholic, like the start of something rather than the end.
Often cleaner skies. Overnight air has settled. Morning blue hour frequently has clearer conditions than evening.
Fewer artificial lights. Cities may have fewer lit windows at 5 AM than at 8 PM, so plan accordingly.
Less competition. Far fewer photographers shoot morning blue hour. You'll often have locations to yourself.
Key Takeaways
- Blue hour lasts only 20-40 minutes after sunset (or before sunrise), so arrive early, have your composition planned, and be ready to shoot immediately.
- Use a tripod because blue hour light is too dim for handheld shooting at optimal aperture and ISO settings.
- Blue hour balances natural sky light with artificial city lights, making it ideal for cityscapes where you can capture both without blown highlights or black shadows.
- The cool blue tones convey calm, mystery, and contemplation, so choose subjects and scenes that match this mood.
More in This Guide
Continue exploring lighting techniques.