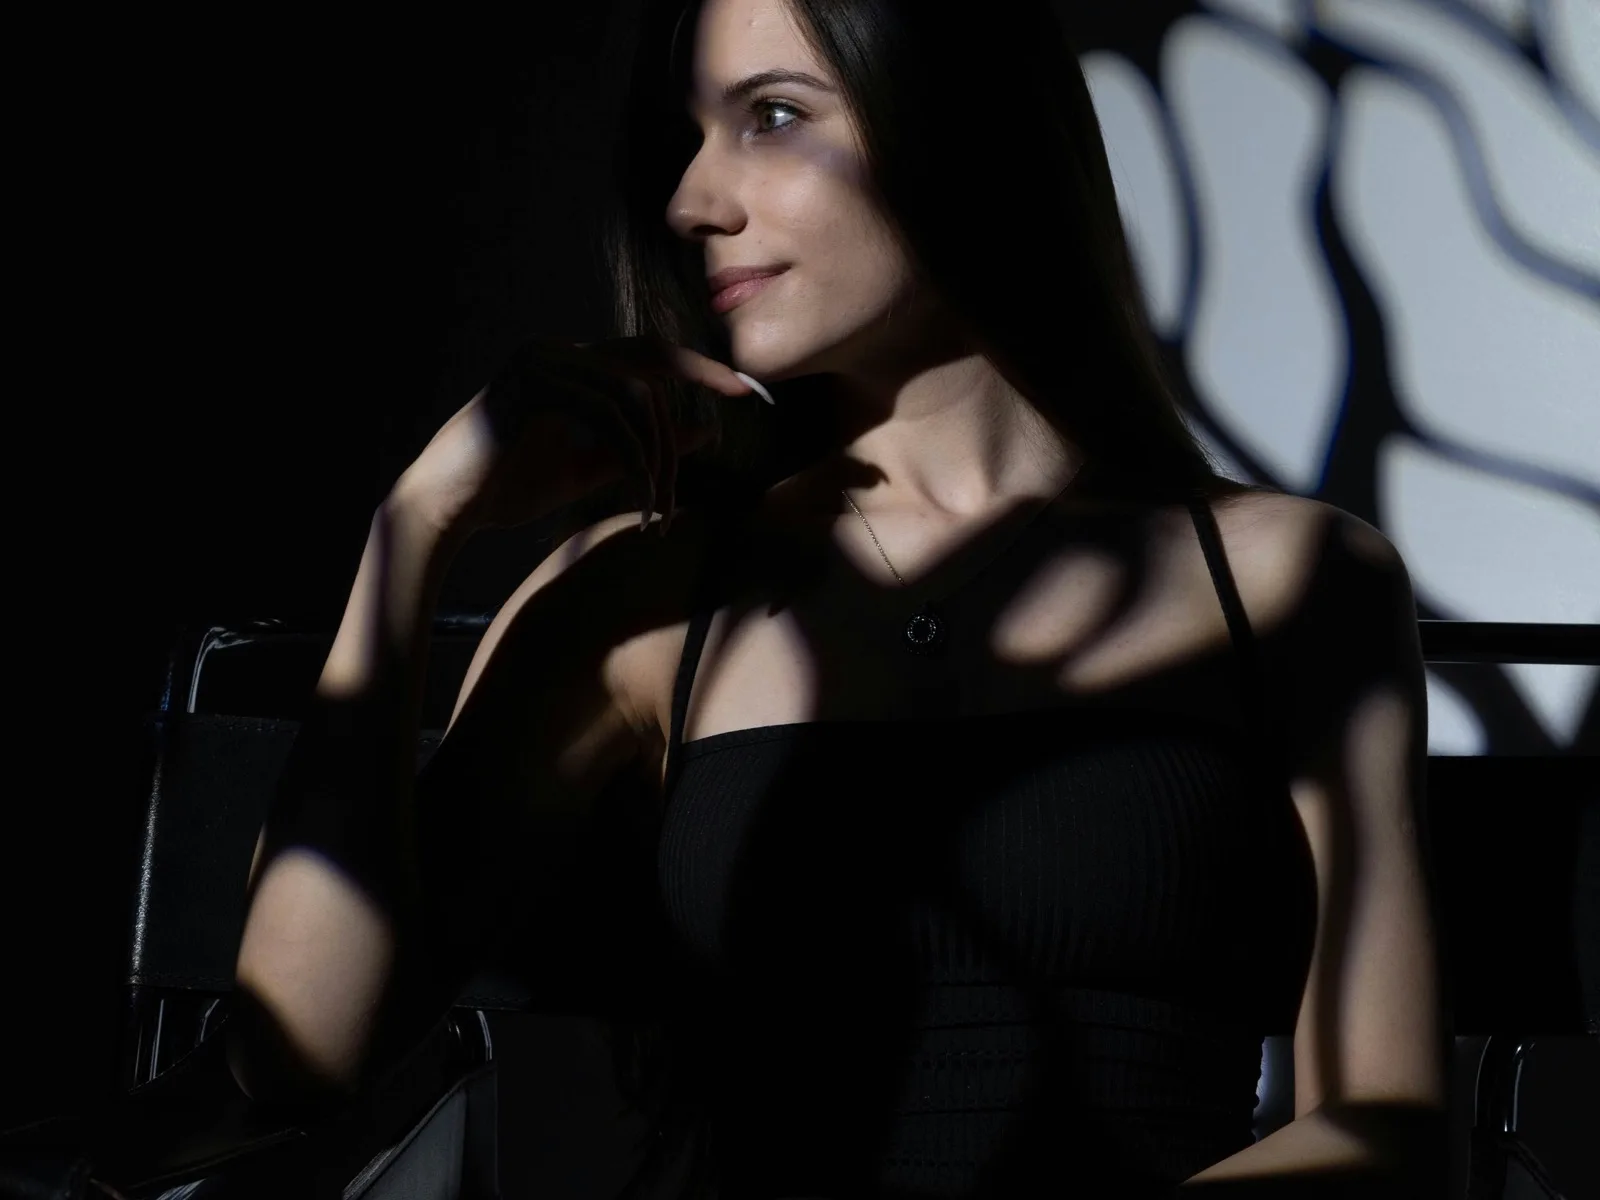
Imagine a portrait lit by a single shaft of window light. One cheek, one eye, and the curve of a hand glow softly, while the rest of the frame dissolves into shadow. The image feels intimate, cinematic, and emotionally charged. That is the power of chiaroscuro.
The word chiaroscuro comes from Italian, with chiaro meaning "light" and scuro meaning "dark." In art history, it describes the dramatic use of light and shadow to model form and create depth. Renaissance and Baroque painters used it to make figures feel three-dimensional and psychologically alive. Caravaggio, Rembrandt, and Georges de La Tour are often cited as masters of the style.
In photography, chiaroscuro translates to a deliberate interplay of brightness and darkness. It is not just "dark photos." It is intentional contrast, with light placed with purpose, shadows shaped with care, and tonal range used to guide the viewer's eye and emotion. It builds on the same principles covered in our lighting guide, taken to their most dramatic extreme.
What Chiaroscuro Photography Is
Chiaroscuro photography is an approach that emphasizes strong light-to-shadow contrast to create drama, depth, and mood. The subject is usually partially illuminated, with the rest of the frame falling into controlled darkness. The goal is not to show everything equally, but to reveal only what matters.
This style works especially well for:
- Portraits
- Still life
- Fine art photography
- Narrative and cinematic scenes
- Editorial fashion images
The result is often more evocative than descriptive. You are not simply documenting a subject. You are suggesting a story.
How Is Chiaroscuro Different from Low-Key Photography?
Chiaroscuro and low-key photography are closely related, but they are not identical.
- Low-key photography refers to images dominated by dark tones, with limited bright areas.
- Chiaroscuro photography focuses on the artistic relationship between light and shadow, often using strong directional light to model shape and emotion.
In other words, low-key describes the tonal balance of an image, while chiaroscuro describes the lighting philosophy. A low-key image can be flat or purely dark. A chiaroscuro image should feel sculpted, dimensional, and expressive.
Why Chiaroscuro Creates Powerful, Story-Driven Images
Chiaroscuro feels cinematic because it mirrors how we experience suspense, mystery, and memory. We rarely see the world in perfectly even light. Shadows hide information, and that hidden information invites imagination.
That makes chiaroscuro especially powerful for storytelling. By revealing only part of a face, body, or object, you can imply:
- Vulnerability
- Tension
- Isolation
- Mystery
- Strength
- Reflection
- Conflict
The viewer becomes an active participant, filling in the unseen parts of the story.
A well-crafted chiaroscuro image also gives the subject more presence. Shadows create shape and volume. Highlights define edges and expression. The contrast between the two can make the subject feel almost sculpted.
Essential Lighting Setups for Chiaroscuro Photography
The best chiaroscuro images usually start with a simple lighting strategy. Complexity is rarely the answer. Control is.
Using a Single Light Source
A single primary light source is the foundation of most chiaroscuro setups. This could be:
- A window
- A bare bulb
- A strobe
- A continuous LED panel
- A small softbox
Using one light source helps maintain clean shadow structure. Multiple lights can flatten the scene and reduce the sense of mystery unless they are used very carefully.
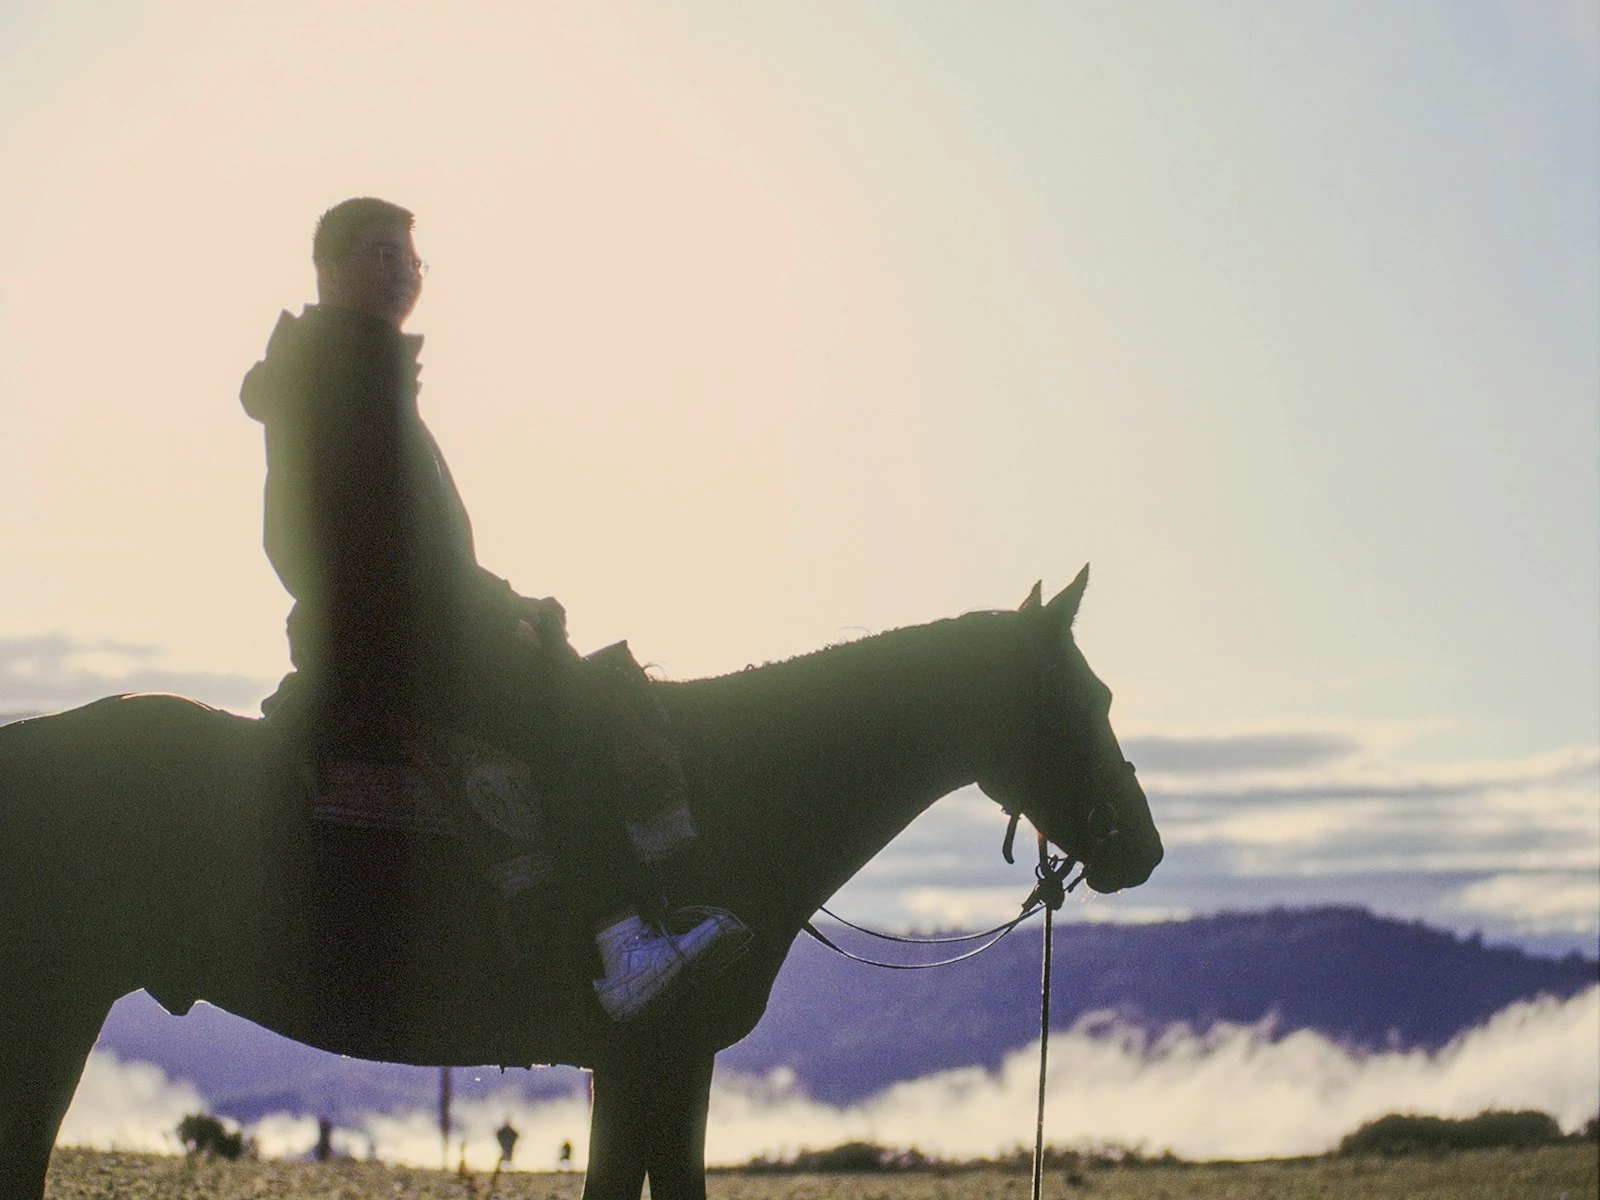
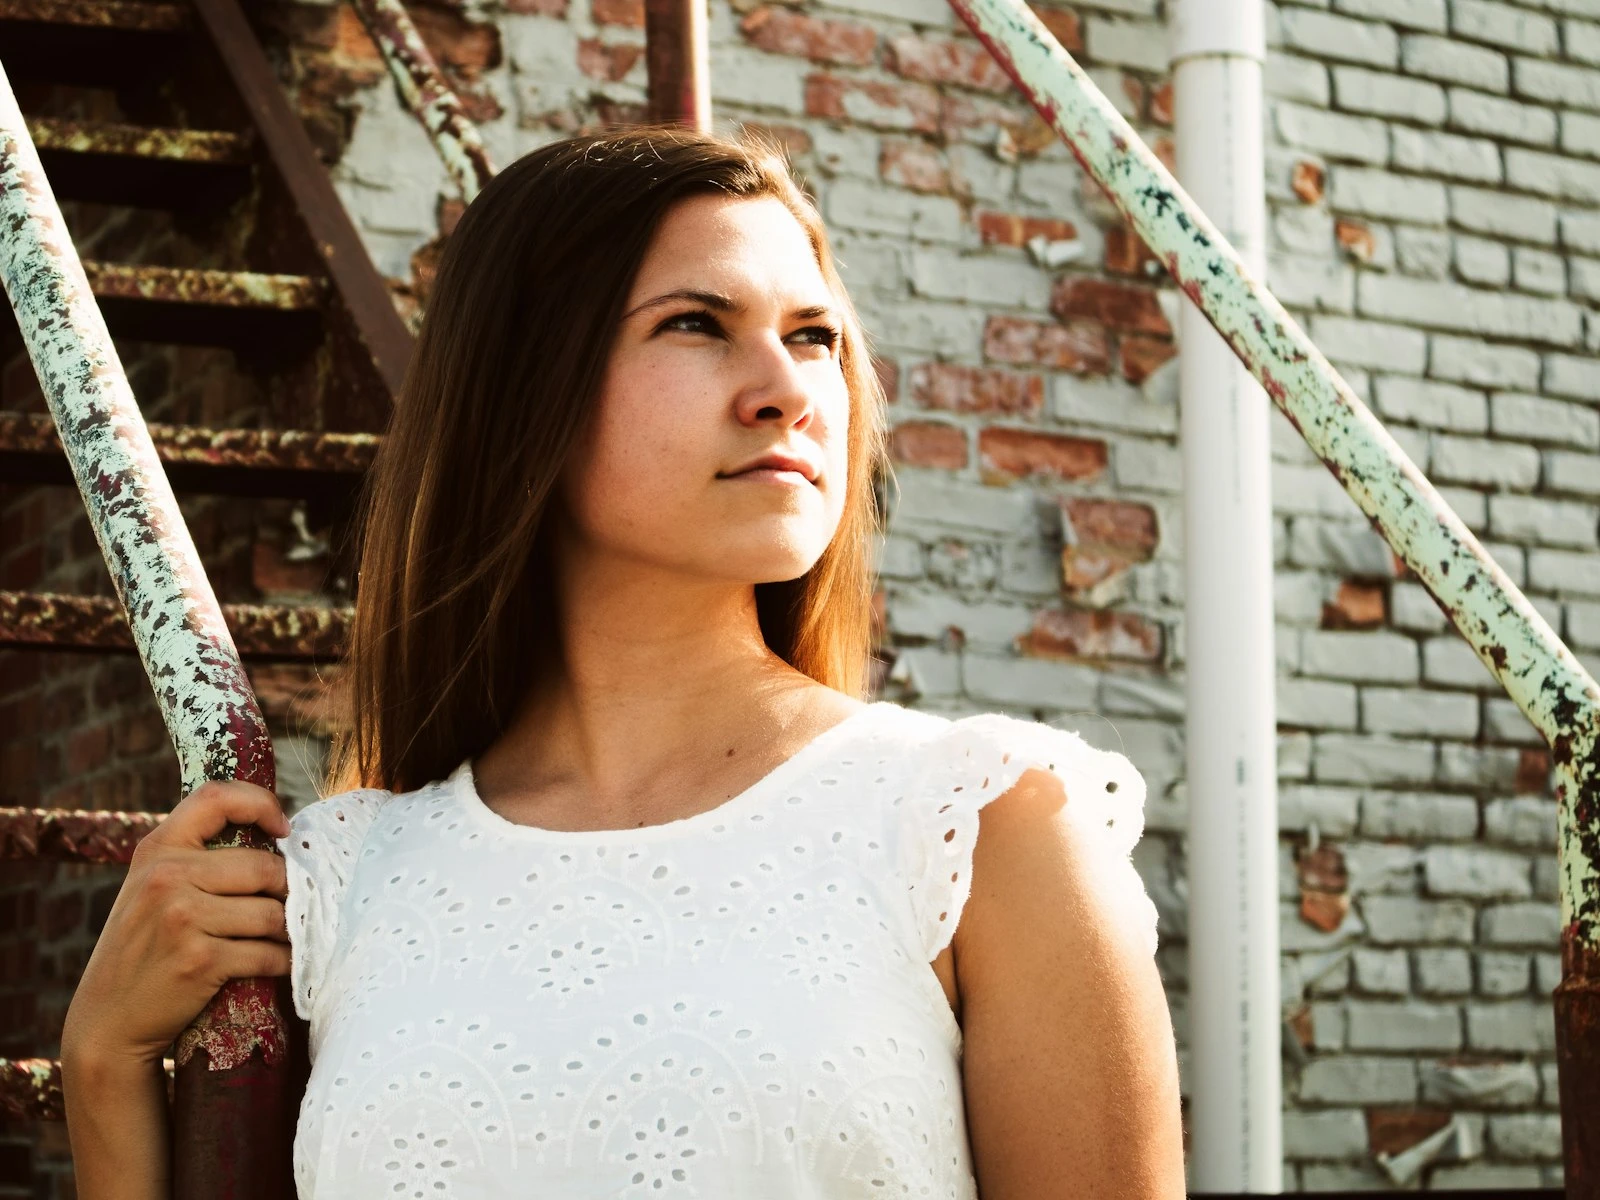
If you're shooting portraits, place the light to the side of the subject rather than directly in front. Side lighting, three-quarter lighting, and backlighting all create stronger shadow patterns than frontal light.
Choosing Direction, Distance, and Softness
The quality of chiaroscuro depends heavily on where the light comes from and how it falls. Understanding the difference between hard and soft light is essential here.
- Direction. Side light creates the most obvious modeling. Light from a 45-degree angle often gives a balanced mix of form and shadow.
- Distance. Moving the light closer increases softness and falloff. Moving it farther away can create a harder, more dramatic look.
- Softness. Hard light produces defined shadow edges, while soft light creates gentler transitions.
Neither hard nor soft light is universally better. Hard light often feels more dramatic and graphic. Soft light can still be chiaroscuro if the contrast is strong and the shadows are intentionally preserved.
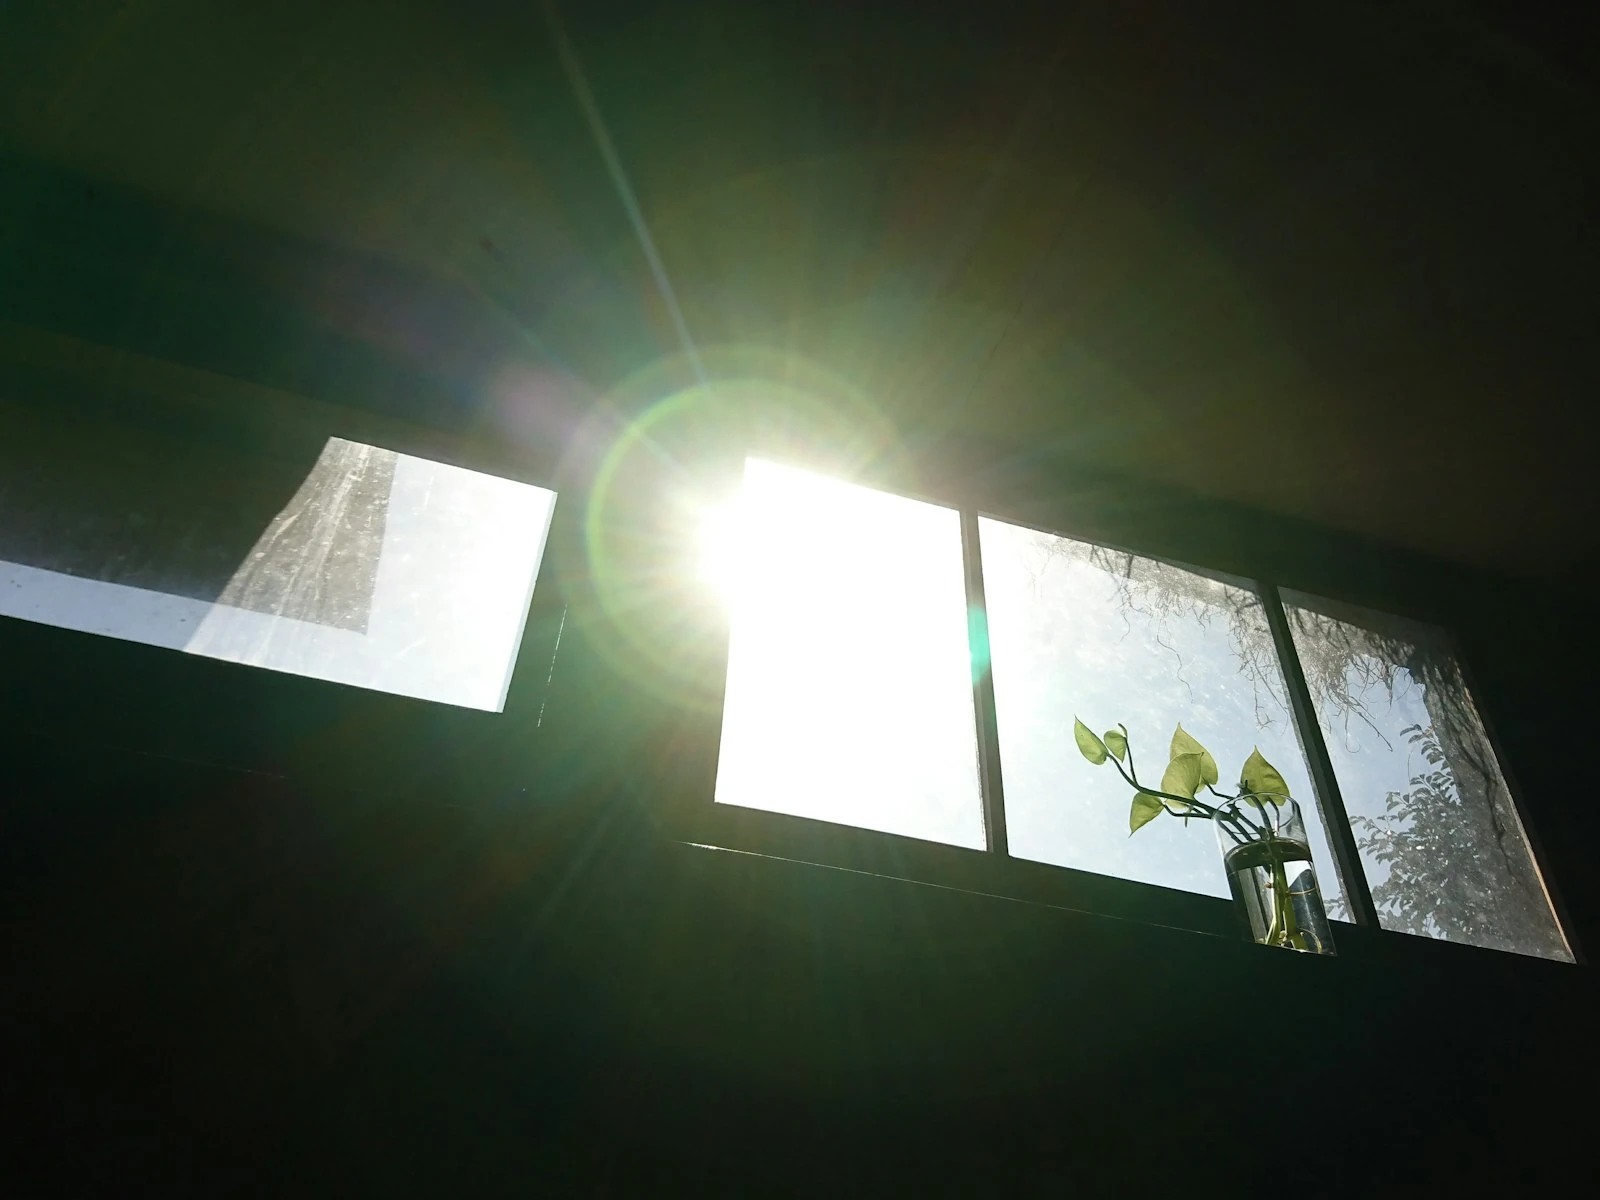
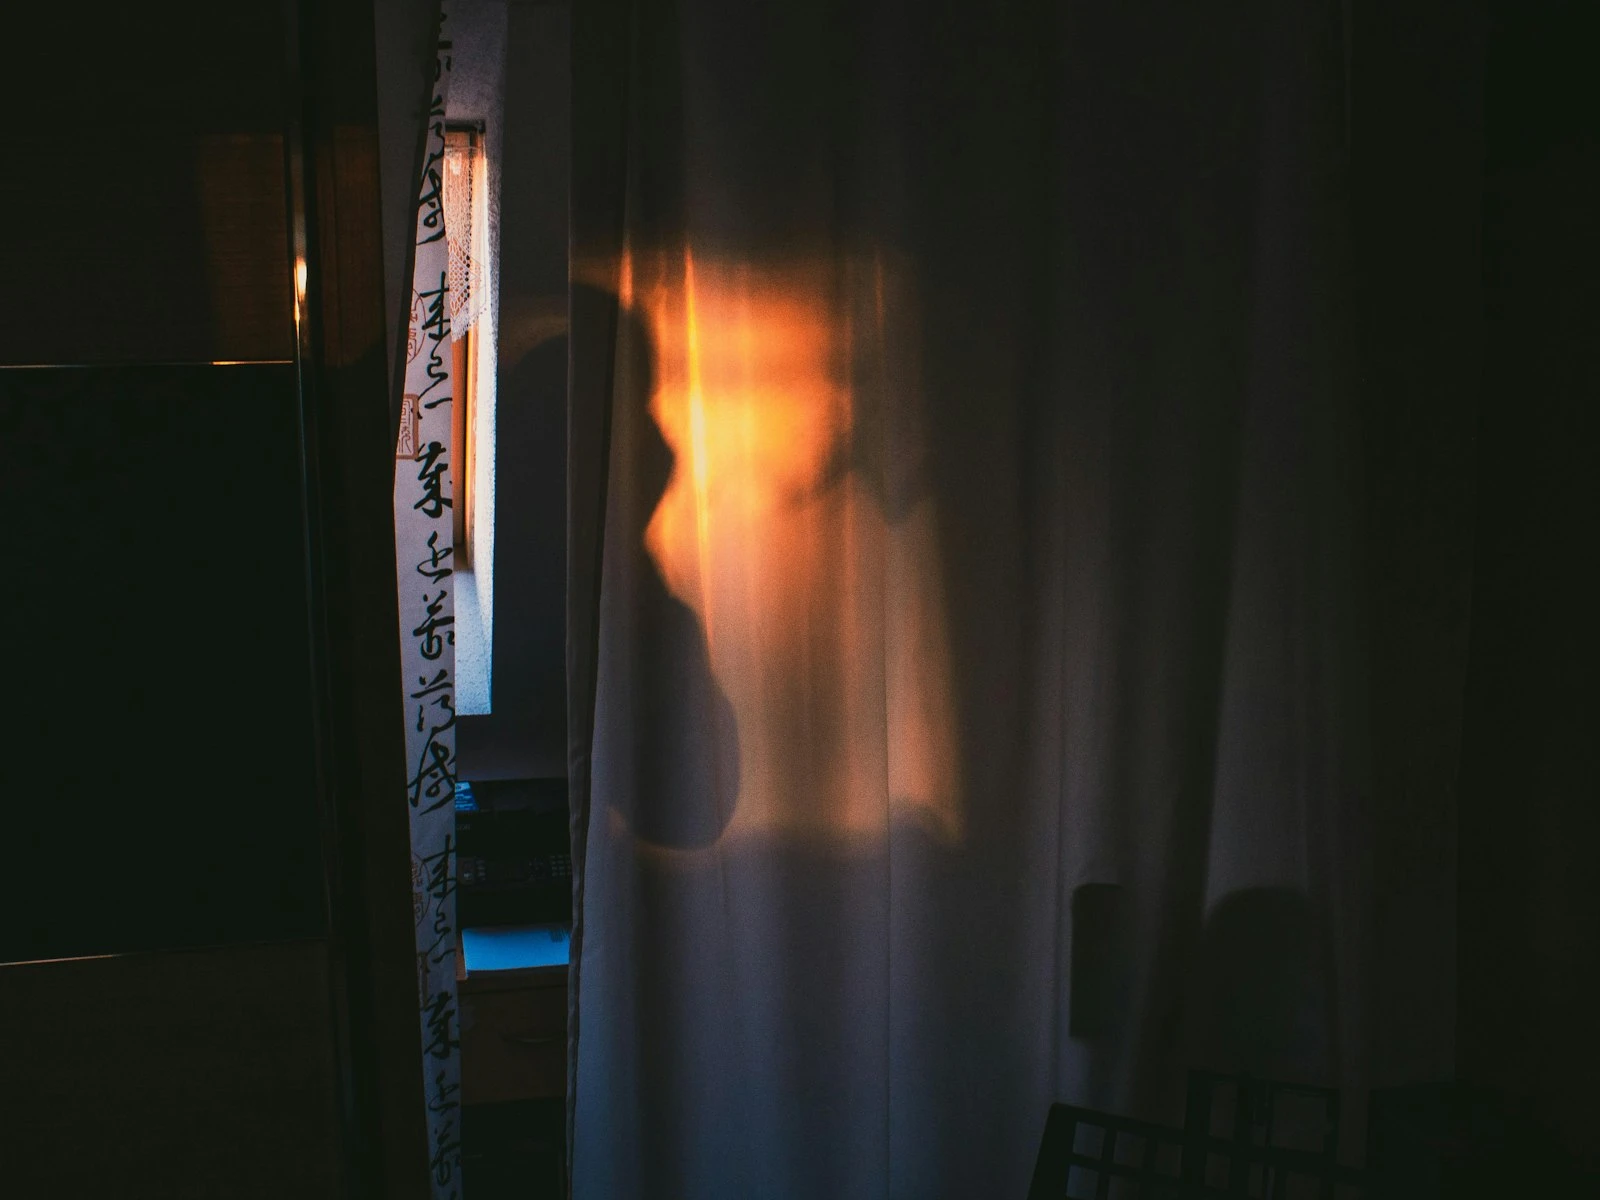
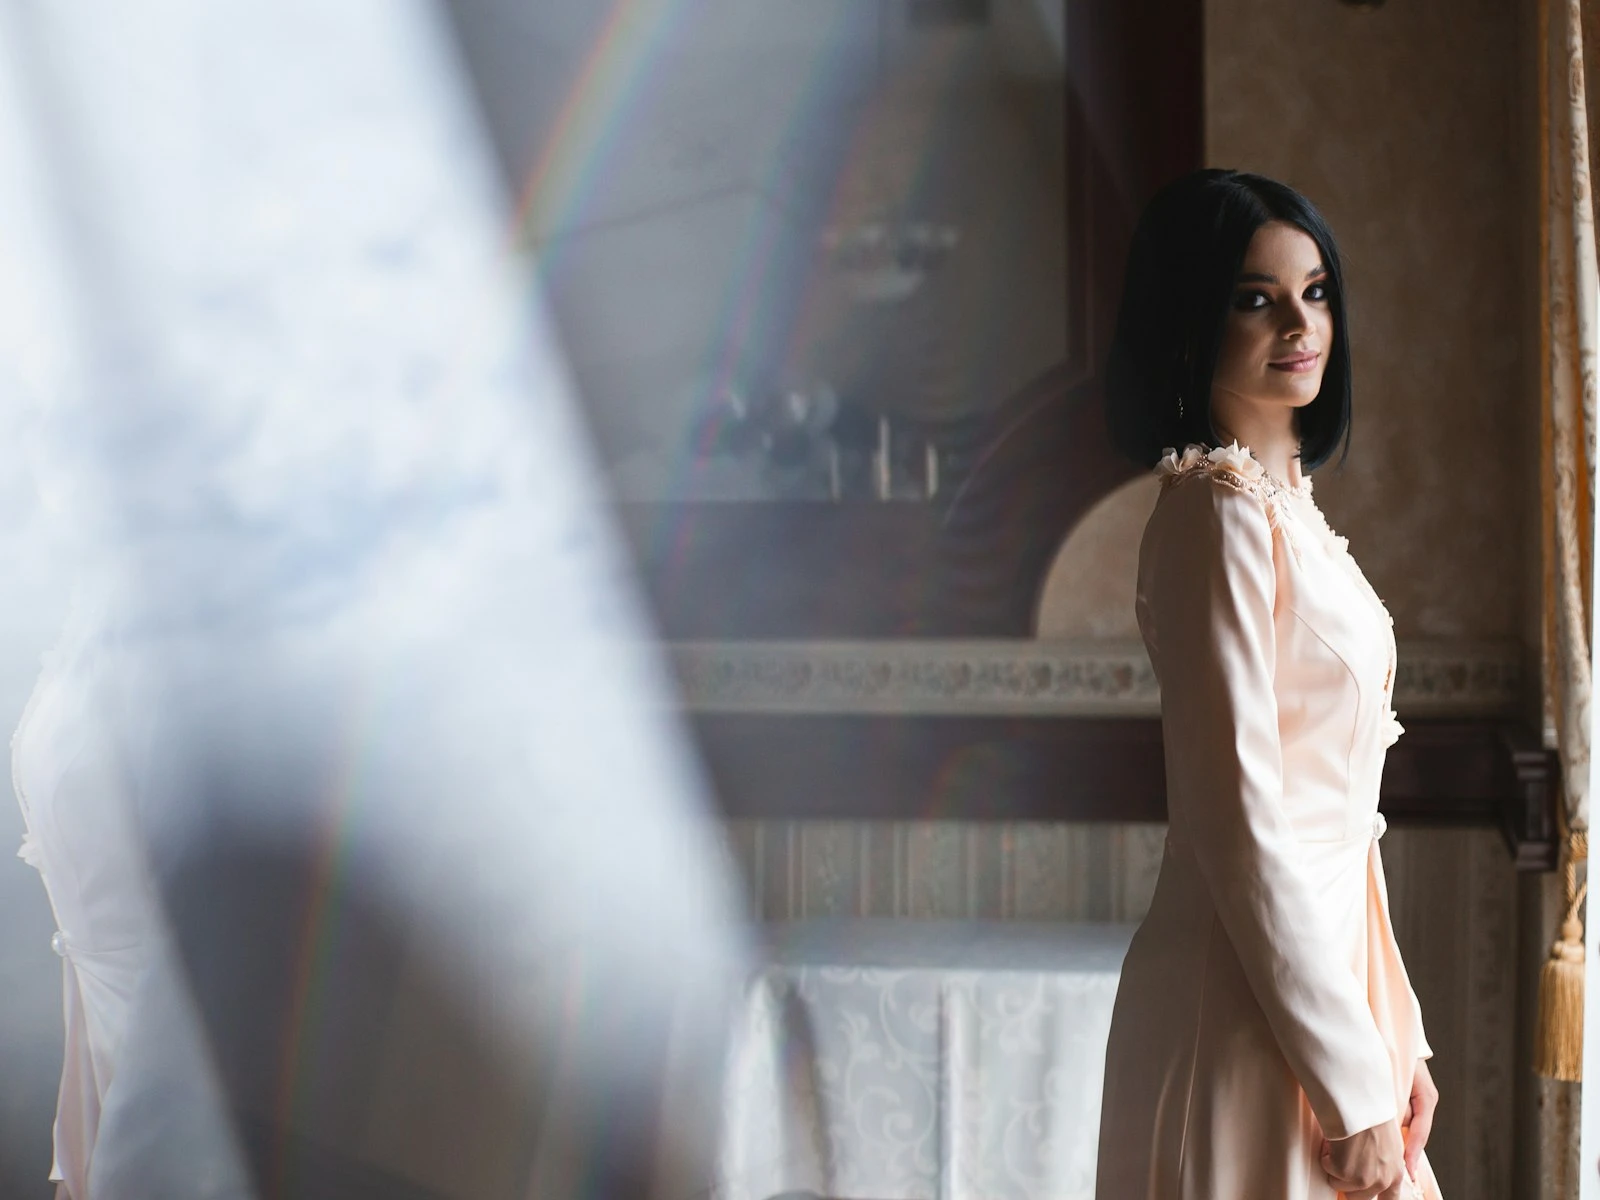
Working with Natural Light
Natural light is one of the easiest and most beautiful ways to create chiaroscuro, especially in window portraits. A window acts like a large directional source, giving you a soft yet sculpted look.
To use natural light effectively:
- Place the subject near a window.
- Turn the face slightly toward or away from the light.
- Control the shadow side with negative fill or by allowing it to fall into darkness.
- Watch how the light changes across the day.
North-facing windows often provide consistent, diffused light. Direct sunlight through a window can create stronger, more graphic shadows, especially if partially blocked by curtains or blinds.
For a classic window portrait, keep the background darker than the subject. This separation helps the face emerge from the scene and reinforces the chiaroscuro effect.
How to Control Shadows for Maximum Drama
Shadows are not just the absence of light. They are a compositional tool. The shape, density, and placement of shadows determine whether the image feels balanced, mysterious, or chaotic.
Negative Fill and Light Shaping
Negative fill is one of the most useful tools in chiaroscuro photography. It simply means removing light from a scene by placing a dark surface near the subject to absorb bounce light.
You can use:
- Black foam core
- Black fabric
- A dark reflector
- A flag or scrim
Place the negative fill on the shadow side of the subject to deepen contrast and prevent the scene from becoming too evenly lit. This is especially helpful in window portraits, where light bouncing off nearby walls can soften shadows more than you want.
Using Reflectors and Flags
Reflectors and flags give you fine control over shadow detail.
- Reflectors bounce light back into the shadow side, lifting detail without eliminating the mood.
- Flags block light and preserve darkness where you want it.
- Gobos create patterned shadows or break up light for added visual interest.
A reflector can be useful if the shadow side becomes too dense and you need slight separation in the face or clothing. But use it sparingly. Too much fill light can flatten the image and weaken the chiaroscuro effect.
The key is to shape the light, not erase the shadows.
Camera Settings for Chiaroscuro Images
Because chiaroscuro depends on a wide tonal range, exposure strategy matters. You want to protect highlights while deciding how much detail to keep in the shadows.
Exposure, Histogram, and Highlight Protection
In high-contrast scenes, the brightest areas are usually the most important to preserve. Once highlights are clipped, detail is gone. Shadows, by contrast, can often be lifted later if needed.
A practical approach:
- Expose for the highlights
- Check the histogram
- Use highlight warnings if your camera offers them
- Slightly underexpose if necessary to preserve bright skin tones, fabric, or window light
When reading the histogram, remember that a chiaroscuro image will often have data concentrated toward the dark side. That is normal. What you want to avoid is a histogram slammed hard against the right edge, which may indicate blown highlights.
ISO, Aperture, and Shutter Speed Considerations
Your settings depend on whether you are shooting with natural light or artificial light, but these general guidelines help.
- ISO. Keep it as low as possible for cleaner shadows, but don't fear raising it if needed for proper exposure.
- Aperture. Wider apertures like f/1.8 to f/4 can isolate the subject and enhance mood. Smaller apertures can be useful for still life or when you want more depth of field.
- Shutter speed. Use a fast enough shutter to avoid blur, especially if your subject moves or you're handholding.
For portraits, a common starting point might be:
- ISO 100 to 800
- Aperture f/2 to f/4
- Shutter speed 1/125 or faster
If you're using strobes, keep your shutter speed within your camera's sync limit and adjust flash power or aperture for exposure.
Composition Techniques That Enhance Mood
Lighting creates the chiaroscuro effect, but composition determines how powerfully it lands.
Using Leading Lines and Framing
Leading lines can guide the viewer toward the illuminated part of the subject. Window frames, doorways, stair rails, and draped fabric all work well in chiaroscuro scenes.
Framing is equally effective. A subject partially enclosed by darkness, curtains, or architectural elements feels more isolated and cinematic.
Try composing so that the brightest area is where you want attention first, usually the eyes, hands, or a key object.
Simplifying the Scene for Stronger Contrast
Clutter weakens chiaroscuro. Every extra bright object competes with your subject and reduces tonal clarity.
To simplify the scene:
- Use a dark or neutral background
- Remove reflective distractions
- Limit props to meaningful objects
- Keep the subject's pose clean and deliberate
The more you reduce visual noise, the more the contrast between light and shadow can do the storytelling for you.
Post-Processing Tips for Rich Tonal Contrast
Post-processing should enhance the lighting you already created, not rescue a poorly lit frame. The best edits preserve the sculpted feeling of the original scene.
Adjusting Curves, Blacks, and Highlights
In editing software, use curves and tonal sliders to refine the image:
- Deepen the blacks slightly to reinforce shadow density
- Lower highlights if bright areas feel too harsh
- Adjust midtones to keep skin or key details readable
- Add subtle contrast to separate light from shadow
Be careful not to crush the shadows completely unless that is the artistic intent. Some detail in the dark areas can help the image feel rich rather than muddy.
Color grading can also support mood. Warm highlights and cooler shadows, or a restrained monochrome treatment, often work well with chiaroscuro imagery.
Dodging and Burning for Shape and Depth
Dodging and burning are classic techniques for controlling light and shadow in post-production.
- Dodging lightens selected areas to draw attention or reveal form.
- Burning darkens areas to deepen shadows or simplify the frame.
Use these tools subtly to sculpt the face, define clothing folds, or enhance the edges of an object. Think like a painter. You are refining the light, not repainting the entire scene.
A good rule is to make changes that feel invisible but effective. If the viewer notices the edit before the image, you may have gone too far.
Common Mistakes to Avoid
Chiaroscuro is deceptively simple. Because the setup can be minimal, small mistakes stand out quickly.
Common errors include:
- Flat lighting. Light placed too frontally, eliminating shadow shape
- Blown highlights. Bright areas clipped with no detail left
- Muddy shadows. Underexposed areas with no separation or texture
- Too much fill light. Reflectors or ambient bounce flatten the mood
- Overcomplicated backgrounds. Distracting elements that compete with the subject
- Ignoring shadow shape. Shadows should support the composition, not just exist
- Overediting. Excessive contrast or clarity can make the image feel artificial
If your image feels lifeless, ask whether the shadows are doing enough work. If it feels harsh, check whether the highlights are too strong or the light too direct.
Creative Ideas and Storytelling Prompts
Chiaroscuro is especially effective when there is a narrative reason for the darkness. Start with a mood, then build the lighting around it.
Try these prompts:
- A portrait of someone waiting for difficult news
- A musician alone after a performance
- A child reading by window light in a quiet room
- A hand holding an old letter
- A figure standing half in shadow, half in light, to suggest inner conflict
- A still life of meaningful objects like keys, glasses, a candle, a book
- A profile portrait that reveals only one eye
- A scene where the light feels like it is "discovering" the subject
Ask yourself:
- What is hidden?
- What is revealed?
- What does the shadow suggest?
- Where should the viewer look first?
- What emotion should the light express?
The strongest chiaroscuro images often tell a story without explaining everything. They leave room for interpretation.
Final Checklist for Shooting Chiaroscuro Images
Before your next shoot, use this simple checklist.
-
Choose one primary light source. Window, strobe, LED, or bare bulb.
-
Position the light intentionally. Side light or three-quarter light usually works best.
-
Control the shadows. Use negative fill, flags, or careful subject placement.
-
Simplify the background. Remove distractions and bright competing elements.
-
Expose for the highlights. Protect important bright areas from clipping.
-
Check the histogram. Make sure the contrast is strong but not broken.
-
Compose for mood. Use framing, leading lines, and negative space.
-
Keep the story in mind. Let the lighting support emotion and narrative.
-
Edit with restraint. Refine curves, blacks, highlights, and local contrast carefully.
-
Review shadow shape. Ask whether the darkness adds meaning, depth, and drama.
A Simple Workflow You Can Use Right Away
If you want a practical starting point, follow this sequence.
- Find a single light source.
- Place the subject so the light falls across the face or object from the side.
- Add negative fill to deepen the shadow side.
- Expose carefully for the brightest highlight.
- Compose simply and remove distractions.
- Shoot a few frames with subtle changes in angle and distance.
- Edit gently to strengthen contrast and tonal separation.
Chiaroscuro photography is ultimately about restraint and intention. When you learn to let shadows breathe, light becomes more expressive, and your images become more than pictures. They become stories.
Key Takeaways
- Chiaroscuro is the deliberate use of light and shadow contrast to sculpt form, create depth, and evoke emotion in photographs.
- Start with a single light source placed to the side of your subject, and use negative fill to deepen shadows rather than adding more lights.
- Expose for the highlights and let the shadows fall naturally, since a dark histogram is expected and desirable in this style.
- Simplify everything: background, props, composition. The fewer distractions, the more powerful the contrast between light and dark becomes.
More in This Guide
Continue exploring lighting techniques.